


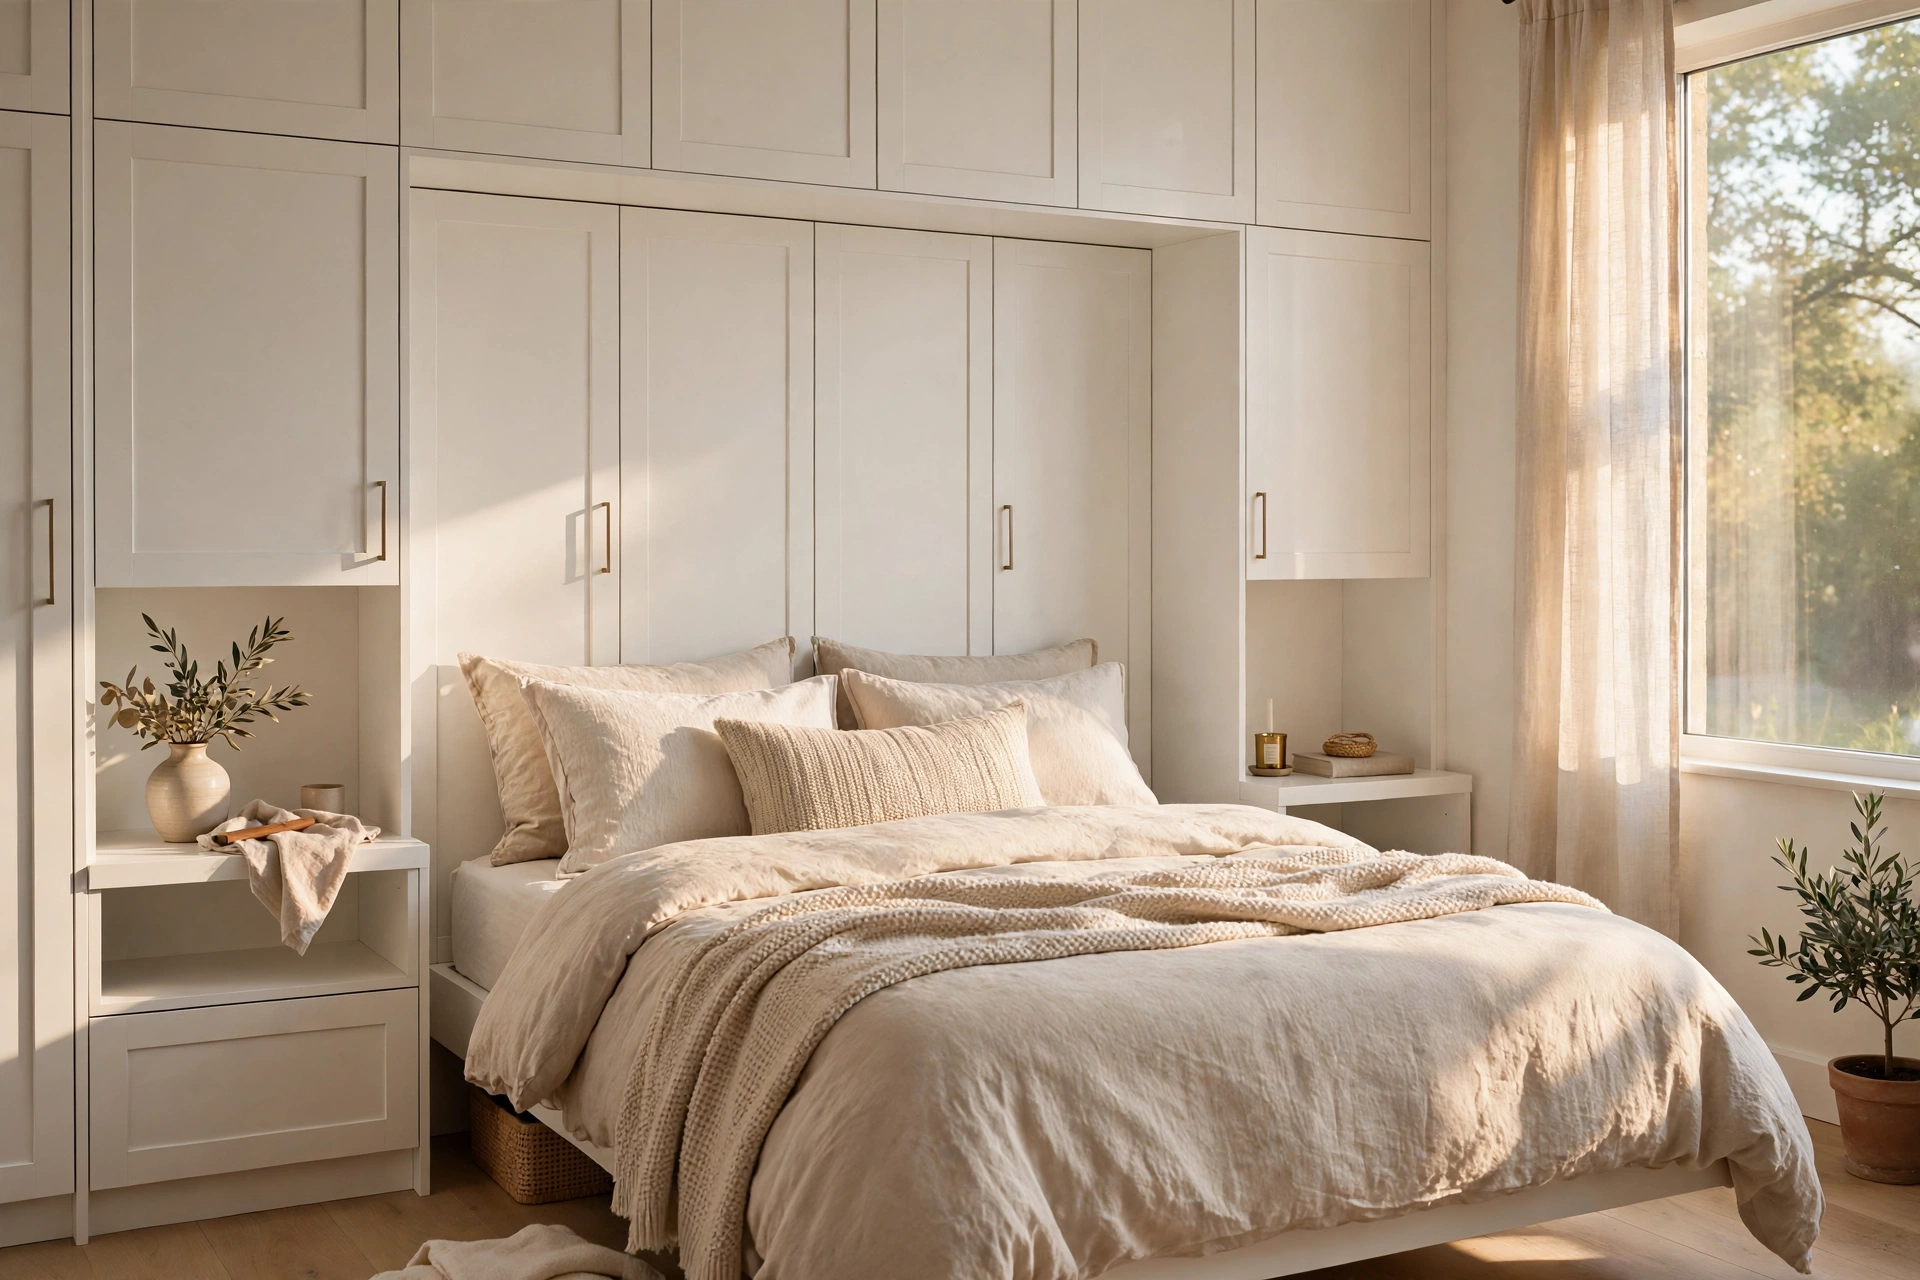
My first flat had a bedroom so small the estate agent called it “bijou,” which I learned is estate-agent for “you can touch both walls at once.” The bed barely fit, the wardrobe door smacked the bed frame every time I opened it, and my bedside table was a stack of books that collapsed at 2 a.m. at least twice a month. I lived like that for two years before a carpenter friend looked at the room for five minutes and said the thing that changed everything: stop buying furniture for the room — build the room around what you need.
He fitted a slim wardrobe into the dead alcove beside the chimney breast, ran a narrow shelf off it at bed height as a nightstand, and suddenly I had more storage and more floor space than I’d had with freestanding furniture. That was a decade ago, and I’ve since planned fitted storage for three more small bedrooms — mine, my daughter’s, and a box room that now sleeps guests comfortably. These 25 small fitted wardrobe with bed side table ideas are everything I learned about squeezing a wardrobe, a bed, and bedside storage into rooms that seem too small for all three.
- In a small bedroom, fitted beats freestanding — every centimeter is used, and there are no dust-collecting gaps.
- Build the nightstand INTO the wardrobe structure and you free up precious floor space on at least one side of the bed.
- Sliding or bi-fold doors beat hinged doors when clearance is under 60 cm.
- Go floor-to-ceiling and slim (around 50 cm deep) — the extra height is free storage.
- Mirrored or light matte doors make the wardrobe visually disappear and the room feel bigger.
1. The Over-Bed Storage Bridge
Difficulty: Moderate | Cost: $200-$450
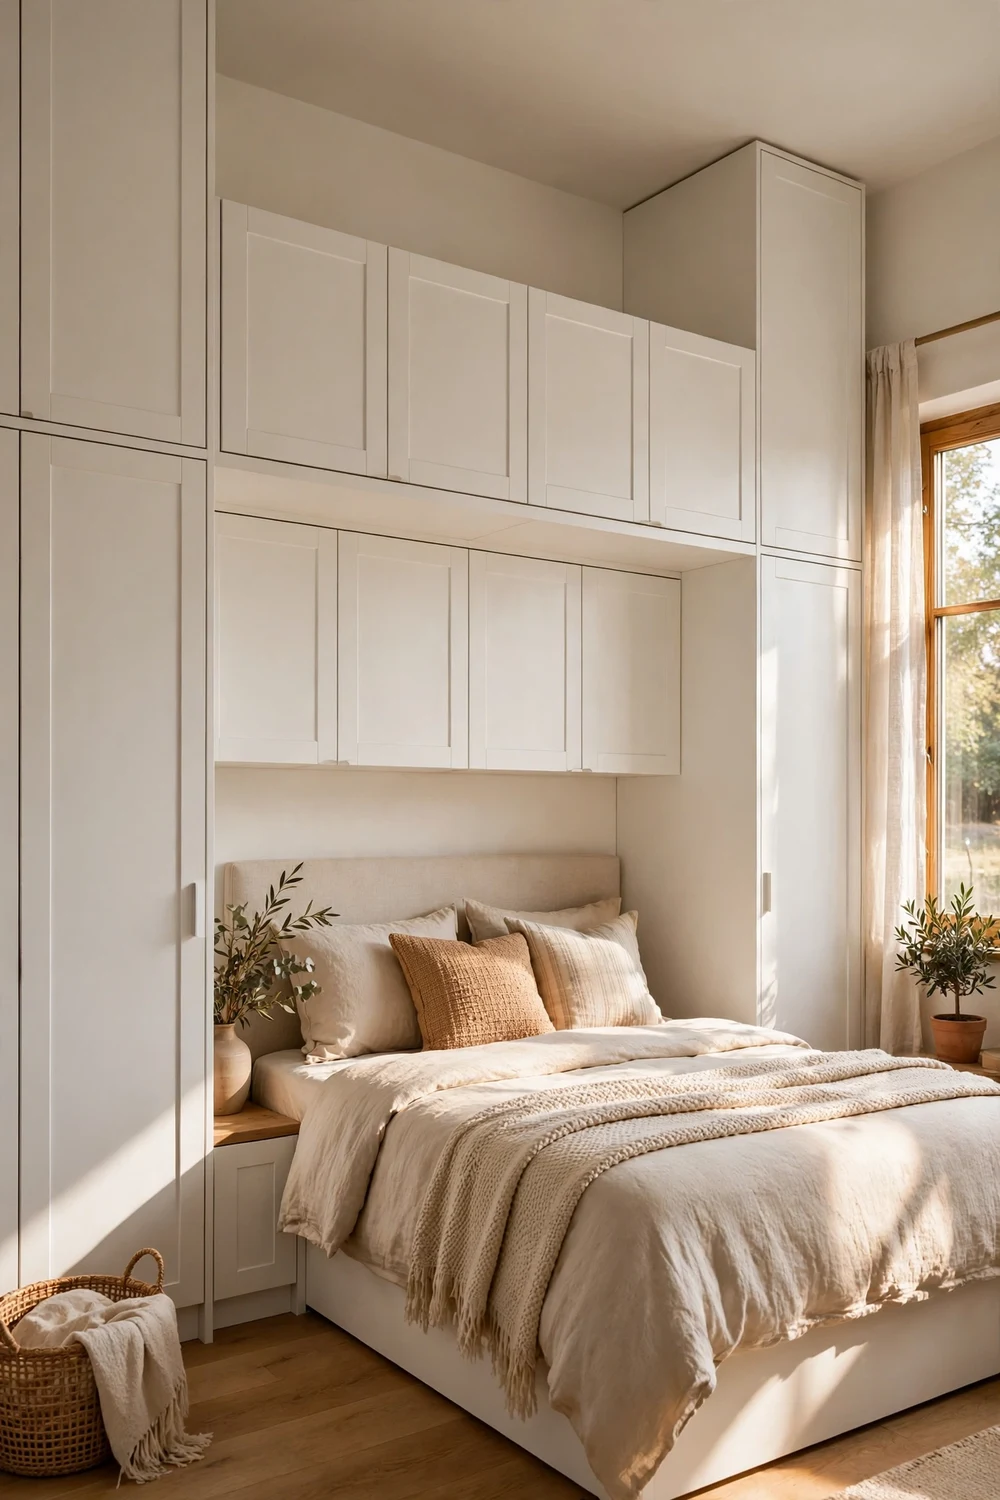
Run overhead cabinets across the wall above the headboard, connecting two wardrobe towers on either side of the bed. This is the biggest storage gain in a small bedroom — dead air above the bed becomes a full-width cupboard for spare bedding and seasonal clothes. Keep the bridge at 135 cm above the mattress so it never looms, and choose a light finish so the mass doesn’t crush the room.
Try this: store only things you reach for a few times a year up there. If you have to climb on the bed to get it, it should be the Christmas decorations, not Tuesday’s jeans.
2. Wardrobes Flanking the Bed with Built-In Nightstands
Difficulty: Moderate | Cost: $300-$600
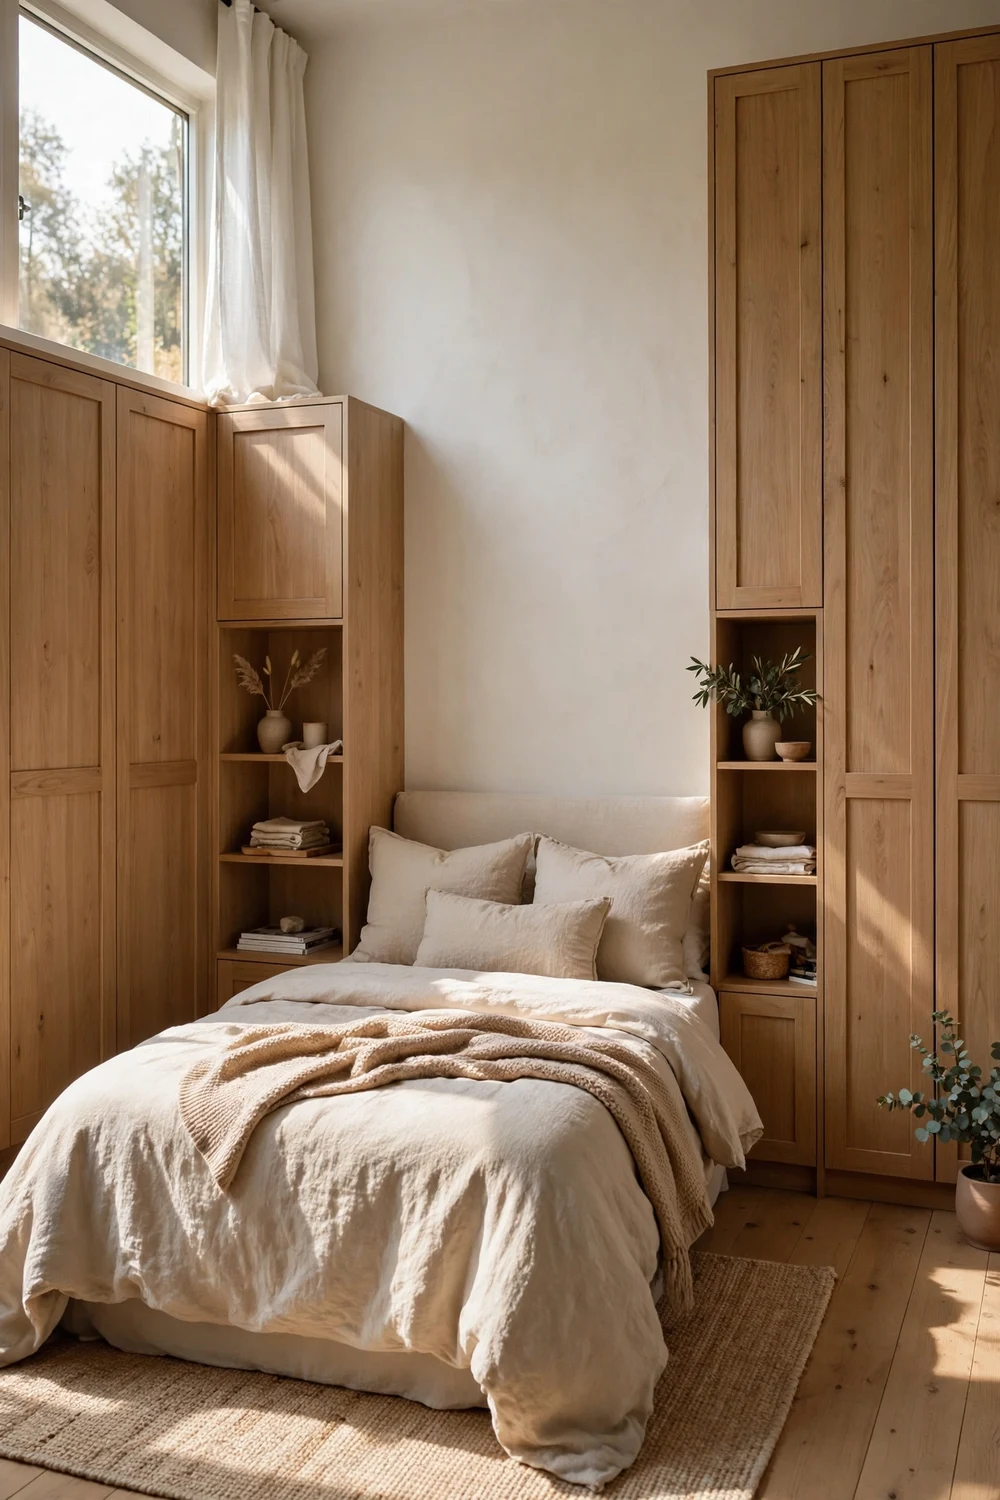
Instead of a wardrobe plus separate nightstands, build wardrobe towers on both sides of the bed and bridge the gap at bedside height with a shelf. The shelf becomes your nightstand — lamp, book, water — while the towers give hanging space on both sides. It looks custom and reclaims wasted wall space.
To see how joiners build these around-bed configurations, this guide to small built-in wardrobes either side of the bed shows real examples with drawers and hanging storage.
Try this: make the built-in shelf 35–40 cm deep — plenty for a lamp and a book, keeping the walkway clear.
3. Sliding Doors When Clearance Is Tight
Difficulty: Easy | Cost: $150-$350
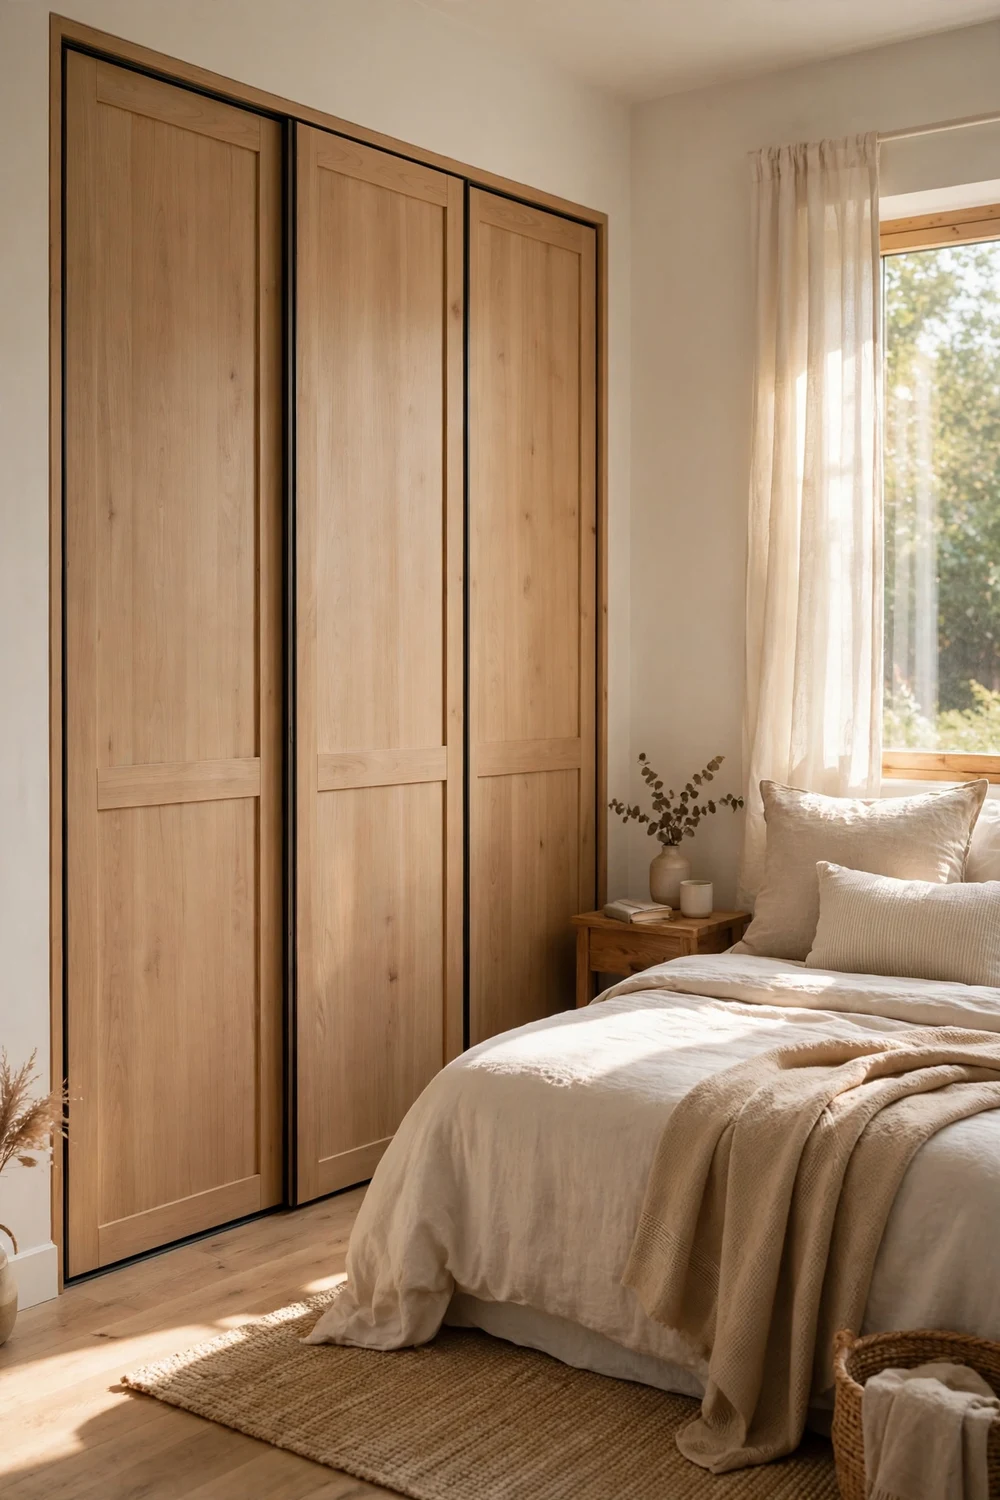
A standard hinged wardrobe door needs about 60 cm of swing space. In a small bedroom, that swing often collides with the bed frame or the nightstand. Sliding doors eliminate the problem entirely — the wardrobe can sit 20 cm from the bed and still open fully. Keep sliding wardrobes at standard height; very tall sliding doors put too much weight on the mechanism.
Try this: put your most-used half (daily clothes) on the sliding panel you open first, so one slide covers 90% of your mornings.
4. Floor-to-Ceiling, Slim-Depth Fitted Wardrobes
Difficulty: Moderate | Cost: $250-$500
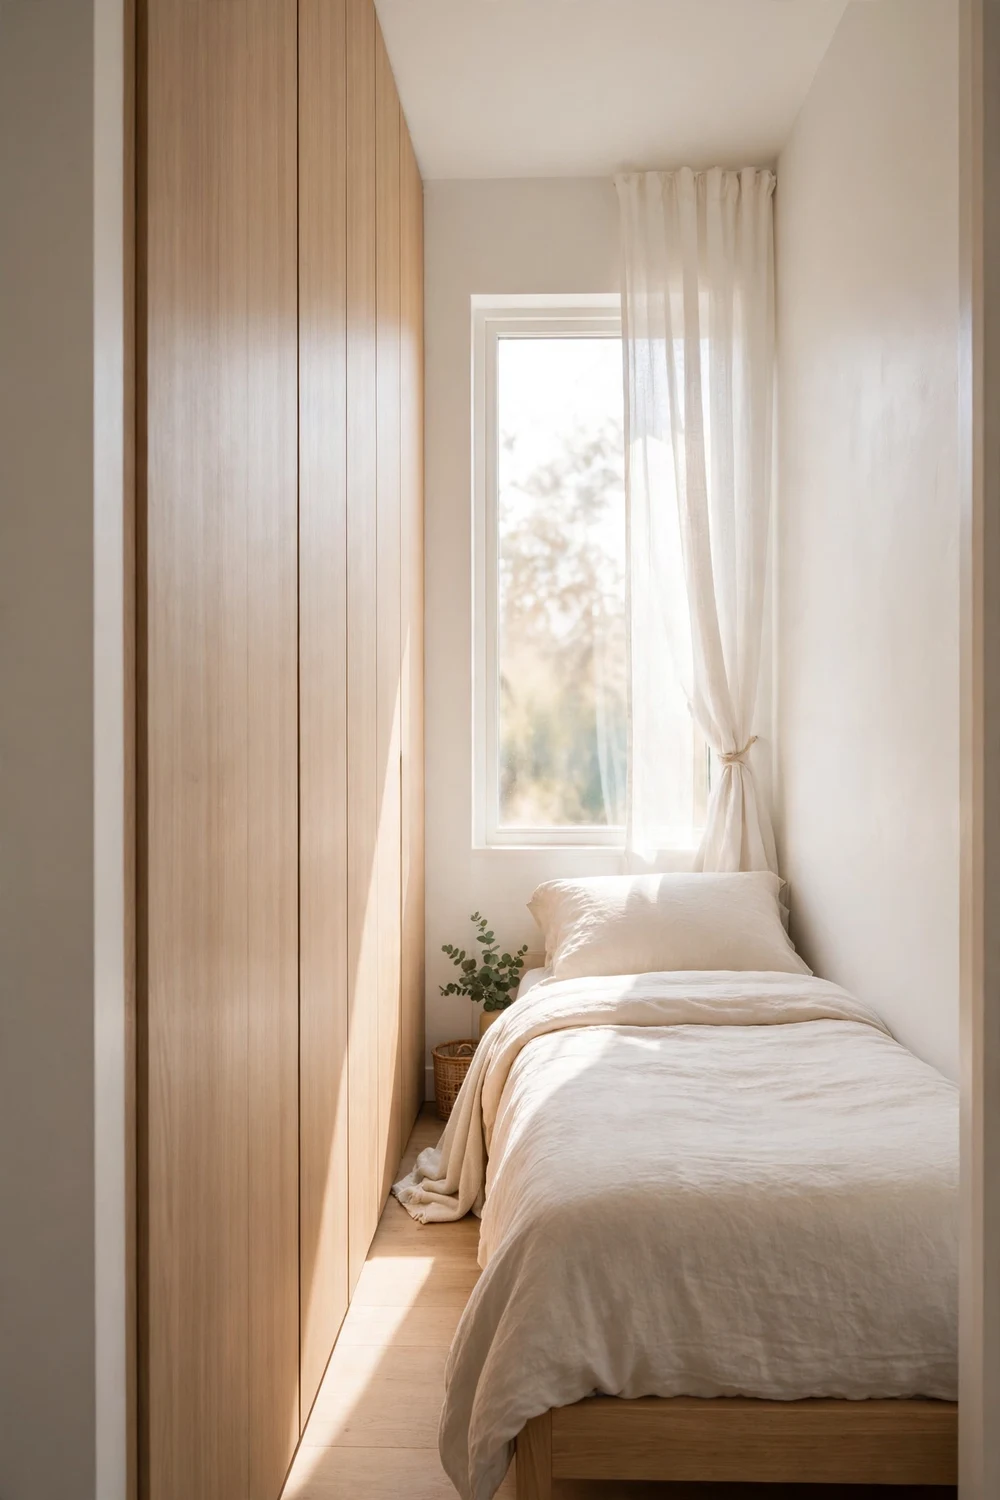
Standard wardrobes are 60 cm deep, but a 50 cm deep fitted wardrobe still hangs shirts and jackets fine — and that 10 cm saving matters in a tight room. Run it floor to ceiling (typically 190–210 cm of wardrobe, using the space above for extra compartments) and you gain storage that a freestanding wardrobe simply can’t offer. The fitted sides go wall-to-wall, so there’s no gap for dust or lost socks.
Try this: measure your longest coat before choosing depth. If everything you own hangs in 50 cm, don’t pay for 60.
5. Mirrored Doors to Double the Light
Difficulty: Easy | Cost: $100-$300
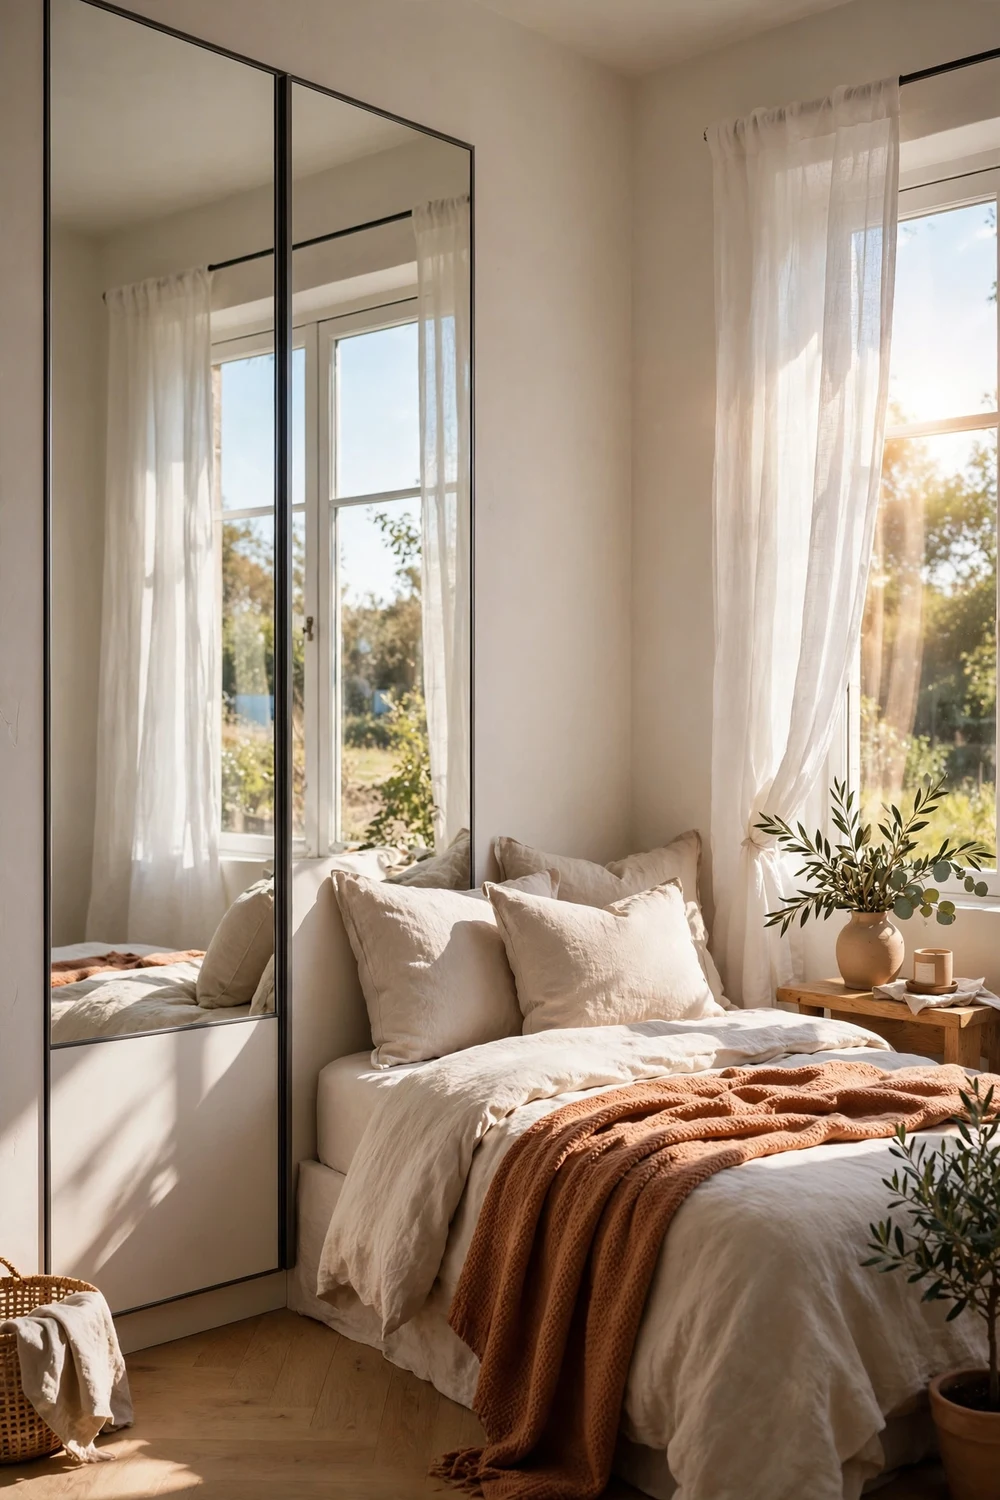
A fitted wardrobe wall in mirror does two jobs: storage and the illusion of twice the room. In a small bedroom with one window, mirrored doors bounce daylight into the dark corners and make the wardrobe read as “window” instead of “wall of cupboard.” Full-length mirror doors also mean no separate standing mirror eating floor space.
Try this: keep mirrors on the doors you face when you wake up, not the ones facing the bed at night — fewer midnight startles.
6. Sacrifice One Side Table, Keep One
Difficulty: Easy | Cost: $0-$50
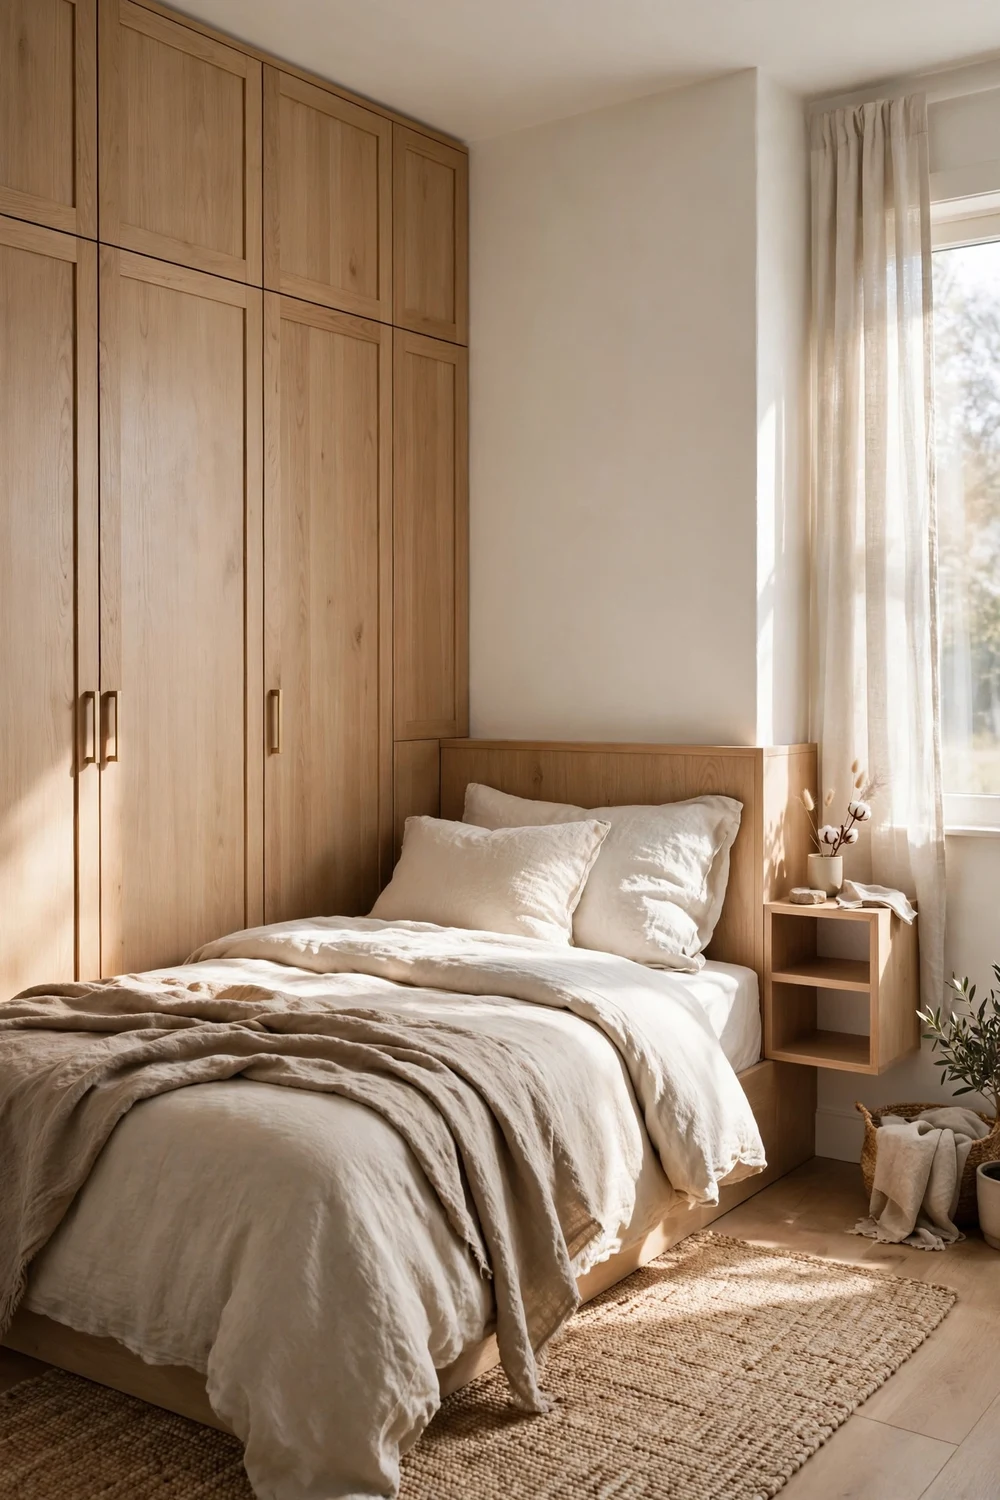
Here’s the compromise designers actually use in tiny rooms: build the wardrobe right up to the bed on one side (gaining a full run of storage) and keep a proper nightstand only on the other side. One lamp, one book, one glass of water — you only sleep on one side of the bed, after all. The freed wall gives you 60–80 cm of extra wardrobe that a second nightstand would have blocked.
Try this: if you share the bed, put the nightstand on the side of whoever reads in bed. The other side gets the wardrobe.
7. Over-Bed Cabinets with Reading Lights
Difficulty: Moderate | Cost: $180-$400
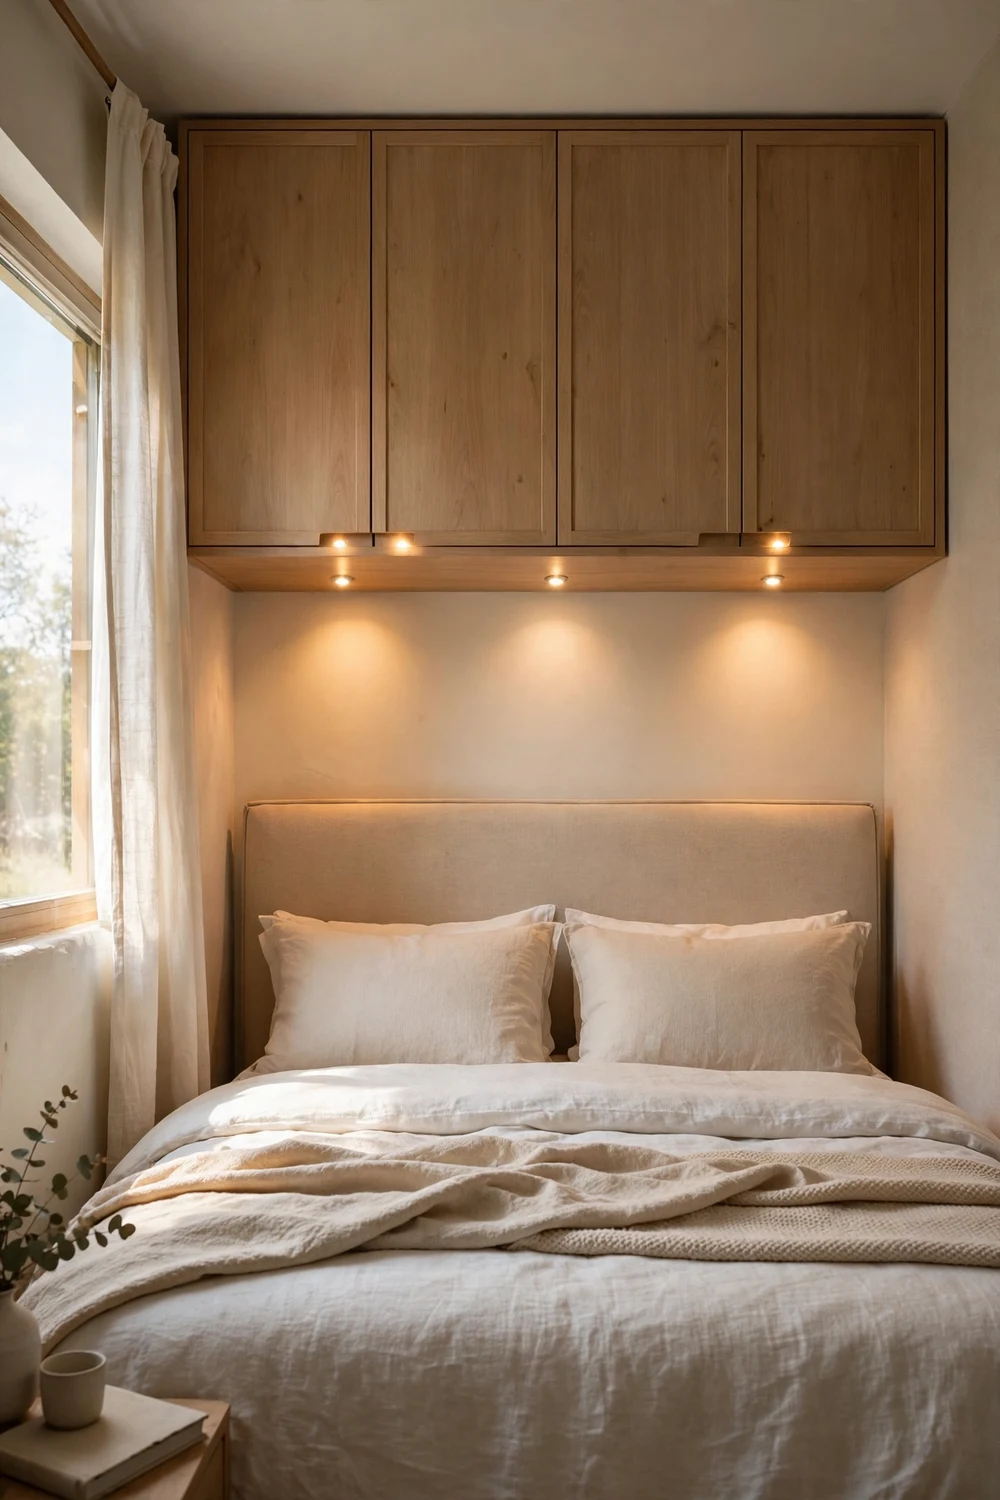
Take the storage bridge from idea 1 and wire warm spotlights or LED strips into its underside. Now the bridge isn’t just storage — it’s your reading light, your ambient evening glow, and the thing that makes the bed wall look designed. Warm white (2700K) keeps it cozy; anything cooler reads as an office.
If you’re planning the lighting carefully, these hidden lighting ideas for a cozy home are full of strip-light tricks that work beautifully inside and under fitted bedroom furniture.
Try this: put the bridge lights on a separate switch or smart plug from the main ceiling light. Evening mode should be bridge-only.
8. The Corner L-Shaped Fitted Wardrobe
Difficulty: Hard | Cost: $400-$800
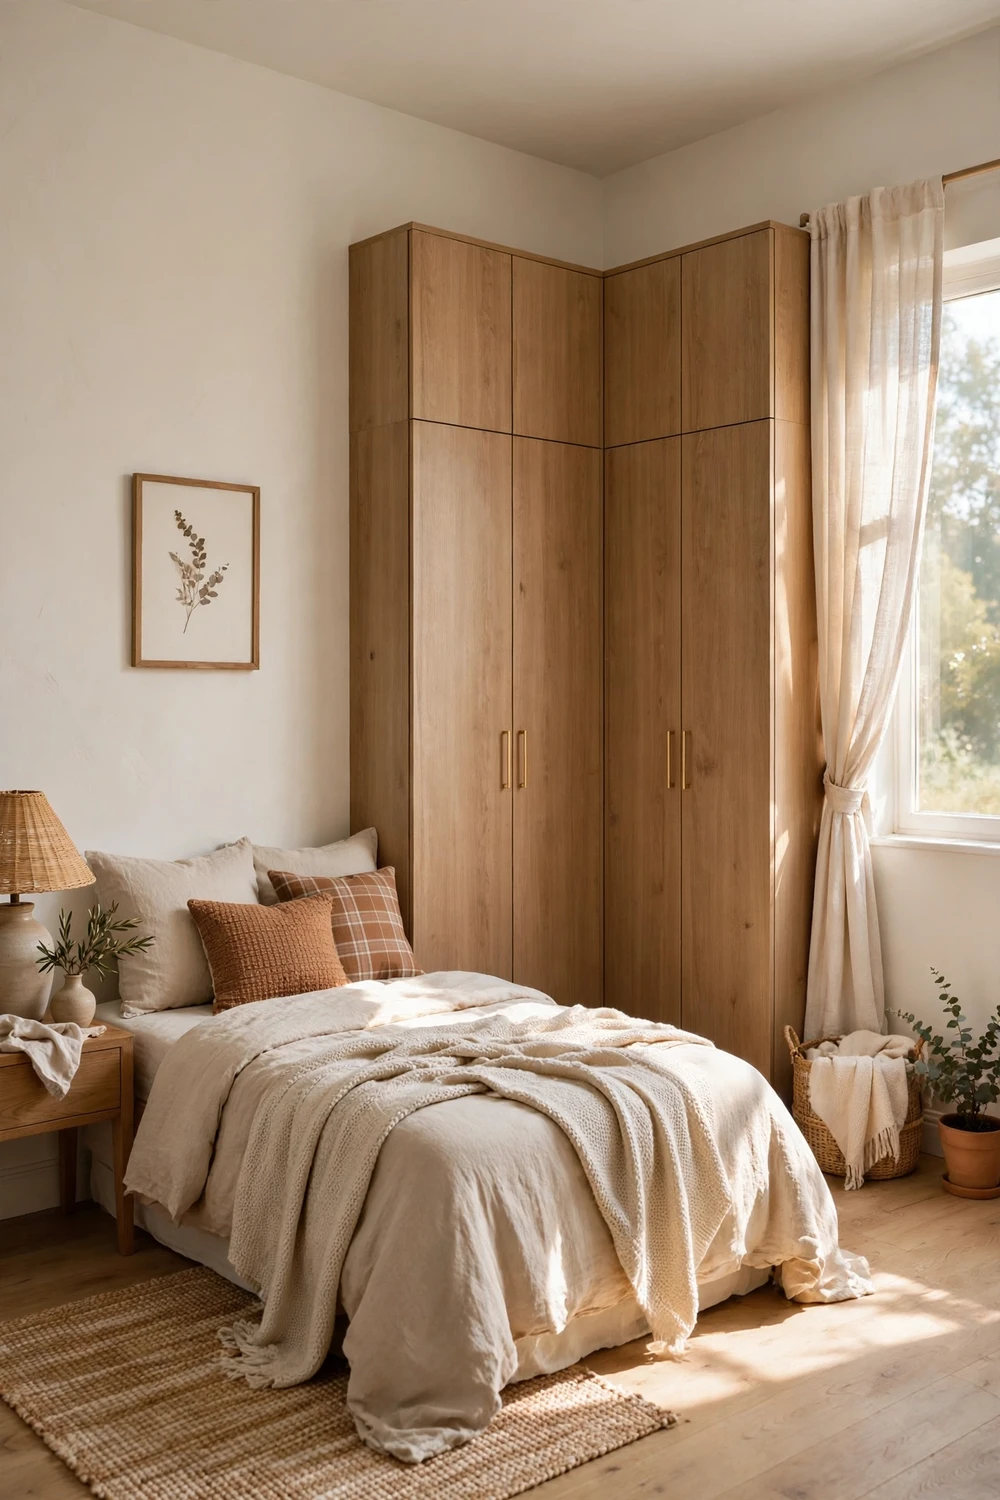
When the bed eats the middle of the room, wrap the wardrobe around the corner in an L. The short leg of the L can hold shallow shelves or a narrow hanging section for shirts, while the long leg takes full-depth hanging. Corner units use wall space that usually holds nothing but a sad laundry basket, and a fitted corner means no awkward gap behind freestanding furniture.
Try this: put a carousel or pull-out unit in the actual corner — the blind spot of an L-shape swallows things otherwise.
9. Alcove-Fit Beside the Chimney Breast
Difficulty: Moderate | Cost: $200-$450
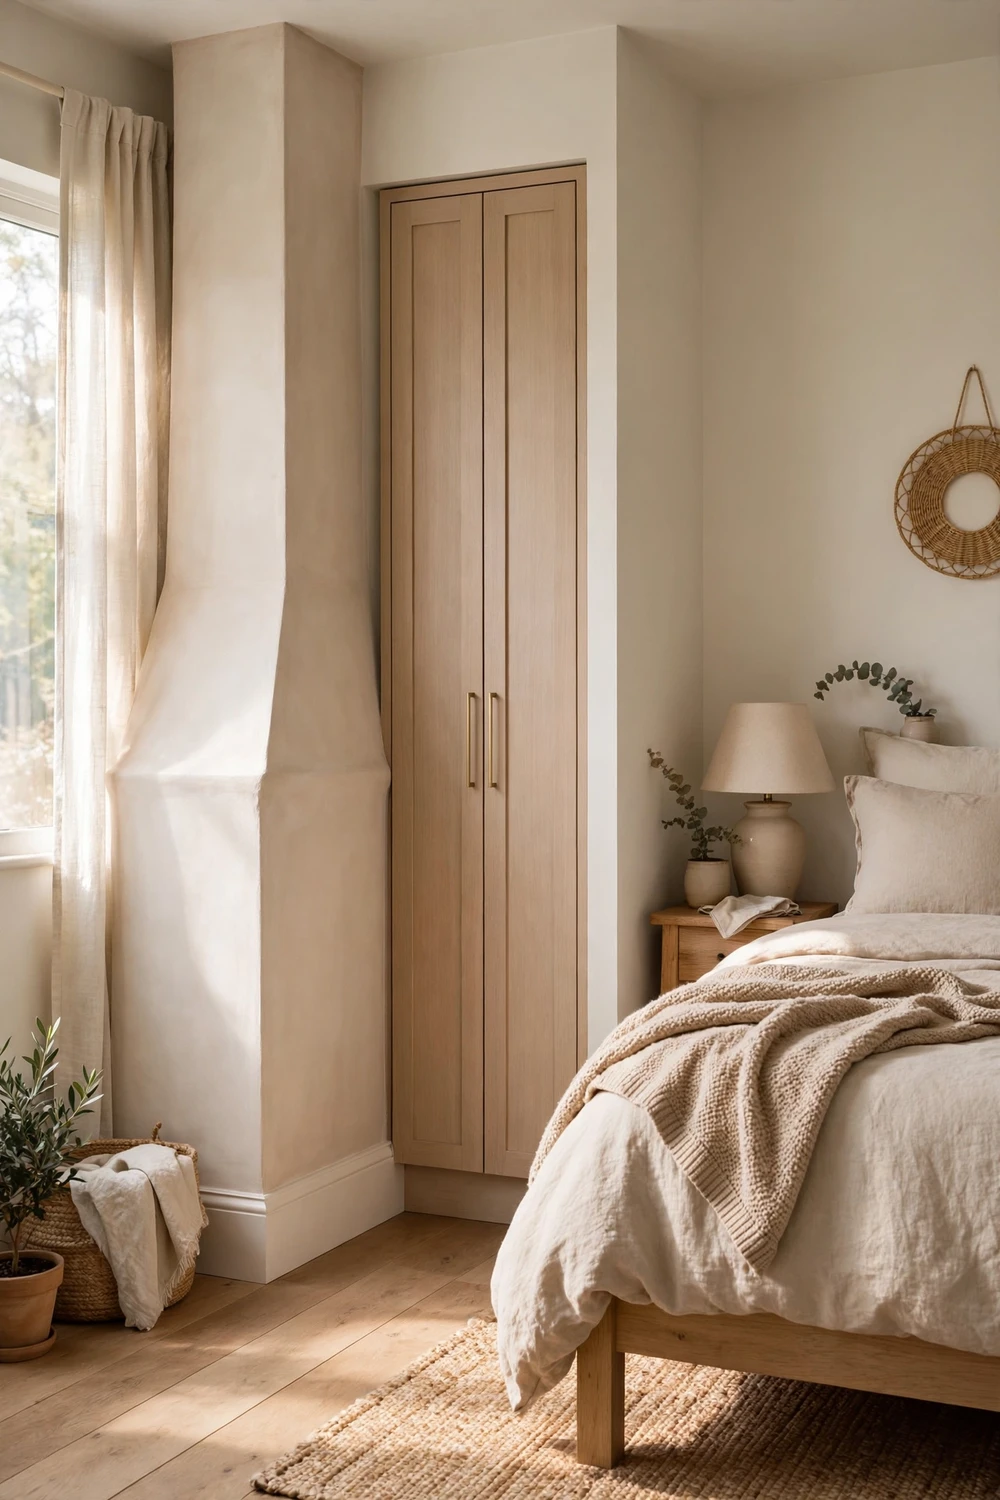
Old houses are full of alcoves beside chimney breasts — dead space about 50–60 cm deep that perfectly fits a slim wardrobe. A fitted unit here looks like it was always part of the house, uses space nothing else can use, and leaves the main walls free for the bed. This was the trick that saved my first flat, and it works in any room with a chimney breast or a structural nib.
Try this: run the alcove wardrobe floor-to-ceiling and paint it the wall color. It reads as architecture, not furniture.
10. Pull-Out Shoe Racks Inside
Difficulty: Easy | Cost: $40-$120
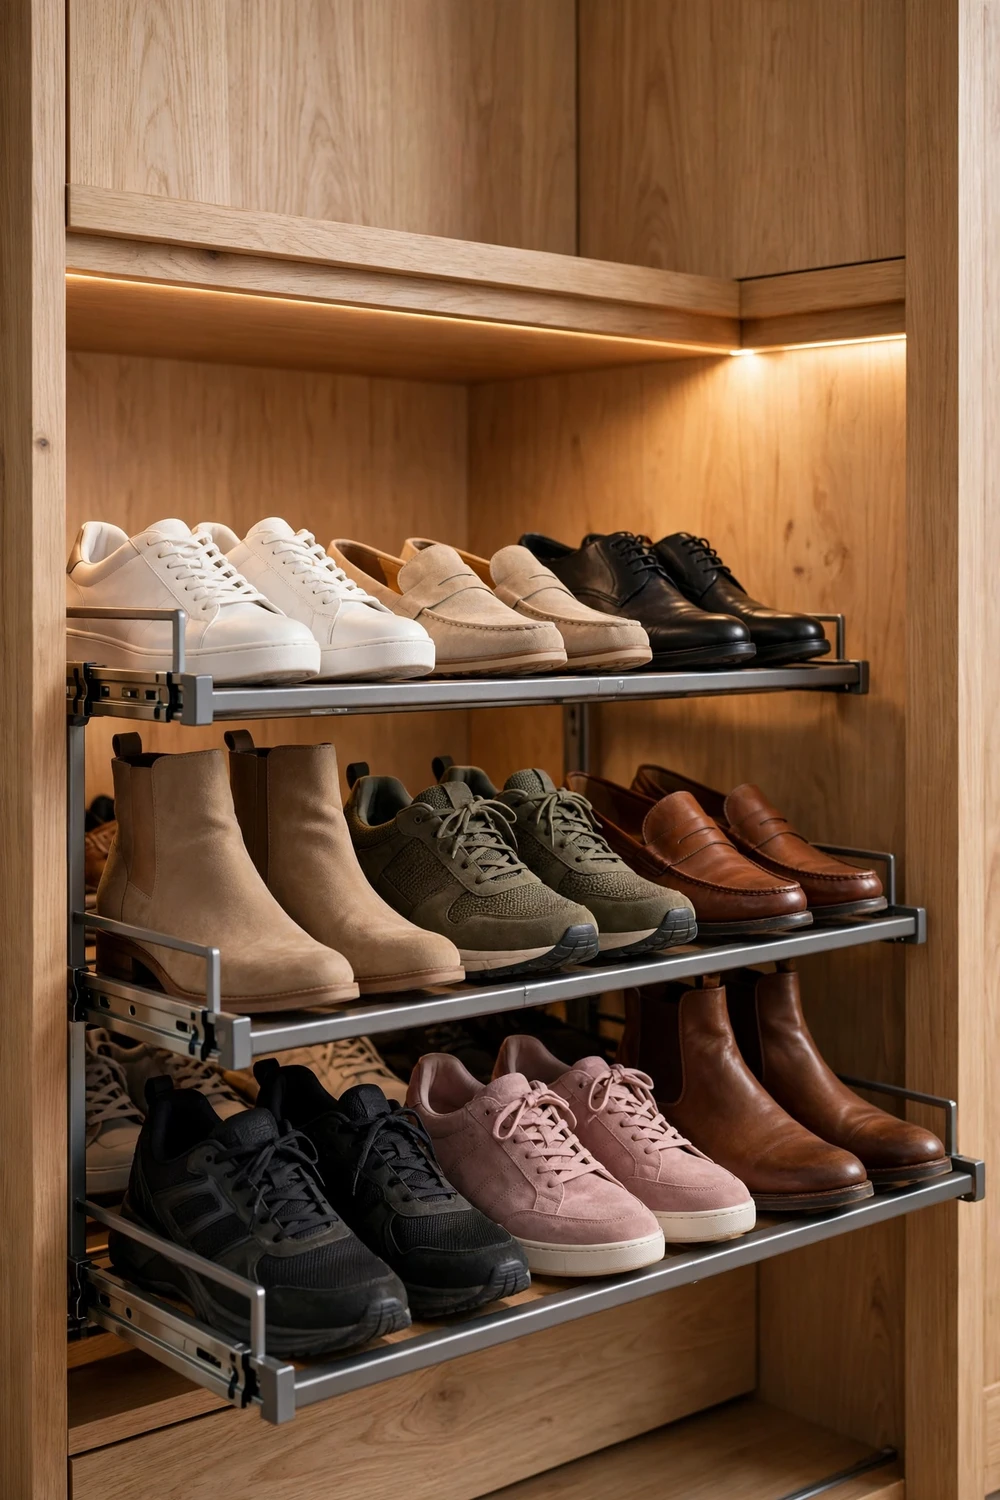
Shoes are the silent floor-space thieves of small bedrooms — a dozen pairs on the floor eat more room than a nightstand. Build two or three pull-out shoe racks into the bottom of the fitted wardrobe instead. They glide out, you see every pair, and the floor stays clear. Angled shelves show more pairs per rack than flat ones.
Try this: count your shoes before the carpenter measures. Racks are cheap to add during the build and annoying to retrofit.
11. A Built-In Charging Station
Difficulty: Easy | Cost: $30-$80
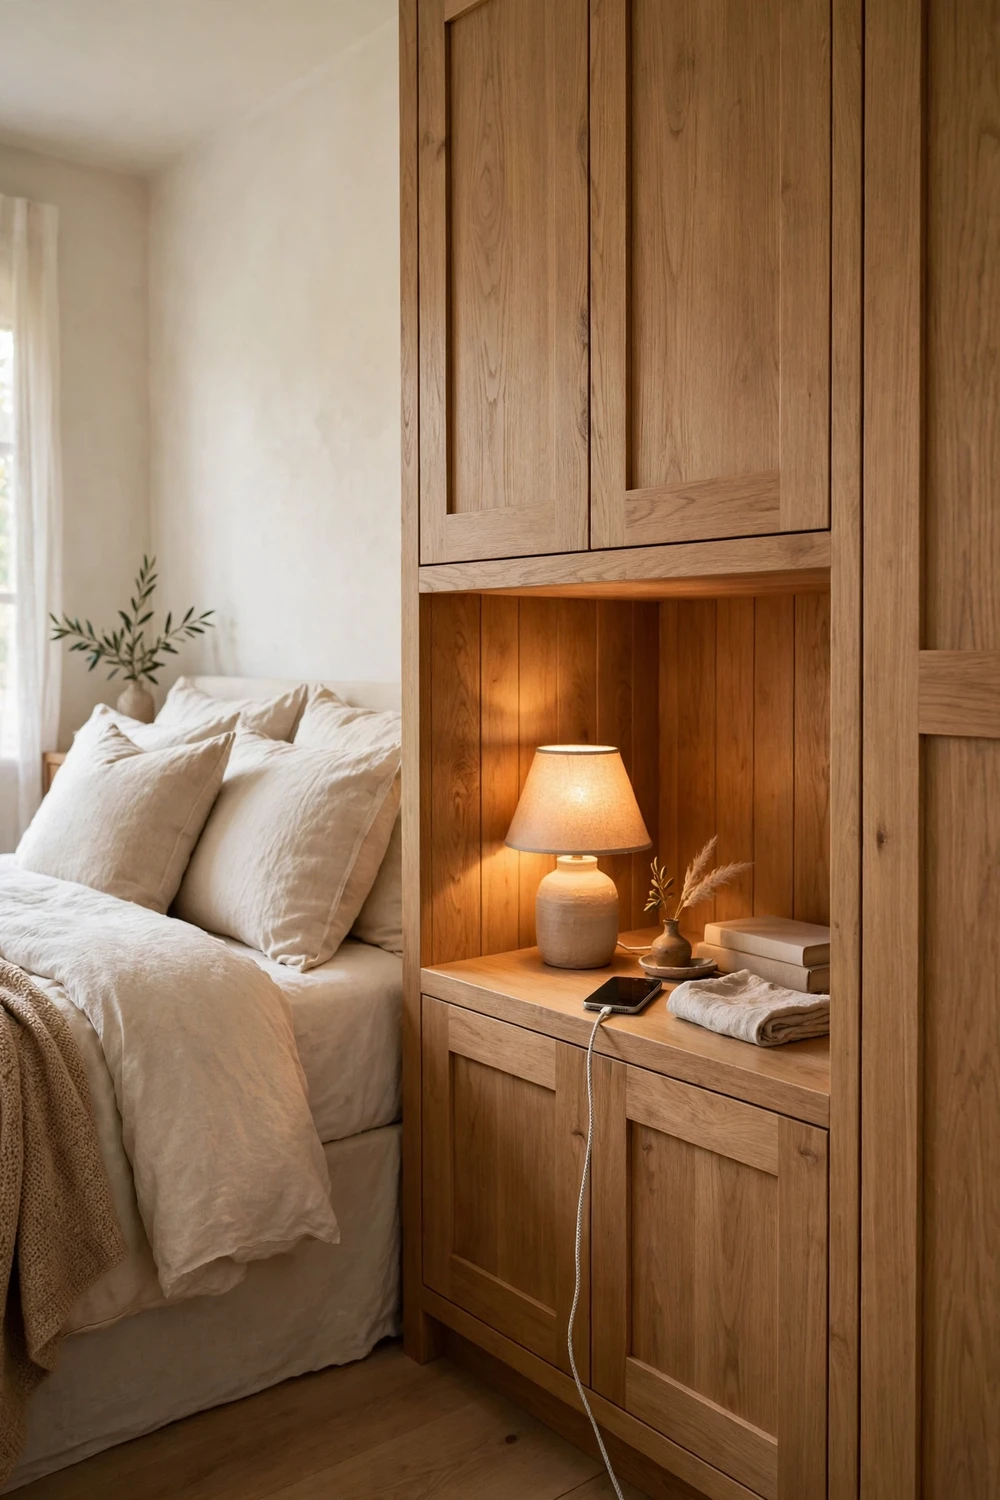
The modern nightstand has one job the old one didn’t: charging everything. Build a small shelf or drawer into the wardrobe-side nightstand with a cable channel and a multi-plug hidden inside. Phones, watches, and earbuds charge out of sight, cables never dangle, and the top of the nightstand stays clear for the lamp and the book.
Try this: drill the cable hole at the BACK of the shelf, not the top. Cables drop behind, devices sit clean on top.
12. Use the Dead Space Above the Wardrobe
Difficulty: Easy | Cost: $50-$150
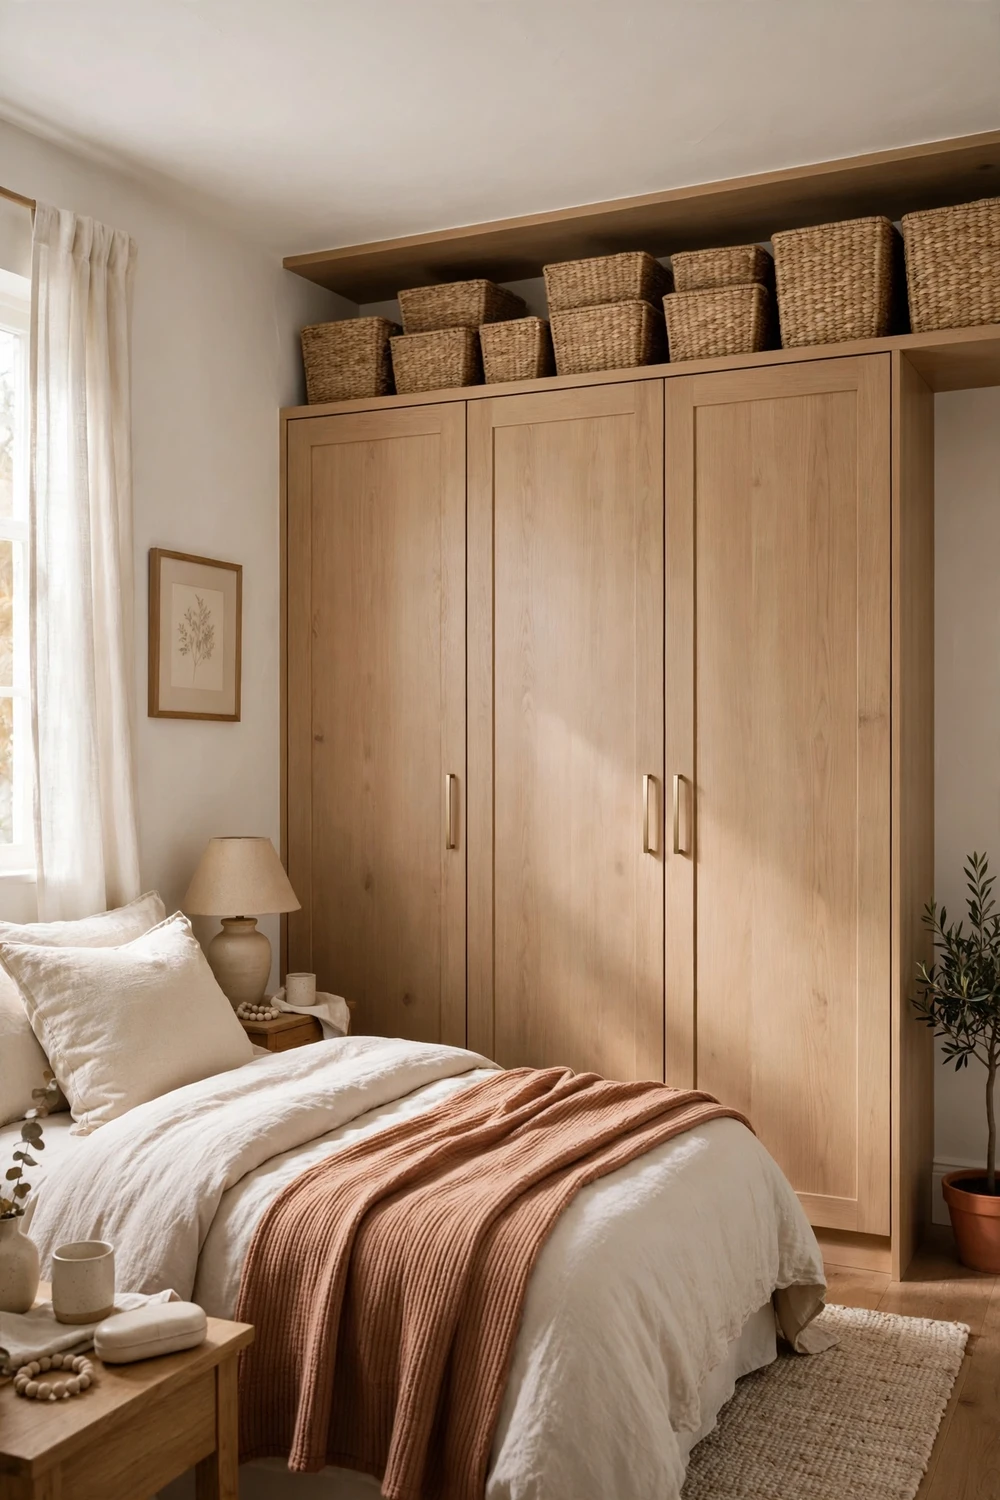
Fitted wardrobes usually stop at 190–210 cm, but ceilings run 240 cm or more. That 30–50 cm strip is prime real estate for labeled boxes: winter coats, spare duvets, the suitcase. Add a simple top-box section during the build — it’s the cheapest storage in the whole project because it’s just a shelf and a door. Avoid sliding doors on these top compartments; hinged is fine up there.
Try this: label every box on two sides. Future-you, standing on a stool, will thank present-you.
13. LED Strips Inside the Wardrobe
Difficulty: Easy | Cost: $25-$70
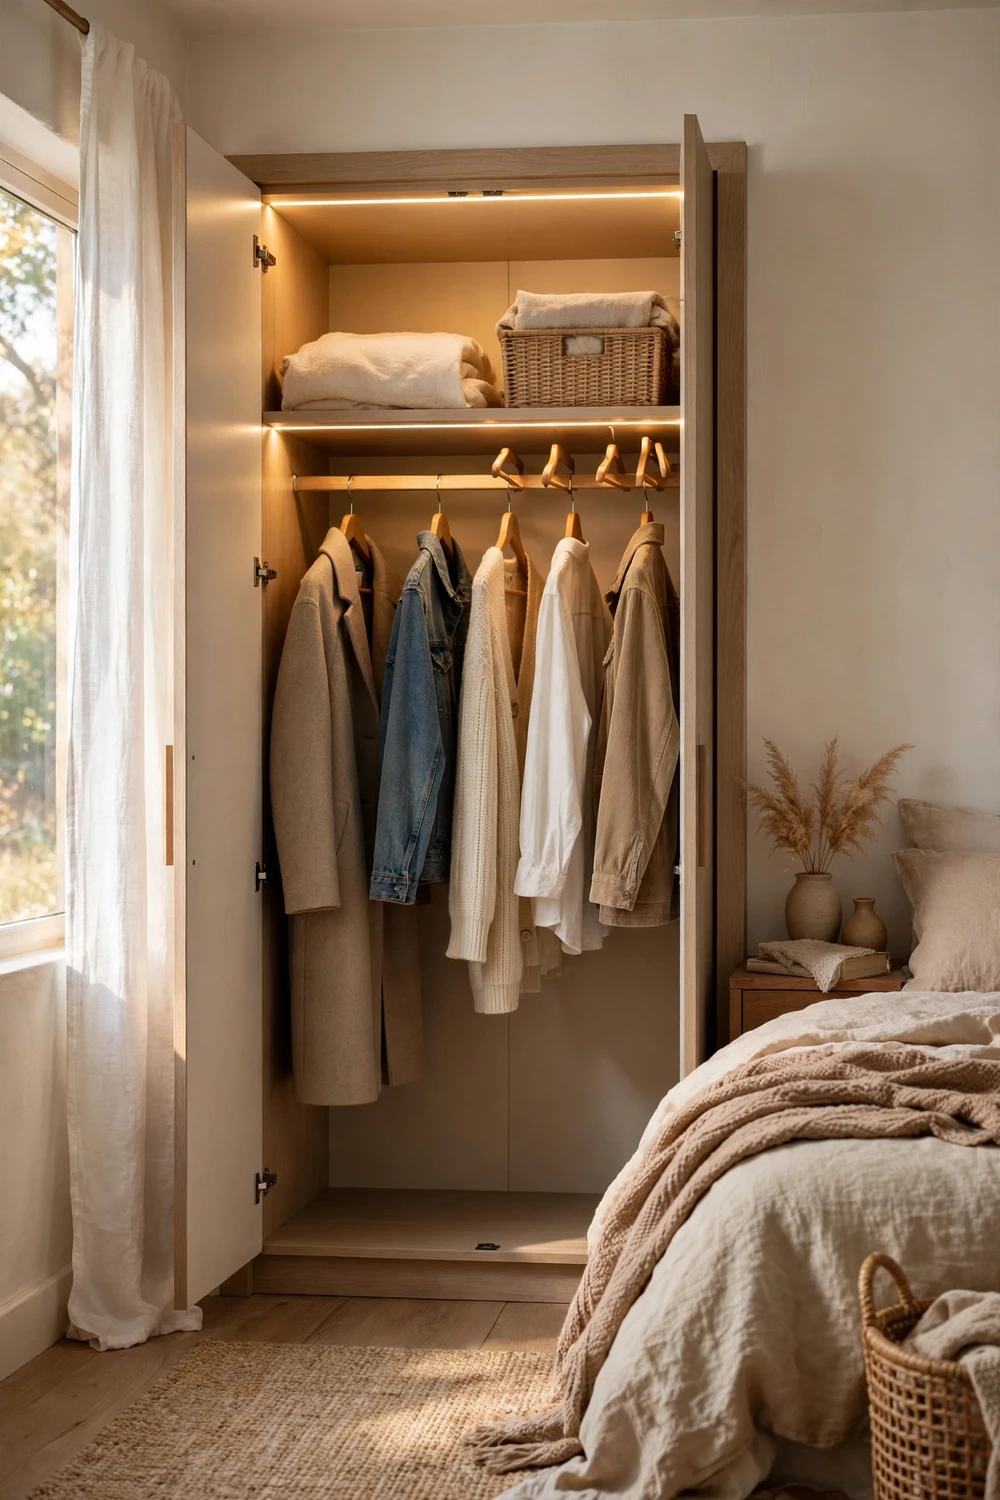
A warm LED strip along the top of each wardrobe section turns a dark cupboard into a boutique display — you can actually see colors at 7 a.m. in January. Battery motion-sensor strips are perfect here since wardrobes rarely have outlets nearby; they wake when the door opens and sleep when it closes. It also makes the fitted unit feel expensive, whatever it cost.
Try this: mount the strip at the front edge of the top panel, angled slightly back, so it washes down over the clothes instead of blinding you.
14. A Slim Drawer Tower Between Bed and Wardrobe
Difficulty: Moderate | Cost: $120-$280
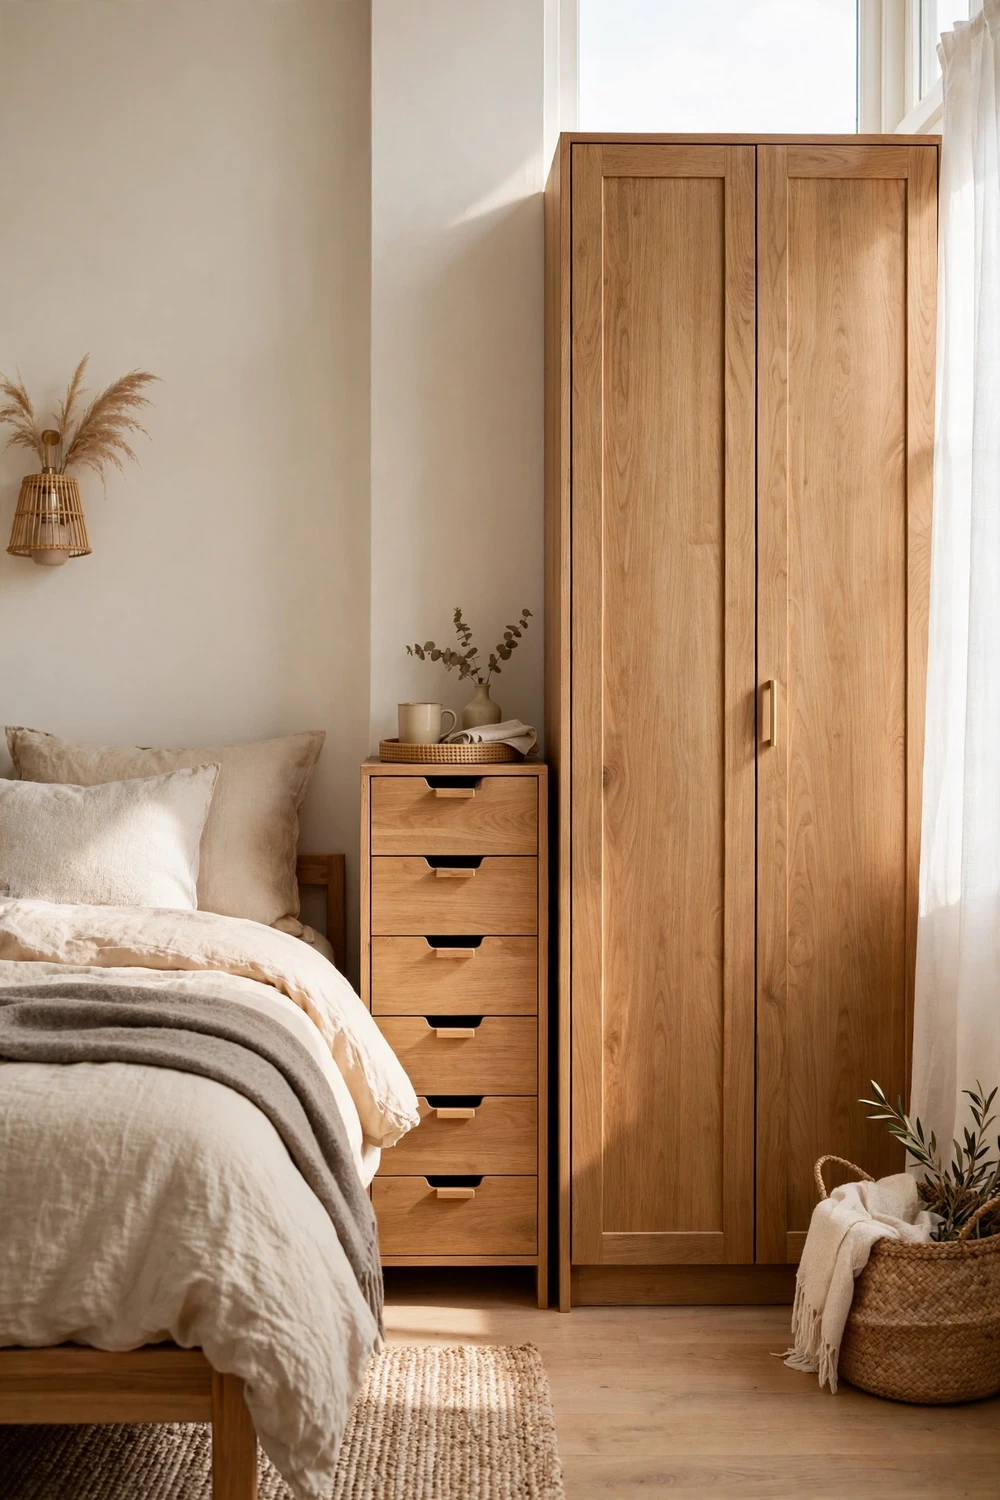
When there’s a 30–40 cm gap between the bed frame and the wardrobe — too narrow for a nightstand, too wide to waste — fit a slim drawer tower into it. Four or five deep drawers hold underwear, t-shirts, pajamas, and all the small stuff that clutters a small room. Top it with a tray and it doubles as the nightstand.
Try this: make the tower exactly as tall as the mattress top. A flush surface reads as intentional; a tower poking above the bed looks like an afterthought.
15. A Floating Shelf Instead of a Second Nightstand
Difficulty: Easy | Cost: $20-$60
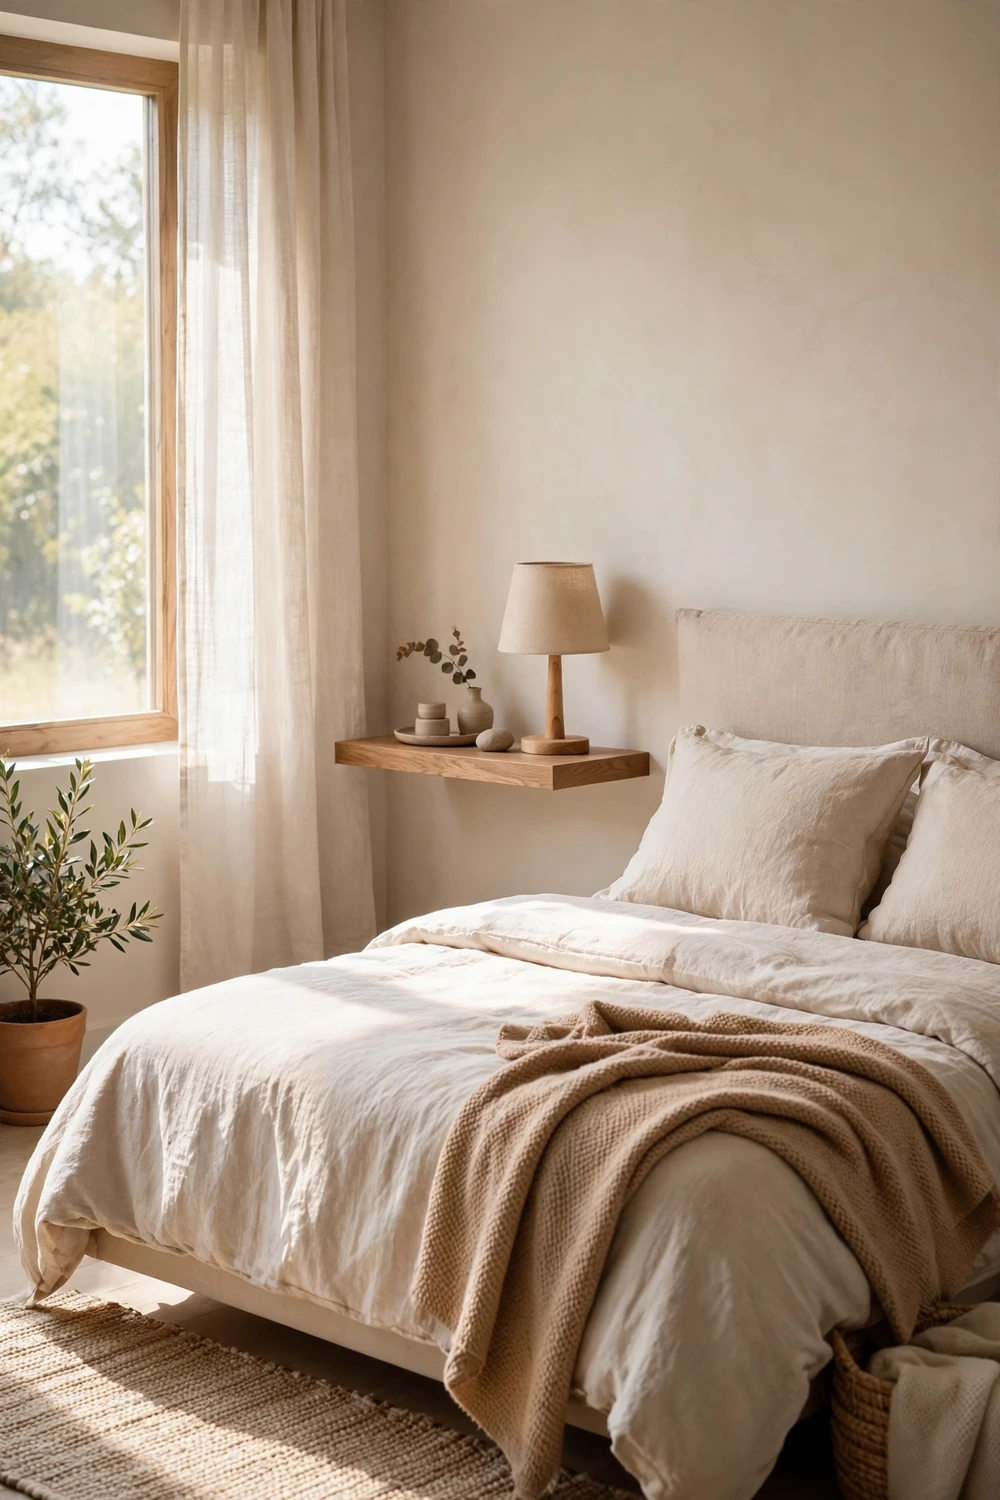
If the wardrobe structure can’t absorb the nightstand, skip the furniture entirely: mount a floating shelf on the wall at bed height. It holds a lamp, a book, and a glass — everything a nightstand does — with zero floor footprint. In rooms where every centimeter of floor matters for walking space, this is the move.
Try this: choose a shelf with a small raised lip or a tray on top. Things slide off floating shelves at 3 a.m. otherwise.
16. One Open Shelving Section
Difficulty: Easy | Cost: $40-$100
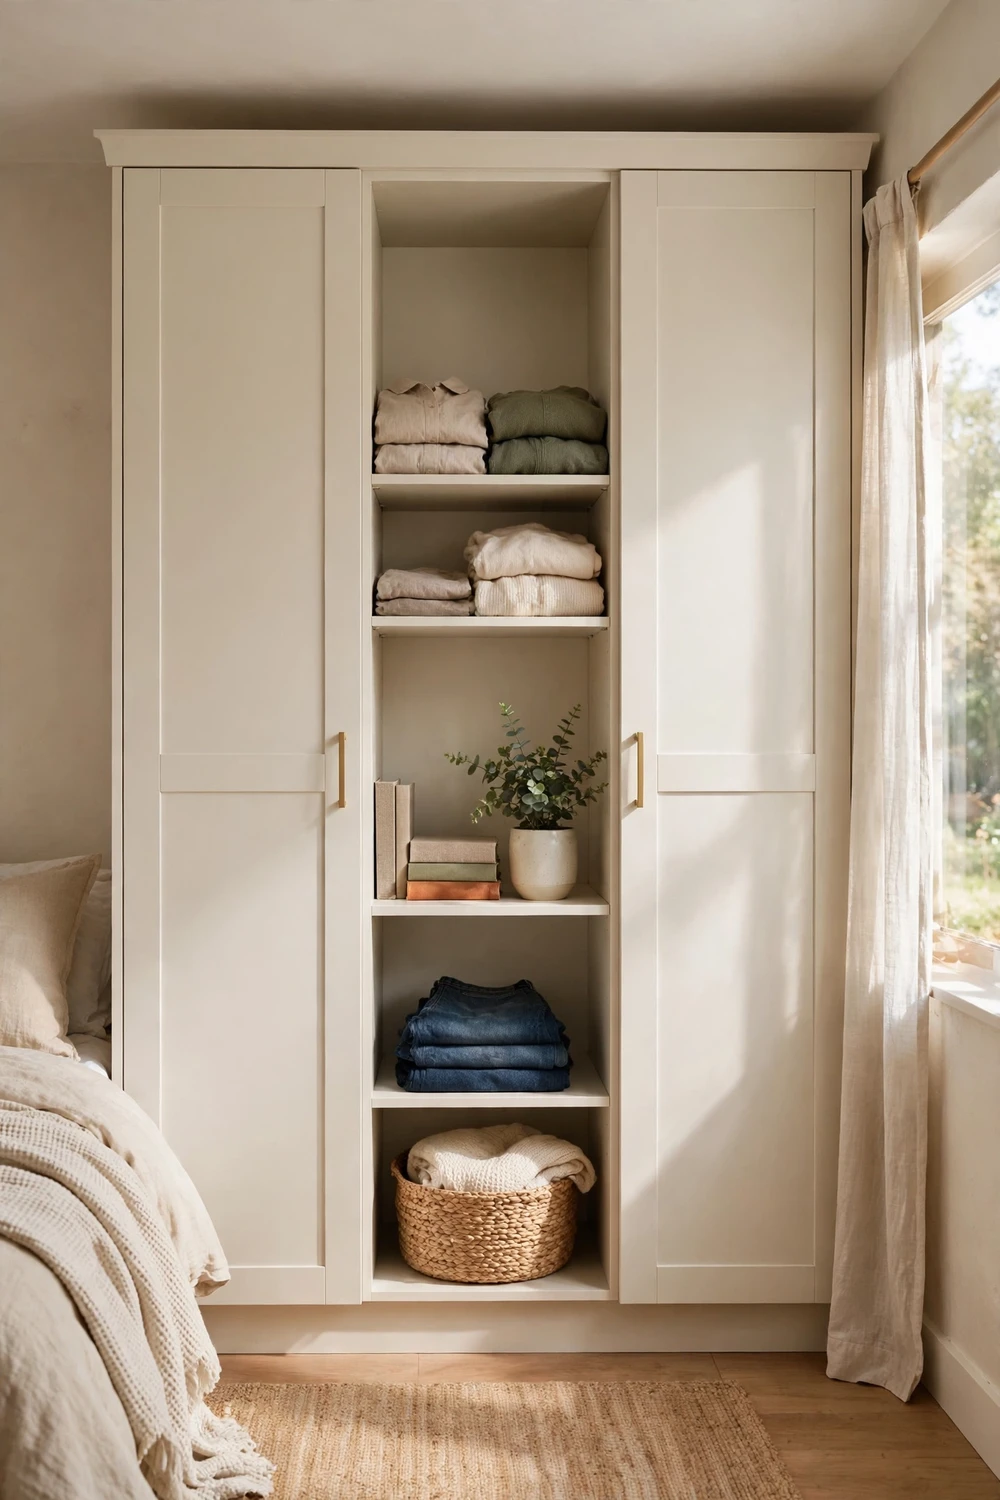
A full wall of closed wardrobe doors can feel heavy in a small room. Break it with one open shelving section — styled with folded knitwear, a few books, a small plant. It gives the eye somewhere to rest, puts your prettiest things on display, and costs less than another doored section. Keep it narrow (40–60 cm) so it stays styled, not stuffed.
Try this: style the open section like a shop display: stacks of three, one plant, breathing room. Clutter here ruins the whole wall.
17. Bi-Fold Doors for Awkward Corners
Difficulty: Moderate | Cost: $180-$400
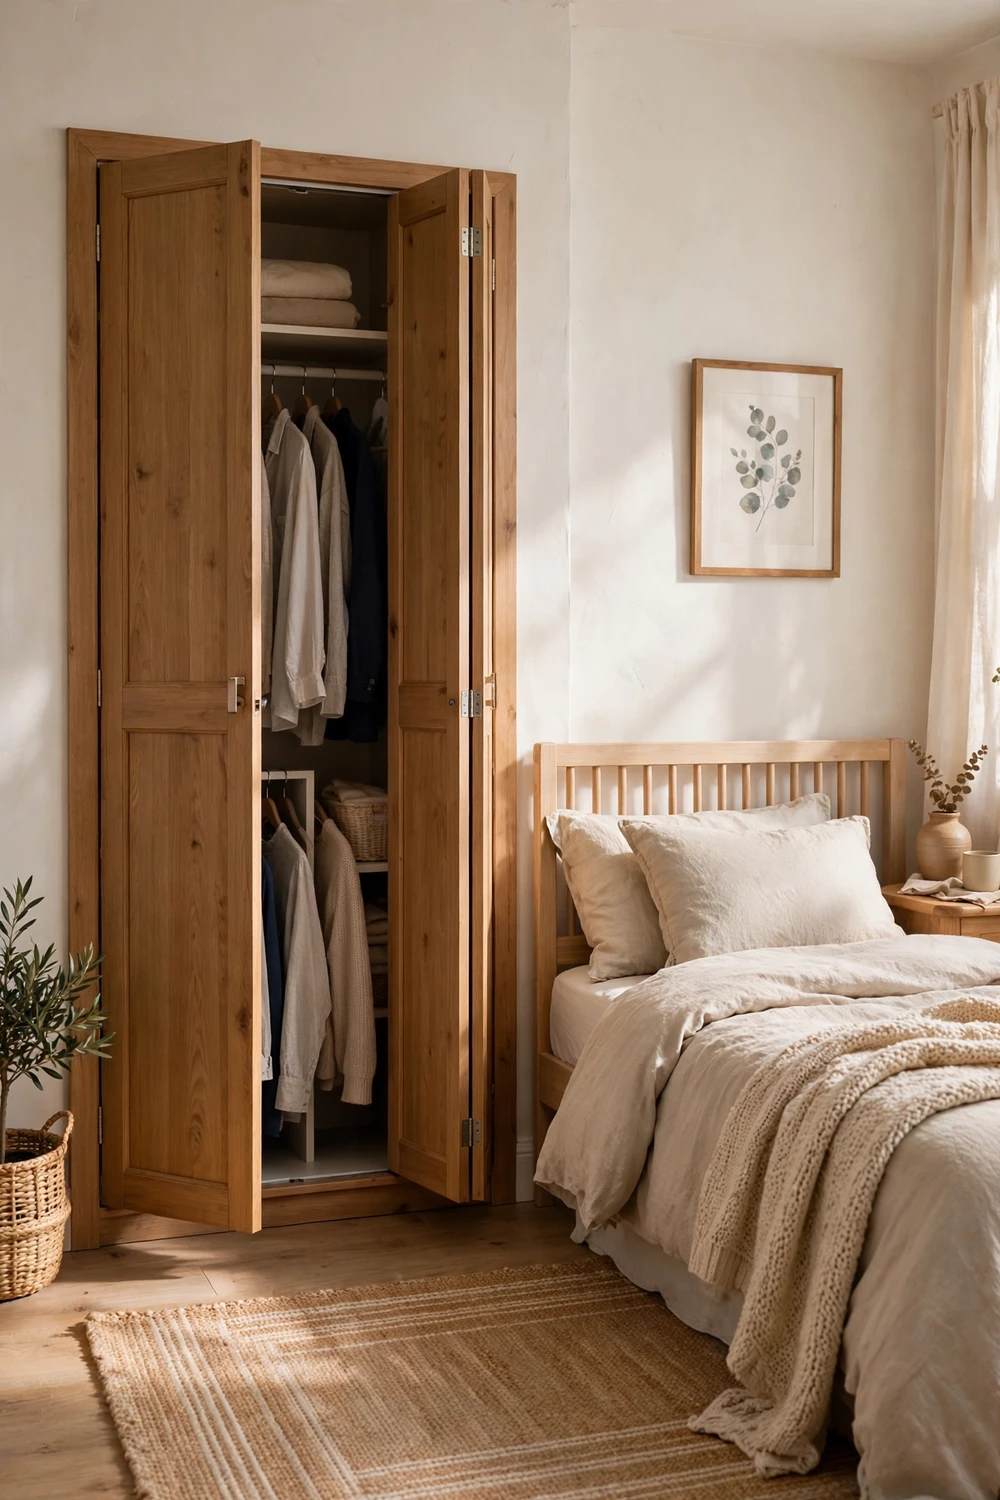
When a hinged door would hit the bed and a sliding door feels too modern (or the wall run is too short for the overlap), bi-fold doors are the middle path. They need roughly half the swing clearance of a standard door and open to reveal the full width of the section. They’re ideal for the wardrobe section closest to the bed corner.
Try this: bi-folds work best on sections under 120 cm wide. Wider than that, they get wobbly.
18. Pair the Wardrobe with Under-Bed Drawers
Difficulty: Easy | Cost: $60-$180
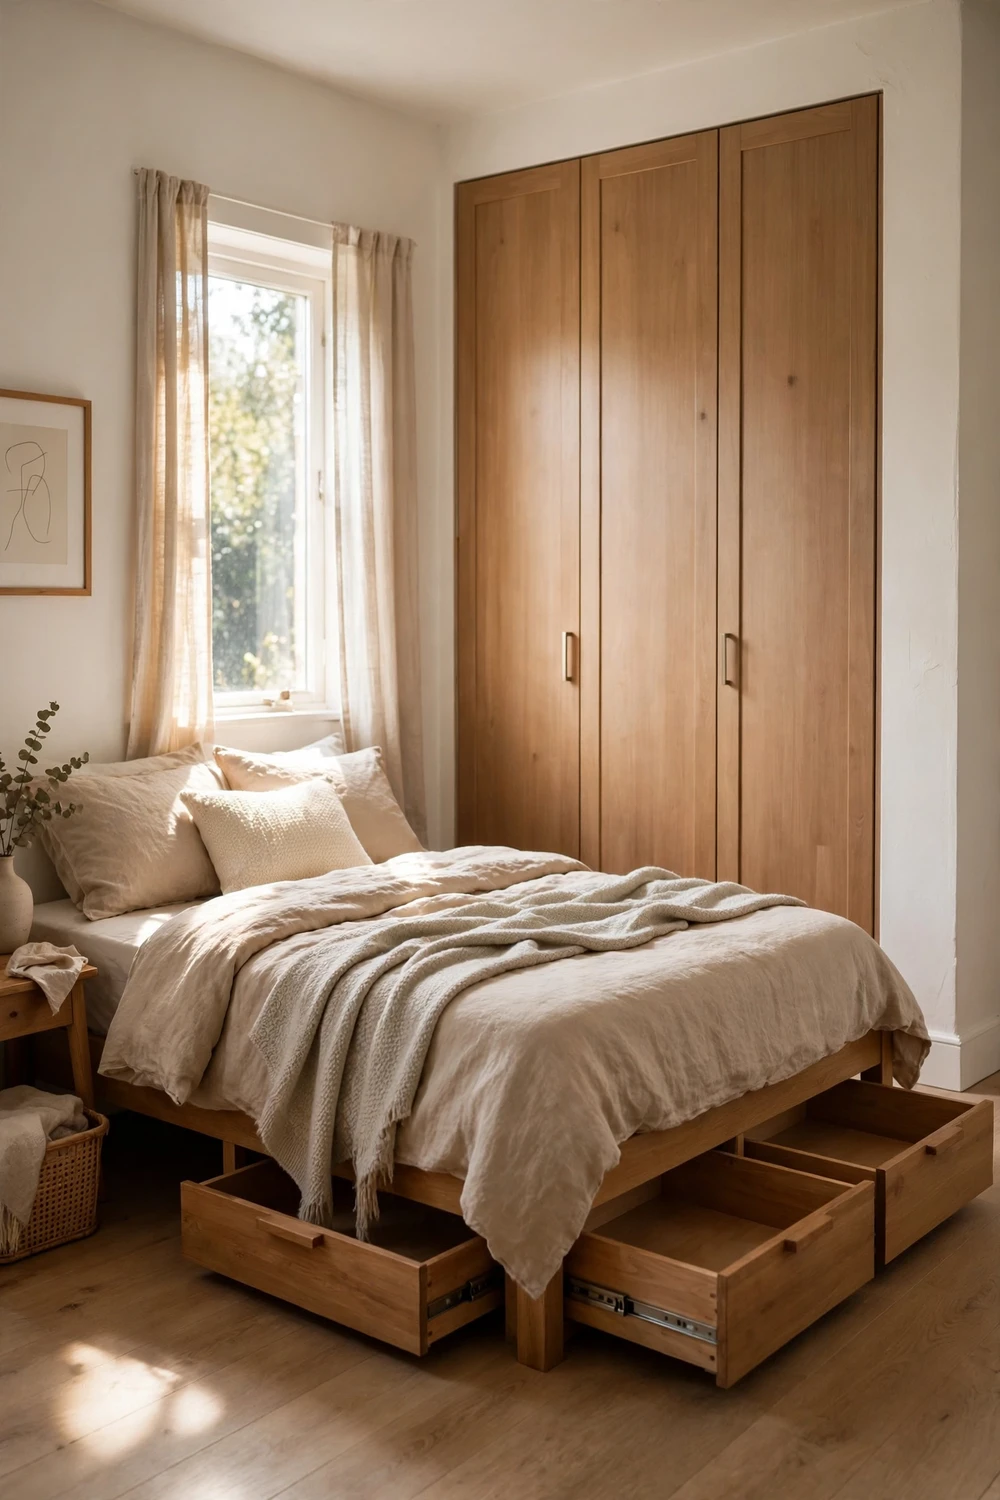
The fitted wardrobe handles hanging and shelves; the bed handles the bulky flat stuff. Deep under-bed drawers (on the side with the most floor clearance) swallow spare bedding, off-season clothes, and shoes — the categories that would otherwise need a whole extra wardrobe. Together, wardrobe plus bed drawers can replace a dresser entirely in a small room.
For more ways to make a small bedroom work harder, these small bedroom storage ideas cover under-bed boxes, over-door organizers, and vertical tricks that pair perfectly with fitted wardrobes.
Try this: drawers on smooth runners beat lidded boxes. If it’s annoying to open, you won’t use it.
19. Bedside Caddy and Wall Hooks for Ultra-Tight Rooms
Difficulty: Easy | Cost: $15-$50
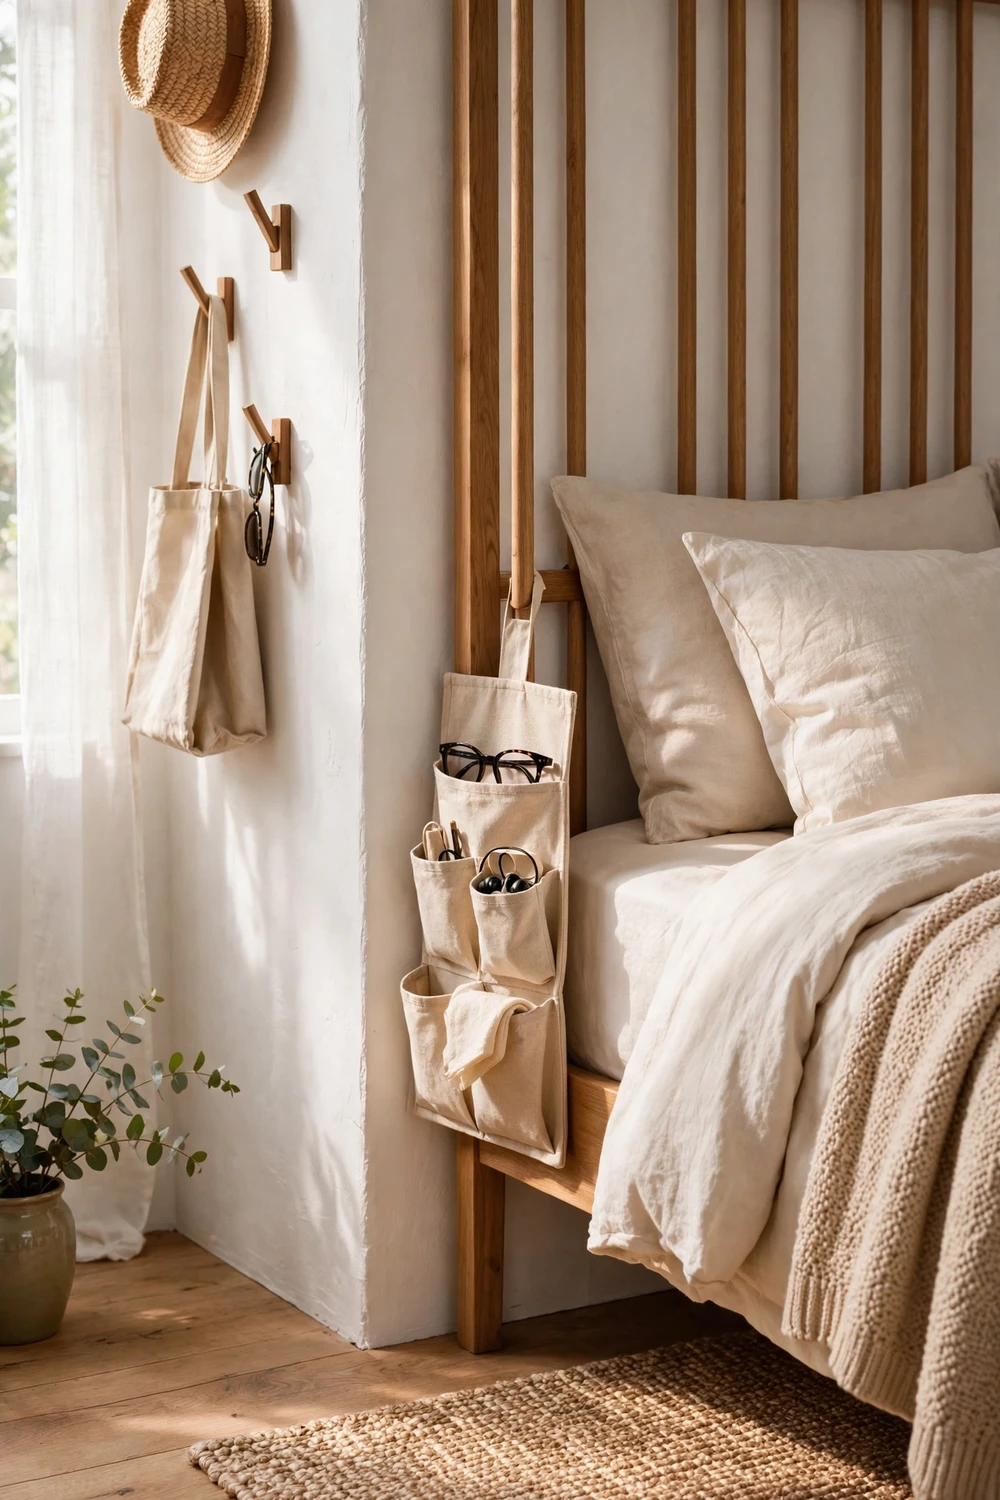
Some rooms genuinely have no centimeters for any nightstand — the bed fills wall to wall. Then the “bed side table” becomes a fabric caddy that hangs on the bed frame (phone, book, glasses) plus a wall hook for tomorrow’s clothes. It’s honest, it costs almost nothing, and it keeps the floor 100% clear. Pair it with the fitted wardrobe for real storage and the room still works.
Try this: a caddy with divided pockets, not one big pouch. One big pouch becomes a black hole by Thursday.
20. Light Matte Finishes That Disappear
Difficulty: Easy | Cost: $80-$200
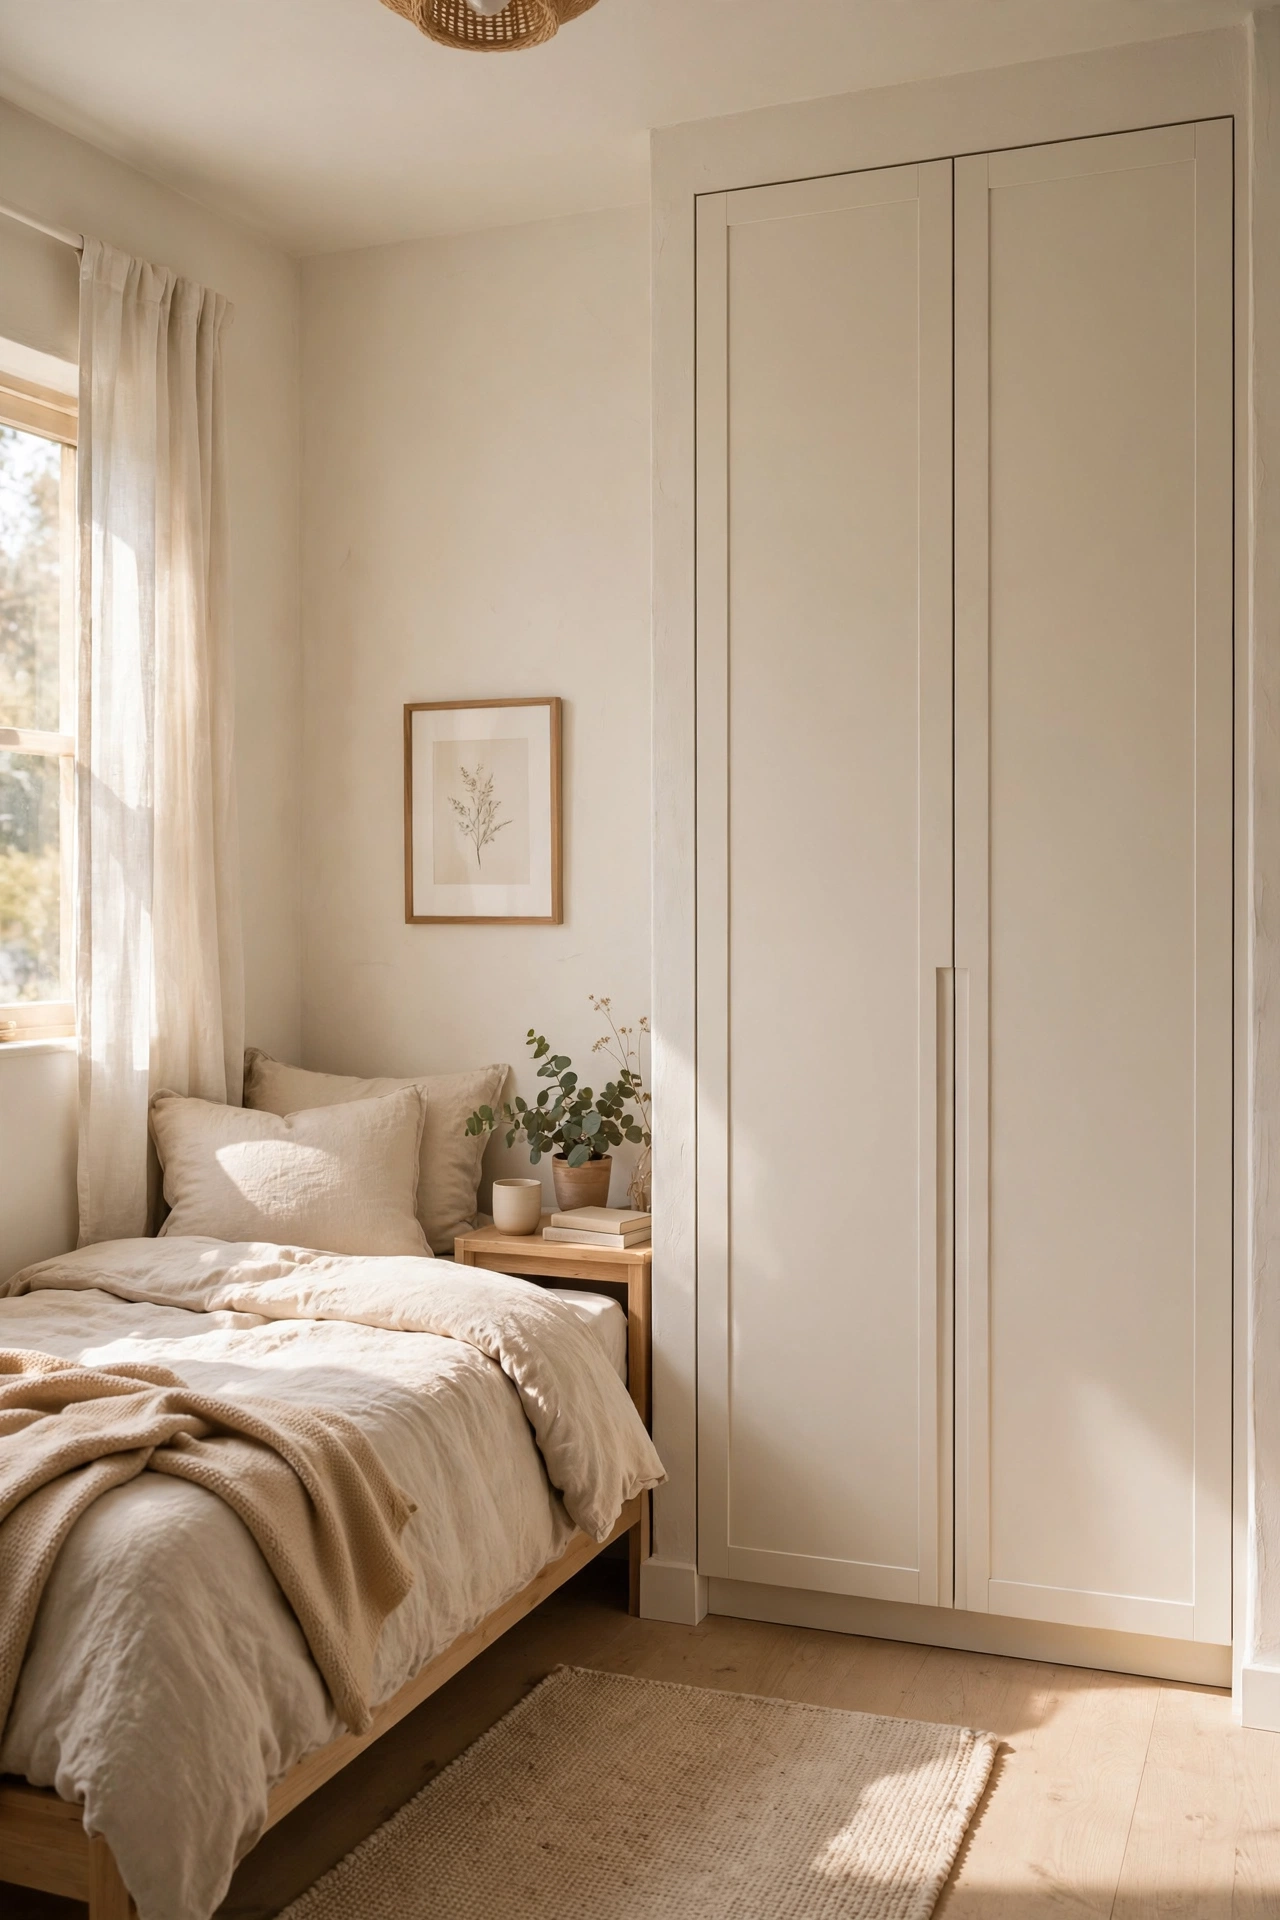
A dark glossy wardrobe in a small room reads as a wall closing in. A light matte finish — warm white, pale greige, soft sage — in matte or eggshell reflects light softly and lets the wardrobe recede into the wall. Handleless push-to-open doors take it further: no hardware breaking the surface, just a calm plane. The room feels bigger because the biggest object in it stopped shouting.
Try this: match the wardrobe color to the walls but go one shade lighter. Same family, slightly lifted — it glows instead of looming.
21. Double Hanging Rails
Difficulty: Easy | Cost: $20-$60
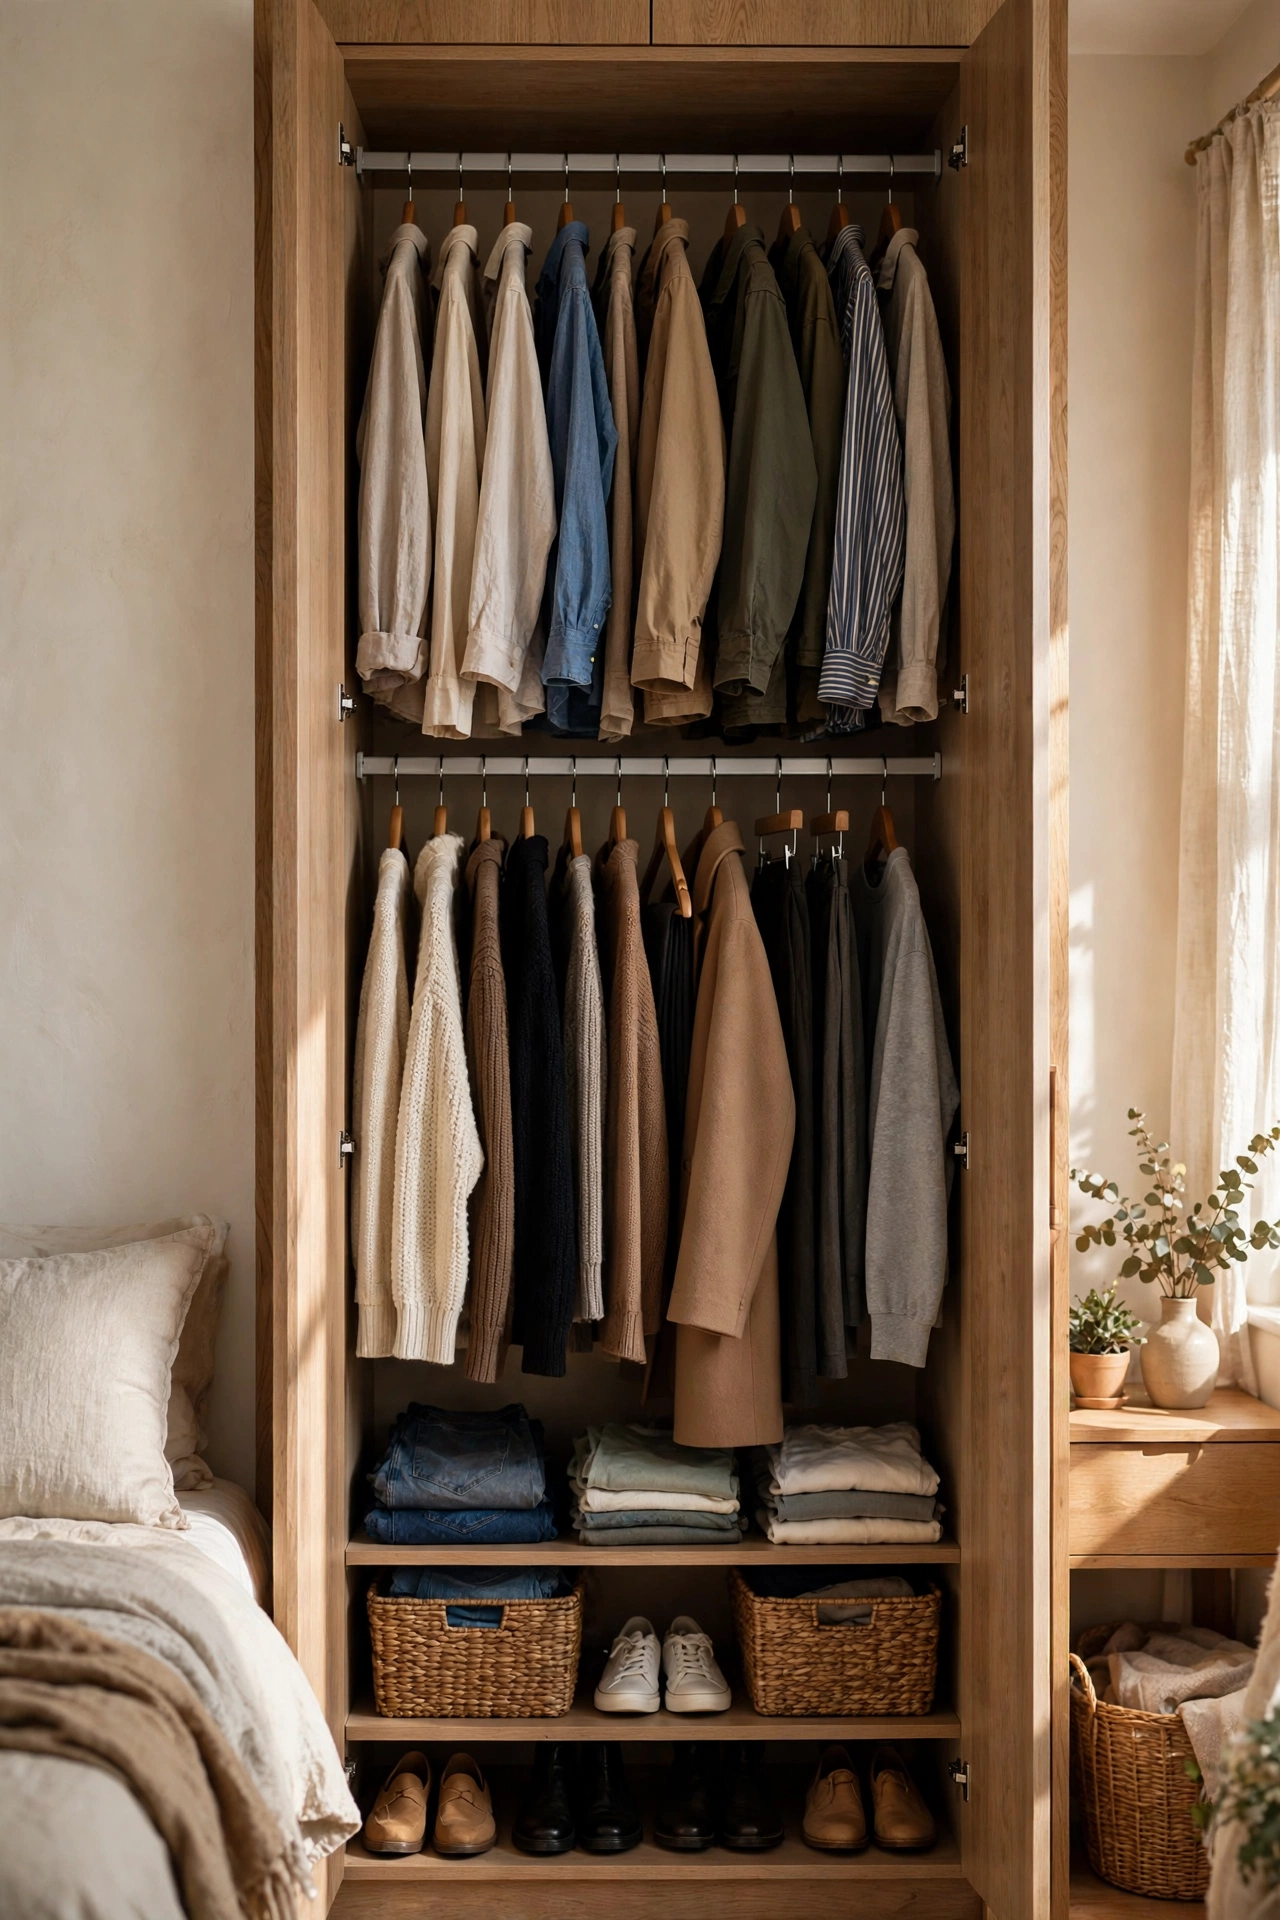
Most wardrobes waste the bottom half of their hanging space — one long rail for coats, emptiness below. Split it: two rails, one above the other, shirts on top and trousers or folded knitwear below. You roughly double the hanging capacity of the same section. Keep one full-length section for dresses and coats; double-rail everything else.
Try this: put the rail you use daily at chest height. Bending for everyday shirts gets old fast.
22. A Pull-Out Laundry Hamper
Difficulty: Moderate | Cost: $60-$150
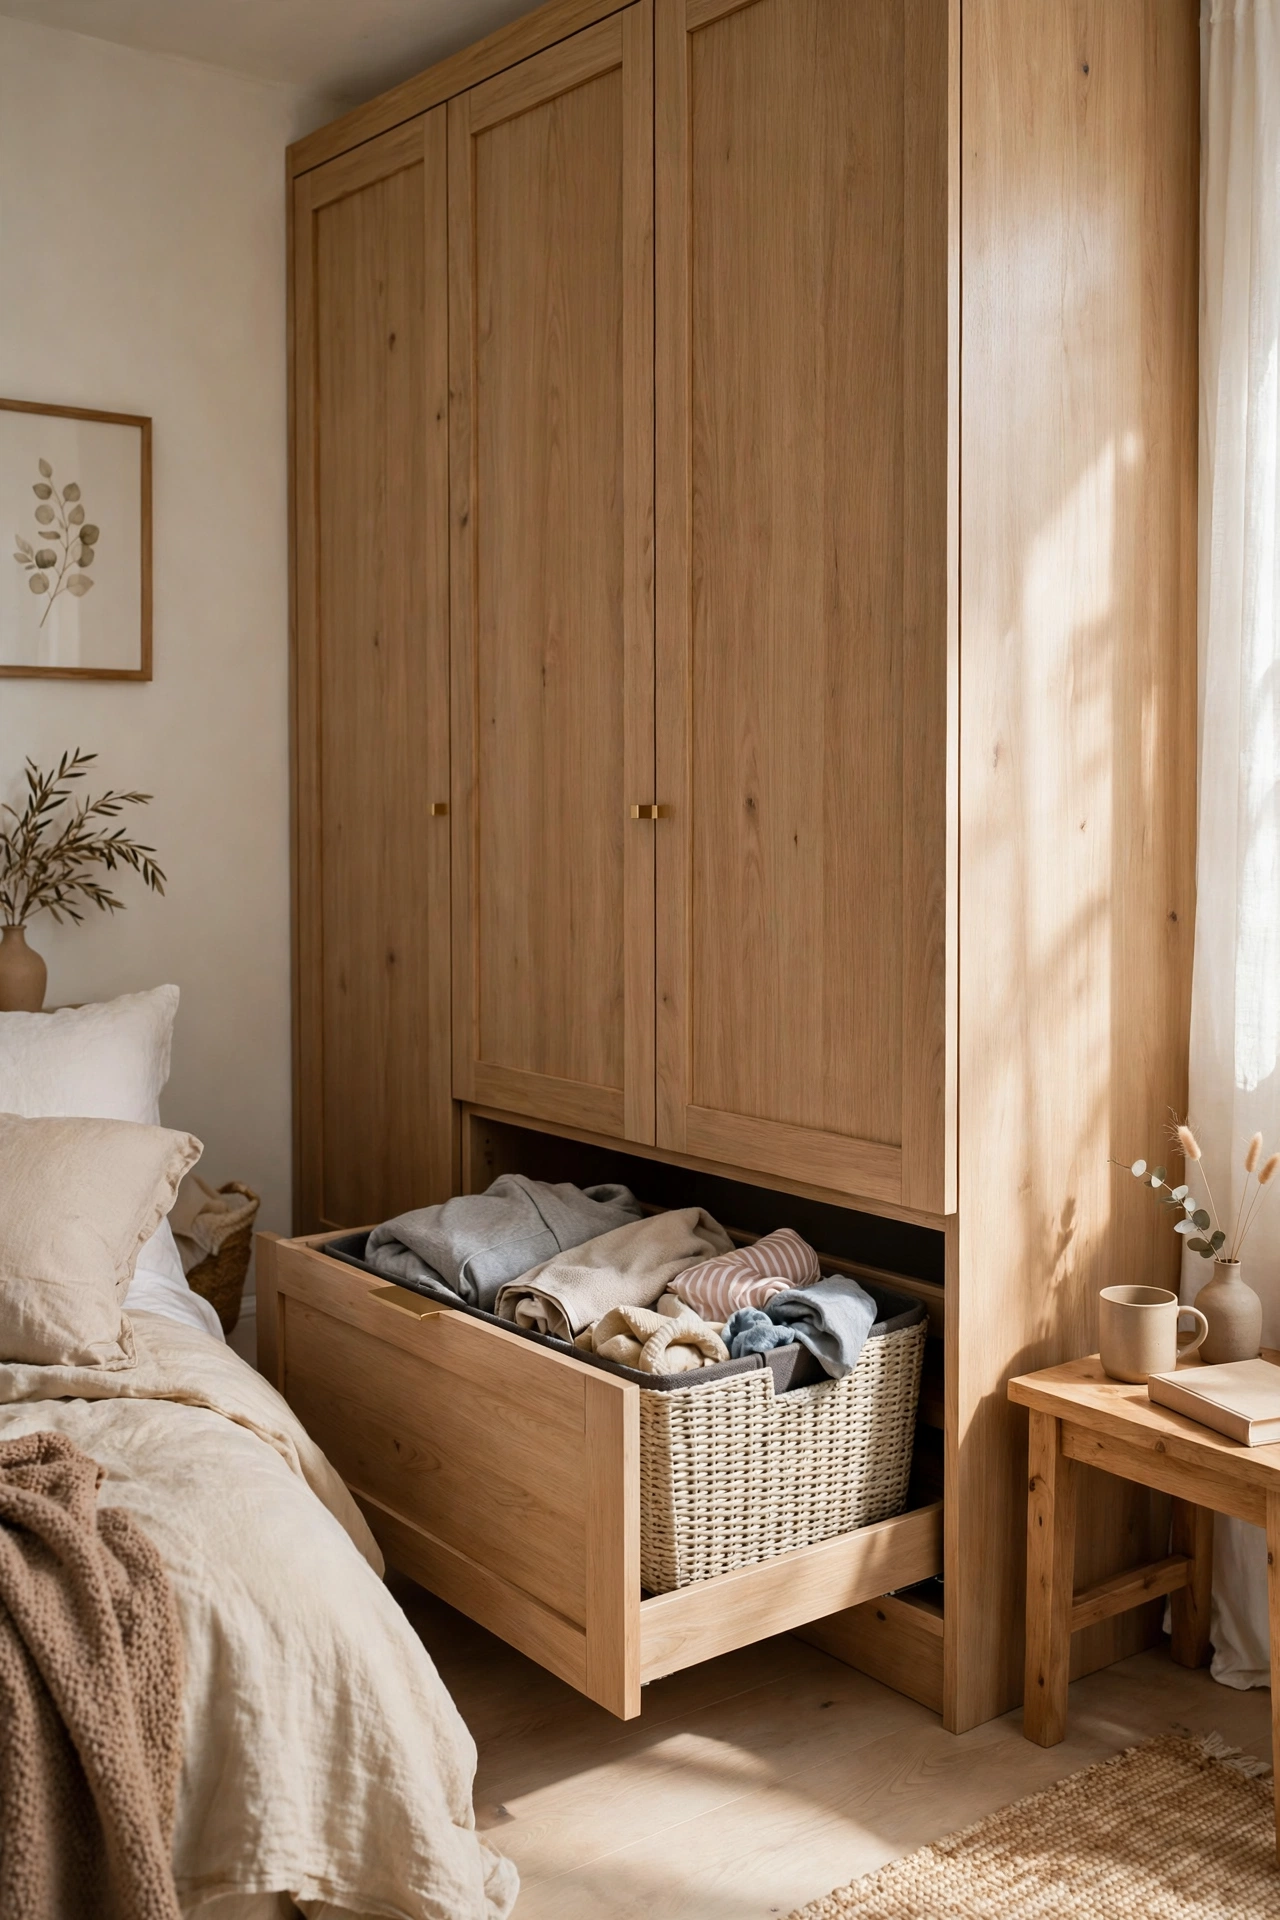
The laundry basket is the ugliest permanent resident of small bedrooms. Build a pull-out hamper into the bottom of the fitted wardrobe — a ventilated drawer or a canvas bag on a frame that slides out. Dirty clothes vanish behind a door, the hamper airs properly, and laundry day is one pull instead of a treasure hunt.
Try this: two compartments (lights/darks) if you have the width. Sorting at the source saves the Sunday sort.
23. A Full-Length Mirror Door
Difficulty: Easy | Cost: $60-$160
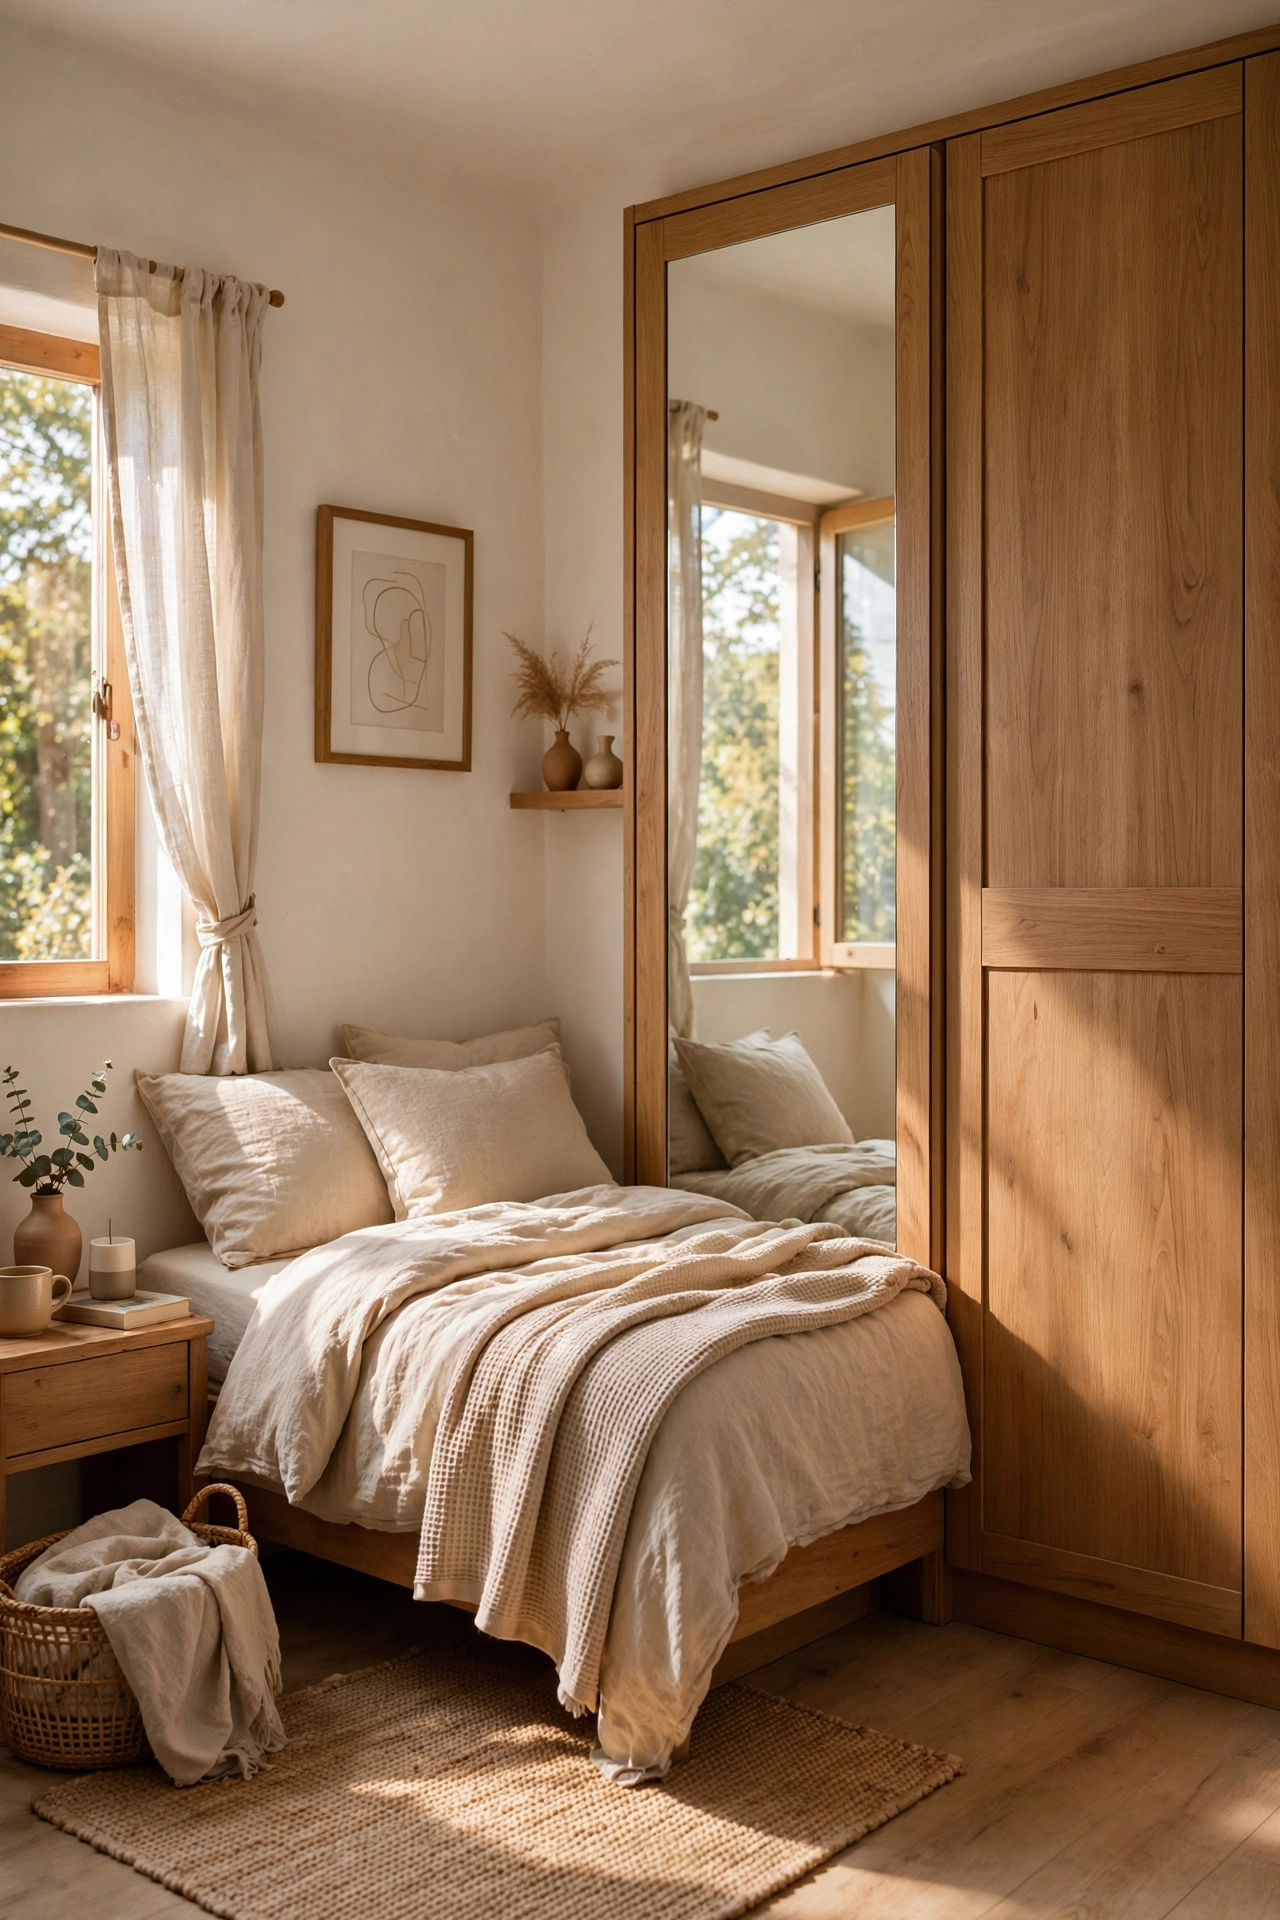
One wardrobe door in full-length mirror earns its place twice: it bounces light around the room and it deletes the need for a separate standing mirror. In a small bedroom, that’s a whole square foot of floor given back. Position it on the door you see when dressing, ideally catching the window light.
Try this: keep the mirror door on a section you open least. Every open is a smudge to clean.
24. A Storage Wall as the Headboard
Difficulty: Hard | Cost: $350-$700
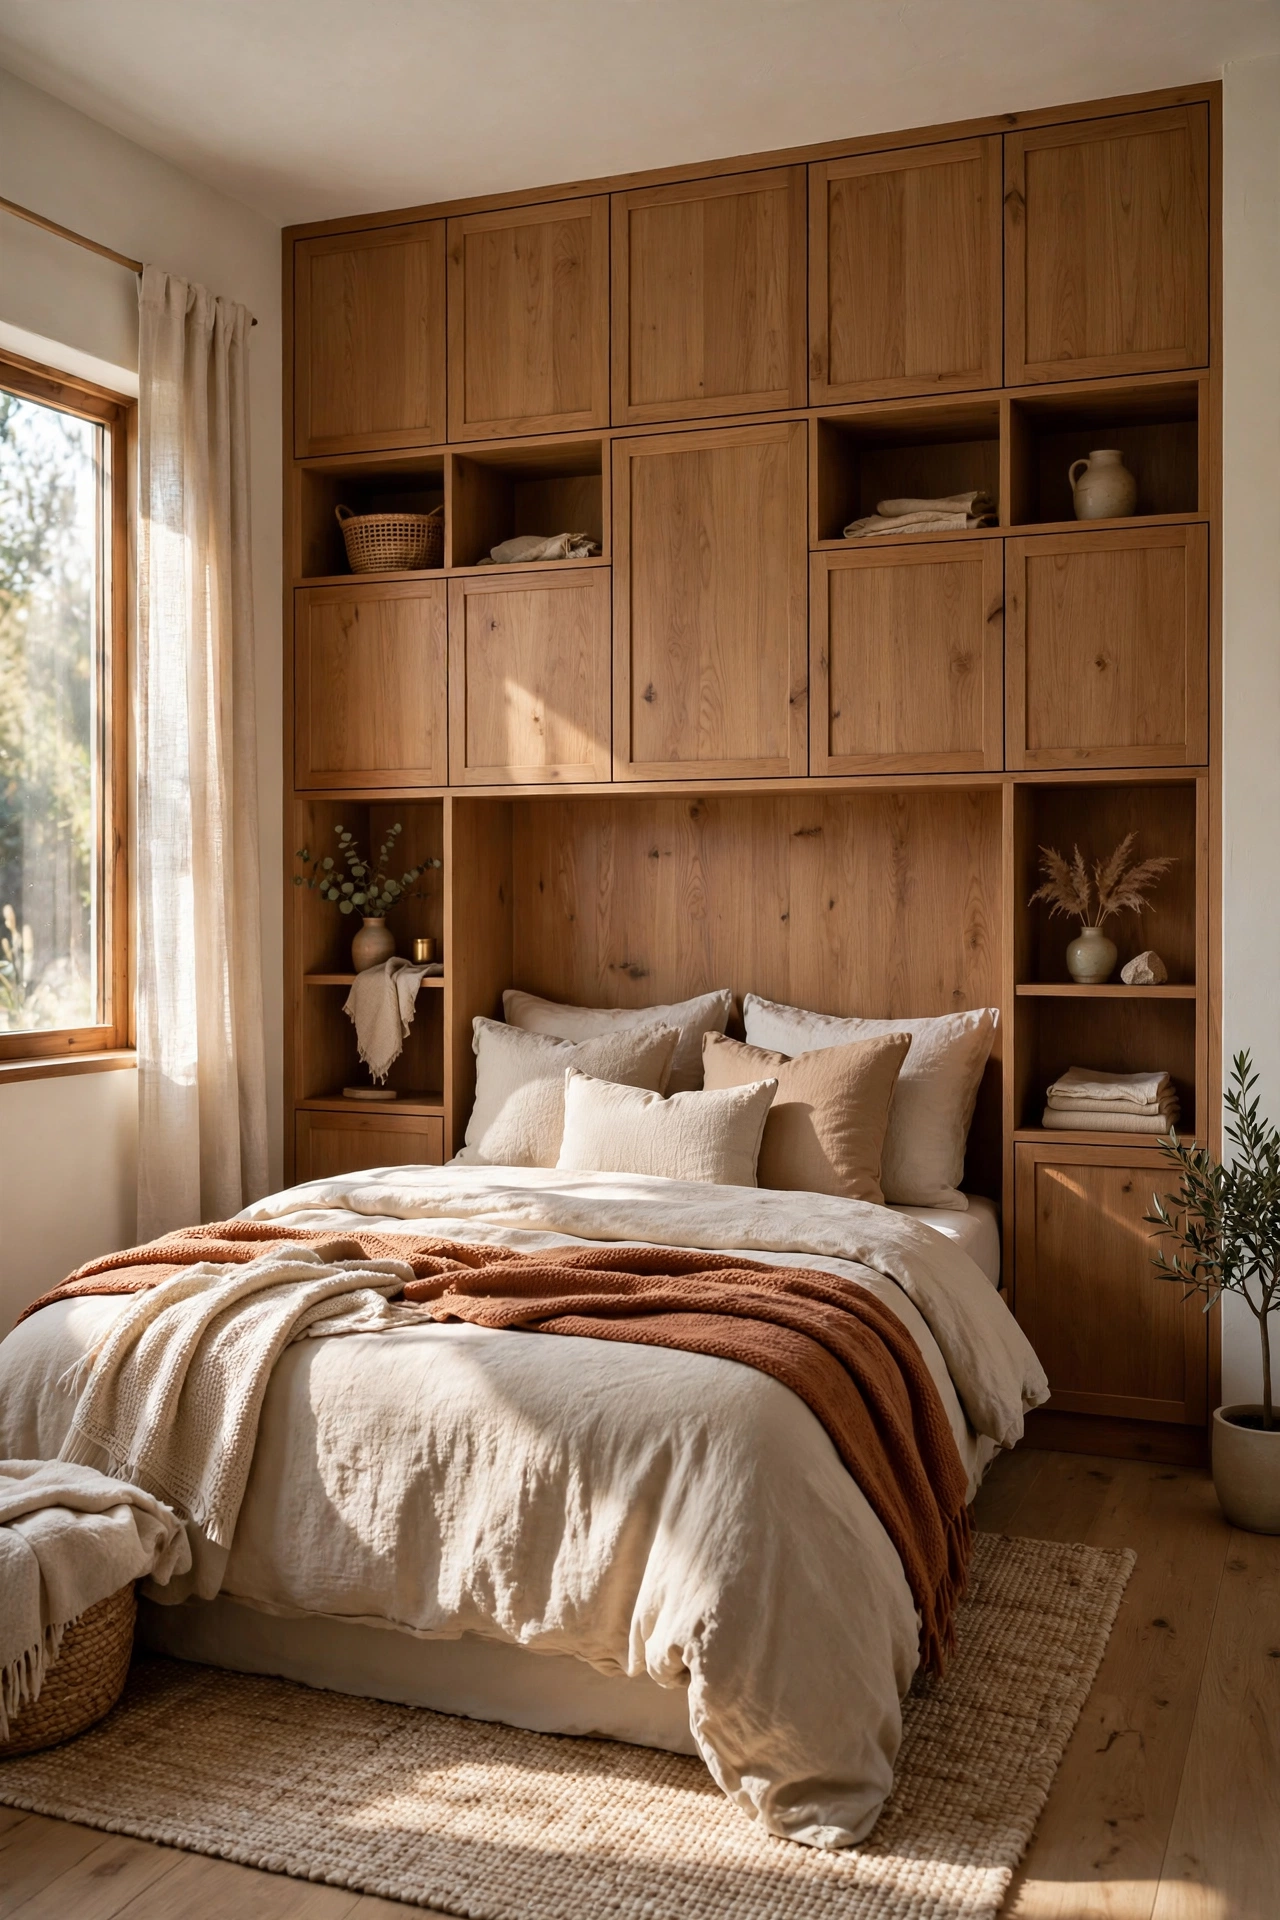
Go all-in: build the entire bed wall as fitted storage, floor to ceiling, with the bed pushed against it. The center section stays low or open as the headboard zone (with integrated niches for books and a lamp), and tall storage rises either side. It’s the most storage per square meter a small bedroom can have, and it looks like a boutique hotel. For real-world examples of wardrobes designed around the bed with bedside tables and lighting, this fitted wardrobe around bed guide breaks down what matters.
Try this: keep the headboard-zone niches shallow (20 cm). Deep niches behind pillows become unreachable caves.
25. The Freestanding “Fitted Look” for Renters
Difficulty: Easy | Cost: $200-$450
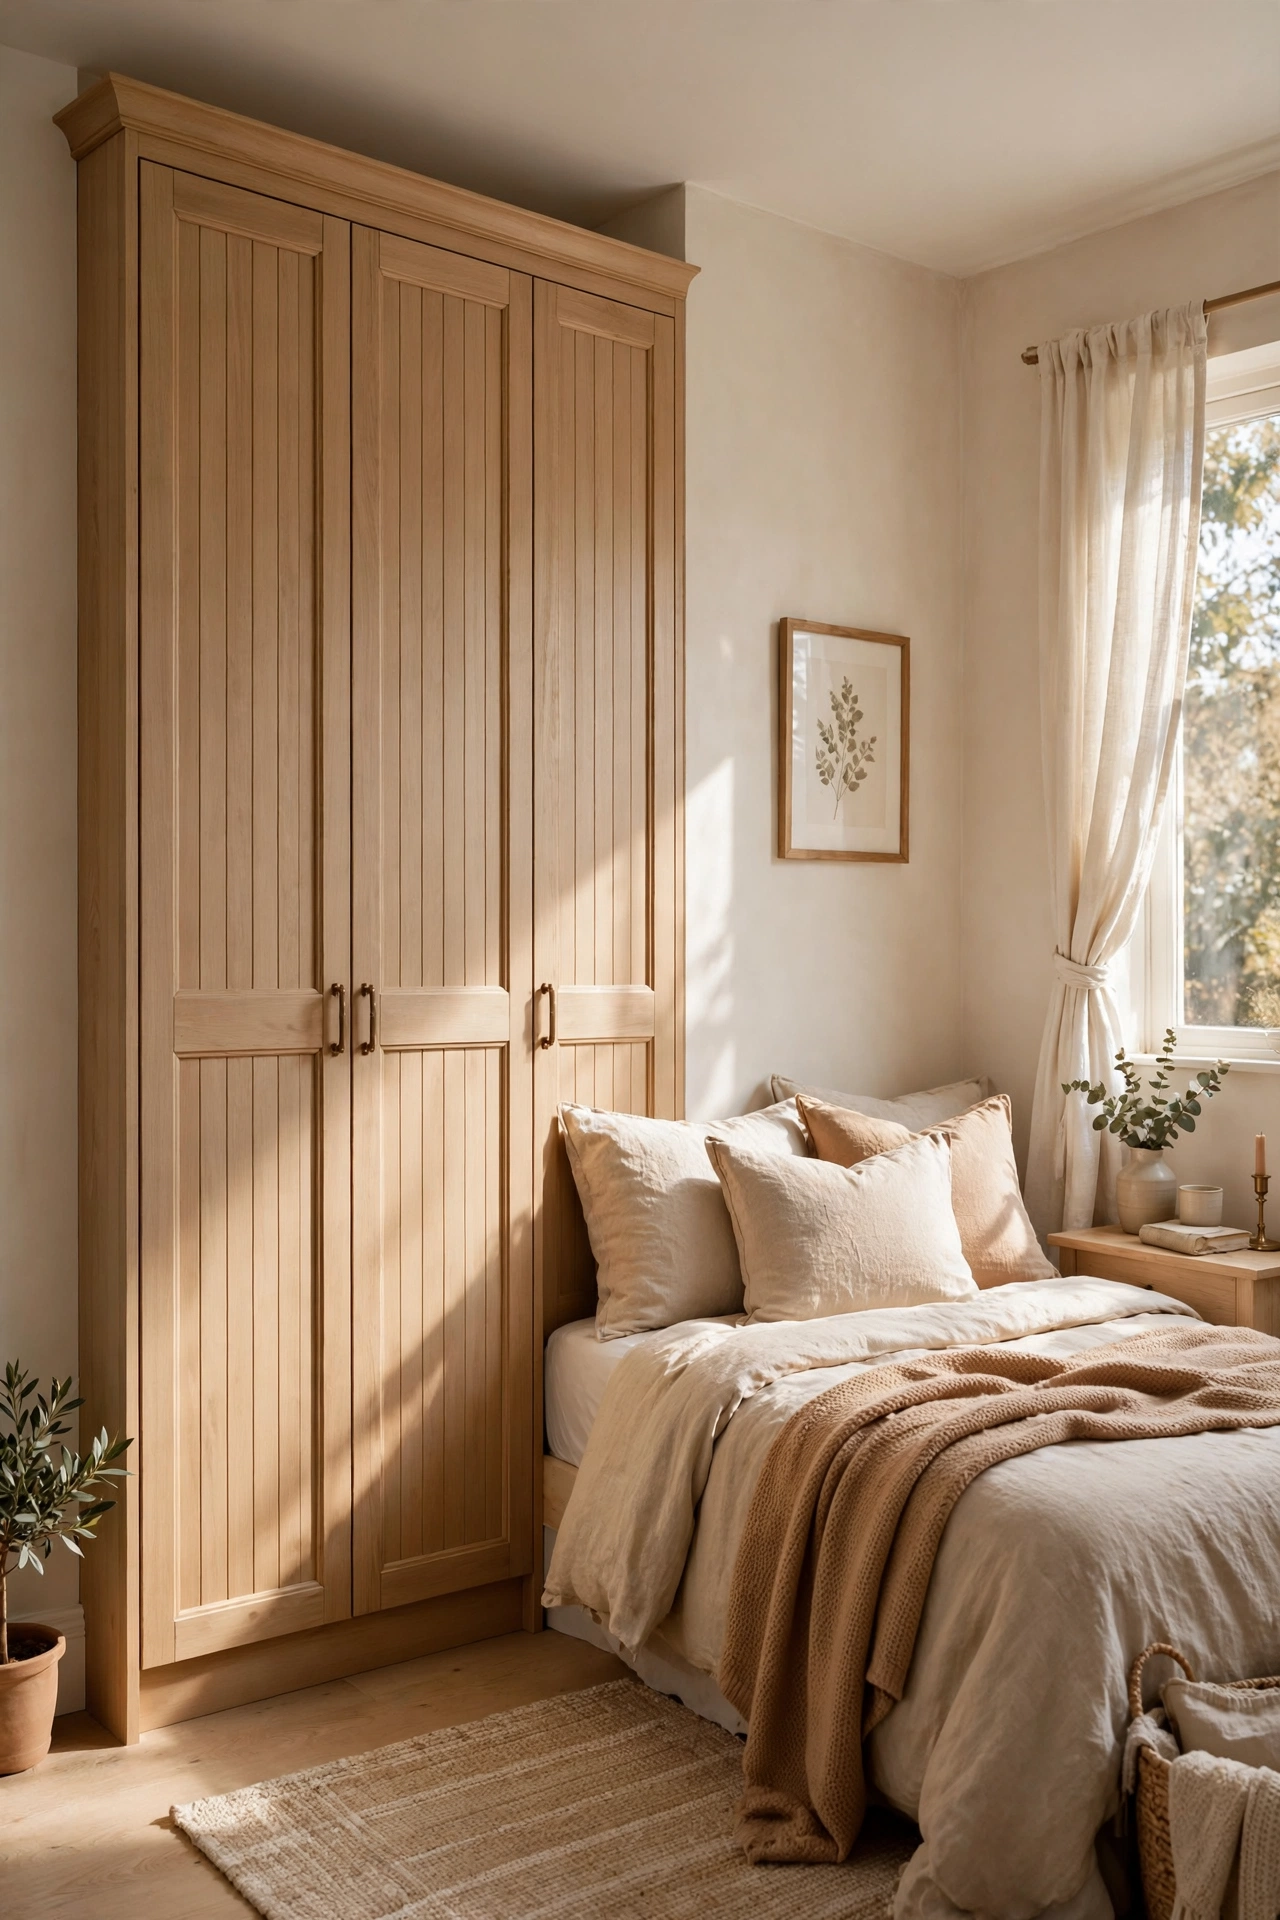
Can’t build in? Fake it. Choose a tall wardrobe in a light finish, push it wall-to-wall into the alcove with a top box plus side filler panels so no gaps show. From the doorway, it reads fitted. Add a narrow drawer unit at bed height as the nightstand. When you move, it comes with you.
For more no-damage ways to make a rental bedroom work harder, these creative renter-friendly upgrades are full of tricks landlords never need to know.
Try this: measure the alcove and buy the wardrobe 2 cm narrower, then fill the gap with scribed trim. Tight looks custom; loose looks temporary.
Quick-Pick Cheat Sheet
Not sure where to start? This cheat sheet matches the highest-impact moves to their cost and effort:
| Start With This | The Move | Why It Matters | Rough Cost |
|---|---|---|---|
| Over-bed bridge | Overhead cabinets above the headboard | Biggest storage gain, zero floor used | $200–$500 |
| Built-in nightstand shelf | Shelf off the wardrobe at bed height | Frees floor space on one side | $30–$80 |
| Sliding doors | Replace hinged with sliding | Opens fully with 20 cm clearance | $150–$400 |
| LED strips inside | Motion-sensor strips per section | See everything, boutique feel | $10–$30 |
| Double hanging rails | Split one long rail into two | Doubles hanging capacity | $20–$50 |
Frequently Asked Questions
How deep should a small fitted wardrobe be?
Standard wardrobes are 60 cm deep, but 50 cm works fine for most hanging clothes and saves precious centimeters in a tight room. Measure your bulkiest coat on its hanger first — if it fits in 50 cm, don’t pay for 60.
Can you fit a wardrobe and a nightstand in a small bedroom?
Yes — the trick is making them one unit. Build the nightstand shelf into the wardrobe structure at bed height, or use a slim drawer tower between the bed and the wardrobe. You keep bedside function without giving up a separate footprint.
Are sliding wardrobe doors better for small bedrooms?
Usually, yes. A hinged door needs about 60 cm of swing clearance that often collides with the bed. Sliding doors open fully with the wardrobe sitting just 20 cm from the bed. Keep very tall sliding doors at standard height to protect the mechanism.
How do I make a fitted wardrobe look less bulky?
Use light matte finishes matched to the wall color, go handleless with push-to-open doors, and break long runs with one open shelving section or a mirror door. The wardrobe reads as architecture instead of furniture.
What should I store in over-bed wardrobe cabinets?
Only things you need a few times a year — spare bedding, suitcases, seasonal clothes, the Christmas decorations. Keep the bridge at least 135 cm above the mattress so it never feels like it’s looming over you.
Final Thoughts
Here’s what ten years of small bedrooms taught me: the room isn’t too small, the furniture is just wrong for it. Freestanding pieces leave gaps, need swing space, and fight the walls. A fitted wardrobe with a built-in bedside table does the opposite — it becomes the wall, and suddenly the smallest room in the house has the most storage. Start with one move: the over-bed bridge, the built-in nightstand shelf, or even just the LED strips. Measure twice, build once, and enjoy walking around your bed without doing that sideways shuffle ever again.


