


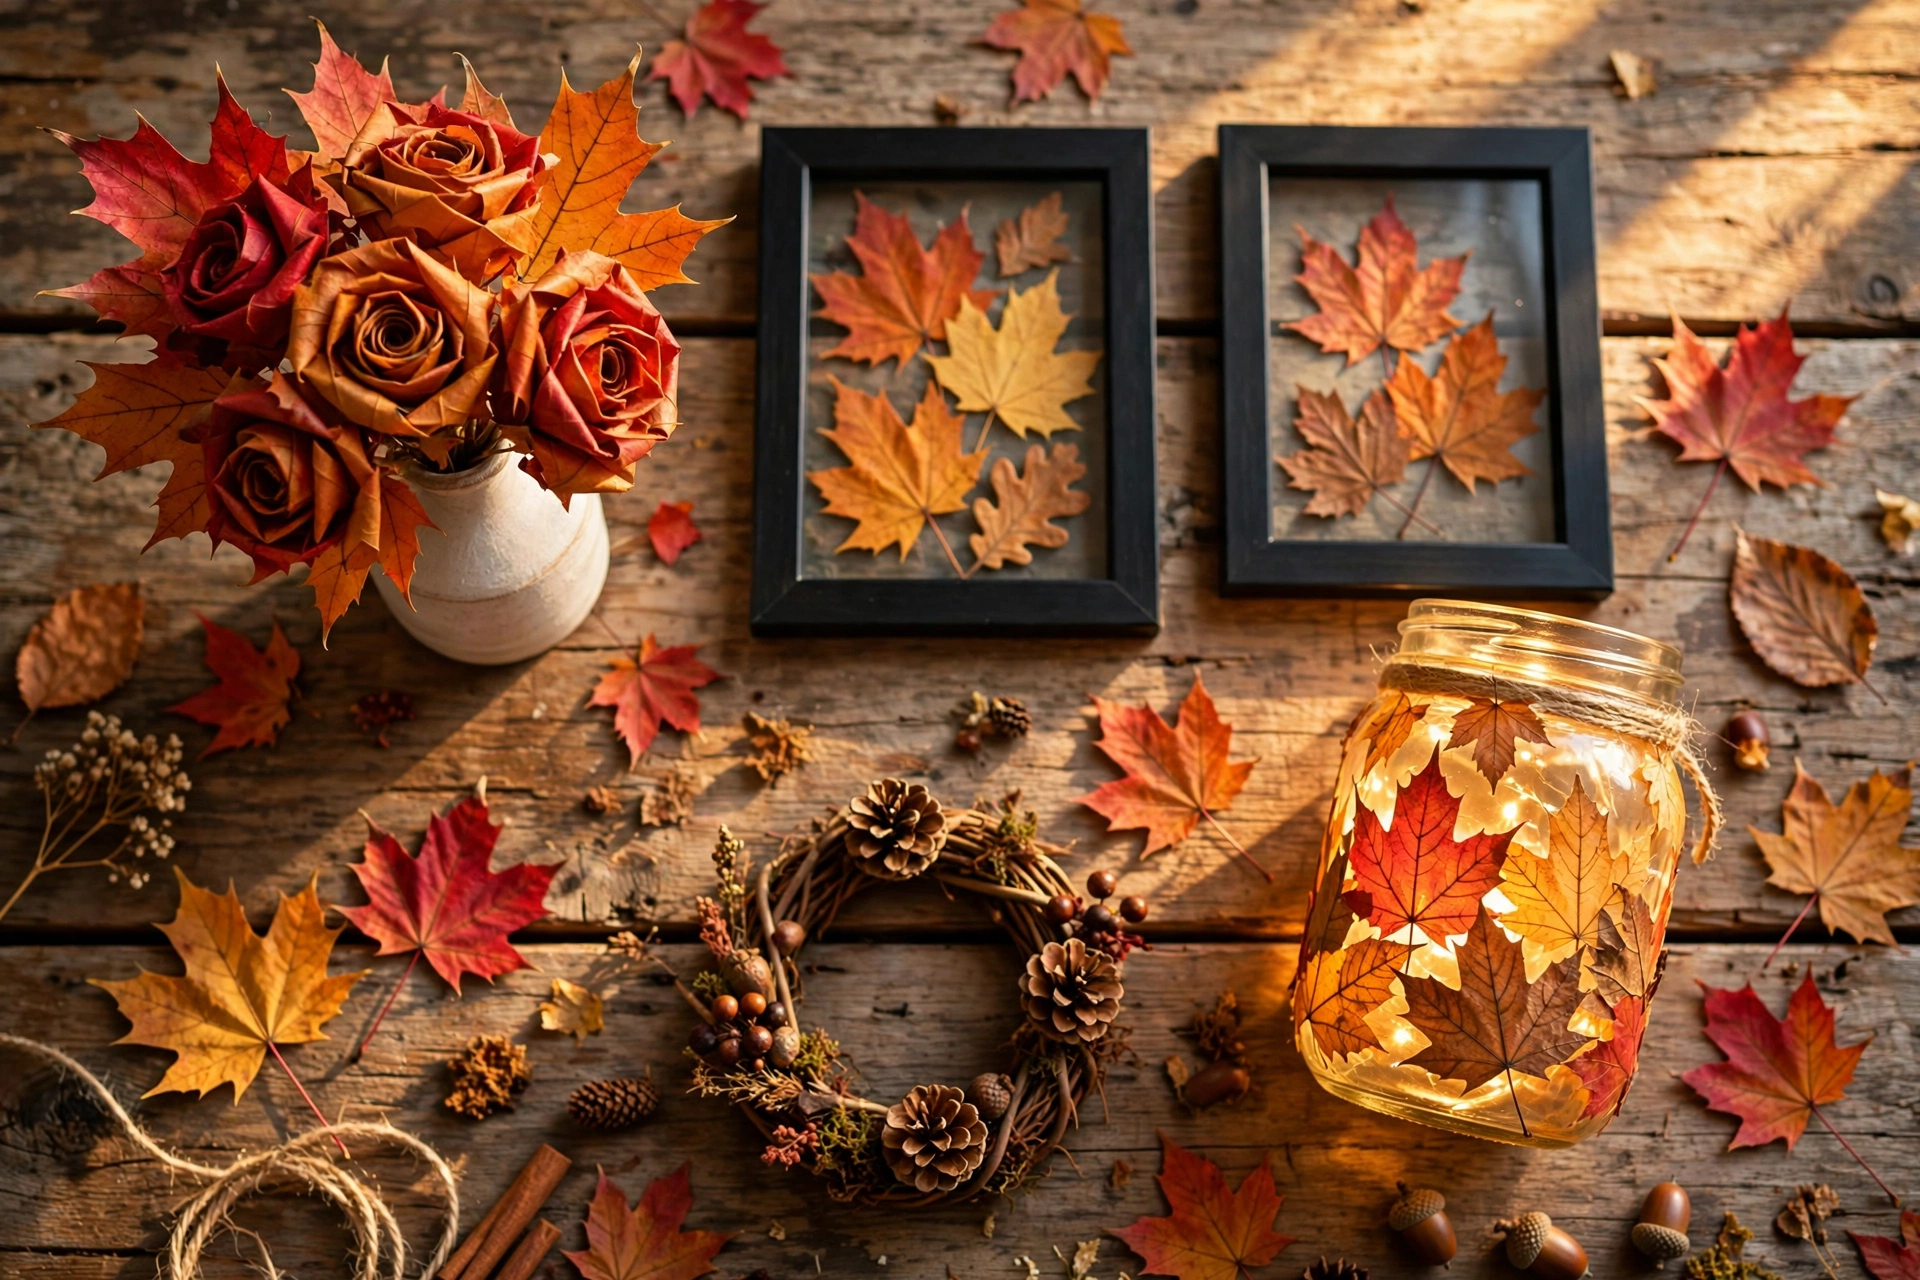
Every October, my kids come home with pockets full of leaves. Red ones, orange ones, and the occasional perfect maple leaf they insist is the best one ever. For years those leaves ended up crumpled at the bottom of backpacks. Then we started crafting with them, and fall got a whole lot more fun.
These 20 leaf fall crafts ideas turn real fallen leaves and a few cheap supplies into home decor, gifts, and kid projects. Most cost under $15 and take less than an hour of active time, and every idea below lists its difficulty and cost so you can pick what fits your afternoon.
Quick takeaways
- Press leaves flat between book pages for 10 to 14 days before crafting. Curled leaves fight you at every step.
- Mod Podge is the workhorse here. It glues and seals in one step, which keeps real leaves from crumbling.
- Use battery-operated candles only near dried leaves, paper, and fabric. Real flames and dry foliage are a bad mix.
- Most of these crafts cost under $15. The leaves themselves are free, which is the whole point.
- Kids can safely make most of these with tacky craft glue. Save the hot glue gun for adults.
1. Maple Leaf Rose Bouquet
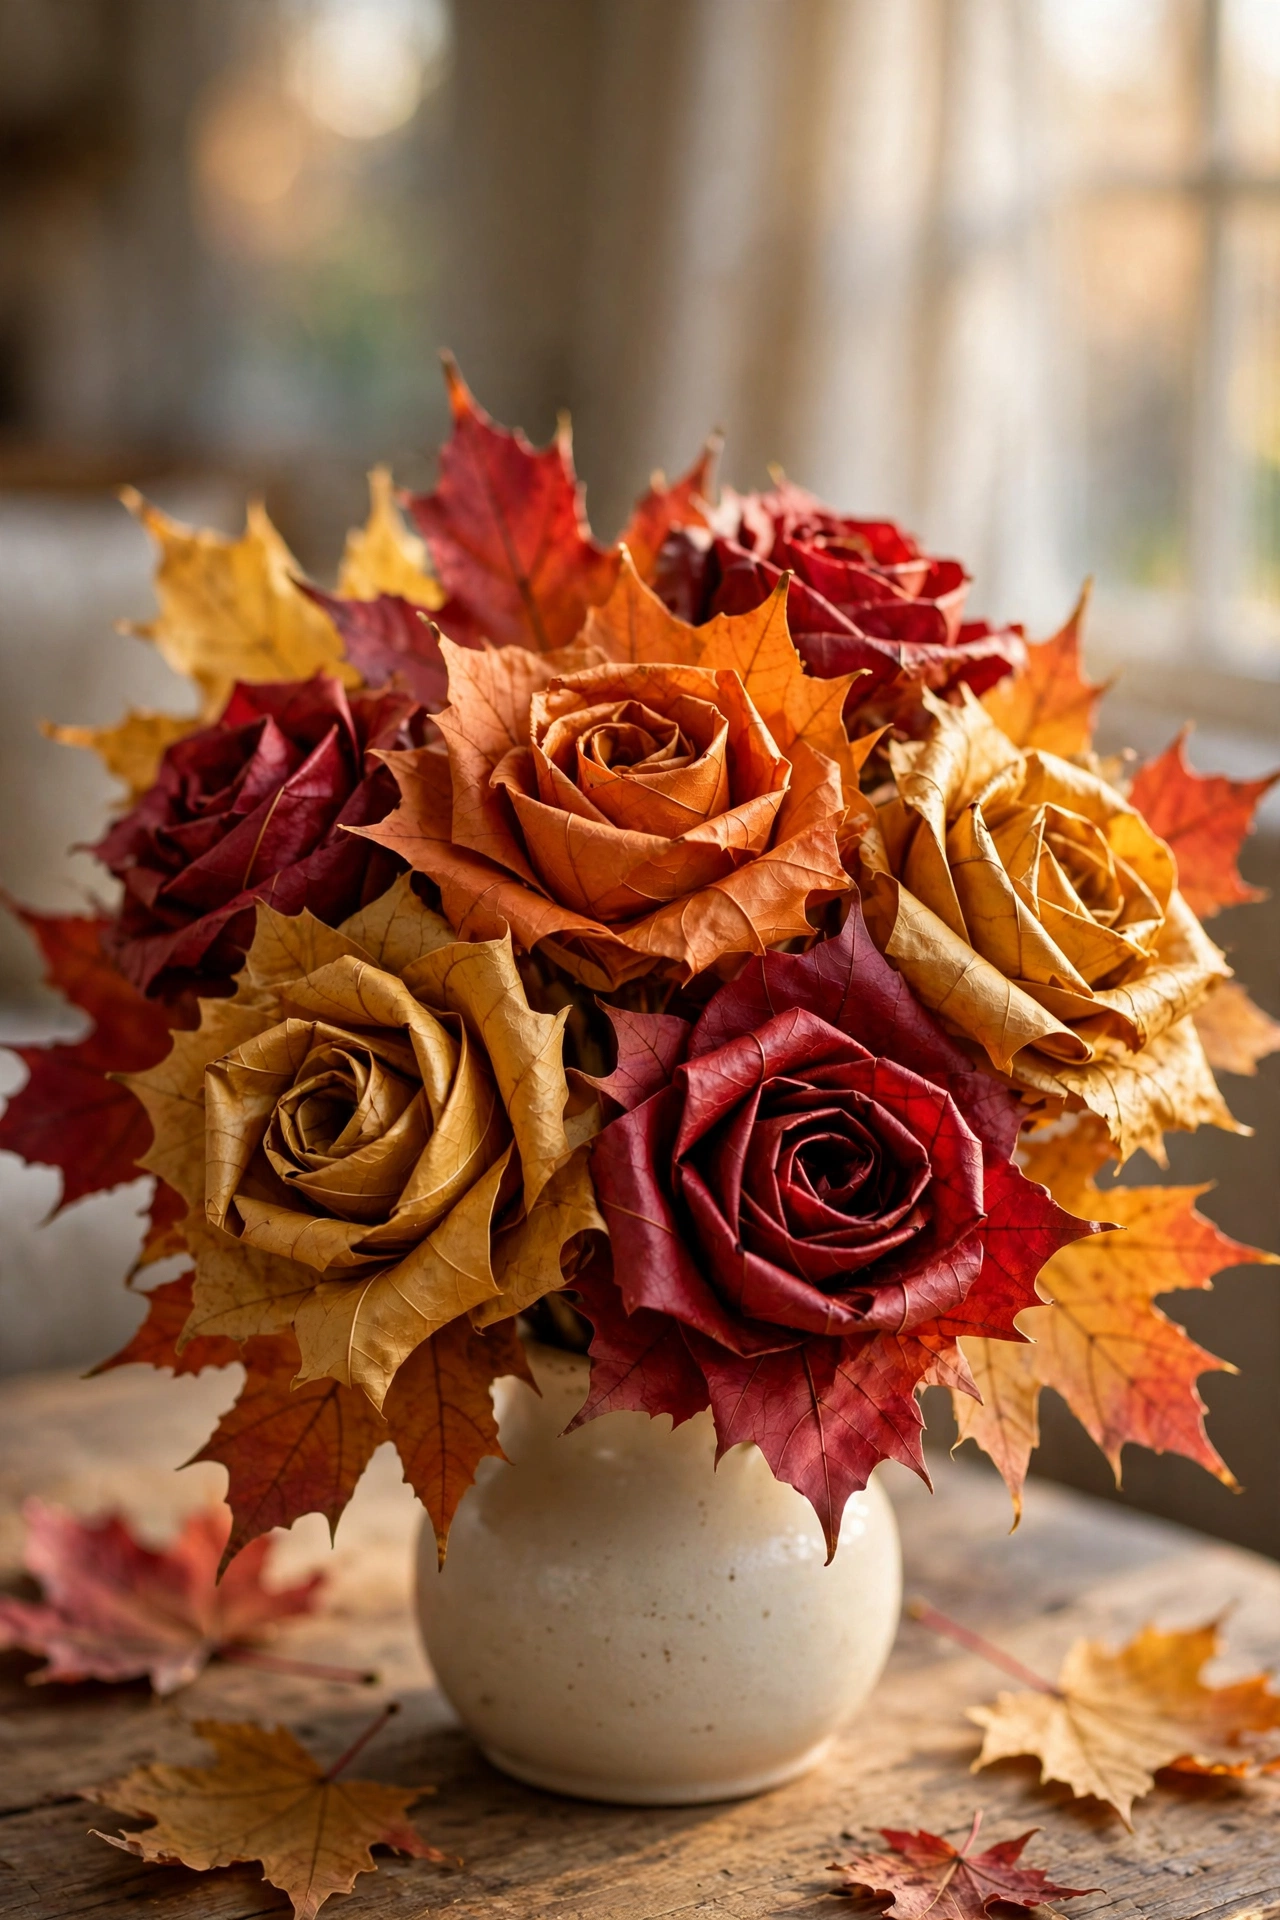
Soft, freshly fallen maple leaves roll into roses that fool almost everyone. Fold one leaf in half, roll it tightly from one end into a bud, then wrap two or three more leaves around it for petals. Secure the stems to a twig with florist tape. Eight to ten roses fill a small vase, and the whole bouquet takes about 45 minutes. Pick leaves that are still pliable. Dry ones crack the moment you roll them, so gather the morning after they fall.
Try this: mix three shades (red, orange, and gold) and alternate them as you build each rose. The color variation is what makes the bouquet look store-bought.
Difficulty: Moderate | Cost: $0-$5
2. Pressed Leaf Wall Art
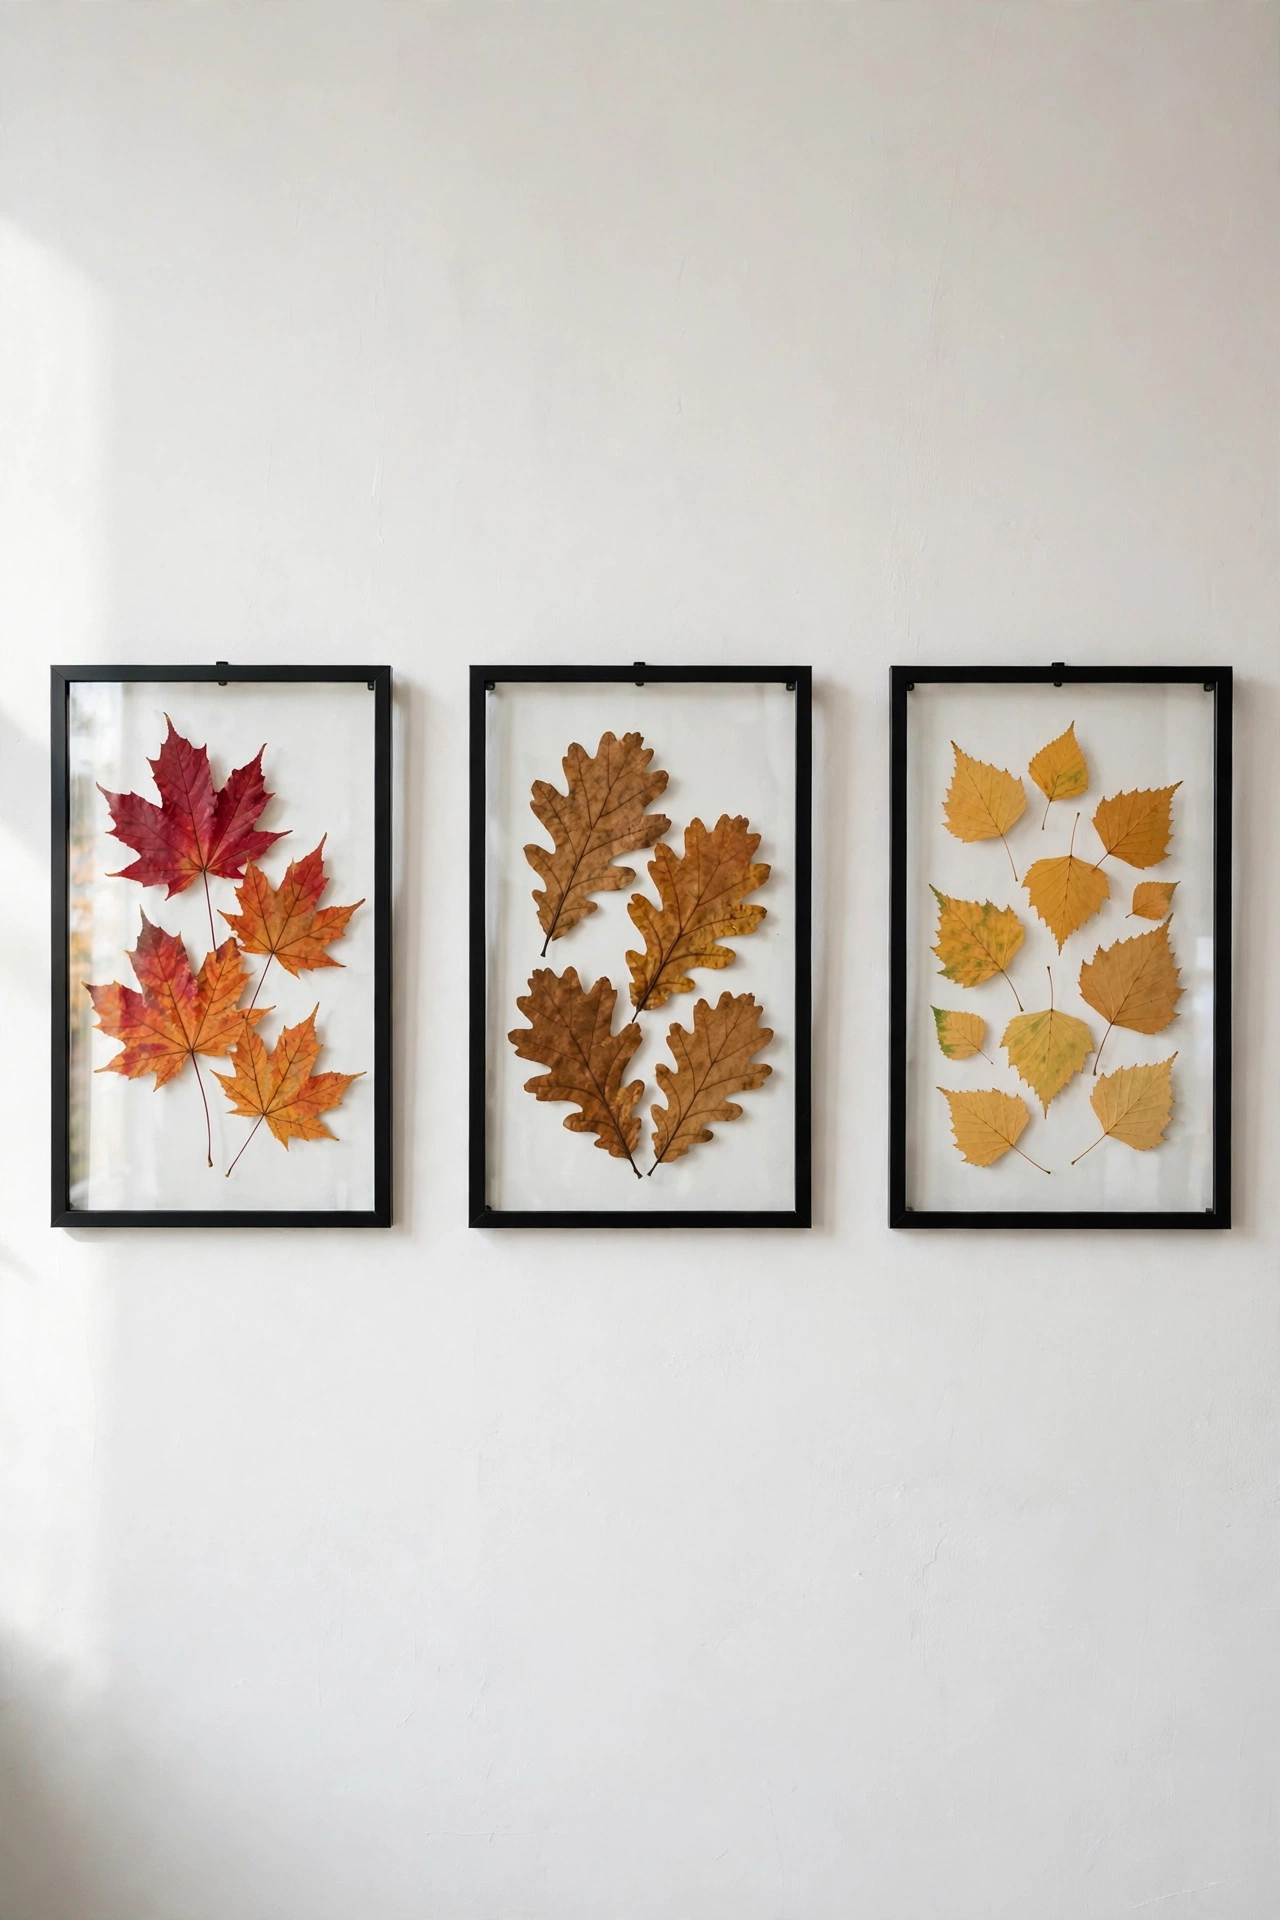
Pressed leaves floated between two panes of glass look like botanical prints from a museum shop. Press leaves between book pages for 10 to 14 days, then arrange three to five per 8×10 floating frame with the stems pointing the same direction. The empty space around them is what makes even plain oak leaves look intentional. Hang three frames in a hallway row for instant gallery impact. Press extra leaves while you are at it. They keep for months in a dry envelope.
Try this: slip watercolor paper behind the leaves instead of leaving the back glass clear. The paper texture hides fingerprints and dust.
Difficulty: Easy | Cost: $10-$20
3. Fall Leaf Garland
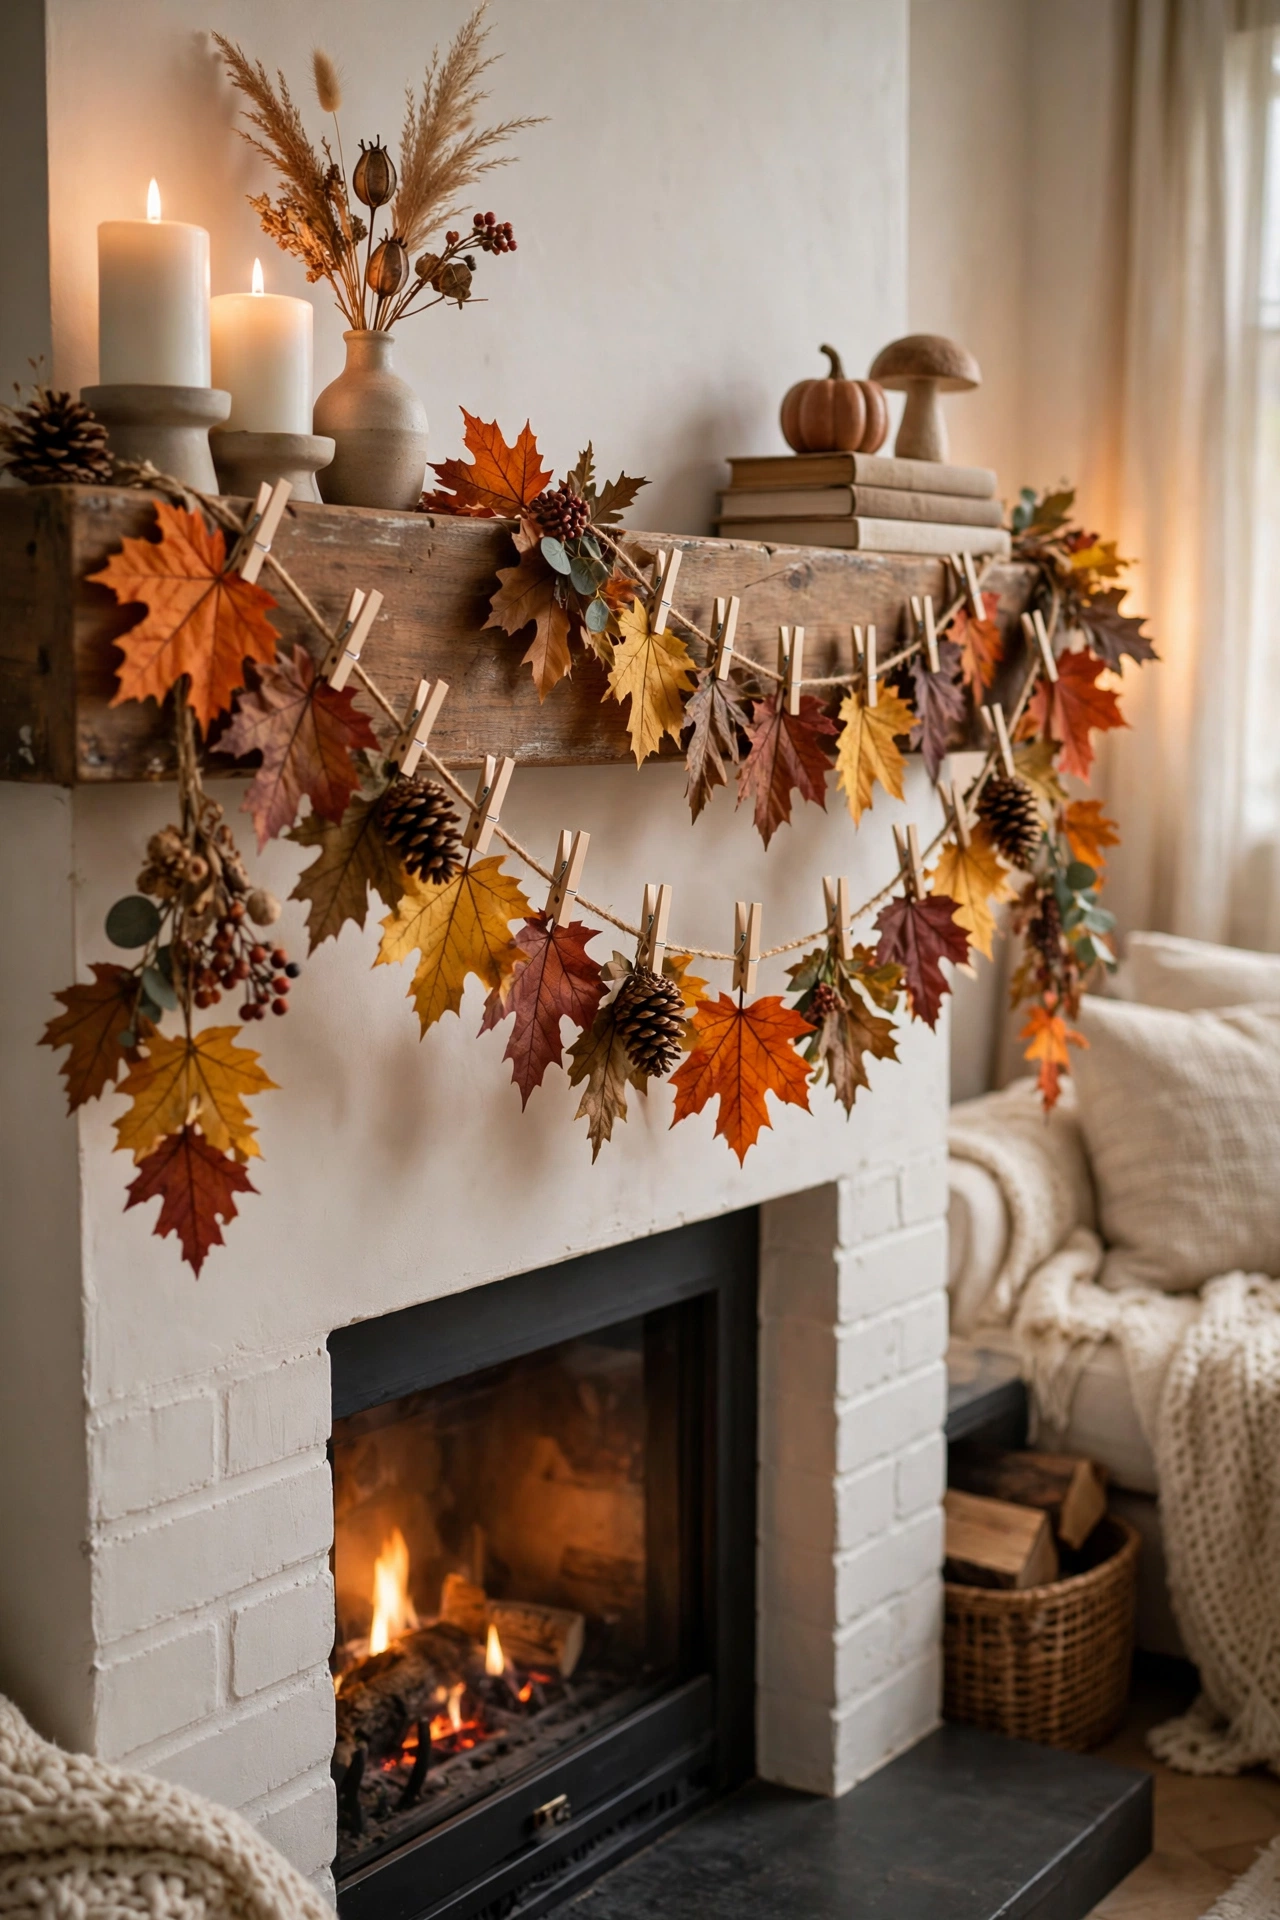
Clip leaves to jute twine with mini clothespins and you have a mantel garland in 20 minutes. String 15 to 20 leaves across six feet of twine, mixing maple, oak, and birch shapes for variety. Drape it with a gentle swag and tuck in a few pinecones where the twine dips. Twine and a bag of mini pins cost under $10, and the leaves are free.
If your mantel needs more fall love after this, these fall mantel decorating ideas have plenty of ways to build around a garland.
Try this: brush each leaf with a thin coat of Mod Podge before clipping it up. Sealed leaves stay flat all season instead of curling by week two.
Difficulty: Easy | Cost: $5-$10
4. Leaf-Print Tote Bag
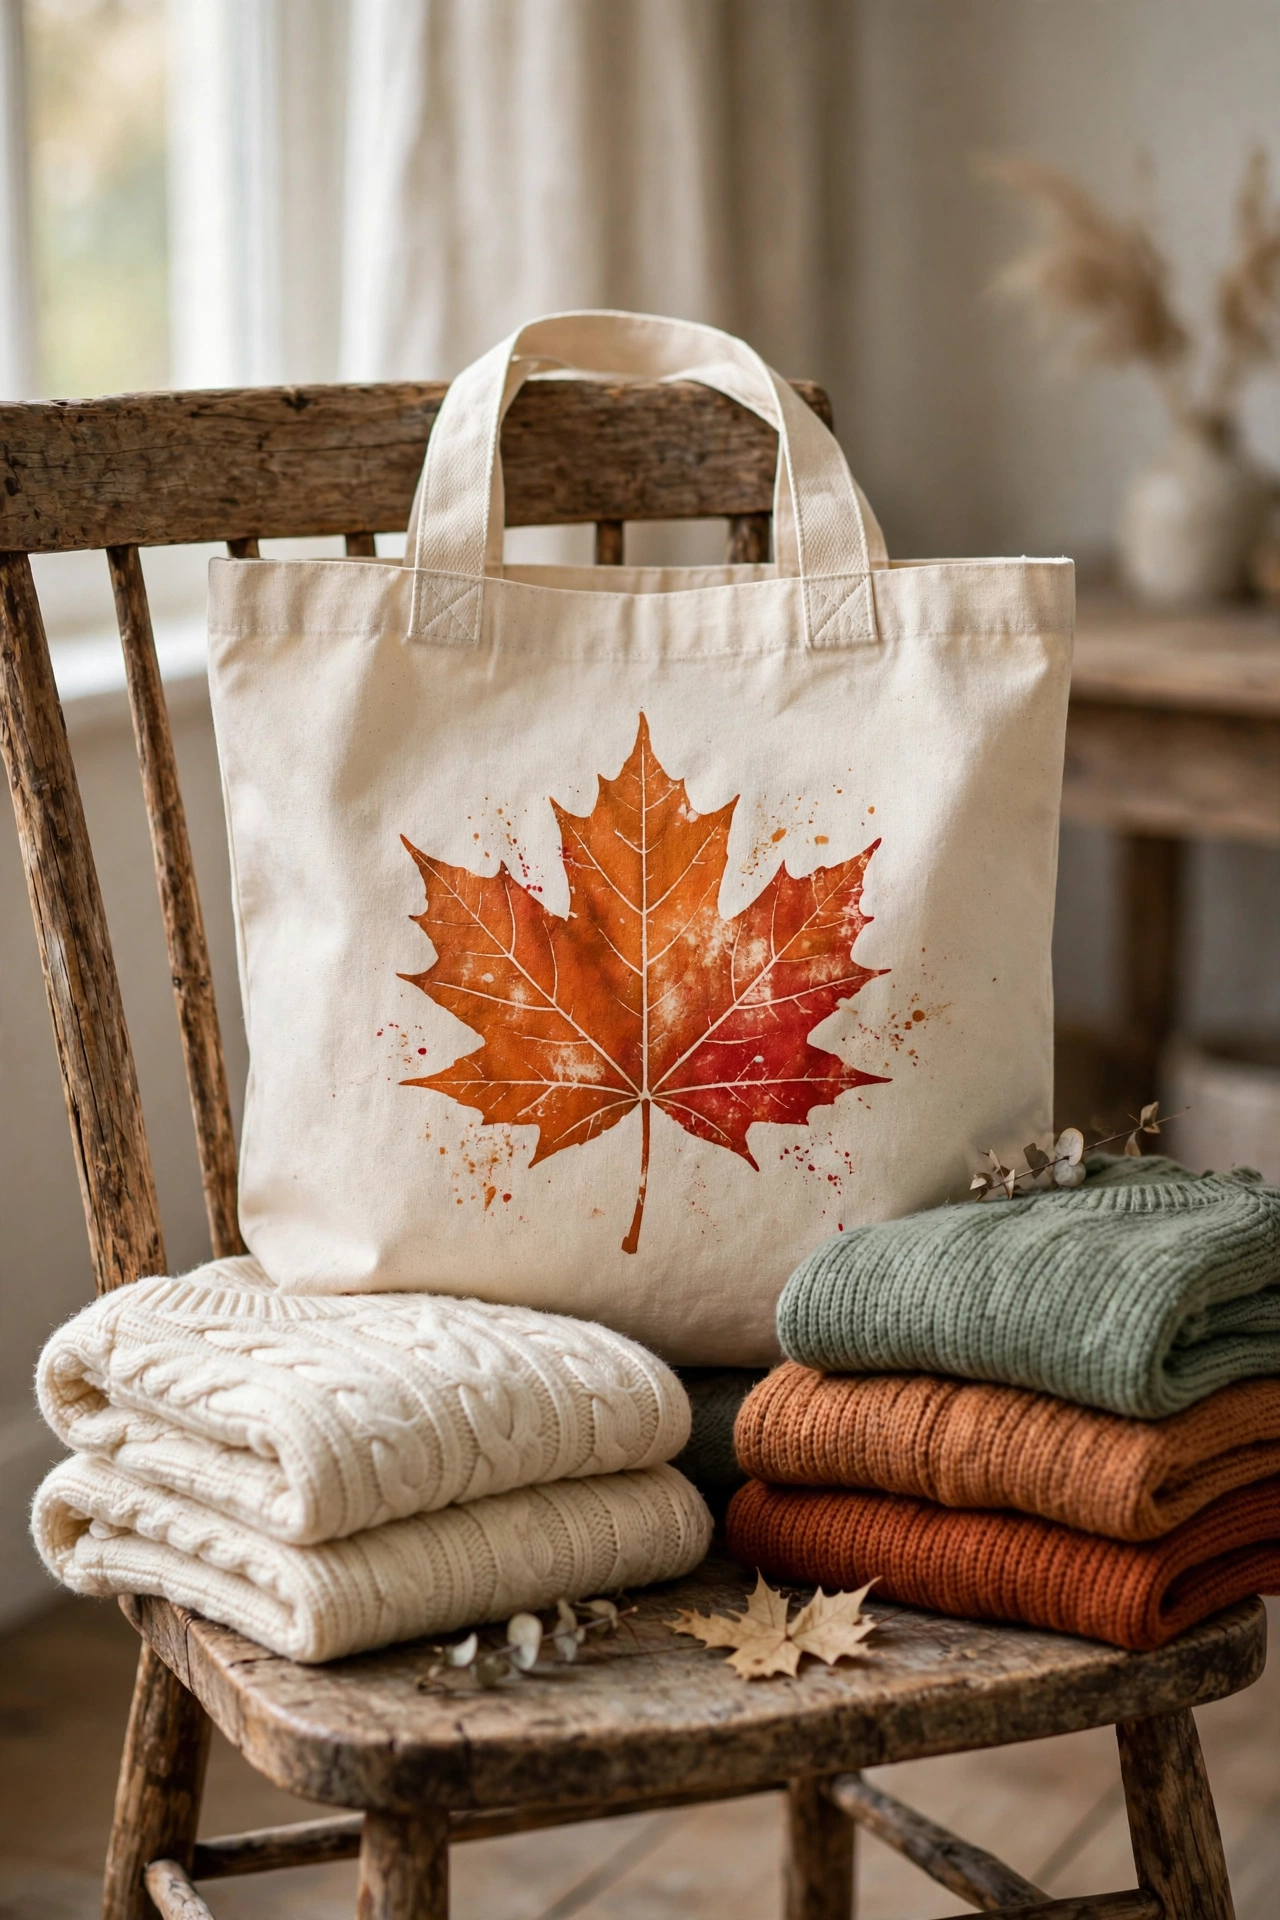
Real leaves make excellent stamps. Brush fabric paint on the veined side of a leaf, press it firmly onto a plain canvas tote for ten seconds, and lift straight up. One large maple leaf centered on the bag reads modern and clean, while a scatter of small leaves feels playful. Blank totes cost two to three dollars at craft stores. Heat-set the finished bag with an iron (with a cloth barrier, two minutes) so the design survives the washing machine.
Try this: test on paper first. A thin coat of paint prints crisp vein detail, while a thick coat blurs into a blob.
Difficulty: Easy | Cost: $5-$10
5. Glitter-Dipped Leaf Ornaments
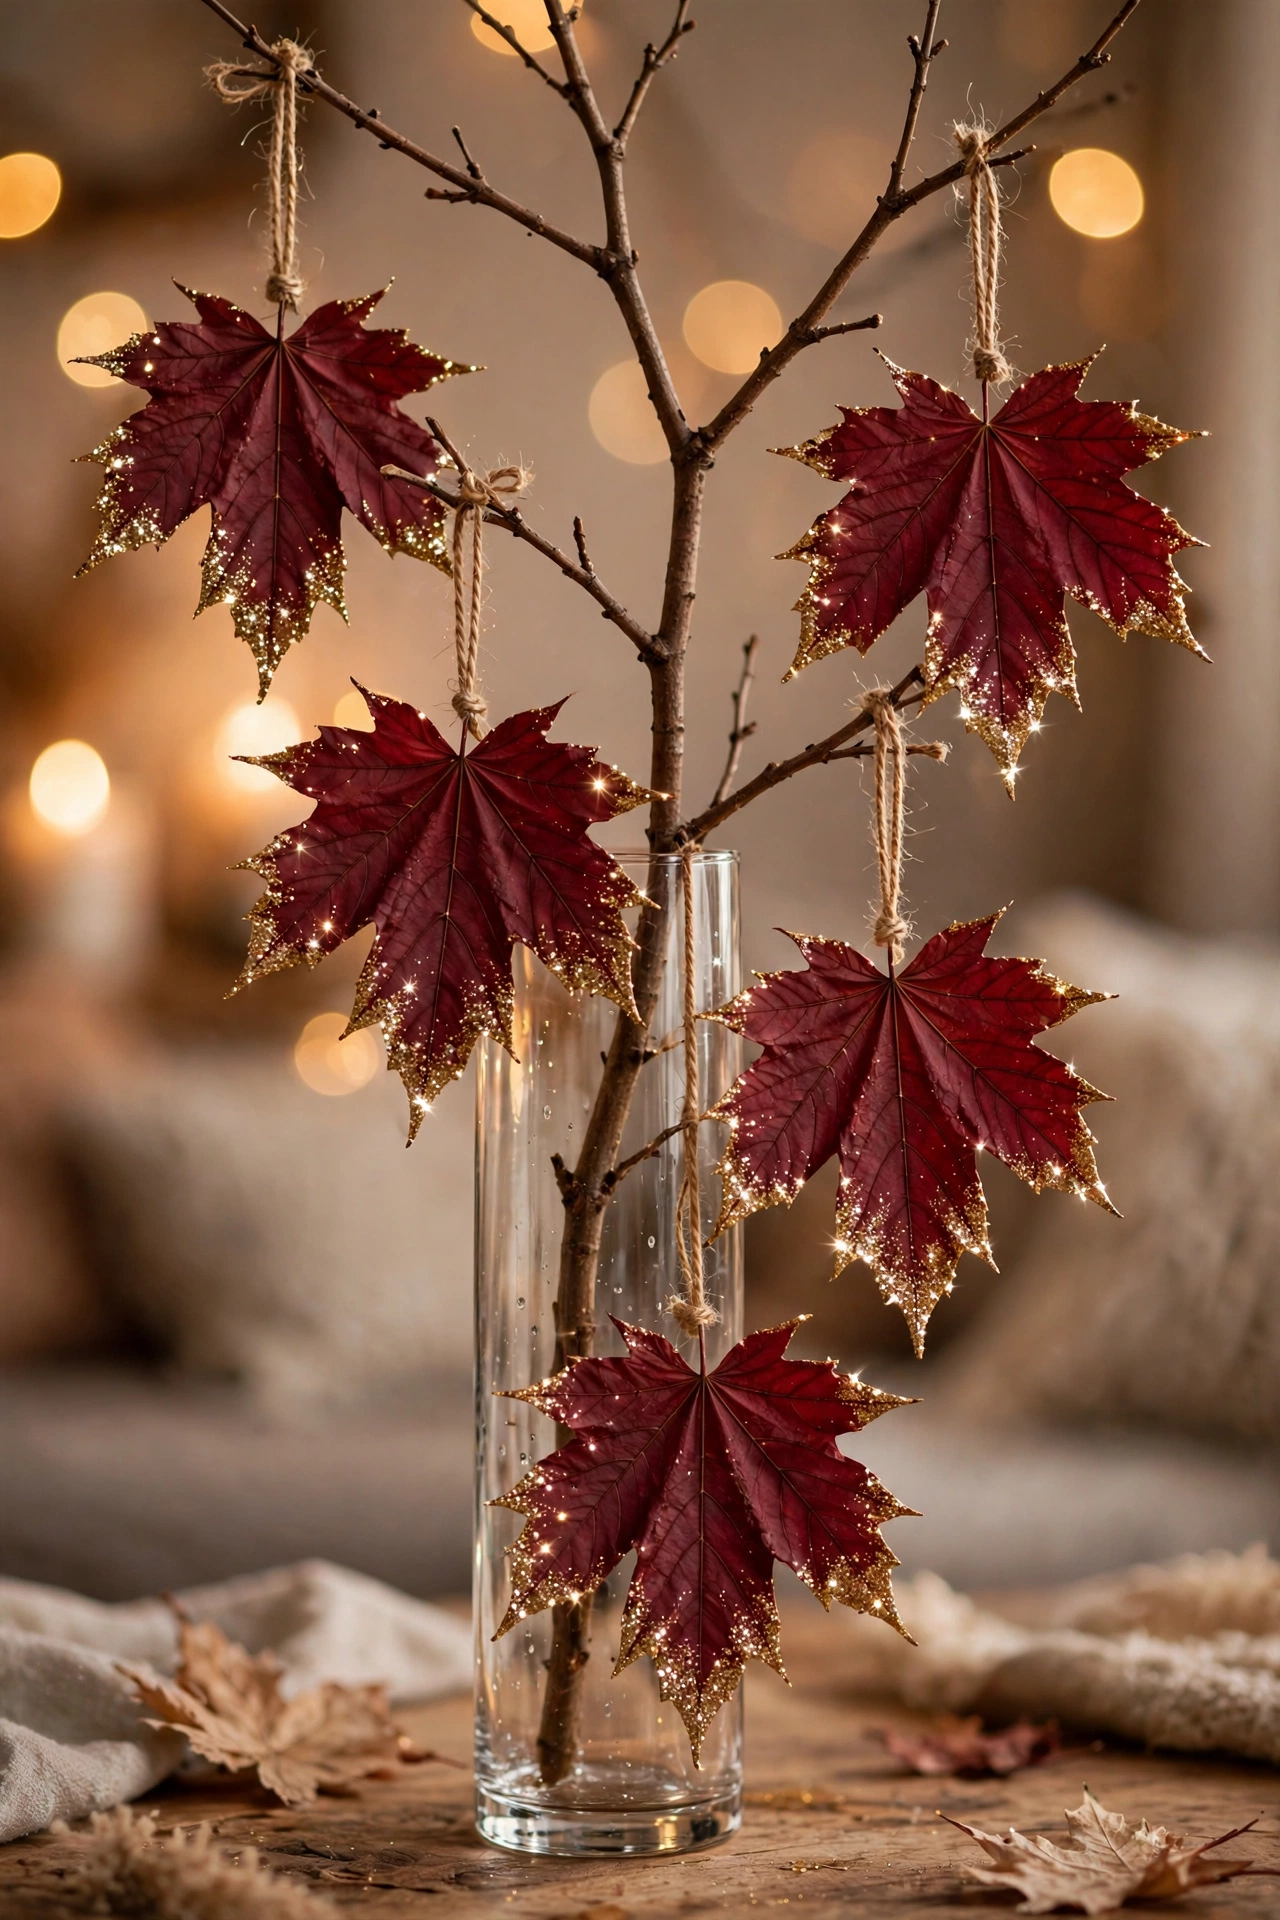
Dip the tips of sturdy leaves in craft glue, then into fine glitter, for ornaments that catch the light. Gold glitter on deep red maple leaves is the classic pairing, and copper on yellow oak is subtler. Dry them flat on wax paper for two hours so the glitter side does not stick to the table. Thread twine through the stems and hang five to seven from a bare branch in a vase. You get a centerpiece for the cost of glitter.
Try this: mist the finished leaves with clear spray sealer. It locks the glitter down so it does not shed across your floors for weeks.
Difficulty: Easy | Cost: $5-$10
6. Leaf Mason Jar Luminaries
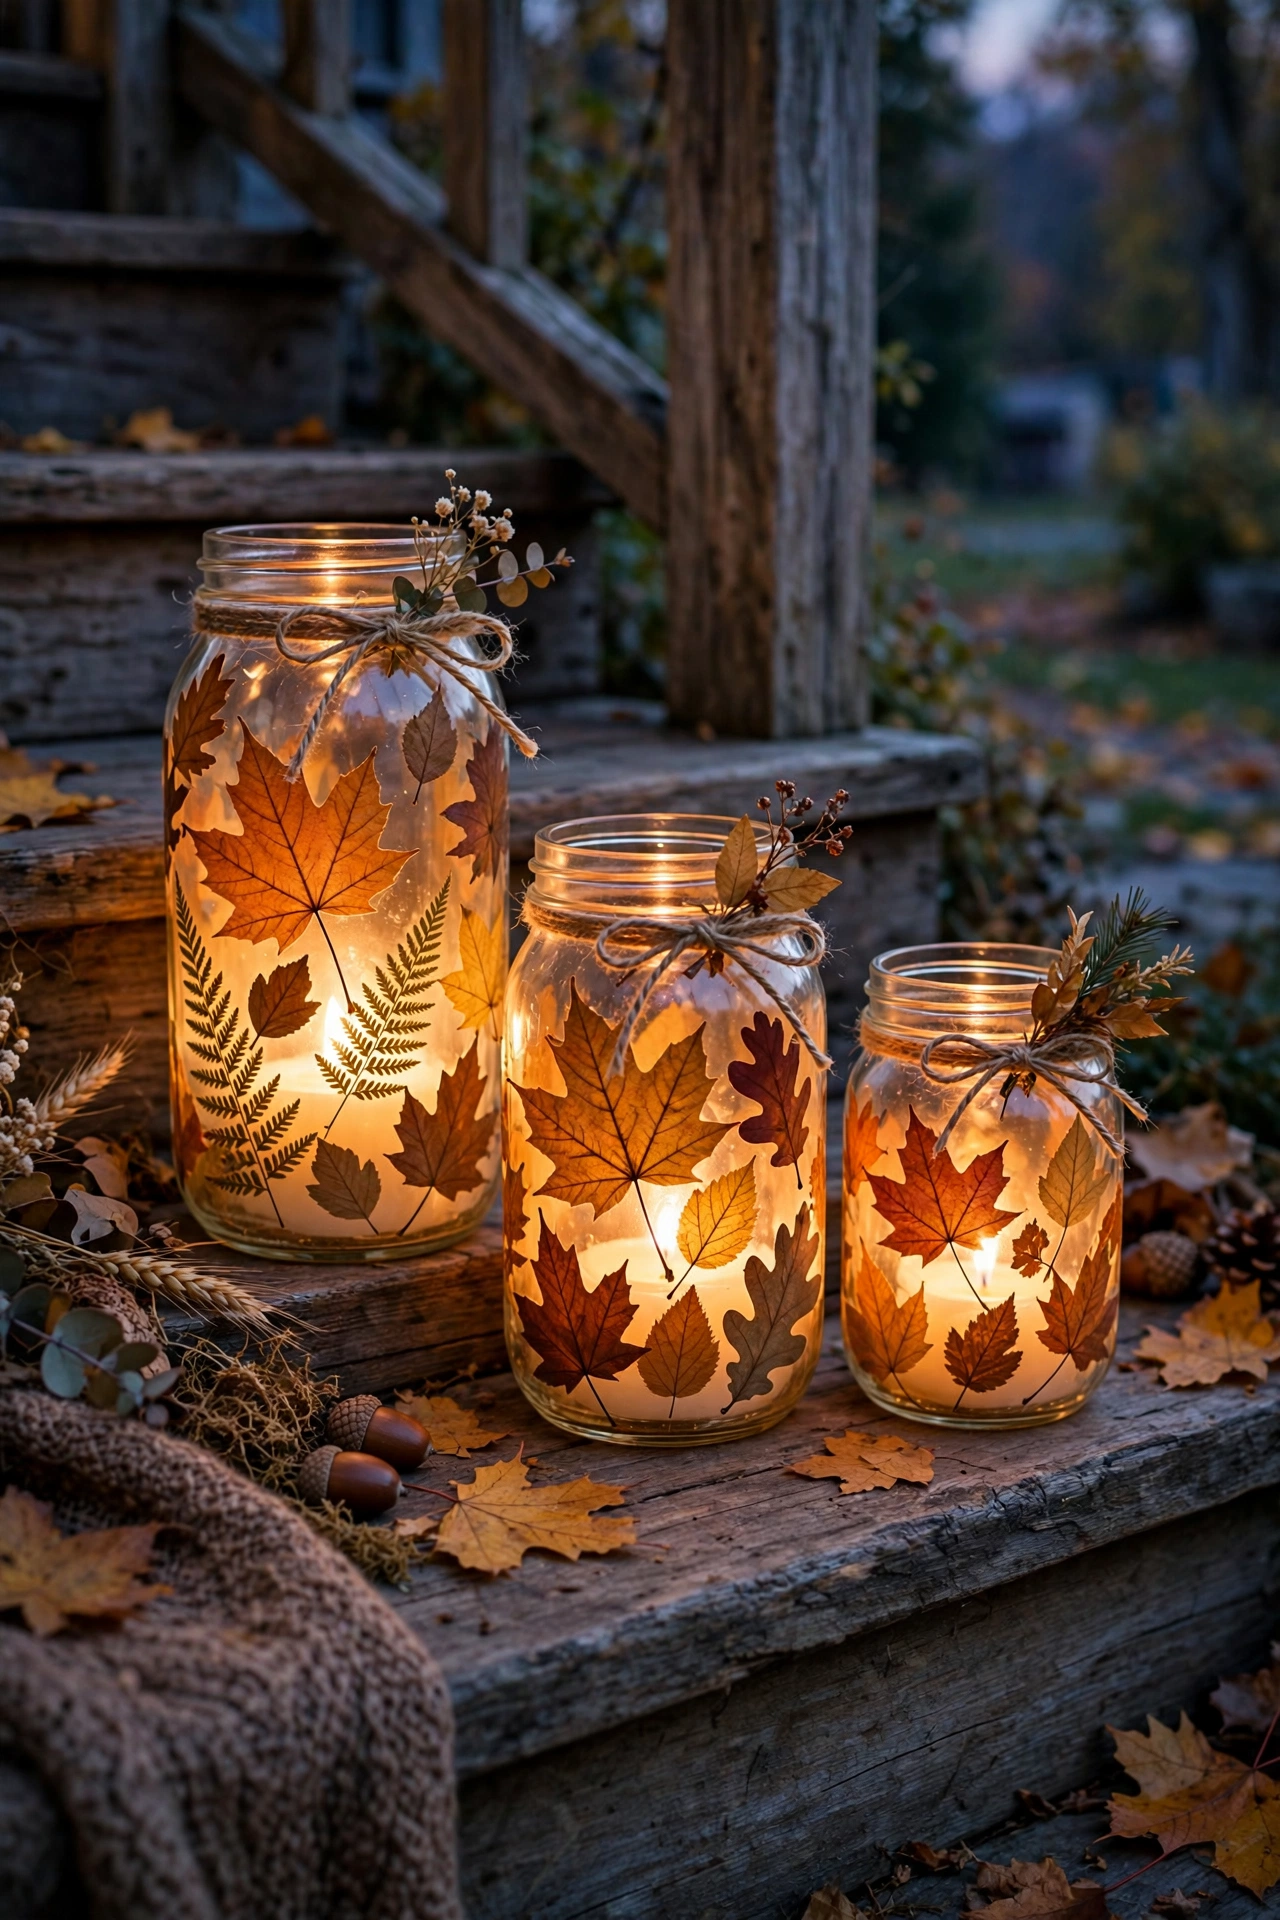
Brush Mod Podge on the outside of a mason jar, press small leaves around it, and seal with a second coat. Drop in a battery-operated tea light and the jar glows through the leaves like a lantern. Never use a real flame here. Dried leaves ignite fast, and the National Fire Protection Association recommends flameless candles around anything burnable. A cluster of three jars at different heights looks lovely on a porch step, and each jar takes about 15 minutes plus drying time.
Try this: rub the inside of the jar with a thin wash of orange craft paint before adding leaves. The warm tint makes the glow richer.
Difficulty: Easy | Cost: $5-$10
7. Leaf-Printed Table Runner
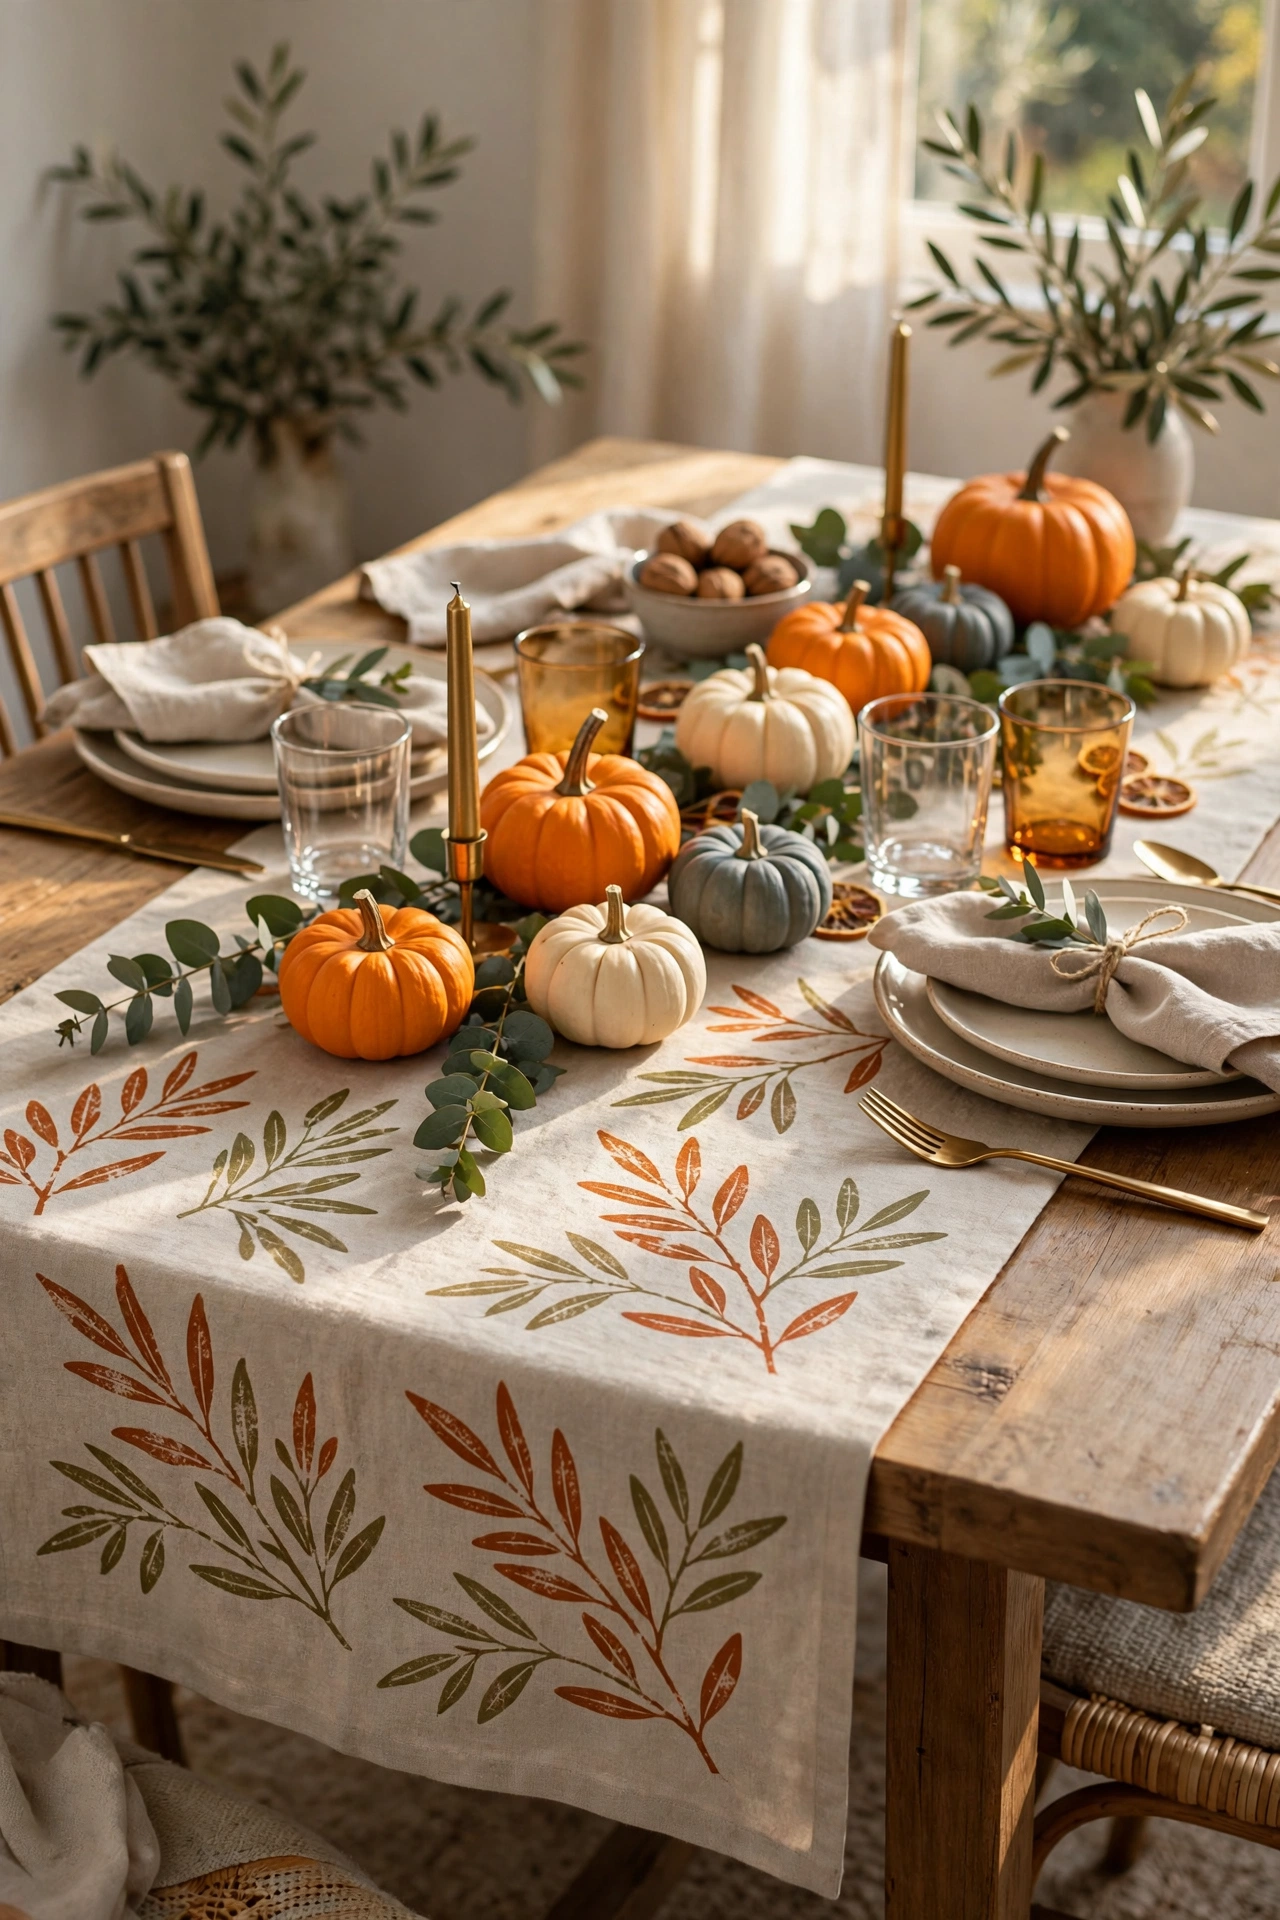
Stamp a canvas or linen runner with leaf prints in fabric paint and your Thanksgiving table is half decorated. Work in a repeating rhythm: large leaf, small leaf, gap, repeat. Blank runners run eight to twelve dollars at craft stores. Let the paint dry fully, then heat-set with an iron before the runner meets any gravy. For the rest of the table, these farmhouse fall table decor ideas pair nicely with handmade linens.
Try this: stick to two paint colors, like burnt orange and olive. A limited palette looks designed, while five colors look random.
Difficulty: Easy | Cost: $10-$15
8. Pinecone and Leaf Wreath
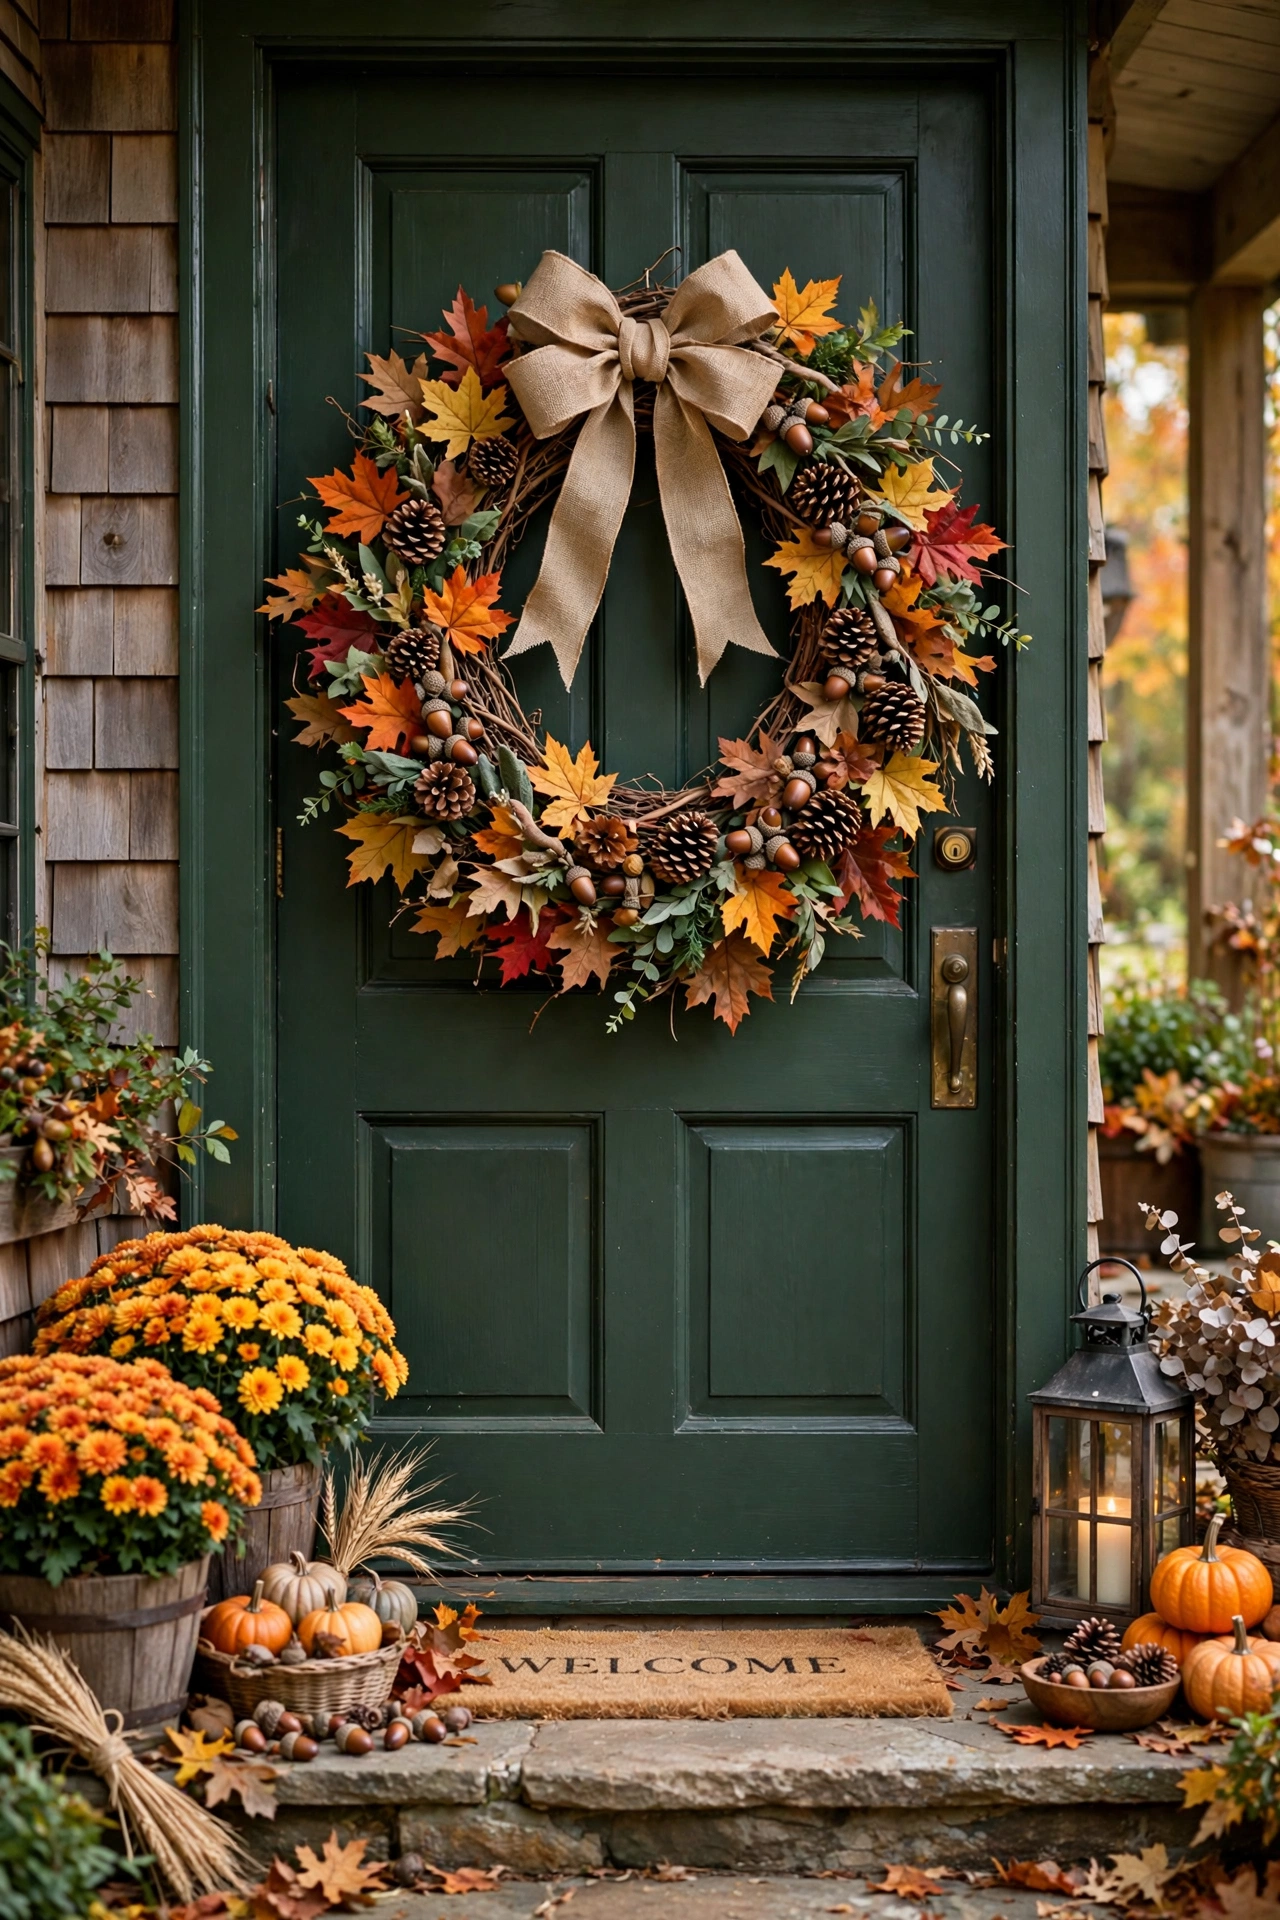
Hot-glue real leaves, pinecones, and acorns onto a grapevine wreath form for a front door that smells like October. Set the largest pinecones first as anchors, fill the gaps with overlapping layers of leaves, and tuck acorns in last. An 18-inch wreath needs roughly 40 leaves and eight to ten pinecones. Hang it with a wide burlap ribbon. An adult should handle the hot glue. For a paper version with the kids, Michaels has a step-by-step fall paper wreath project, and these dollar store fall wreath ideas keep the whole project under ten dollars.
Try this: spray the finished wreath with UV-resistant clear coat if it hangs in direct sun. Red leaves fade to brown within weeks otherwise.
Difficulty: Moderate | Cost: $10-$20
9. Leaf Animals
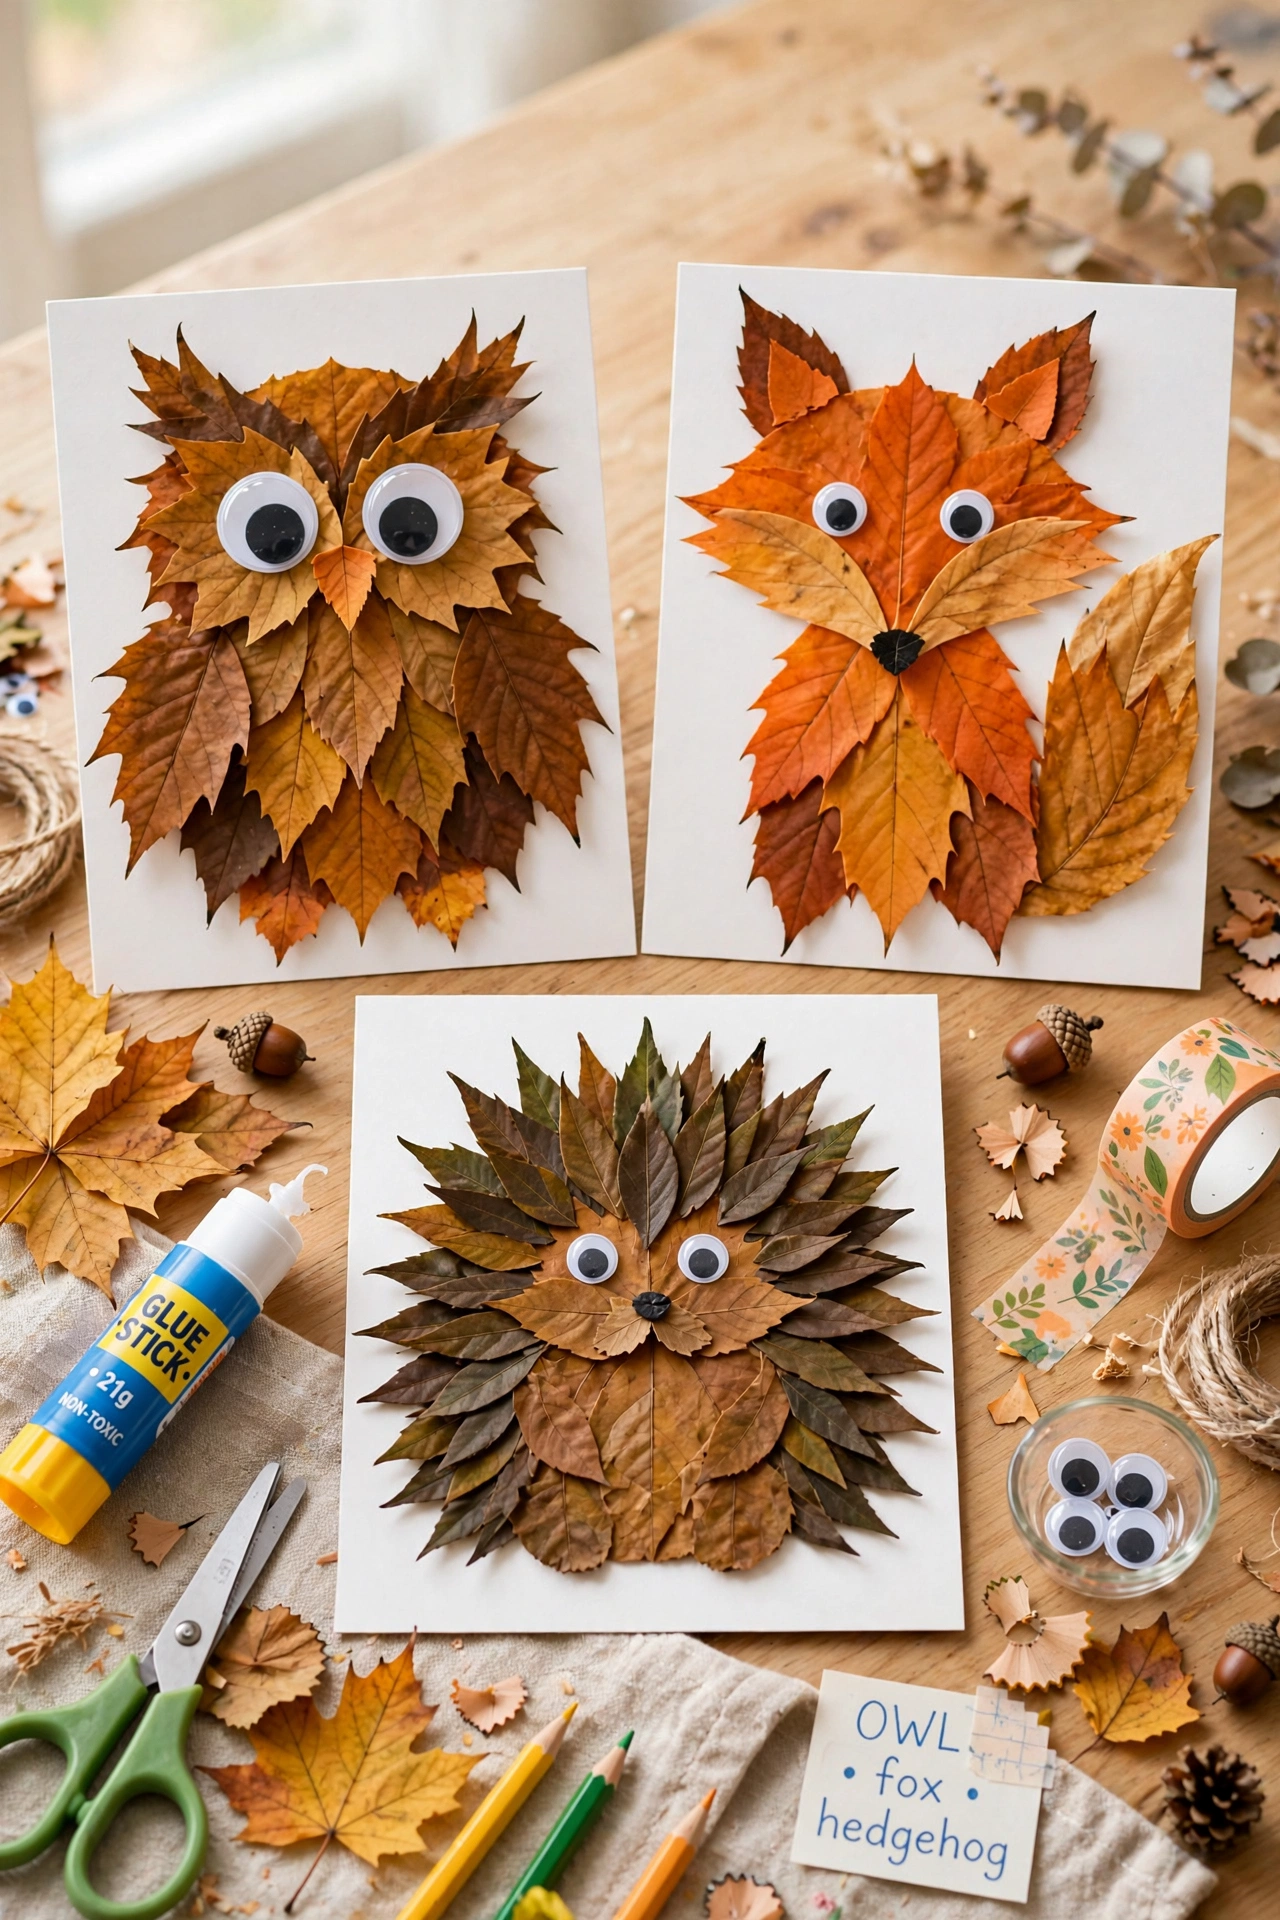
Turn leaves into owls, foxes, and hedgehogs with craft glue and googly eyes. A round leaf becomes an owl body, two small triangle leaves become ears, and a fox just needs a pointed leaf plus a white paper chest. Kids as young as three can build these with tacky glue, no hot glue needed. Mount the finished animals on cardstock for a fridge gallery that beats any coloring page. For more kid-made wall art, these paper wall decoration ideas use the same simple supplies.
Try this: sort leaves by shape before anyone starts gluing. Having matched pairs ready for ears and wings prevents mid-craft meltdowns.
Difficulty: Easy | Cost: $0-$5
10. Crayon-Resist Leaf Art
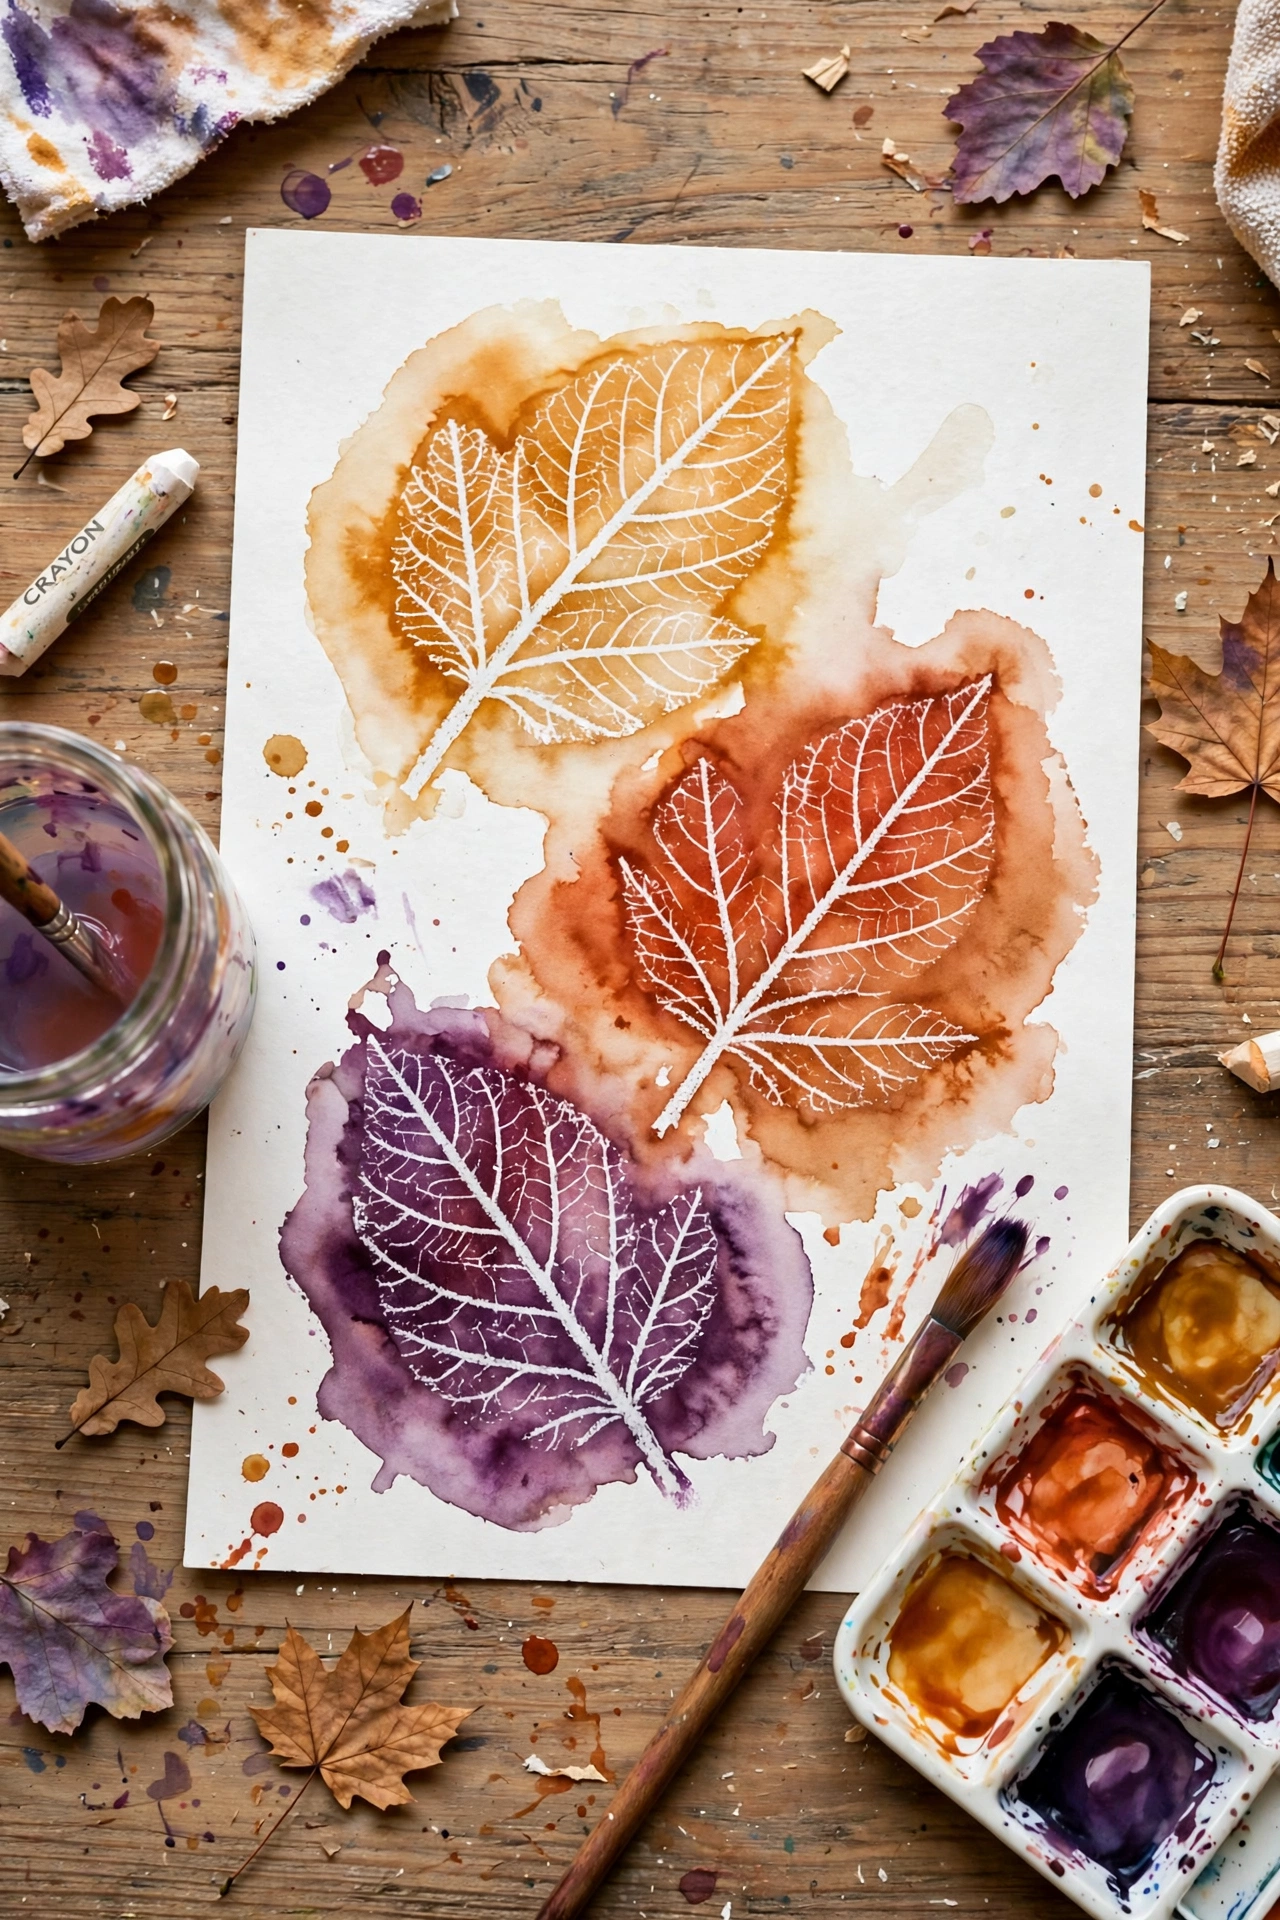
Rub a white crayon over a leaf placed under paper, then wash watercolor over the top. The wax resists the paint and the leaf veins appear like magic. It is a perfect rainy-day craft for ages four to eight, and one sheet of watercolor paper yields two rubbings. Tape the paper corners to the table so little hands do not shift it mid-rub, which smears the whole image. The reveal moment genuinely delights kids every single time.
Try this: wash over the resist with fall colors like amber, rust, and plum. The finished pieces are good enough to frame as gifts.
Difficulty: Easy | Cost: $0-$5
11. Mod Podge Leaf Bowl
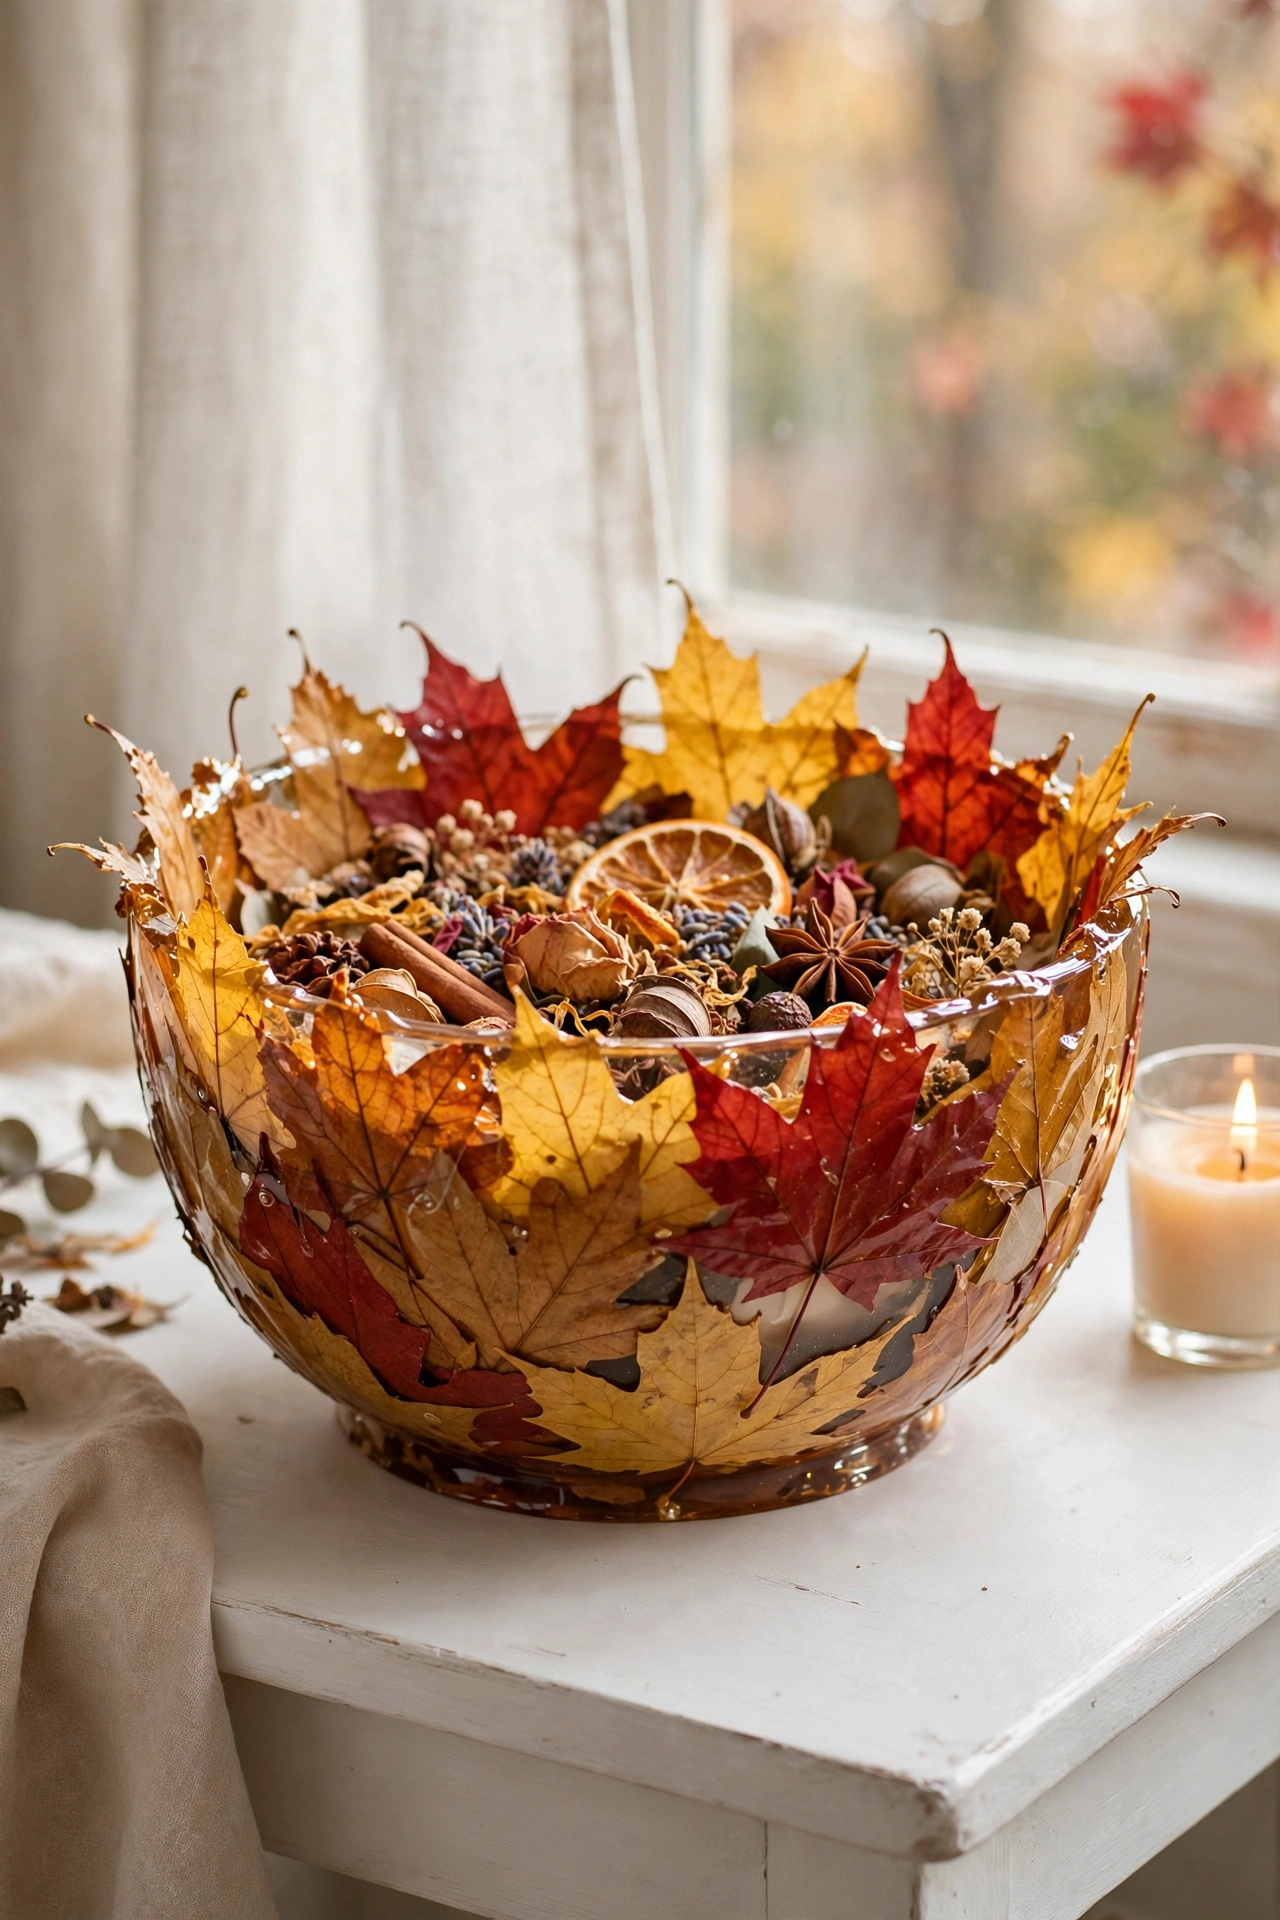
Layer leaves over an inflated balloon with Mod Podge, three to four coats, letting each one dry before the next. Once fully dry (give it 24 hours), pop the balloon and you have a delicate leaf bowl for potpourri or wrapped candy. Small, flexible leaves curve around the balloon best. Big stiff ones refuse to bend and leave gaps. Brush one final sealing coat on the inside so the whole thing holds together when you lift it.
Try this: inflate the balloon to cereal-bowl size, not bigger. Oversized leaf bowls sag under their own weight once the balloon is gone.
Difficulty: Moderate | Cost: $5-$10
12. Fall Leaf Suncatchers
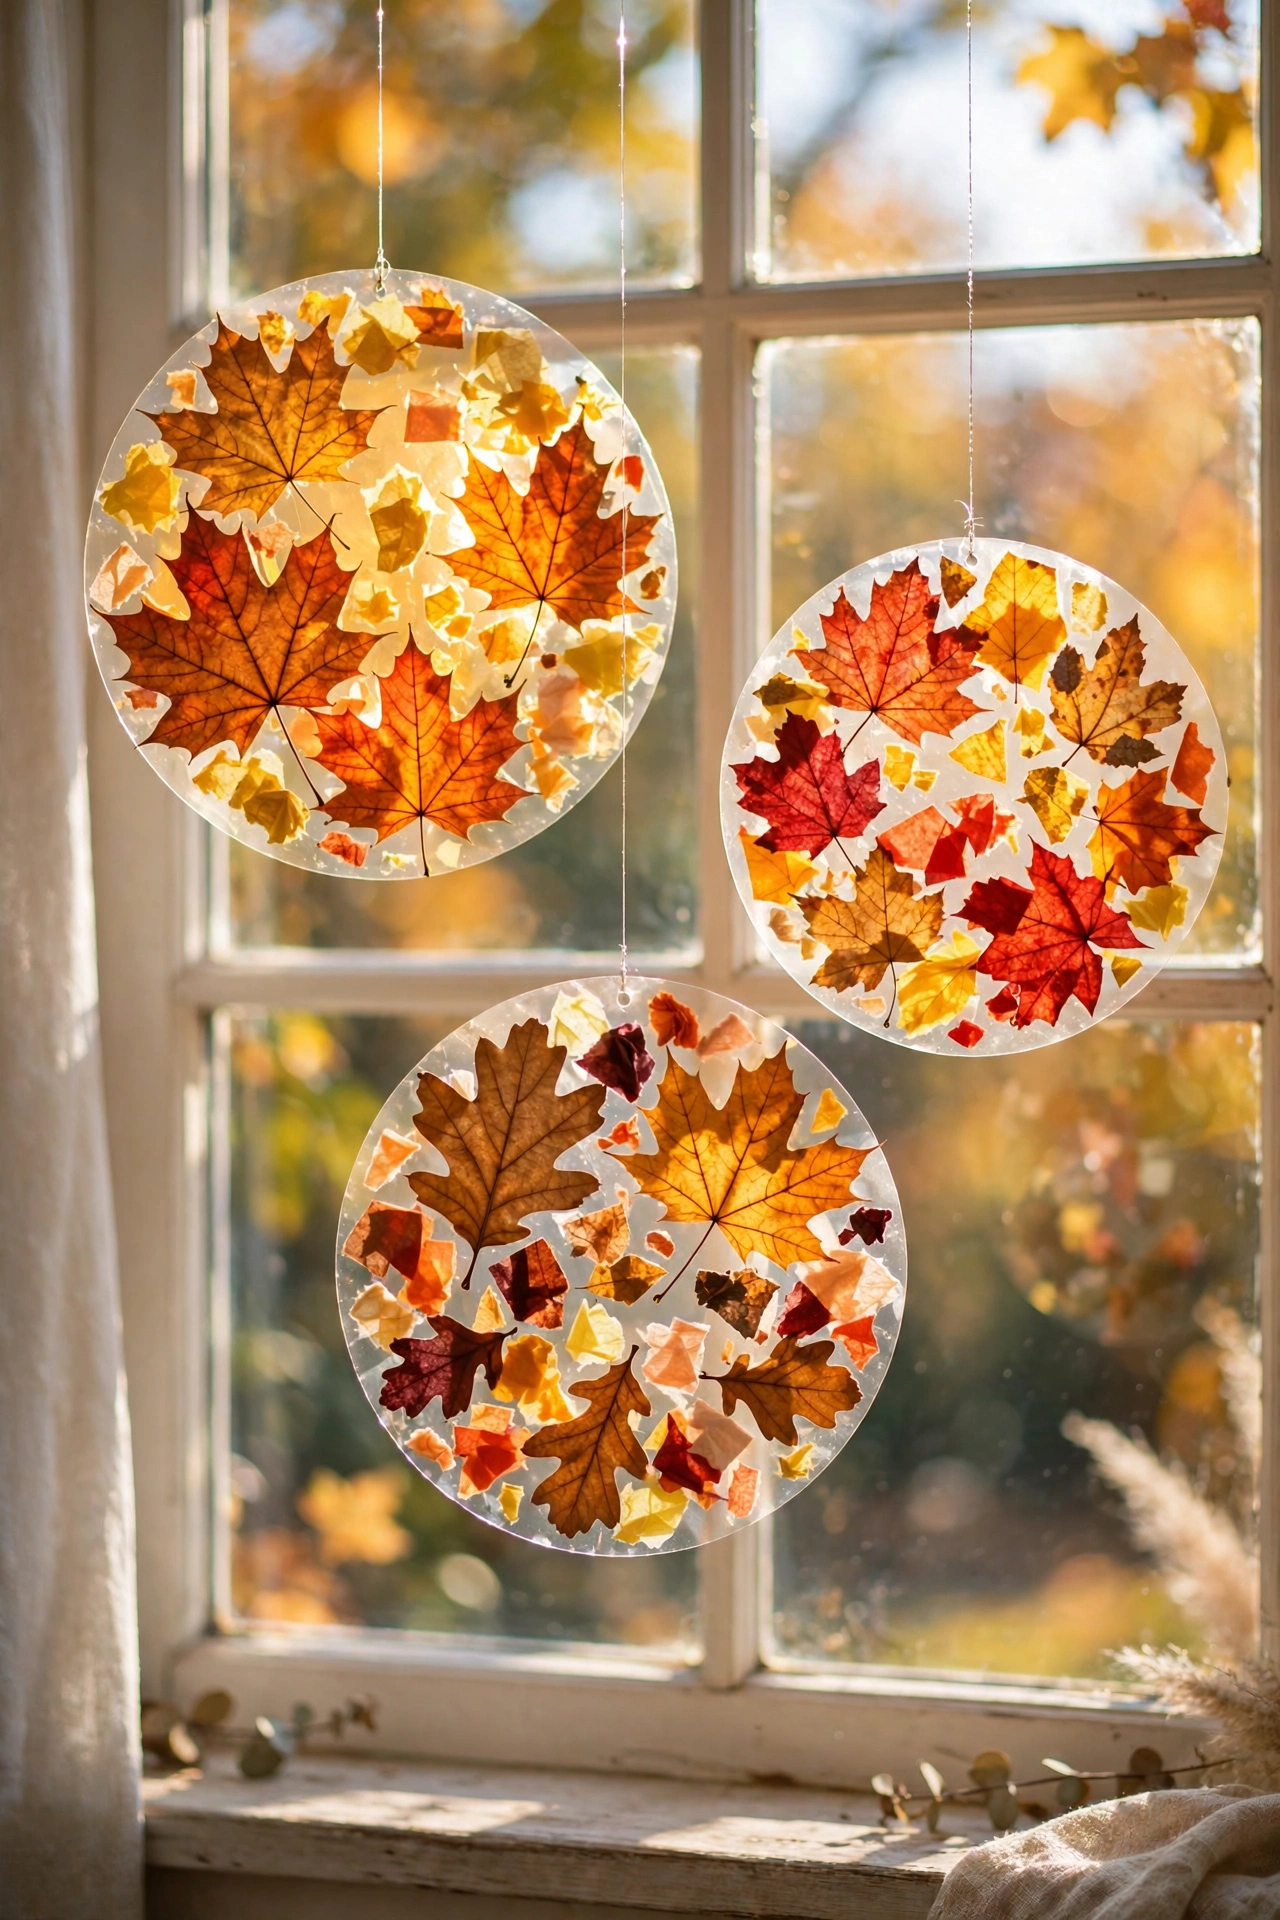
Sandwich small leaves between two sheets of clear contact paper, trim into circles, and hang them in a sunny window. Fill the gaps between real leaves with bits of orange and yellow tissue paper for extra color. Punch a hole at the top, thread fishing line through, and you are done. Six suncatchers take about 30 minutes and cost almost nothing beyond the contact paper roll.
Try this: press the leaves flat for a few days first. Curled leaves trap air bubbles in the contact paper that you cannot smooth out.
Difficulty: Easy | Cost: $0-$5
13. Leaf-Embossed Clay Dishes
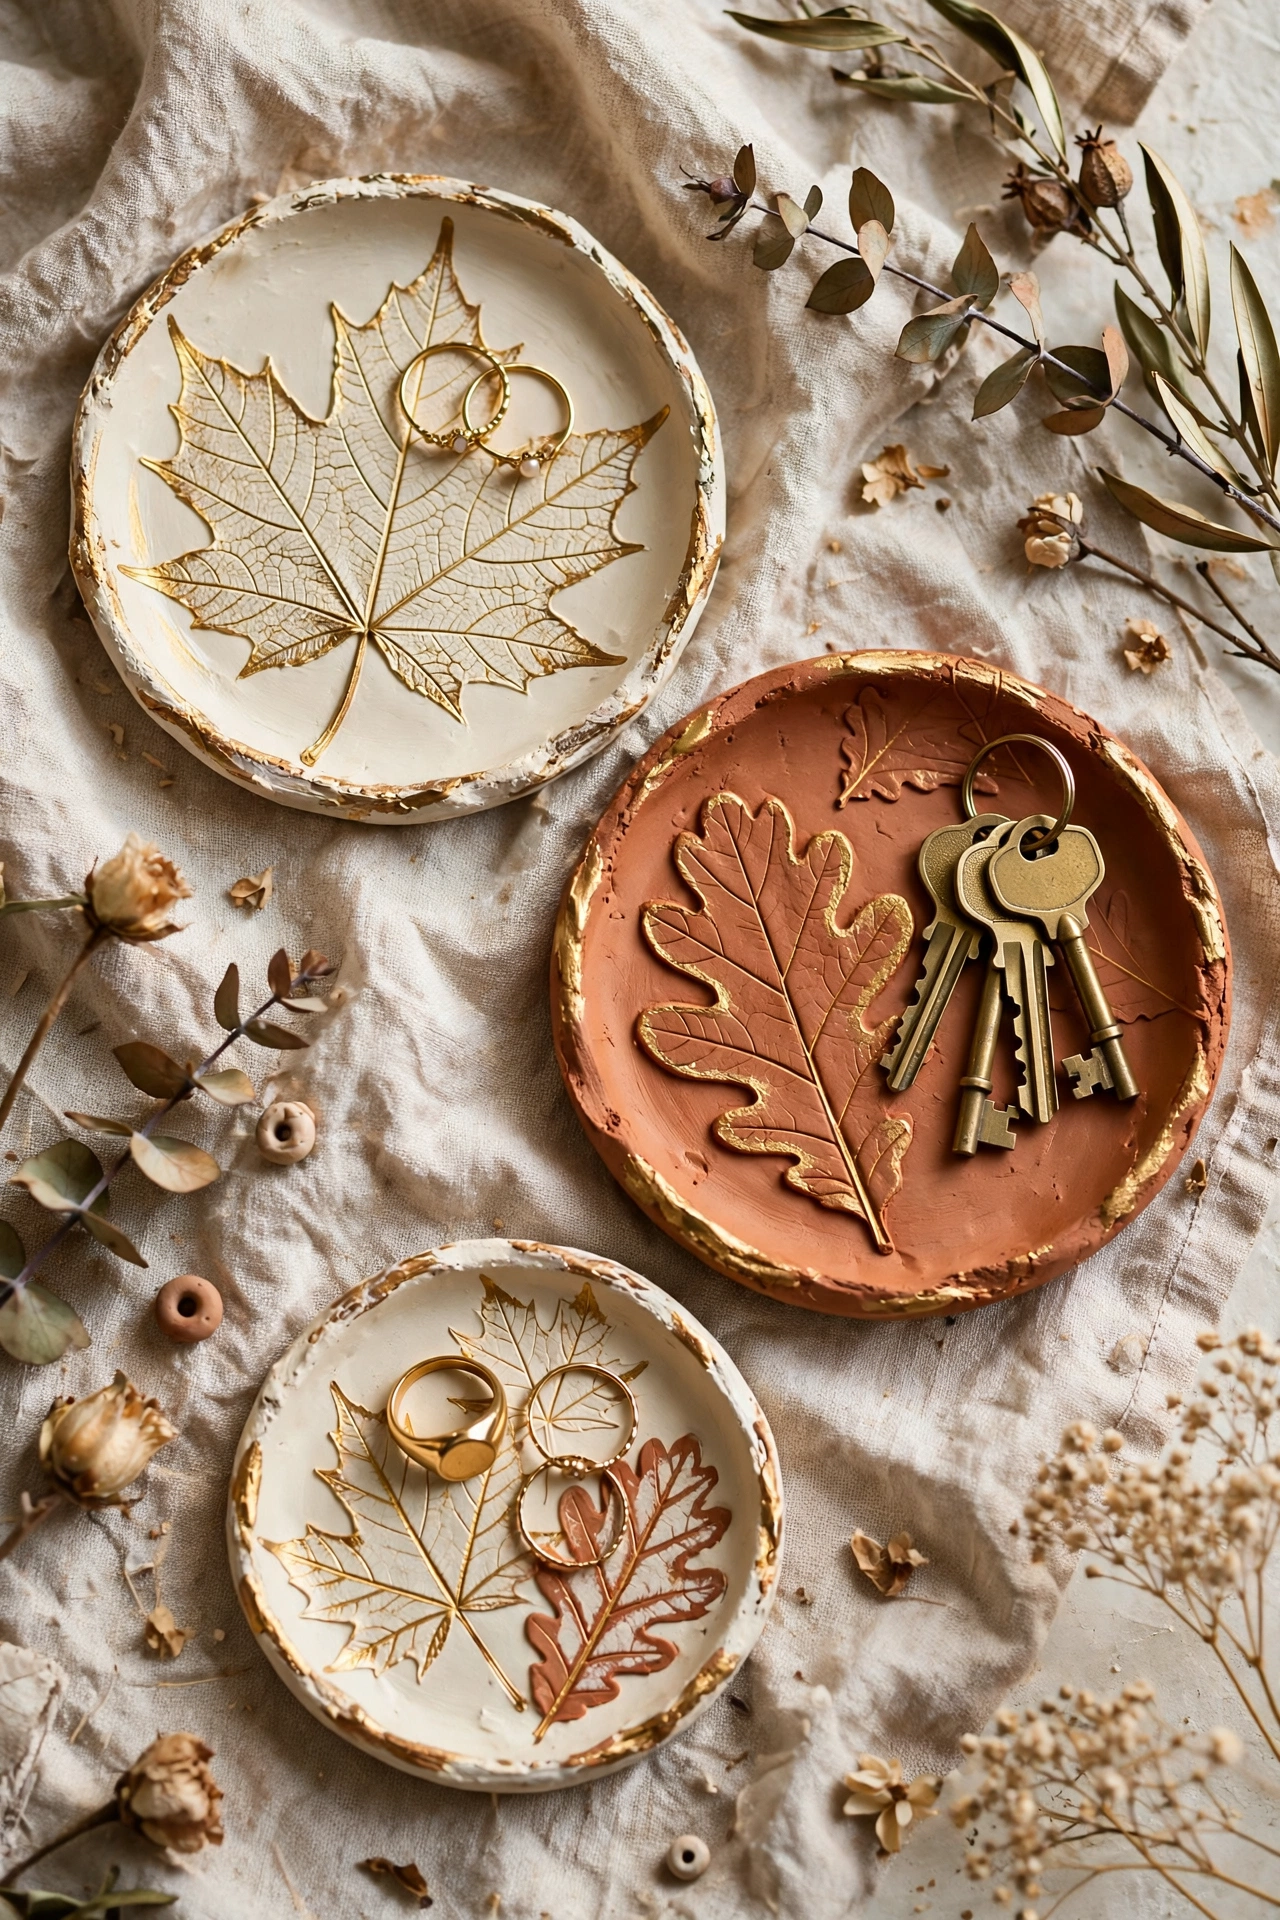
Press a veined leaf into rolled air-dry clay, lift it away, and you have a trinket dish with a perfect botanical impression. Roll the clay to a quarter inch thick (sturdy enough for keys or jewelry), shape it over an overturned bowl to curve, and let it dry 48 hours. Paint with acrylics and seal with clear varnish. Roll the clay between two sheets of wax paper for an even surface that does not stick to the counter.
Try this: choose leaves with deep veins like oak or maple. Shallow-veined leaves leave an impression so faint it disappears under paint.
Difficulty: Moderate | Cost: $10-$15
14. Leaf-Stamped Wrapping Paper
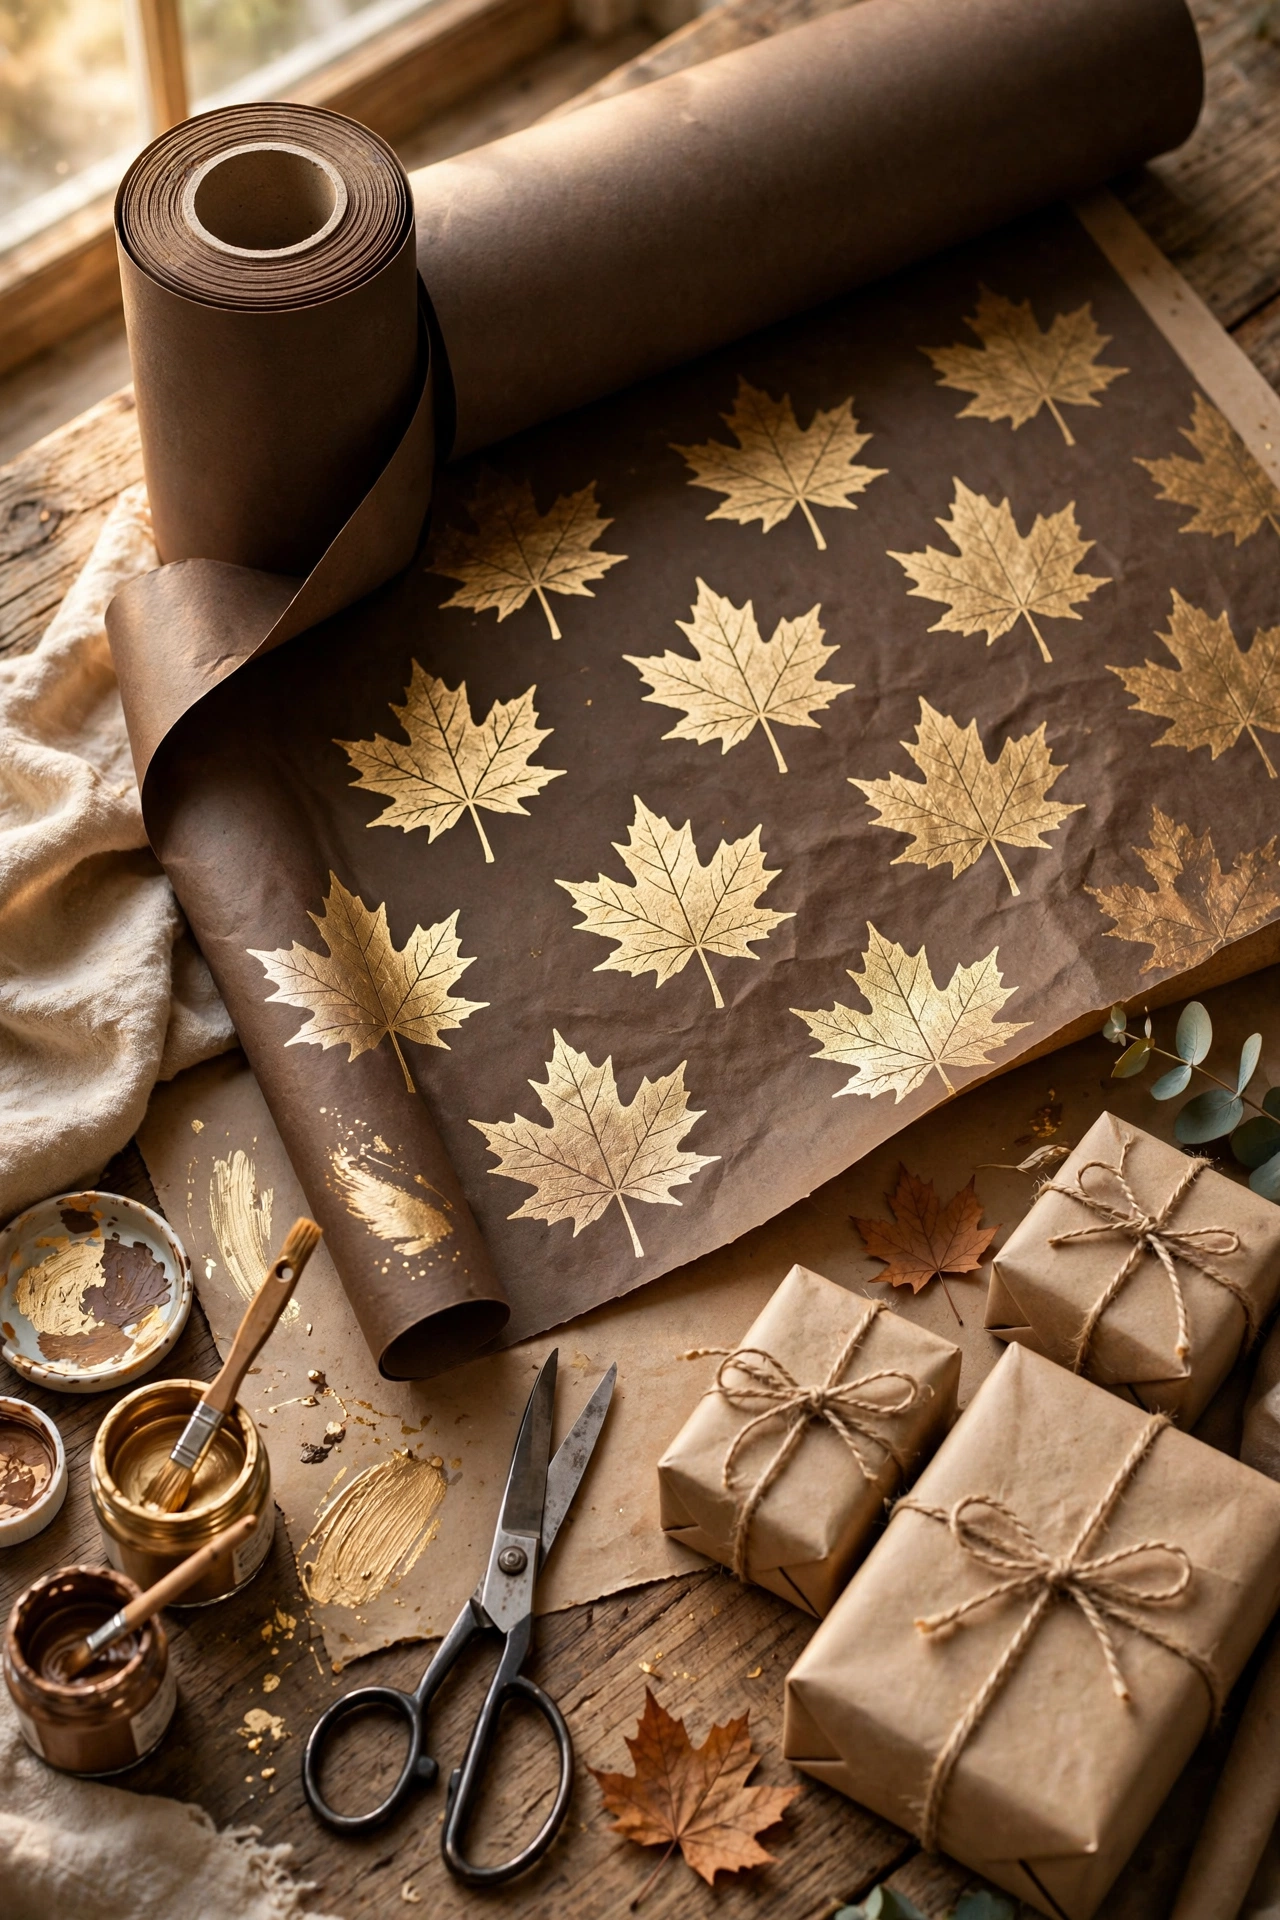
Stamp a roll of kraft paper with leaf prints in acrylic paint for custom fall gift wrap. A 30-foot roll costs about six dollars and wraps a dozen gifts. Ink the leaves with a small foam roller instead of a brush; brush strokes show through the print. Work down the length of the roll in a loose pattern and let each section dry flat before re-rolling, or the paint will transfer.
Try this: stamp in metallic gold on dark brown kraft. It looks expensive, costs pennies, and photographs beautifully.
Difficulty: Easy | Cost: $5-$10
15. Autumn Leaf Mobile
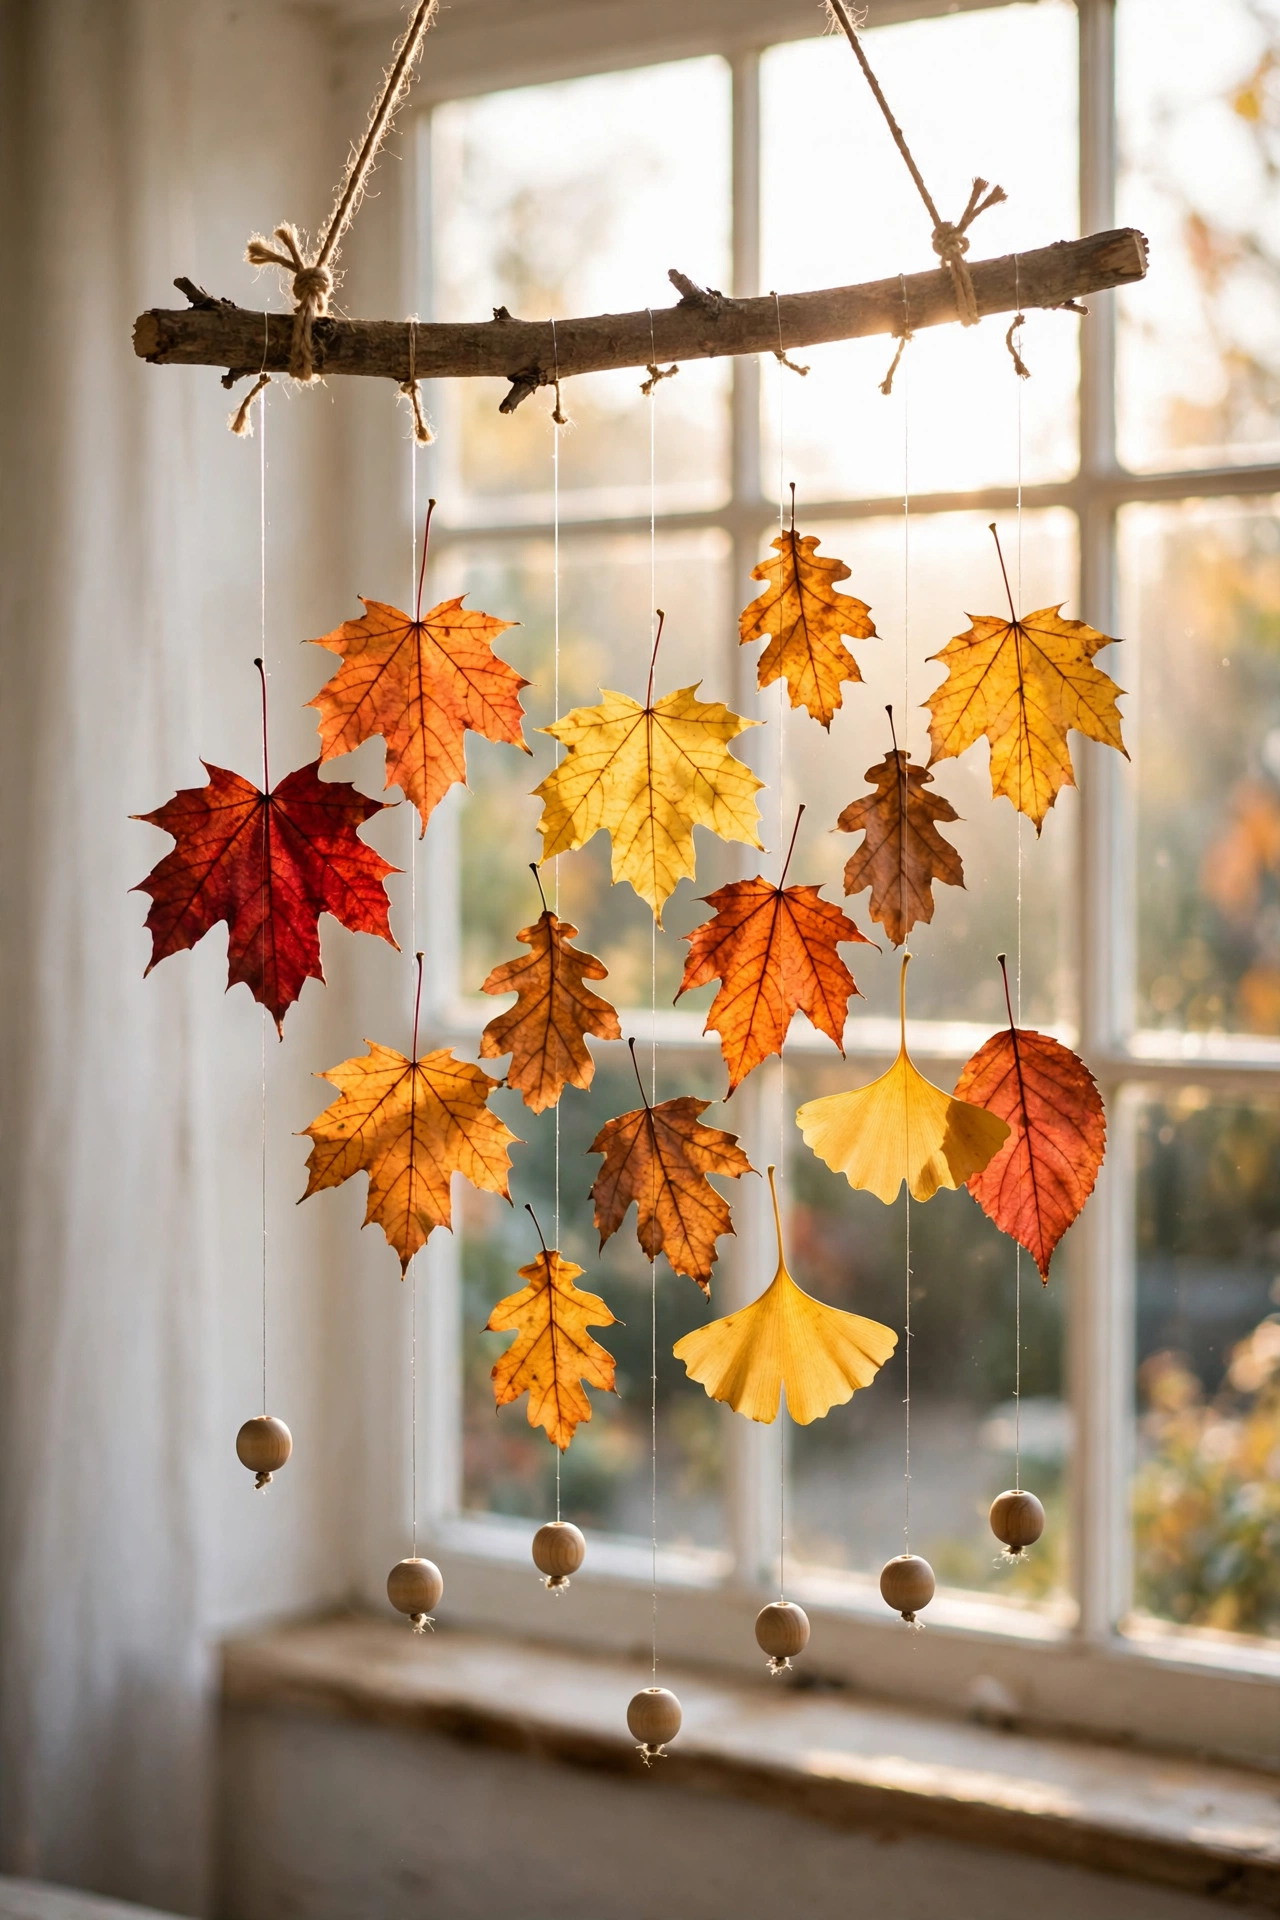
Tie leaves with fishing line to a fallen branch and hang the whole thing on a porch or in a big window. Vary the line lengths between eight and sixteen inches so the leaves hang at different heights and spin in the breeze. Thread a few wooden beads onto the lines for weight; the mobile moves gracefully instead of tangling. Spray the leaves with clear sealer if it hangs outdoors, or one rainstorm will end the show early.
Try this: hang it where it catches morning light. Backlit leaves glow like stained glass for about an hour a day.
Difficulty: Easy | Cost: $0-$5
16. Laminated Leaf Bookmarks
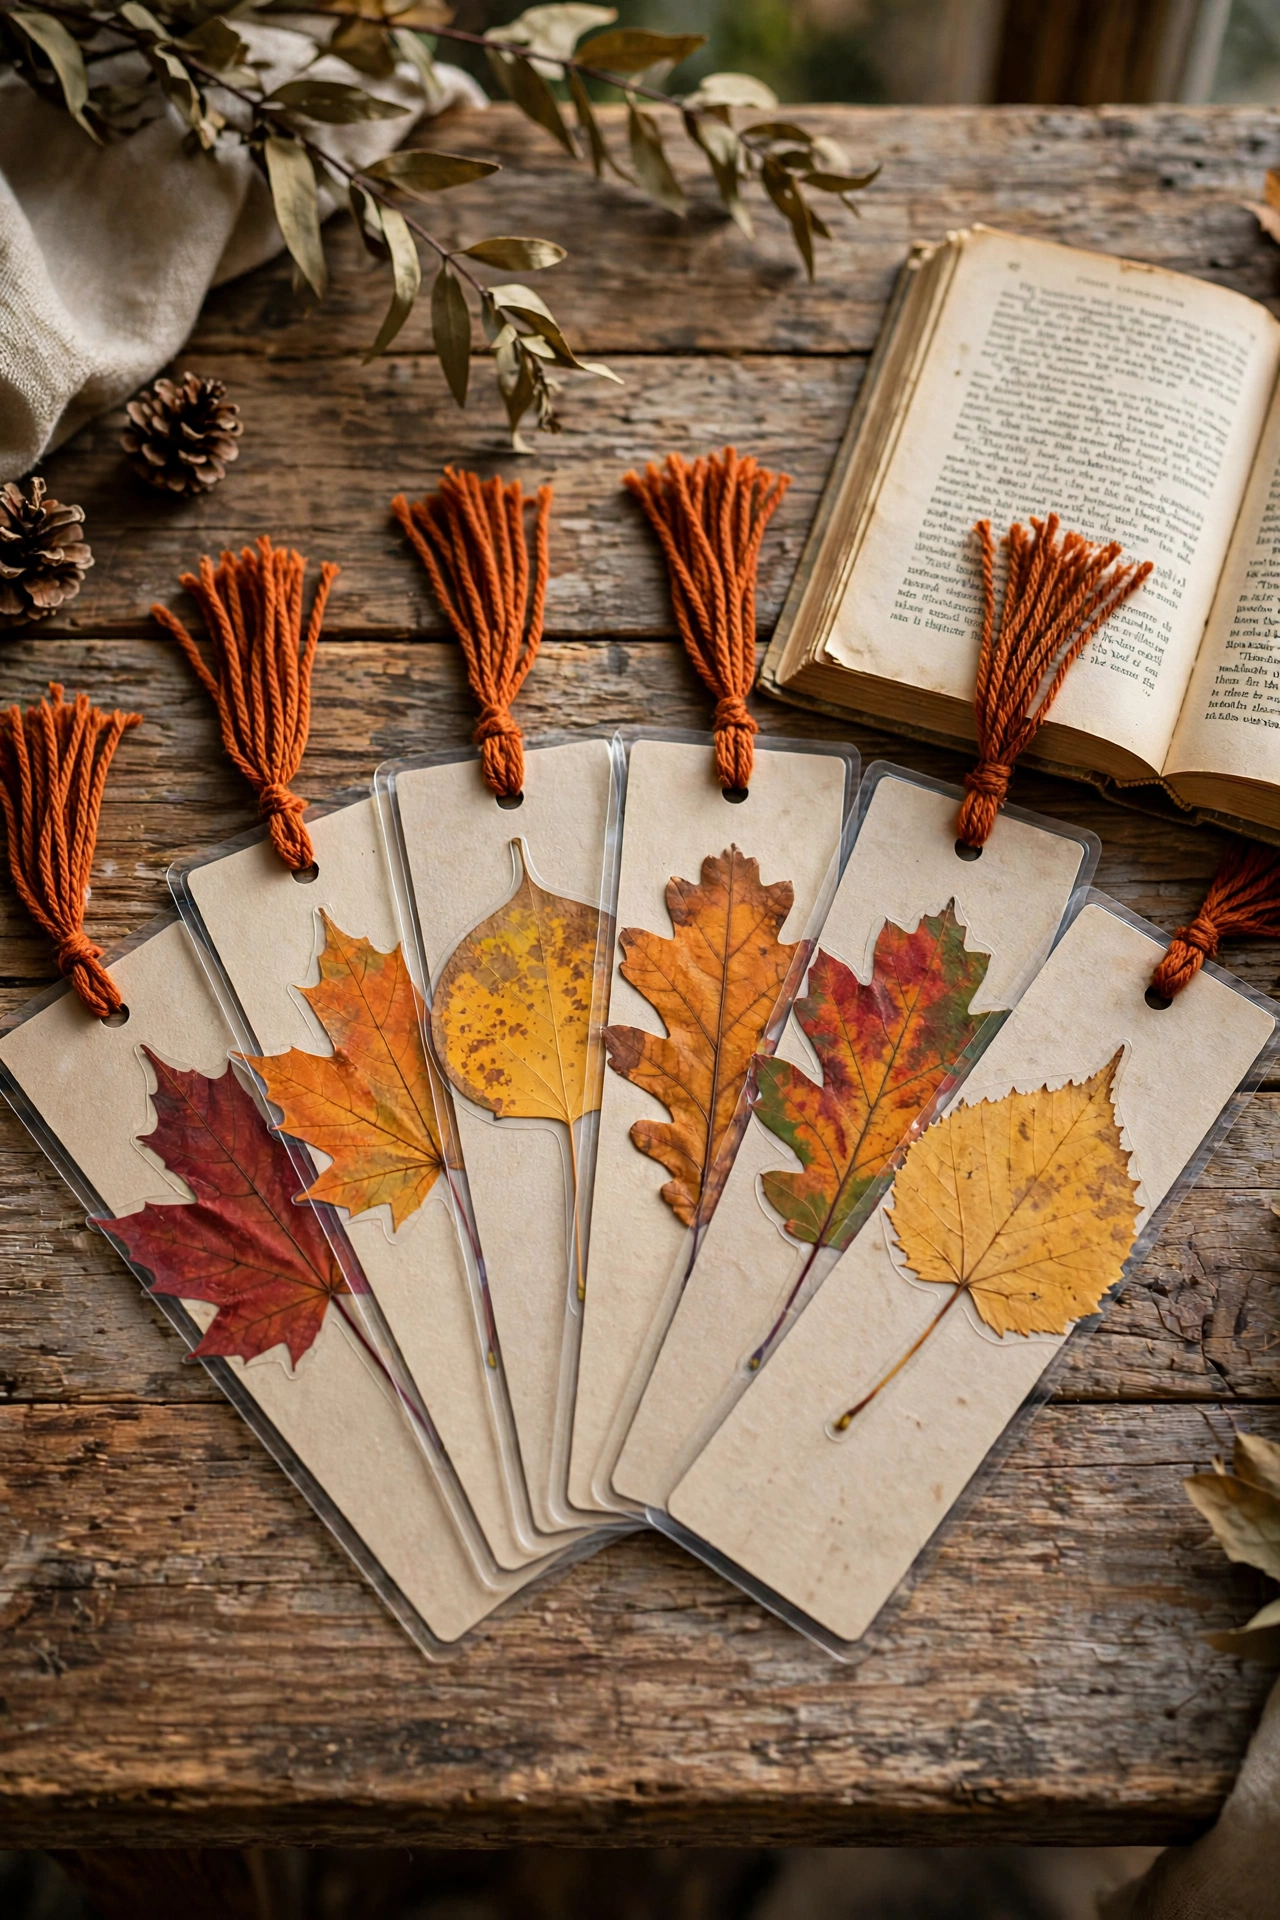
Arrange small pressed leaves on cardstock strips and run them through a laminator for bookmarks that actually get used. No laminator? Self-seal laminating sheets work the same way and cost a few dollars for a pack. Punch a hole at the top and add a yarn tassel in a fall color. A class set of 25 makes a genuinely appreciated teacher gift, and a pack of 50 laminating pouches costs under ten dollars.
Try this: write the leaf type on the back with a fine-tip marker before laminating. It turns a bookmark into a tiny nature lesson.
Difficulty: Easy | Cost: $5-$10
17. Pinecone Leaf Turkey
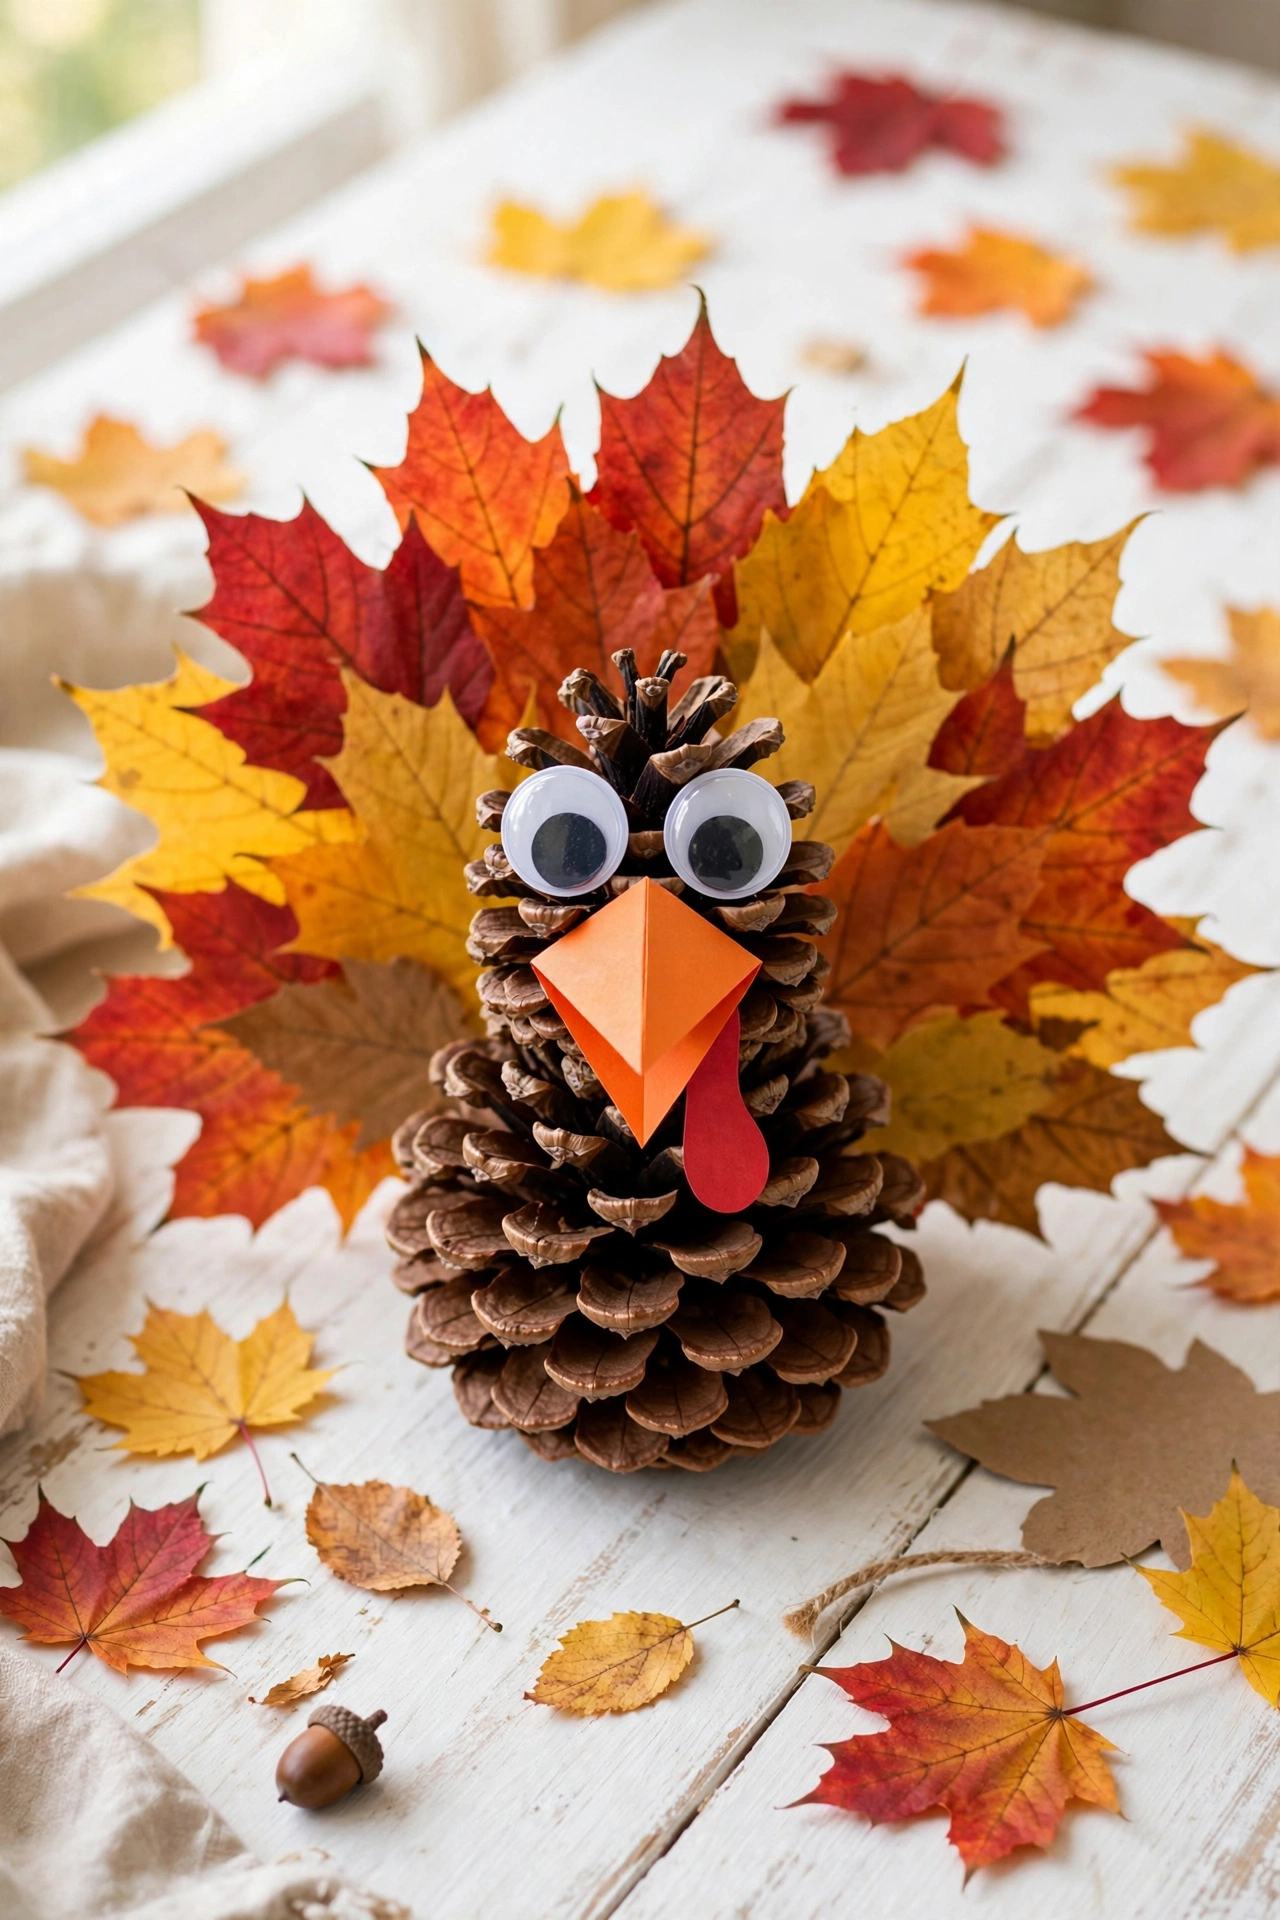
Glue colorful leaves as tail feathers behind a pinecone body and you have a Thanksgiving turkey in 15 minutes. Add googly eyes and a folded paper beak, and let the kids name them. Use tacky craft glue instead of hot glue so little hands can do every step safely. For more November projects, these Thanksgiving crafts for kids are built for the same age group.
Try this: fan seven to nine leaves in graduated sizes for the tail. A graduated fan has real dimension; a flat single row looks thin.
Difficulty: Easy | Cost: $0-$5
18. Leaf-Stamped Cloth Napkins
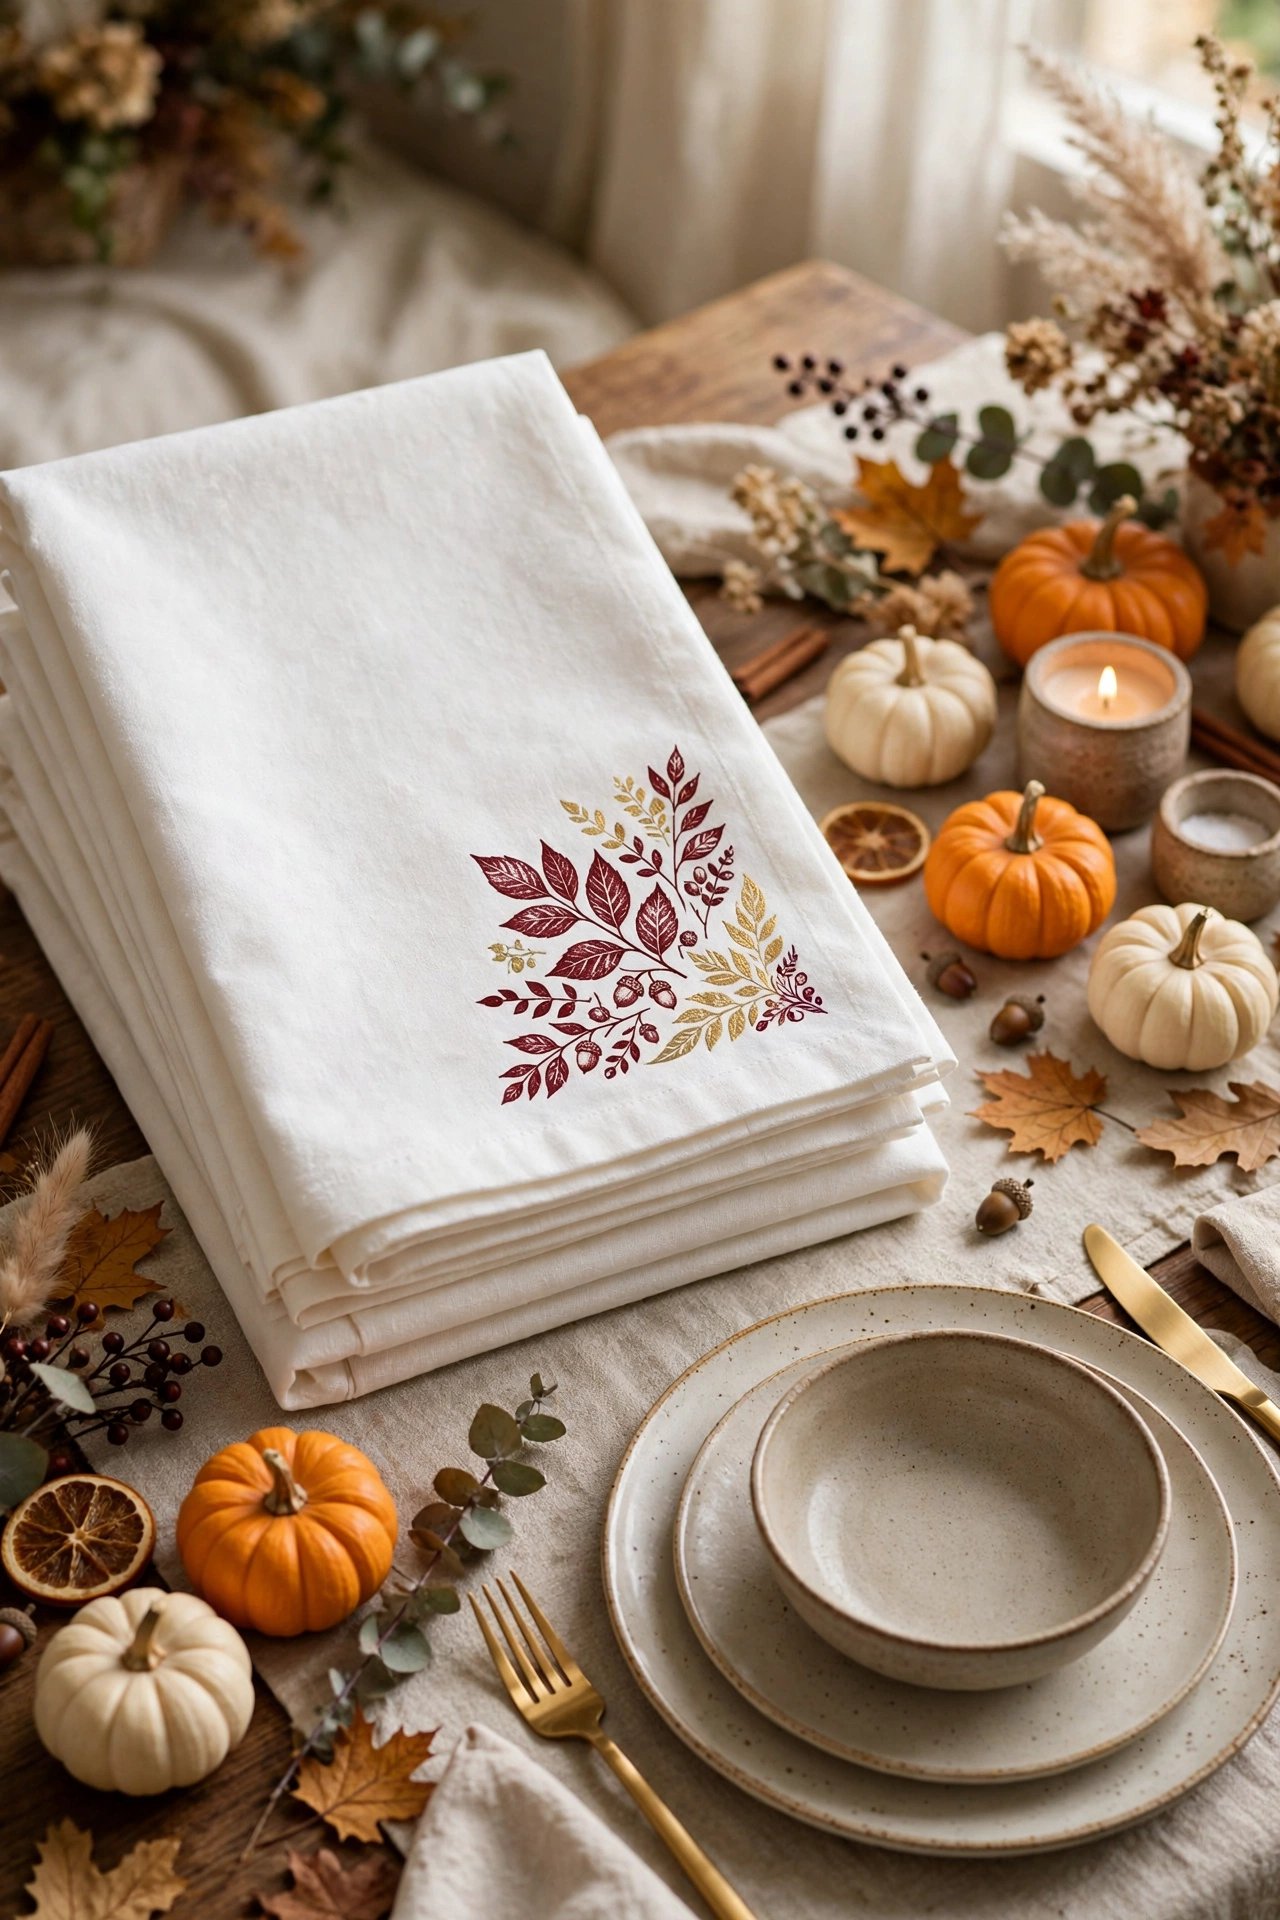
Stamp cotton napkins with leaf prints in fabric paint for a fall tablescape that costs a fraction of store-bought linens. Pre-wash the napkins without fabric softener first; softener leaves a coating that stops paint from adhering. Stamp, let dry, then heat-set with an iron before the first wash. A set of four takes under an hour including drying time, and plain cotton napkins are cheap in multi-packs.
Try this: stamp only one corner of each napkin. An all-over pattern looks busy once the napkins are folded on the table.
Difficulty: Easy | Cost: $10-$15
19. Leaf Silhouette Canvas
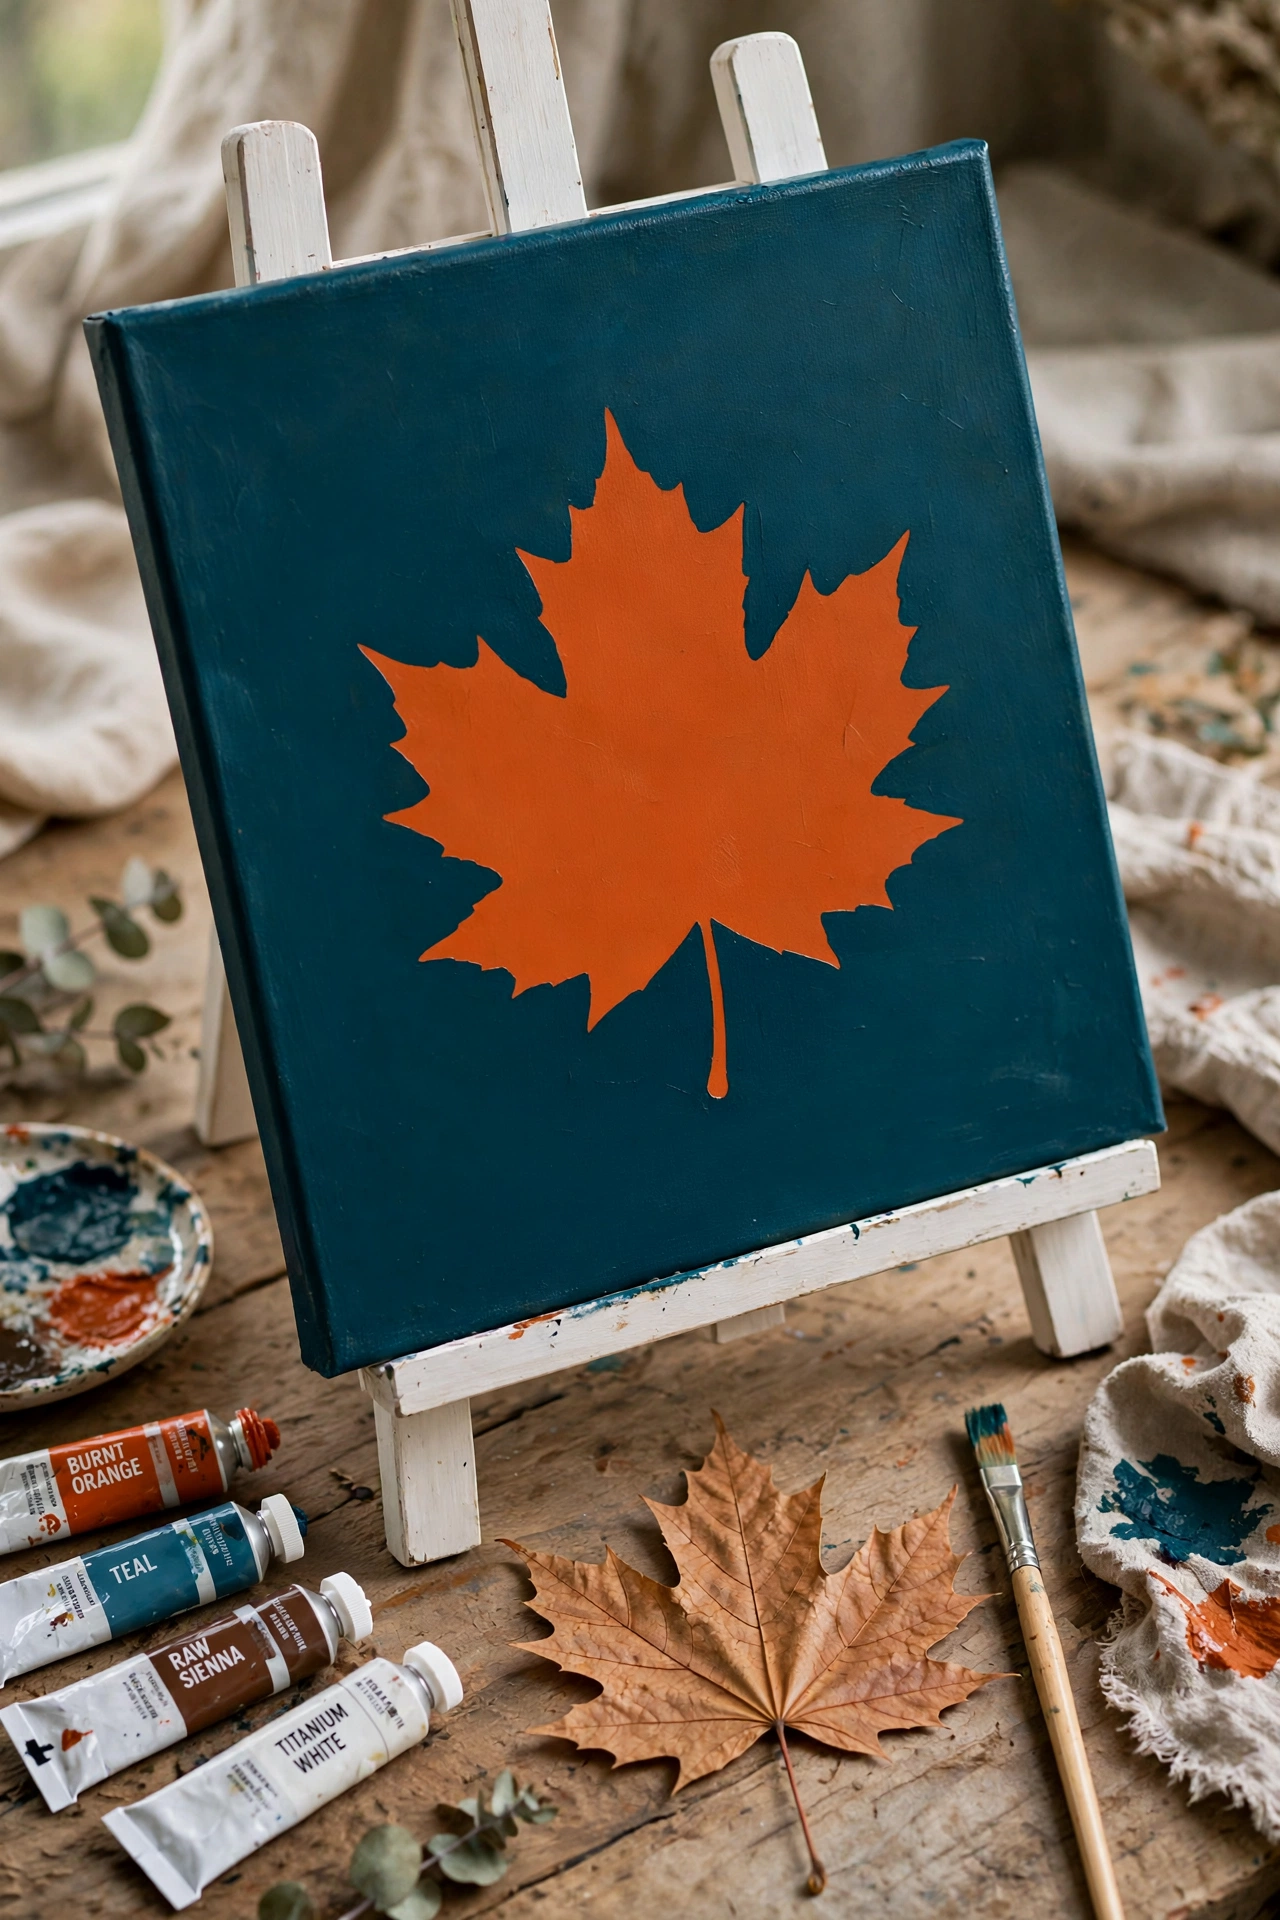
Paint a canvas in a solid fall color, lay a large leaf flat on the wet paint, then paint over everything in a second color. Lift the leaf to reveal its crisp silhouette underneath. An 8×10 canvas panel costs about two dollars. Two thin coats give cleaner edges than one thick coat, which seeps under the leaf. If you want a guided version first, Michaels has a stamped leaf canvas project that teaches the same pressing technique with kids.
Try this: hold the leaf down with small pieces of painter’s tape. Any lifted edge lets paint seep underneath and blur the silhouette.
Difficulty: Easy | Cost: $5-$10
20. Leaf-Covered No-Carve Pumpkin
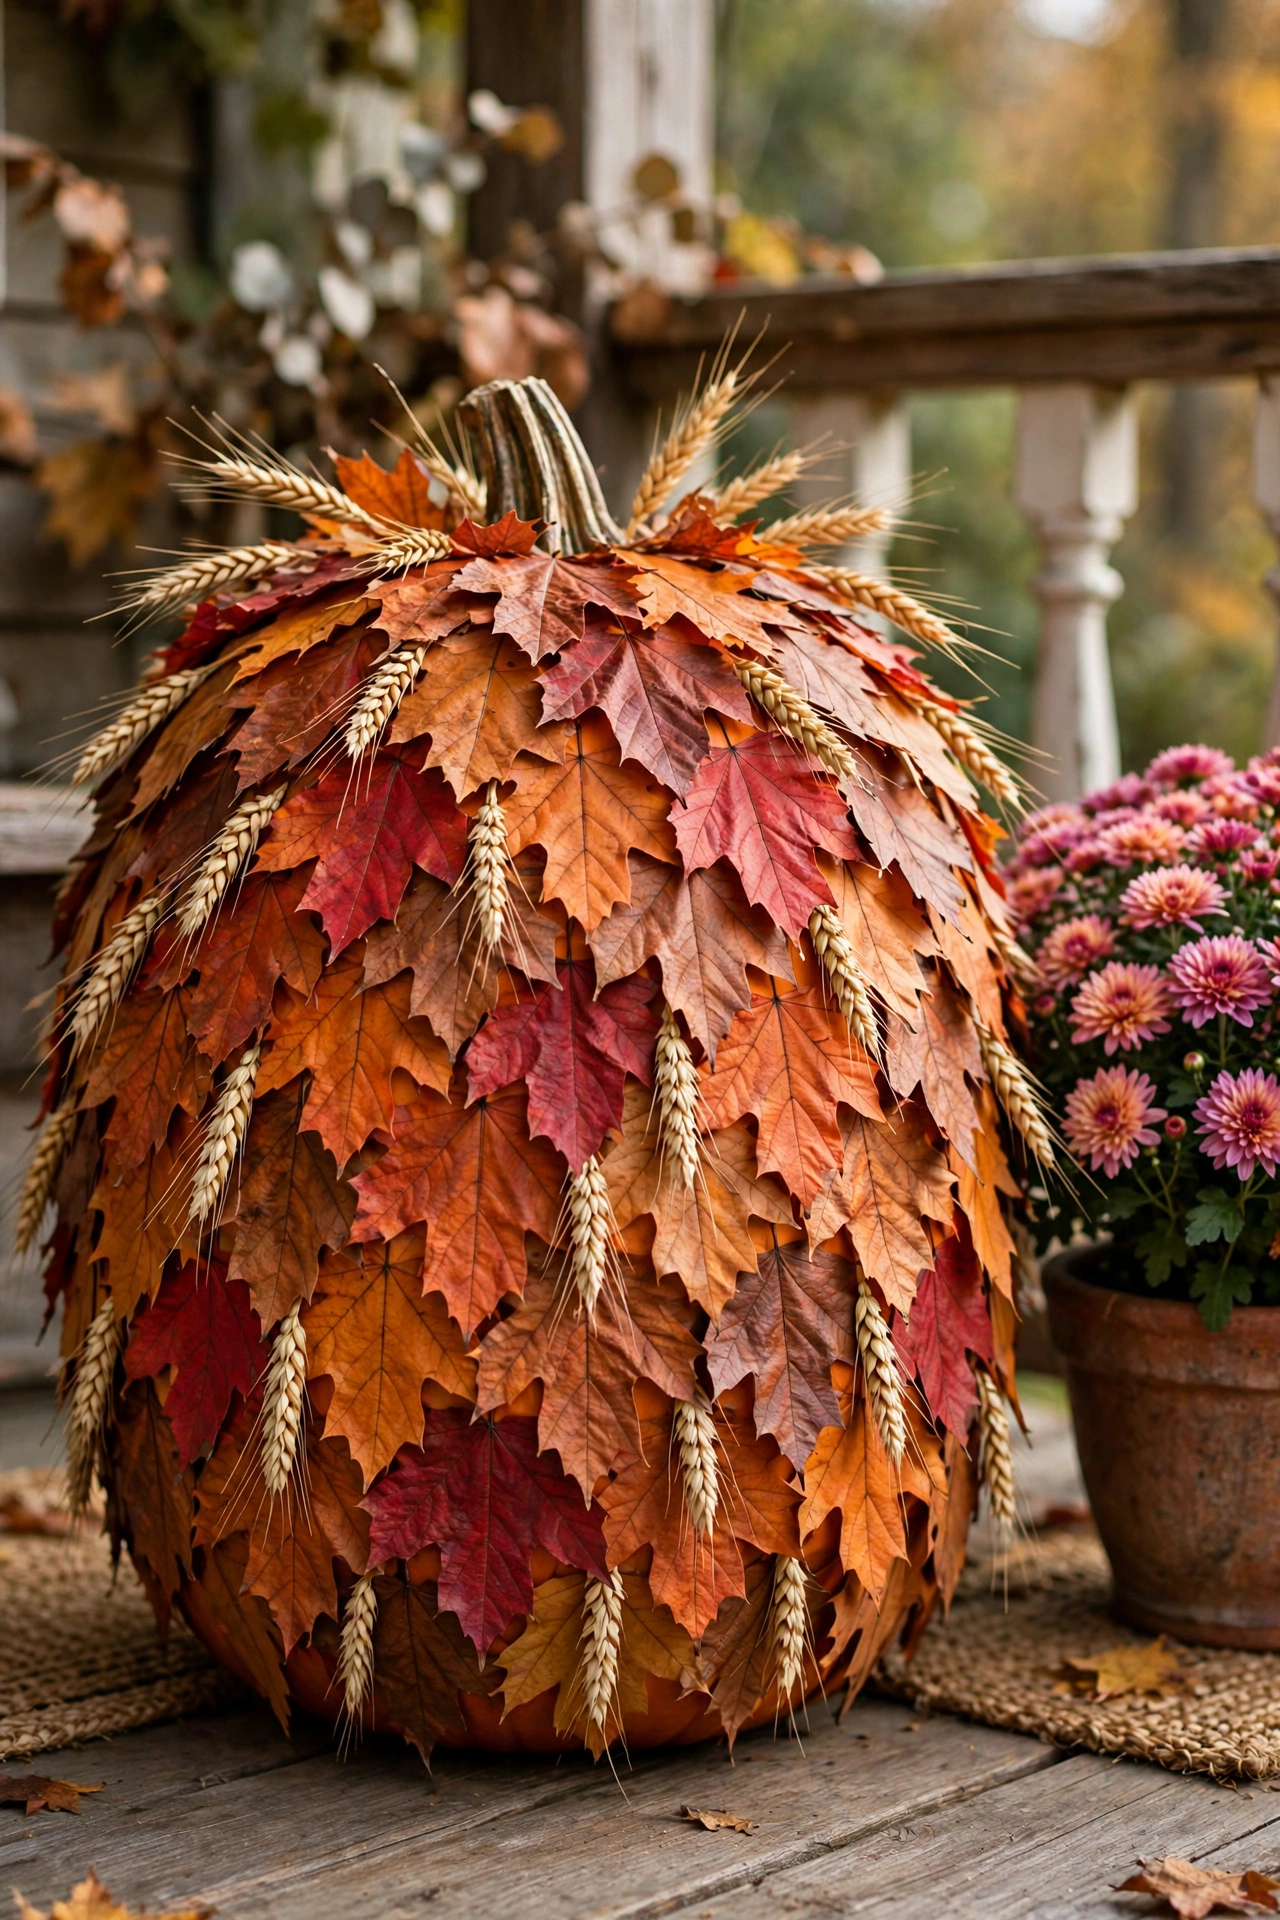
Cover a faux pumpkin with overlapping leaves using Mod Podge for a no-carve pumpkin that lasts all season. Start at the top and work down in rings, overlapping the leaves like shingles. A nine-inch craft pumpkin needs about 25 leaves. Real leaves dry and curl within days, so use faux leaves or brush on a heavy sealer coat for longevity. No knives involved, which means kids can help with every single step.
Try this: tuck in a few dried wheat stems or eucalyptus sprigs between the leaves. The texture contrast keeps the pumpkin from looking flat.
Difficulty: Easy | Cost: $10-$15
Which leaf craft should you start with?
| Craft | Cost | Active time | Difficulty | Best for |
|---|---|---|---|---|
| Leaf animals | $0-$5 | 20 min | Easy | Toddlers and preschoolers |
| Fall leaf garland | $5-$10 | 20 min | Easy | Instant mantel decor |
| Leaf mason jar luminaries | $5-$10 | 15 min + drying | Easy | Porch glow |
| Maple leaf rose bouquet | $0-$5 | 45 min | Moderate | A gift that impresses |
| Pinecone and leaf wreath | $10-$20 | 1 hour | Moderate | Front door statement |
| Leaf-embossed clay dishes | $10-$15 | 30 min + drying | Moderate | Handmade gifts |
Frequently asked questions
How do you keep fall leaves from curling and turning brown?
Press them flat between book pages for 10 to 14 days before you craft. For leaves you want to stay flexible, soak them for three to five days in a mix of one part glycerin to two parts water, then pat dry. Either way, seal finished pieces with Mod Podge or a clear acrylic sealer. Sealed leaves hold their color for months; unsealed ones fade within weeks.
How long do crafts made with real leaves last?
Pressed and sealed pieces kept indoors away from direct sun last several months to a year. Unsealed garlands and wreaths look good for two to four weeks before drying out. Outdoor pieces fade fastest. If you want a craft to survive multiple seasons, use good-quality faux leaves instead of real ones.
Are leaf crafts safe for toddlers?
Yes, with supervision and a few swaps. Use washable paint and tacky craft glue instead of hot glue, which should be handled by adults only. Skip small parts like googly eyes, beads, and acorns for children under three, since they are choking hazards. Leaf rubbing, leaf animals (without small parts), and suncatchers are the best picks for the youngest crafters.
Can I use fake leaves instead of real ones?
Absolutely. Silk leaves never curl, need no pressing, and last for years, which makes them ideal for wreaths and garlands that must survive the whole season. The trade-off is texture: real leaves have vein detail and color variation that fakes cannot match. Use real leaves for art pieces and keepsakes, faux for anything structural or long-lasting.
What is the best glue for sticking leaves to things?
Match the glue to the job. Mod Podge both glues and seals, so it is the best all-rounder for leaf bowls, luminaries, and pumpkins. Hot glue grabs instantly for wreaths and heavy joins but must be handled by adults. Tacky craft glue is the right pick for kids’ paper and cardstock projects because it is non-toxic and washable.
Final thoughts
Start with the leaves in your own yard. They are free, they are beautiful for about three weeks, and they are the whole point. Pick one craft that fits your weekend, gather your supplies, and make something before the wind takes the rest. The prettiest fall decor is the kind you made yourself.


