


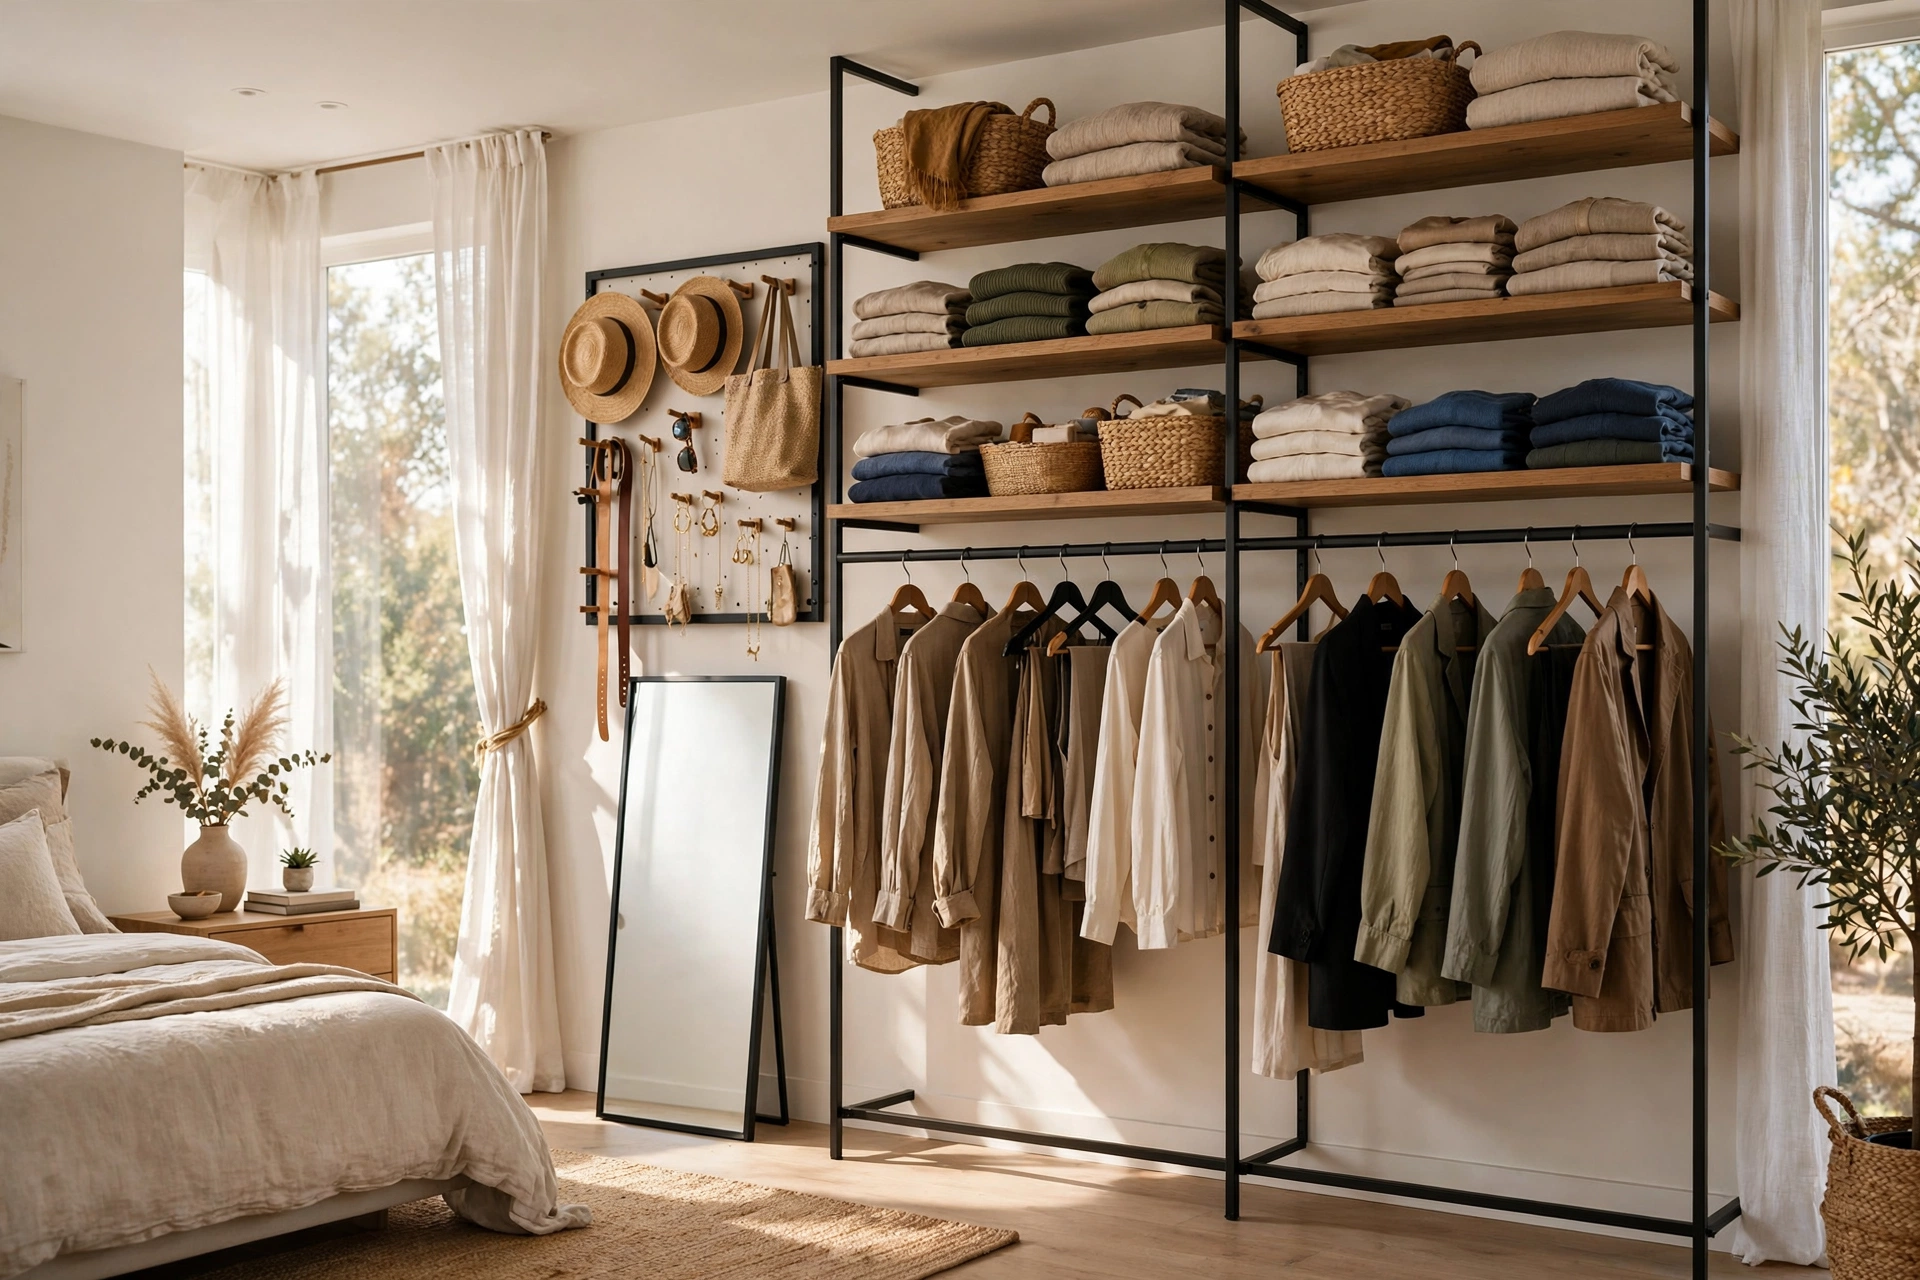
For years my “closet” was a dark, overstuffed box with sliding doors I dreaded opening. Clothes migrated to the back and were never seen again, the rod sagged in the middle under the weight of everything I owned, and every morning started with a ten-minute dig through hangers. Then we moved into a rental with no built-in closets at all — just four white walls and a polite shrug from the landlord. I had two choices: buy a bulky wardrobe I couldn’t afford, or figure out how to store my clothes out in the open. I chose the open route, and honestly, I never went back.
That first setup was embarrassingly simple — a cheap garment rack and a bookshelf I already owned. But something surprising happened: because everything was visible, I stopped buying duplicates of things I already had, I started putting laundry away the same day instead of letting it colonize a chair, and getting dressed got noticeably faster. An open concept closet isn’t just a storage workaround. It’s a different relationship with your clothes.
Below are 25 easy DIY open concept closet ideas I’ve built, borrowed, and refined over the years — from an industrial pipe rack you can assemble in one afternoon to a curtain-covered setup that hides the mess when guests come over. Each idea includes what it costs, how much skill it takes, and the small practical details that make it actually work day to day instead of just looking good in a photo.
- An open concept closet means storage without doors — garment racks, wall-mounted rods, and open shelves that keep everything visible and within reach.
- Start simple: one sturdy rack plus a set of matching hangers beats an elaborate build you never finish.
- Visibility is the real superpower — you wear more of what you own and stop rebuying the same black sweater.
- Dust is the honest tradeoff. A weekly wipe-down and garment covers for off-season pieces keep it under control.
- Almost every idea here is renter-friendly — freestanding pieces and minimal drilling, unless noted otherwise.
What Is an Open Concept Closet, Exactly?
It just means your wardrobe storage has no doors. Instead of a closed wardrobe or a reach-in closet with bifold doors, your clothes live on open garment racks, wall-mounted rods, and open shelving — displayed the way a boutique displays its stock. The concept took off in small apartments where there was no closet to begin with, and it stuck around because people realized it solves real problems: no door swing eating floor space, no dark corners where clothes disappear, and a built-in incentive to stay organized since everything is on display.
I’ll be straight with you about the downsides too. Open storage collects dust faster than closed storage, so it asks for a light weekly cleaning habit. And it does require an honest edit of your wardrobe — twenty stained t-shirts on an open rack look like clutter, while a curated row of clothes you actually wear looks like decor. If you can live with those two truths, an open closet is cheaper, more flexible, and more pleasant to use than almost any traditional wardrobe.
1. Industrial Pipe Garment Rack
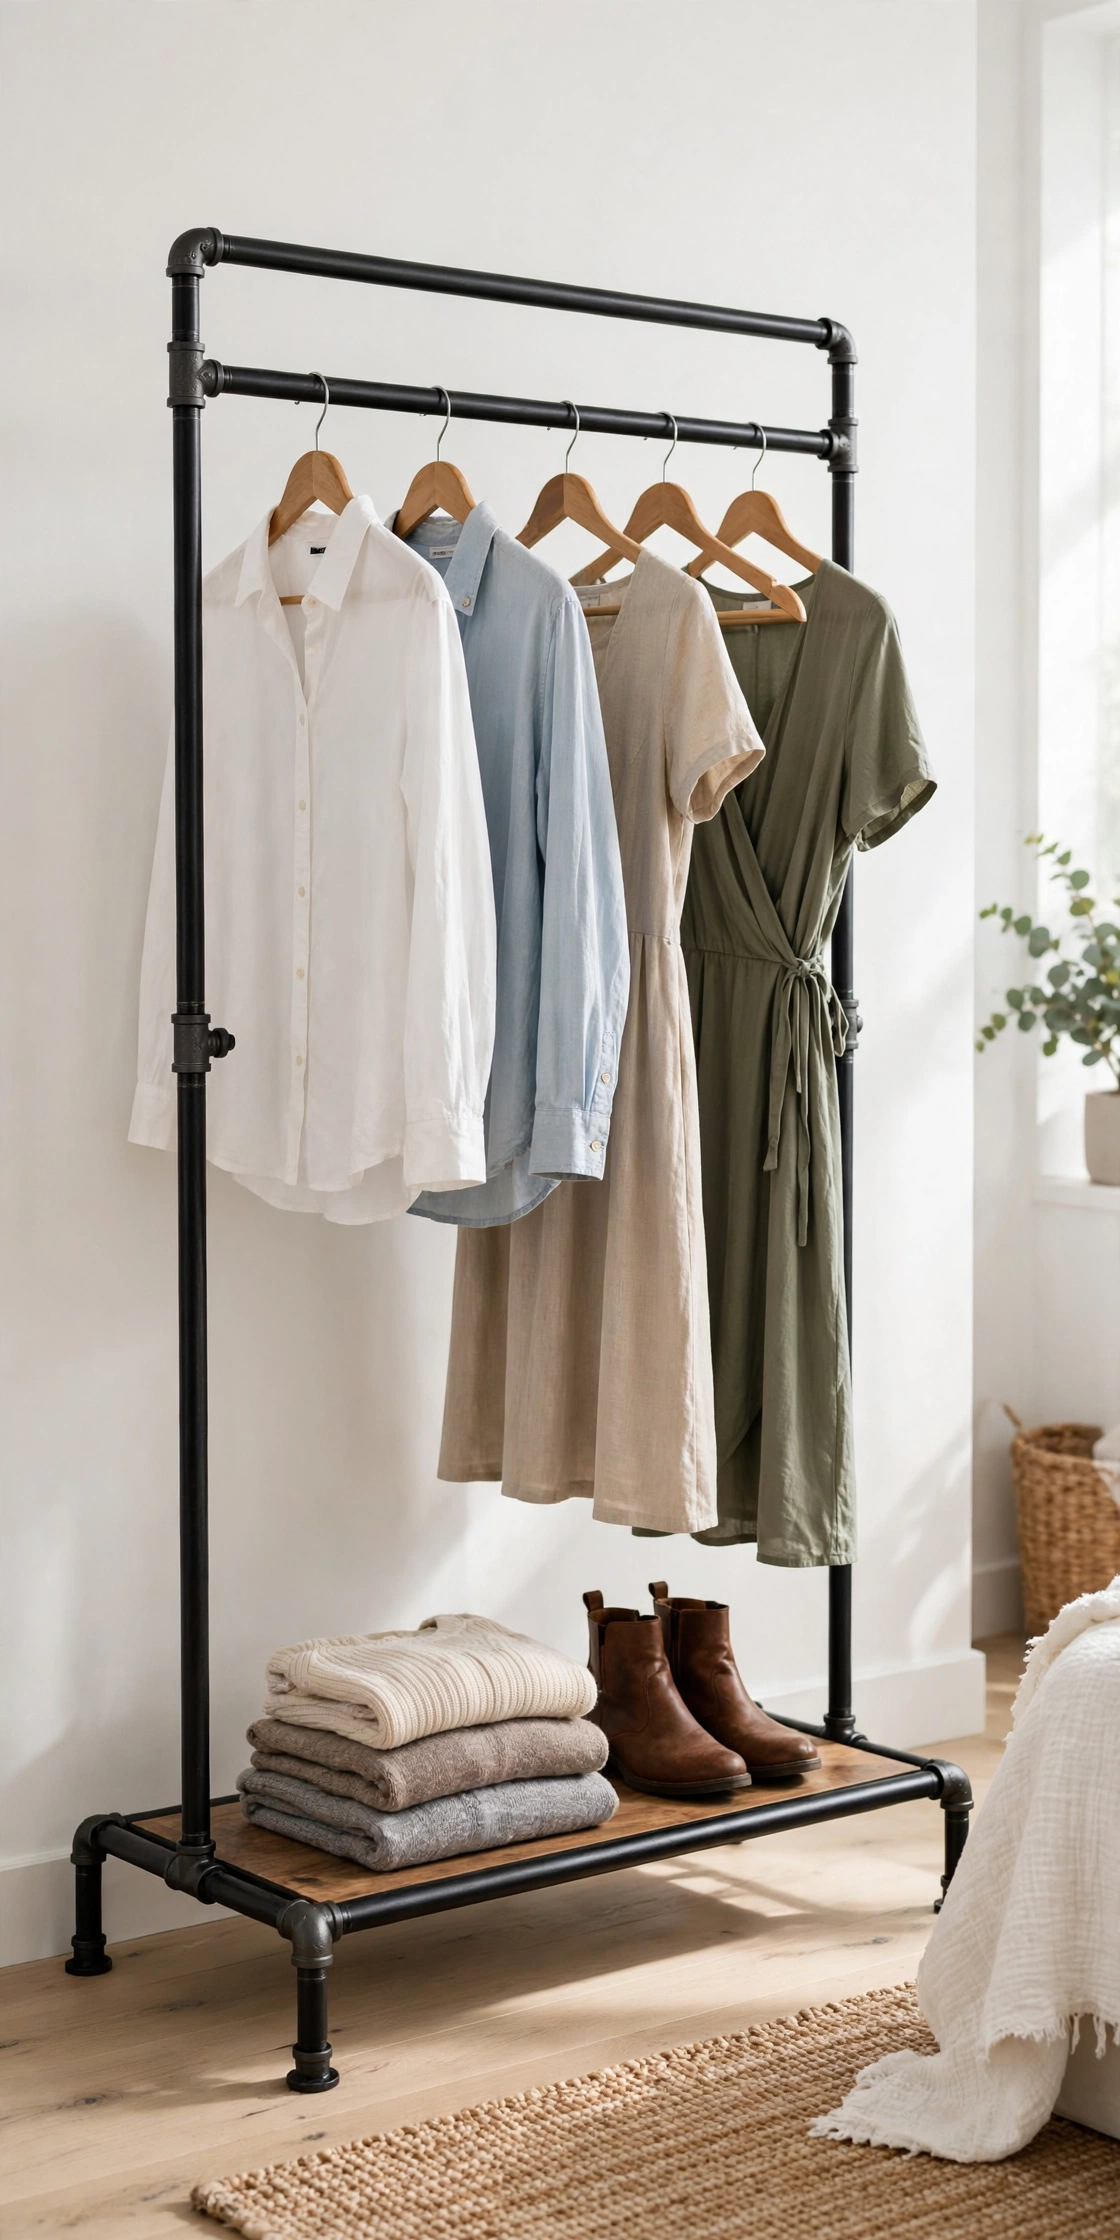
The undisputed classic of the open closet world, and the first thing I ever built. Threaded steel pipes, elbow fittings, and floor flanges from the plumbing aisle screw together into a rack that looks like it came from a high-end boutique — for about a third of the price of a store-bought equivalent. The whole thing goes together in an afternoon with no cutting if you buy pre-threaded lengths, and it’s strong enough to hold a full winter wardrobe without wobbling.
If you want an exact parts list with pipe lengths, PIPE DECOR’s step-by-step clothing rack guide walks through every fitting, measurement, and assembly step with diagrams, so you can buy exactly what you need in one hardware store trip.
Try this: spray-paint the pipes matte black or oil-rubbed bronze before assembly, and add a drop of thread-locking fluid on each fitting. Painted pipes look intentional instead of industrial-accidental, and the thread-lock stops joints from slowly loosening under the weight of heavy coats.
2. Freestanding Double Clothing Rack
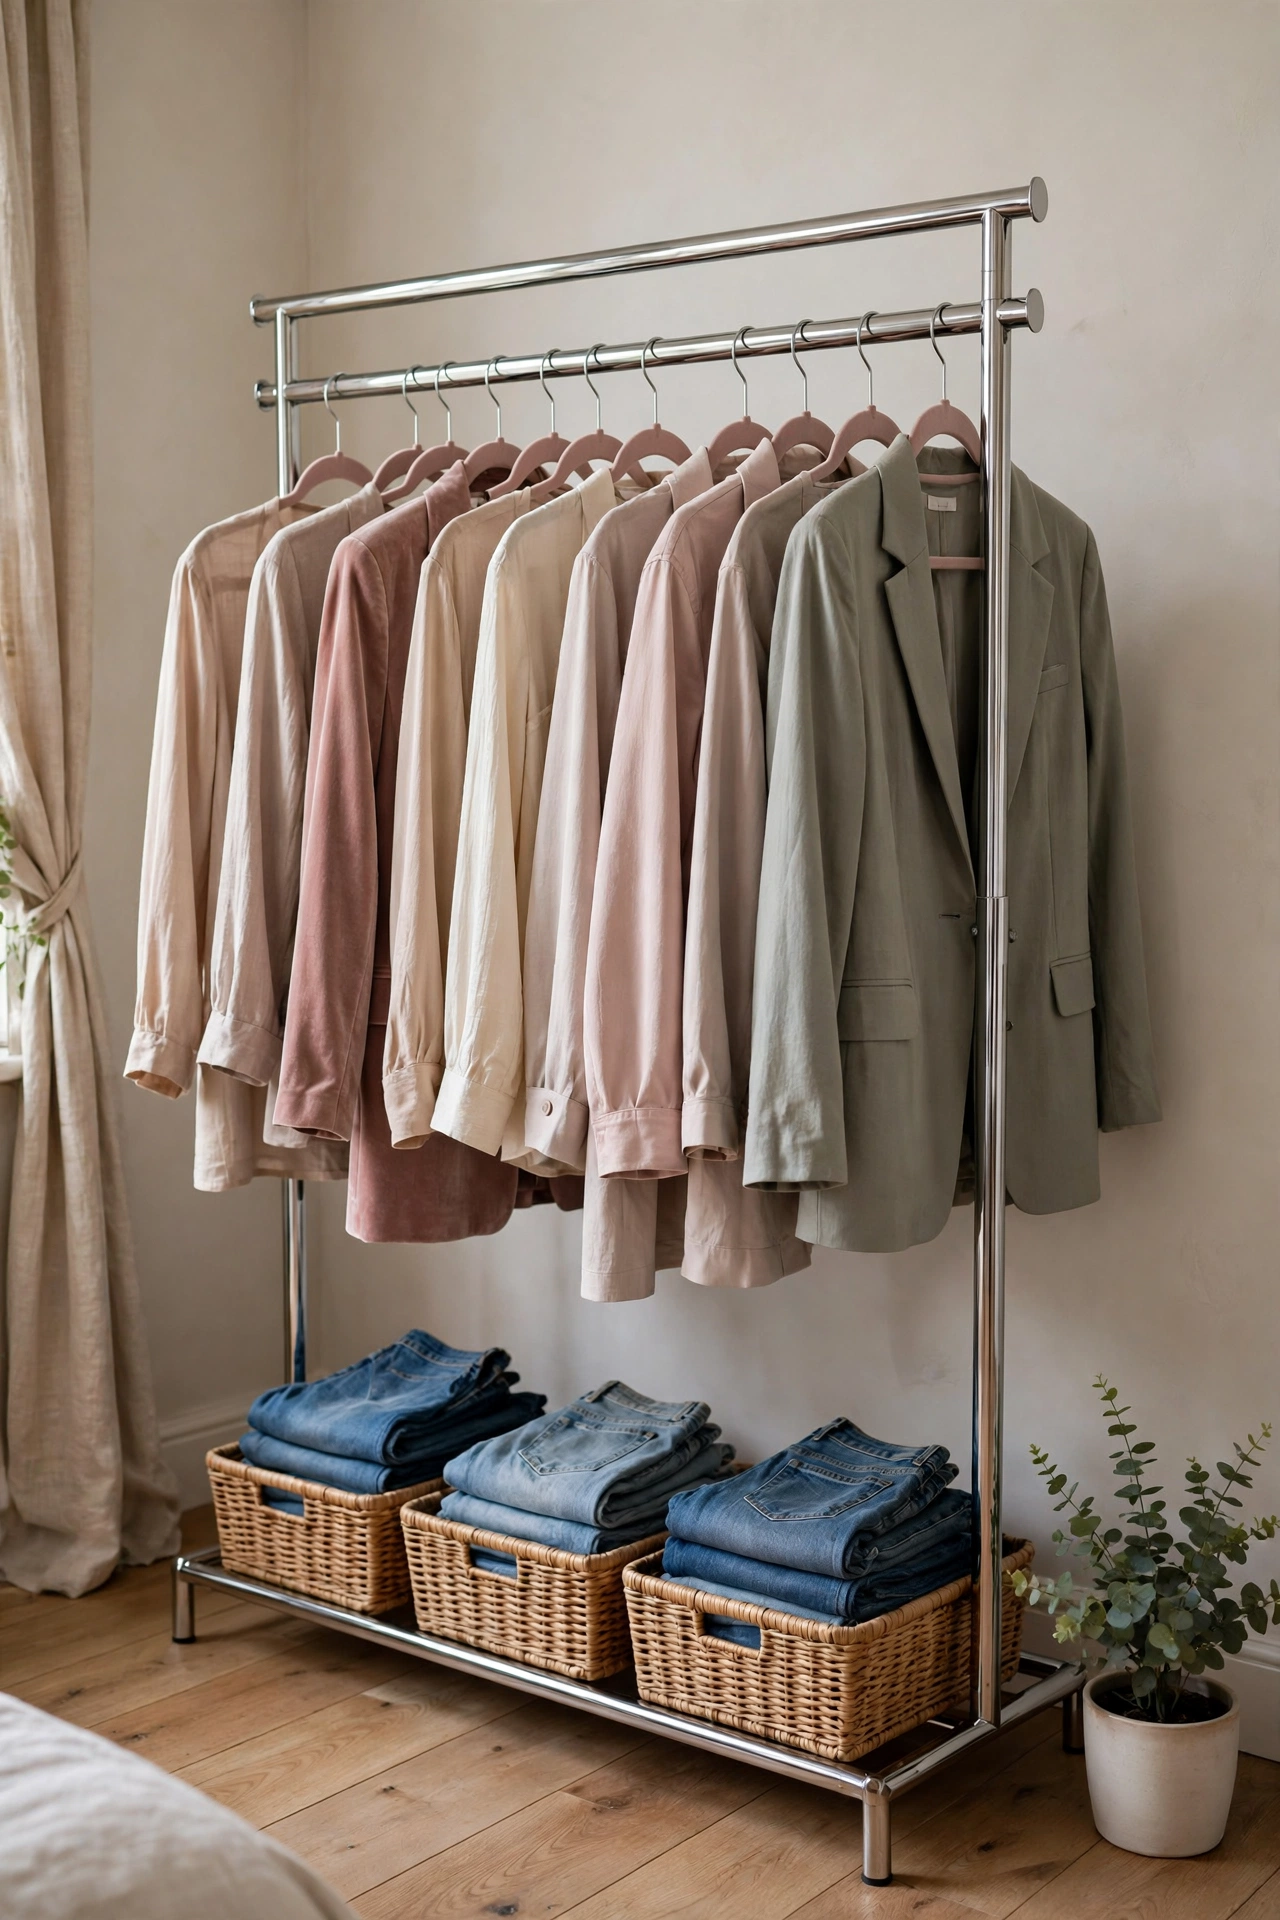
Two parallel rails instead of one doubles your hanging space in the same footprint, which makes this the best bang-for-buck option if you have a lot of clothes. Chrome or black metal double racks are cheap and everywhere, but they look a hundred times better once you style them deliberately: everyday outfits on the front rail, less-worn pieces behind, and baskets underneath for folded jeans and shoes. It reads as a curated boutique wall rather than a clothing explosion.
There are dozens of ways to build or buy this style, and this roundup of DIY clothing rack ideas from DIYnCrafty covers everything from simple dowel racks to full industrial pipe builds, with material lists for each — handy if you want to compare approaches before committing.
Try this: keep the front rail strictly for this week’s outfits and the back rail for everything else. The two-rail split becomes a natural rotation system, and you’ll immediately see which clothes never make it to the front (prime candidates for donation).
3. Wall-Mounted Closet Rods
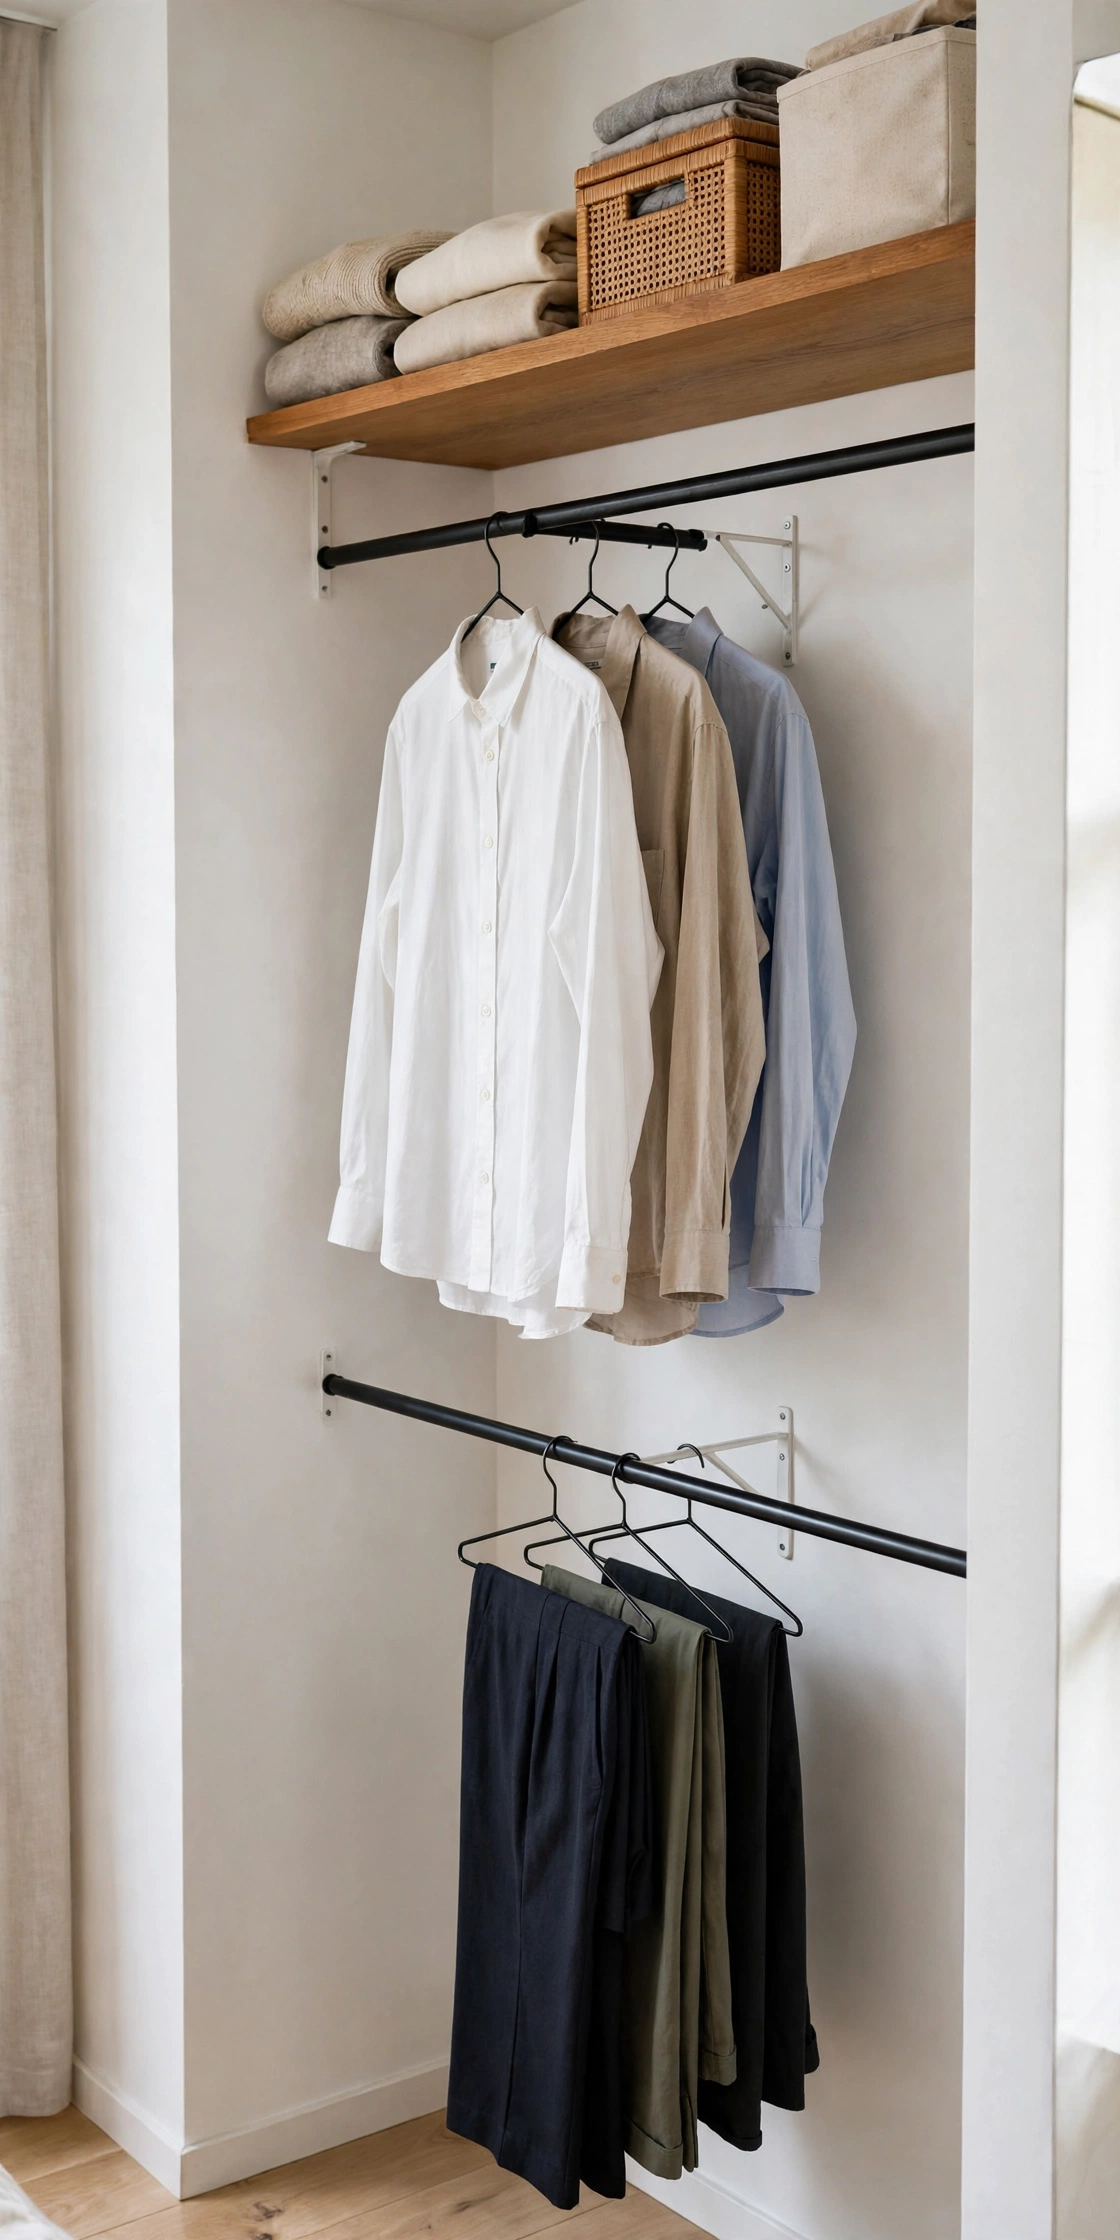
If floor space is precious, get the closet off the floor entirely. Short lengths of metal pipe or wooden dowels mounted on wall brackets turn any blank wall into hanging storage, and because there’s nothing underneath, the floor stays clear and the room feels bigger. Mount two rods at different heights — shirts up top, pants below — and you’ve recreated a full closet on about four feet of wall.
Try this: always mount brackets into wall studs, not just drywall anchors. A rod full of winter coats is shockingly heavy, and a stud-mounted rod will hold it for years while a drywall-only mount will eventually sag or pull out. A $10 stud finder is the cheapest insurance in this whole list.
4. Corner Open Closet Nook
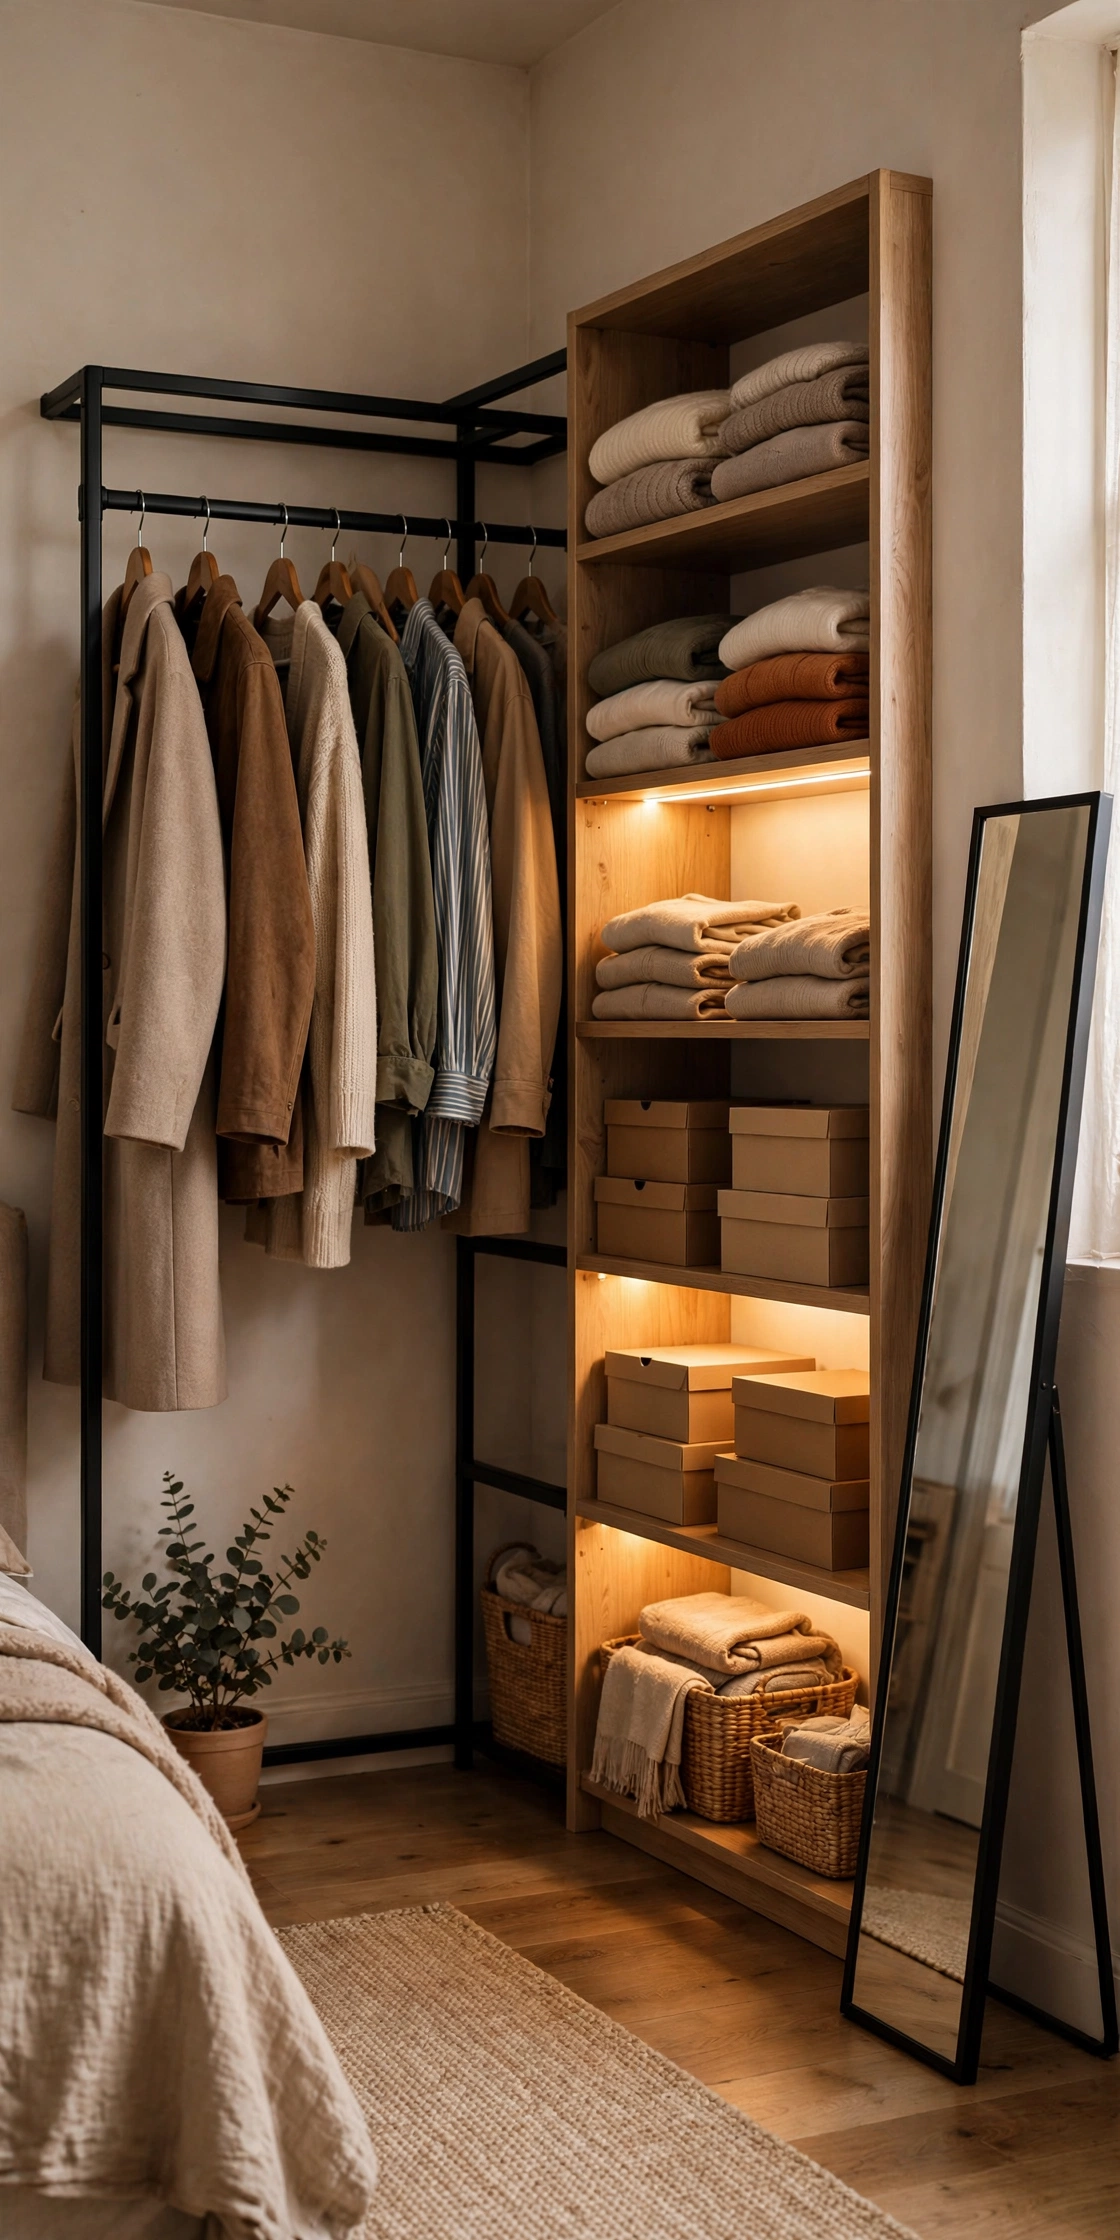
Corners are dead space in most bedrooms, which makes them perfect closet territory. Push a garment rack into the corner at an angle, add a tall narrow shelving unit on one side, and suddenly you have a defined dressing zone that doesn’t block windows or doorways. A warm LED strip tucked under the shelf turns it from “clothes in a corner” into a deliberate little boutique nook — lighting does more for the look than any single storage piece.
Try this: use the tightest part of the corner for a narrow shoe tower or stacked storage boxes. The awkward triangle that nothing else fits is exactly where vertical shoe storage shines, and it keeps footwear from colonizing the floor around the rack.
5. Behind-the-Bed Open Wardrobe
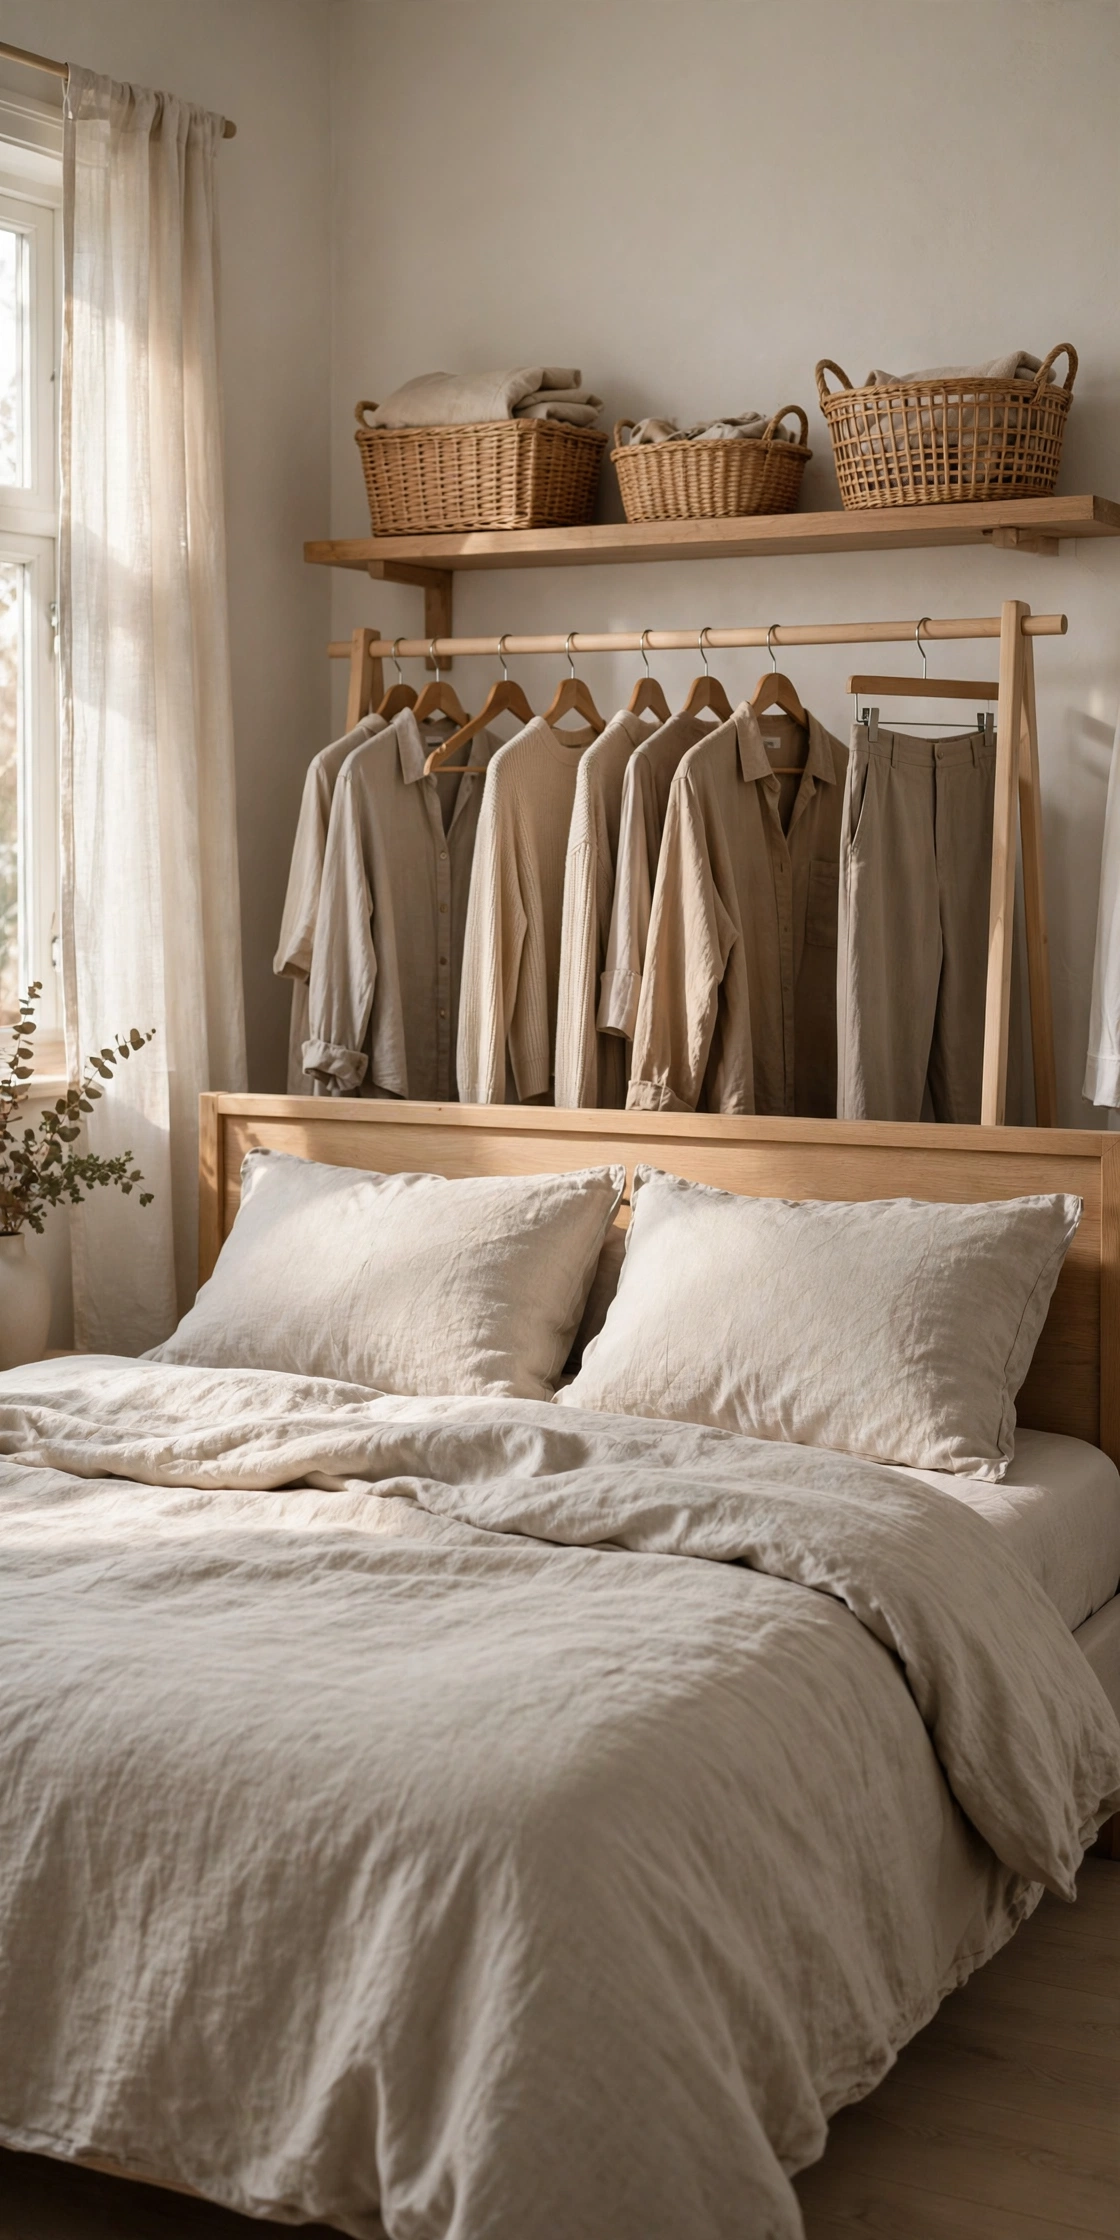
This Scandinavian trick sounds strange until you see it: pull your bed a couple of feet forward from the wall and put a low clothing rack in the gap behind the headboard. Your clothes become a textured backdrop for the bed, the room gains storage without losing a single square foot of floor, and it costs nothing if you already own a rack. It works best with a curated, color-coordinated wardrobe — your clothes are literally part of the room’s decor now.
Try this: keep the rack lower than the top of the headboard so sightlines stay clean from the doorway. A rack that peeks just above the headboard looks styled; one towering over it looks like the bedroom is being slowly eaten by laundry.
6. Curtain-Covered Open Closet
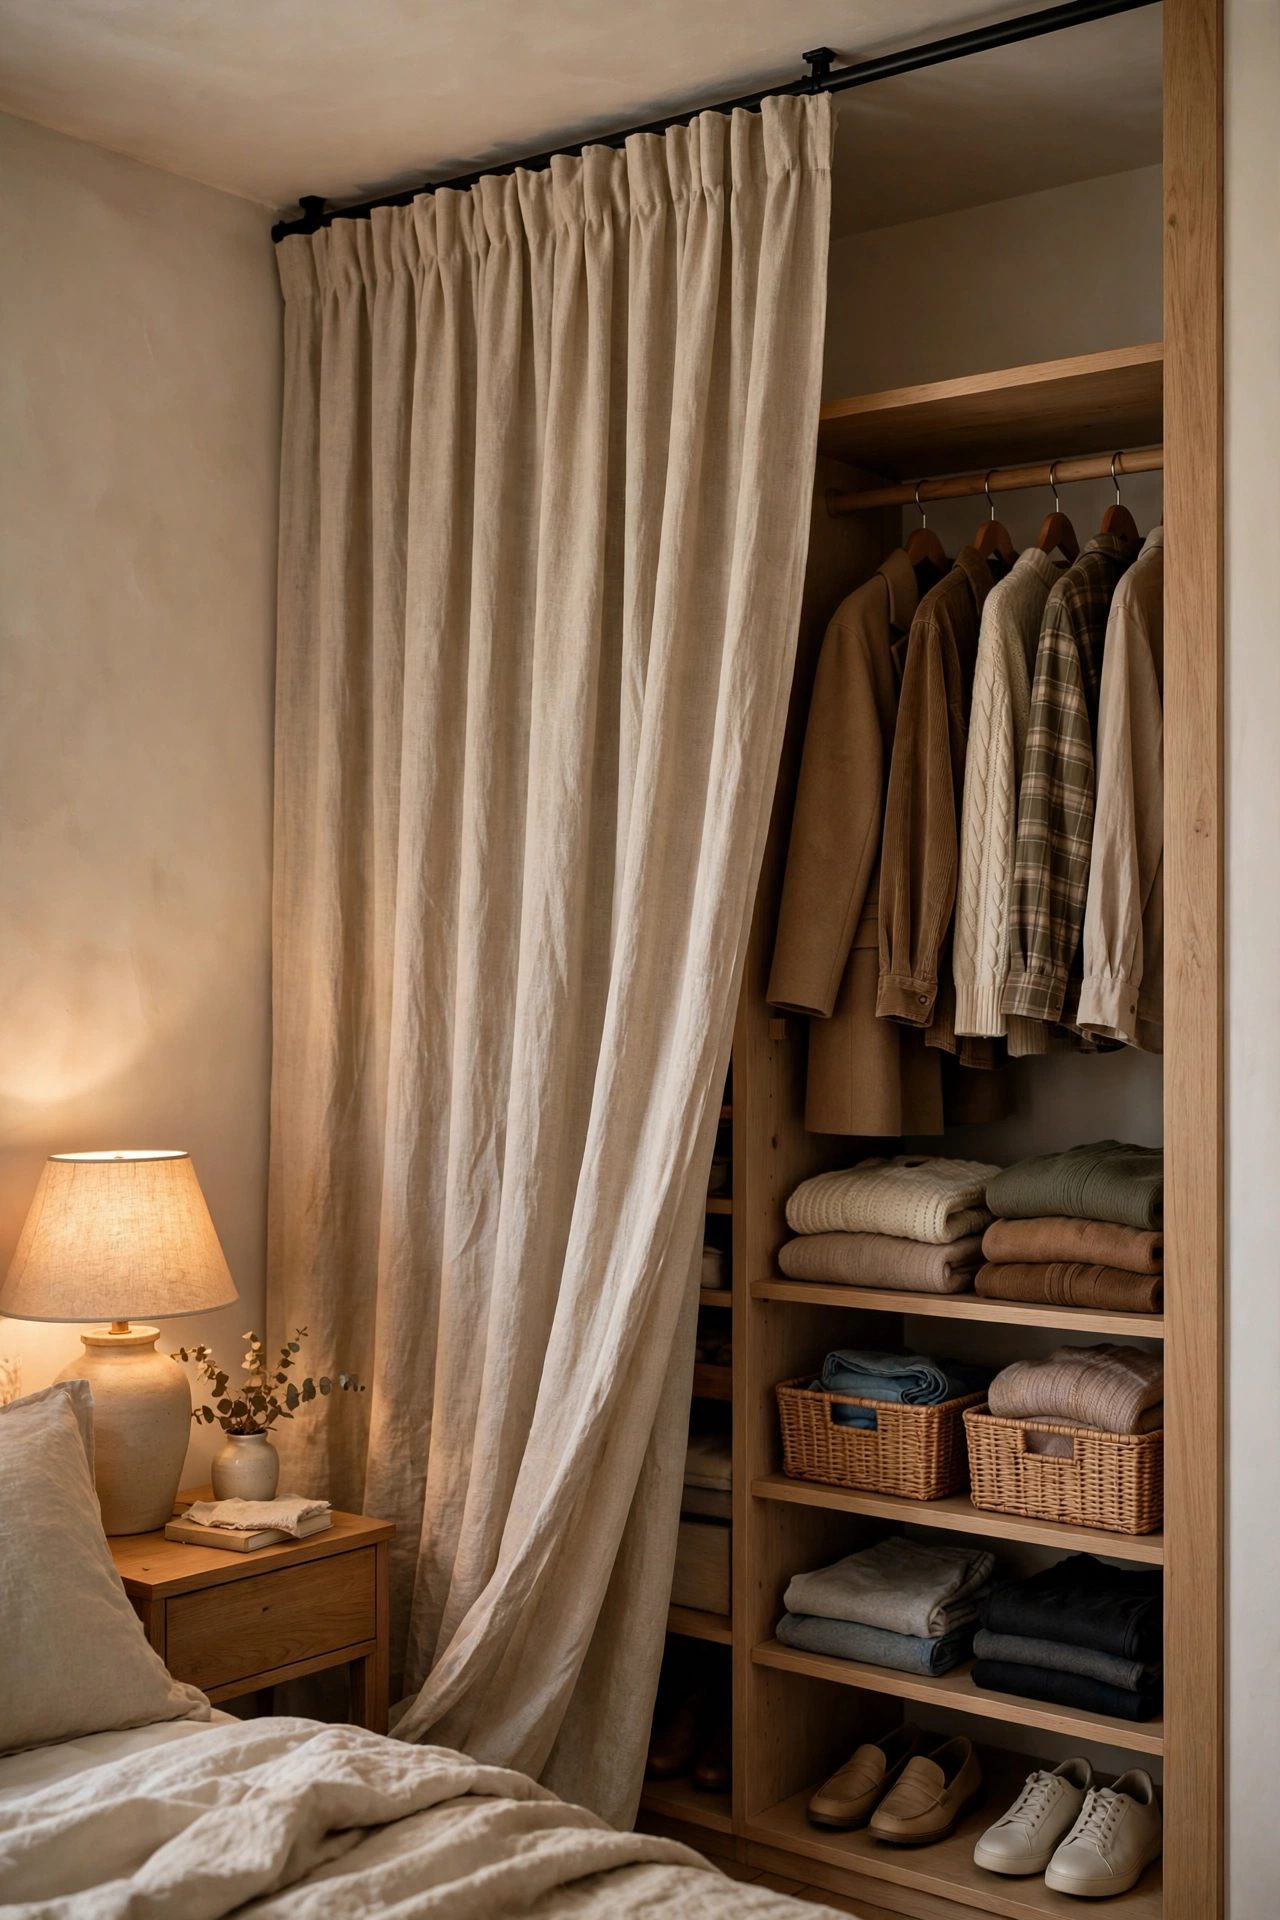
The perfect compromise for people who love open storage but panic before guests arrive. Mount a ceiling curtain track (the bendable kind costs very little and handles corners) in front of your rack and shelves, hang a natural linen or cotton curtain, and you have a closet that opens and closes in two seconds. Open on laundry day when you’re putting things away, closed when the in-laws visit — everybody wins.
Try this: choose a washable curtain fabric and add simple tie-backs. Open closets collect dust, and curtains collect it faster than anything — being able to throw the curtain in the wash every couple of months keeps the whole setup feeling fresh instead of dingy.
7. Under-Stairs Open Closet
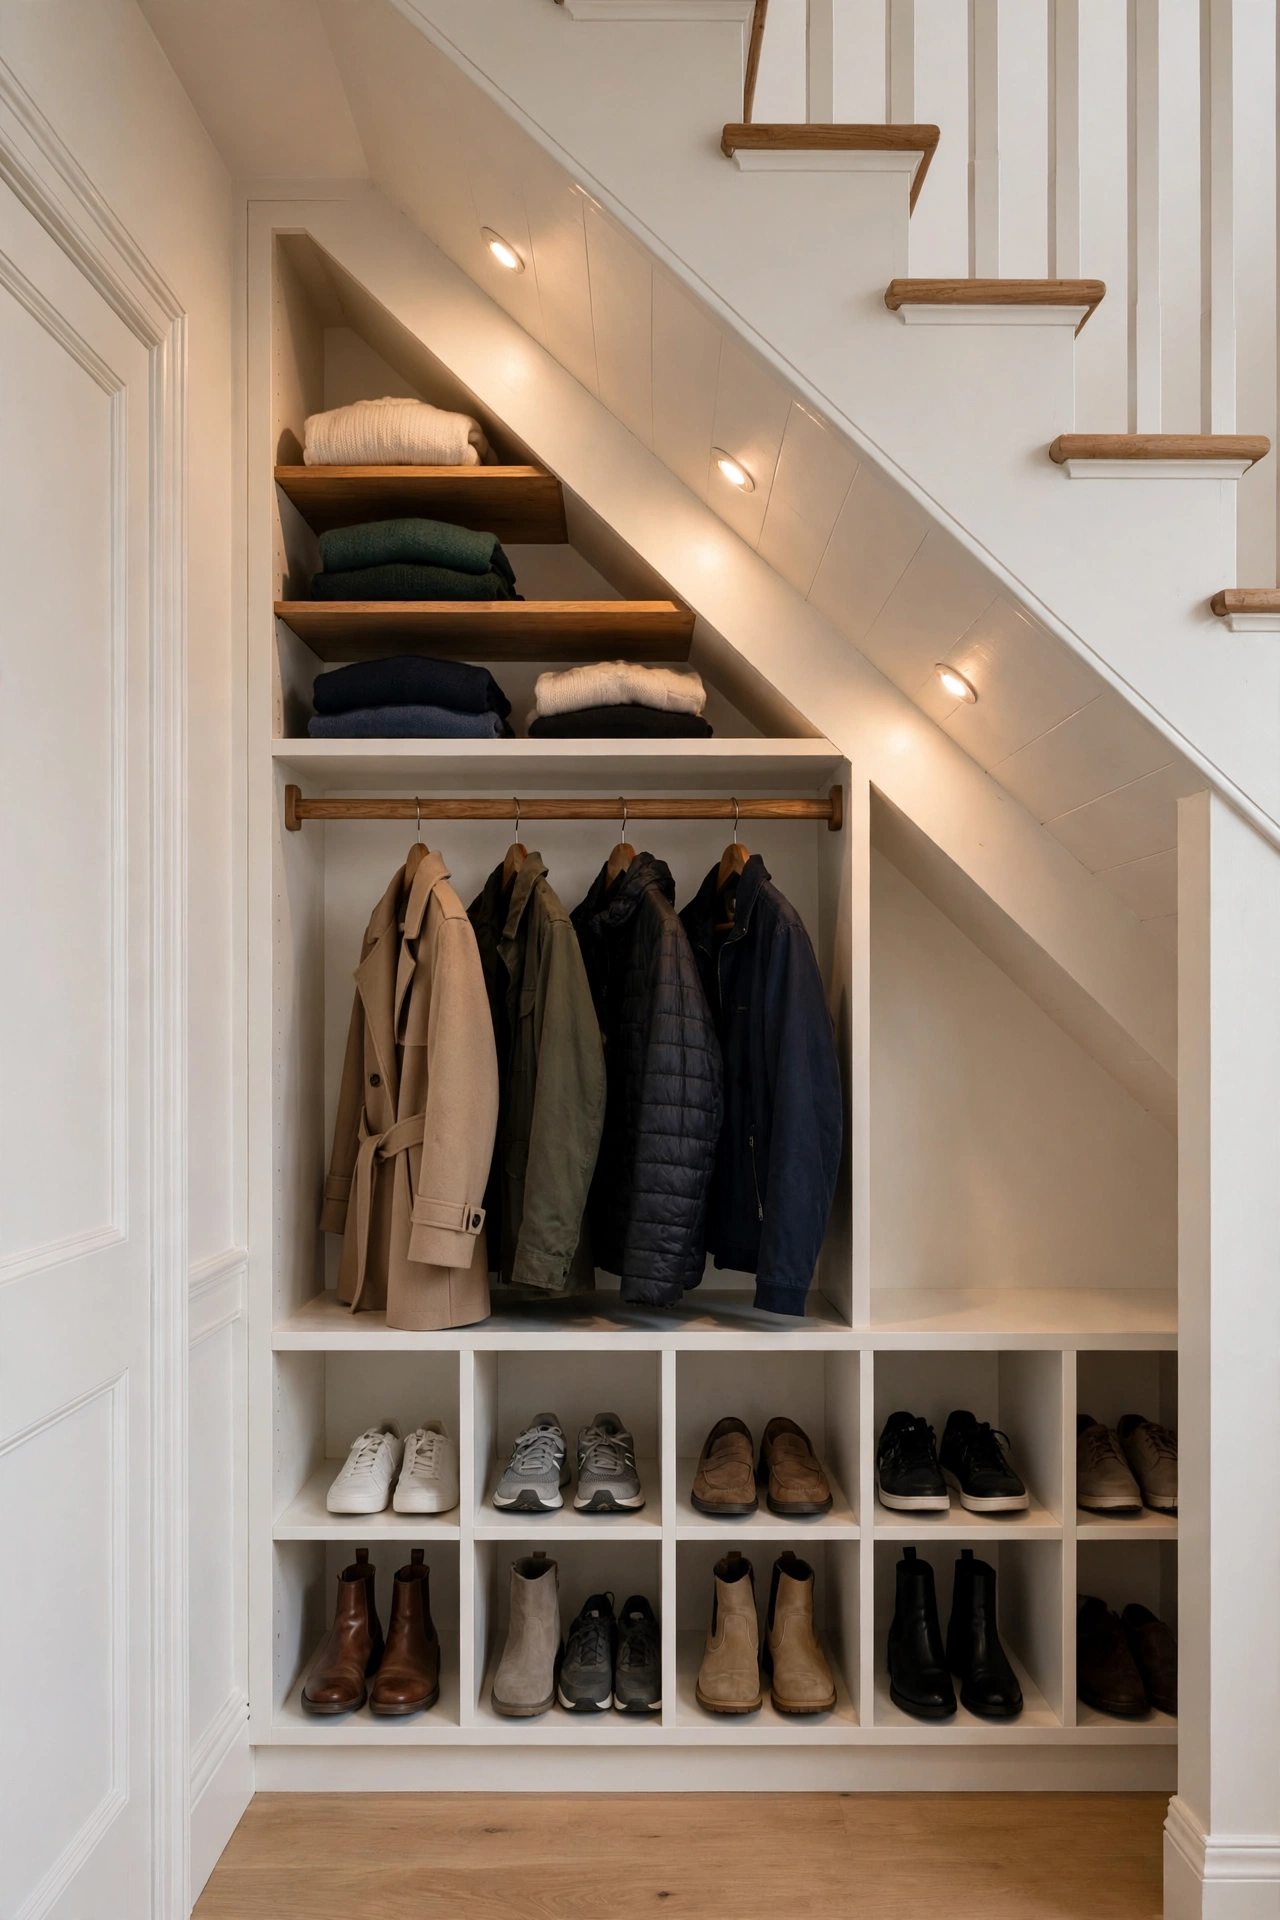
The triangular void under a staircase is some of the most wasted square footage in a house. A hanging rod mounted at the tall end, shelves stepping down with the slope, and shoe cubbies at the low end turn it into a surprisingly generous closet — long coats where the ceiling is high, folded things and shoes where it isn’t. Add a battery-powered motion light and it stops feeling like a cave.
Try this: use tension rods across the slope instead of fixed rods. They wedge between the stair stringers with no drilling, they’re adjustable as you figure out the layout, and they come back out cleanly when you move — ideal for renters with a staircase to spare.
8. Alcove or Recessed Wall Closet
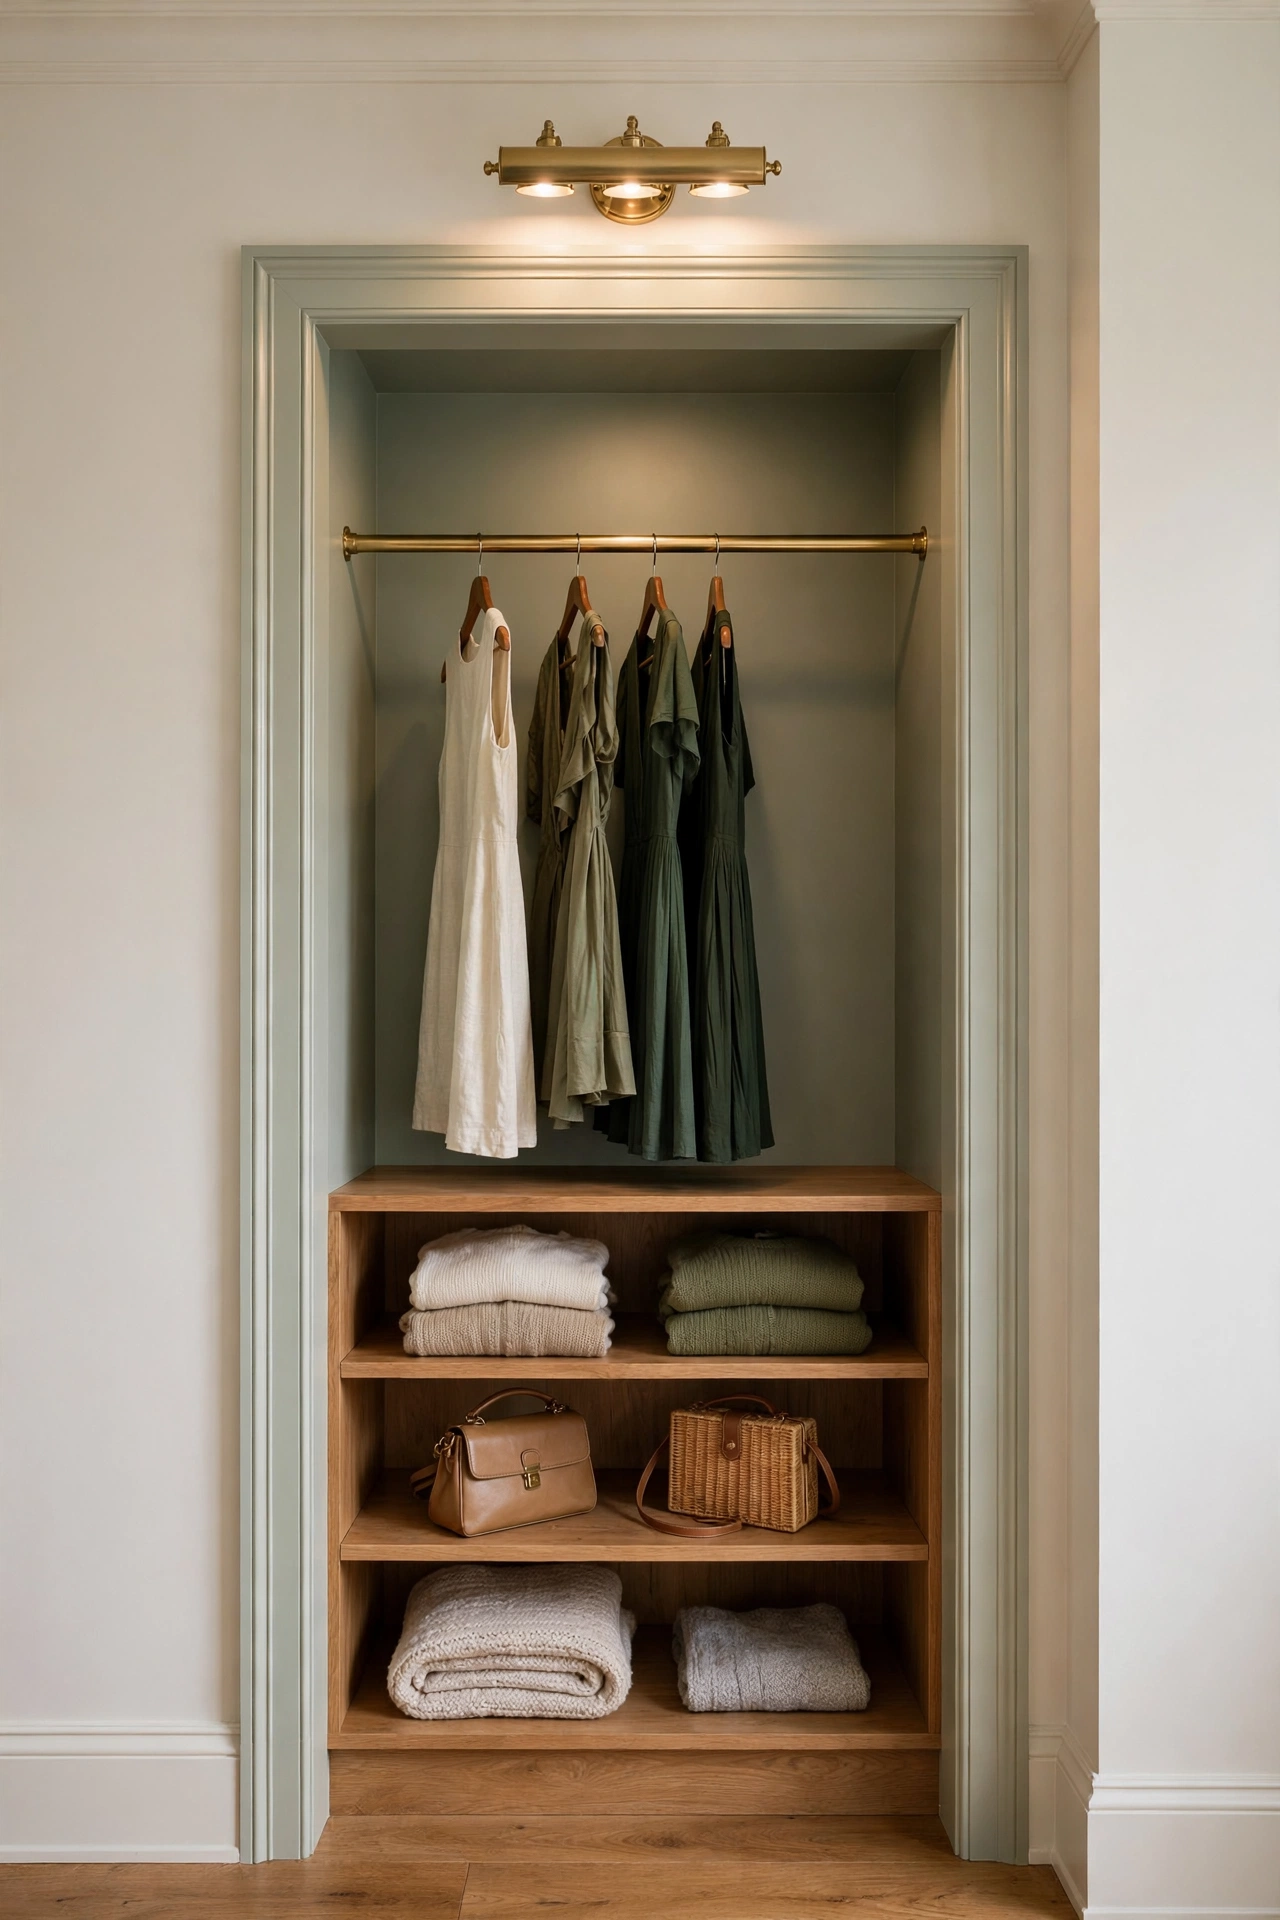
If your room has a shallow alcove, a former fireplace nook, or just an odd recess, you already own a closet — it just needs a rod and a shelf. A brass or black rod spanning the opening, one shelf above for folded things, and suddenly the weird architectural quirk is the best-dressed corner of the room. Painting the inside of the alcove a shade darker than the walls makes it look like a deliberate built-in rather than an accident.
Try this: paint the alcove interior in a deep accent color — sage, navy, or charcoal — and keep the clothes on it light and neutral. The contrast turns the recess into a framed display, and your wardrobe becomes wall art.
9. Ladder-Style Open Closet
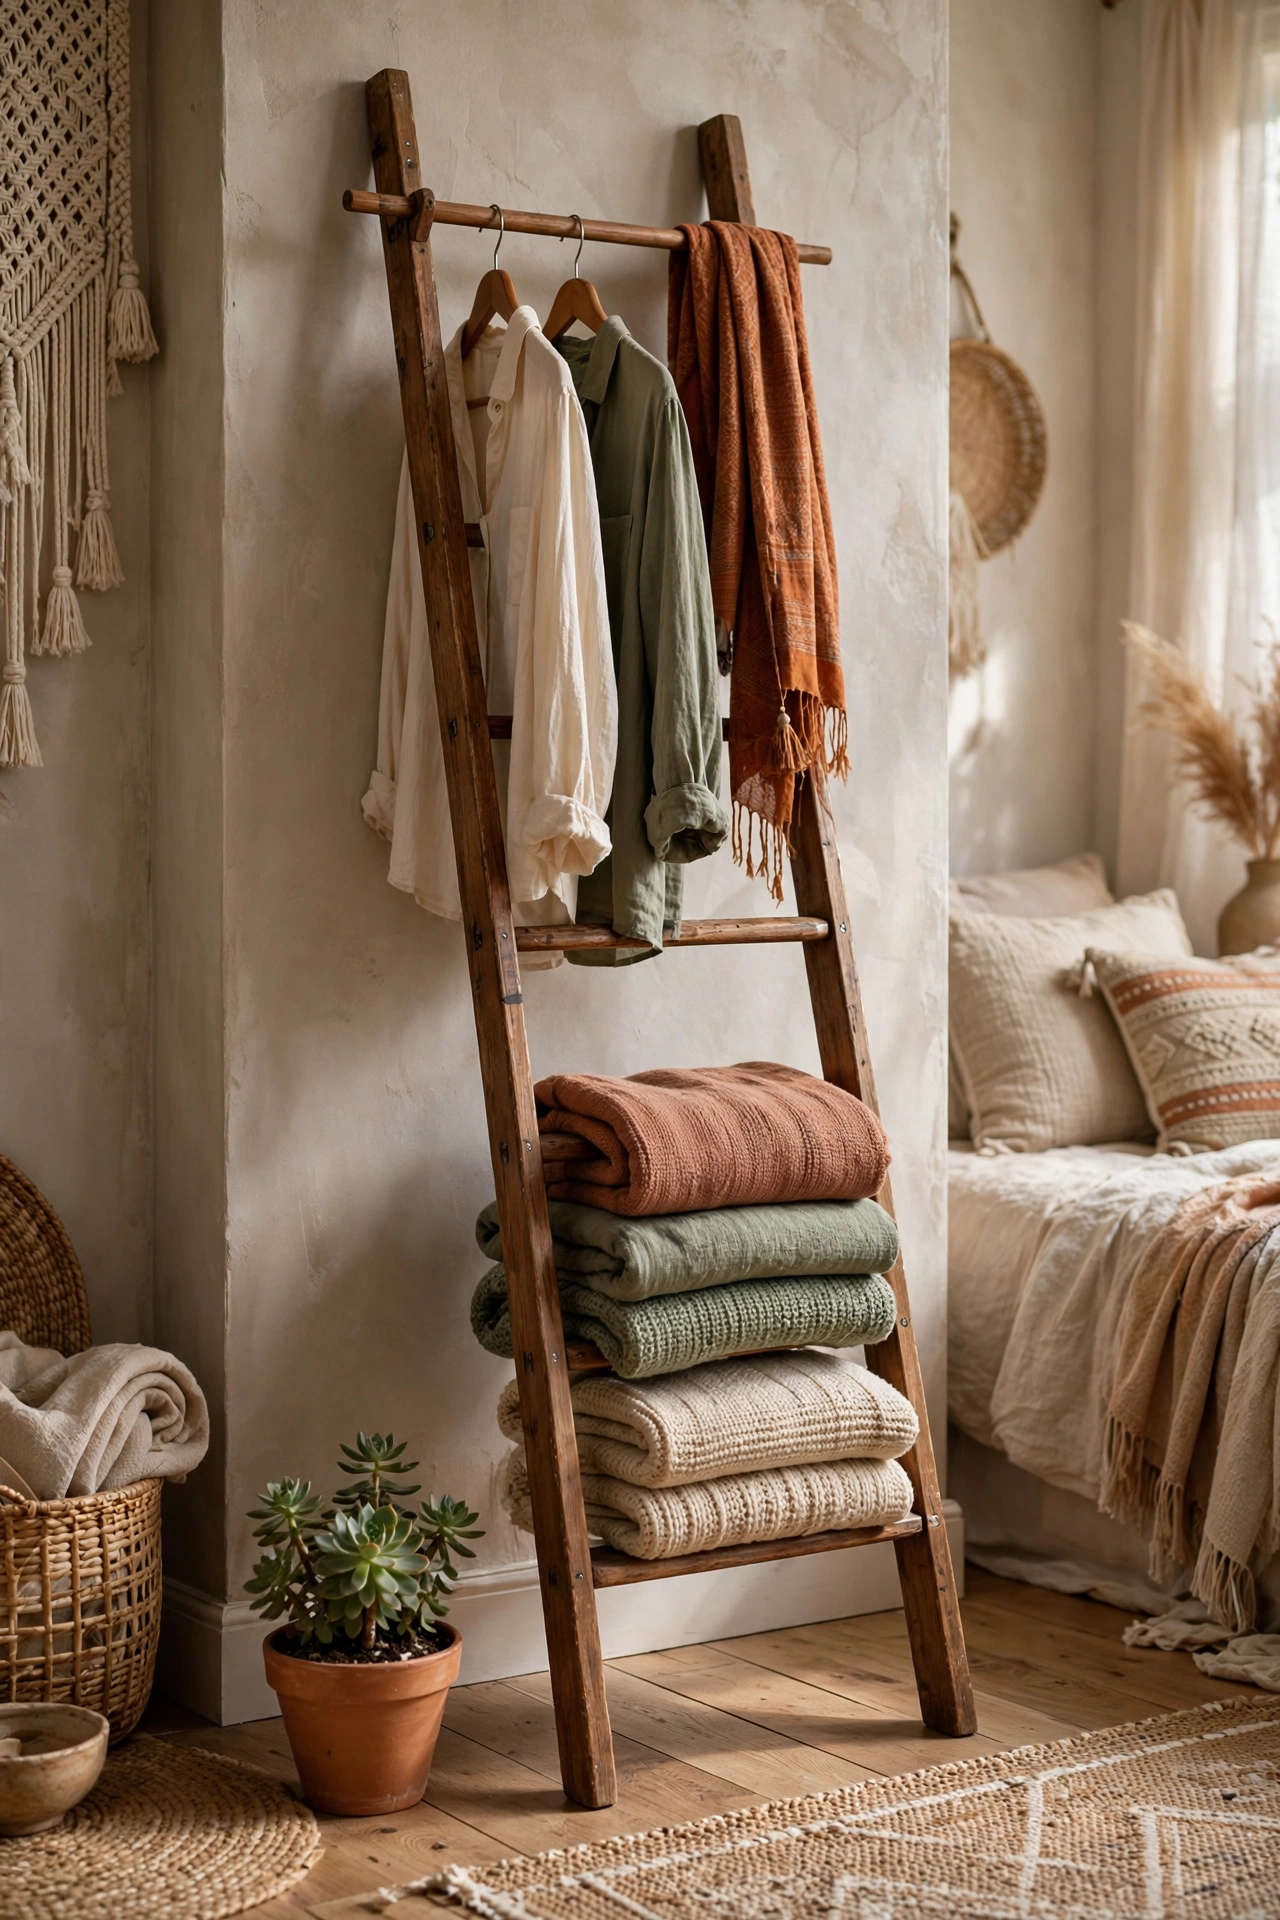
An old wooden ladder, a dowel rod zip-tied or bracketed across the top rungs, and you have the cheapest open closet on this list — practically free if the ladder was headed for the curb anyway. Shirts and scarves hang from the dowel, lower rungs hold folded blankets or tomorrow’s outfit, and the whole thing leans against the wall in about four inches of depth. It’s not going to hold your entire wardrobe, but as a secondary “this week” station it’s genuinely useful.
Try this: anchor the top of the ladder to the wall with a small L-bracket. A leaning ladder loaded with clothes is top-heavy, and one bump from a sleepy midnight bathroom trip is all it takes to bring the whole thing down. The bracket is invisible and takes five minutes.
10. Rolling Garment Rack
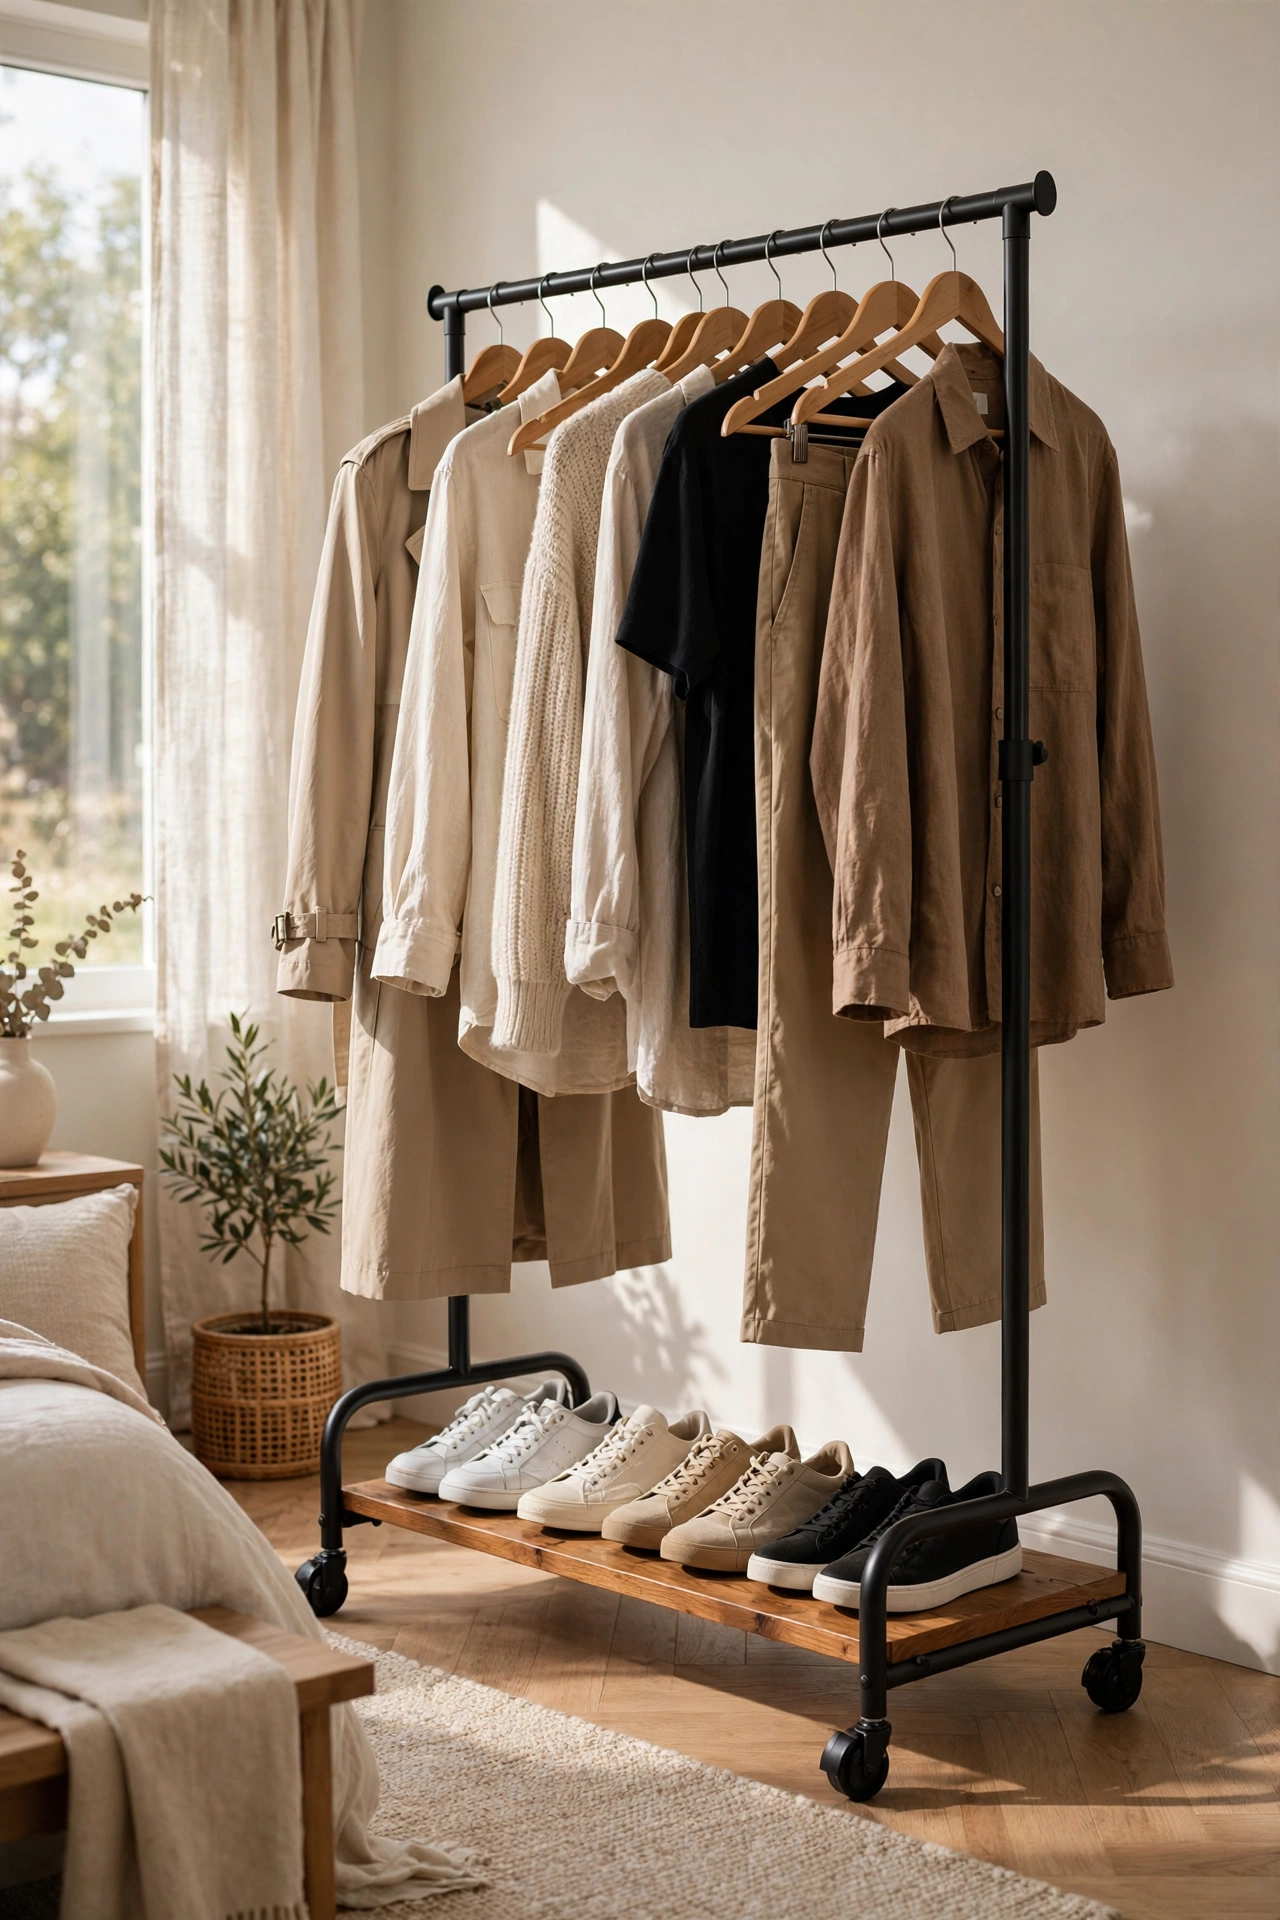
Wheels change everything. A rolling rack can live in the bedroom corner on weekdays, roll into the living room for outfit photos in good light, and tuck into a closet or hallway when guests take over the spare room. It’s the best option for studio apartments where every piece of furniture has to earn its footprint twice over, and it pairs beautifully with a capsule wardrobe since the limited rail space enforces the edit naturally.
Try this: get lockable casters, not the free-spinning kind. A rack that drifts across the room every time you pull a hanger off it will drive you quietly insane within a week — the locking levers cost pennies more and make it feel like real furniture.
11. Open Shelving Tower with Cube Storage
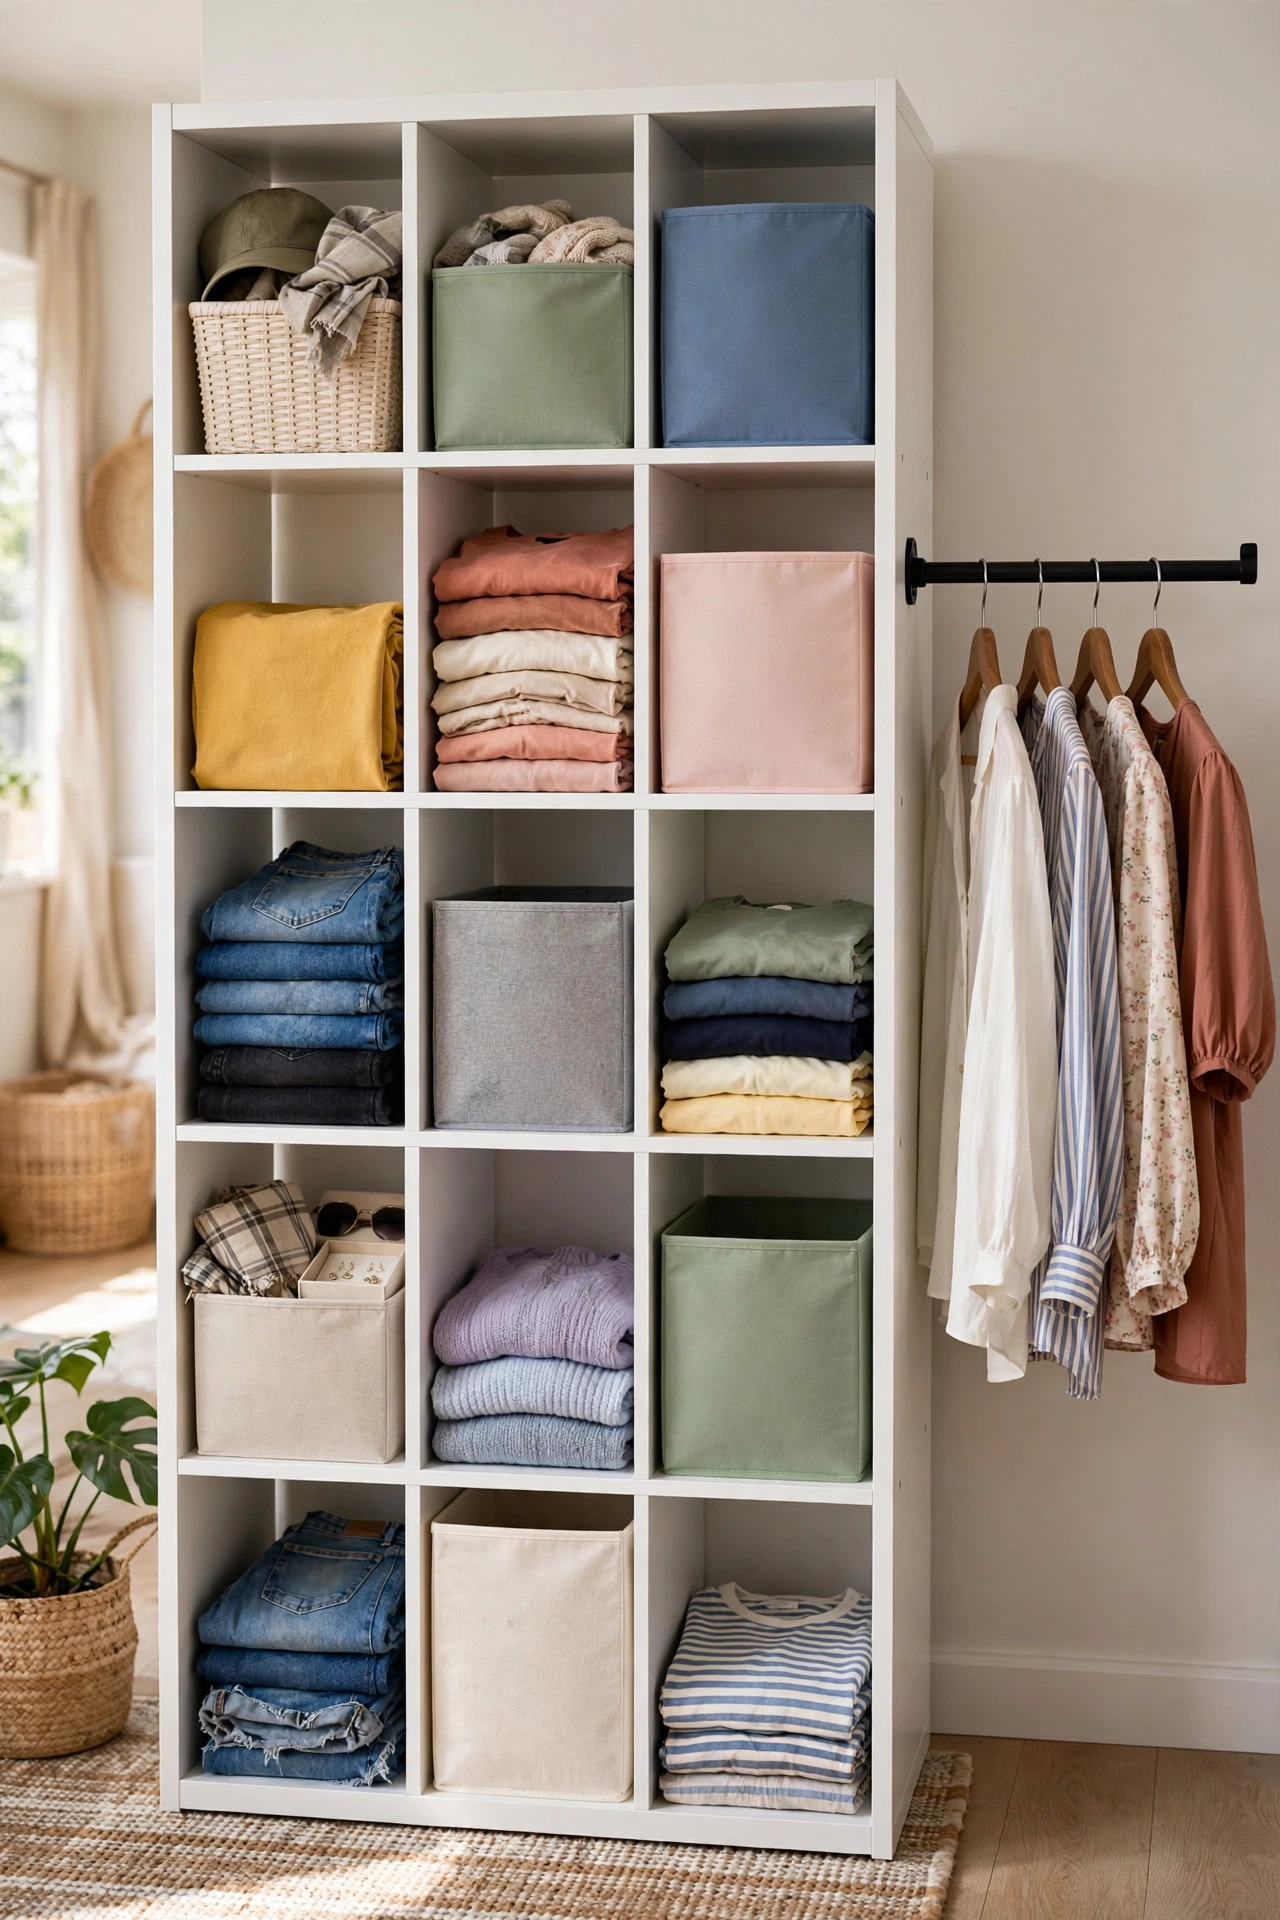
Not everything should hang. A tall cube organizer — the kind sold flat-packed everywhere — handles everything a rod can’t: folded t-shirts, jeans, workout gear, underwear, accessories. Mix fabric bins (for the messy categories) with open cubes (for the pretty folded stacks), and bolt a short hanging rod to one side for blouses. It’s modular, so it grows with your wardrobe, and the whole tower costs less than a single department-store sweater.
The bins are what make or break this setup, and these home organization must-haves round up the baskets, bins, and hooks that make open storage actually work — matching containers turn a cube tower from clutter grid into a calm, cohesive wall.
Try this: label every bin, even if you think you’ll remember. “Gym,” “PJs,” “Swim” — labels take ten minutes with a label maker or masking tape, and they’re the difference between a system your whole household maintains and one that collapses into mystery bins by March.
12. Floating Shelves Plus Hanging Rod Combo
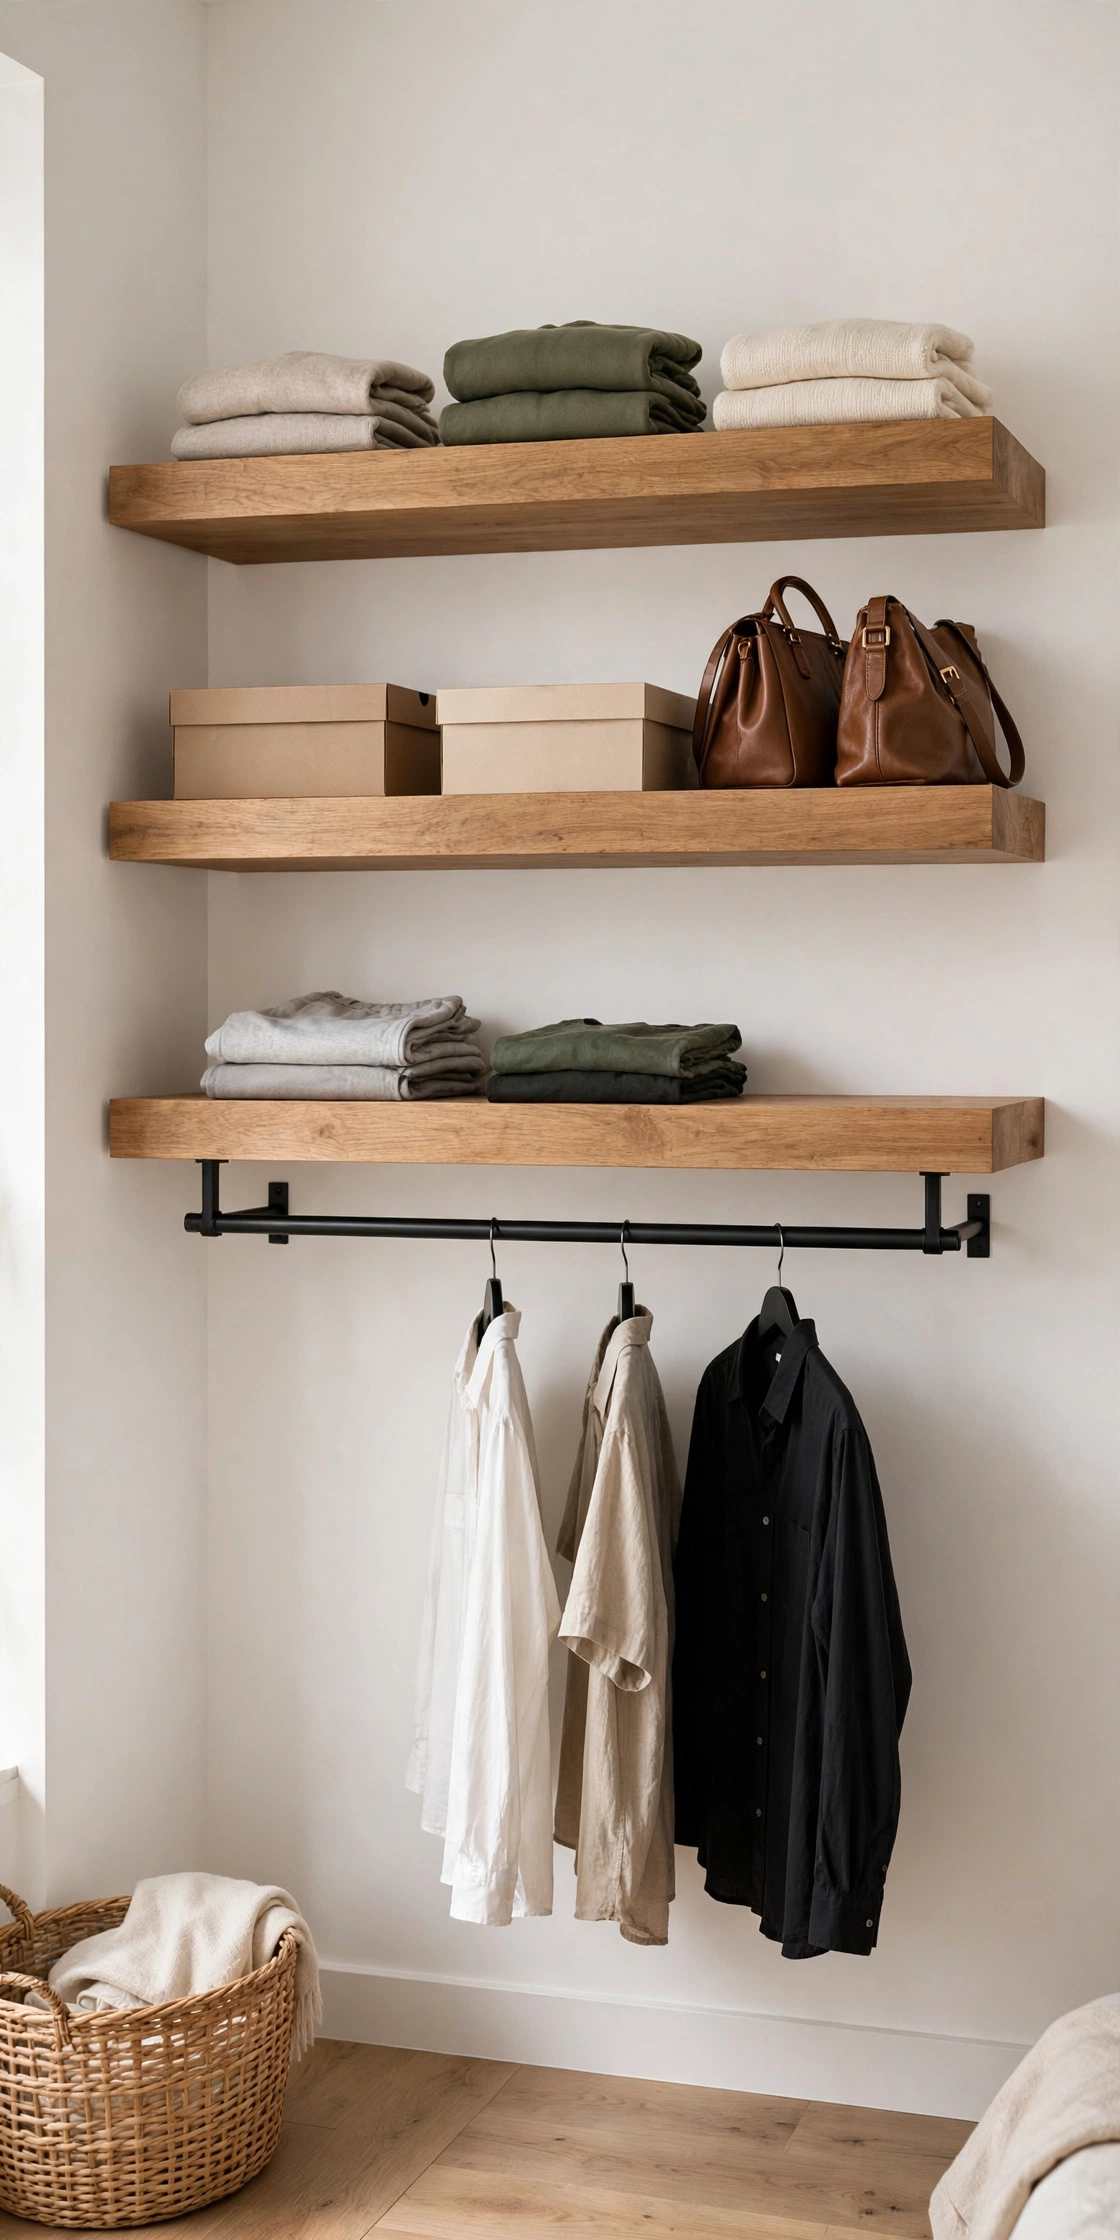
For the minimalist at heart: two or three thick floating shelves stacked on the wall, with a single black metal rod mounted below the lowest one. Folded knitwear and storage boxes live up top, daily shirts hang below, and the entire closet floats — nothing touches the floor, so cleaning underneath takes one swipe of the vacuum. The look is clean and architectural, more gallery than garage.
If you enjoy building your own storage, these genius DIY organization hacks for your home are full of weekend projects in the same spirit — small builds that make rented rooms feel custom without a contractor.
Try this: use proper heavy-duty floating shelf brackets rated for the load, and mount them into studs. Folded jeans are deceptively heavy — a shelf of denim can weigh as much as a small child, and bargain brackets will bow within months.
13. Pegboard Accessories Wall
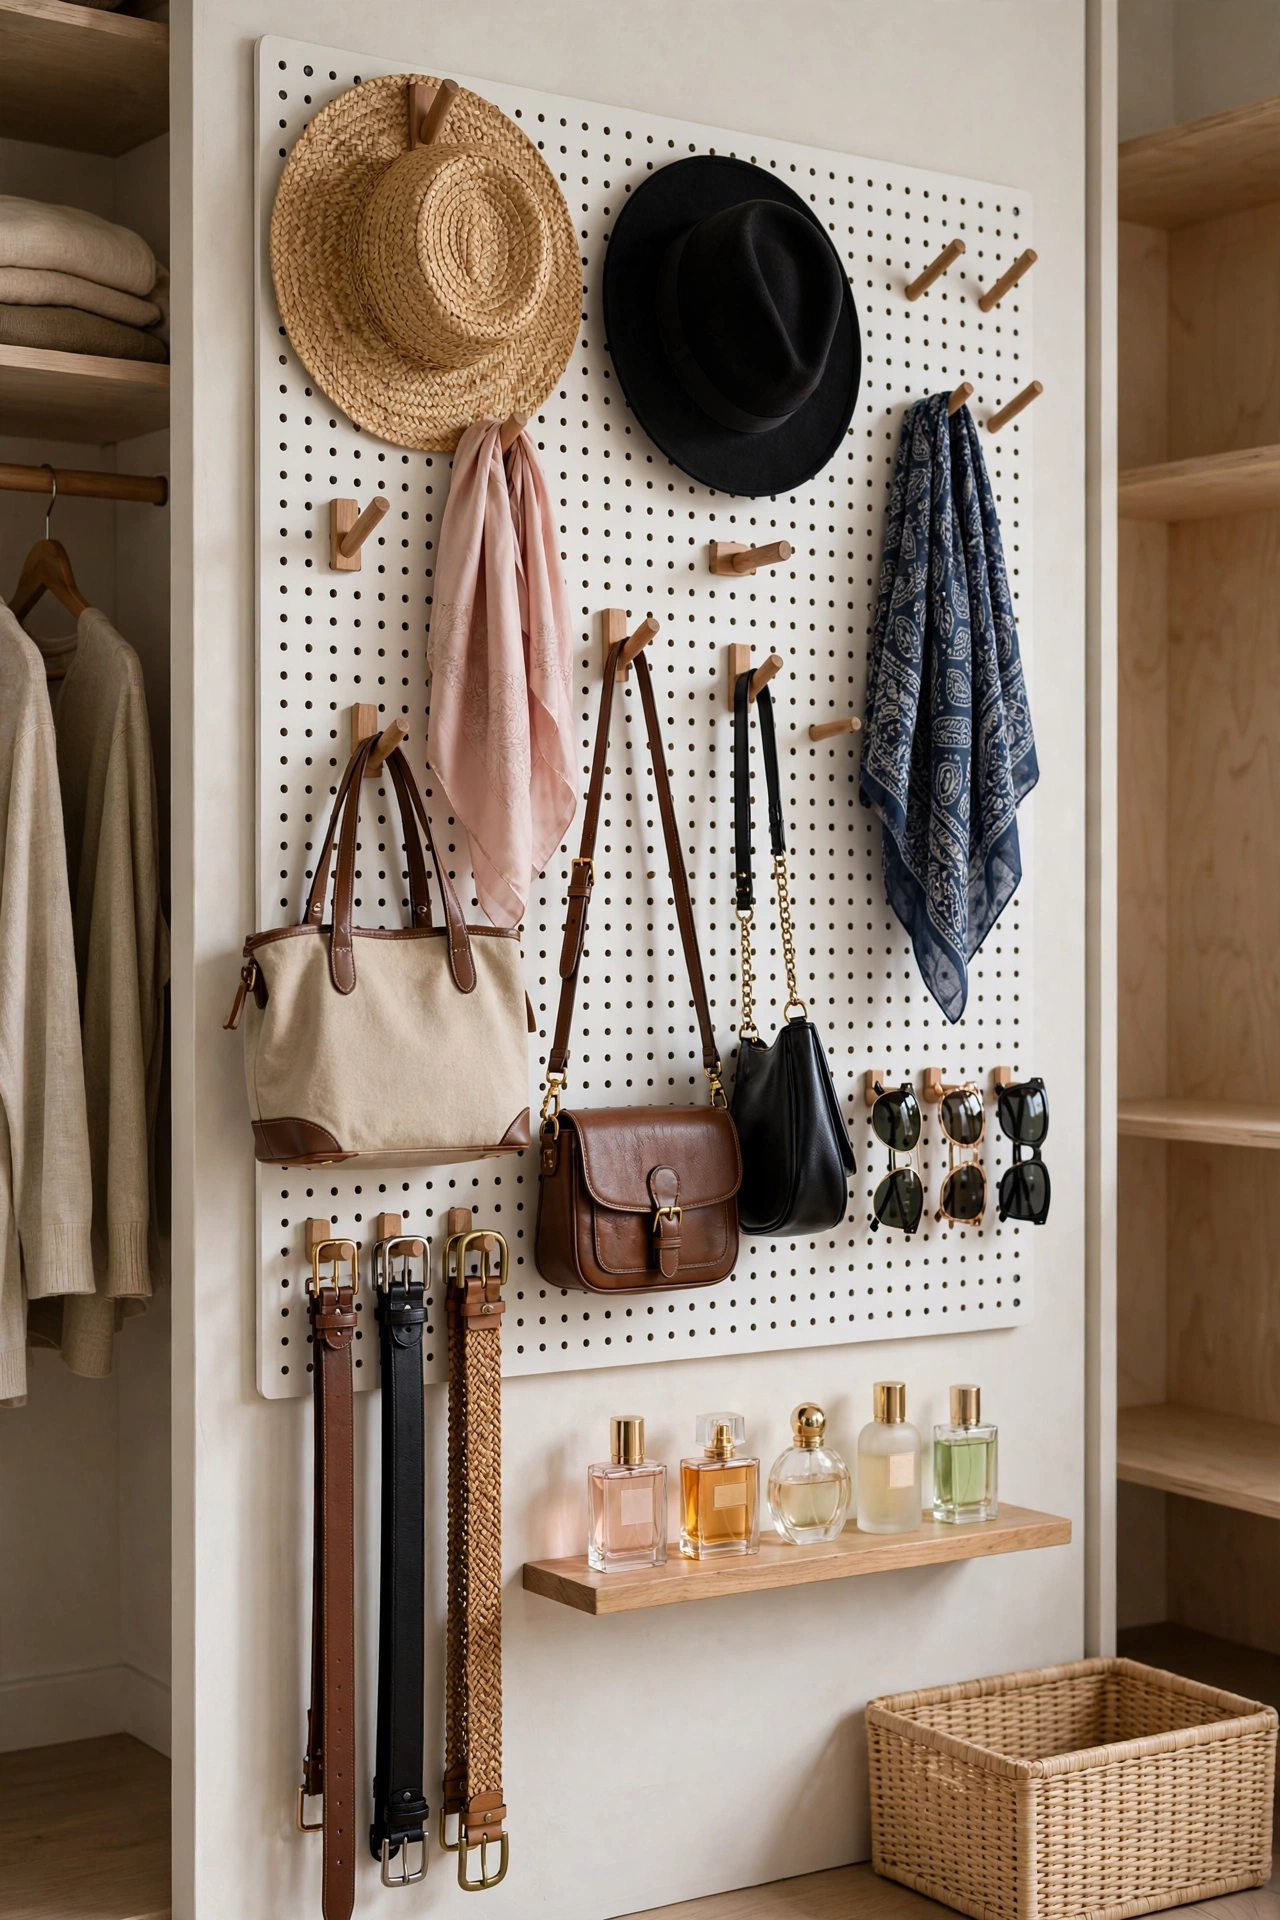
Accessories are where open closets get fun. A large pegboard with movable hooks and pegs turns belts, scarves, hats, handbags, and sunglasses into a display wall — everything visible, nothing tangled in a drawer. The layout is infinitely rearrangeable, so when your collection changes, the wall changes with it in about five minutes. It also solves the handbag problem elegantly: bags hung on pegs keep their shape instead of slumping in a pile.
Try this: paint the pegboard before you hang it — soft white, blush, or even a bold color that matches your room. A painted pegboard reads as intentional decor; raw brown pegboard reads as garage, no matter how nice the handbags are.
14. Rope-Suspended Shelves
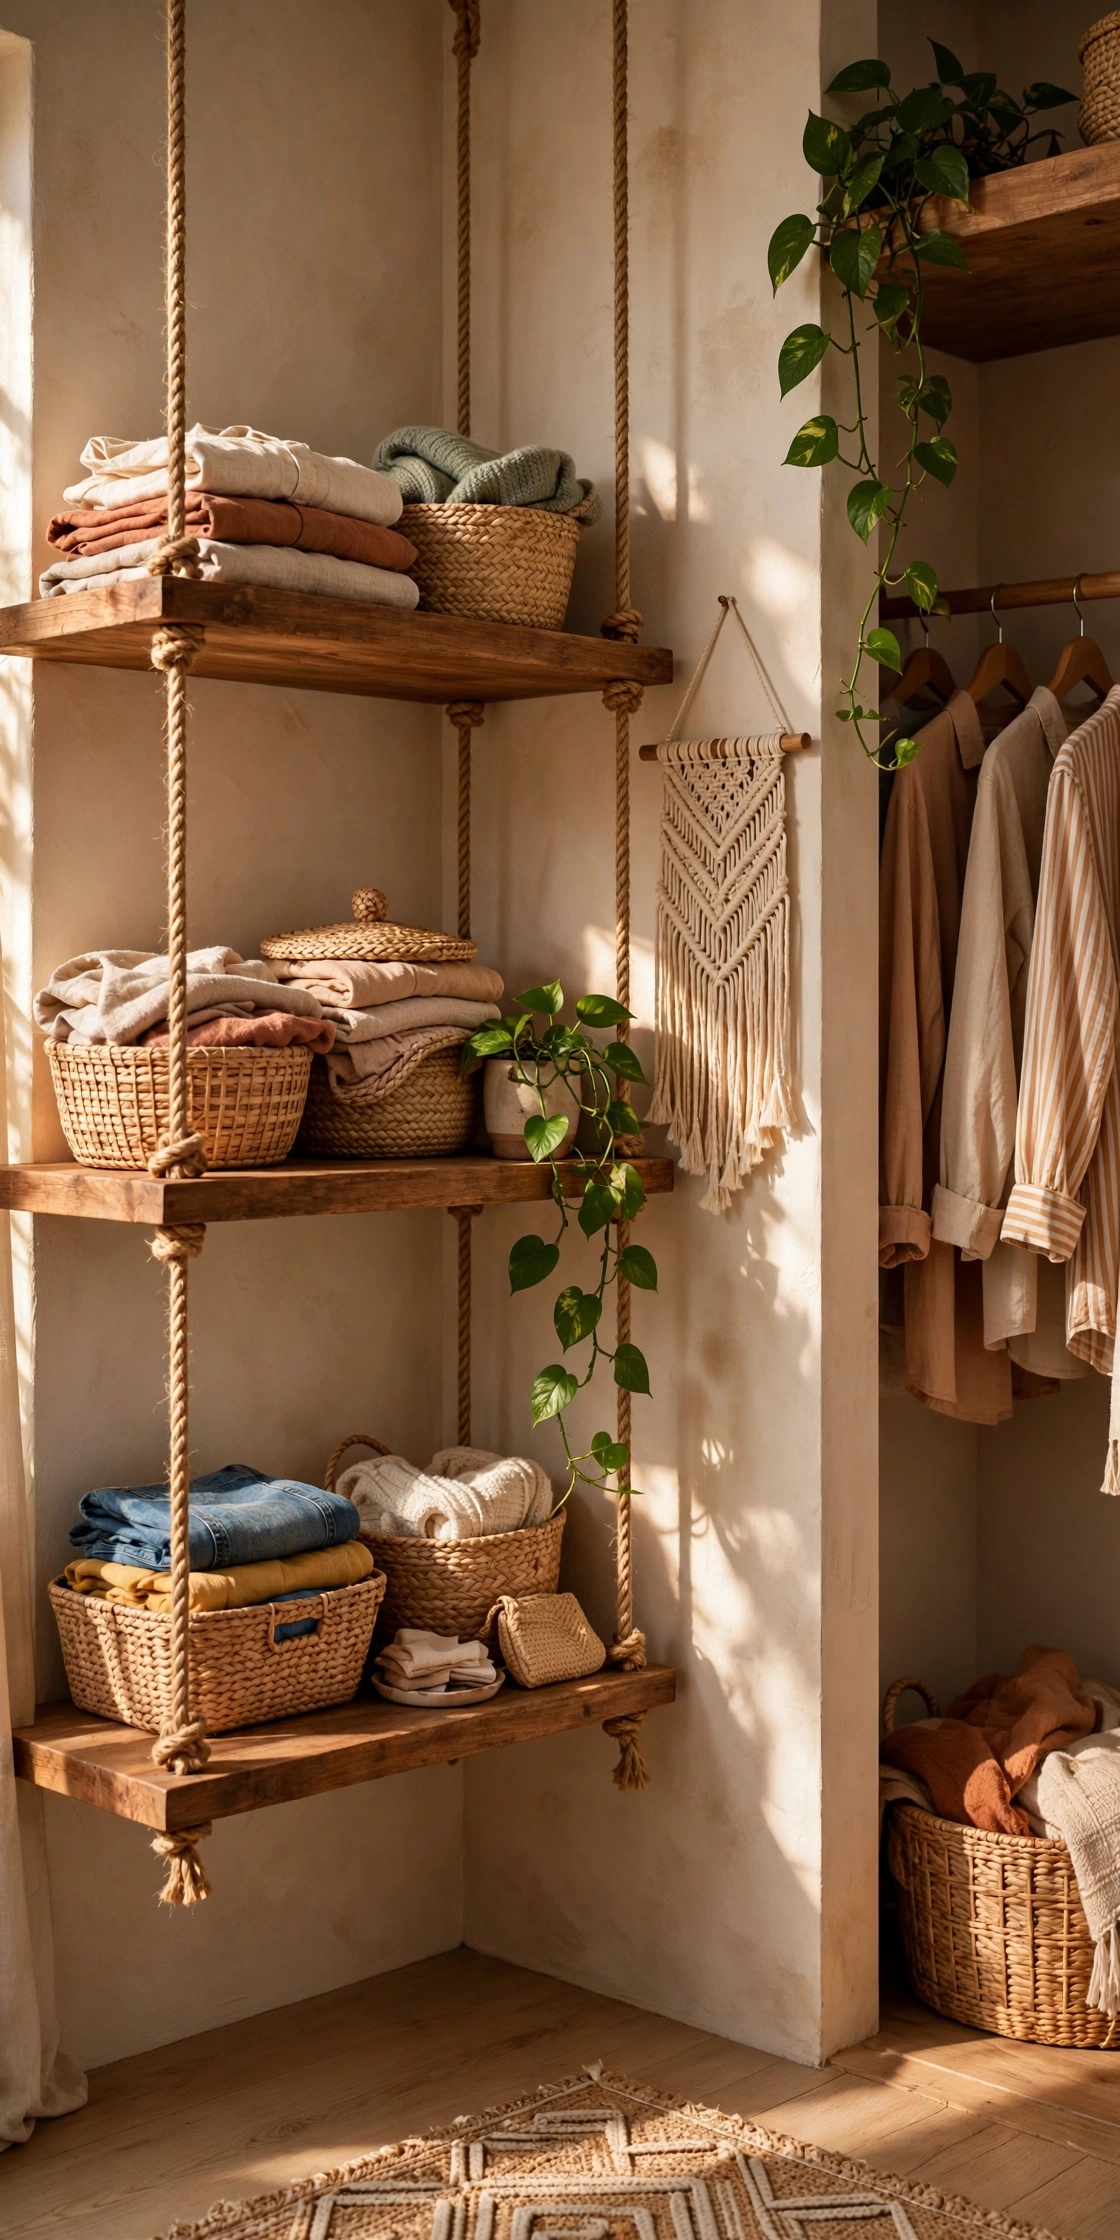
Thick wooden boards hung from the ceiling on natural rope bring instant boho warmth to an open closet corner, and they’re genuinely easy to build: drill four holes per shelf, thread the rope, knot underneath, and hang from ceiling hooks. They sway slightly, which sounds alarming but is actually fine for folded clothes and baskets — just don’t put anything fragile or rollable on them. The airy, floating look makes small rooms feel bigger.
Try this: hang only from ceiling joists, never from drywall alone, and keep the load light — folded clothes, not book collections. A stud finder and a test tug before you load them up will save you from a 2 a.m. crash.
15. Copper Pipe Rack
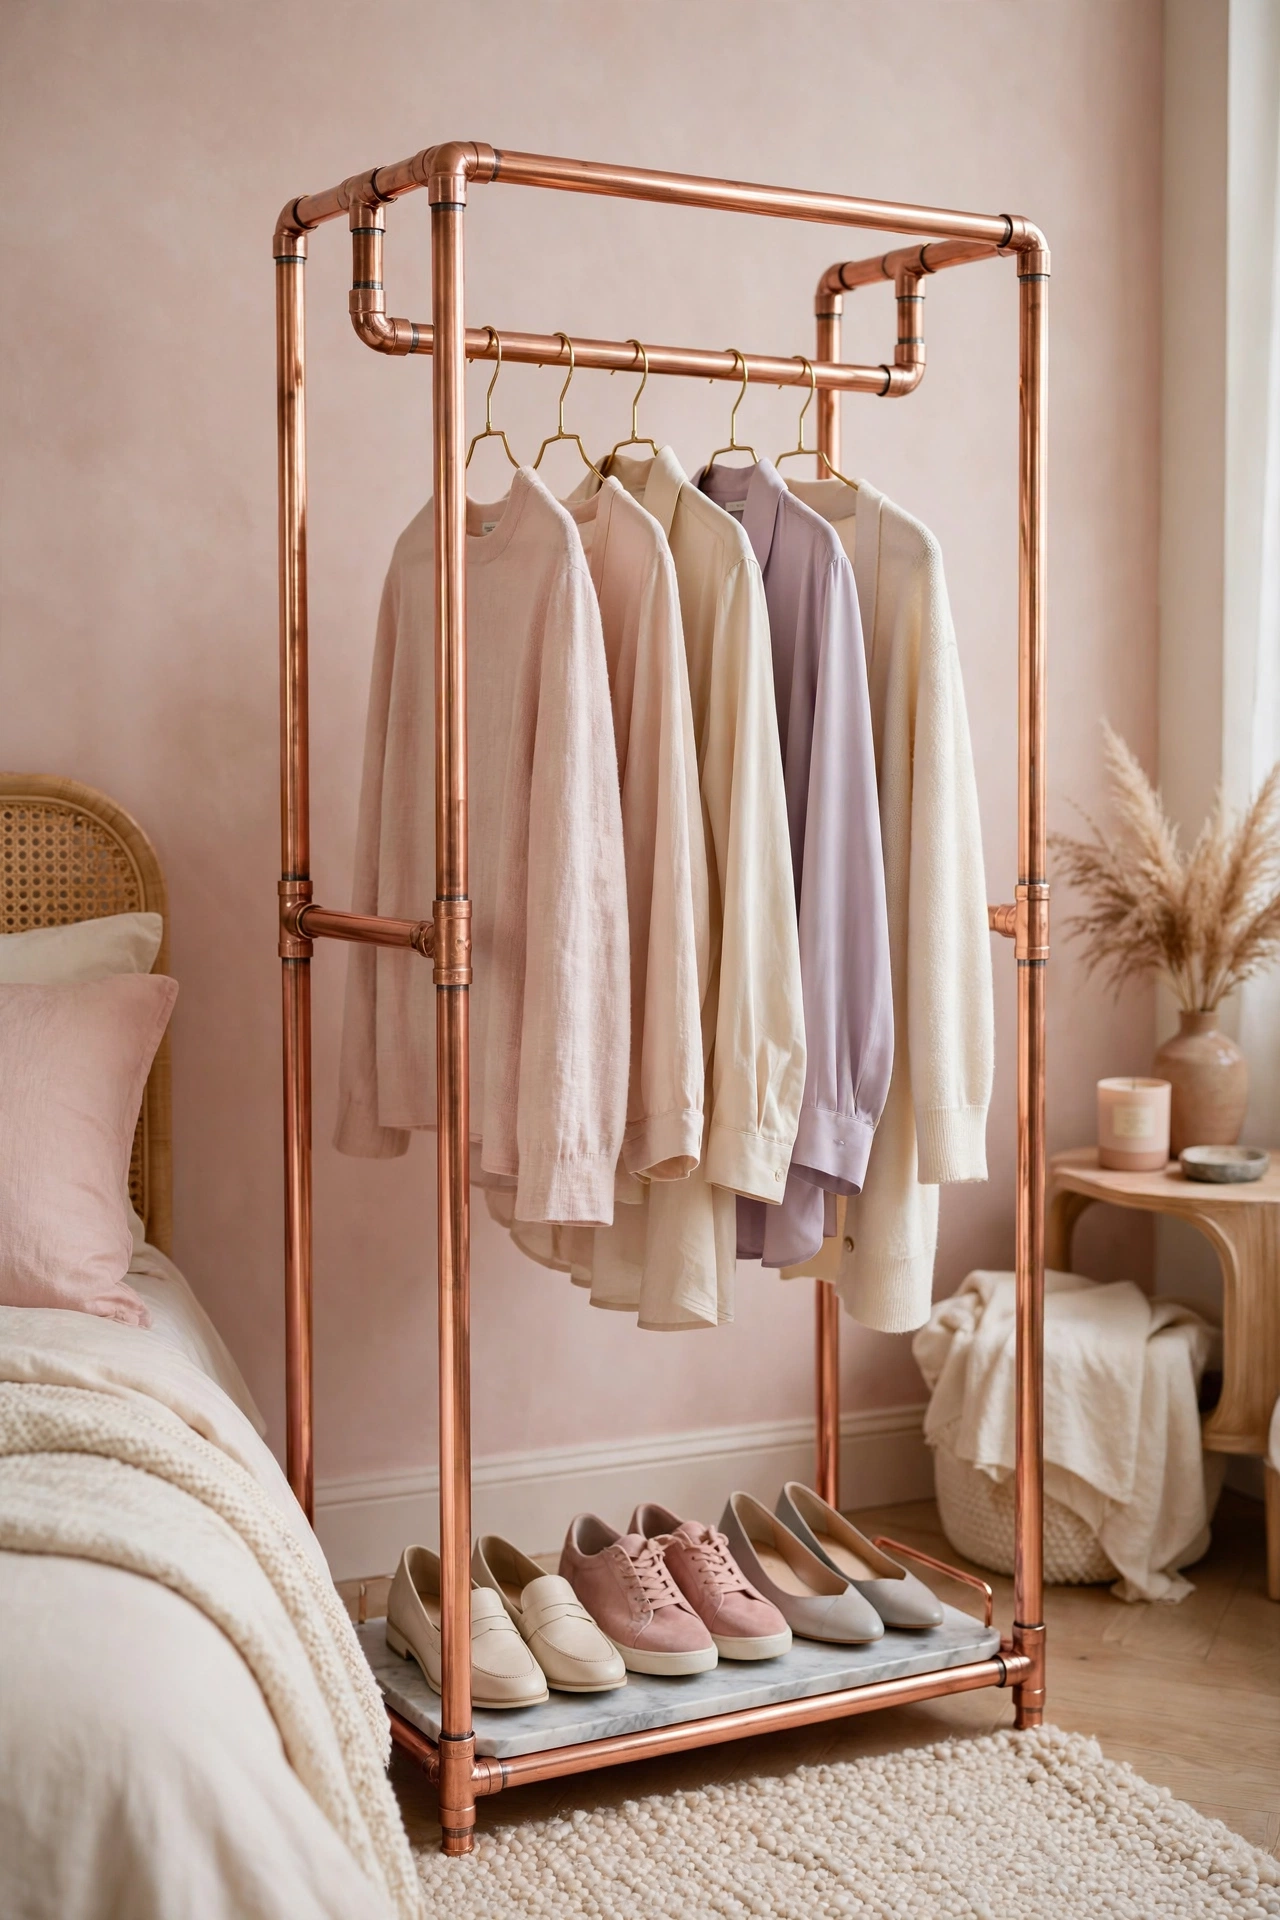
Same idea as the industrial pipe rack, but make it jewelry. Copper pipe and fittings — available in the same plumbing aisle — assemble exactly like the black steel version but glow warm and rosy, especially against blush or cream walls. Pair it with gold hangers and a pastel wardrobe and the whole thing looks like a Parisian boutique corner. It costs a bit more than steel pipe, but as a statement piece it’s still far cheaper than designer garment racks.
Try this: seal the finished copper with a clear lacquer spray. Unsealed copper develops a patina from handling that some people love and others hate — lacquer locks in the shiny new-penny look with one quick coat.
16. Dresser Plus Rack Combo Station
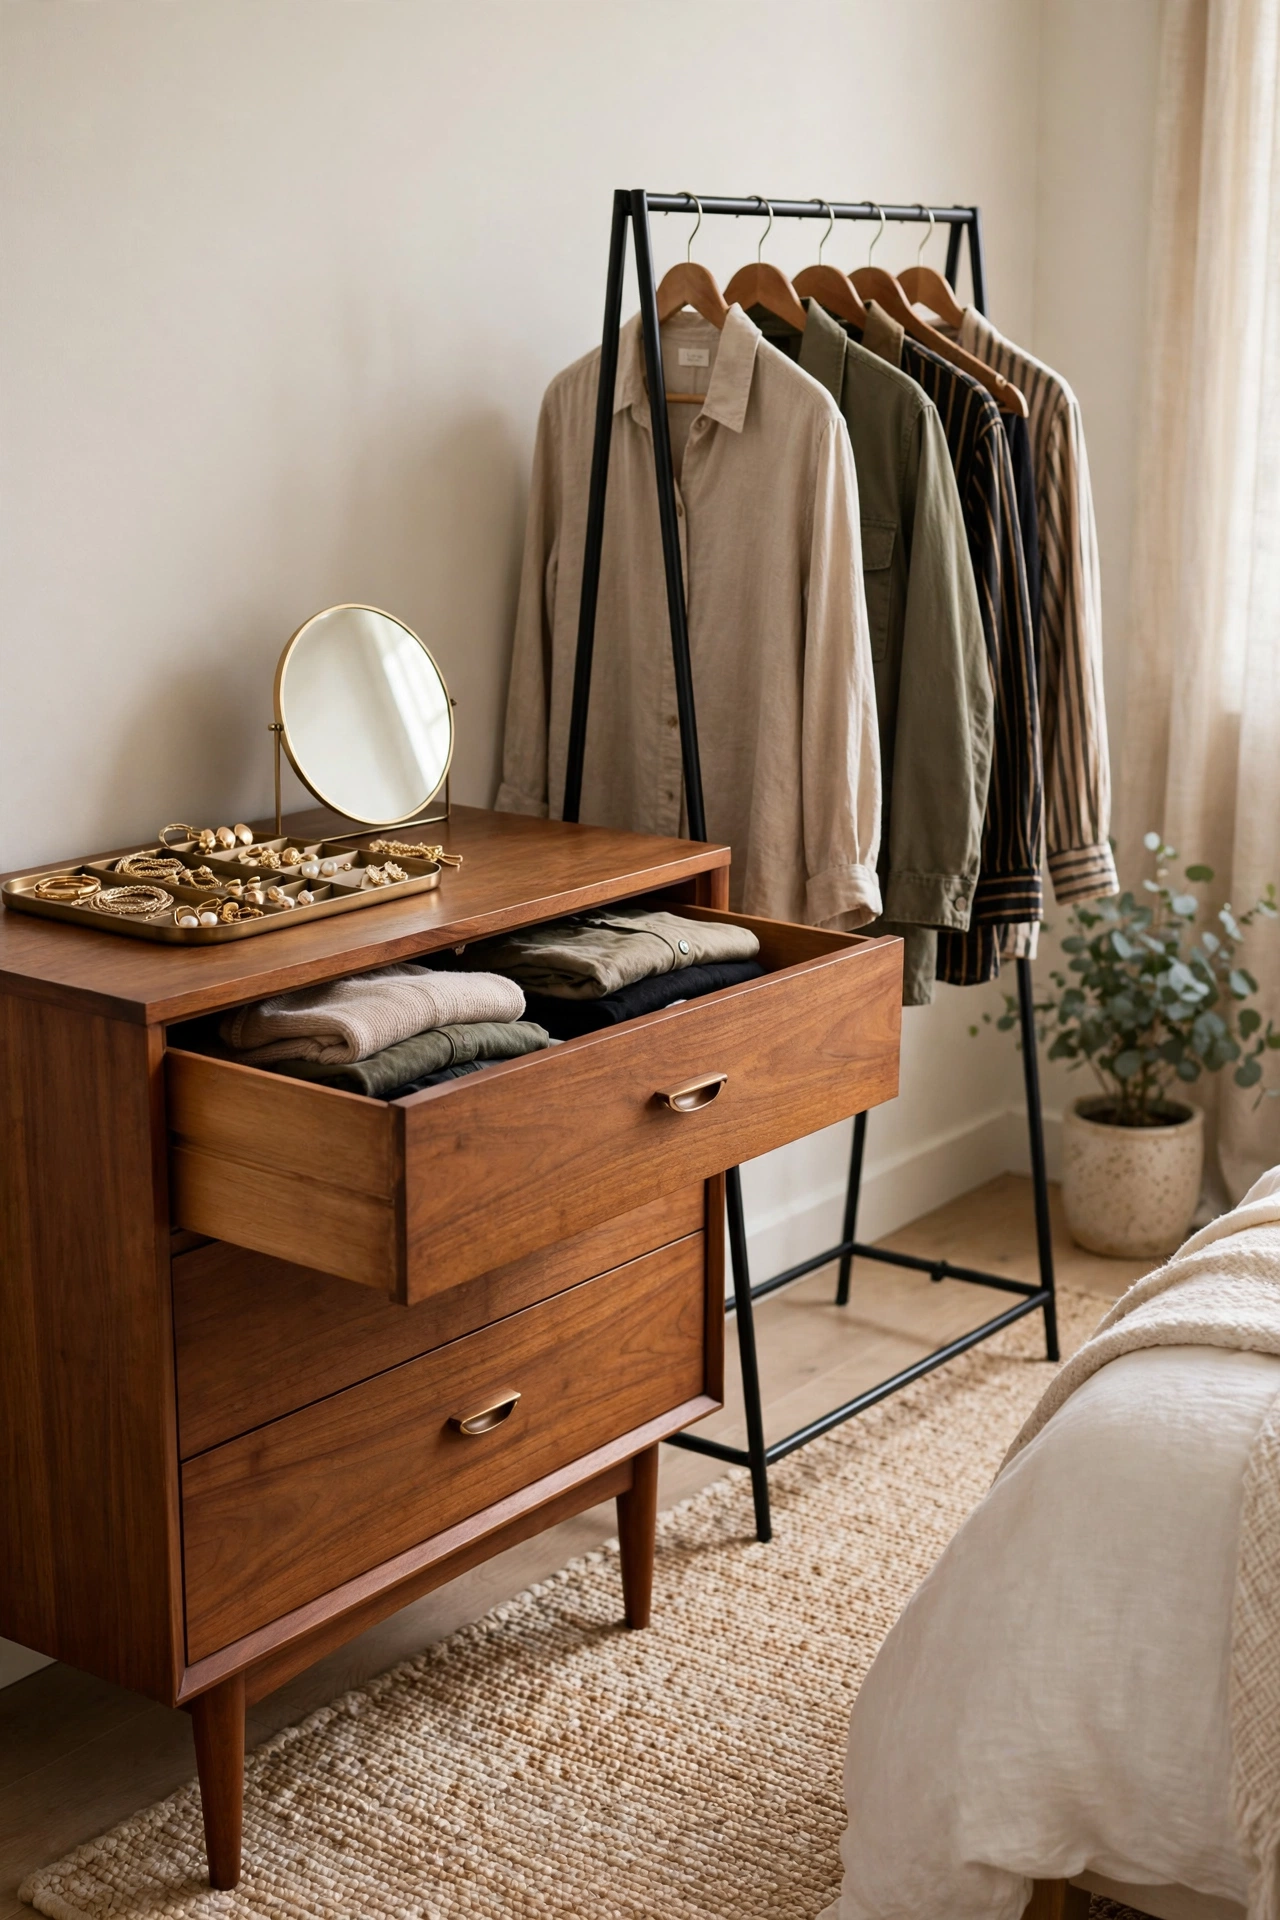
Sometimes the answer is using what you already own. A dresser you have plus a simple garment rack beside it covers every category: hanging things on the rack, folded things in the drawers, and the dresser top becomes your jewelry tray, perfume, and tomorrow’s accessories. It’s the closest thing to a real walk-in closet you can assemble without building anything, and it works in the smallest bedrooms because both pieces hug the wall.
Try this: dedicate the top dresser drawer to accessories — watches, belts, sunglasses. When everything you need to finish an outfit lives in one shallow drawer next to the rack, getting dressed becomes a two-minute production instead of a treasure hunt.
17. Open Closet as Room Divider
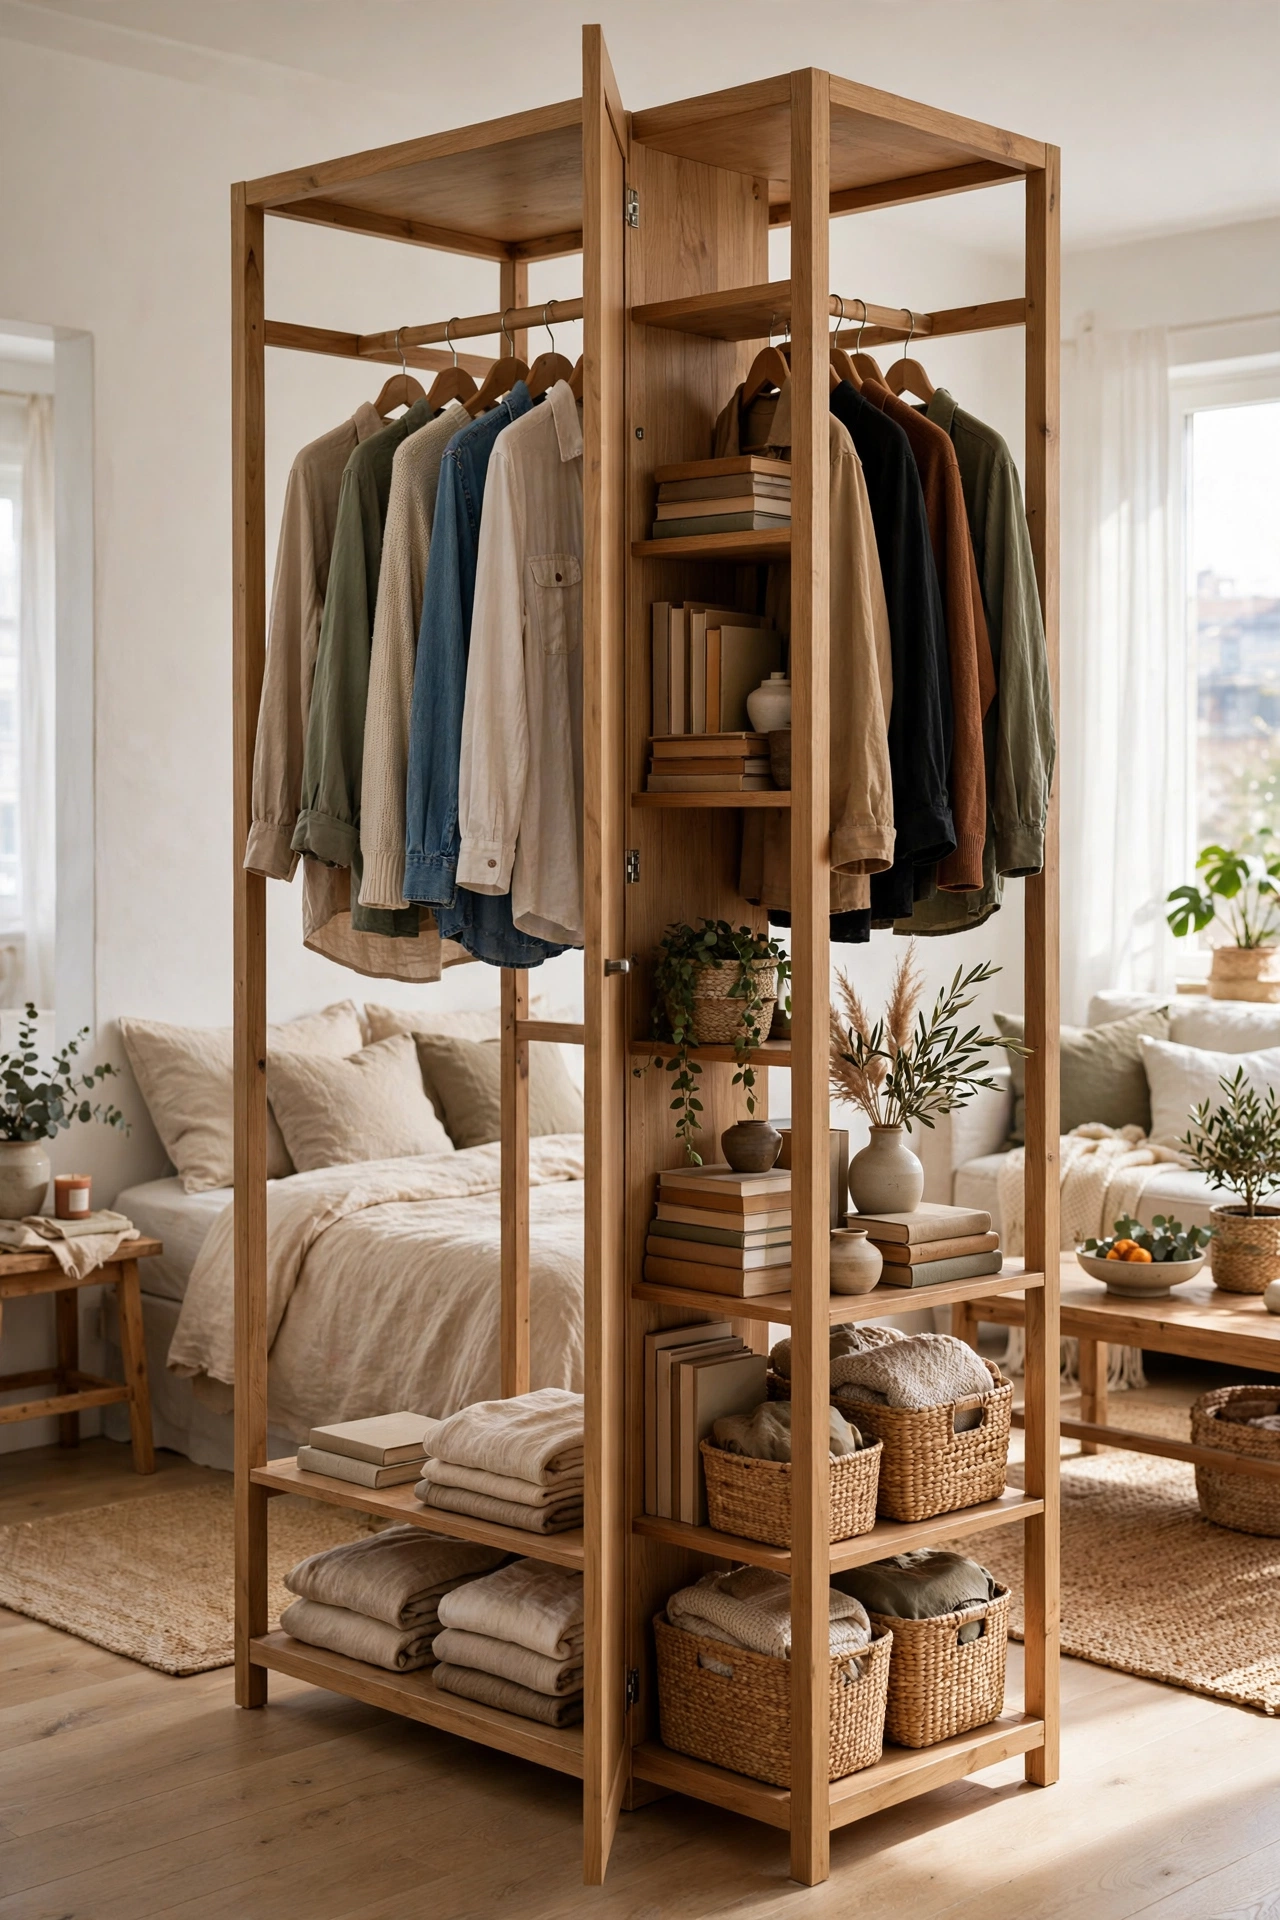
In a studio apartment, an open closet can do double duty as architecture. A double-sided wardrobe unit — hanging rods on both faces, shelves in the middle — stands between the sleeping area and the living area, storing clothes while visually separating the zones. Unlike a folding screen it earns its floor space twice, and unlike a bookcase divider it handles the single biggest storage problem studios have.
Try this: face your prettiest, most color-coordinated side toward the living area and the workhorse side toward the bed. Guests see the boutique; you see the real life. Everybody’s happy.
18. Mirror-Back Open Closet
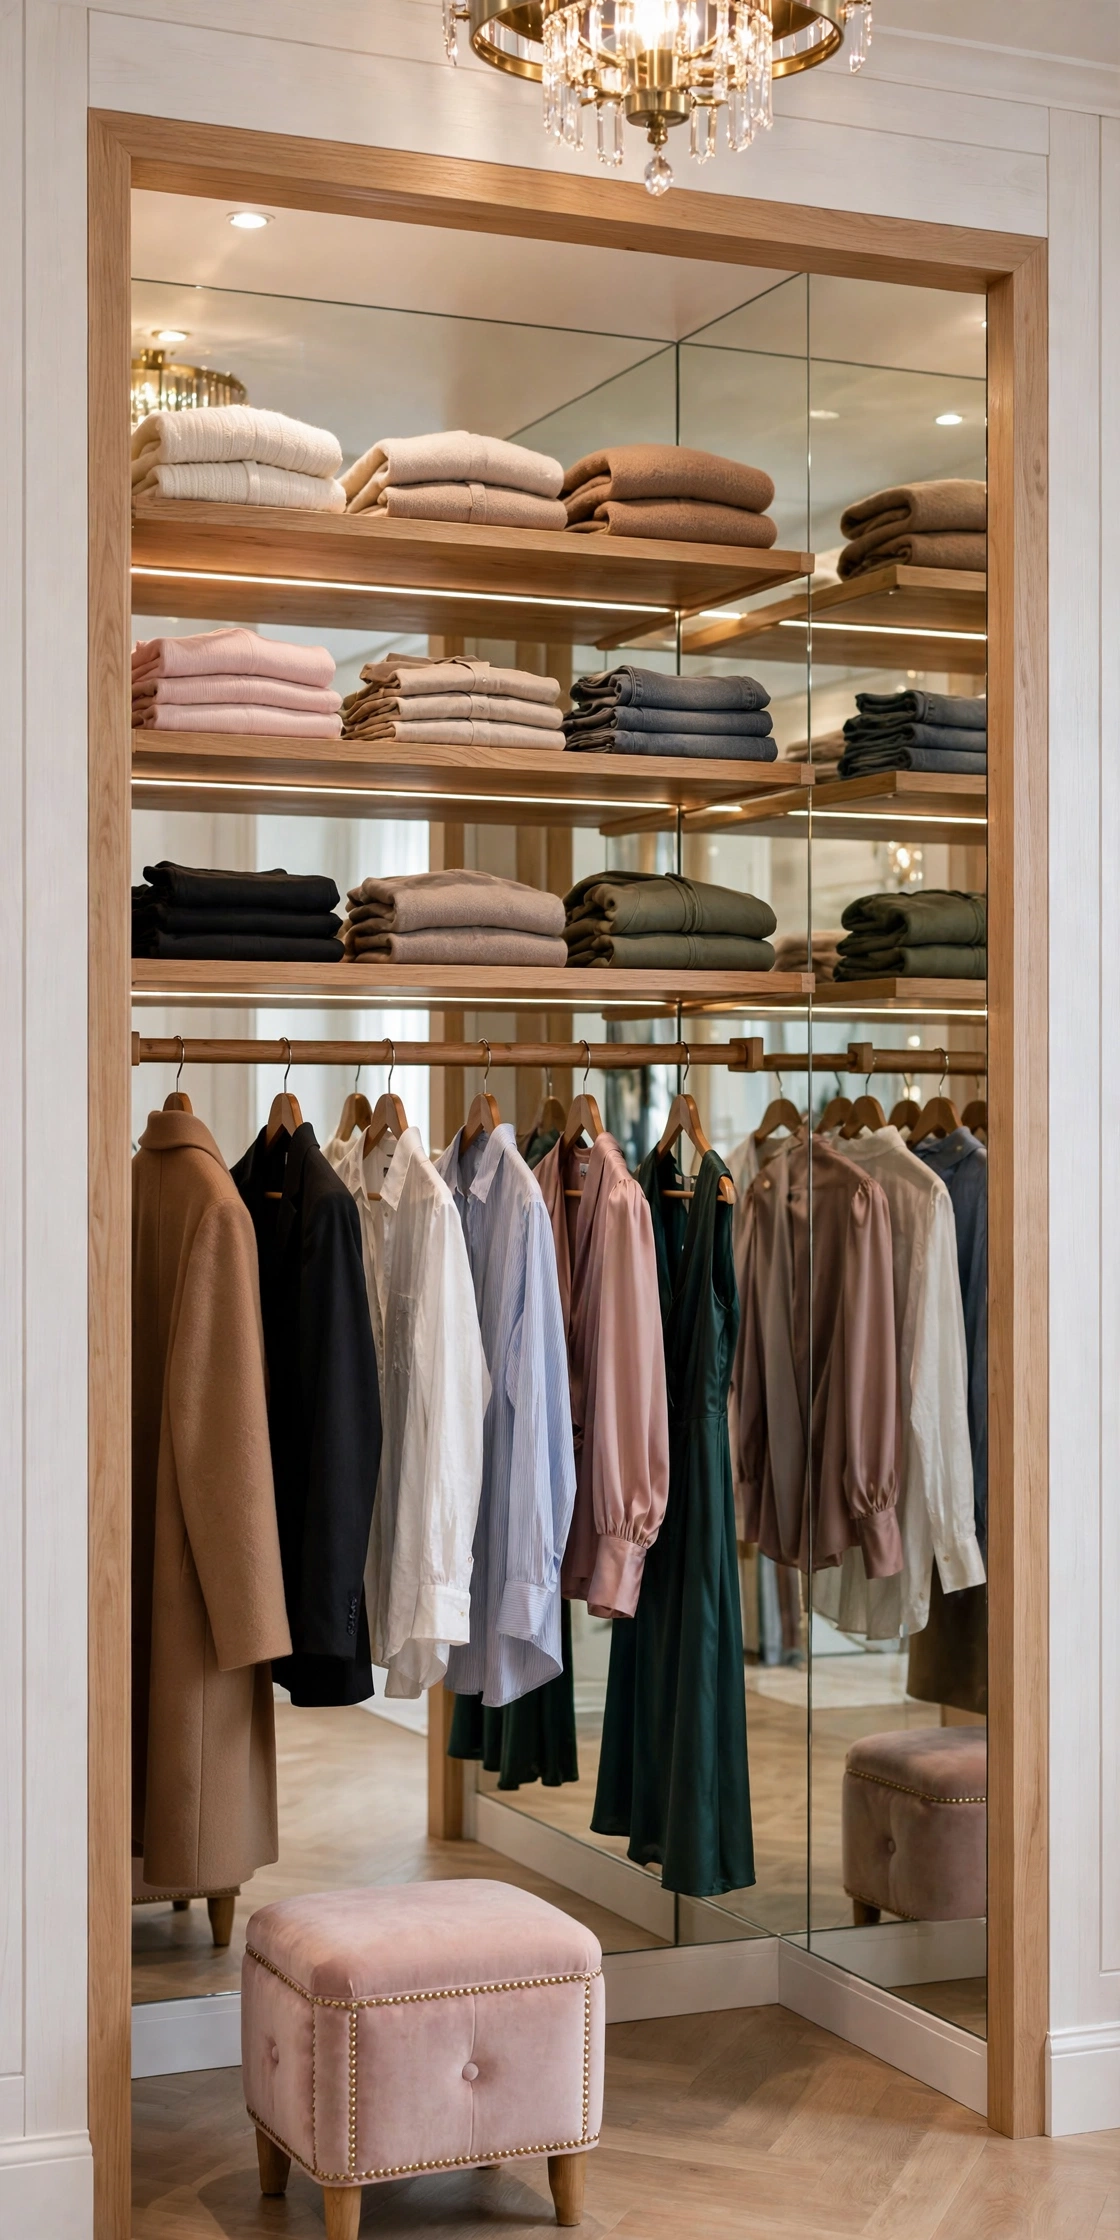
Mount your rods and shelves in front of a wall mirror — or a grid of mirror tiles — and two good things happen: the closet looks twice as deep as it is, and you can check your outfit without walking to another room. The reflection bounces light around too, which matters because closet corners tend to be dim. It’s the oldest small-space trick in interior design, applied to your wardrobe.
Try this: renters can use lightweight acrylic mirror tiles with adhesive strips instead of real glass. They look convincing from a few feet away, they won’t shatter, and they peel off cleanly when you move.
19. Shoe Wall Display
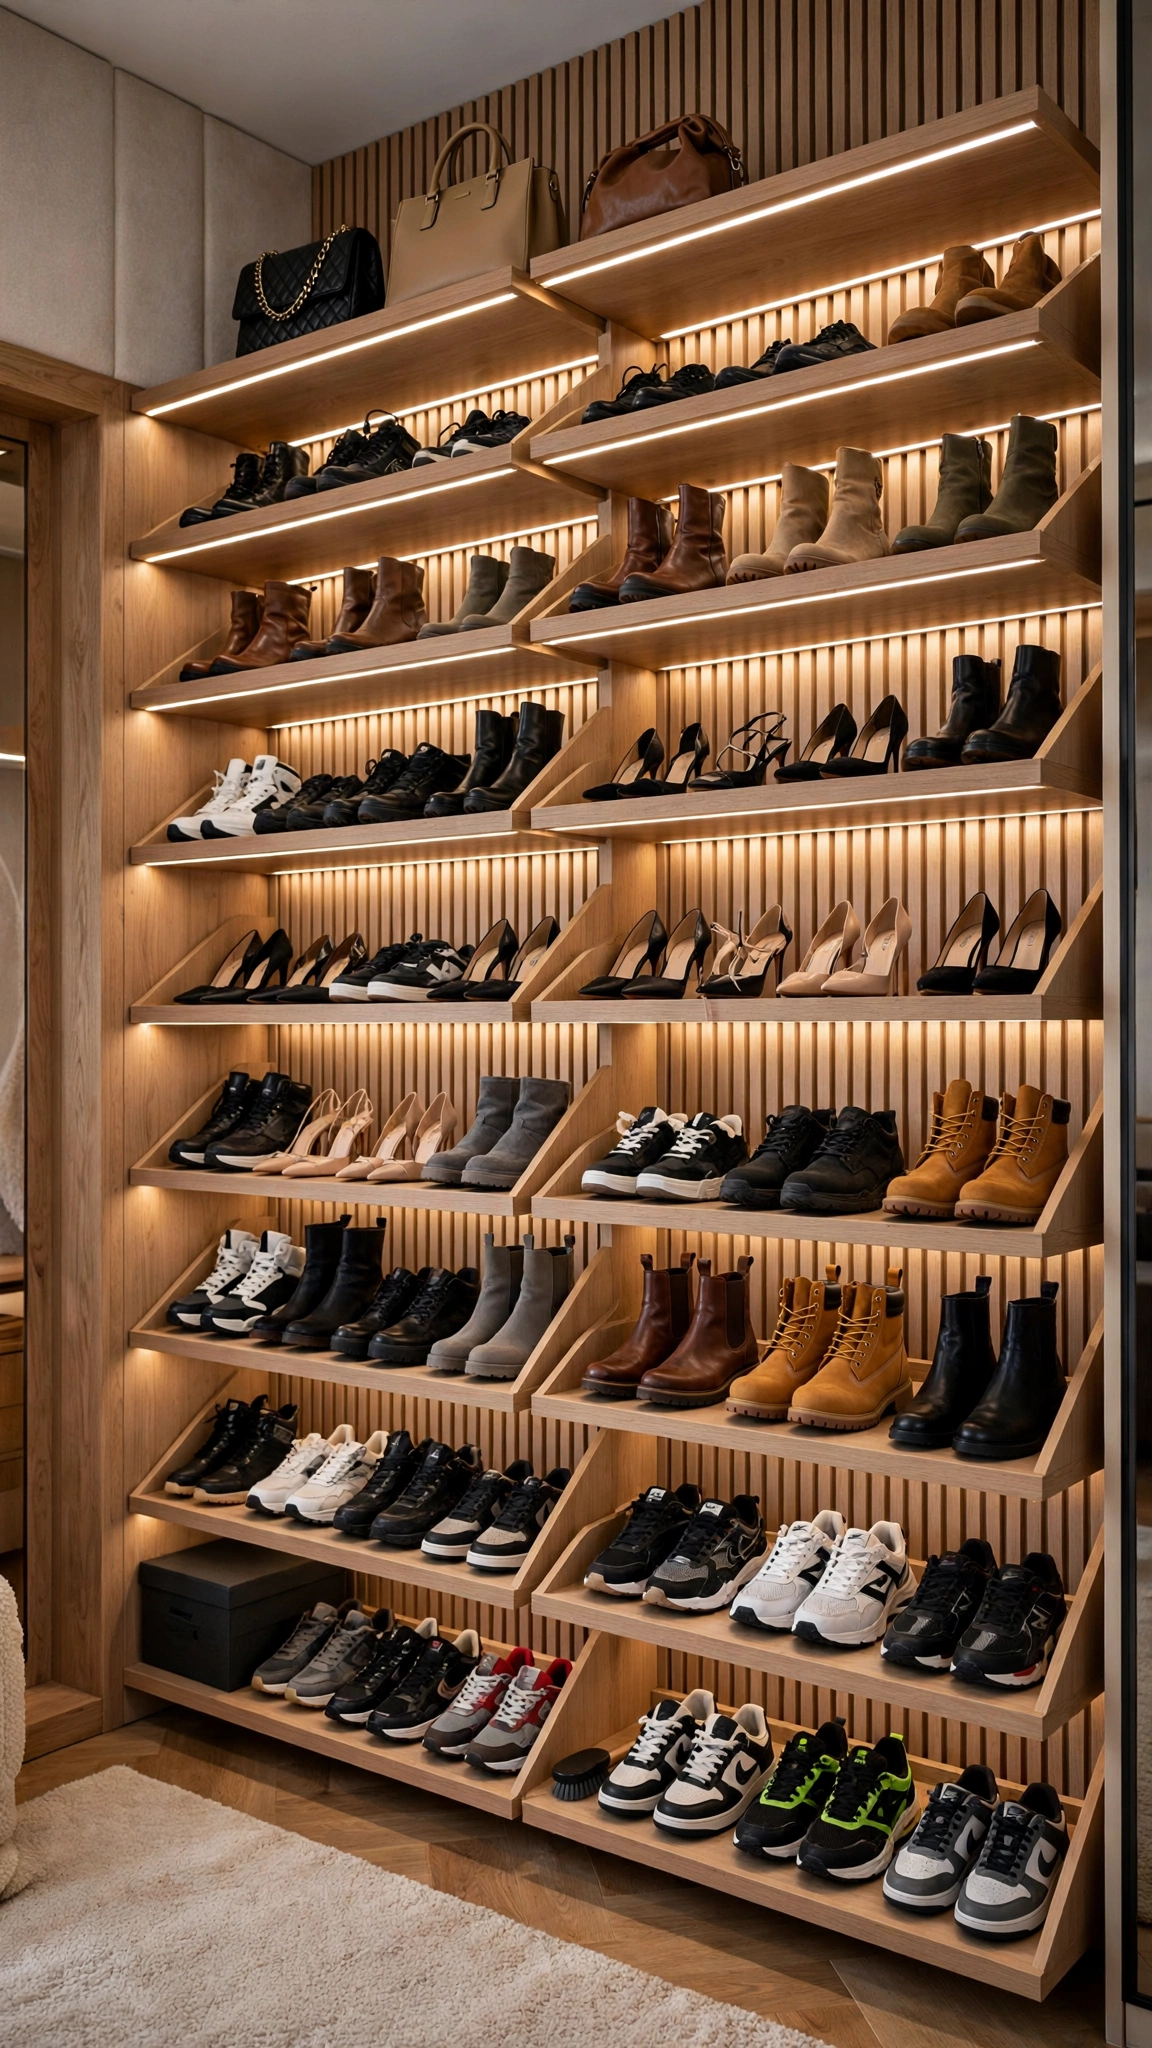
Give your shoes the sneaker-store treatment: narrow shelves mounted at a slight angle, floor to ceiling, with an LED strip along the edge. Angled shelves let you see every pair at a glance (flat shelves hide the back rows), and the lighting makes even an ordinary collection look deliberate. A full column of shelving down one side of your open closet holds a dozen-plus pairs in about eighteen inches of wall.
Try this: sort by current rotation, not by color — daily pairs at eye level, occasion shoes up high, beat-up pairs down low. You’ll grab the right shoes faster every morning, which is the whole point of having them visible.
20. Seasonal Capsule Rack
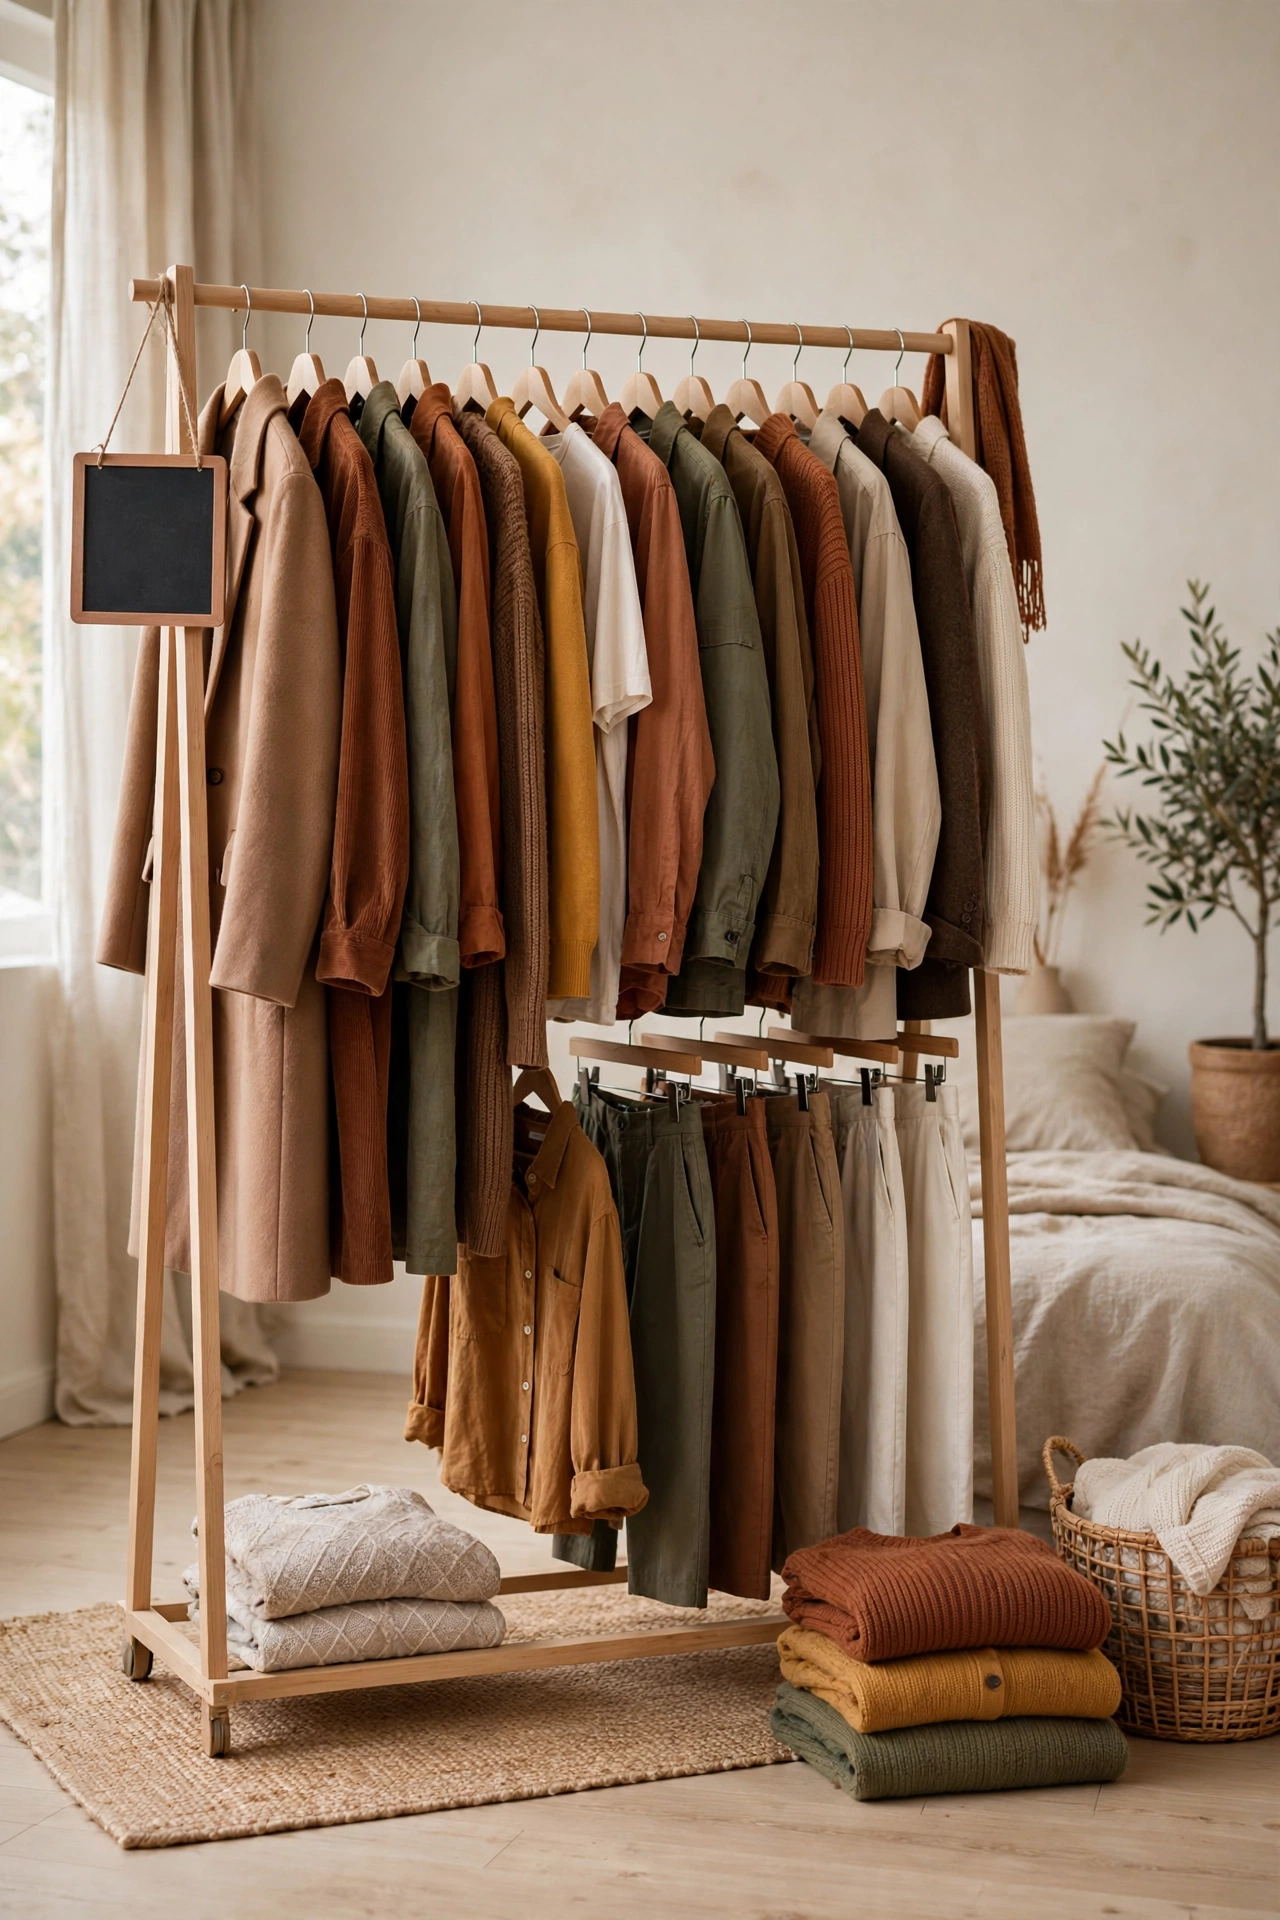
Here’s the mindset shift that makes open closets effortless: don’t display your whole wardrobe — display this season. A single rack holding a 20-to-30-piece capsule for the current weather, with everything else stored in garment bags or under-bed boxes, means your open closet is always tidy because there’s simply not enough on it to become messy. When the seasons change, you swap the rack’s contents in one satisfying afternoon.
Try this: store off-season clothes in breathable garment bags, not plastic bins, if you can — they hang instead of folding, so nothing needs ironing when its season comes back around.
21. His-and-Hers Split Rack
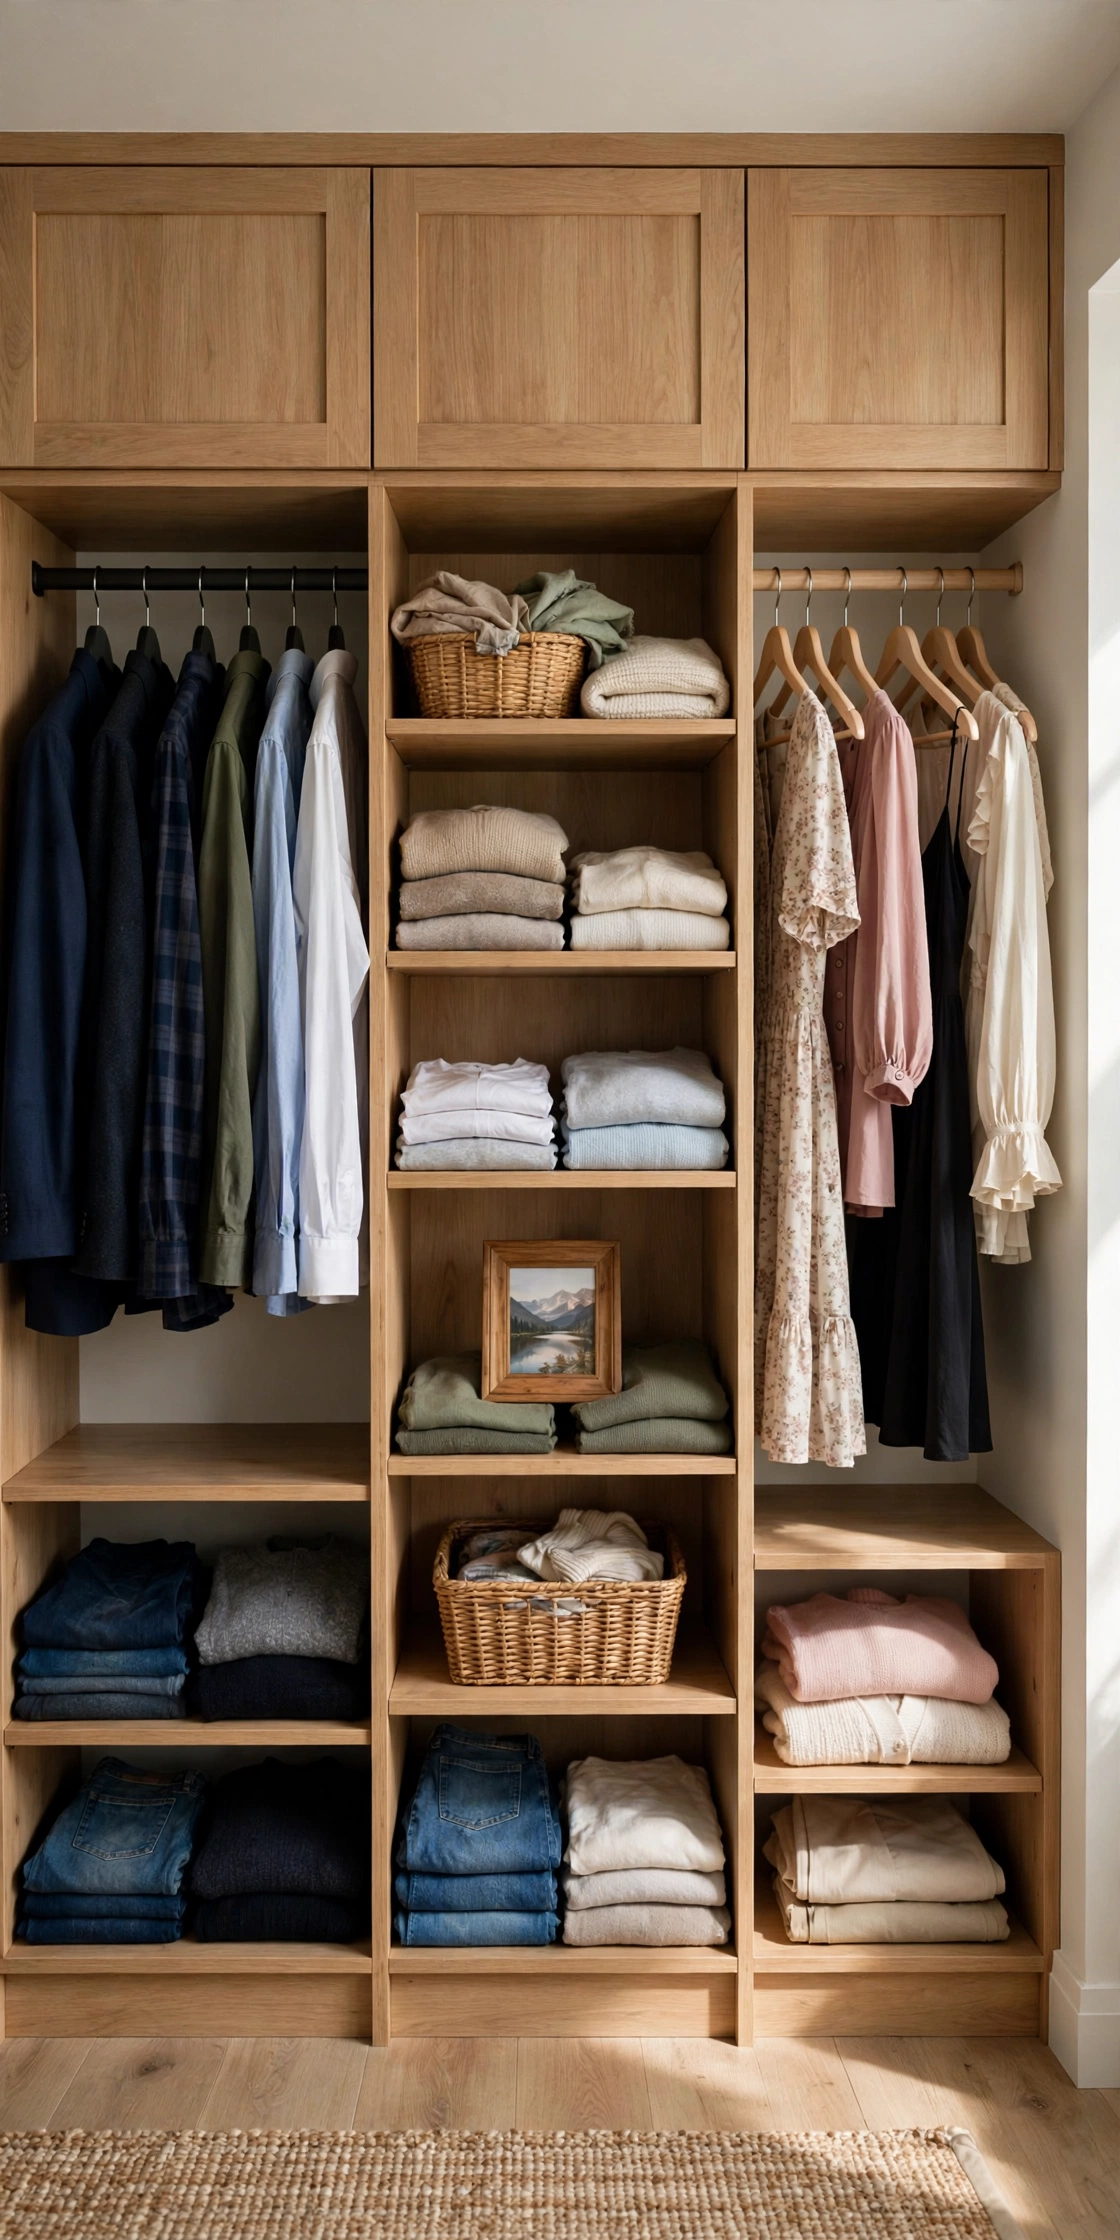
One closet, two people, zero arguments about whose stuff is creeping into whose zone. A wide wall unit split down the middle — his hanging section on one side, hers on the other, with a shared tower of shelves in the center for folded things — gives each person a defined territory. The center tower is the diplomatic zone: shared items, a small framed photo, maybe a plant, so the whole thing reads as one designed wall instead of two competing racks.
Try this: agree on the split before you build, and give the person with more hanging clothes the wider side. Measuring the actual wardrobes first (not guessing) prevents the classic outcome where one side overflows and the treaty collapses within a month.
22. Entryway Mudroom-Style Open Closet
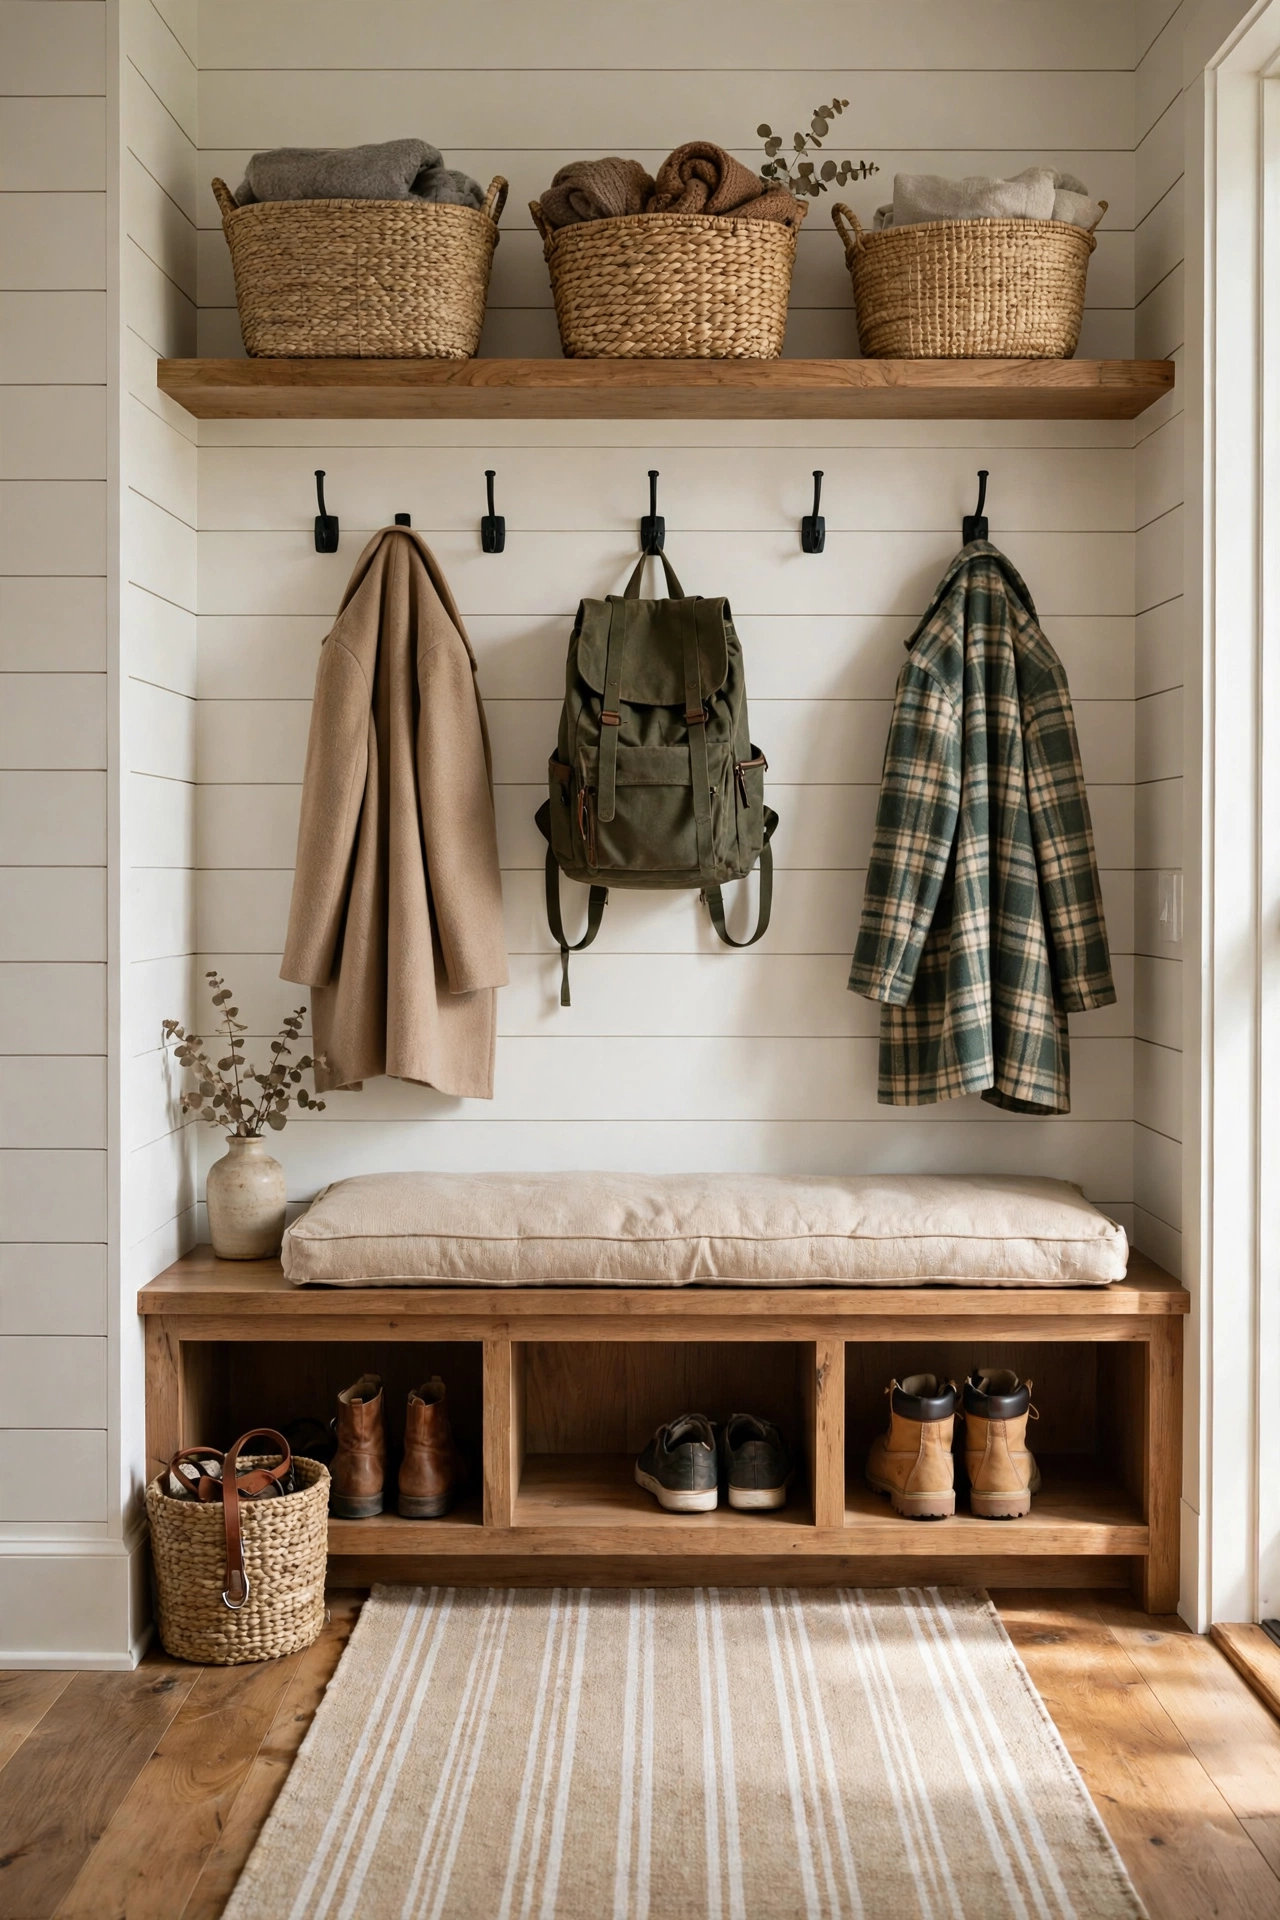
Not every open closet belongs in the bedroom. An entryway version — wall hooks for coats and bags, a high shelf with baskets for hats and gloves, a bench with shoe cubbies below — catches the daily churn of outerwear before it migrates through the house. It’s the same open-concept logic applied to the hardest-working five square feet in the home, and it ends the “where are my keys” era for good.
Try this: one hook per person, no exceptions. The moment someone gets two hooks, the entryway becomes a coat museum. A small tray on the bench for keys and sunglasses completes the system.
23. Kids’ Open Closet Corner
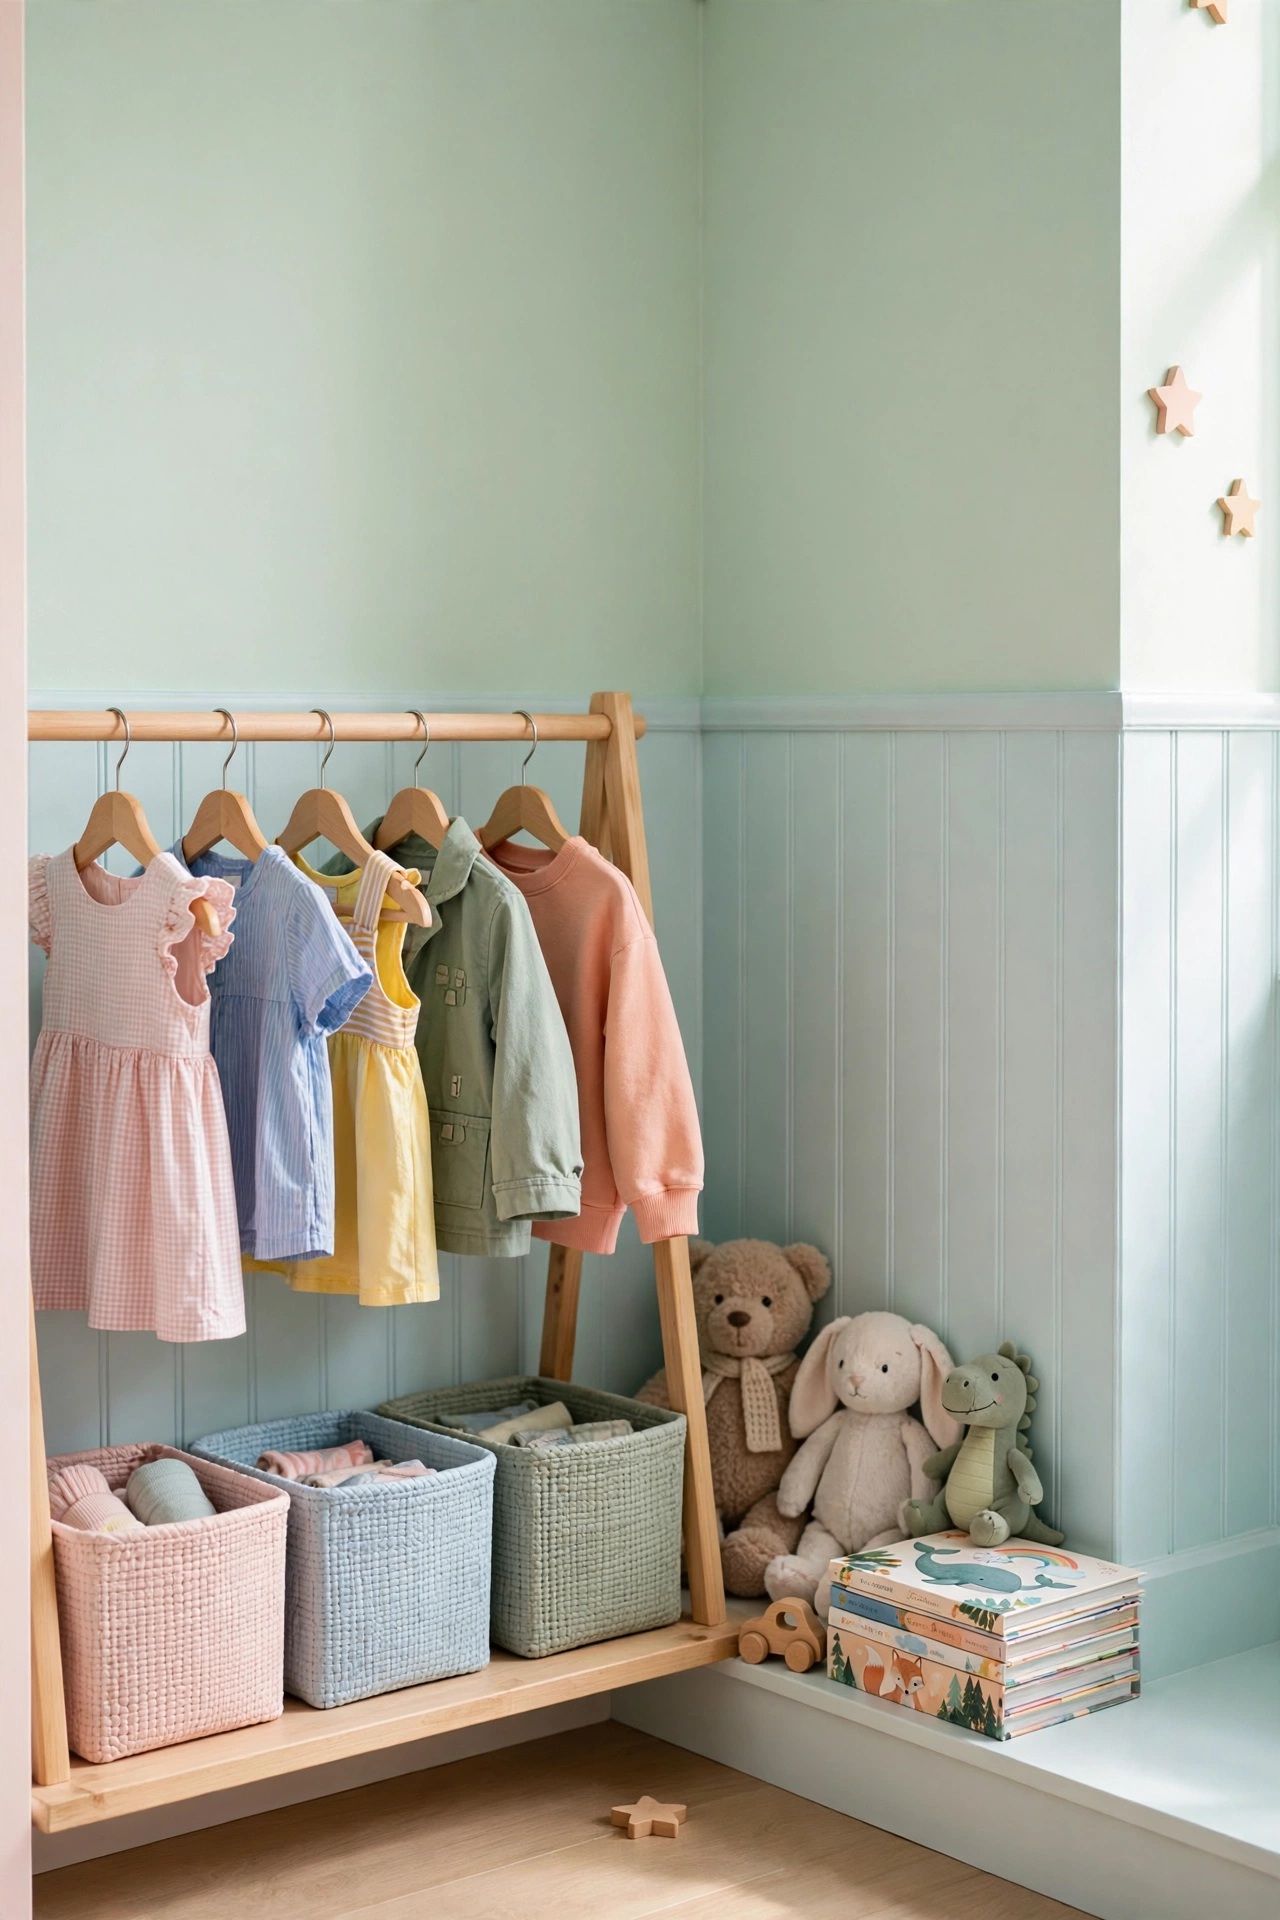
Kids can’t use what they can’t reach, which is why a child-height open rack beats a tall dark closet every time. A low rail with small hangers, labeled bins on a low shelf for folded things, and everything at eye level means a five-year-old can genuinely pick out clothes and — miracle of miracles — put them back. Use picture labels on the bins for pre-readers: a photo of socks on the sock bin works better than any word.
Try this: let your child choose which clothes earn a spot on the rack each season. The ownership makes them far more likely to maintain the system, and you’ll learn which “favorites” they actually wear versus the ones you keep buying hopefully.
24. Double-Decker High and Low Rods
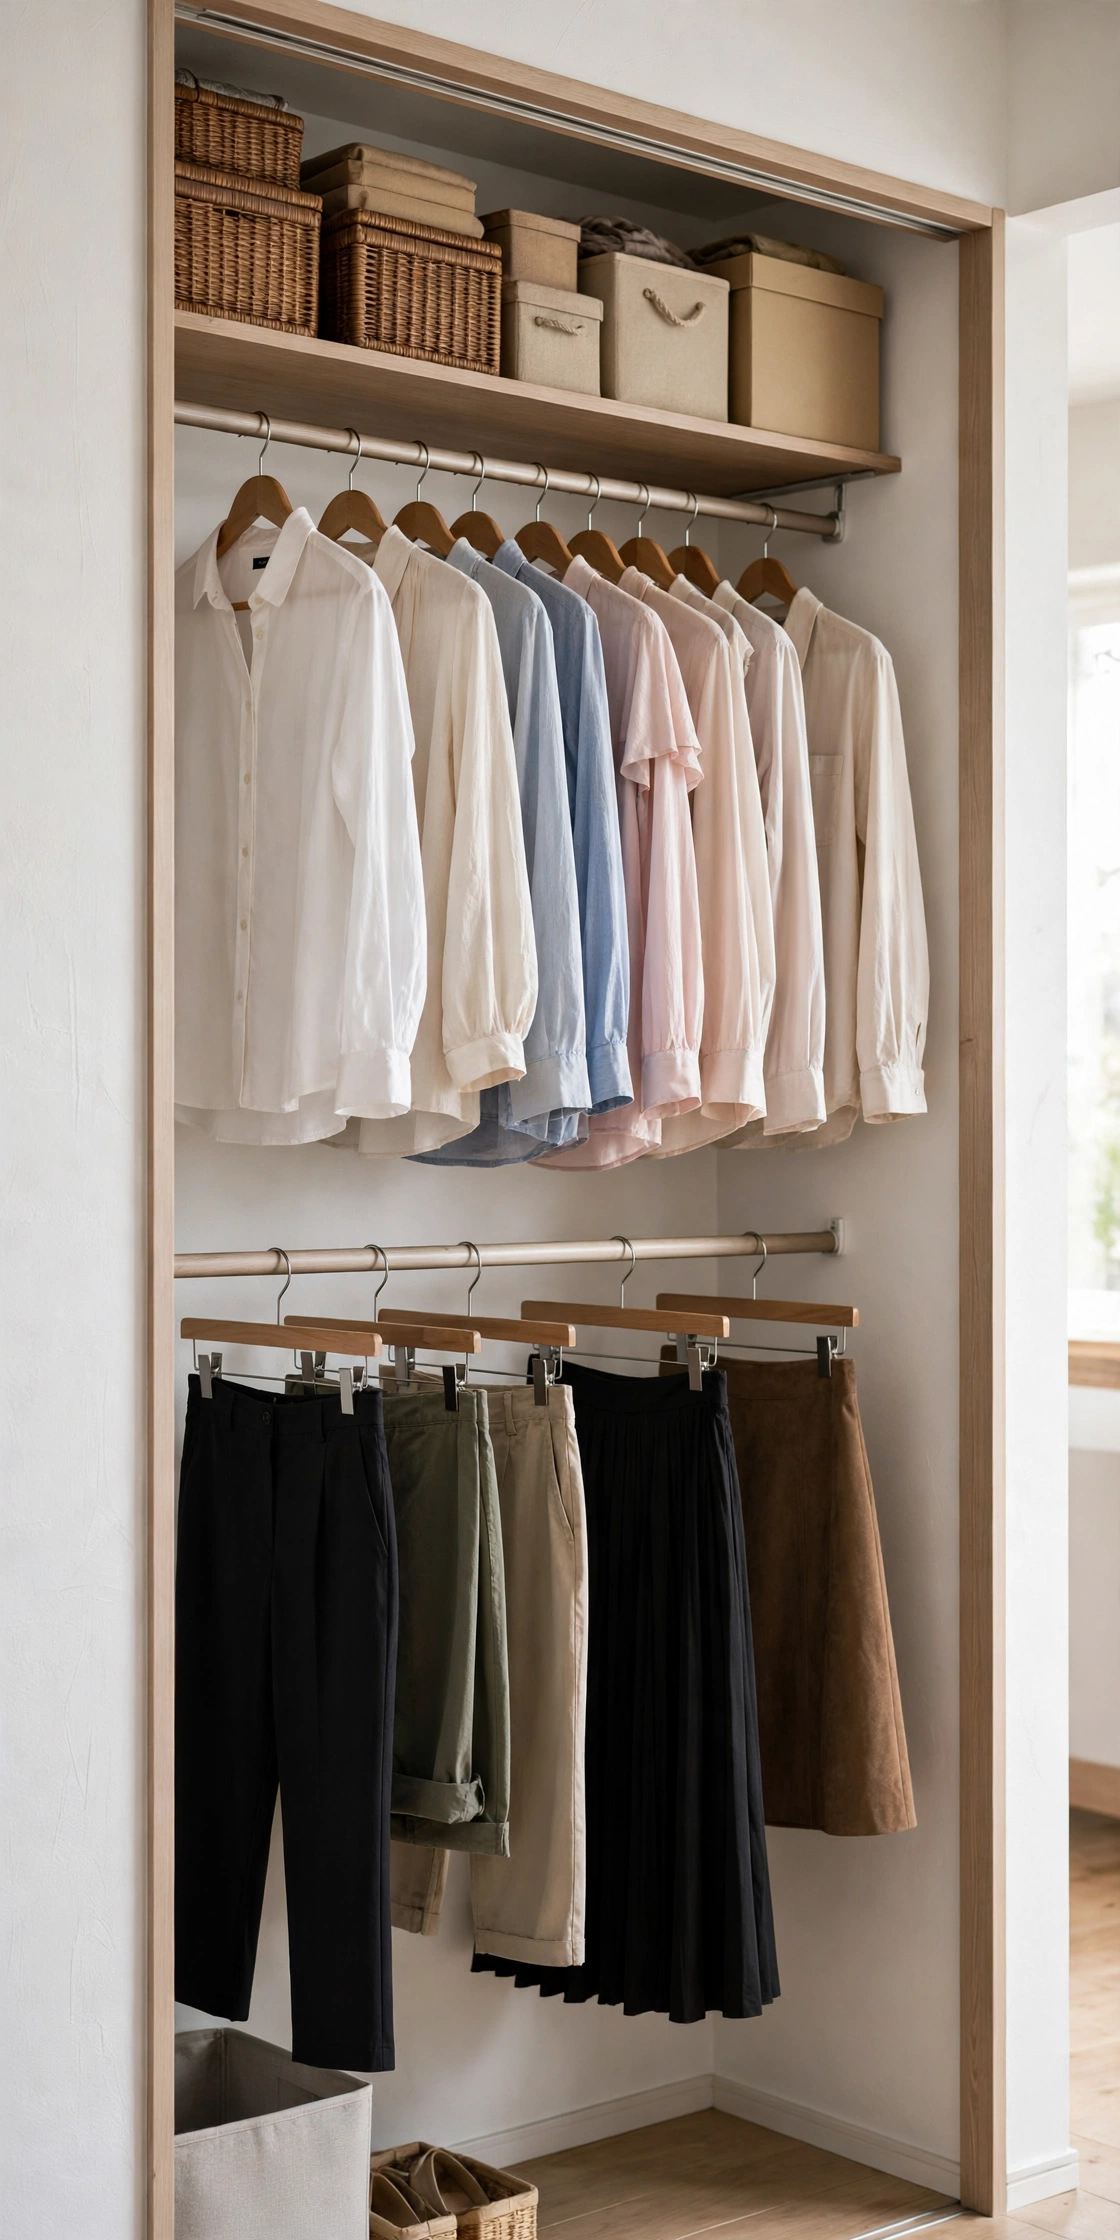
The simplest way to double any open closet: stack two rods vertically. Shirts and blouses on the top rod, pants and skirts on the bottom, and a narrow shelf above it all for storage boxes. It uses the vertical wall space that single-rod setups waste entirely, and it fits in the same four feet of wall. Most off-the-shelf double racks do this, but wall-mounting the pair is sturdier and looks more built-in.
And if you’ve maxed out the walls, look up — these easy DIY closet loft ideas show how to squeeze real storage out of the space near the ceiling, which most bedrooms waste completely.
Try this: put current-season clothes on the easy-reach lower rod and next-season pieces up top. The height split becomes a natural rotation system, and the seasonal swap takes twenty minutes instead of a weekend.
25. Minimalist Scandinavian All-White Closet
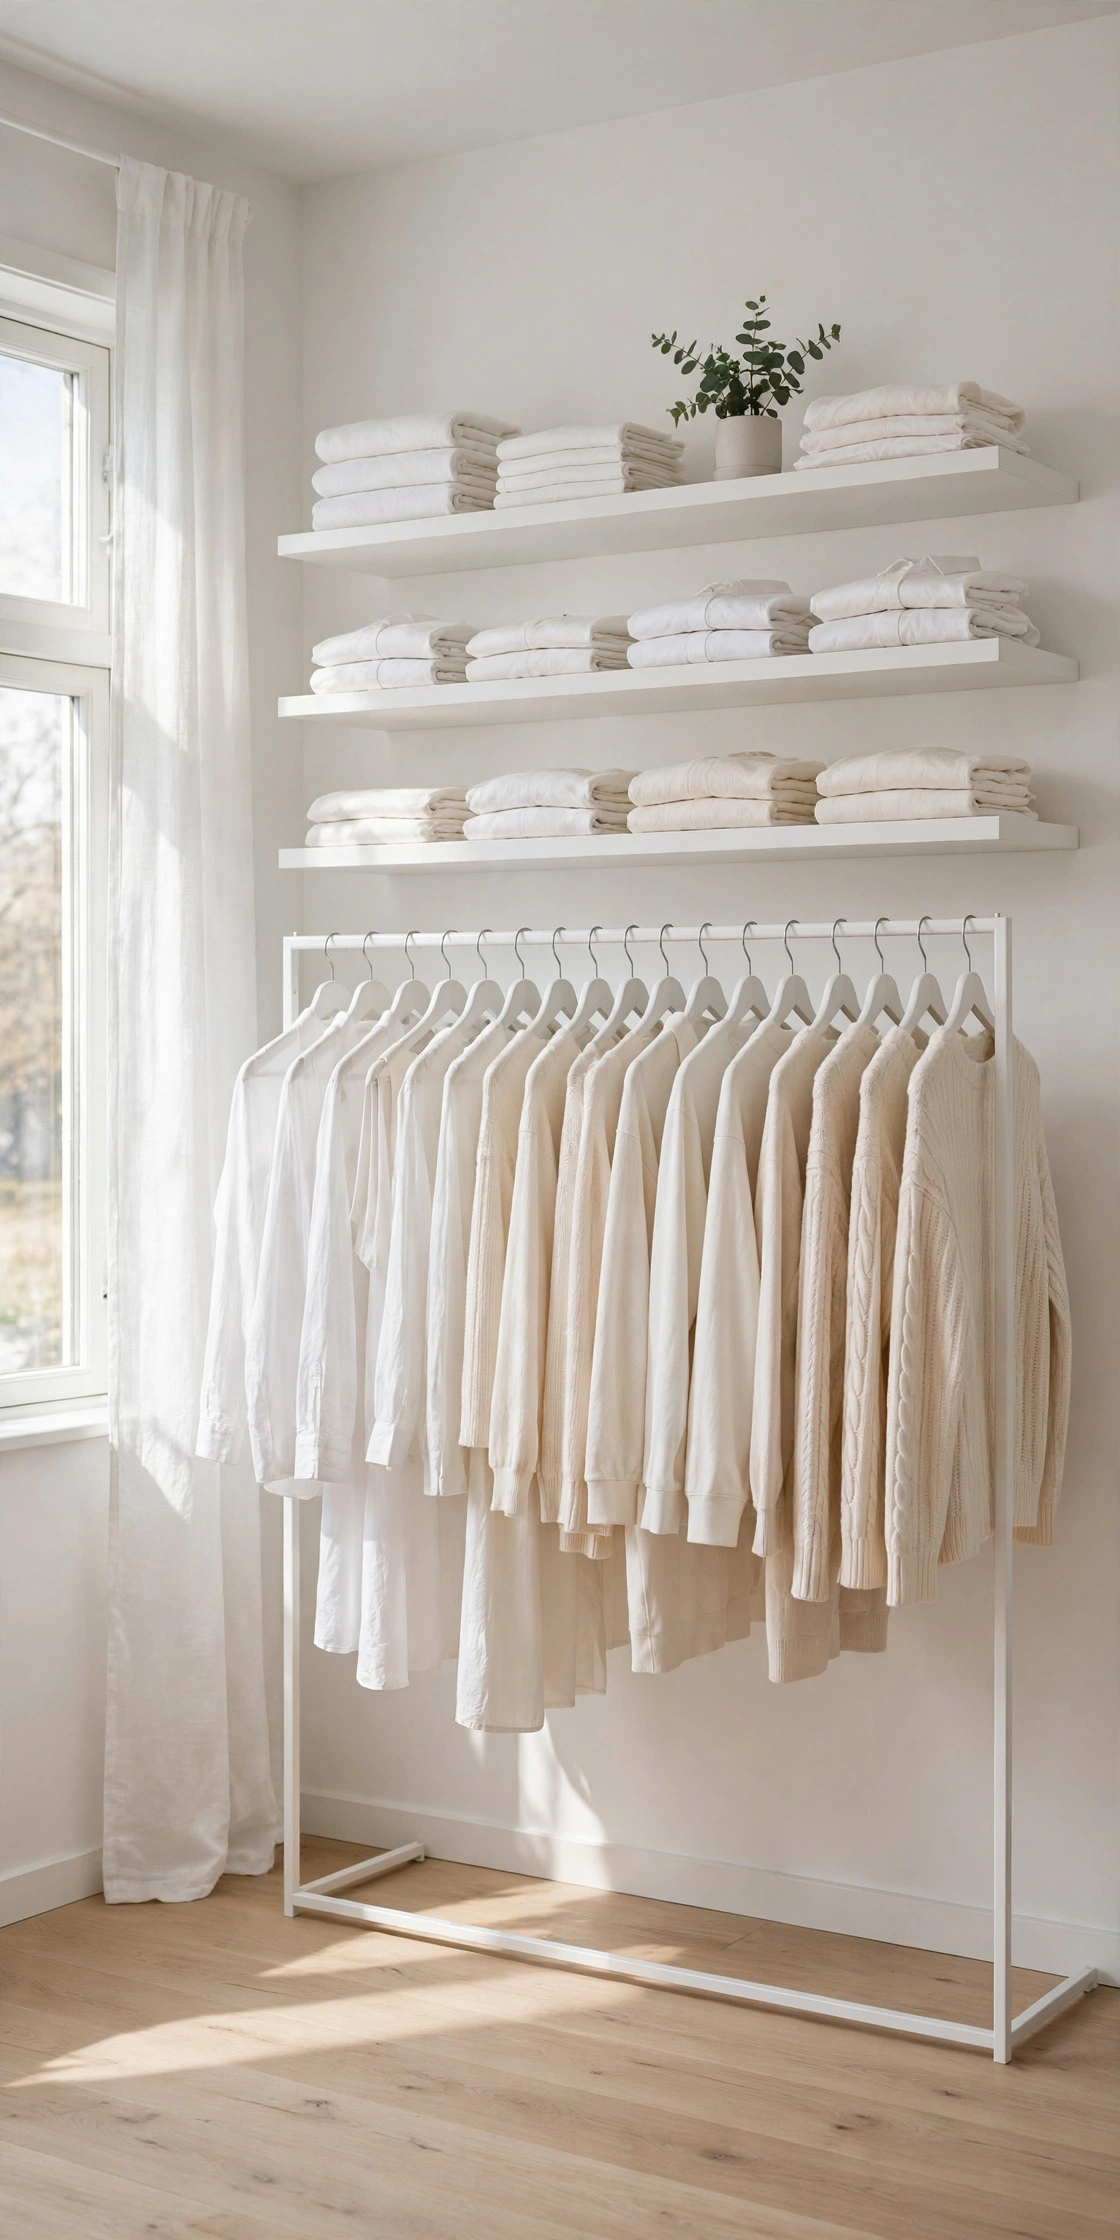
The showpiece: white metal rack, white and cream garments on matching white hangers arranged light to dark, white floating shelves, one small green plant for contrast. It only works if your wardrobe cooperates — this is a look for edited, neutral closets, not for “every color I ever bought on sale.” But when it works, it’s stunning: serene, bright, and the visual proof that an open closet can be the calmest corner of a home rather than its messiest.
Try this: commit to a ten-minute nightly reset — hang up the day’s clothes, straighten the hangers, done. An all-white display forgives nothing, but ten minutes a day keeps it gallery-perfect with almost no effort.
How to Keep an Open Closet Tidy
An open closet only looks good if it stays tidy, so here’s the honest maintenance routine that actually works. First, dust weekly — a quick pass with a microfiber cloth over shelves and a lint roller over shoulders takes five minutes and prevents the dusty-clothes problem everyone worries about. Second, switch to matching hangers; mismatched wire, plastic, and wooden hangers create visual noise before you’ve even looked at the clothes. Slim velvet hangers are the gold standard: they grip clothes, they take up less rail space, and a row of them looks instantly intentional.
Third, edit quarterly. If something hasn’t made it onto the rack in three months, it doesn’t belong in your visible wardrobe — donate it, store it, or let it go. If the edit feels overwhelming, these decluttering inspiration ideas break the first big purge into painless steps. And finally, adopt one-in-one-out: every new piece that comes home means one piece leaves. Open closets punish overbuying immediately, which turns out to be a feature — most people find they spend less on clothes within months of going open.
Frequently Asked Questions
Do open closets get dusty?
Yes — that’s the honest tradeoff. Without doors, clothes collect dust faster than in a closed wardrobe. The fix is a light weekly routine: dust shelves with a microfiber cloth, run a lint roller over shoulders, and keep the bedroom door closed when you’re not in it. Use garment covers or breathable garment bags for off-season and occasion pieces, and vacuum the closet area weekly. Most people find the five-minute habit becomes automatic within a couple of weeks.
Are open closets good for small bedrooms?
They’re often better than traditional wardrobes in small rooms. There’s no door swing eating floor space, no bulky carcass blocking light, and the visual openness makes the room feel larger. Wall-mounted rods and corner setups use dead space that a wardrobe can’t, and a rolling rack can be moved wherever it’s needed. The key is editing your visible wardrobe down to what you actually wear.
How do I make an open closet look tidy instead of messy?
Four things do 90% of the work: matching hangers (slim velvet is the gold standard), arranging clothes by color from light to dark, editing out anything you don’t wear, and containing the small stuff in matching bins and baskets. Group like with like — all jeans together, all jackets together — and leave a little breathing room on each rail instead of cramming it full.
What is the cheapest way to build an open concept closet?
A basic freestanding garment rack plus a small bookshelf or cube organizer, which you can put together for well under $100 — less if you thrift the shelf. A DIY pipe or dowel rack from hardware store parts is similarly cheap and sturdier. Start with one rack and matching hangers; you can add shelves, pegboards, and lighting later as the system proves itself.
Can renters do an open concept closet?
Absolutely — it’s one of the most renter-friendly storage upgrades there is. Freestanding garment racks, rolling racks, cube organizers, ladder racks, and tension rods need zero drilling. Even wall-mounted options can be renter-safe with the right anchors or by using adhesive-mounted hooks for lightweight accessories. Everything comes apart cleanly when you move.
Final Thoughts
Going open with my closet started as a rental necessity and turned into one of the best household changes I’ve made. Mornings are calmer, I buy less and wear more, and there’s something genuinely pleasant about seeing your favorite things displayed instead of stuffed behind doors. You don’t need a big budget or a big bedroom — one sturdy rack, a set of matching hangers, and an honest edit will get you 80% of the way there this weekend.
Start with the idea that fits your space and your patience level, build just that one thing, and live with it for a week before adding more. The best open closet isn’t the most elaborate one — it’s the one you’ll actually maintain. Pick your rack, hang your favorites, and enjoy the strange satisfaction of a wardrobe with nothing to hide.


