


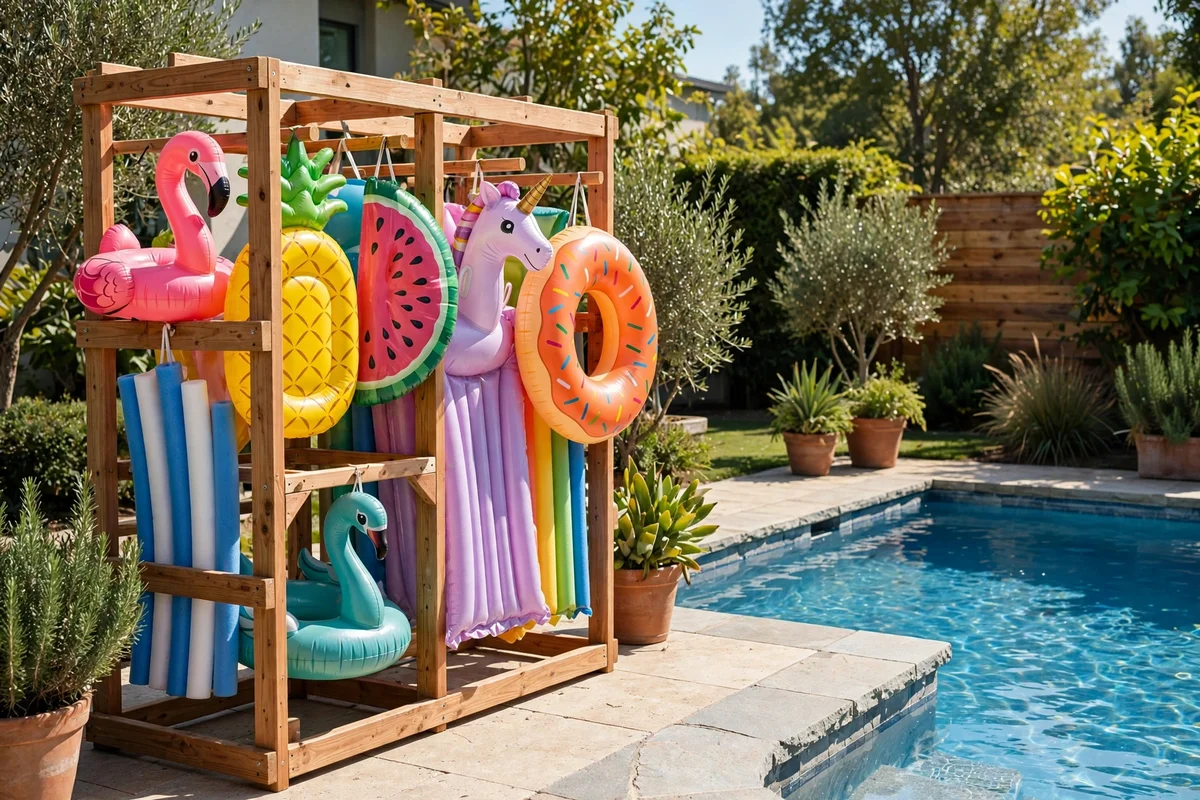
Pool floats multiply. One flamingo becomes a unicorn, a lounger, and six noodles, and by July they are scattered across the lawn, deflating in the sun. I spent one whole summer dragging ours into the garage every night before I finally built a rack.
These 10 DIY storage ideas keep floats organized, dry, and out of the sun. Each one lists the materials, rough cost, and build time, plus the mistakes that shorten float life and the safety rules that matter around kids.
Quick takeaways
- Sun and being stored wet are what kill floats. Keep them shaded and dry between swims.
- PVC pipe and pallets make the cheapest sturdy racks, usually $20 to $60.
- Wall and fence storage frees up floor space in small yards.
- Anchor or weigh down any tall rack so it cannot tip onto kids.
- Deflate floats and store them indoors over winter for the longest life.
1. PVC pipe float rack
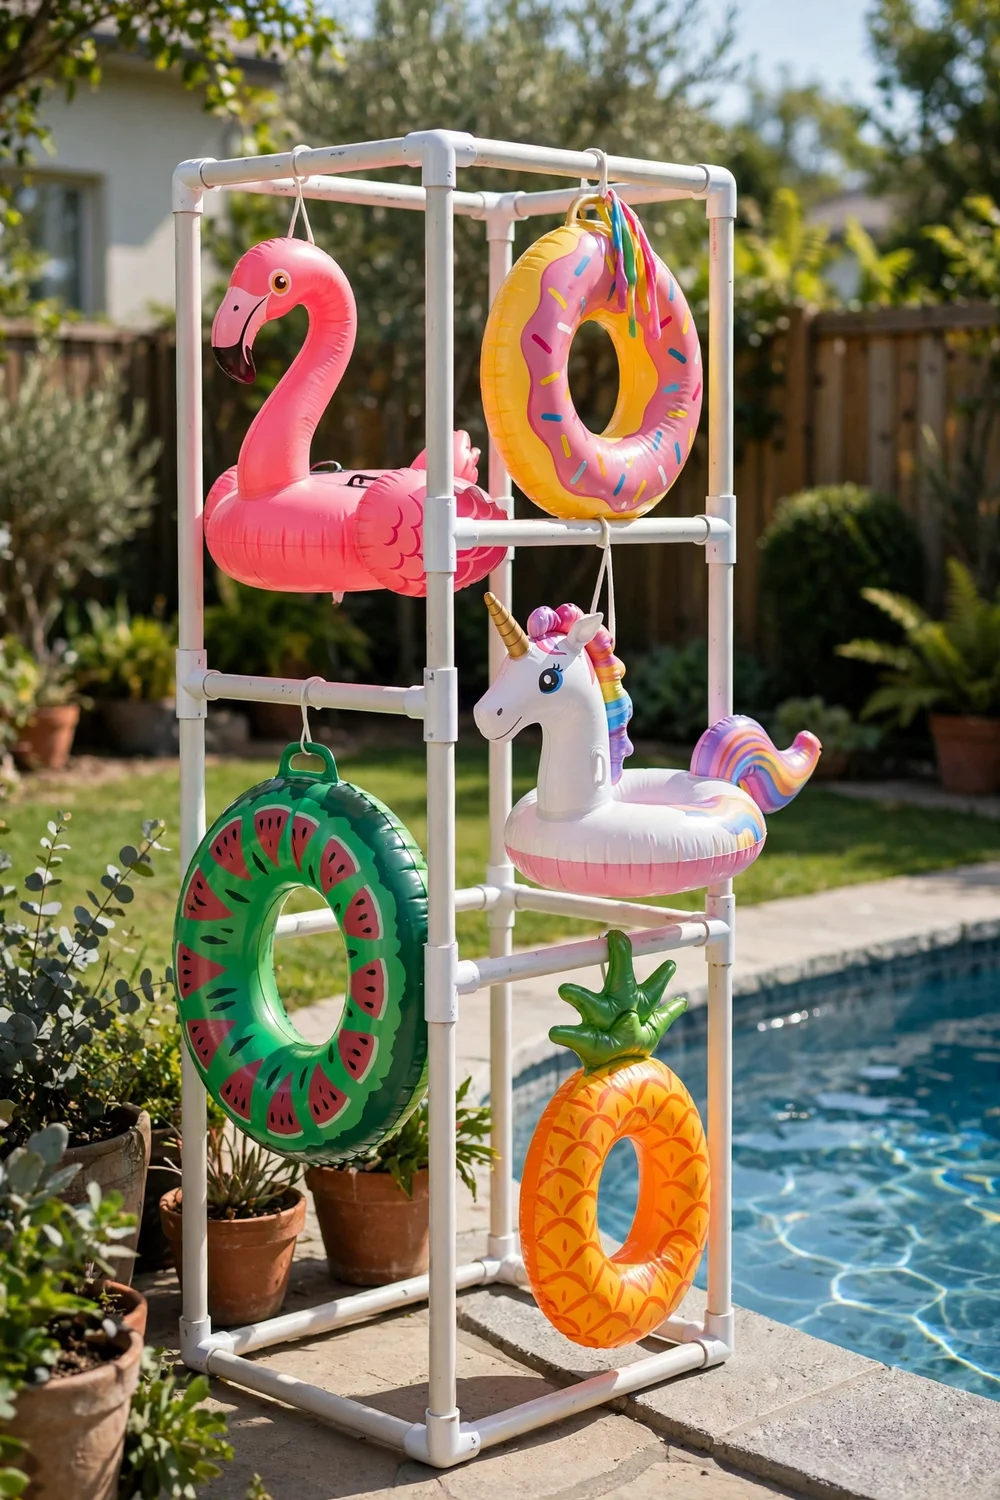
Two-inch PVC pipe, a handful of T-connectors and elbows, and a pipe cutter are all you need for a rack that holds 4 to 6 inflated floats. Cut two A-frame sides, join them with horizontal bars, and glue every joint so it survives bumps. PVC never rusts, shrugs off pool chemicals, and costs a fraction of a store-bought rack. Spray paint it white, black, or teal to match your pool area, and weigh the base with sand-filled pipe caps if wind is an issue.
Try this: add a short horizontal bar on one side sized for pool noodles.
Cost: $$· Build time: 1 to 2 hours · Difficulty: easy
2. Wooden pallet rack
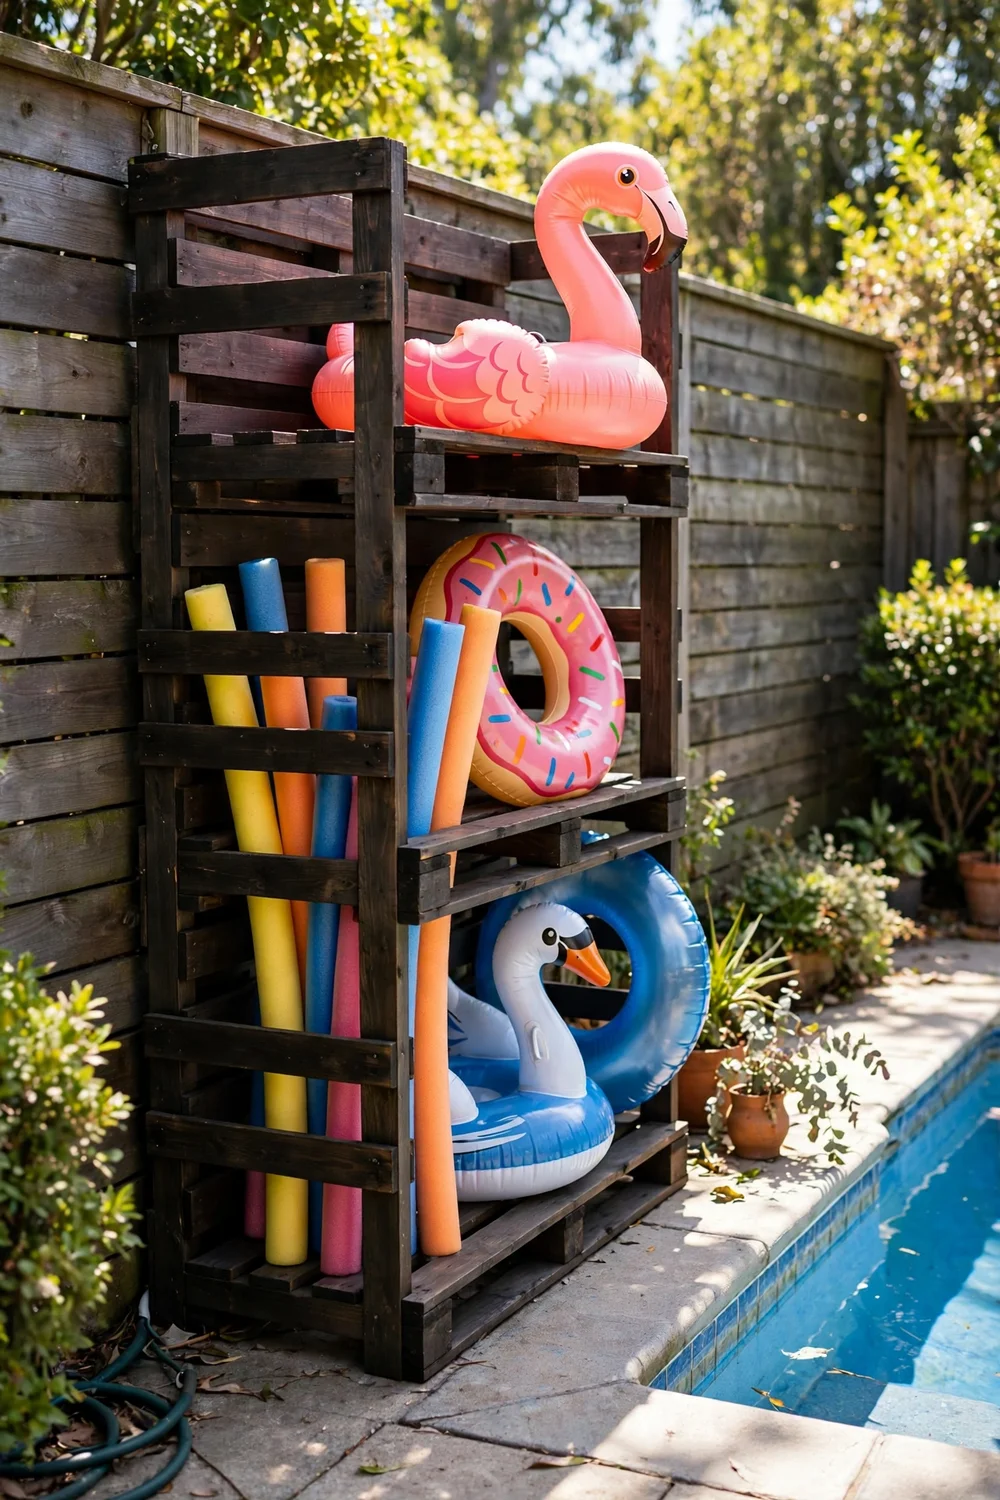
A heat-treated pallet (look for the HT stamp, never MB) becomes a vertical float rack with an afternoon of work. Sand it smooth, stain and seal it for weather protection, then screw it to a fence or wall so it cannot tip. Slide inflated floats between the slats or hook bungee cords across the front to hold them in. The slatted design gives great airflow, which stops mildew. One pallet holds a surprising amount: 3 to 4 floats plus noodles.
Try this: paint the pallet your fence color so it blends in.
Cost: $$· Build time: 2 to 3 hours · Difficulty: easy
3. Cargo net wall

Screw heavy-duty hooks into a garage or shed wall in a rectangle, stretch a cargo net across them, and tuck deflated floats, rings, and small inflatables behind the net. Everything stays visible and off the floor, and the netting lets air circulate so nothing stays damp. Space the hooks wide enough that you can pull a float out one-handed. This works best for items you deflate, since fully inflated floats bulge awkwardly.
Try this: label each net section by kid so cleanup takes seconds.
Cost: $$· Build time: under 1 hour · Difficulty: easy
4. Kayak hangers on the fence

Kayak storage hangers are wide, padded J-hooks designed to cradle a hull, which makes them perfect for big inflated tubes and loungers. Bolt a pair to a sturdy fence or wall 3 to 4 feet apart, and each cradle holds one large float. The padding protects vinyl from abrasion. Check that your fence can carry the weight; a waterlogged giant flamingo is heavier than it looks. Two hangers handle most family collections.
Try this: mount them under the eaves so floats get shade too.
Cost: $$· Build time: 30 minutes · Difficulty: easy
5. Flag pole float tree

A freestanding metal pole set in a heavy umbrella base becomes a float tree: slide rings, tubes, and loungers down over the top and they stack neatly all season. It takes up barely a square foot of deck space and keeps every float visible and grabbable. Choose a pole at least 6 feet tall with a base heavy enough to resist wind; a tipping pole full of floats is a hazard. This is the fastest large-collection solution on this list.
Try this: hang a mesh bag of goggles from a hook near the top.
Cost: $$· Build time: 20 minutes · Difficulty: easy
6. Oversized mesh hamper
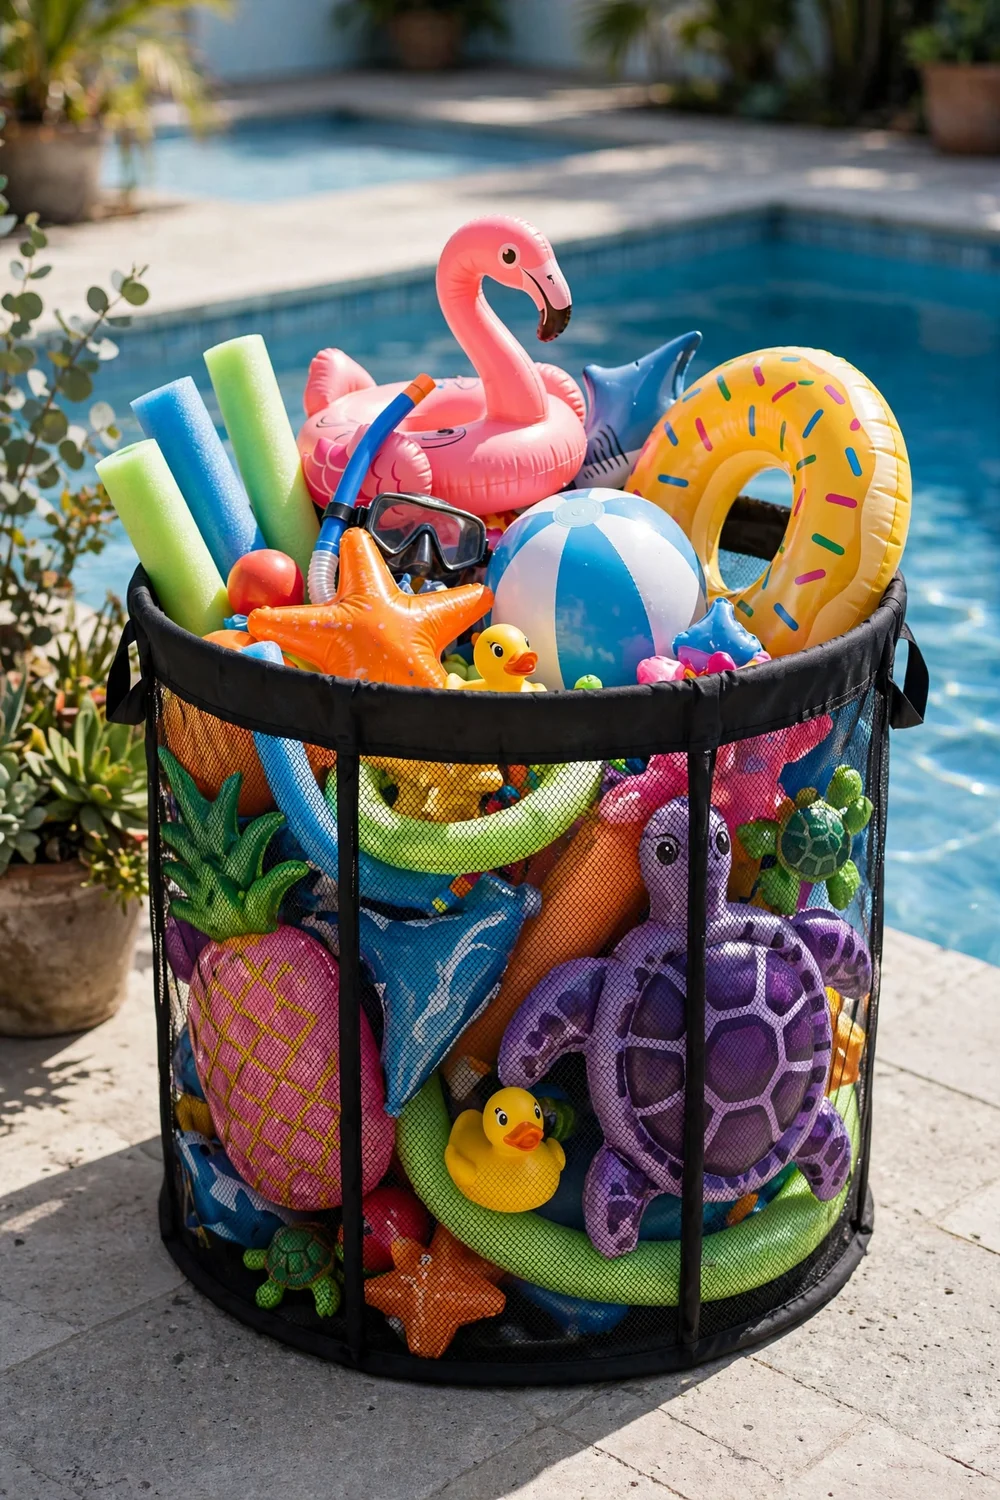
A pop-up mesh hamper, the kind sold for laundry, is one of the cheapest float corrals going. Toss in deflated floats, noodles, and small toys; the mesh lets water drain and air circulate, so mildew never gets a foothold. It folds flat for winter and costs less than a pizza. The downside is capacity: one hamper holds a modest collection, so grab two if your family owns the giant unicorn.
Try this: keep one hamper for clean floats and one for sandy toys.
Cost: $$· Build time: none · Difficulty: easy
7. Weatherproof deck box
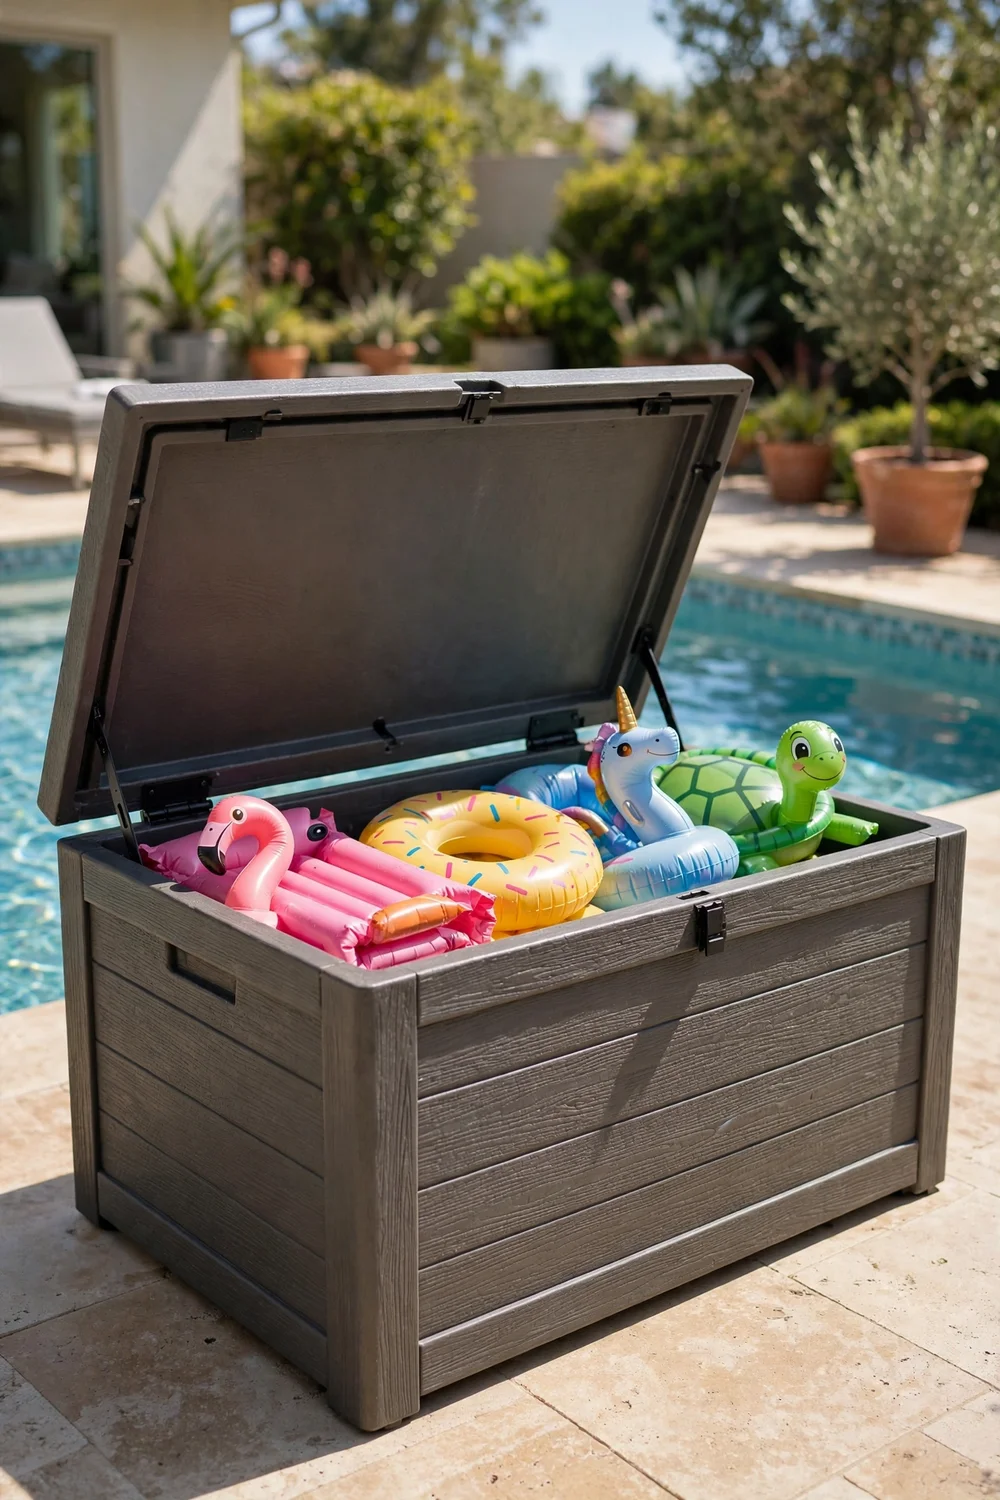
A 100-gallon weatherproof deck box swallows the neon chaos whole: deflate the big floats, fold them loosely, and stack everything inside with the lid shut against sun and rain. Many boxes double as a bench, earning their footprint twice. Drill a few small drainage holes in the bottom so any trapped water escapes, and never store floats wet and sealed or mildew follows. Position it where it also blocks wind from the pool area.
Try this: add a cushion on top and it becomes extra poolside seating.
Cost: $$$· Build time: 30 minutes assembly · Difficulty: easy
8. Bungee cord wall grid

Screw a grid of screw-in hooks to a shed or garage wall, then crisscross bungee cords between them to make stretchy compartments. Slide floats behind the cords; the tension holds any shape snugly without clips or ties. This is the most customizable option here: space the hooks to fit exactly what you own, from skinny noodles to wide loungers. Use UV-resistant bungees outdoors or they go brittle within a season.
Try this: leave one section cord-free for wet towels to drip-dry.
Cost: $$· Build time: 1 hour · Difficulty: easy
9. Tall planter noodle urn
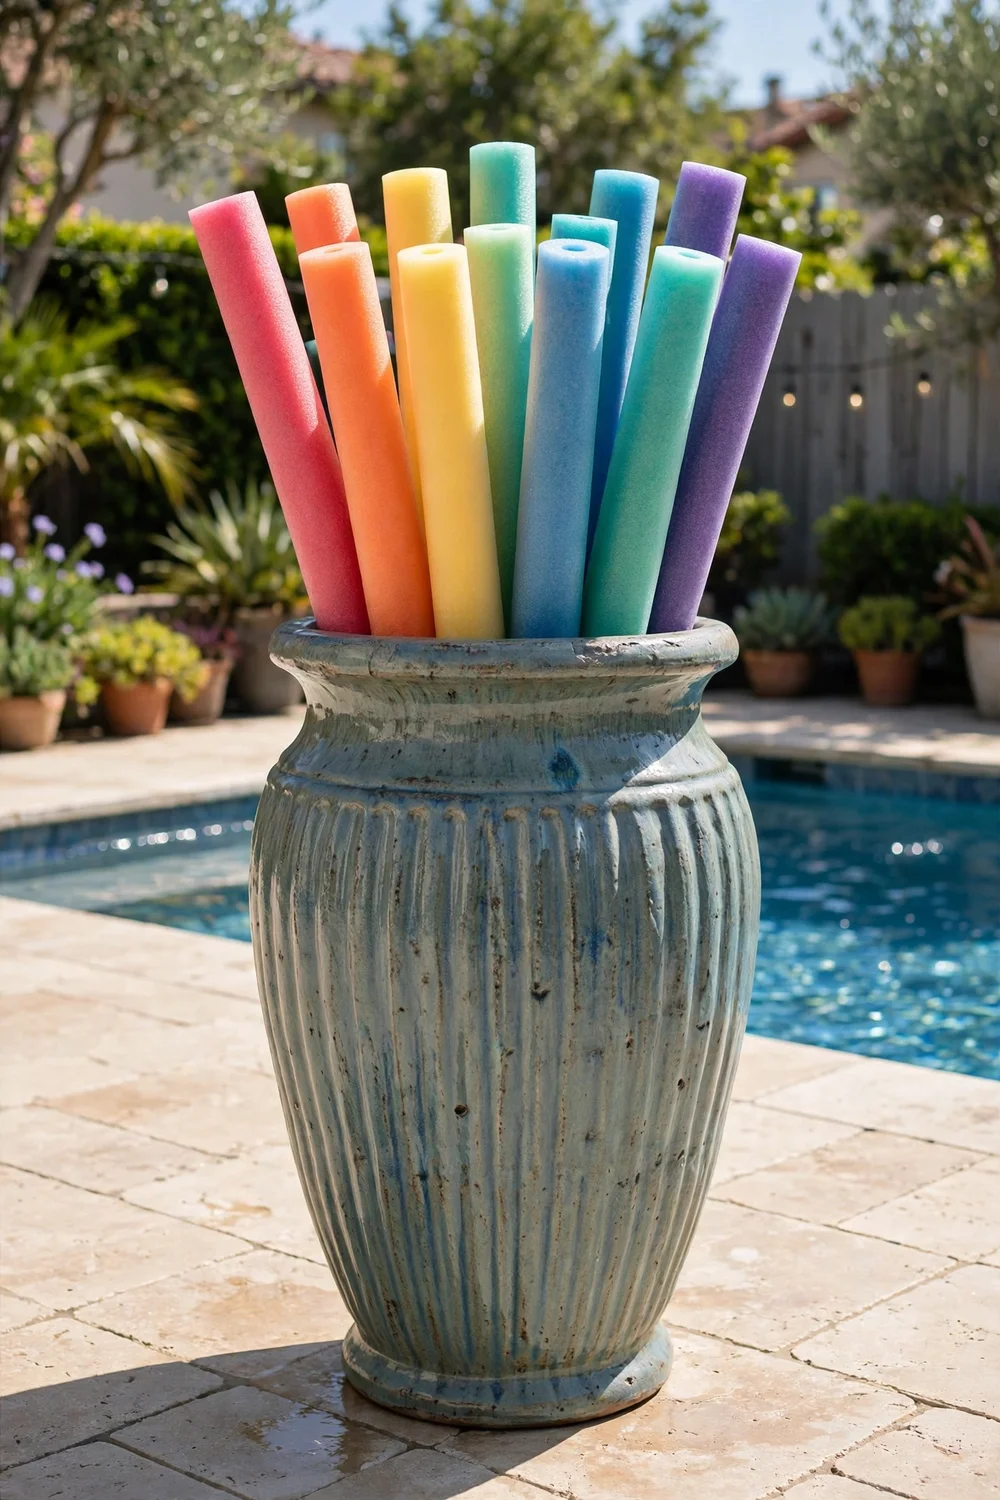
Pool noodles refuse to stay put until you stand them upright in a tall, heavy-bottomed planter. The urn turns noodle chaos into a tidy vertical accent on the patio, and standing noodles dry in minutes. Make sure the planter’s bottom is vented or drilled so water drains instead of pooling and breeding mosquitoes. A 24-inch-tall urn holds 8 to 10 noodles and looks far better than a laundry basket.
Try this: choose a glazed urn that matches your patio pots.
Cost: $$· Build time: none · Difficulty: easy
10. Pegboard wall station
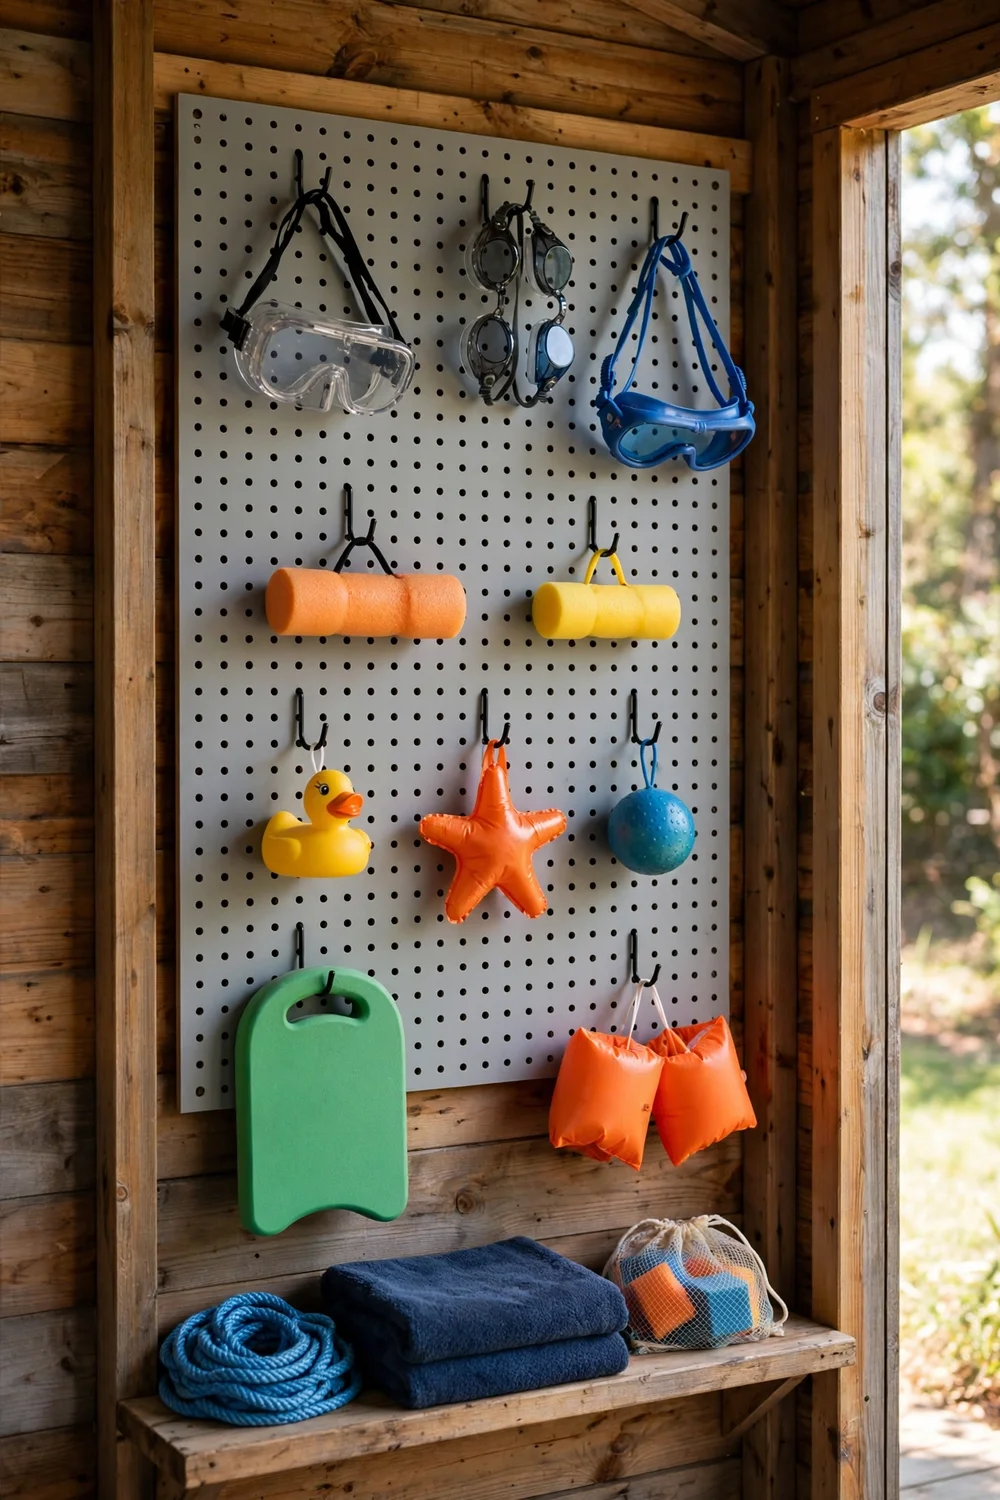
Mount a 4-by-2-foot pegboard on a fence, shed wall, or garage interior and load it with hooks and small baskets. Goggles, deflated rings, dive toys, and sunscreen each get a spot, and you can rearrange the layout as the collection changes. Use exterior-rated pegboard or seal standard board well, and choose stainless or coated hooks that survive humidity. It will not hold the giant flamingo, but it tames everything else.
Try this: outline each item’s spot in chalk so kids know where things go.
Cost: $$· Build time: 1 hour · Difficulty: easy
DIY float storage at a glance
How to make floats last longer
Vinyl floats die from three things: sun, abrasion, and being stored wet. Rinse off sunscreen and pool chemicals after heavy use, since both break down vinyl over time. Dry floats fully before any enclosed storage; a towel-off plus 20 minutes in the breeze does it. Fold deflated floats loosely along different crease lines each time so the vinyl does not crack at the same fold. Stored right, a decent float lasts 3 to 5 seasons instead of one.
Mistakes that shorten float life
Leaving floats in the pool overnight is the top killer: chlorine, sun, and skimmer abrasion wear them out fast. Dragging inflated floats across concrete grinds pinholes into the bottom. Sealing damp floats in a bin or deck box breeds mildew within days. And stacking heavy items on top of stored floats stresses the seams. A rack that keeps floats off the ground, shaded, and ventilated avoids all four.
Safety: tip-overs and kids climbing
Two safety rules for float storage. First, anchor every tall or freestanding rack to a wall, fence, or heavy base. A loaded PVC rack or float tree can tip onto a small child, and the CPSC’s tip-over information center documents how serious furniture and storage tip-overs can be. Second, never place a climbable rack where it gives kids a boost over the pool fence; storage should never defeat your pool barrier. The federal Pool Safely campaign has the full layers-of-protection checklist for pool areas.
More pool area ideas
If you are upgrading the whole pool zone, these above ground pool ideas show how to make an affordable pool look built-in and polished.
On a tight budget, these budget Intex pool ideas prove a backyard can feel like a resort without a big spend.
For everything that does not fit by the pool, these shed storage ideas keep chemicals, tools, and spare floats organized and out of reach of kids.
Frequently asked questions
Should you deflate pool floats for storage?
During swim season, hanging floats inflated on a rack is fine and saves daily effort. For winter or any storage longer than a few weeks, deflate them. Long-term inflation stresses the seams, and a slow leak over winter can leave a float misshapen by spring.
How do you store pool floats in winter?
Clean each float with mild soap, rinse, and dry it completely. Deflate, fold loosely along different lines than last time, and place in a lidded bin or bag indoors. A garage shelf or basement corner works; avoid attics that freeze or bake.
How do you keep pool floats from blowing away?
Store them in a deck box, behind bungee cords, or on hooks rather than loose on the deck. For floats in use, tether them to poolside hooks when you get out. Never leave floats in the pool overnight; wind piles them against the skimmer and wears them out.
Can you leave floats outside all summer?
Yes, if they are shaded. Direct sun degrades vinyl fast, so a rack under an eave or patio cover works well. Bring floats inside during storms; hail and flying debris puncture them.
How do you prevent mildew on pool floats?
Dry floats before storing, choose ventilated storage like mesh, nets, or slatted racks, and never seal a damp float in a closed bin. If mildew spots appear, scrub with a mix of water and white vinegar and dry in the sun.
What is the cheapest DIY float storage?
A bungee cord wall grid or a pallet rack, both under $25. A pop-up mesh hamper at about $15 is the cheapest option of all if your collection is small.
A float rack is a weekend project that pays off all summer: no more morning float roundup, no more sun-rotted unicorns. Pick the build that matches your space and your collection size, anchor it well, and your pool area will stay tidy from the first swim to the last. Our PVC rack took one Saturday, and I have not tripped over a noodle since.
Pair your floats with one of these inflatable pool ideas for the backyard.
More ideas you’ll love: 18 DIY Homemade Swimming Pool Ideas for a Budget Backyard, 15 DIY Pool Noodle Storage Ideas That Keep Them Tidy, and 10 Best DIY Coffee Table With Storage Ideas.


