


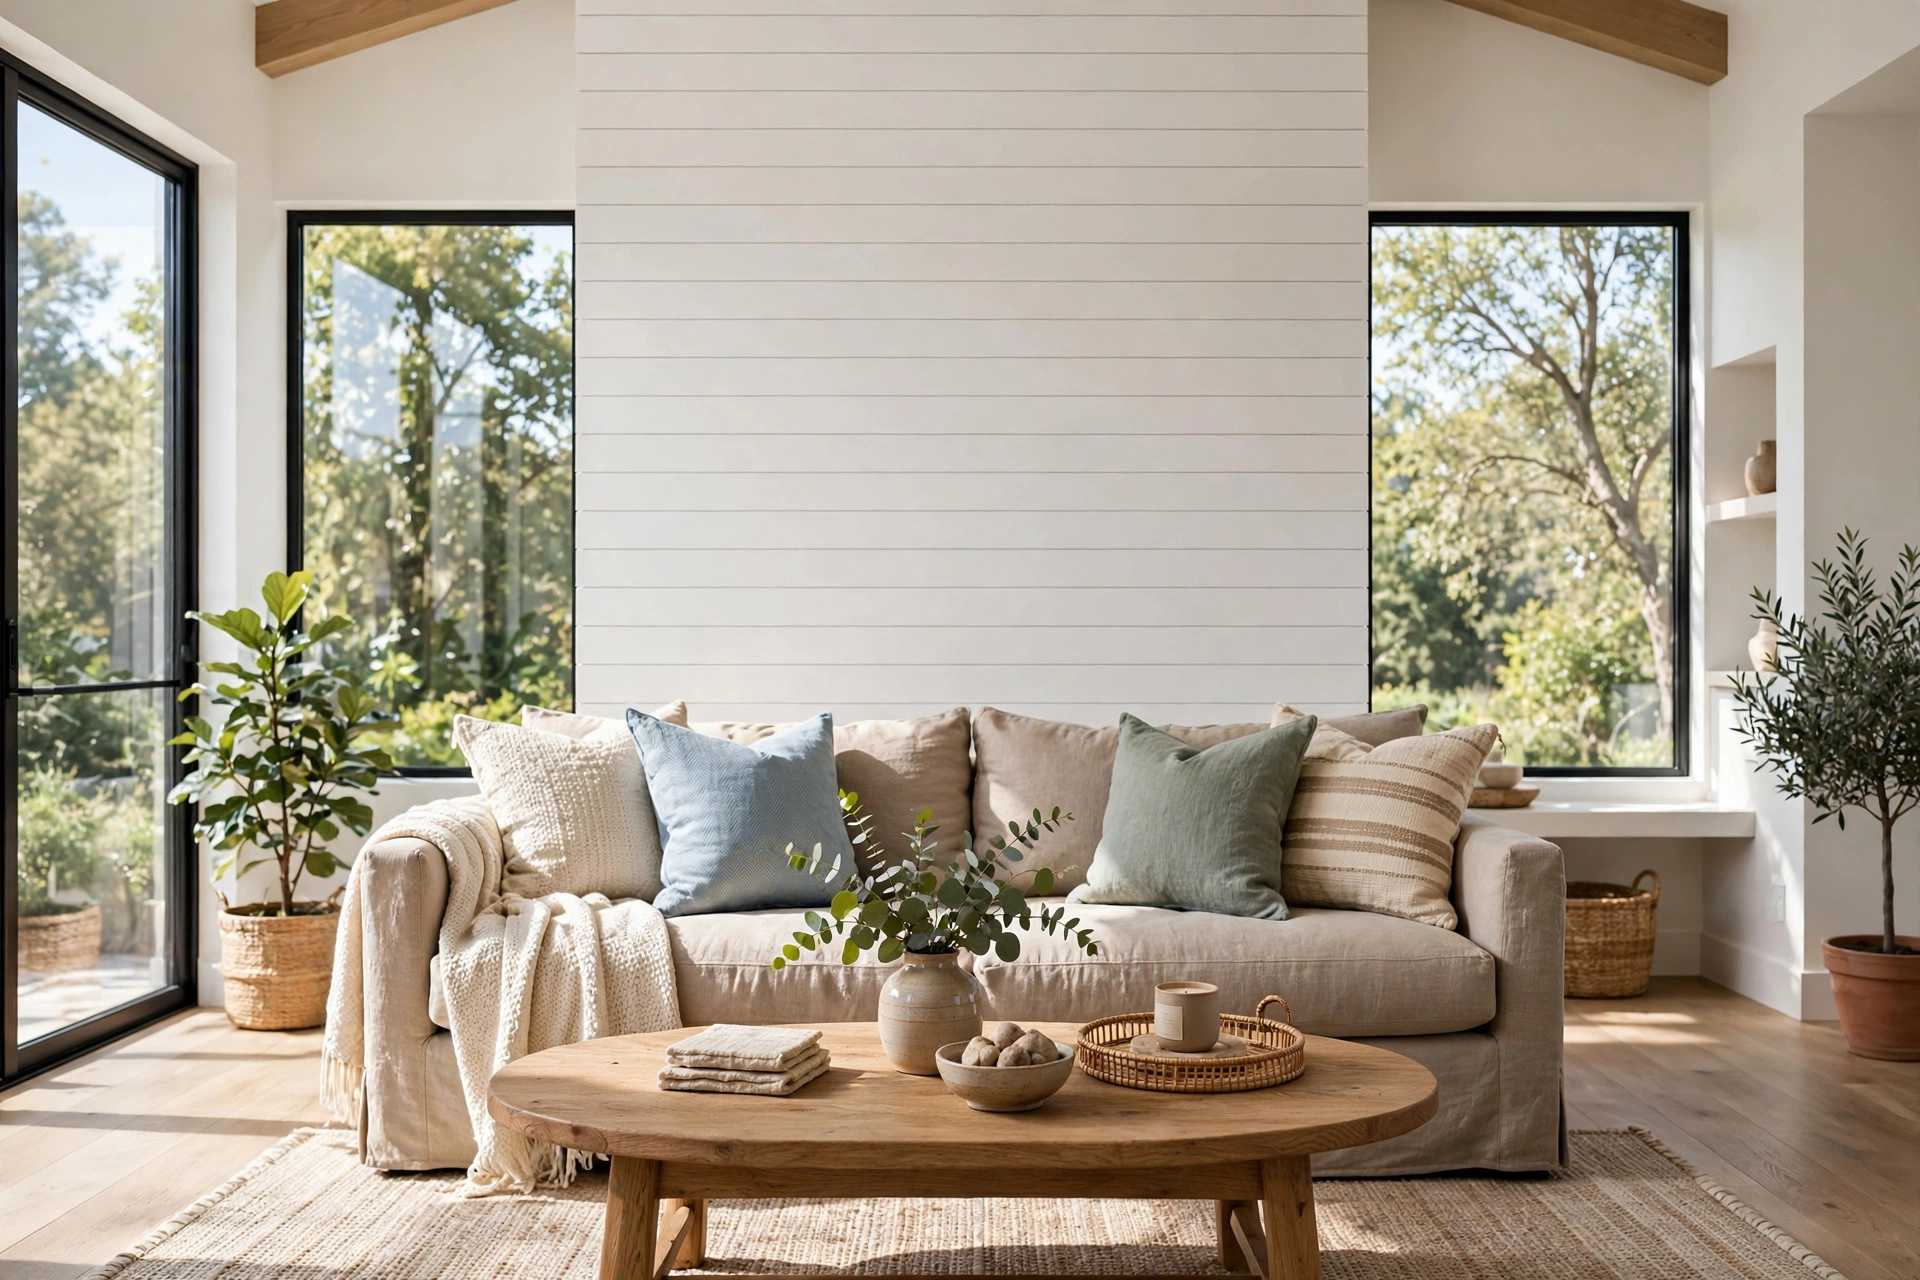
I almost didn’t do my first shiplap wall. The boards sat in my garage for six weeks while I convinced myself I needed a contractor, a miter saw certification, and a personality transplant into someone who “does projects.” What finally pushed me was a Saturday when my husband was out of town and I ran out of excuses. Six hours later — one borrowed nail gun, a video tutorial paused forty times, and exactly one board I had to re-cut — my living room had a wall that looked like it belonged in a magazine.
That was four years ago, and I’ve since done shiplap walls in five rooms (plus one memorable ceiling experiment). Here’s what I wish someone had told me before wall number one: shiplap is genuinely the best beginner project in home DIY. It’s forgiving — the boards overlap, so small mistakes hide. It’s fast — most walls go up in a single weekend. And it changes a room more dramatically than anything else you can do for under $200.
These 25 perfect shiplap accent wall ideas for beginners are organized from the easiest weekend wins to the slightly braver projects, with the beginner tips I learned the hard way baked into every one. Grab a level, a stud finder, and a little courage — your walls are about to get interesting.
- Start with one wall, not a room. An accent wall is a weekend project; a whole room is a lifestyle commitment.
- The magic is in the “nickel gap” — that thin shadow line between boards. Don’t caulk or paint it shut.
- Find your studs and mark them all the way up the wall before you start. Nails into drywall alone will not hold.
- Always start from the bottom and work up, checking level on every board. One crooked first board ruins the whole wall.
- Borrow or rent a brad nailer. It turns a two-day hammer project into a three-hour job.
1. The Classic White Horizontal Wall
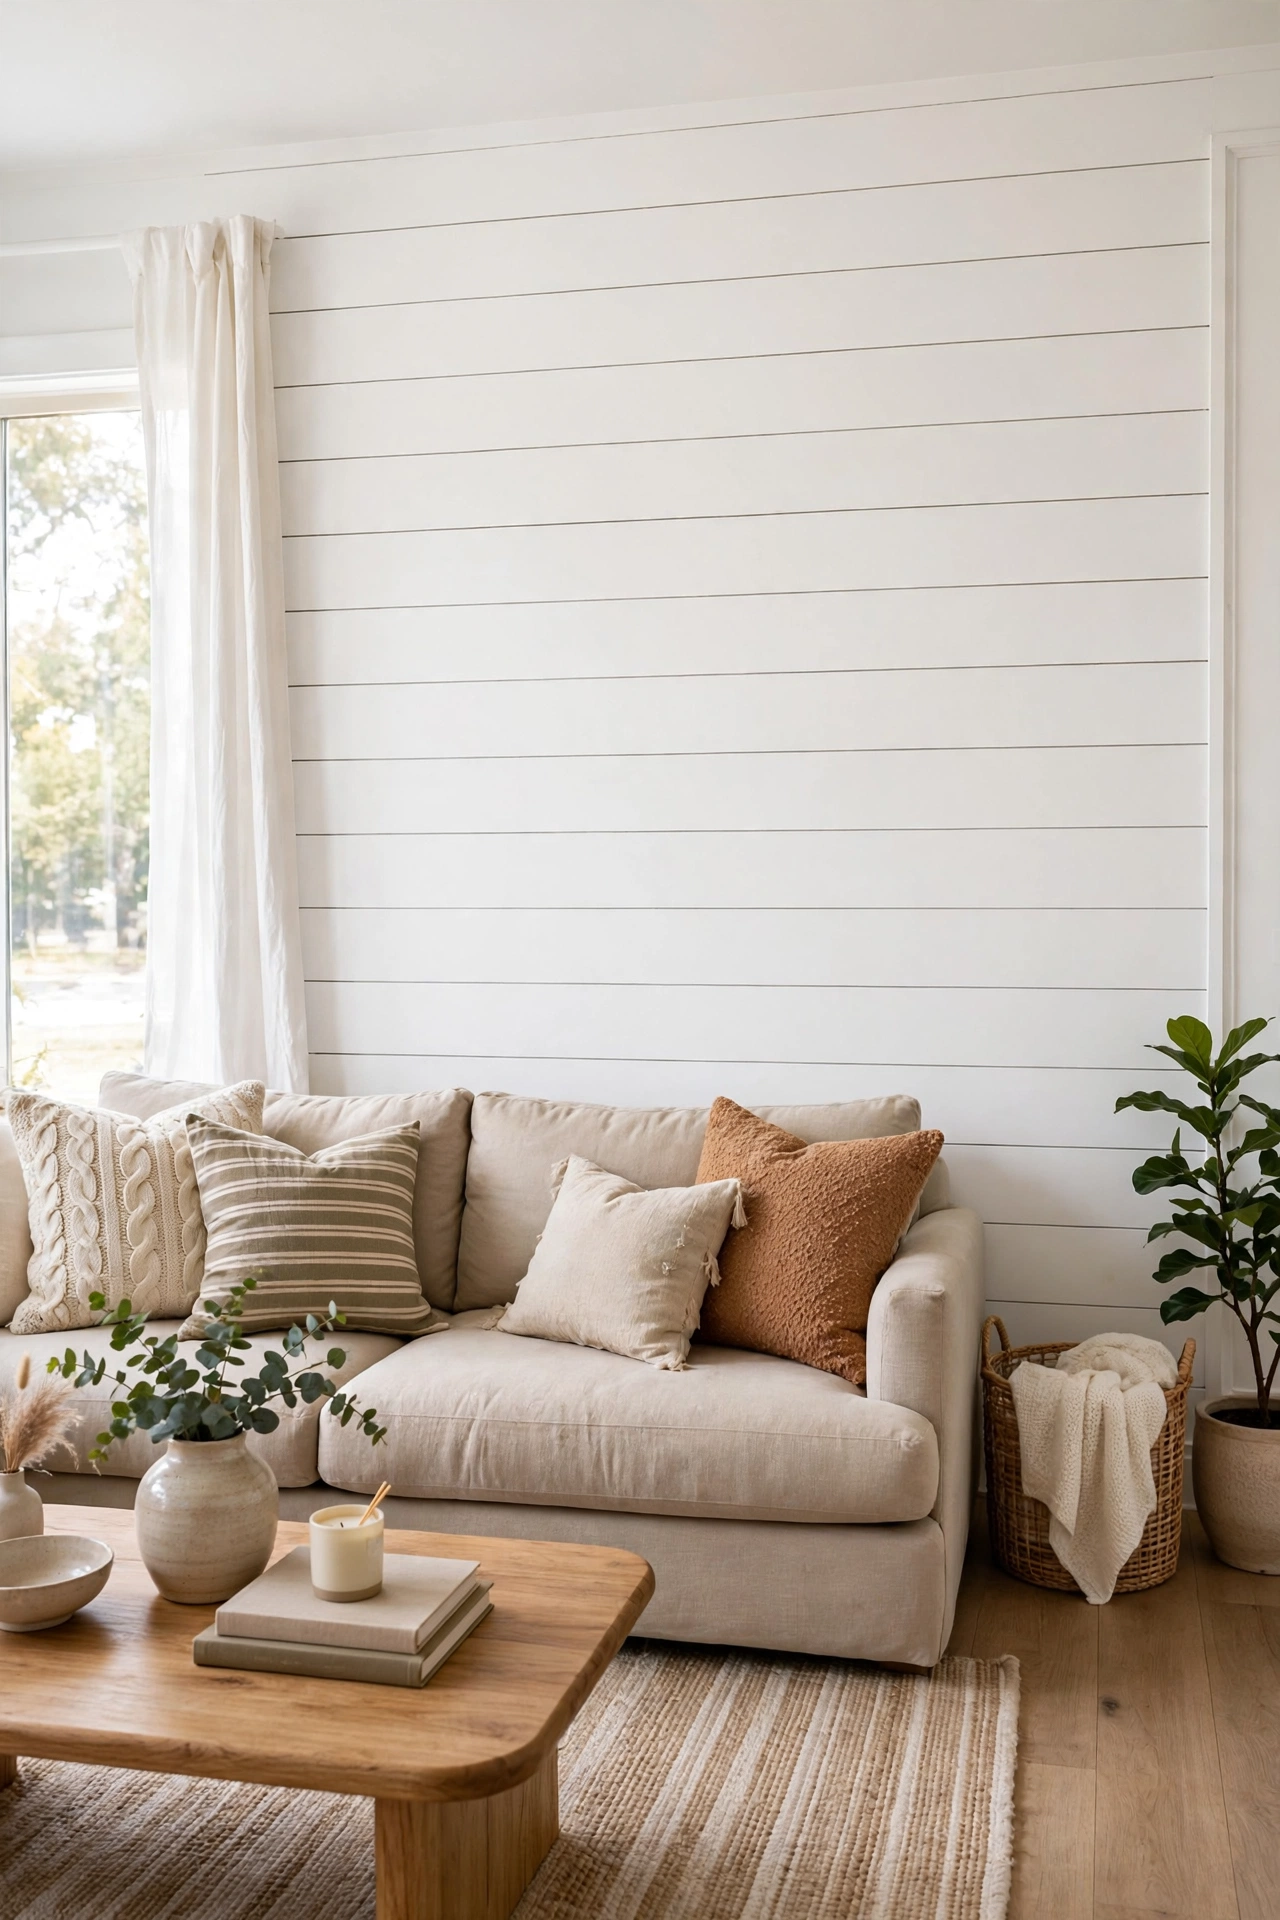
The one that started it all. Horizontal white shiplap behind the sofa or in the living room is the safest first project in existence: white paint forgives everything, horizontal boards make walls look wider, and if a cut is slightly off, the white-on-white hides it. Paint the wall behind the boards black or dark gray first so the gaps read as crisp shadow lines instead of showing bare drywall.
Try this: use pre-primed boards. Skipping the primer coat cuts a full day off the project.
2. Bedroom Wall Behind the Headboard
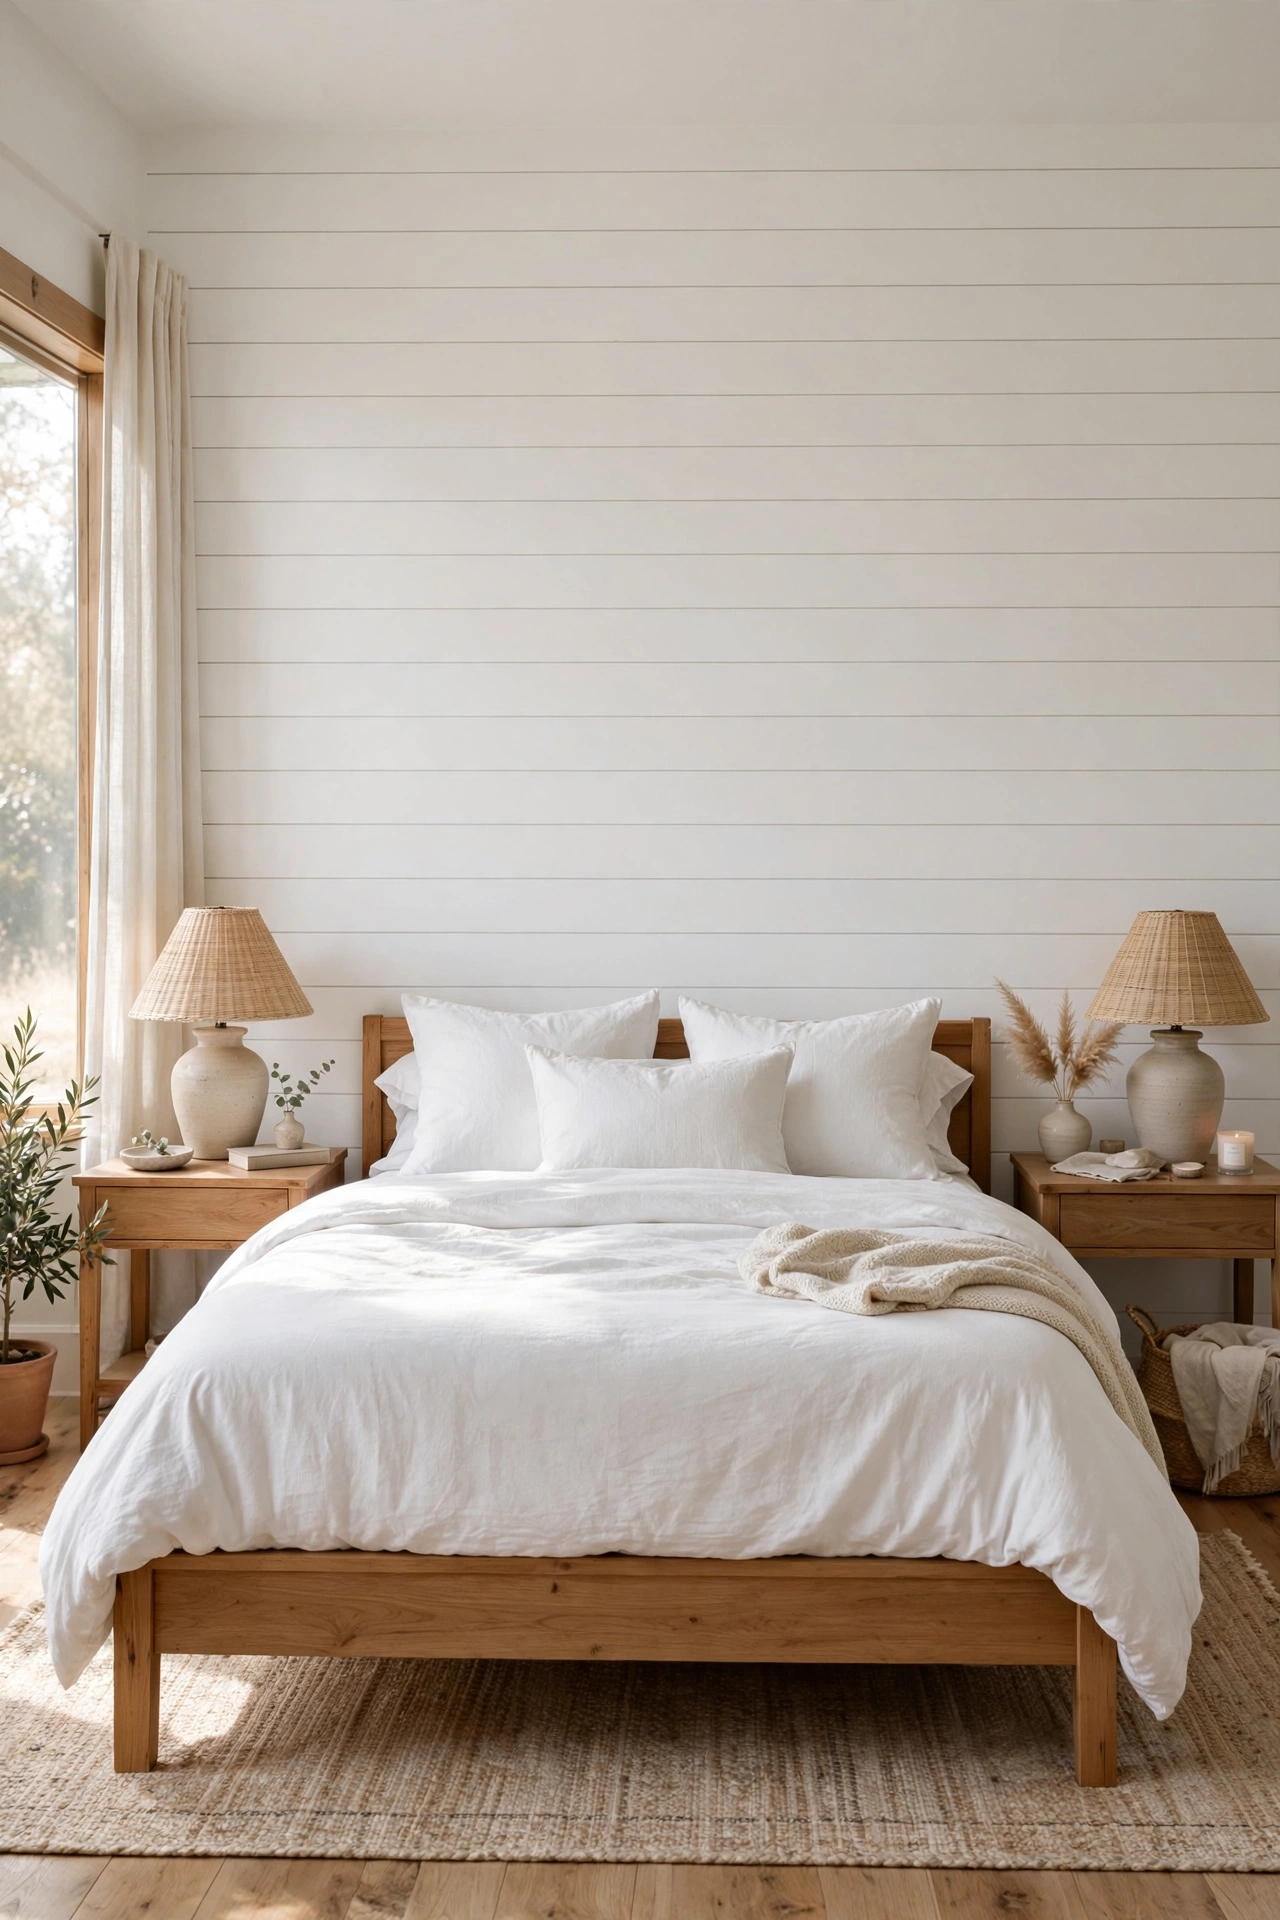
Doing the wall behind the bed is the highest-impact bedroom upgrade a beginner can pull off. It frames the bed like a giant piece of art, and since furniture covers the bottom third, your least-perfect cuts hide behind the nightstands. Paint it the same white as your trim for a calm look, or go one shade deeper than the walls for definition.
Try this: center the bed first and work outward from the middle so any short filler pieces land at the far edges, not next to the headboard.
3. Go Vertical to Fake Taller Ceilings
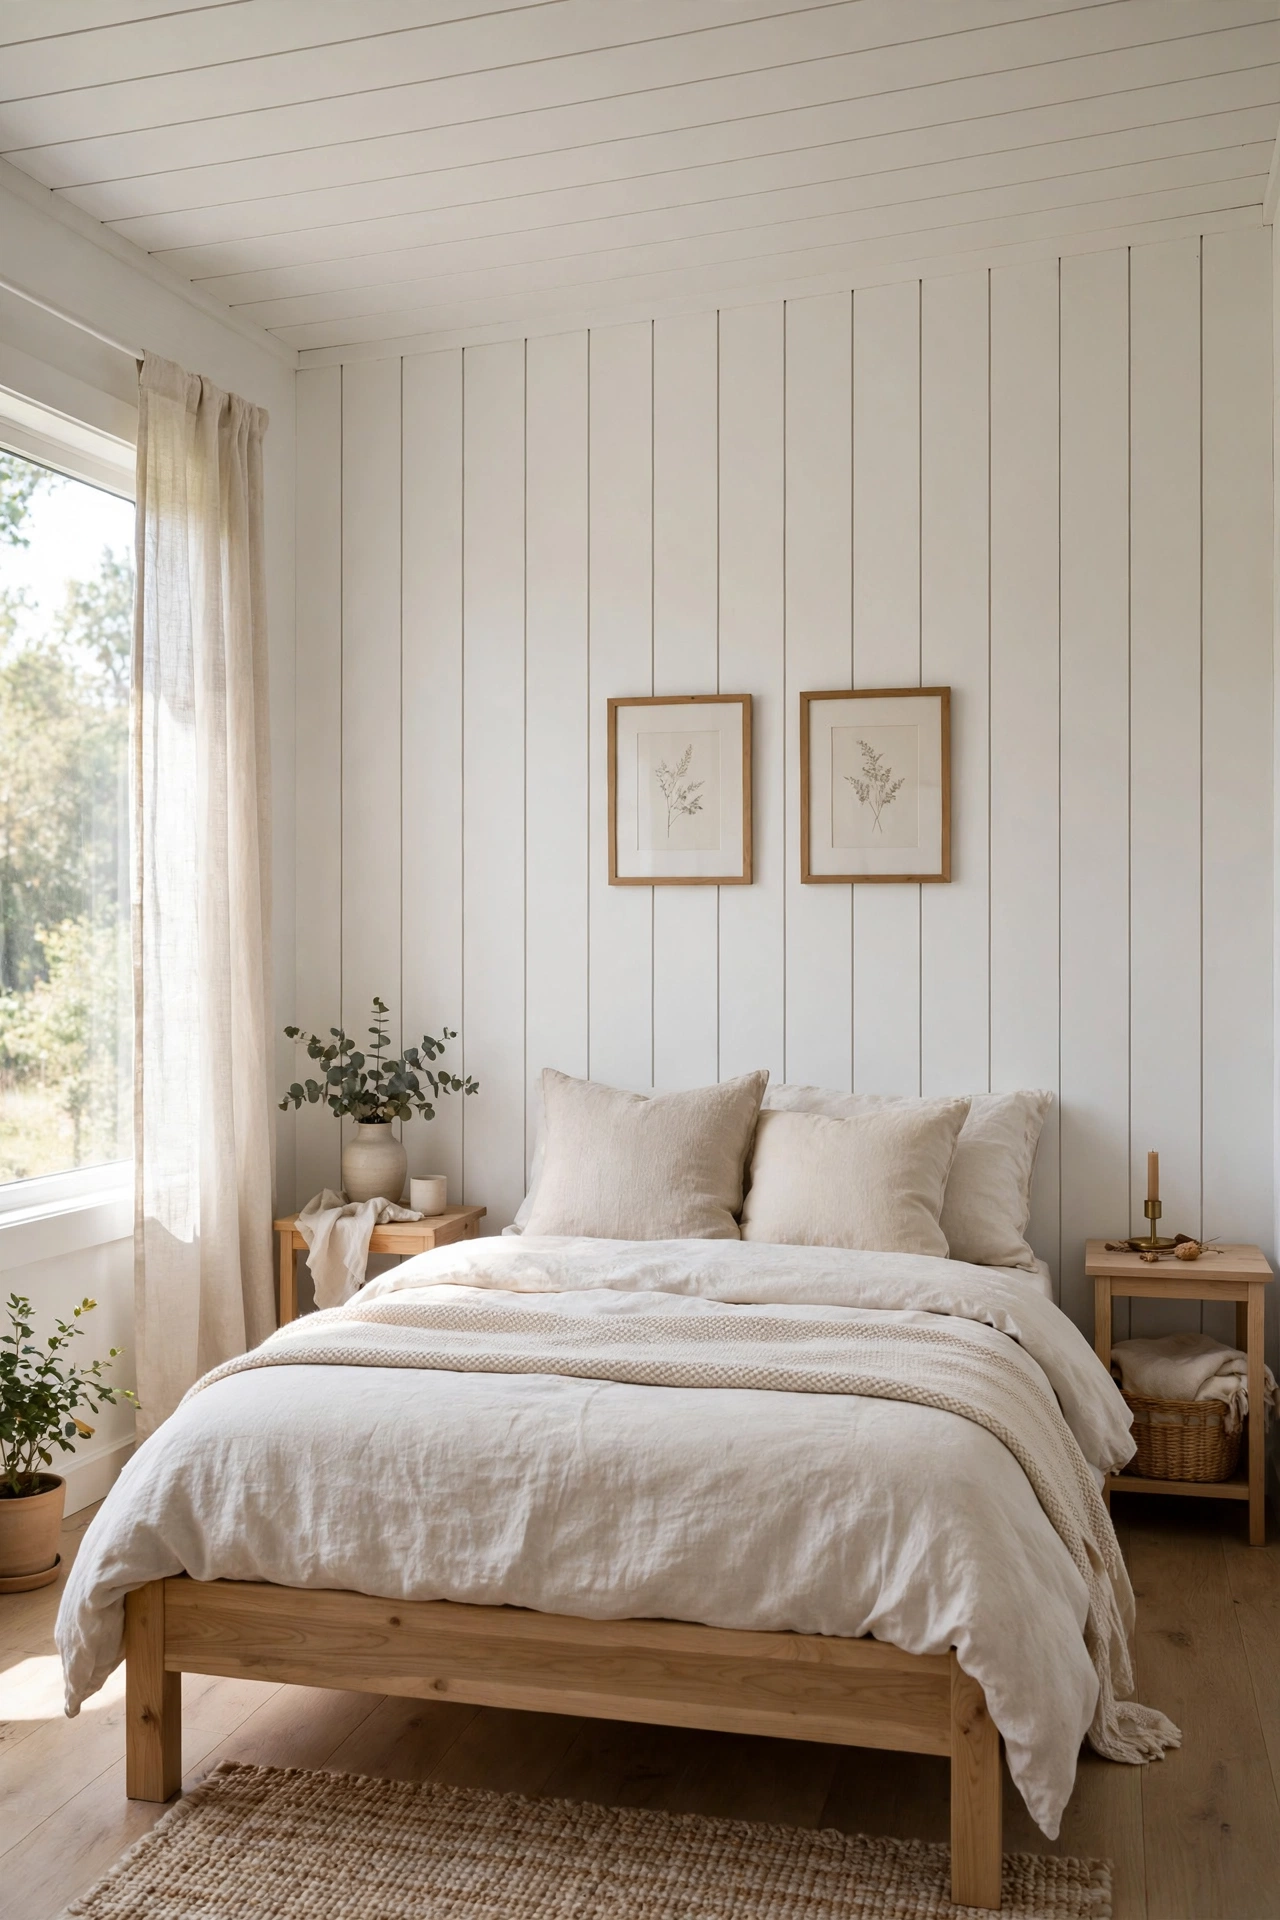
Here’s a designer trick most beginners miss: run the boards vertically and the eye reads the wall as taller. It’s the same wall, the same boards, the same effort — just rotated. Vertical shiplap is perfect for rooms with low ceilings, narrow hallways, and small bedrooms that feel squat. The only extra step: you’ll likely need horizontal furring strips or solid blocking behind the boards since studs run vertically too.
Try this: in a narrow hallway, vertical boards plus a light paint color can make the space feel a full foot taller.
4. Floor-to-Ceiling Fireplace Surround
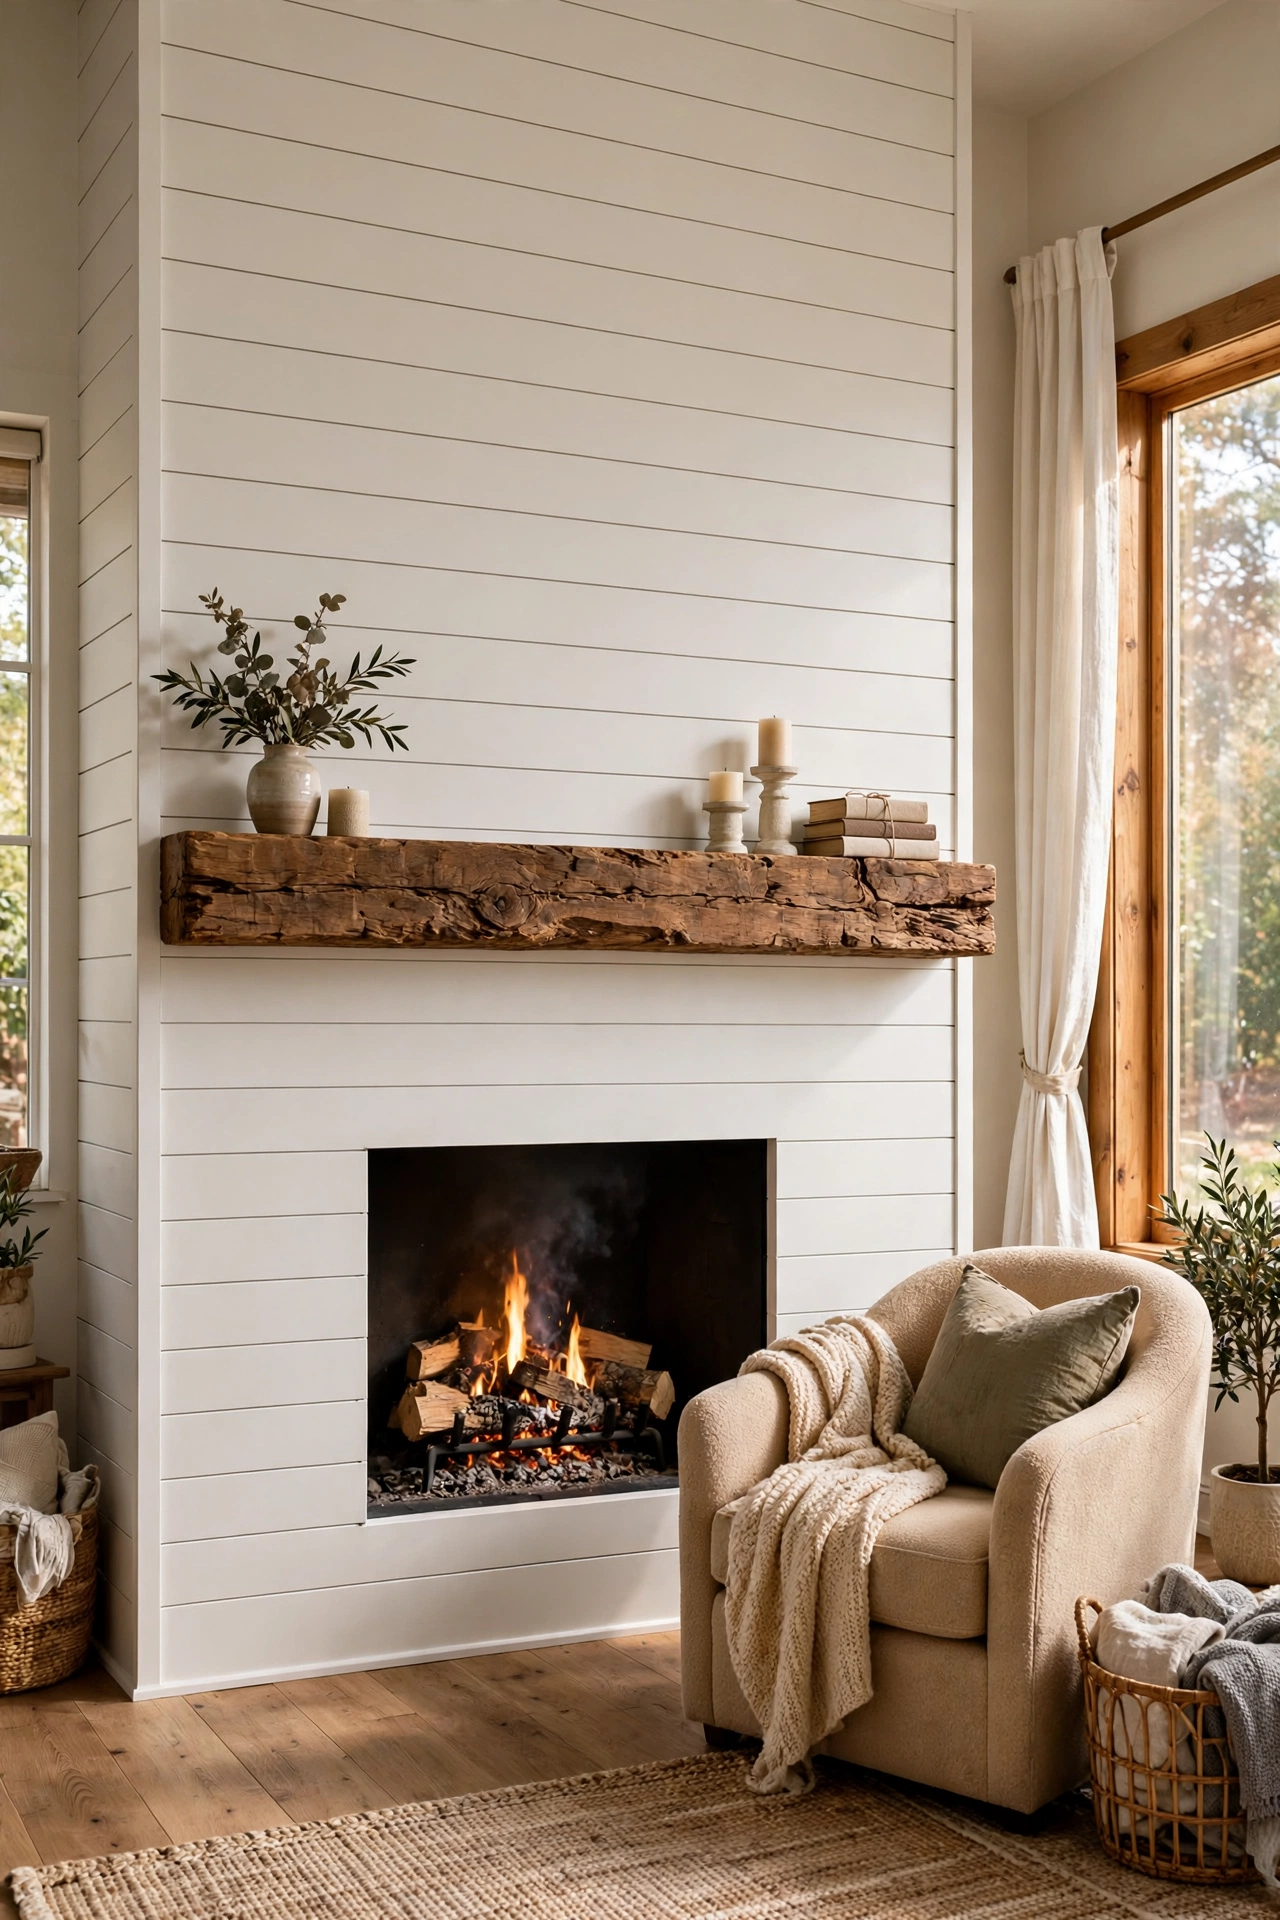
A fireplace wrapped in shiplap from floor to ceiling turns the most boring wall in the house into the room’s centerpiece. This is slightly braver because you’ll cut around the firebox opening, but the payoff is enormous — it looks like a custom build that cost thousands. Keep the mantel simple: a chunky wood beam across the middle breaks up the boards beautifully.
Once the surround is done, the mantel becomes the fun part. If you need styling ideas for the season, these fall mantel decorating ideas for a cozy home show how to dress a shiplap mantel without covering up your hard work.
Try this: dry-fit the boards around the firebox before nailing anything. Measure twice, cut once is a cliché because it’s true.
5. Half-Height Wainscot with a Chair Rail
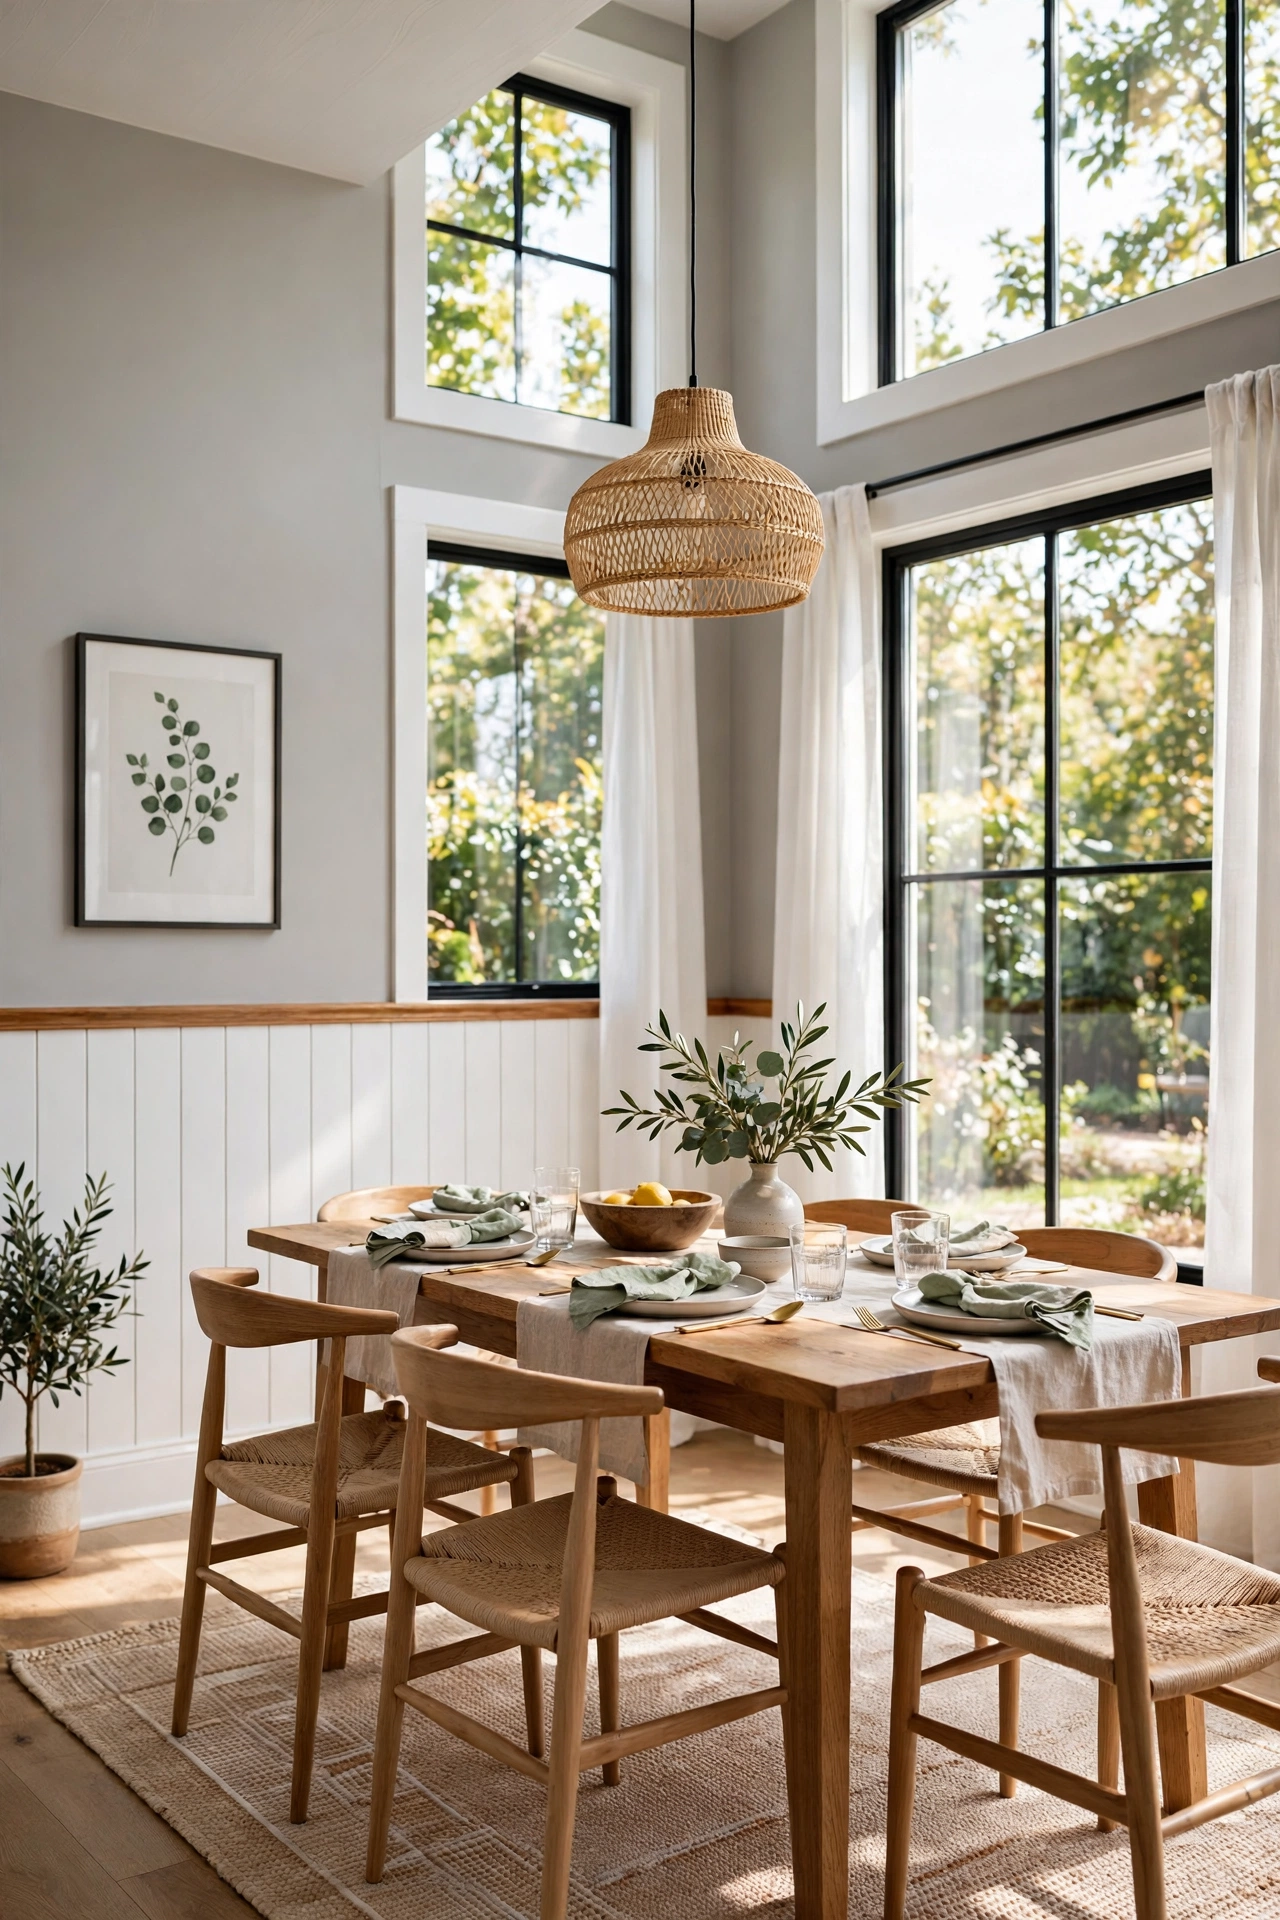
Can’t commit to a full wall? Do the bottom third. Half-height shiplap with a chair rail cap on top is the most forgiving beginner project there is — shorter boards, fewer cuts, and the chair rail hides any wobbly top edge. It looks fantastic in dining rooms, hallways, and kids’ rooms, and it protects the wall from chair dings forever.
Try this: cap it with a 1×4 board as the chair rail, slightly wider than the shiplap, for a chunky finished look that hides a multitude of sins.
6. One Moody Painted Color
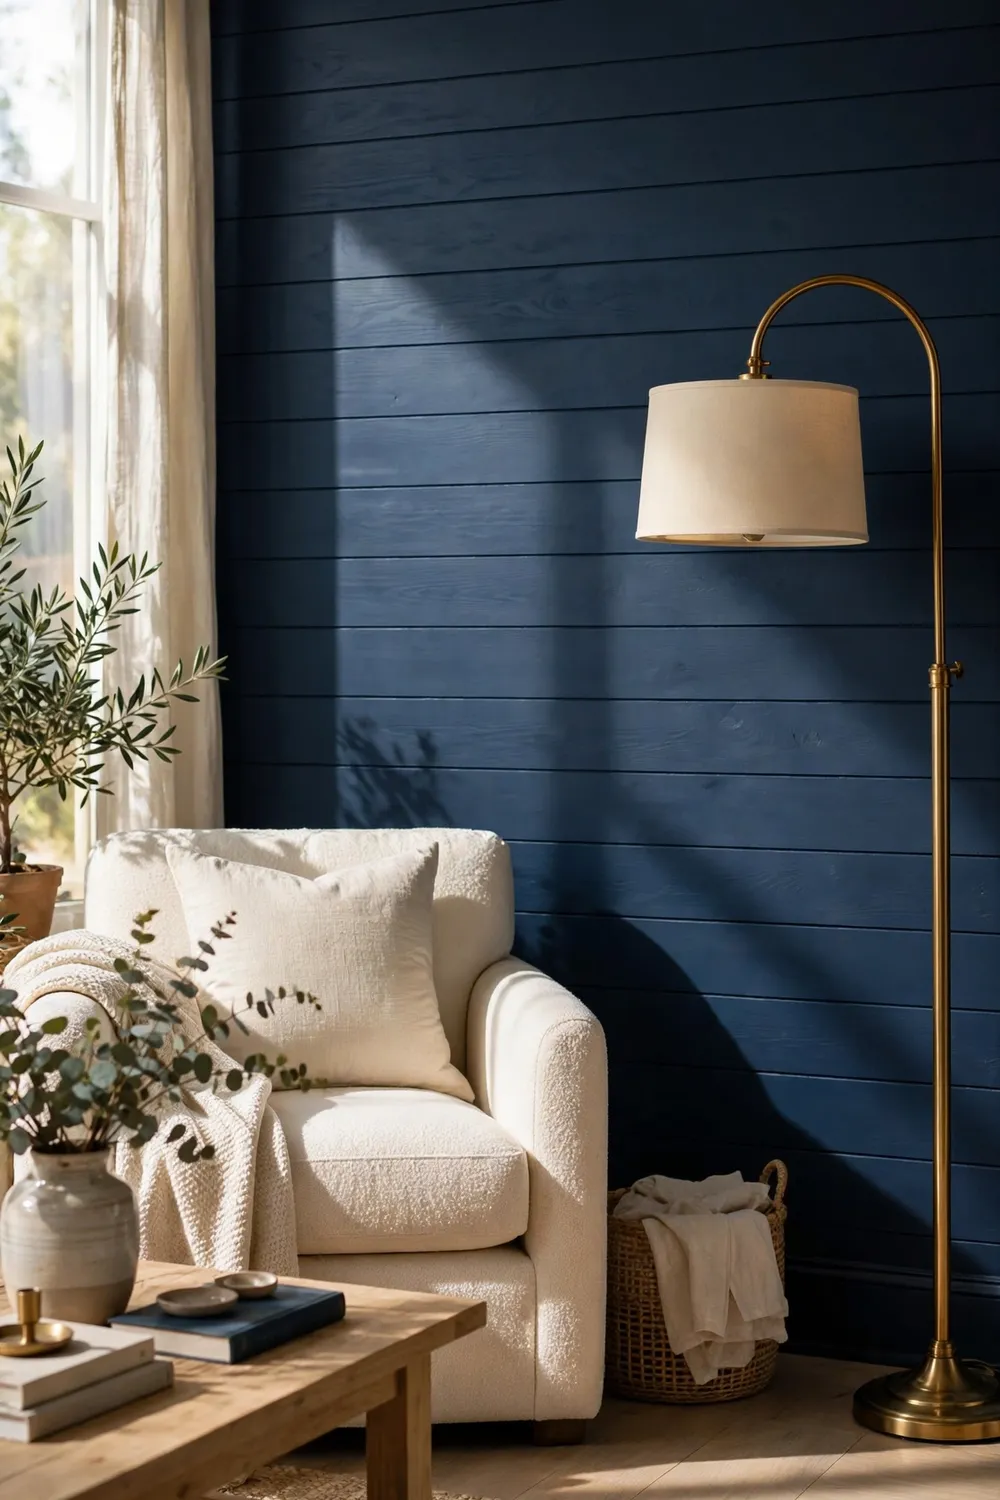
White shiplap is the gateway; color is the personality. Painting your shiplap a deep navy, forest green, or charcoal turns a farmhouse staple into something modern and dramatic. The trick is painting the boards BEFORE you hang them — two coats on sawhorses in the garage is faster and cleaner than cutting in around every gap on the wall. Touch up nail holes after.
If moody is your thing, you’re in good company. These black romantic bedroom ideas show how dark walls and soft textures work together for a cozy, dramatic look.
Try this: paint the wall behind the boards the same dark color so the nickel gaps disappear into shadow instead of flashing white drywall.
7. Whitewashed Natural Wood
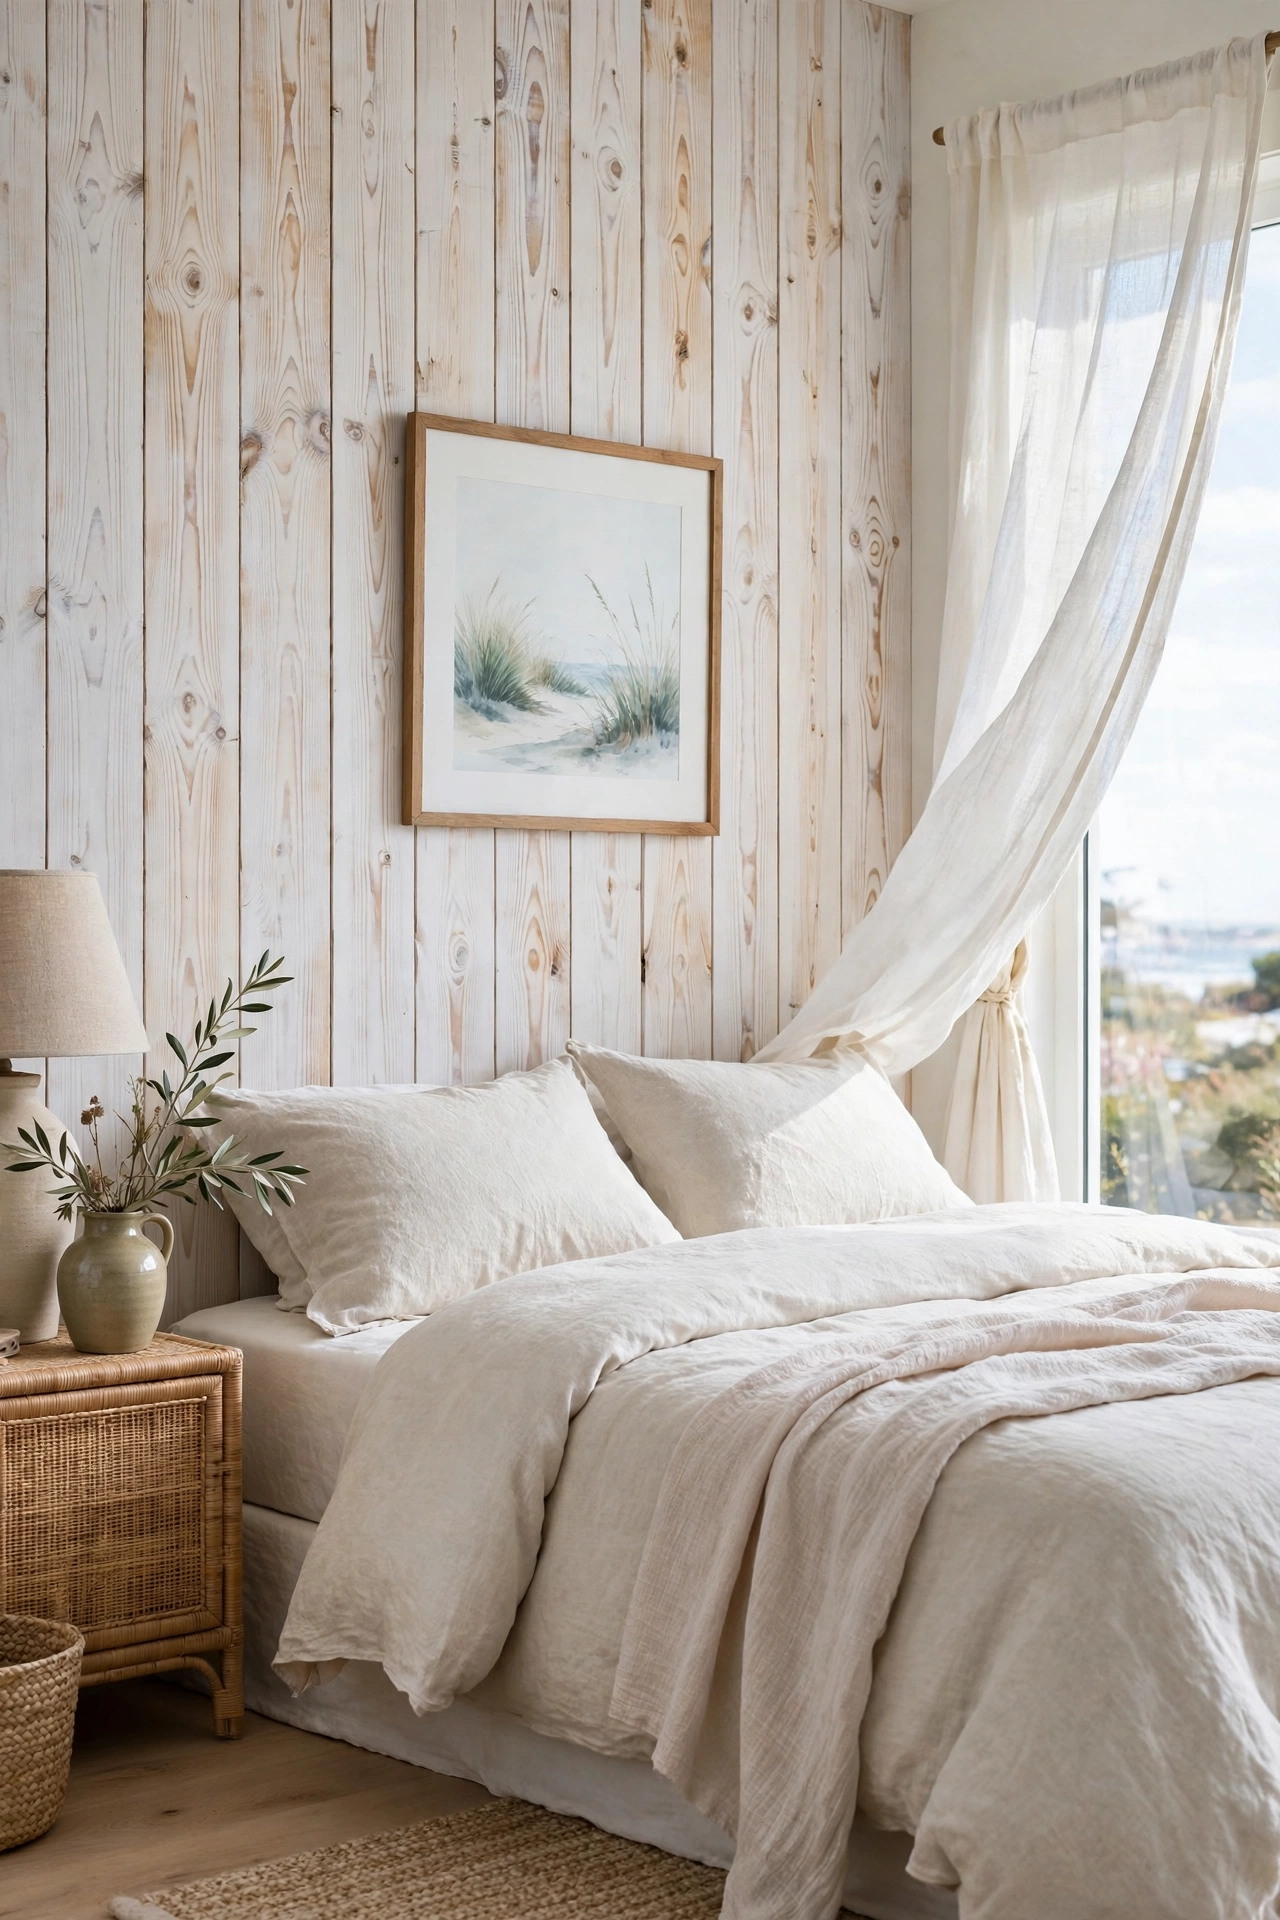
If you love texture but white feels too stark, whitewash is your answer. Thin white paint with water (about 50/50), brush it on raw pine boards, wipe it back with a rag — the grain shows through like a watercolor. It’s the coastal-farmhouse look everyone saves online, and it’s actually easier than a perfect paint job because the whole point is the variation.
Try this: test your wash ratio on a scrap board first. Once it’s on the wall, there’s no adjusting.
8. Diagonal or Chevron Layout
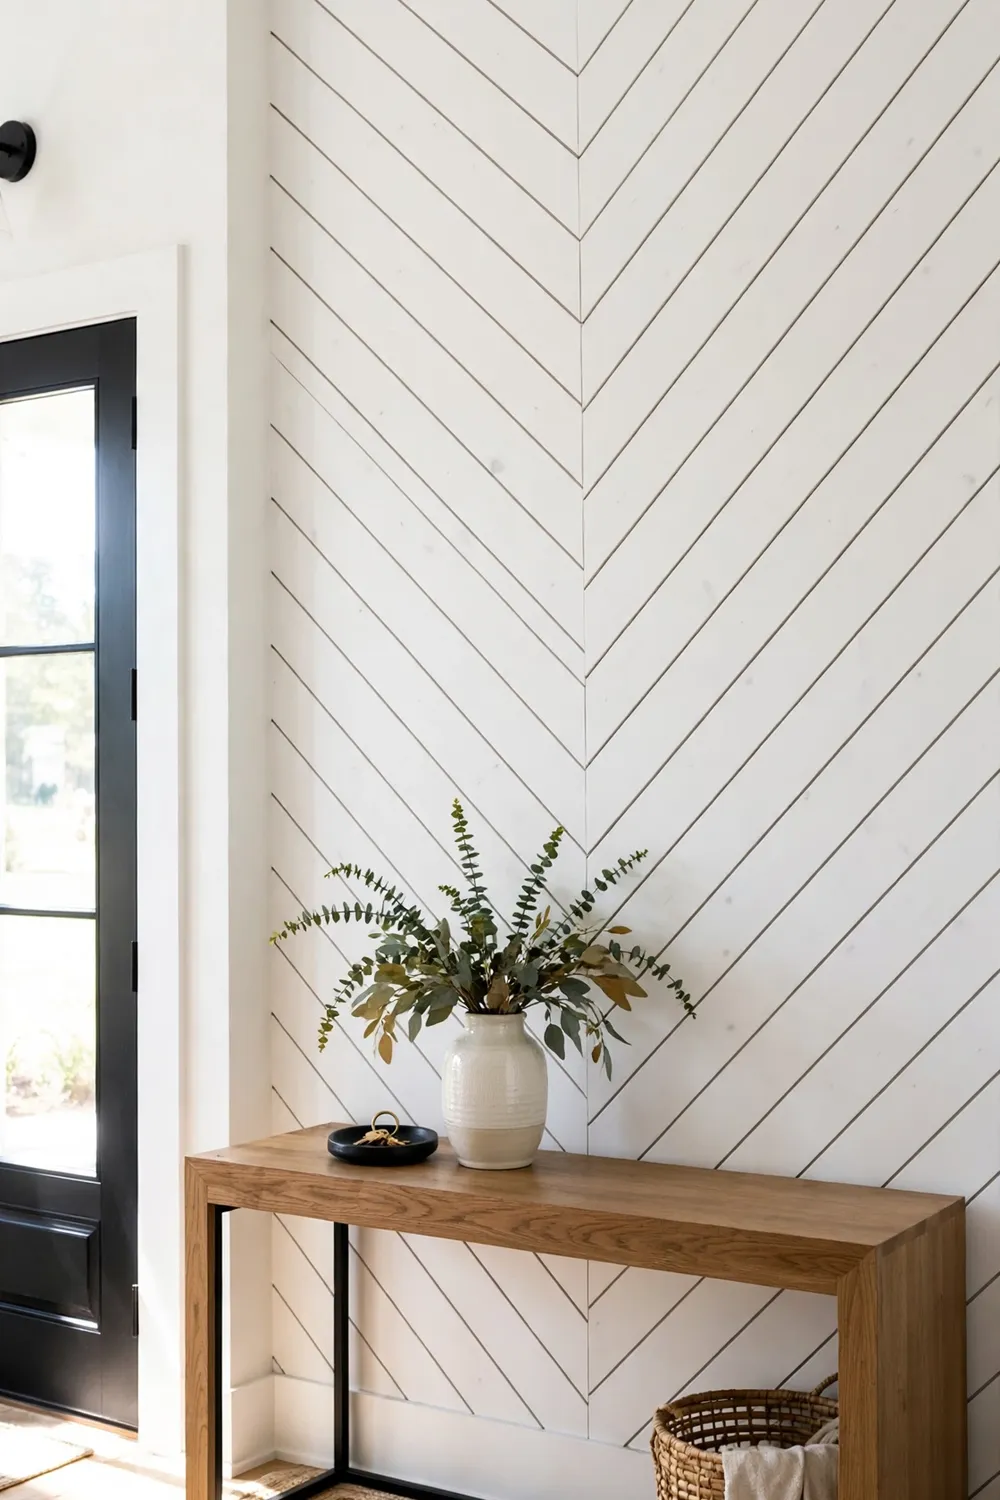
Ready to feel like a real woodworker? Run the boards on the diagonal. It’s the same boards and the same nails — just cut at 45 degrees and mirrored at the center for a chevron, or all one direction for a simple diagonal. It uses more boards (budget 20% extra for cuts) and it takes longer, but the result looks custom and expensive.
Try this: snap a chalk line down the exact center of the wall first. The chevron point must hit that line perfectly or the whole pattern looks off.
9. Entryway Wall with Hooks and a Bench
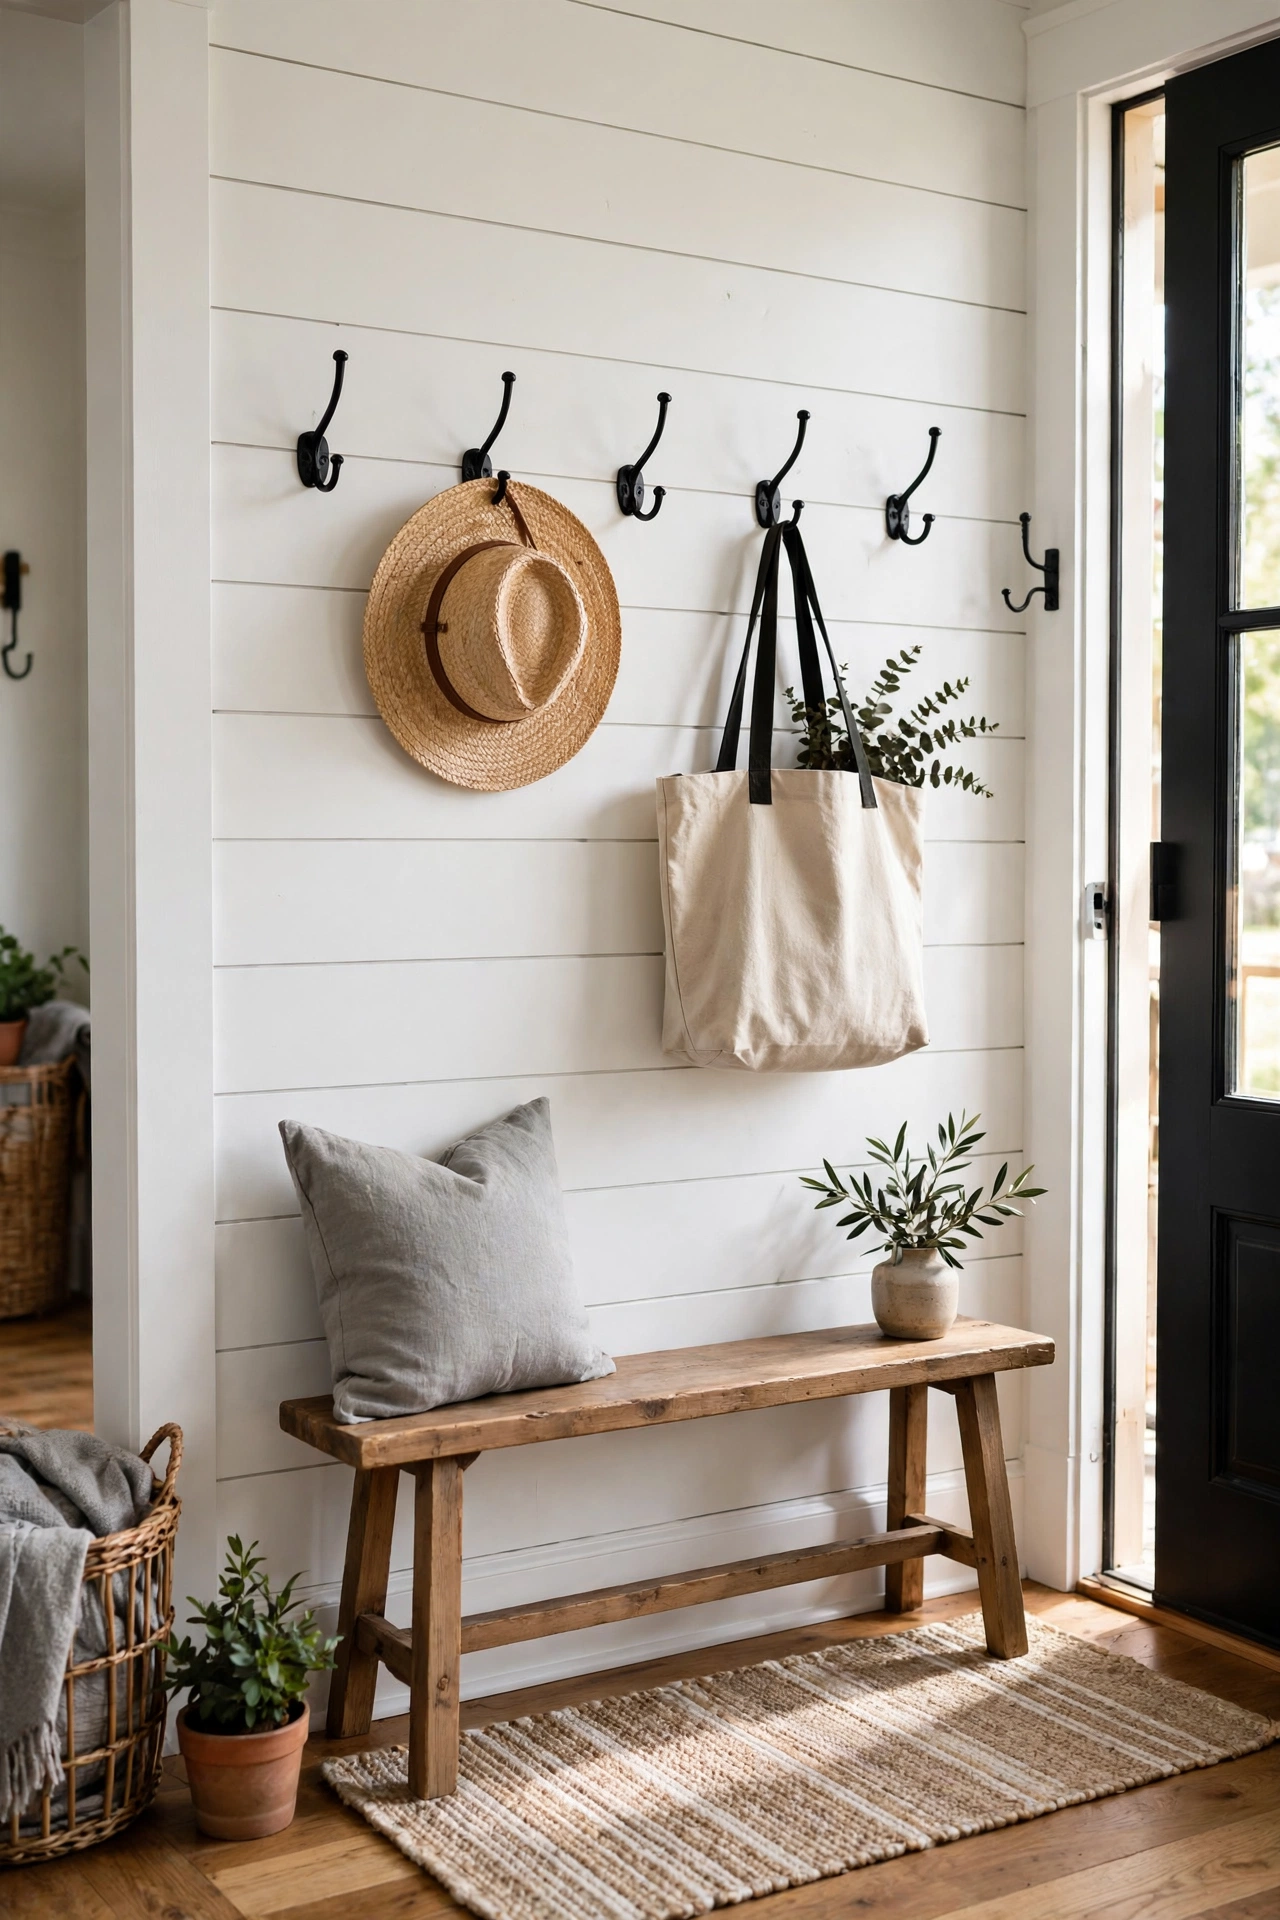
The entryway is the hardest-working wall in the house, so give it armor. A shiplap entry wall with a row of sturdy hooks and a small bench handles coats, backpacks, and dog leashes while looking intentional instead of cluttered. Screw the hooks through the shiplap directly into studs — hooks pull hard, and shiplap alone won’t hold a winter coat.
Renters can get a similar hardworking entry without a single nail in the wall. These creative renter-friendly upgrades are full of no-damage tricks for entryways and beyond.
Try this: mount a narrow shelf above the hooks for baskets. One wall, three functions, zero mess.
10. Bathroom Wall (Done Right)
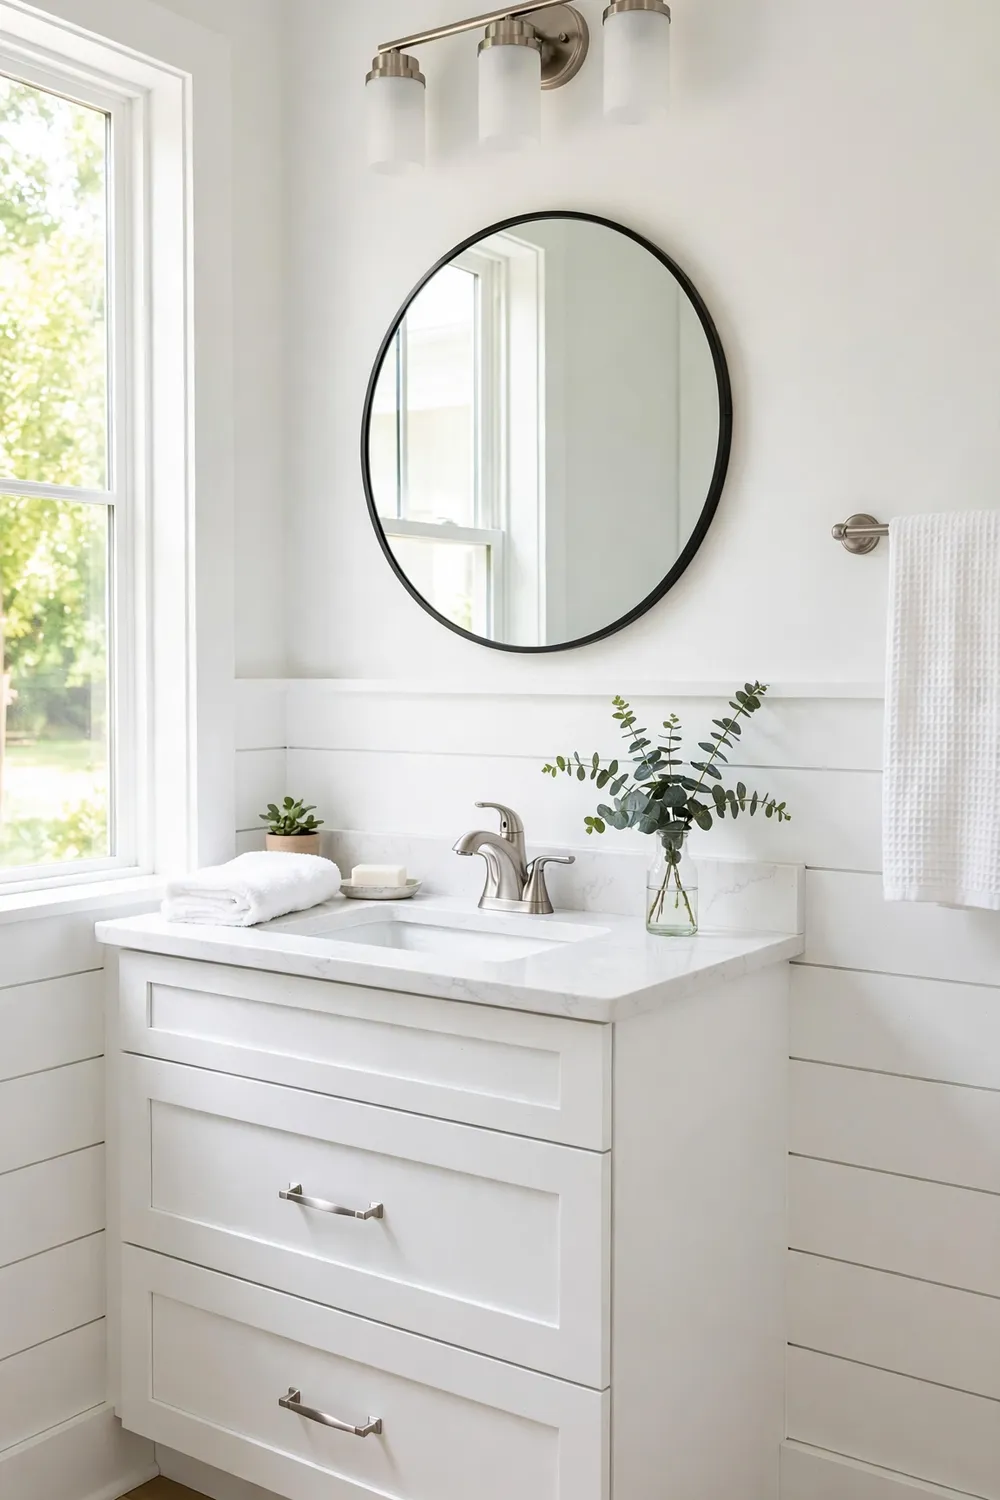
Yes, you can shiplap a bathroom — with rules. Keep it off the shower walls where water hits directly, use a moisture-resistant primer and a satin or semi-gloss paint that wipes clean, and make sure the bathroom fan actually vents outside. Half-height behind the vanity is the classic beginner bathroom move: it handles splashes and looks like a spa.
Try this: run a bead of paintable caulk along the bottom edge where the shiplap meets the floor or tub. That’s where moisture sneaks in.
11. Wrap the Kitchen Island
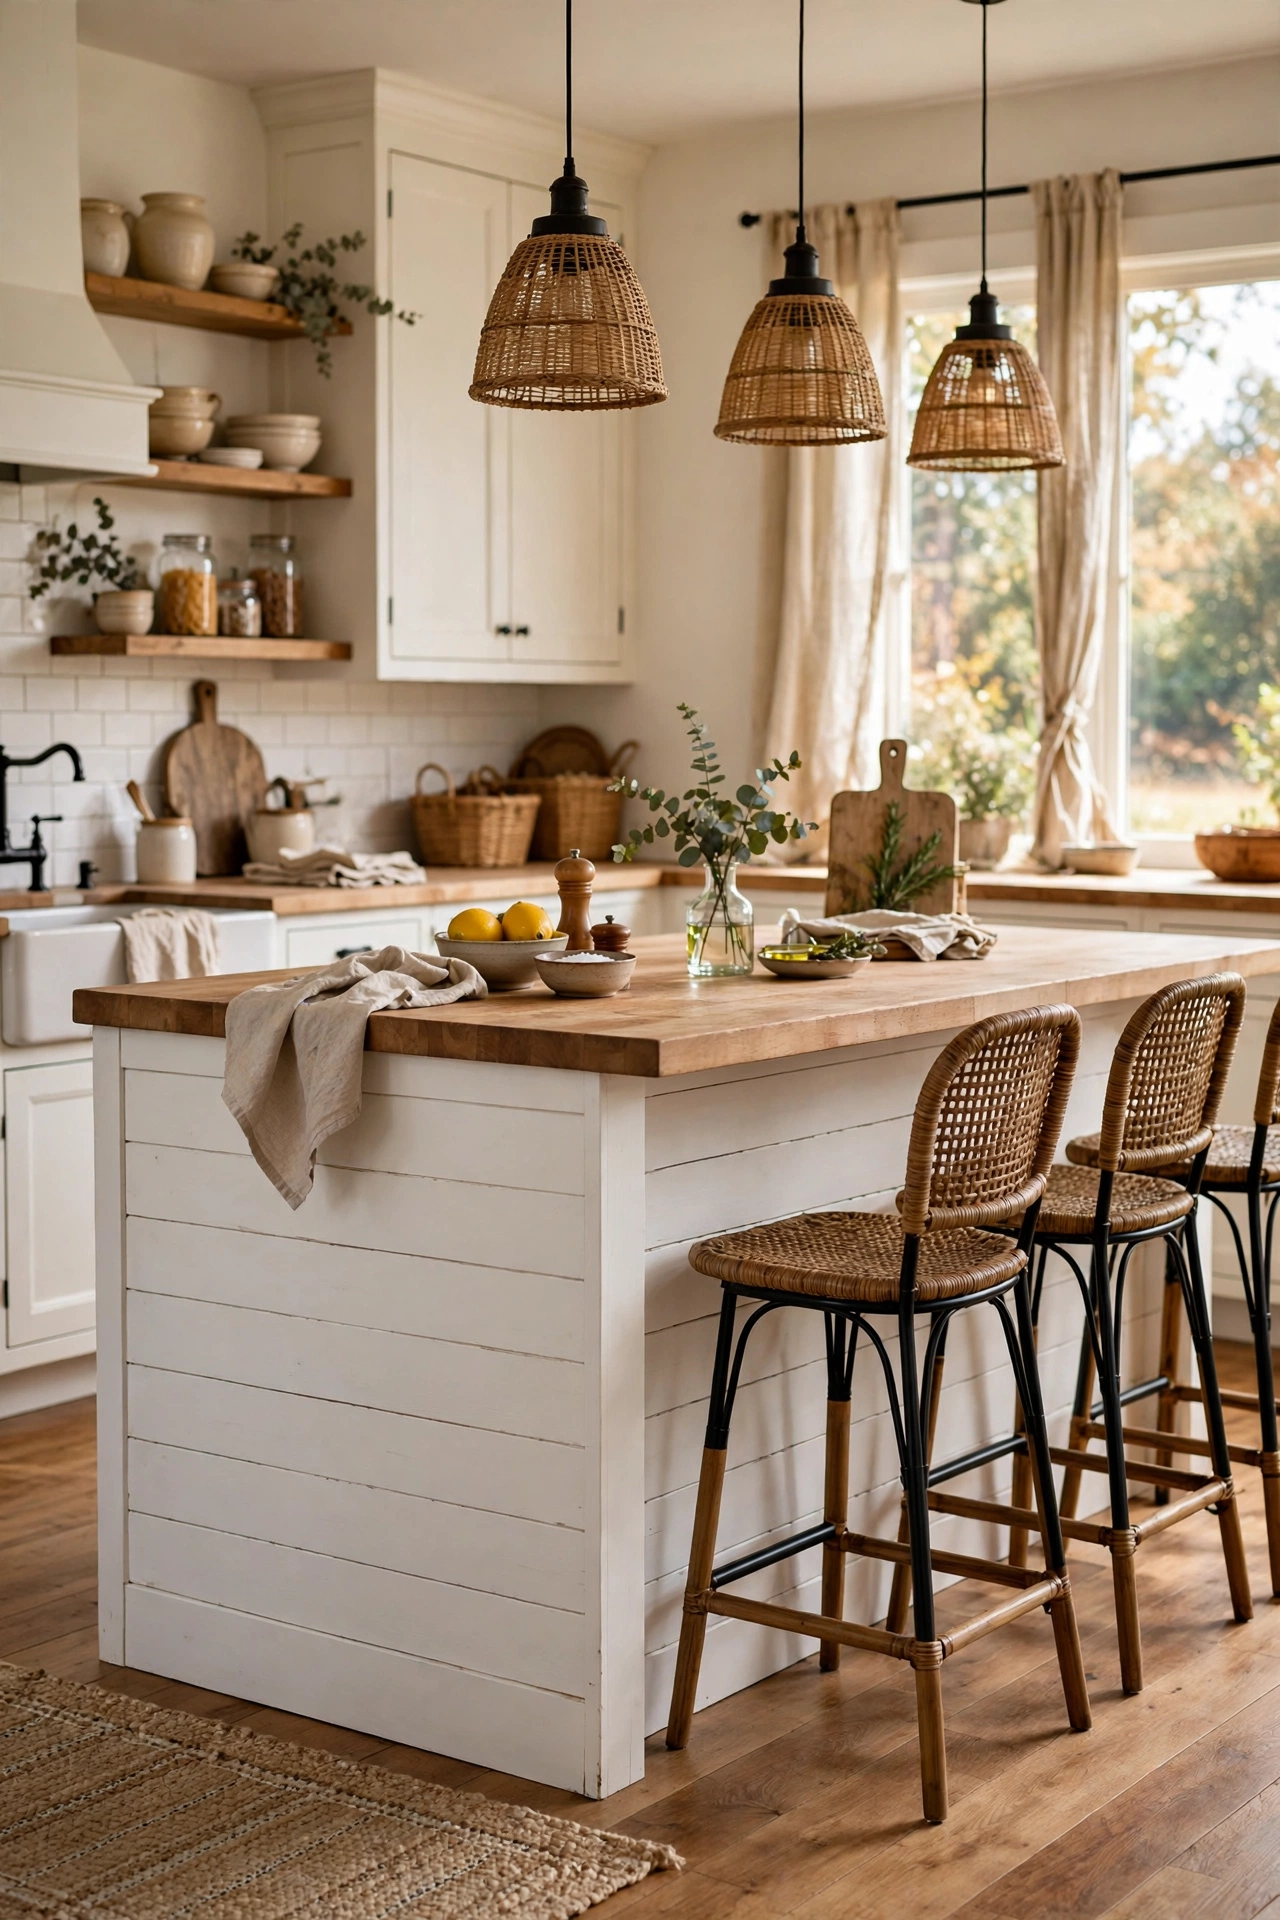
Don’t have a free wall? Use the island. Wrapping a kitchen island in shiplap — horizontal on the long sides, vertical on the short ends — gives you the farmhouse look in the busiest room without touching a single wall. It’s a one-day project, and since you’re working at counter height, your back will thank you.
Try this: finish the top edge with a thin trim piece so the countertop overhang doesn’t cast a weird shadow line.
12. The Ceiling Nobody Expects
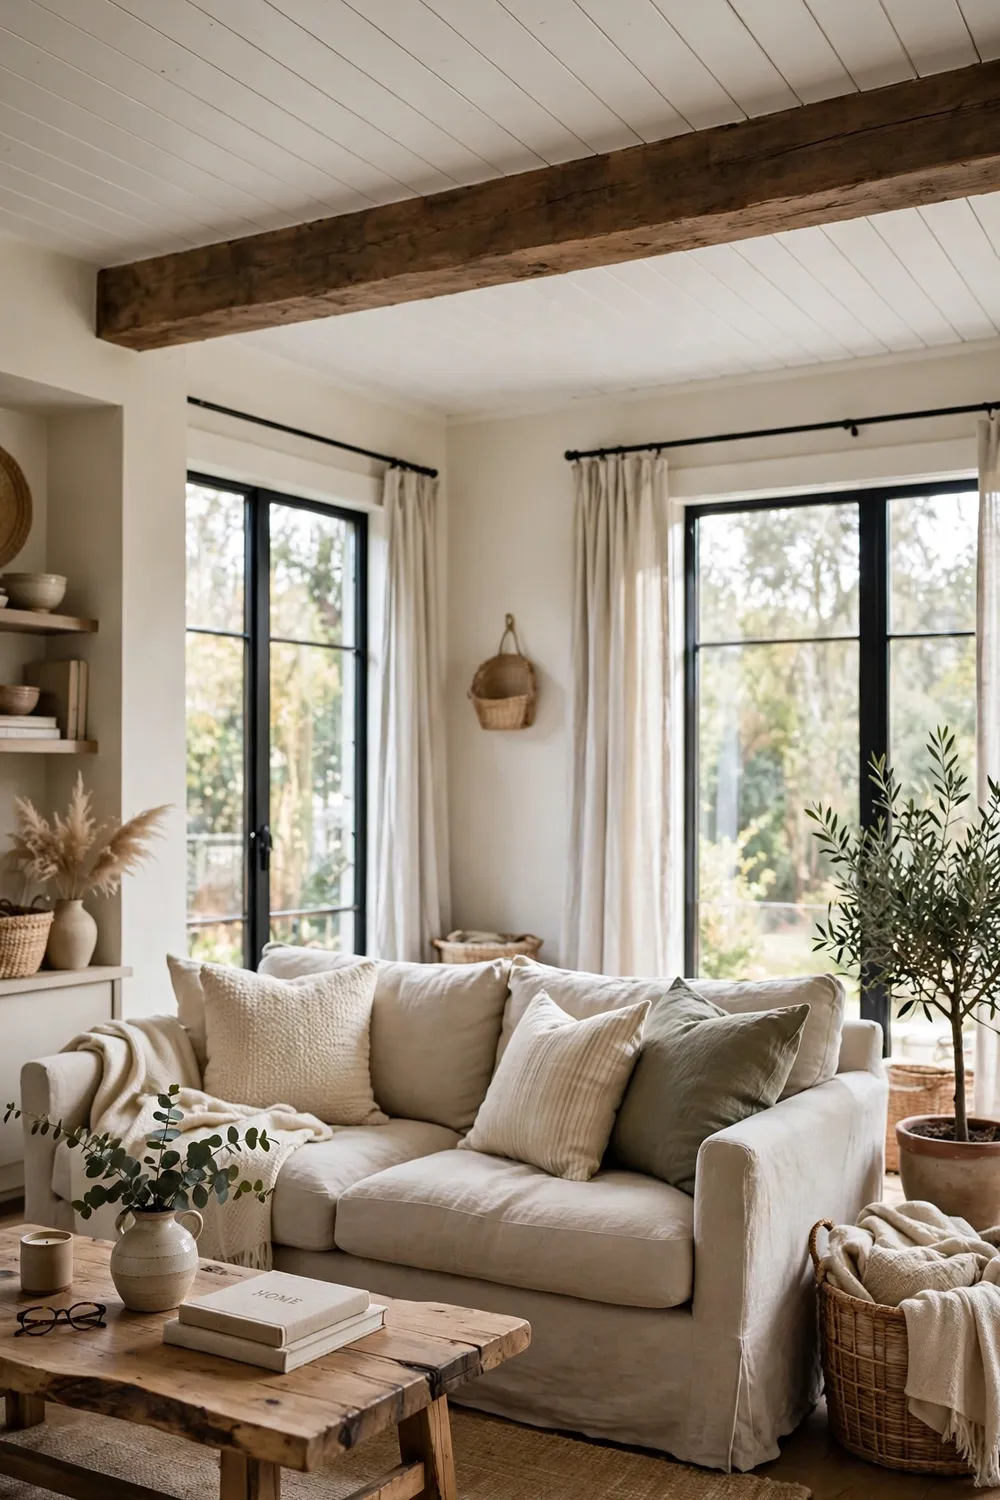
Shiplap on the ceiling is the advanced-beginner flex. It makes a room feel like a cottage instantly, and it’s honestly not harder than a wall — just more tiring on your arms. Recruit a helper to hold boards, and use construction adhesive plus nails into joists; nails alone aren’t enough against gravity.
For a full walkthrough of tools, materials, and the step-by-step process from someone who’s done it many times, Lowe’s guide to creating an accent wall with shiplap covers the installation basics clearly, including when to use adhesive versus nails alone.
Try this: paint the ceiling shiplap the same white as the walls to blur where wall meets ceiling — the room will feel bigger, not smaller.
13. Stairwell Drama
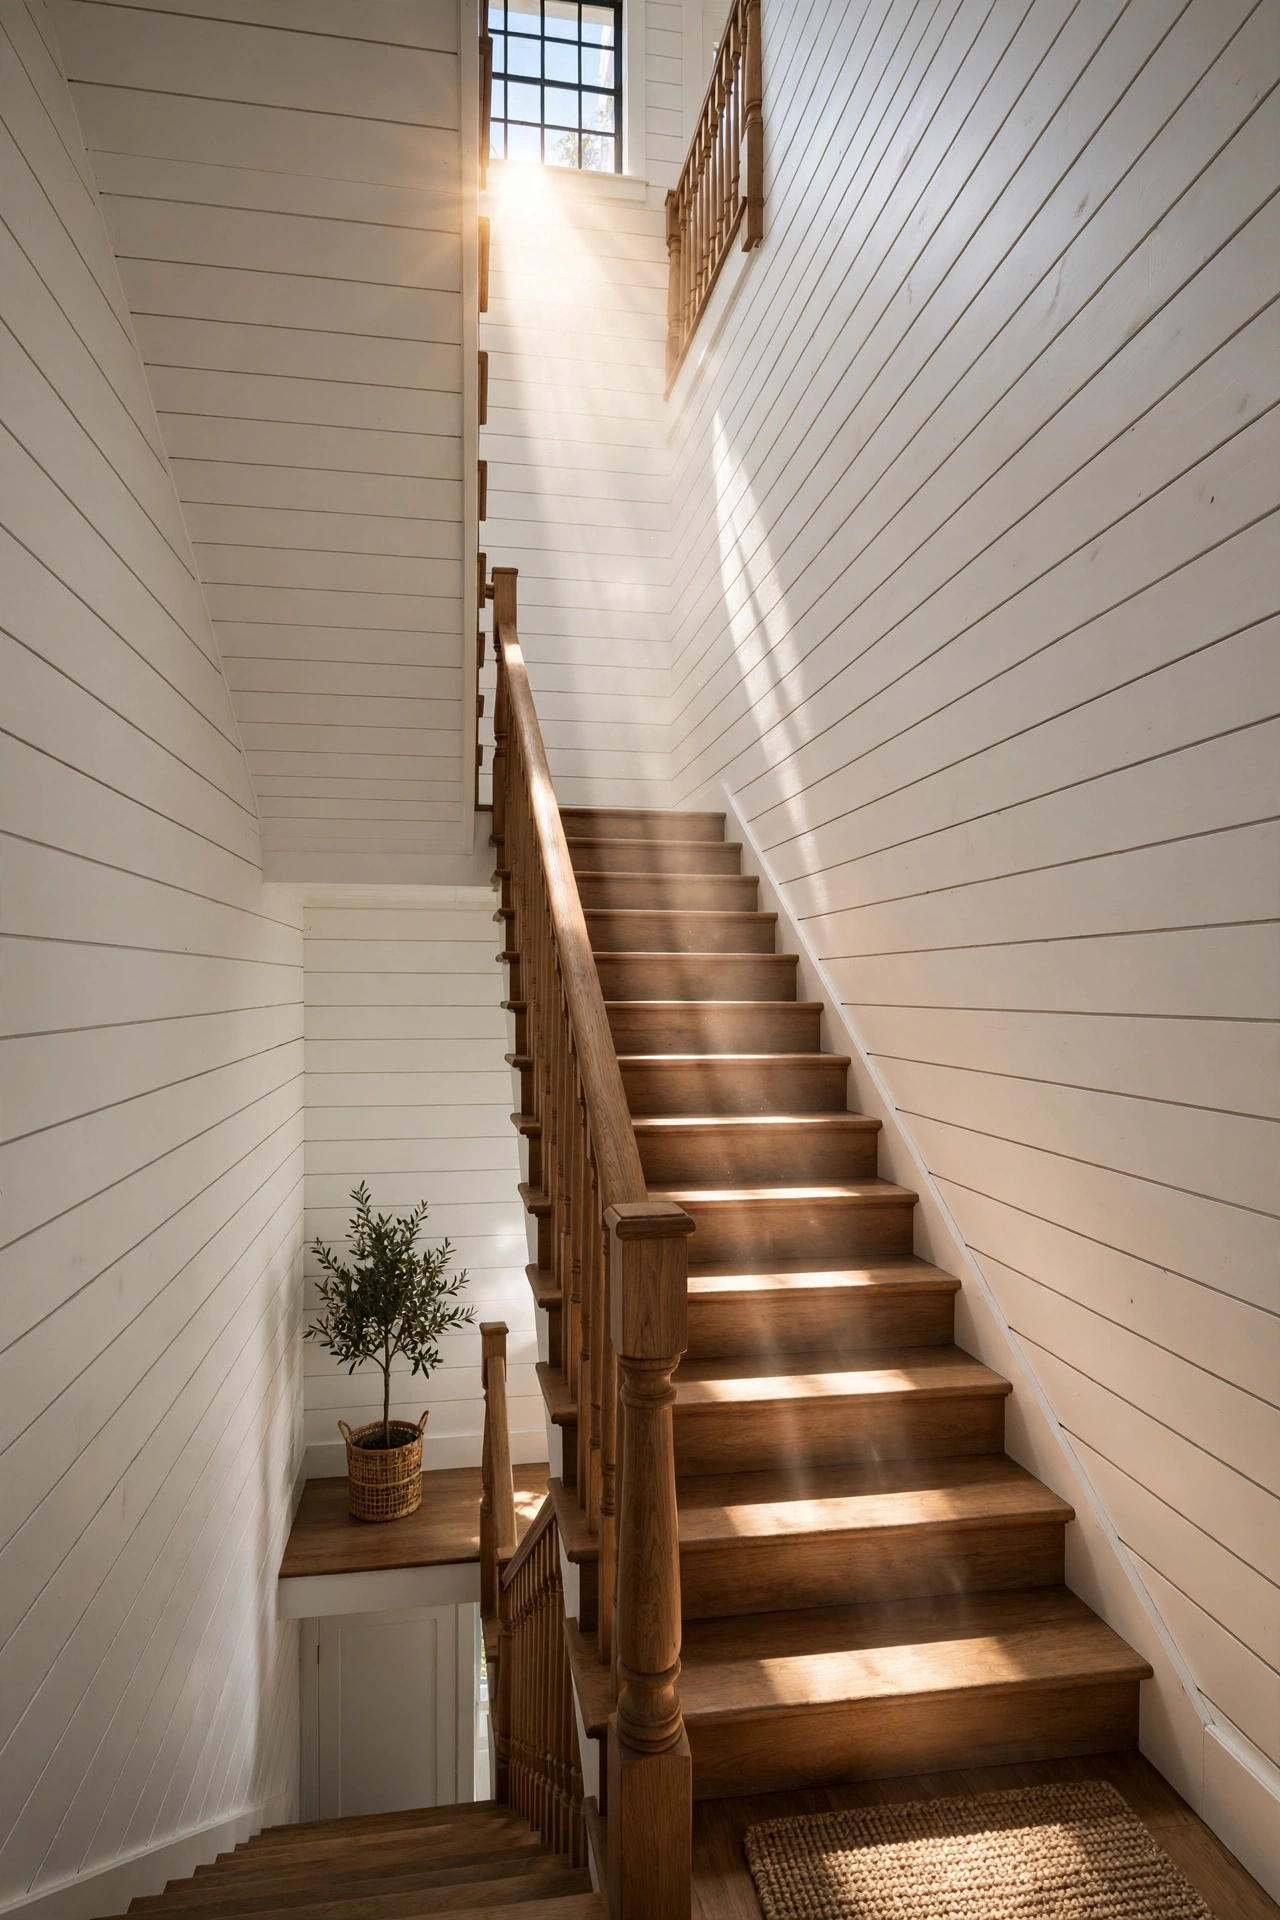
Stairwells are tall, boring, and hard to decorate — which makes them perfect for shiplap. Running boards up the stairwell wall turns dead vertical space into architecture. You’ll be cutting boards at stair angles, so this is a “second project” not a first, but the result photographs like a custom home.
Try this: use a sliding bevel gauge to copy the stair angle onto each board. Guessing the angle by eye is how you waste lumber.
14. Soft Pastel in a Kids’ Room
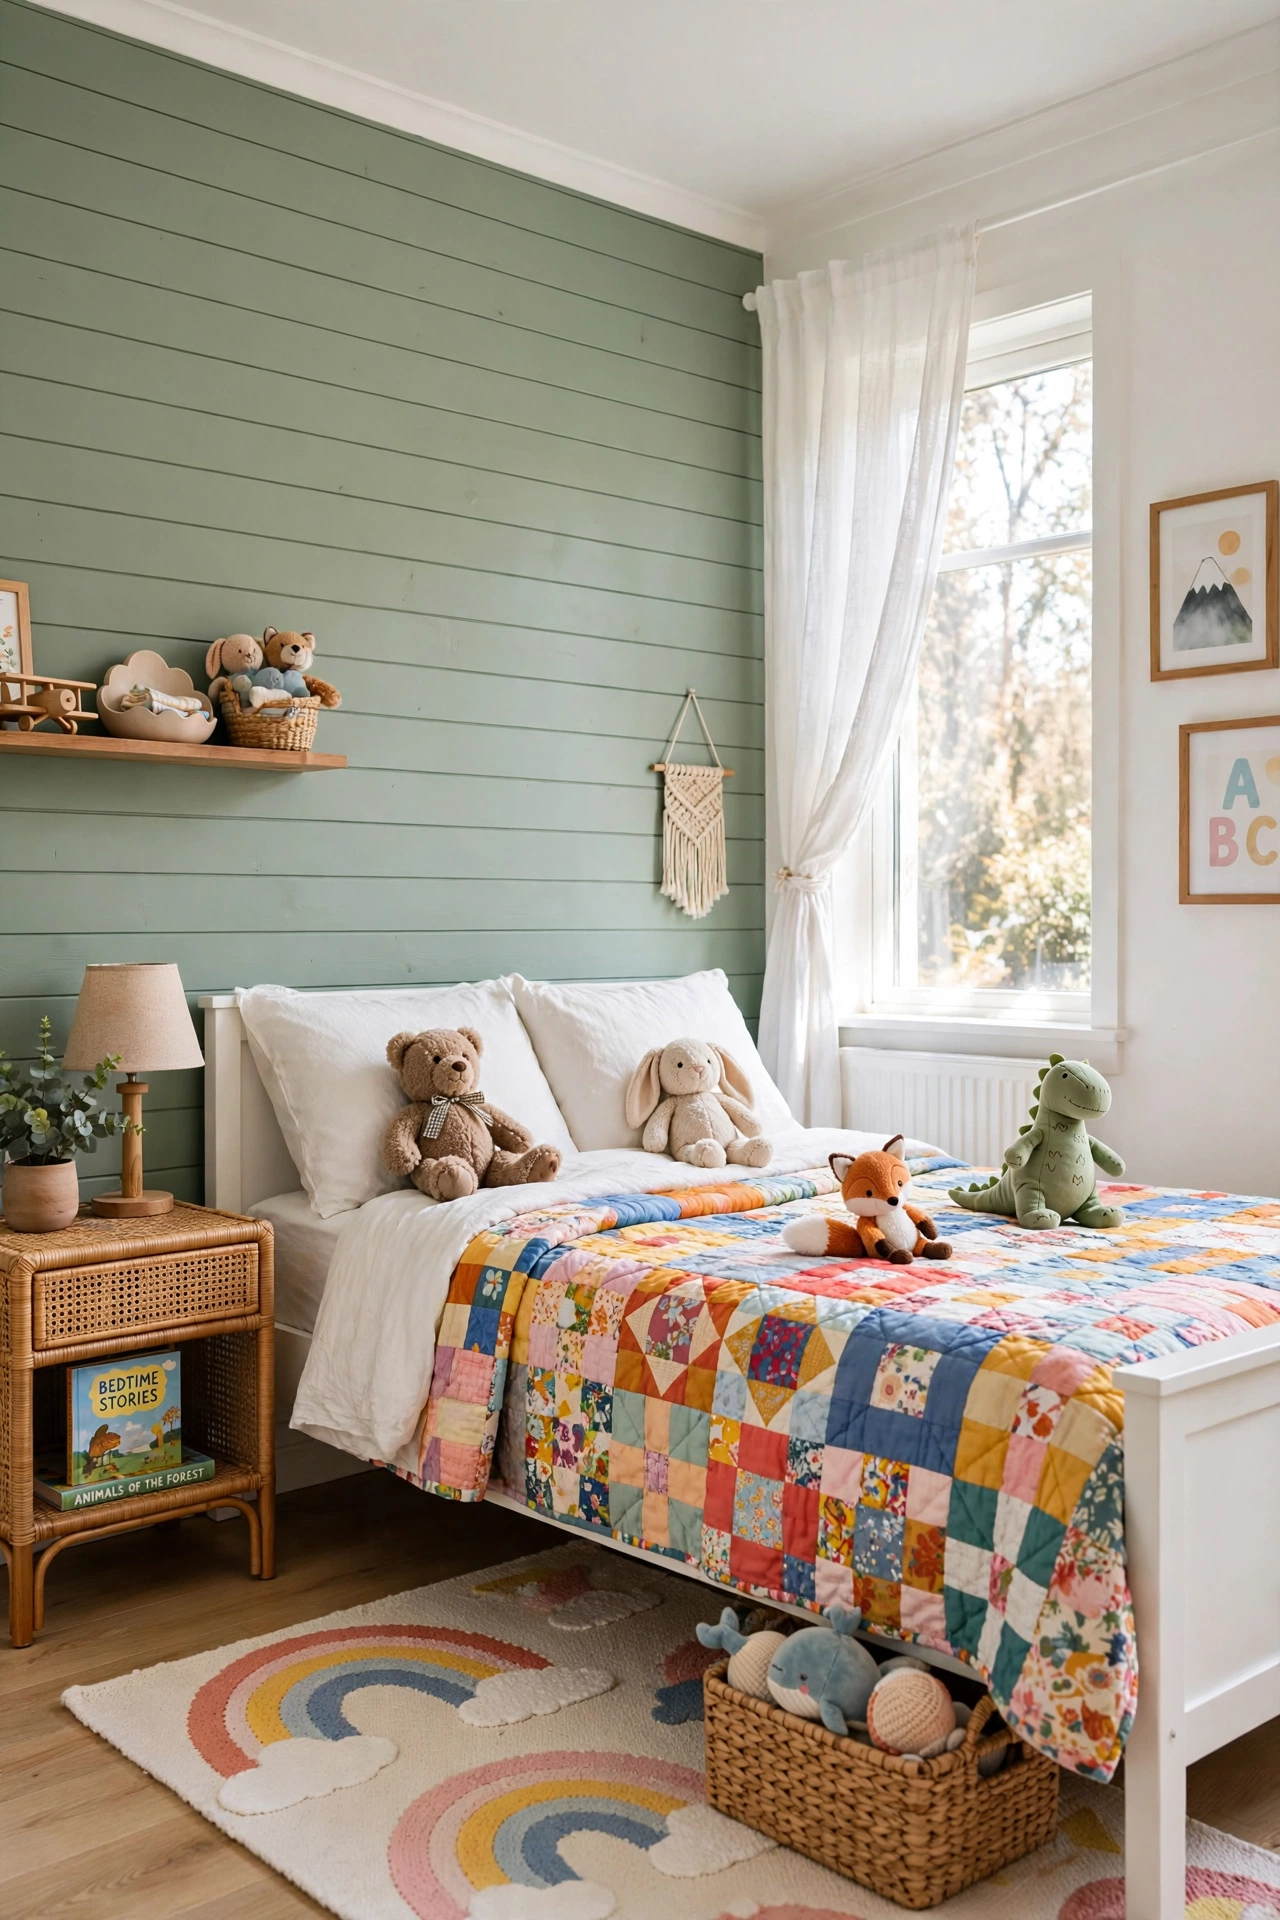
Shiplap isn’t just white and navy. A soft sage, dusty blue, or blush pink shiplap wall in a kids’ room adds texture that survives toy trucks and crayon-adjacent incidents far better than flat paint. Kids’ rooms are also the best place to practice — the bar for “perfect” is lower and the audience is forgiving.
Try this: use washable eggshell paint. It hides the bumps and wipes clean, which is the entire point in a kids’ room.
15. Home Office Video-Call Backdrop
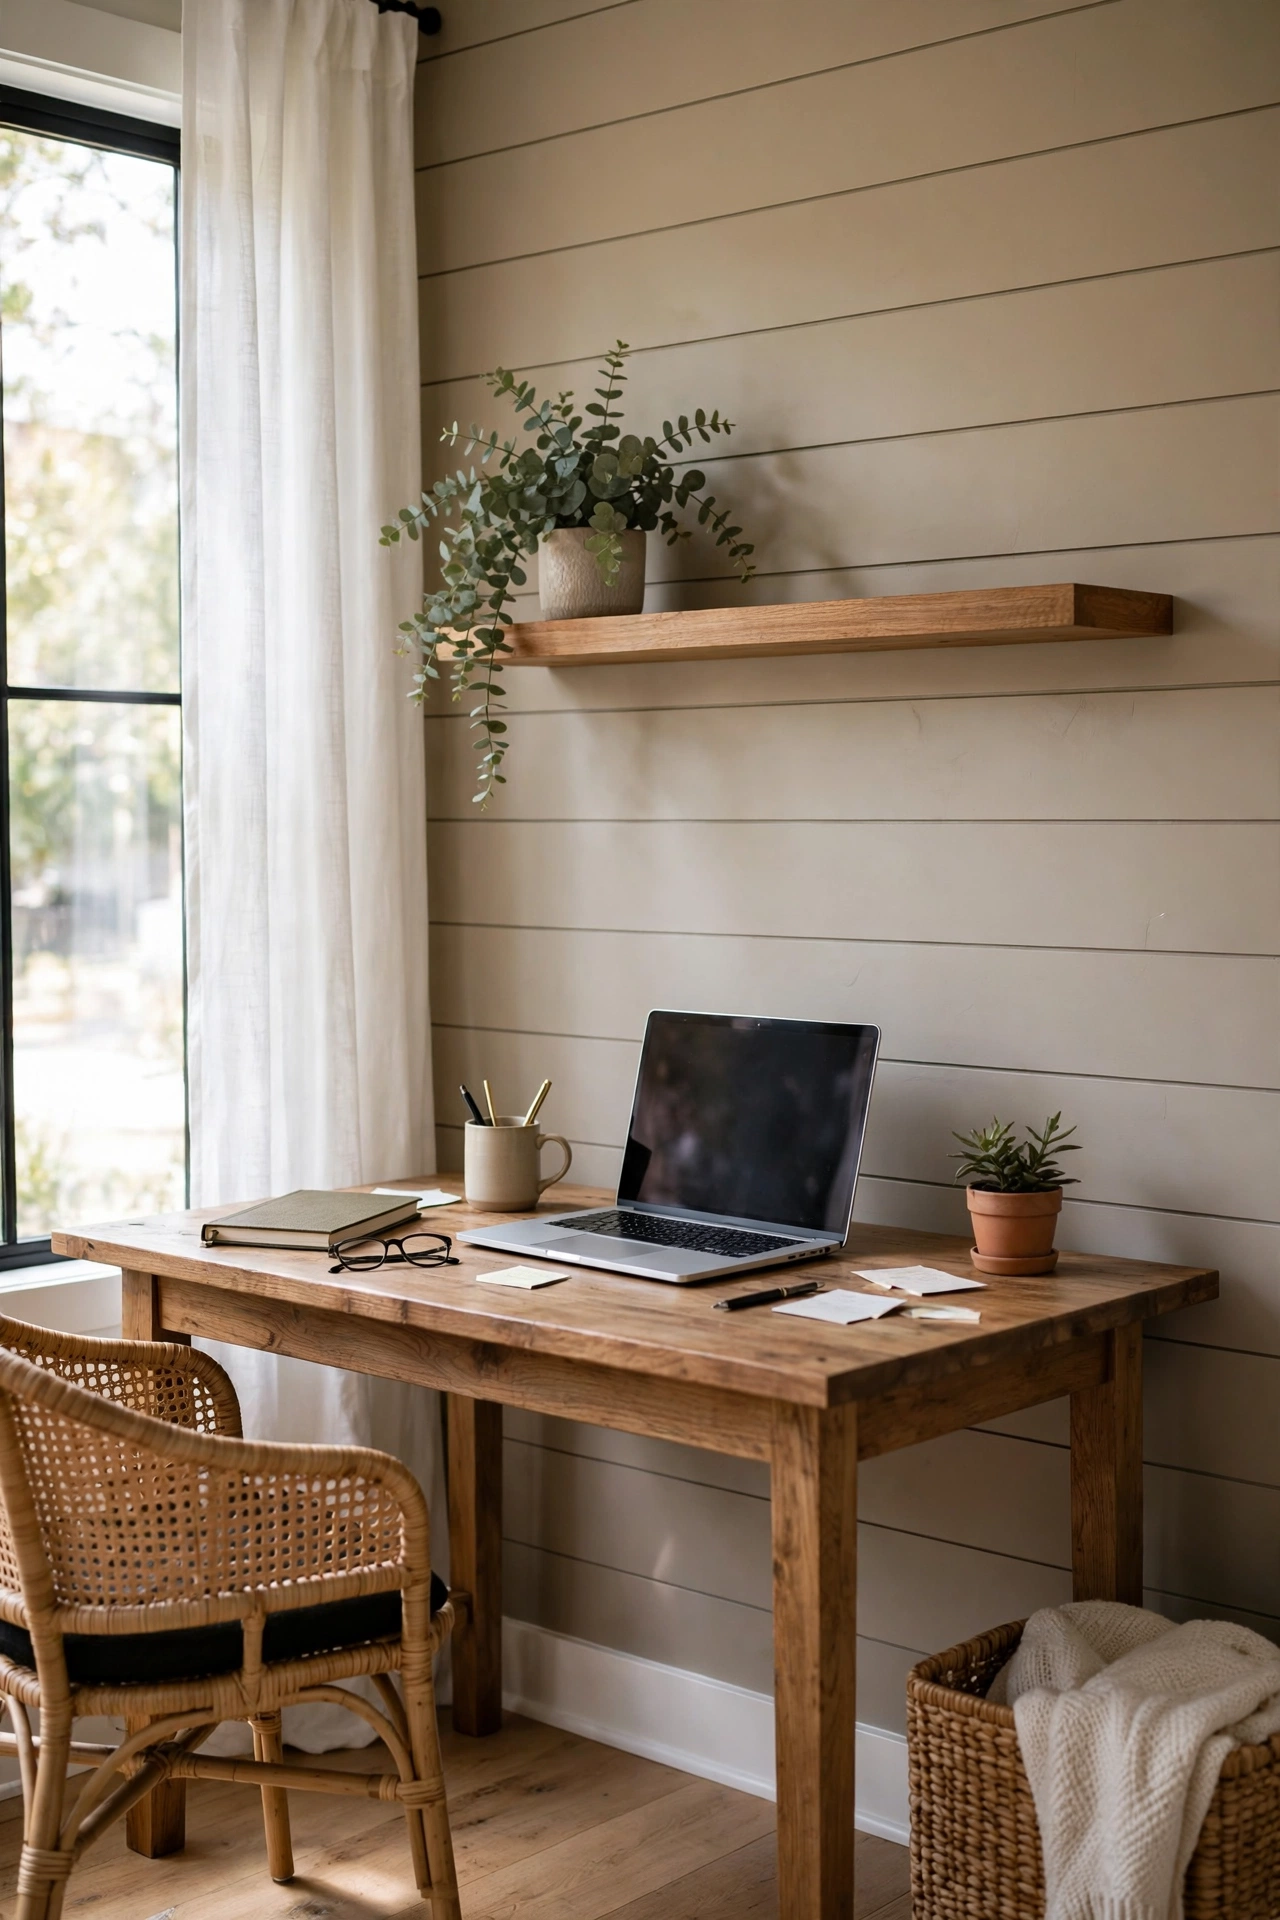
Your video-call background is a wall — make it a good one. A shiplap wall behind the desk reads as polished and intentional on camera, and it hides a multitude of sins (cables, uneven paint, that dent from moving day). Neutral white or warm greige keeps it professional; the texture keeps it from looking like a blank interrogation room.
Try this: mount a floating shelf on the shiplap for a plant and one book. Instant “I have my life together” energy.
16. Faux Shiplap with Plywood Strips
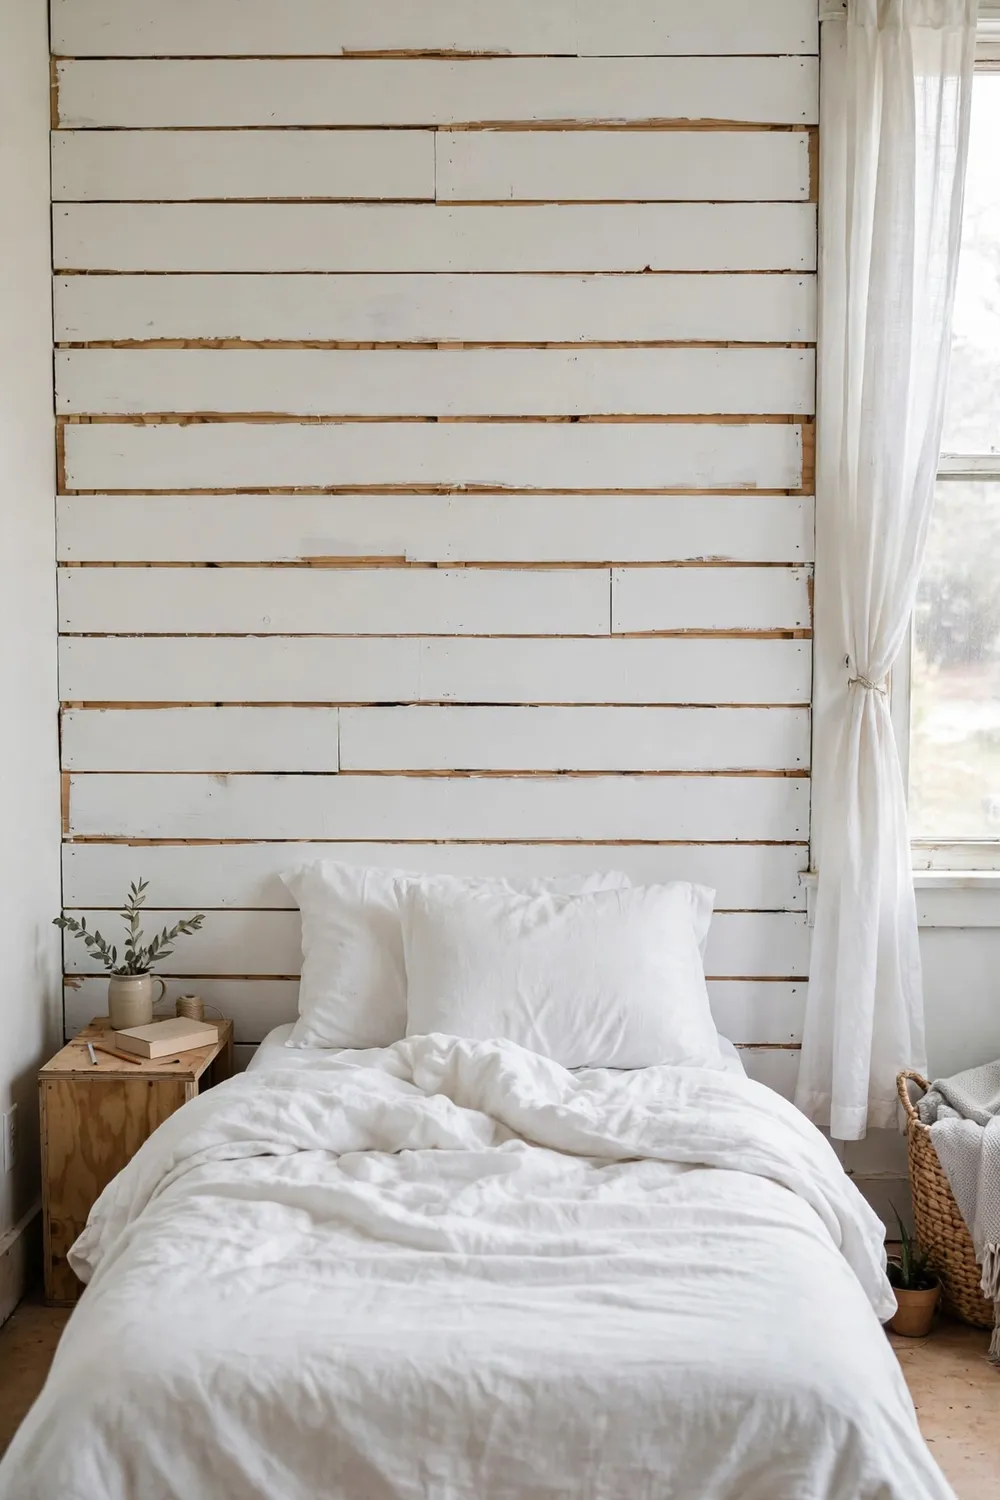
Real shiplap boards cost real money. The beginner budget hack: rip 1/4-inch plywood underlayment into 6-inch strips, sand the edges, and nail them up with a coin as your spacer. From three feet away, nobody can tell the difference. A whole wall for under $50 in materials. The trade-off: more prep work (sanding every edge) and you must paint it — raw plywood edges look cheap.
Try this: prime both sides of each strip before hanging. Plywood warps when only one side gets paint.
17. Shiplap Behind Open Shelving
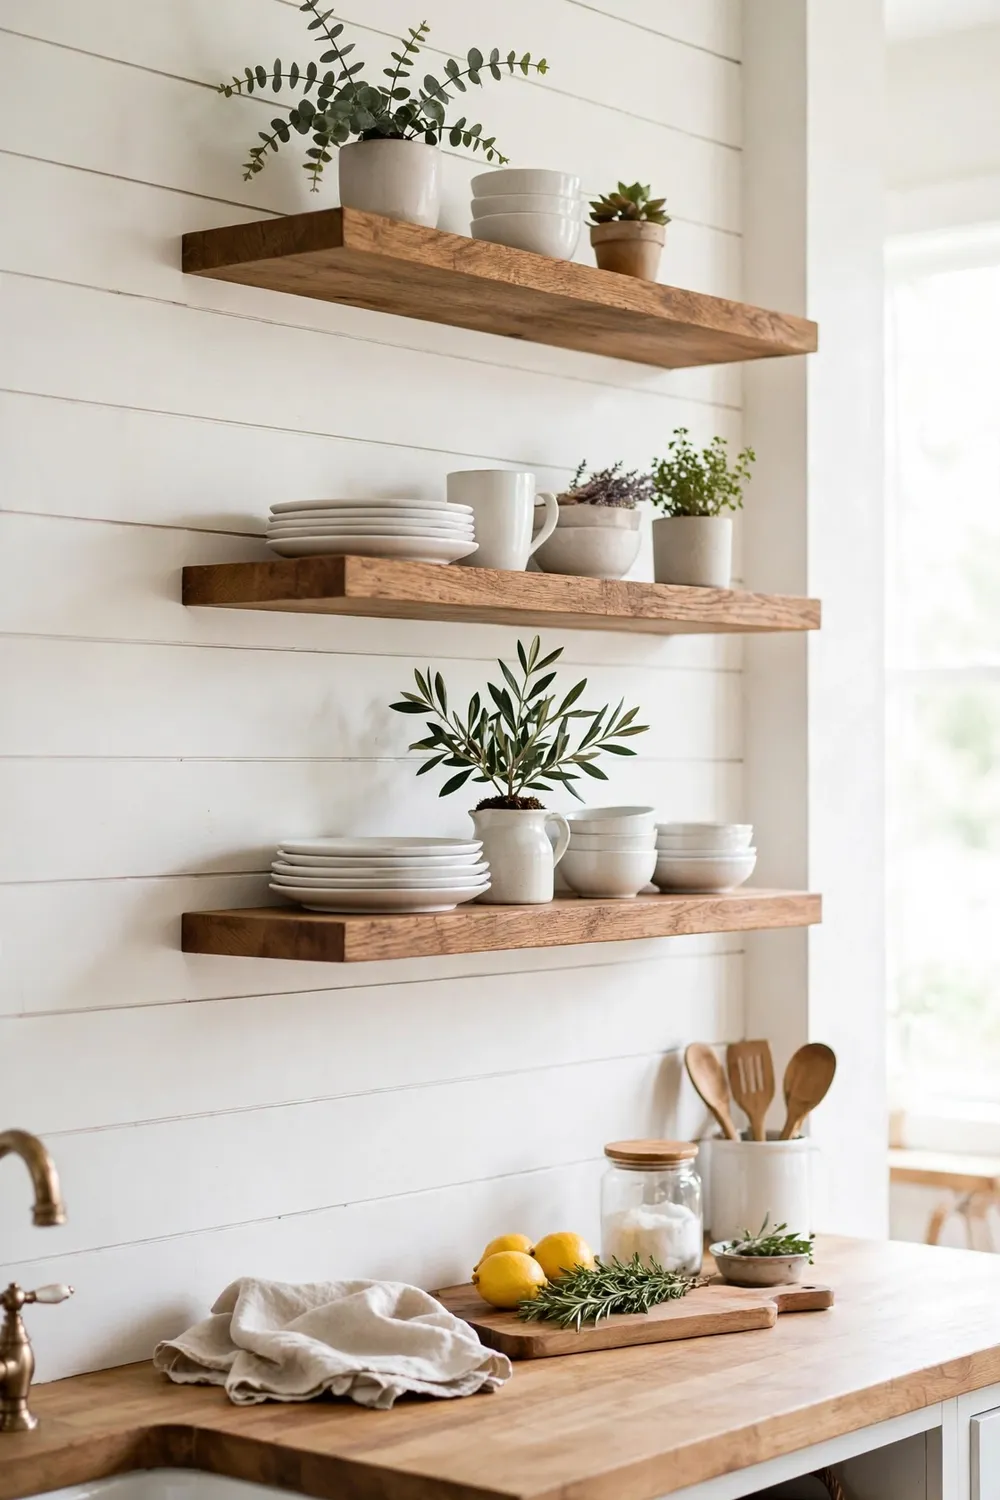
Open shelves float better on shiplap. The boards give the shelves a finished backdrop, hide the wall’s imperfections, and make styled dishes look like a magazine shoot. Do the shiplap first, then mount the shelf brackets through the boards into the studs. The combination is the farmhouse kitchen look in its purest form.
Try this: keep the shiplap white and let the shelf styling provide the color. Busy shelves plus colored shiplap is visual noise.
18. Two-Tone Split Wall
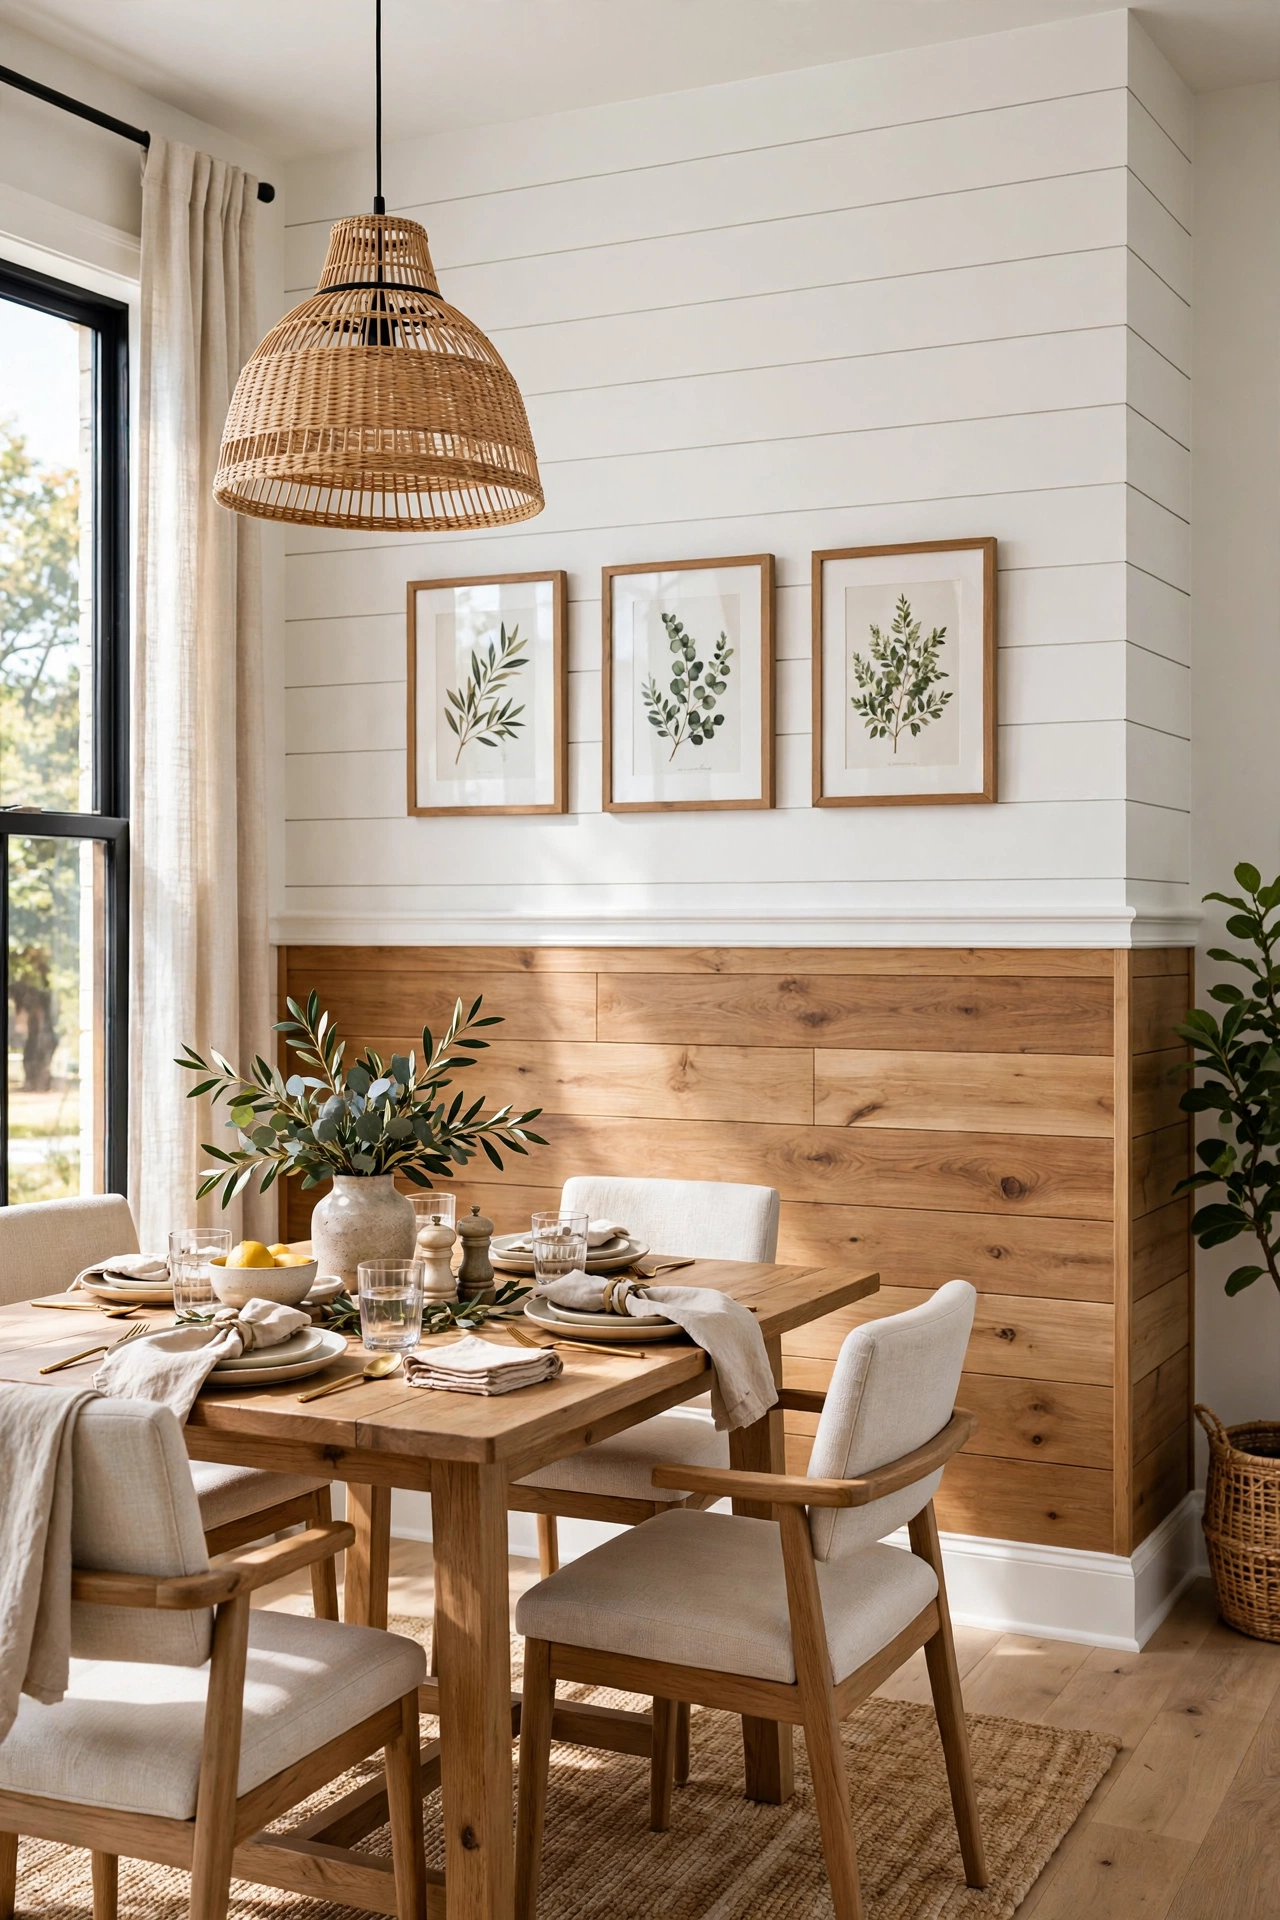
Split the wall horizontally: natural wood-tone boards on the bottom, painted boards on top — or the reverse. The chair rail between them hides the transition, and you get two textures for the price of one project. This is a great way to use up leftover boards from another project, and it looks deliberately designed rather than scrappy.
If you fall in love with the weathered-wood half of this look, these farmhouse old window projects show how to bring more salvaged, rustic wood into your home.
Try this: seal the natural half with a clear matte sealer, not a glossy polyurethane. Shiny wood next to flat paint looks mismatched.
19. Reclaimed and Rustic
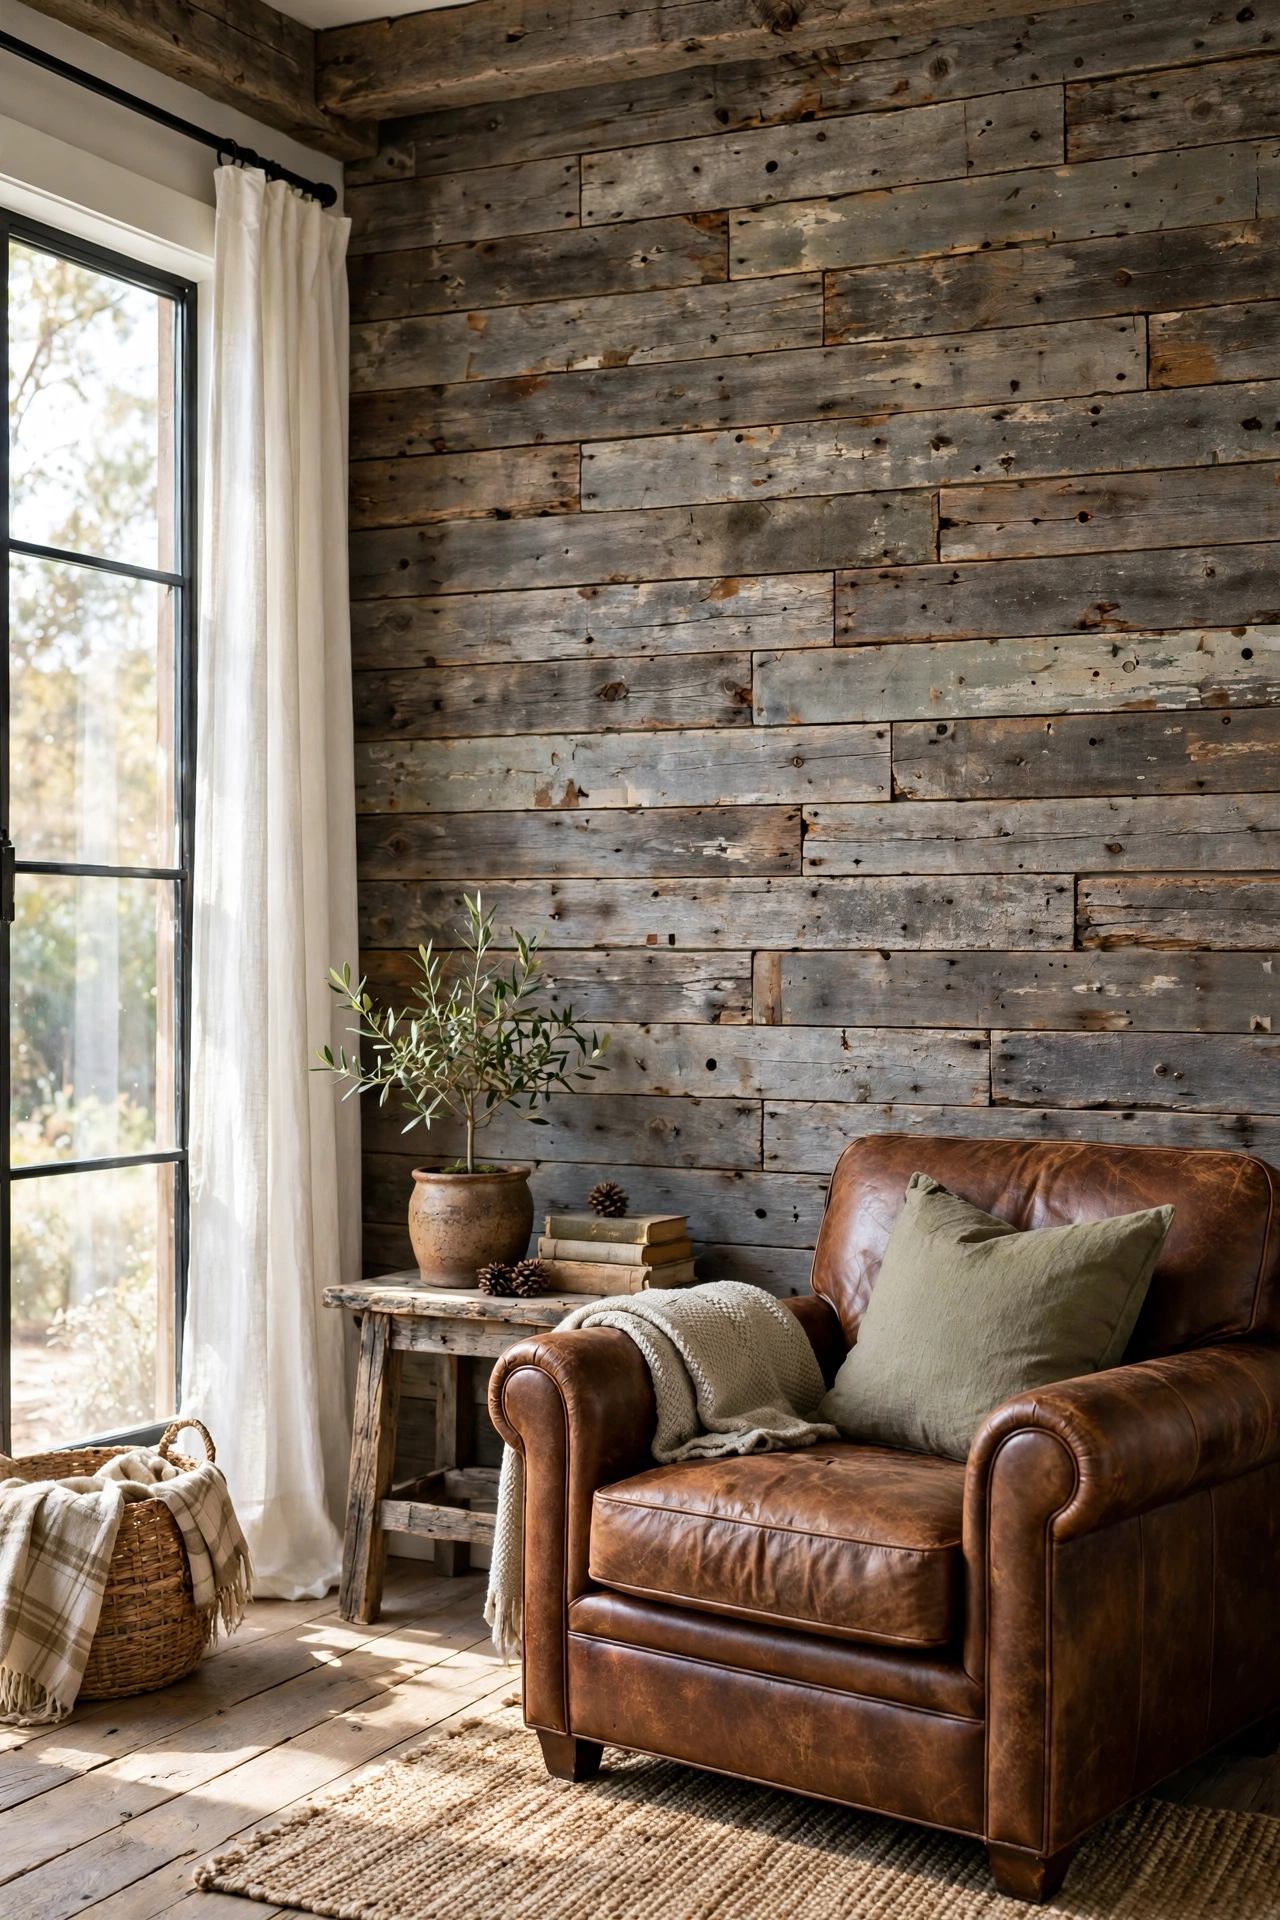
If your style is more barn than beach house, hunt down reclaimed boards — old fence wood or barn siding (heat-treated pallet wood only, never chemically treated). The nail holes, saw marks, and weathered gray are the entire point. Seal it well, since old wood can be dusty, and embrace the unevenness: trying to make reclaimed wood look perfect defeats the purpose.
Try this: sand the backs of the boards flat while leaving the faces weathered. Flat backs mount cleanly; characterful faces stay characterful.
20. The TV Wall, Upgraded
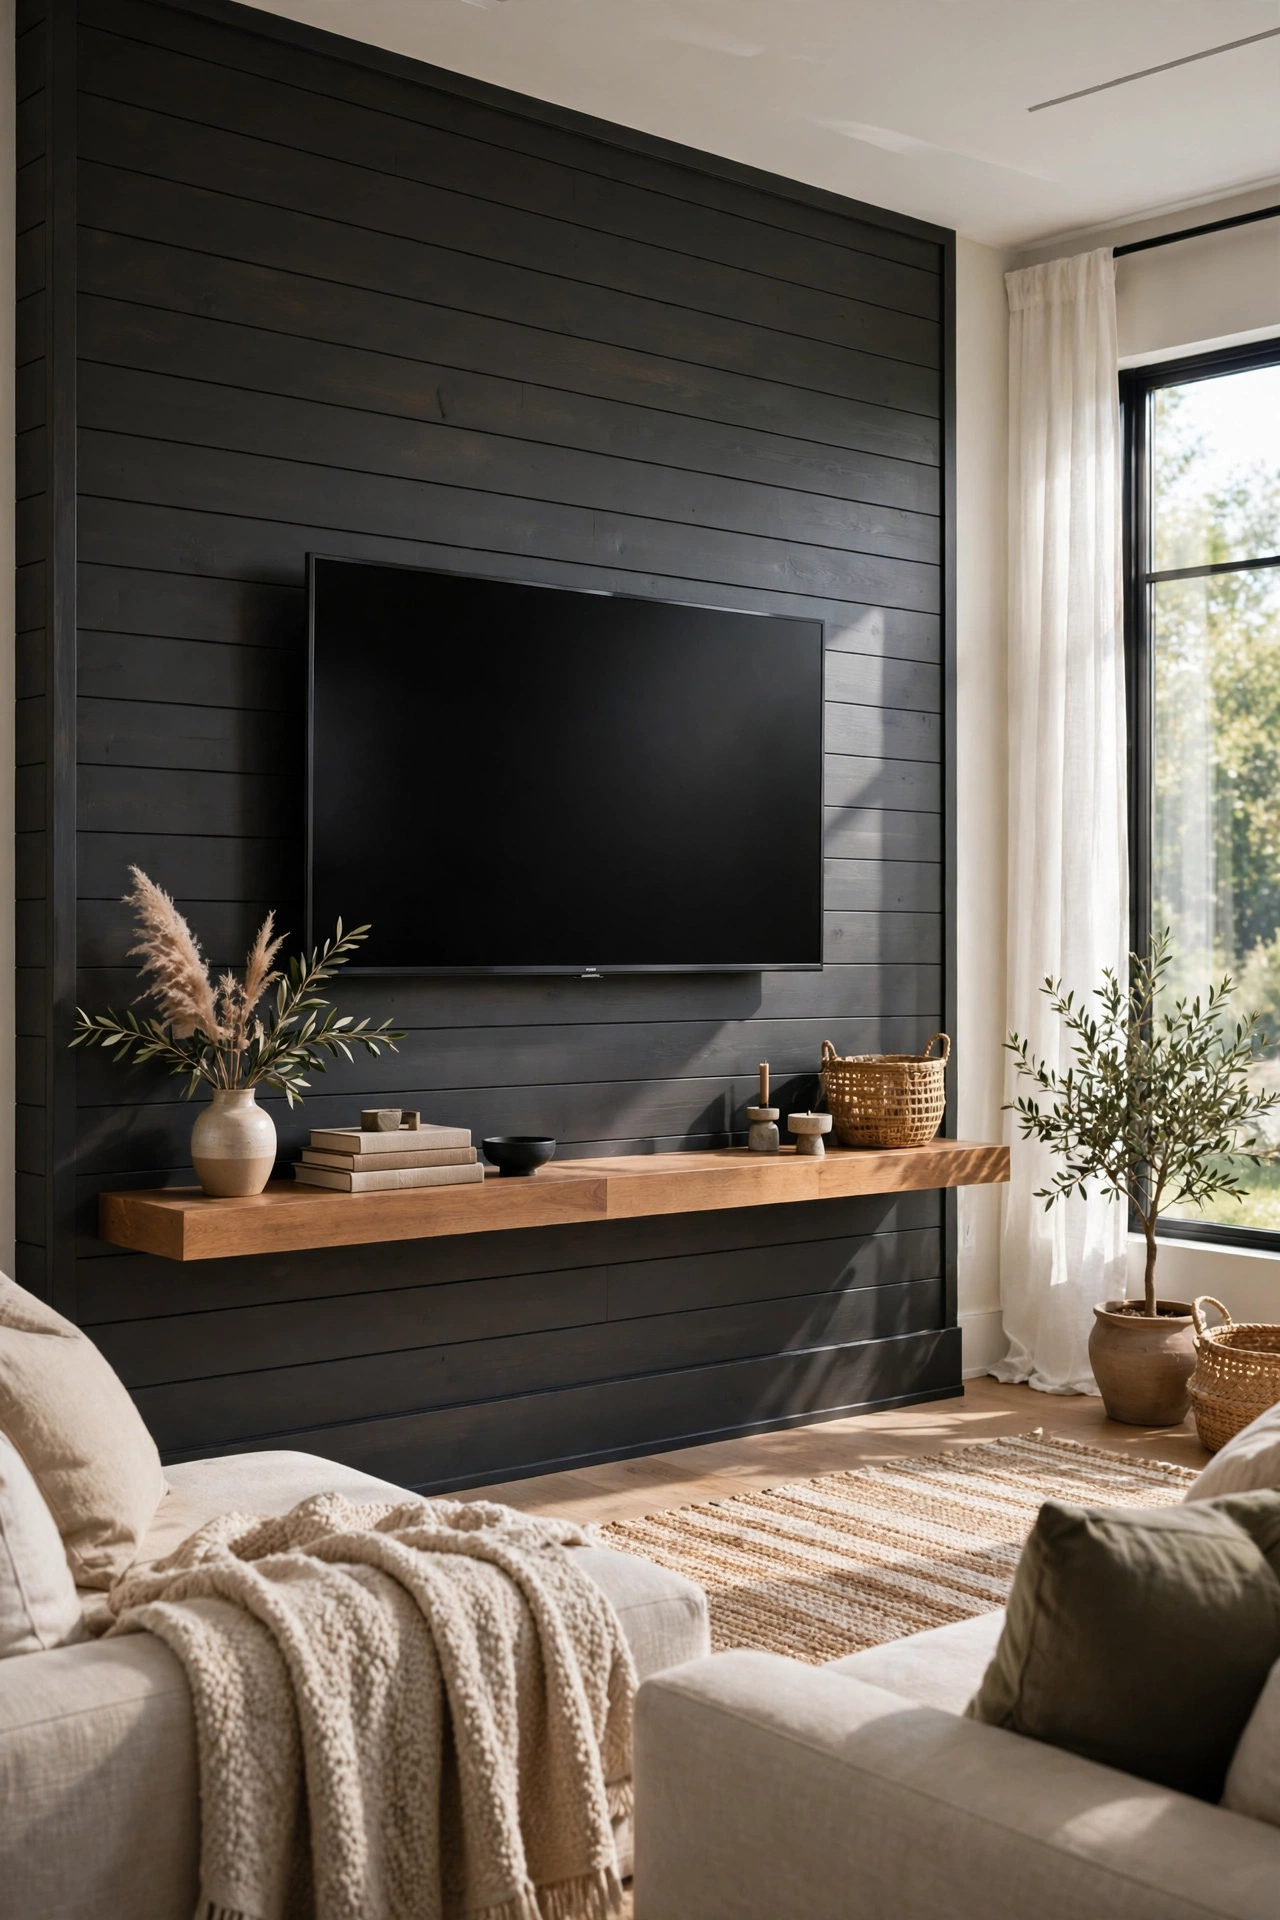
Mounting a TV on a blank wall always looks a little sad. Mounting it on shiplap looks like a media room. The boards hide cable runs (fish them behind the boards before nailing the last few), and a floating console shelf mounted through the shiplap into studs completes the built-in look. Paint it dark for a theater feel that makes the screen pop.
Try this: install a recessed outlet box behind where the TV hangs before the shiplap goes up. No visible cords, ever.
21. The Reading Nook Wall
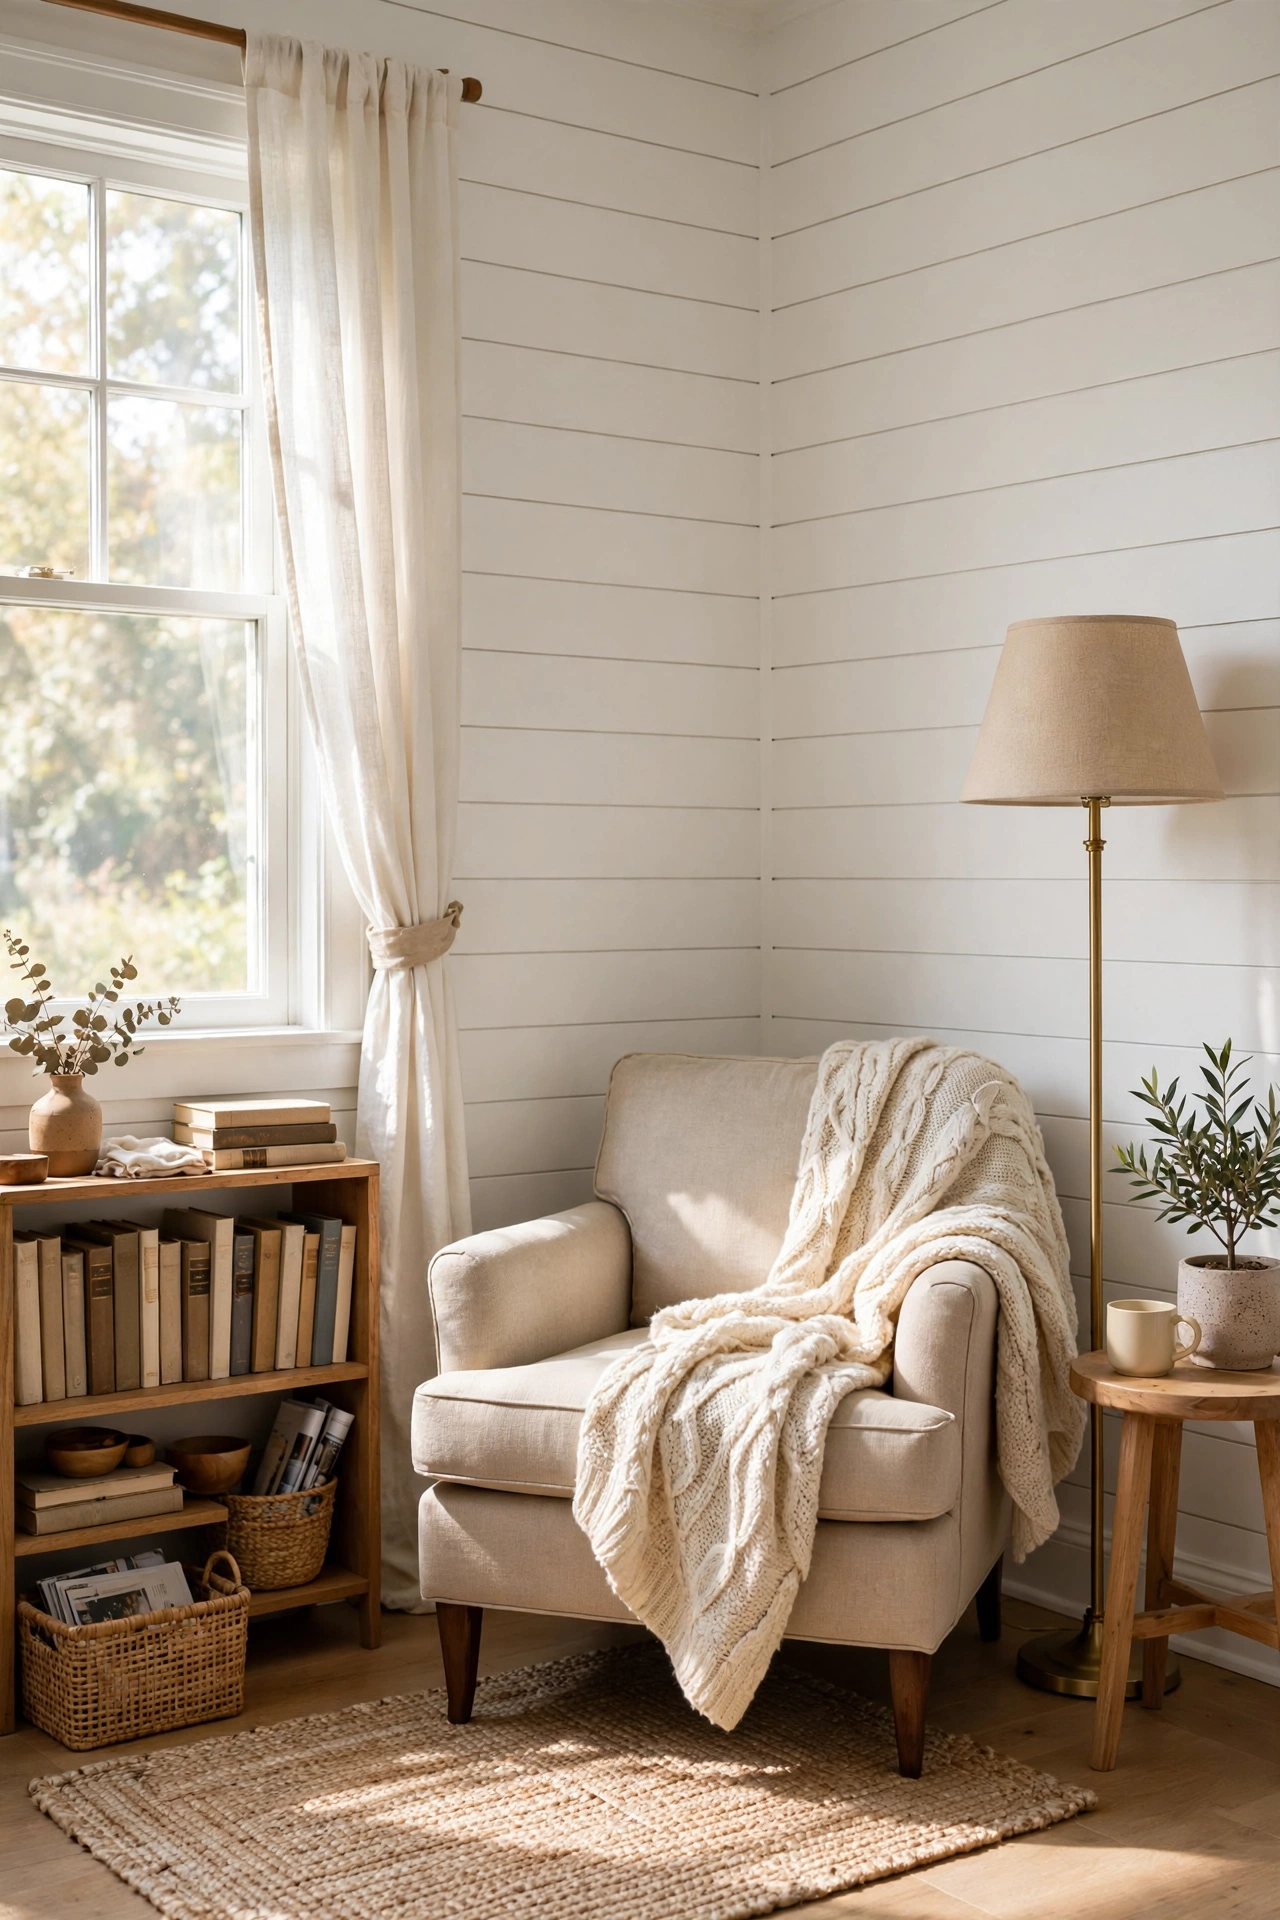
Got an awkward corner or a too-small alcove? Shiplap it. One small wall of shiplap plus a chair, a floor lamp, and a basket of books turns wasted square footage into the most-used seat in the house. Small walls are the perfect practice project — you can finish in an afternoon and learn every technique at low stakes.
Try this: carry the shiplap around both walls of the corner for a cocoon effect. Two tiny walls read as one intentional nook.
22. Laundry Room Glow-Up
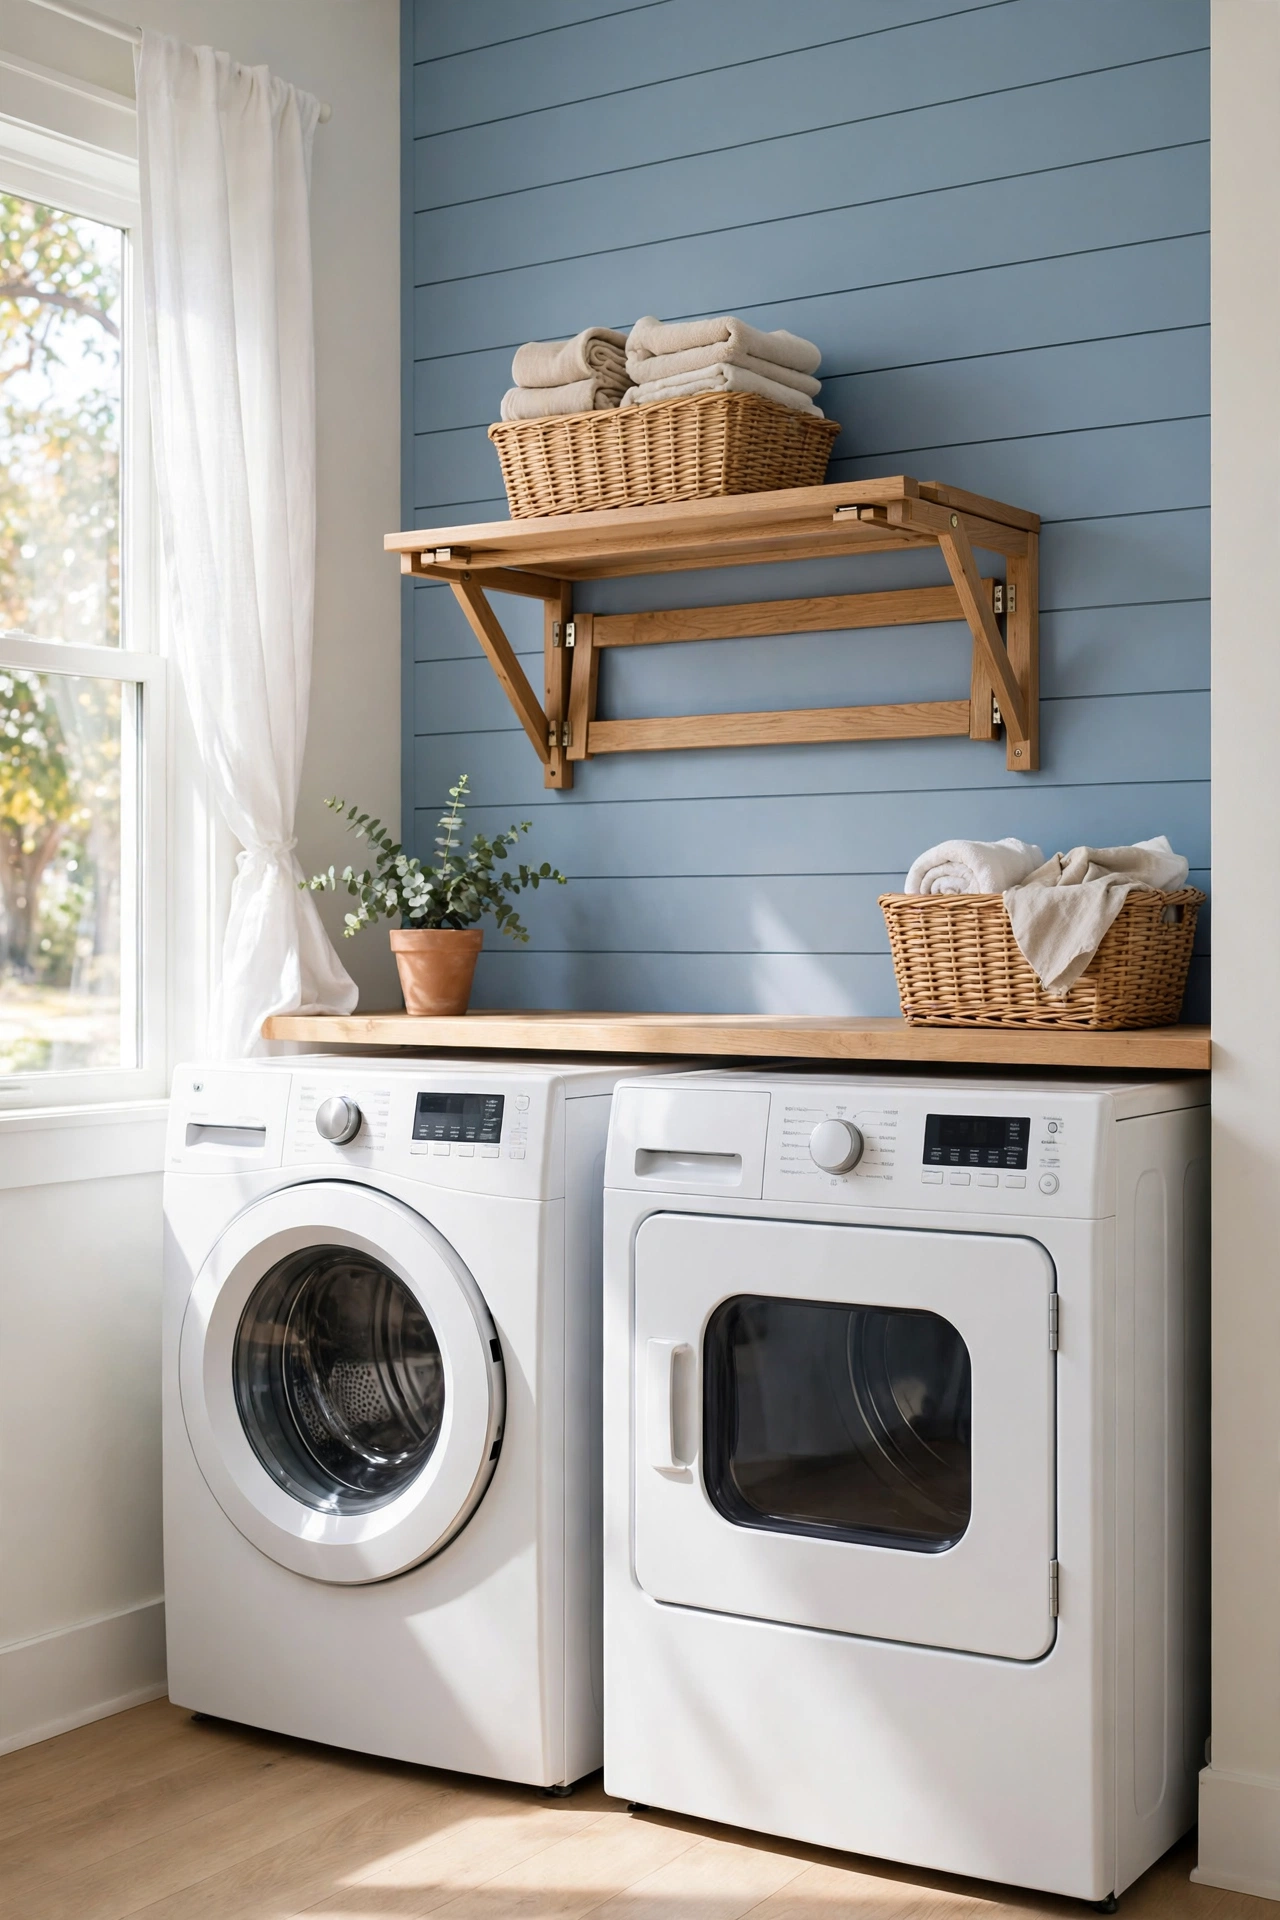
Nobody photographs their laundry room, but you’ll smile every time you walk in. Shiplap behind the washer and dryer, painted a cheerful white or soft blue, makes the most dreaded chore room feel fresh. It’s also genuinely practical: the boards wipe clean, and hooks screwed into studs through the shiplap hold drying racks and ironing boards.
Try this: leave a small gap at the bottom behind the machines for the hoses and cords. Future-you will need access.
23. Herringbone Pattern
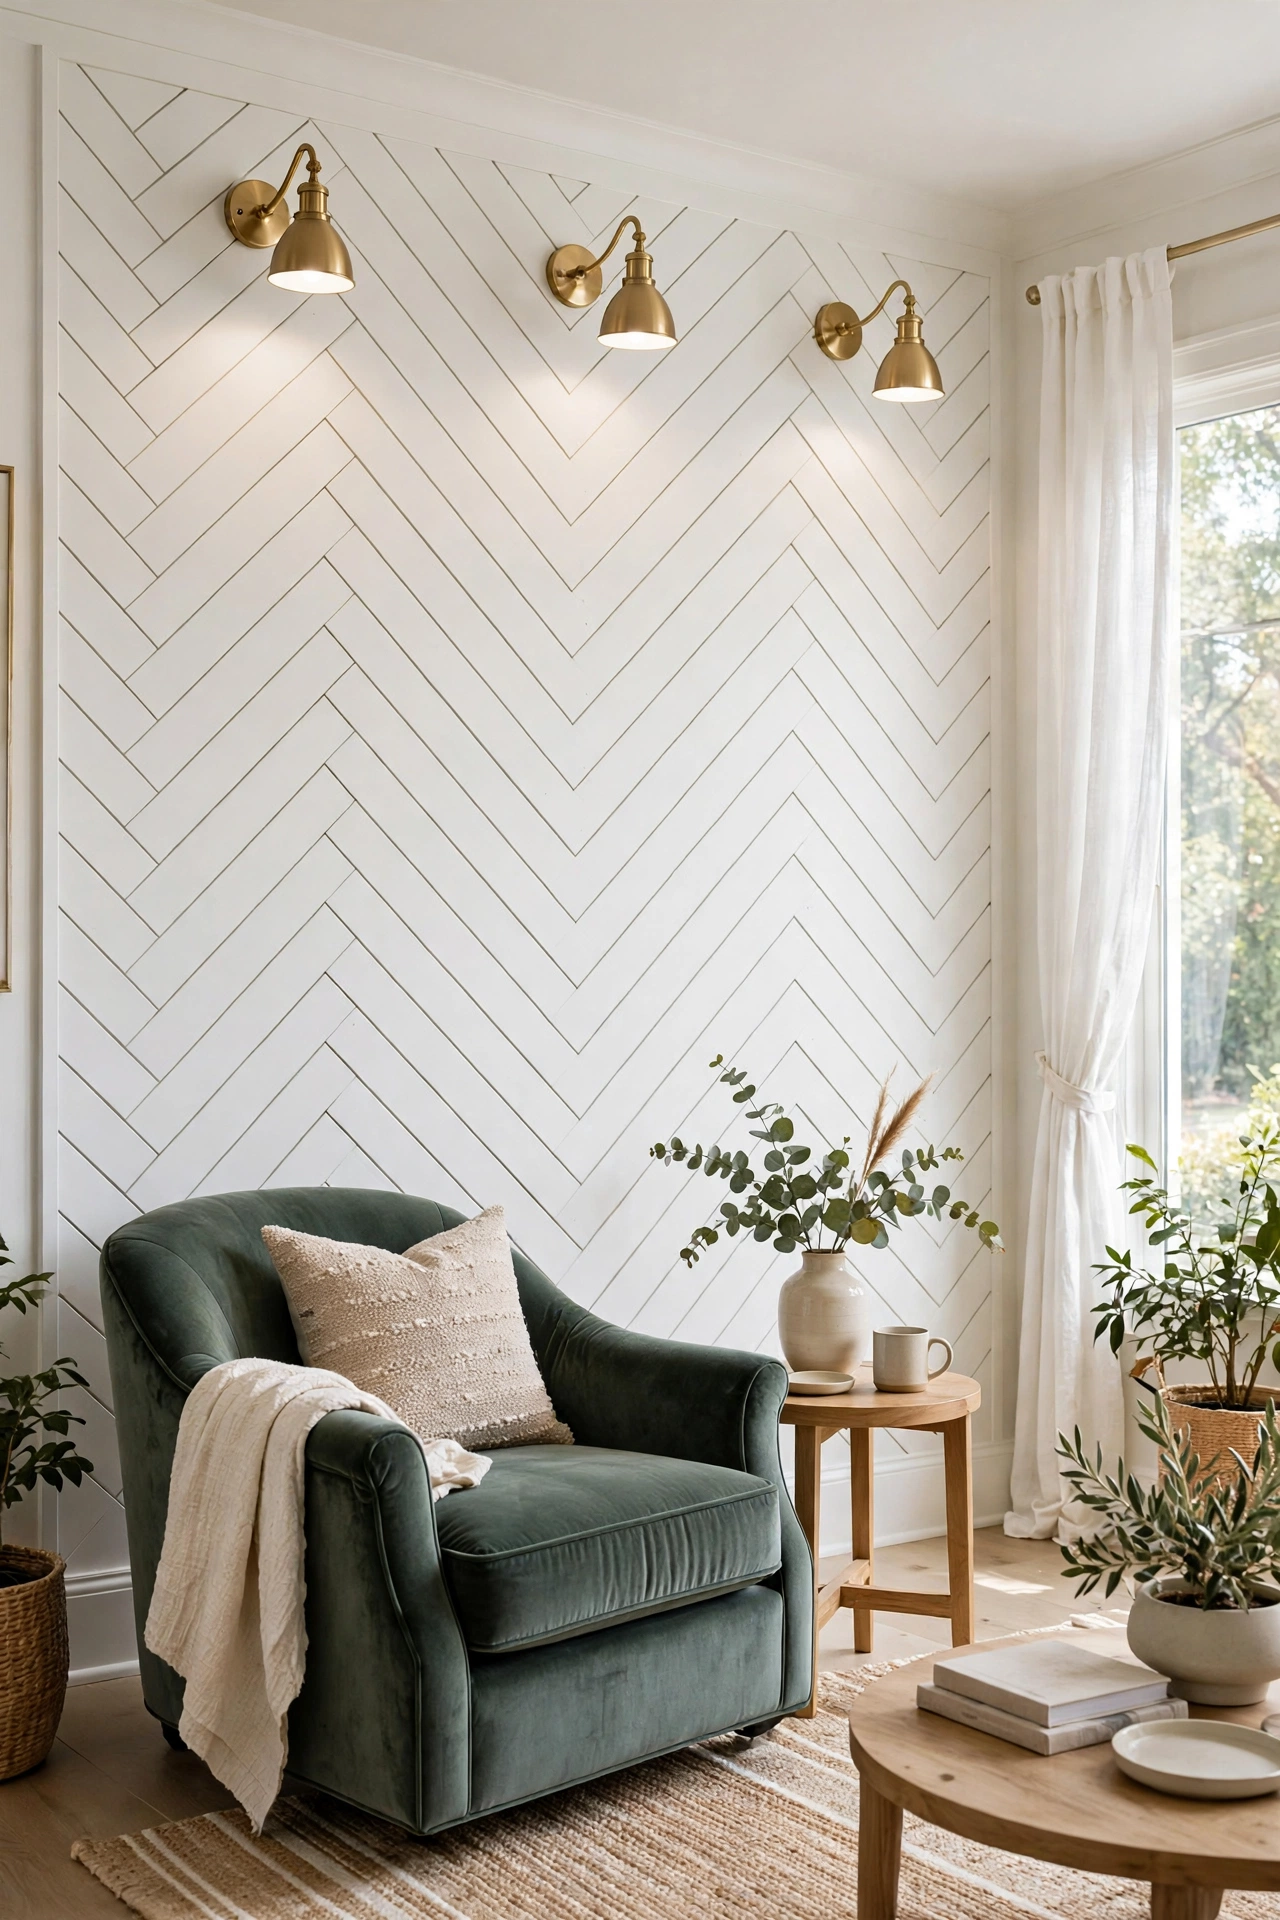
The showstopper. Herringbone shiplap — short boards cut at 45 degrees, woven in a zigzag — is the pattern that makes guests ask who your contractor was. It’s genuinely more work: every piece is a cut piece, and you need a miter saw and patience. But the math is simple once you set up a stop block, and the result is the most expensive-looking wall in this entire list. This detailed step-by-step shiplap wall guide walks through measuring, cutting, and installing boards cleanly — handy before you tackle a pattern like this one.
Try this: build the pattern on the floor first in a 3-foot section to check your angles before committing to the wall.
24. Moody Charcoal Bedroom
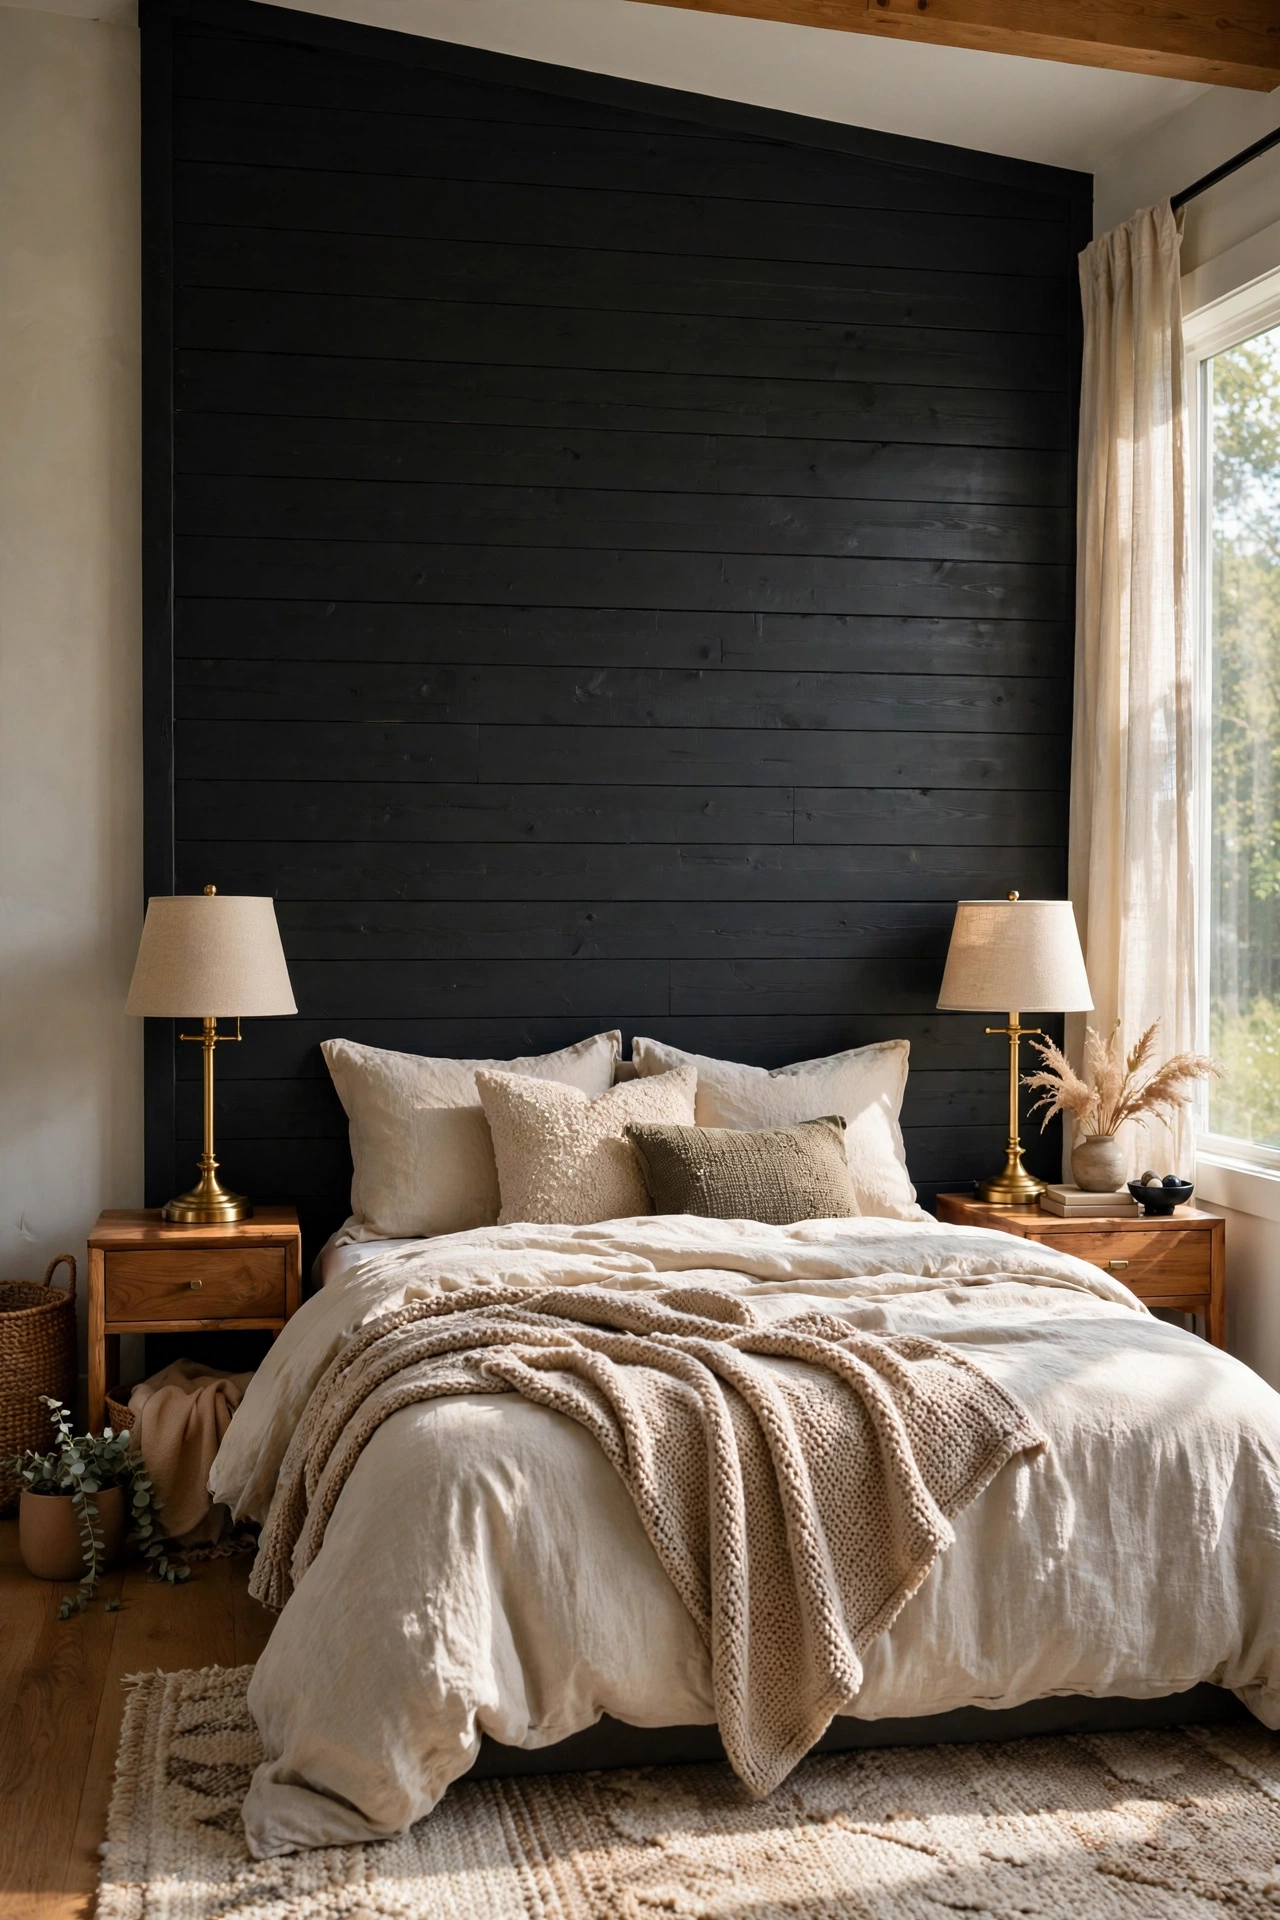
Paint shiplap charcoal or near-black in the bedroom and something magical happens: the room feels like a cocoon. Dark shiplap has all the texture of the white version with none of the farmhouse cliché — it reads modern, cozy, and expensive. Pair it with warm wood tones and brass to keep it from feeling cold. This is the “I can’t believe a beginner did this” wall.
Try this: dark walls need more light, not less. Add sconces, a picture light, or a bright rug so the texture reads instead of disappearing.
25. Shiplap Around a Built-In Window Seat
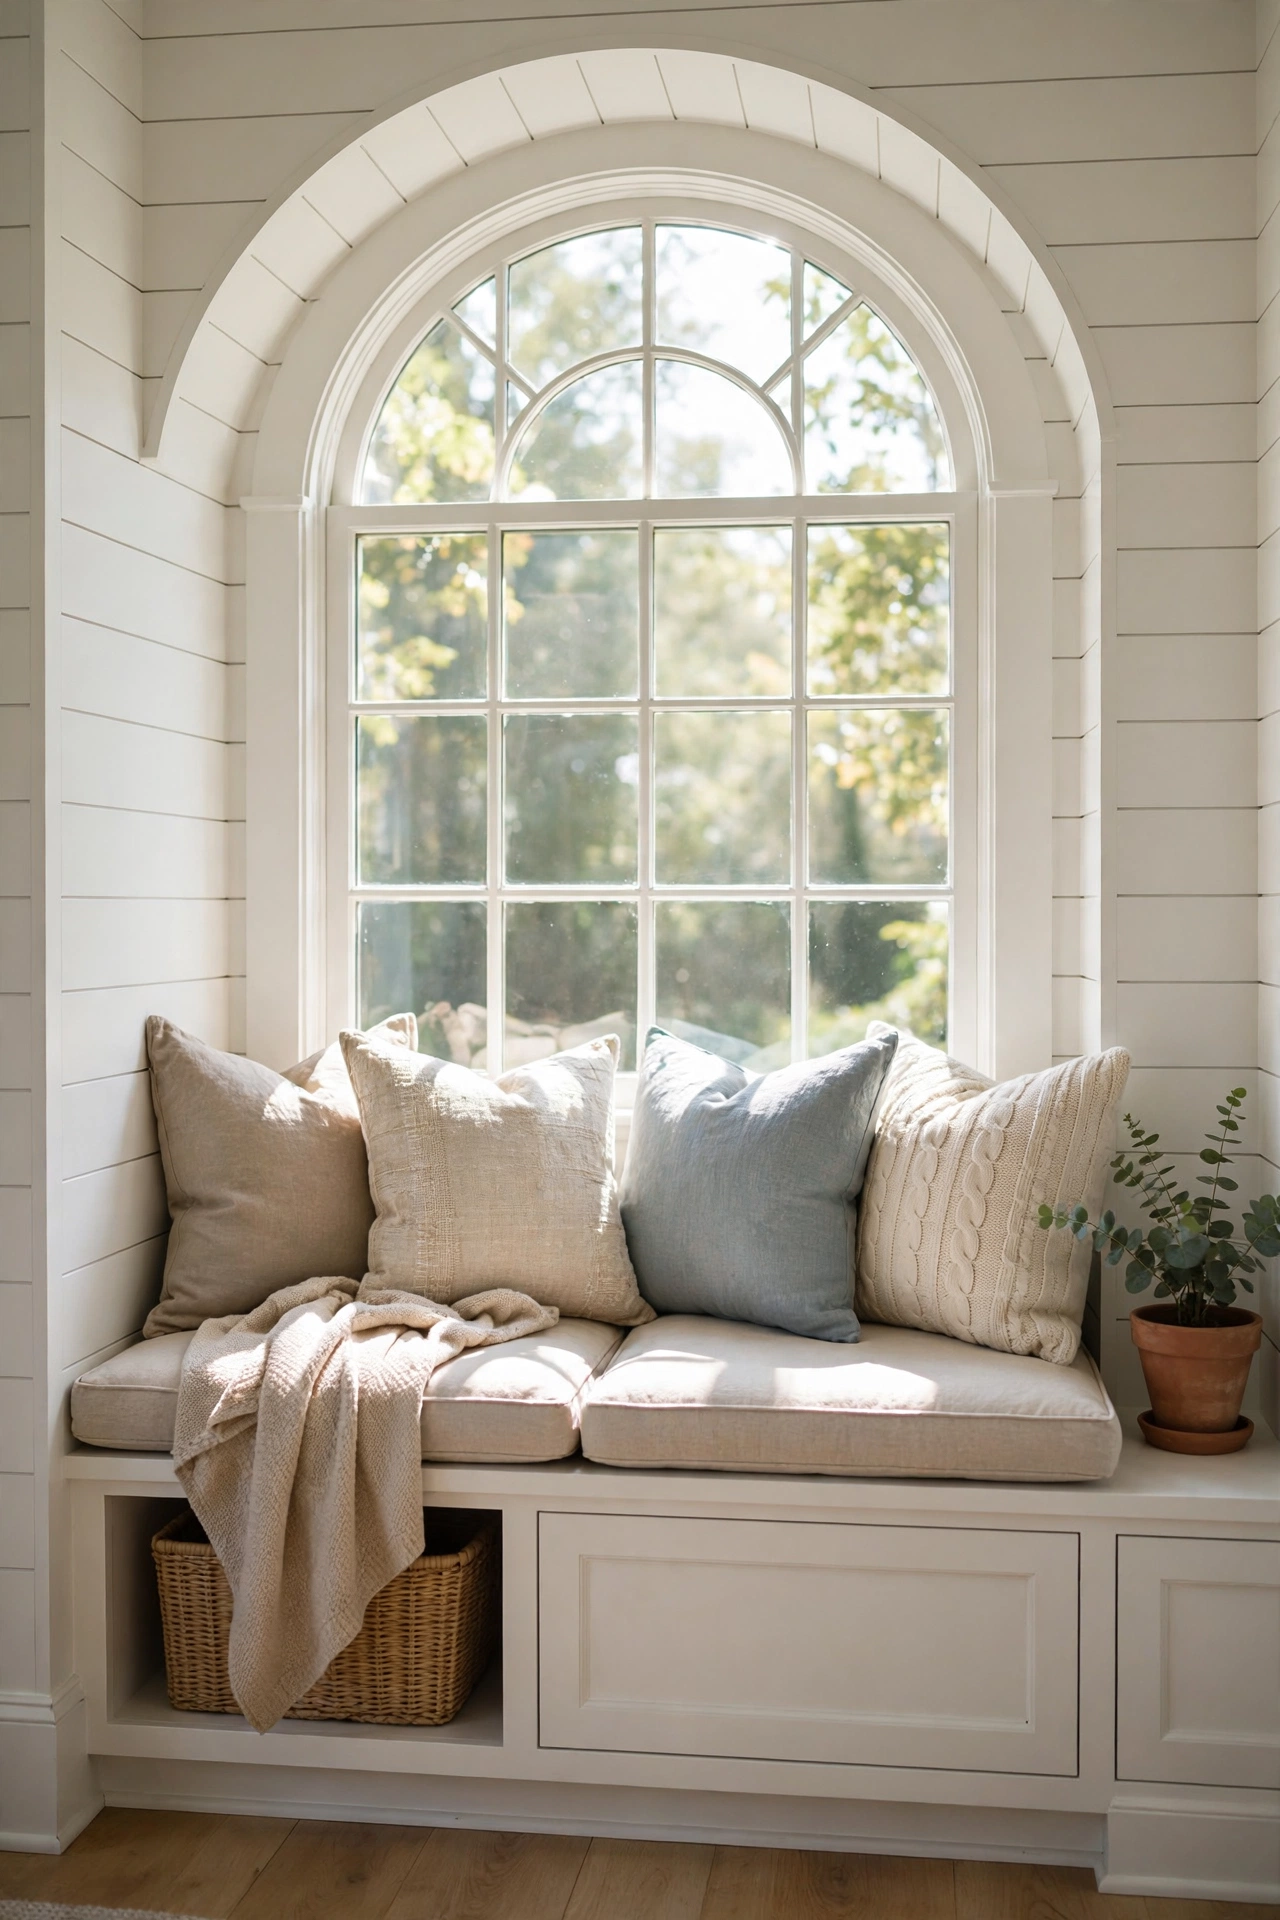
The grand finale: shiplap the wall around a window seat or built-in bench. The boards frame the seat like cabinetry, the bench top gives you a place to sit, and the whole thing reads as custom millwork. Build the bench box first, shiplap the wall behind and beside it, then cap everything with trim. It’s the biggest project on this list and the one you’ll brag about longest.
Try this: make the bench top hinged. Hidden storage under a window seat is the feature that makes guests gasp.
Beginner Toolkit: What You Actually Need
You don’t need a workshop. For your first wall: a stud finder, a 4-foot level, a tape measure, a pencil, a brad nailer (borrow or rent — about $30 a day), a miter saw or even a circular saw with a guide, wood filler, sandpaper, caulk, and paint. That’s it. The nail gun is the one non-negotiable — hammering hundreds of brad nails by hand is how projects die halfway.
5 Beginner Mistakes to Avoid
- Skipping the stud marks. Mark every stud from floor to ceiling with painter’s tape before you hang a single board. Nails in drywall alone will pop within a year.
- Starting crooked. The first board sets every board above it. Spend ten minutes getting board one perfectly level; it saves hours later.
- Lining up the butt joints. Stagger your board joints like brickwork. A vertical seam running up the wall screams amateur.
- Caulking the nickel gaps. Those shadow lines ARE the look. Caulk where shiplap meets trim and ceiling — never the gaps between boards.
- Forgetting outlets and switches. Shut off power, pull the covers, and cut boards to fit around boxes. An extension ring brings the outlet flush with the thicker wall.
Quick-Pick Cheat Sheet
Not sure where to start? This cheat sheet matches the best first projects to their cost and effort:
| Start With This | The Move | Why It Matters | Rough Cost |
|---|---|---|---|
| One living room wall | White horizontal shiplap | The classic beginner win | $100–$200 |
| Bedroom headboard wall | Full wall behind the bed | Maximum impact, hidden cuts | $120–$250 |
| Small nook or alcove | One accent wall, any direction | Afternoon practice project | $40–$80 |
| Faux plywood strips | 1/4-inch underlayment ripped to 6 inches | The $50 whole wall | $40–$60 |
| Half-height wainscot | Bottom third plus chair rail | Most forgiving first project | $60–$120 |
Frequently Asked Questions
What is the easiest shiplap project for a complete beginner?
Half-height wainscot on one wall. Short boards, fewer cuts, and the chair rail hides the top edge. You can finish it in a day with basic tools.
Do I need a nail gun for shiplap?
Technically no, practically yes. A brad nailer (borrowed or rented for about $30 a day) turns a two-day hammer marathon into a three-hour job and leaves smaller holes to fill.
Should shiplap be horizontal or vertical?
Horizontal makes rooms feel wider and is the classic look; vertical makes ceilings feel taller. Both install the same way — pick based on what your room needs.
How much does a shiplap accent wall cost?
Real shiplap boards run $100–$250 for a standard 8×10 wall; faux plywood strips can do it for $40–$60. Paint and basic supplies add another $30–$50.
Can I install shiplap over existing drywall?
Yes — that’s the normal way. Nail through the drywall into the studs (or use construction adhesive plus nails for extra hold). Just make sure the drywall is in good condition first.
Final Thoughts
Four years and six walls later, here’s my honest take: the first wall is the hardest, and it’s still easier than you think. My garage full of “someday” boards taught me that waiting for the perfect tools, the perfect weekend, or the perfect skill level is just fear in a tool belt. Borrow the nail gun. Mark your studs. Get that first board level. By dinner, you’ll be standing in front of a wall you built with your own hands, wondering why you waited six weeks to start. Start with one wall this weekend — the half-height wainscot if you’re nervous, the classic white horizontal if you’re not. The second wall is where you get dangerous.


