


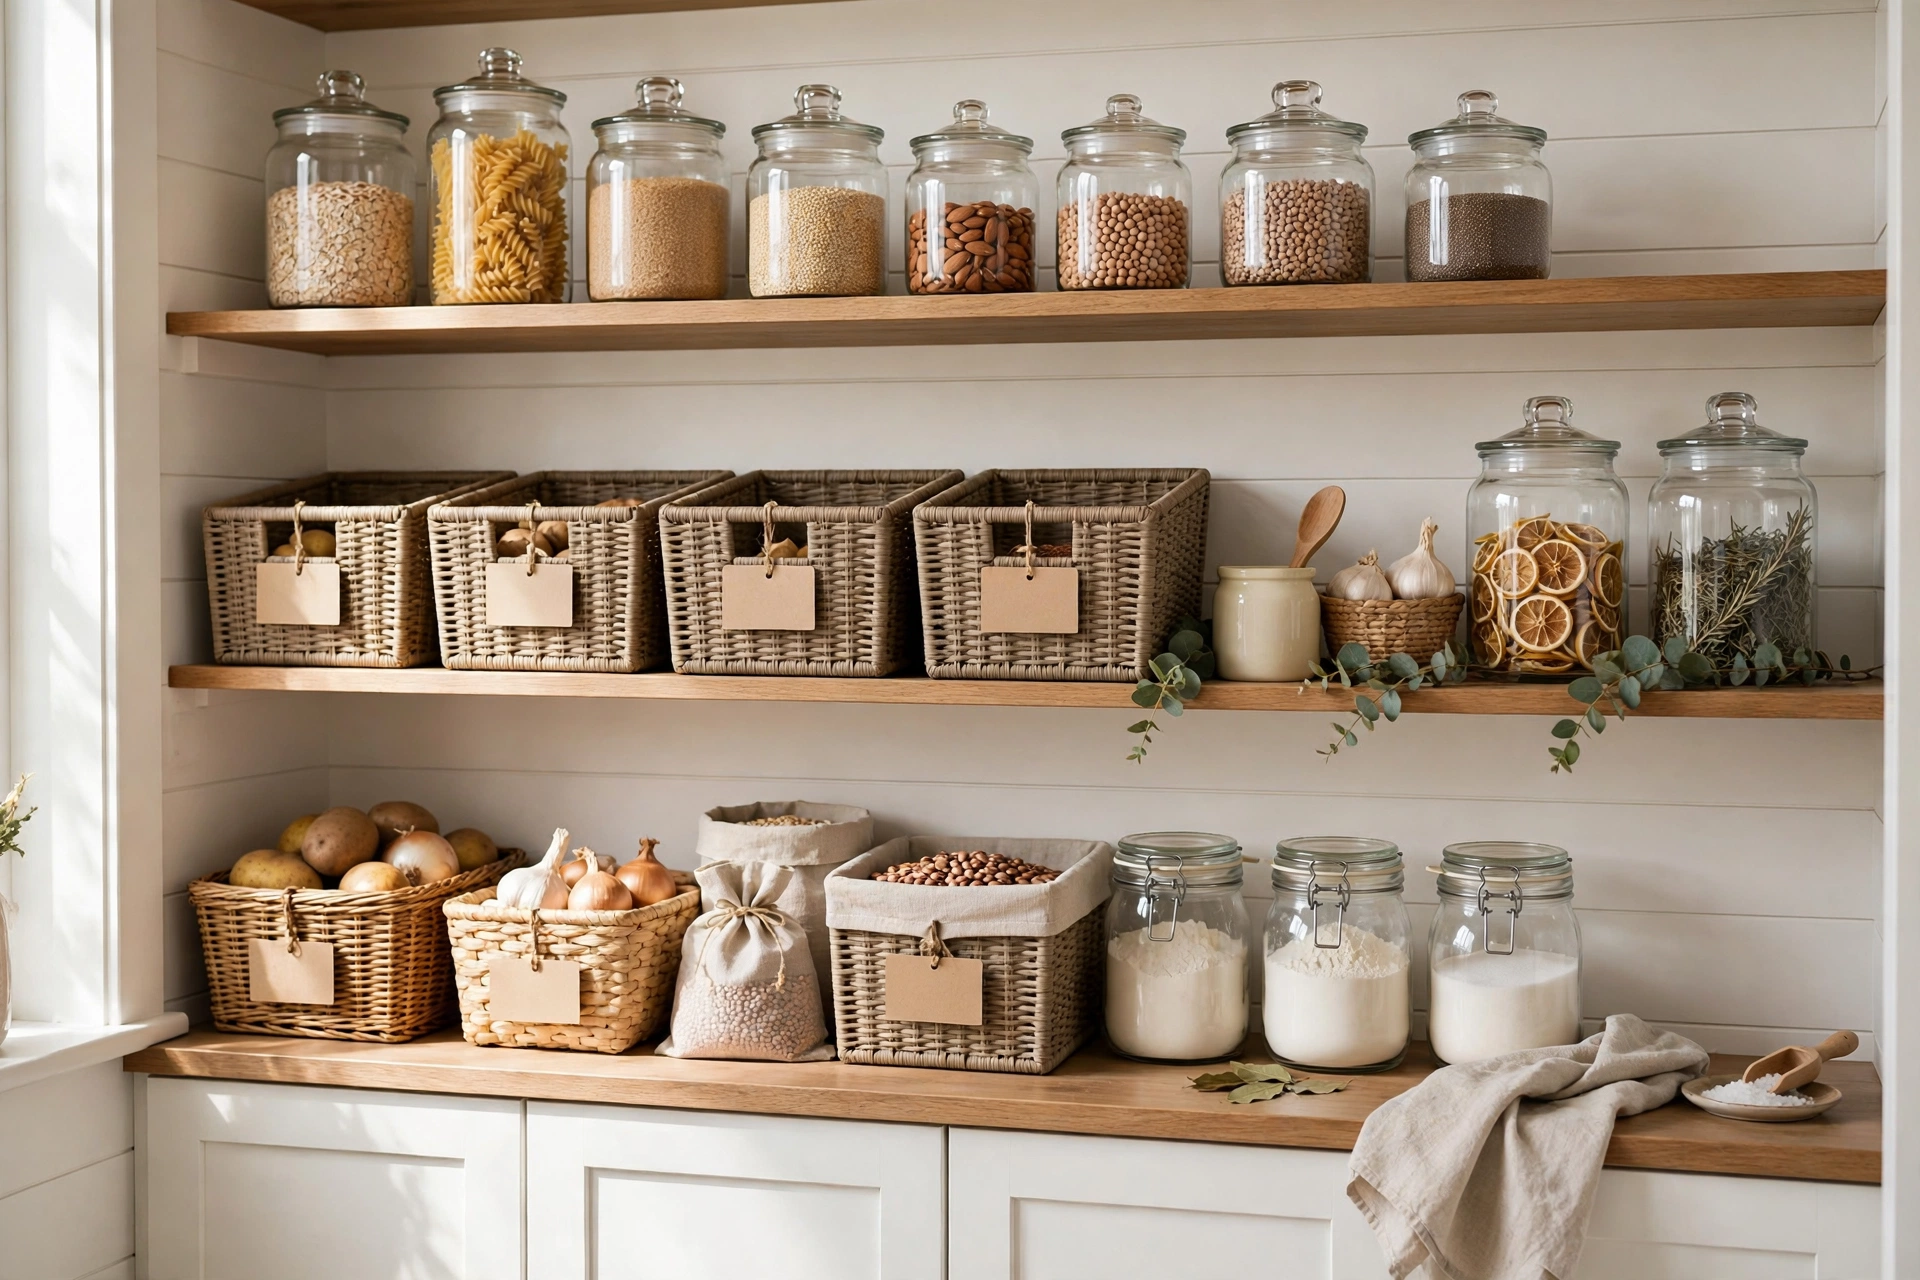
Every pantry starts out with good intentions. Then the cereal boxes multiply, the cans slide to the back, and dinner turns into a search mission. The fix is rarely more shelves. The fix is a system that tells every item where it lives and tells you what to use first.
This guide gives you 25 pantry organization systems that work in a cabinet, a closet, or a walk-in pantry. Each one names its cost and difficulty, so you can pick the ones that fit your space and budget. I reorganized my own pantry last spring after buying a third jar of cumin, and the zone map alone cut my grocery duplicates in half.
Quick takeaways
- Map your zones on paper before you buy a single bin, so containers fit the food you actually keep.
- Use older items first with a simple front-to-back rotation rule on every shelf.
- Decant only the five staples you use weekly, and date every jar you fill.
- Keep one backstock bin per category so overflow never spreads across shelves.
- A five-minute weekly reset keeps the system working long after setup day.
1. Draw a zone map before you buy anything

Sketch each shelf on paper and write one zone per shelf section: breakfast, baking, cans, snacks, drinks. Measure shelf height and depth first, then note the measurements on the sketch. This stops the classic mistake of buying bins that are an inch too tall for the shelf. The map also shows which zones are overcrowded before you spend money fixing the wrong problem. Tape the map inside the pantry door for the first month while the zones settle in.
Try this: Count your items per zone first. A zone with fewer than six items does not need its own bin yet.
Cost: $| Difficulty: Easy
2. Run a front-to-back rotation rule
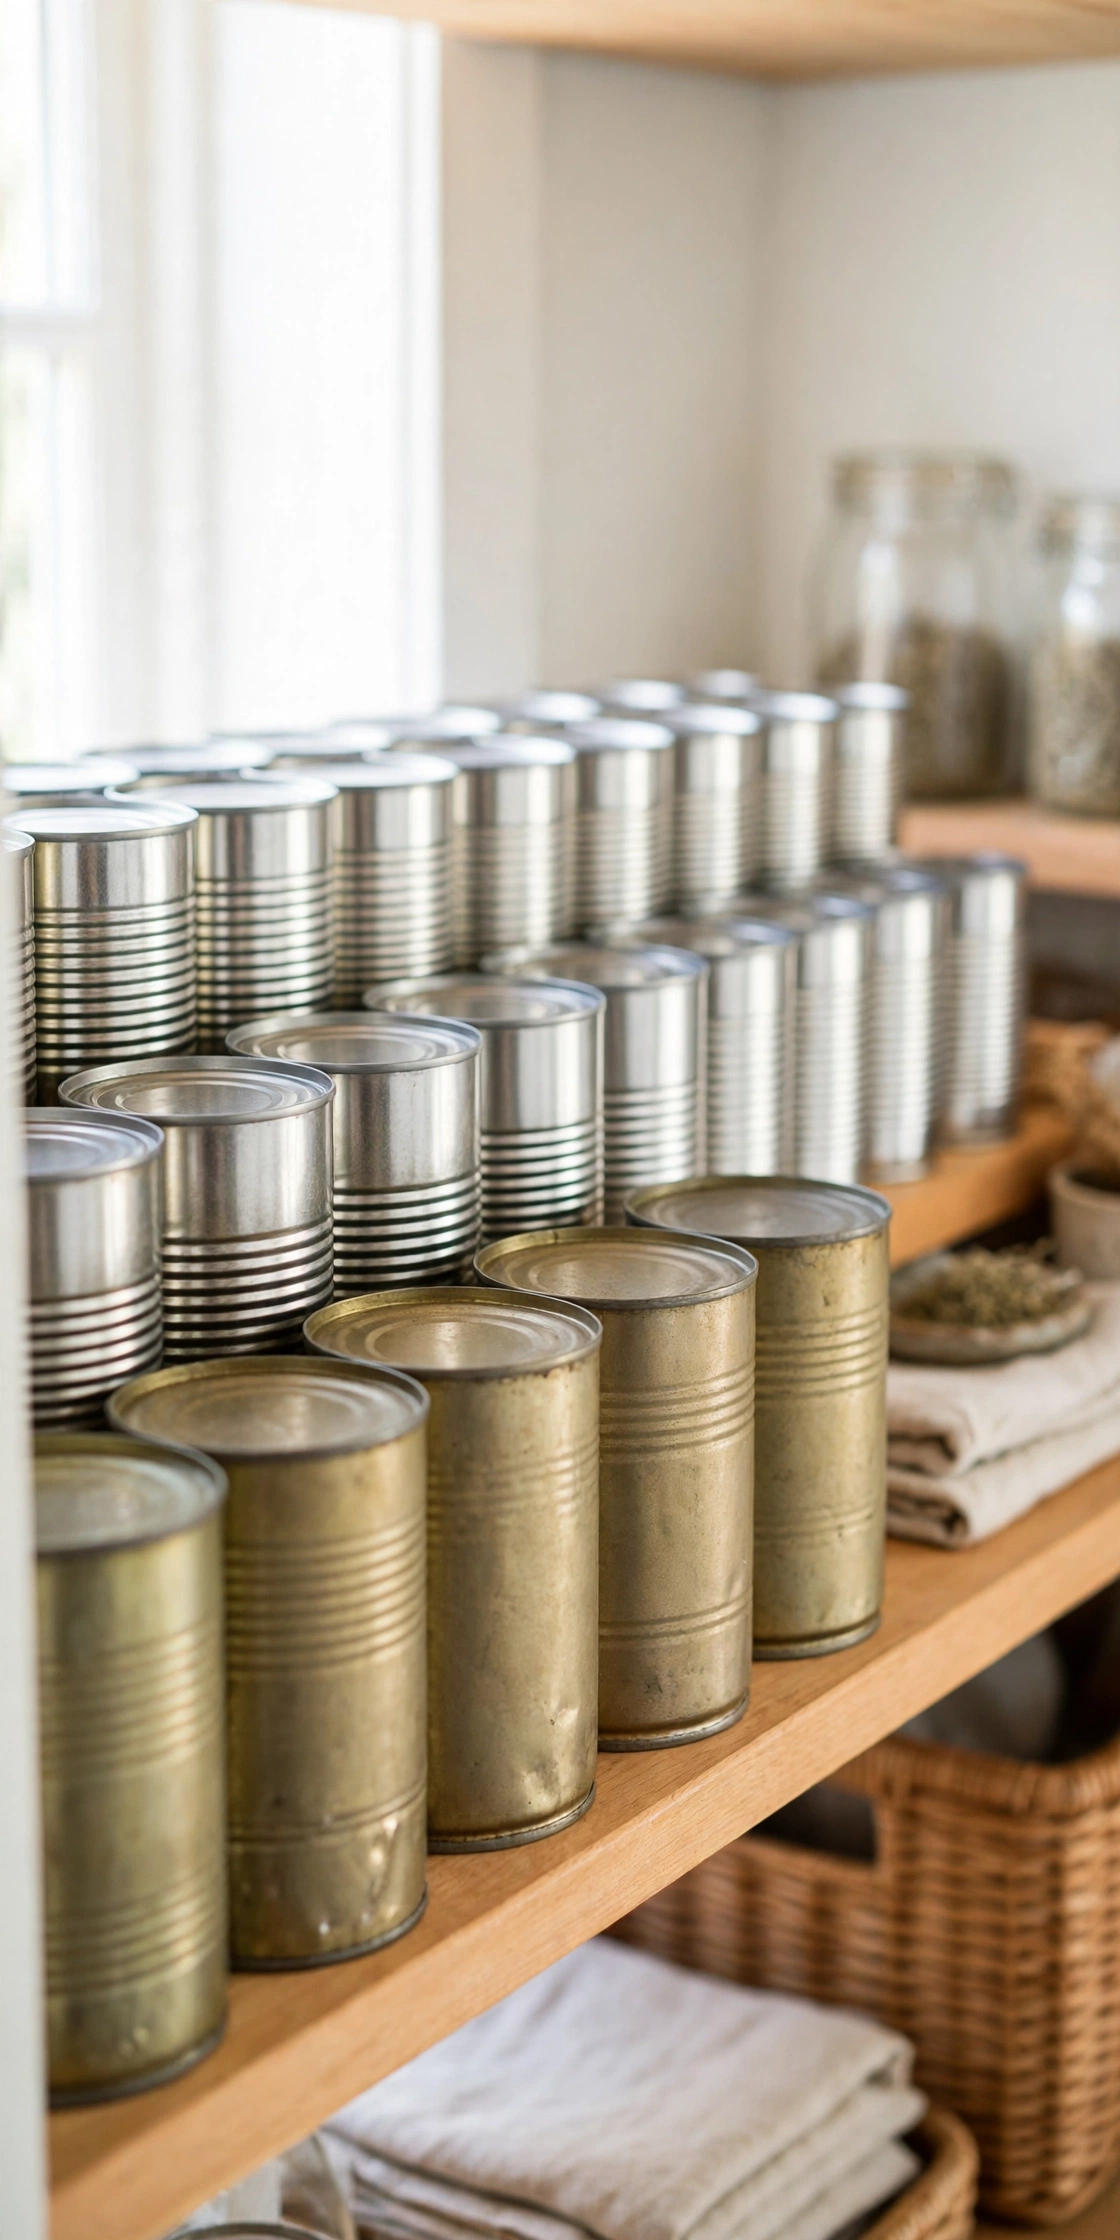
Every time groceries come home, new cans and boxes go behind the ones already on the shelf. The front row is always what gets used next. This one rule prevents the familiar discovery of three expired soup cans hiding behind the new ones. It works on any shelf, with any container, and it costs nothing. Put a small dot sticker on items you open, so an open box never gets buried behind a sealed one again.
Try this: Rotate one shelf per grocery trip instead of the whole pantry at once.
Cost: $| Difficulty: Easy
3. Decant only your five weekly staples

Decanting everything looks tidy for a week and then becomes a chore. Pick the five dry goods you reach for every week, such as flour, sugar, rice, oats, and coffee, and move only those into airtight jars. Everything else stays in its original box or bag, where its label and date stay visible. Five matching jars are cheaper than twenty, easier to refill, and simple to keep clean. Refill from the backstock bin, not from a half-empty bag on the counter.
Try this: Start with flour and sugar only, then add a jar each month if the habit sticks.
Cost: $$| Difficulty: Easy
4. Date every jar you fill

A jar without a date is a guessing game. Write the purchase date and the printed expiry date on a small piece of masking tape and stick it on the bottom of the jar, where it stays out of sight but easy to check. When you refill, wipe the old tape off and write fresh dates. This habit matters most for baking powder, nuts, and whole grain flours, which lose strength and flavor faster than white flour or white sugar. Dated jars also make the monthly expiry sweep take minutes instead of an hour.
Try this: Keep the tape roll and a marker inside the pantry door so dating a jar takes ten seconds.
Cost: $| Difficulty: Easy
5. Keep one backstock bin per category
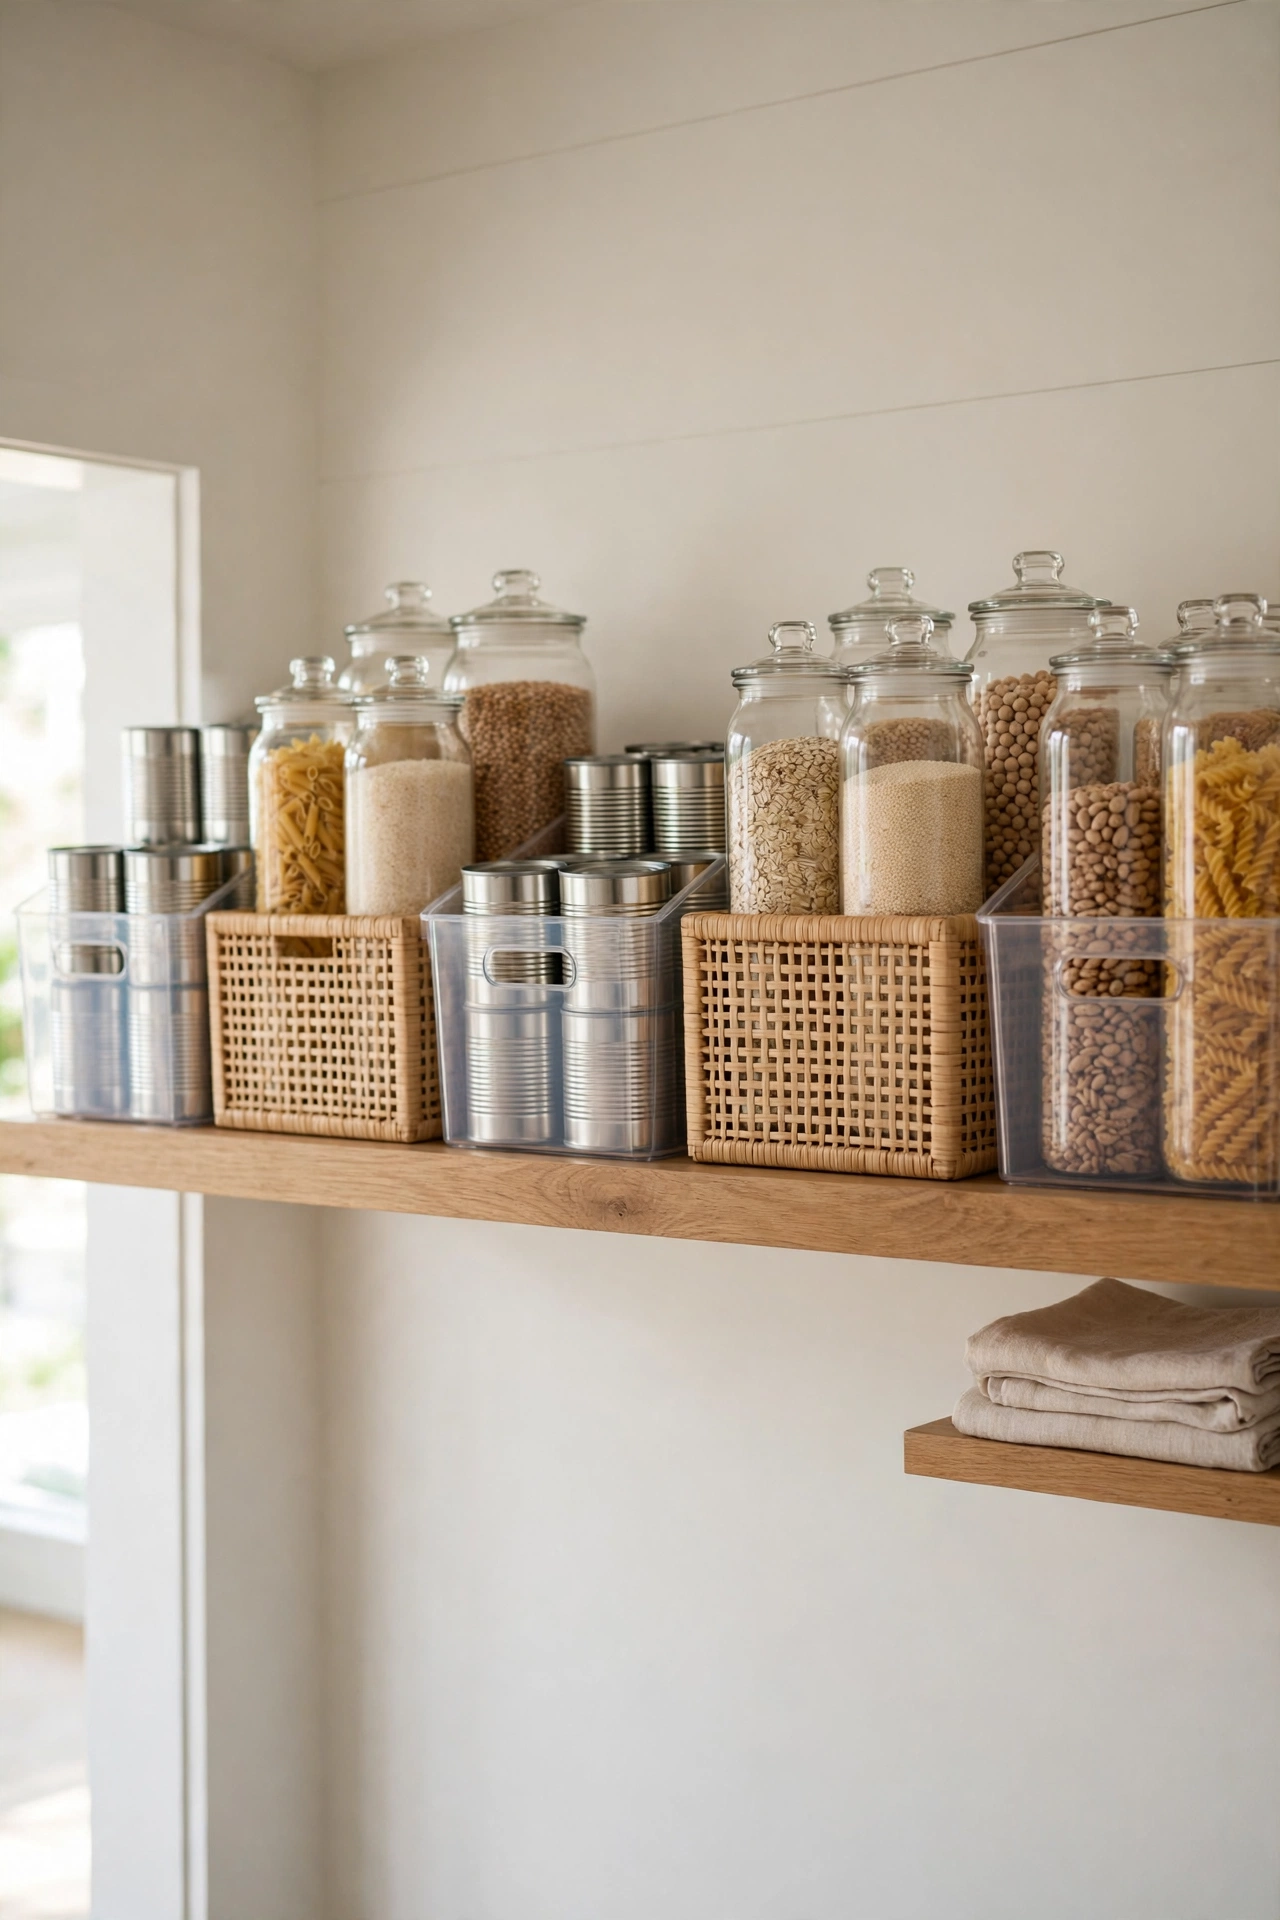
Overflow is what breaks most pantries. Give each category one backstock bin on a high or low shelf: one for extra cans, one for extra dry goods, one for extra snacks. When the daily shelf runs low, you pull from the backstock bin instead of cramming a new multipack onto a full shelf. When a backstock bin is full, that category is closed to new purchases until something gets used. One bin per category is the limit that keeps bulk buying from taking over.
Try this: Label the bin with the category and a fill line, so everyone in the house sees when it is full.
Cost: $$| Difficulty: Easy
6. Give half-empty items their own use-it-up shelf

Half a box of pasta, a third of a bag of rice, and two taco shells sit in most pantries for months. Put one small shelf or one bin near eye level aside for these odds and ends, and cook from it first each week. One pasta night or one soup pot clears three or four stragglers at once. The rule is simple: nothing new from that category gets opened until the use-it-up shelf is clear. This shelf alone can cut a surprising amount of food waste.
Try this: Check the use-it-up shelf every Sunday while you plan the week’s meals.
Cost: $| Difficulty: Easy
7. Build a this-week meal shelf
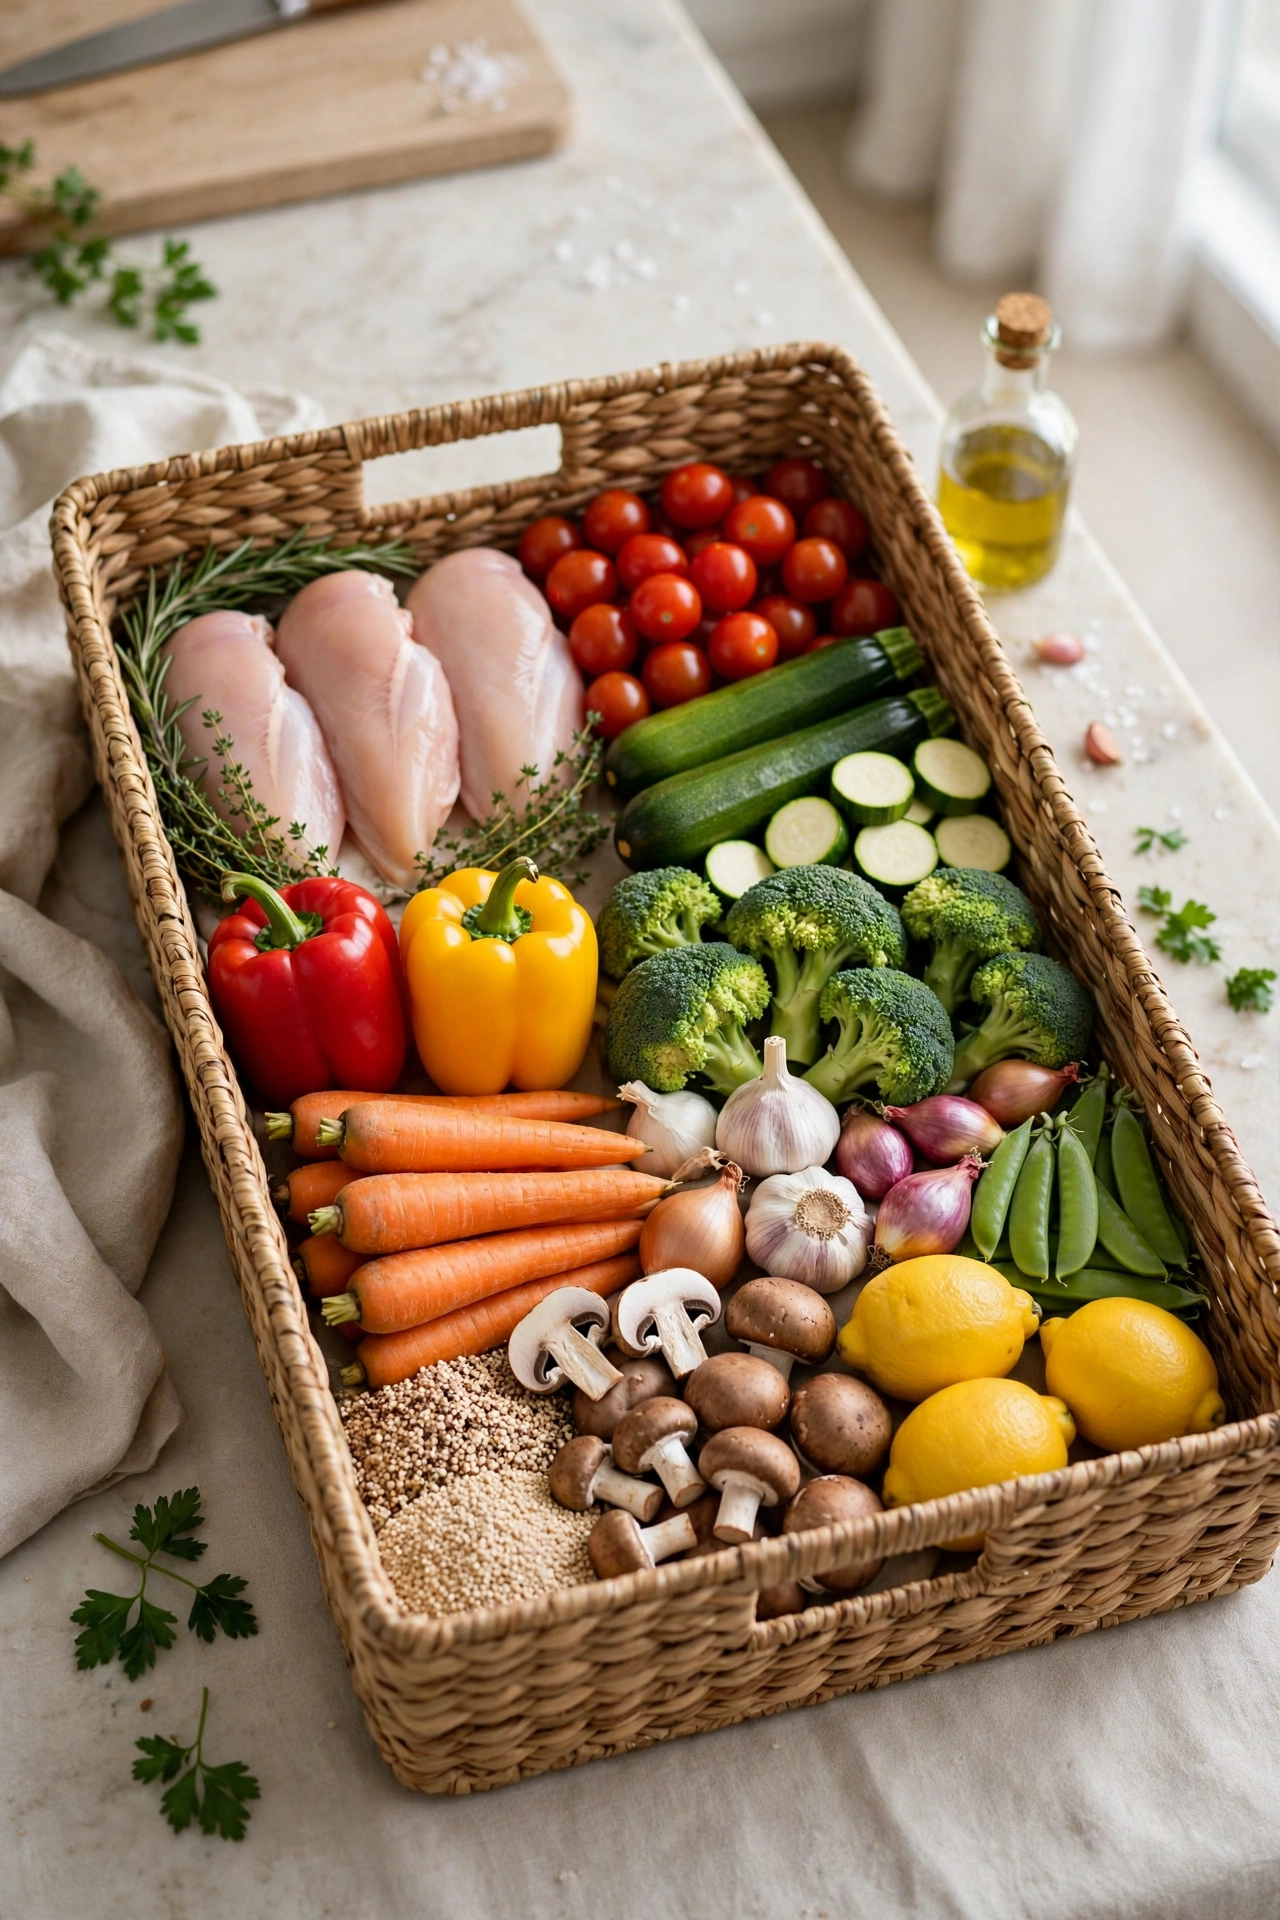
Group the ingredients for this week’s planned meals into one bin on an eye-level shelf. Pasta, sauce, and canned tomatoes for Tuesday sit together; taco shells, seasoning, and beans for Thursday sit beside them. Cooking gets faster because nothing is hunted down mid-recipe, and shopping gets cheaper because you buy only what the week’s bin is missing. At the end of the week, the bin empties itself, which is the signal to plan again.
Try this: Use one bin per two meals if a single bin gets crowded.
Cost: $| Difficulty: Easy
8. Pack a grab-and-bake tote
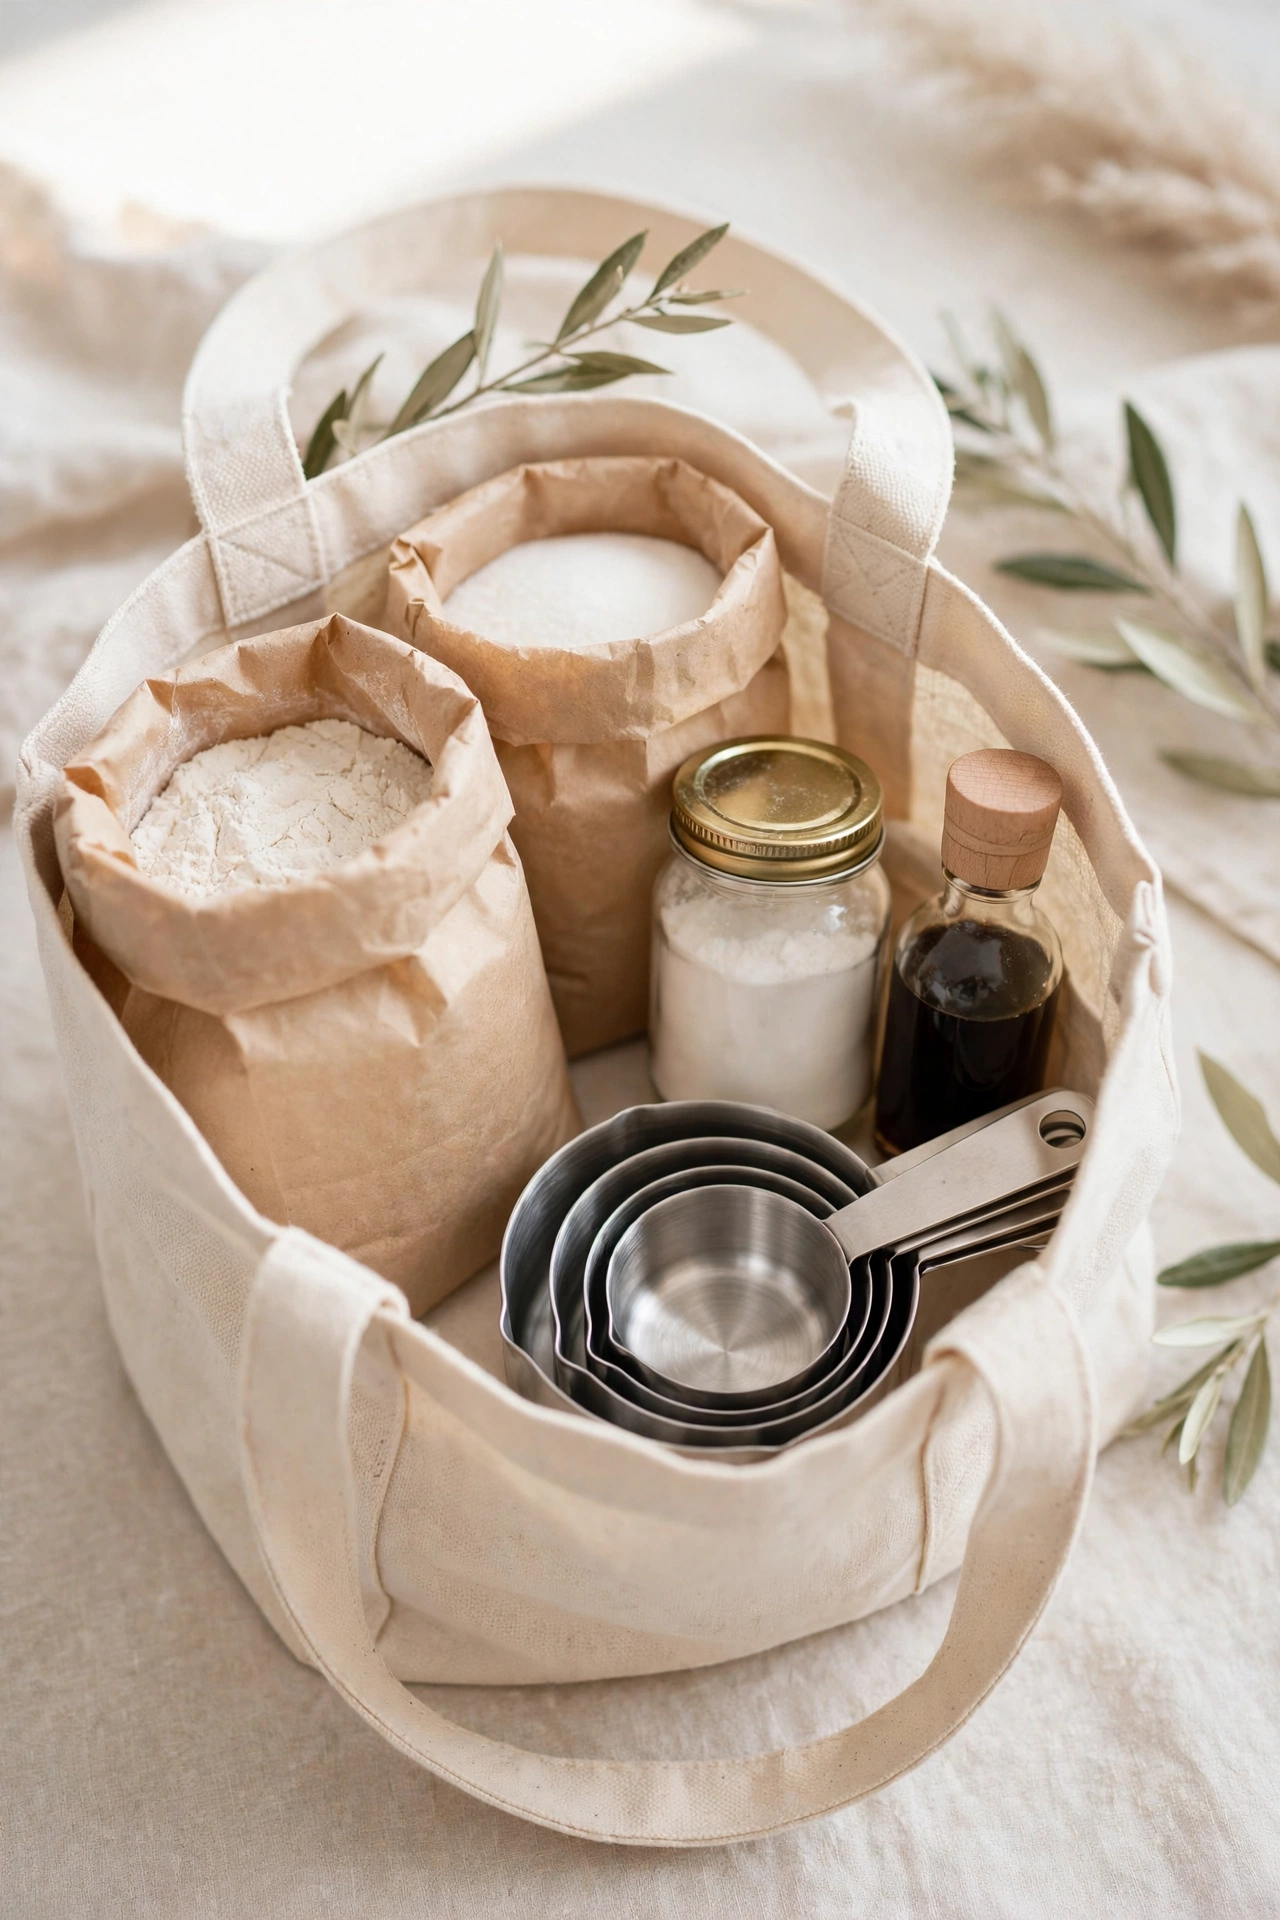
Instead of gathering baking supplies from four shelves every time, keep flour, sugar, baking powder, vanilla, and measuring cups in one tote with handles. Carry it to the counter, bake, and carry it back. The tote lives on a middle shelf where it slides out in one motion. This works in a cabinet pantry as well as a walk-in, because the tote is the zone, not the shelf. Keep the tote light enough to lift with one hand so it actually gets used.
Try this: Add a small measuring spoon set to the tote so nothing gets borrowed from a drawer mid-recipe.
Cost: $$| Difficulty: Easy
9. File spice packets upright like index cards

Taco seasoning, gravy mix, and yeast packets slide into a mess at the bottom of a box. Stand them upright in a small narrow bin, filed like index cards with the flavor facing forward. Sort by cuisine: Mexican, Italian, Asian, baking. A packet file takes six inches of shelf width and ends the digging. When a packet is used, the gap shows exactly which flavor to buy again, which beats finding three duplicates of the same seasoning.
Try this: Use a small photo box or a narrow plastic bin so packets stay upright and visible.
Cost: $| Difficulty: Easy
10. Corral drinks into one station bin

Tea bags, coffee pods, cocoa packets, and sweeteners scatter across shelves because each box is small. Put them all in one open bin near the mugs, sorted into two sections: daily drinks and occasional drinks. One bin replaces five half-empty boxes, and the morning routine gets shorter. Keep the bin at eye level or near the kettle, not on a top shelf where small boxes get forgotten. Refill it from the backstock bin when it runs low.
Try this: Add a small section for stir sticks and sugar packets so the whole drink routine lives in one place.
Cost: $| Difficulty: Easy
11. Set up a lunchbox packing station

Packing lunches gets slow when snacks live on four shelves. Fill one bin with lunchbox-ready items: snack bags, crackers, fruit cups, and juice boxes. Pack from the bin the night before, and restock it on shopping day. Kids who pack their own lunches can work from the bin without opening every cabinet. The bin also caps lunchbox spending, because when it is empty, the week’s lunch snacks are done until the next shop.
Try this: Let each child pick one item type for the bin each week so the station stays popular.
Cost: $$| Difficulty: Easy
12. Add a gravity can track for canned goods

A gravity track holds cans on a slight slope, so taking the front can rolls the next one forward. Unlike a flat shelf, the back row can never hide. Measure your shelf depth first: most tracks fit 12 standard cans and need about 14 inches of depth. One track per can type keeps soup, beans, and tomatoes from mixing into one confusing row. Load new cans at the back so the rotation rule runs itself.
Try this: Start with one track for your most-used can, then add a second only if the first stays full.
Cost: $$| Difficulty: Moderate
13. Keep a running inventory list on the door
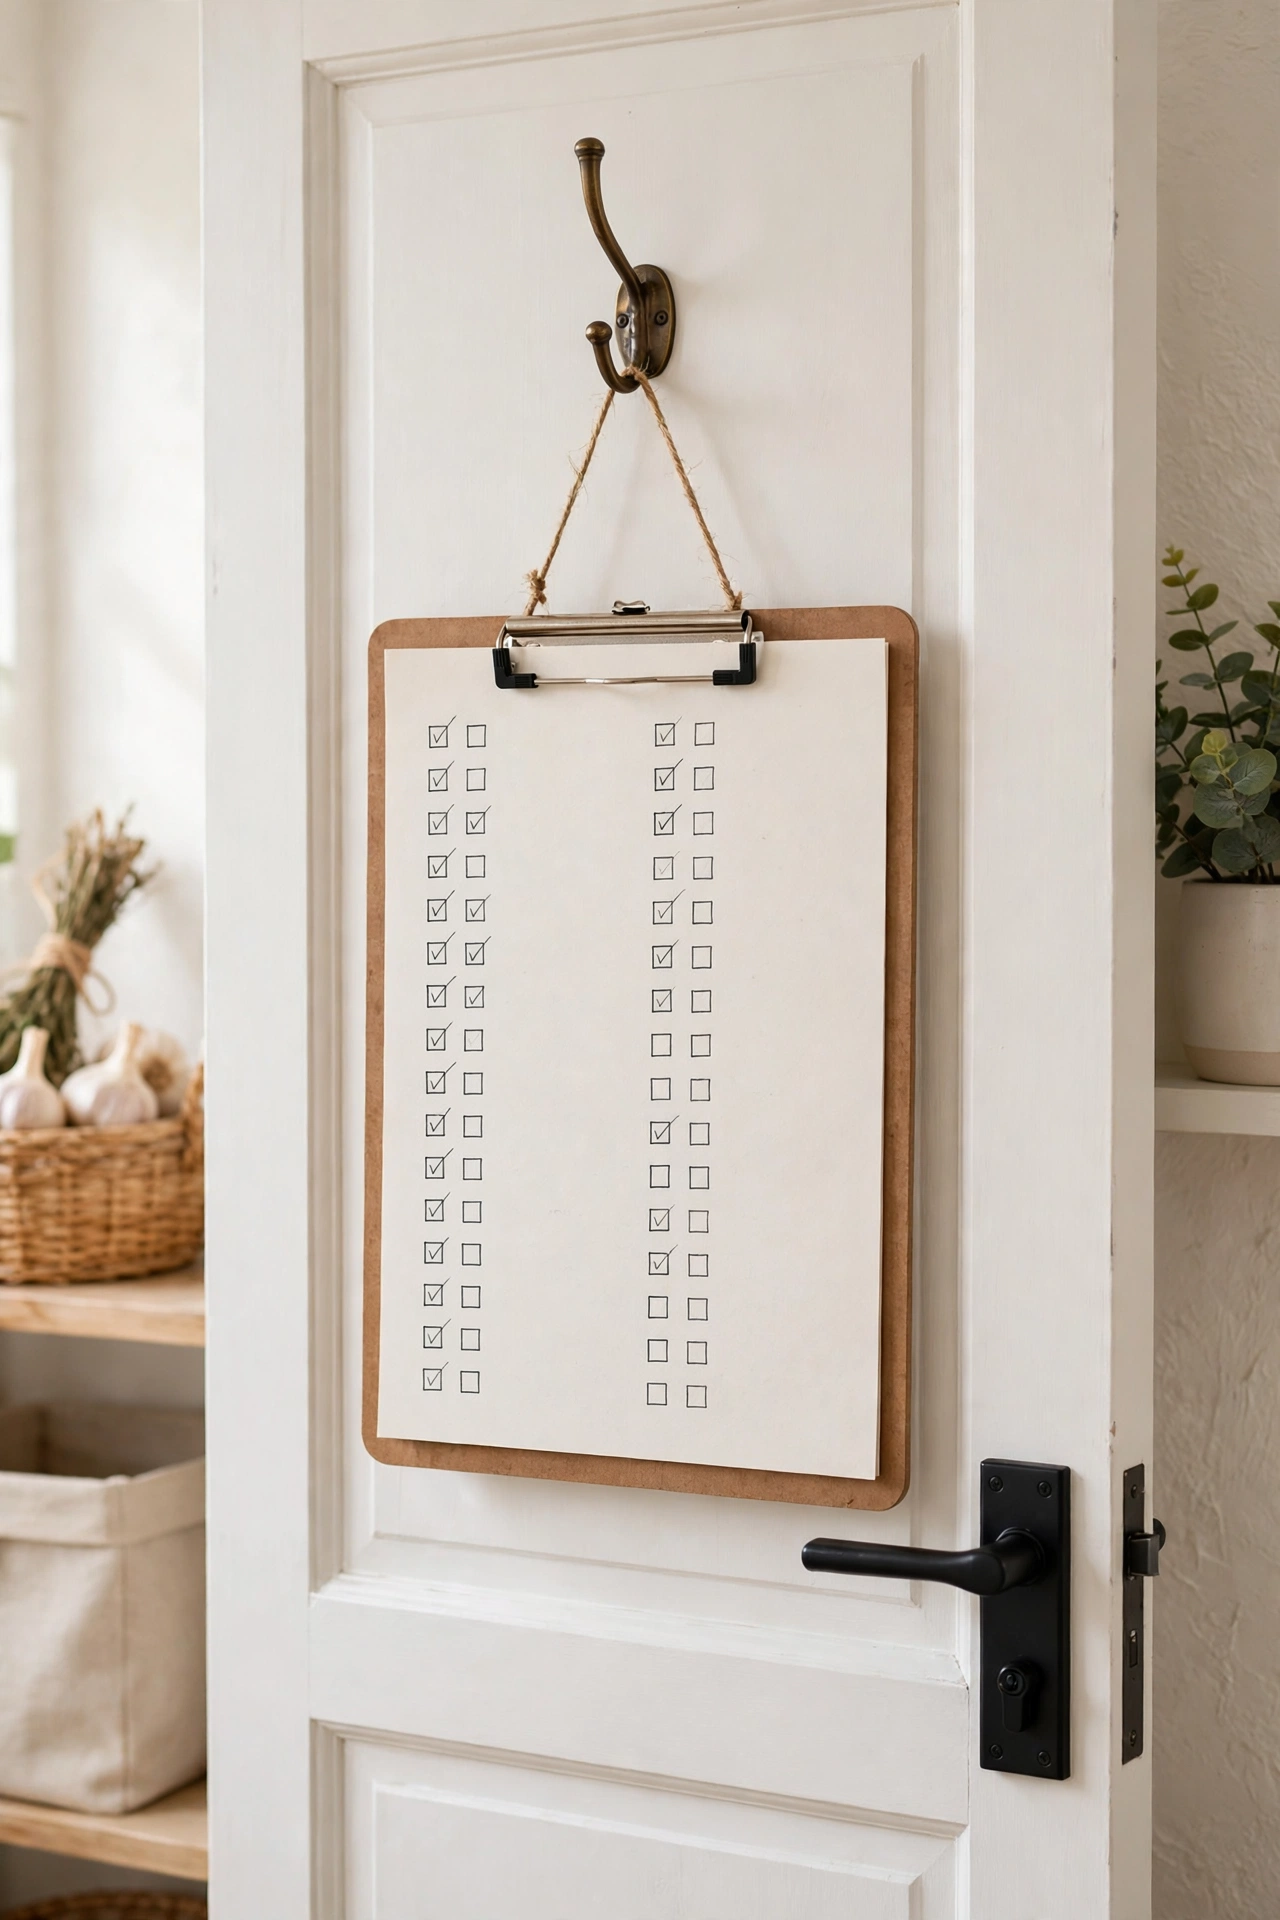
Clip a notepad or a small whiteboard to the inside of the pantry door and write down staples as they run out. Check the list before every shopping trip instead of guessing from memory. Cross items off as they get restocked. The list also stops duplicate buying, because “do we have rice” gets answered by the door, not by a guess. One list beats five sticky notes scattered across the kitchen.
Try this: Divide the list into two columns, “Out” and “Low,” so shopping trips cover both restocks and warnings.
Cost: $| Difficulty: Easy
14. Follow a one-in-one-out rule
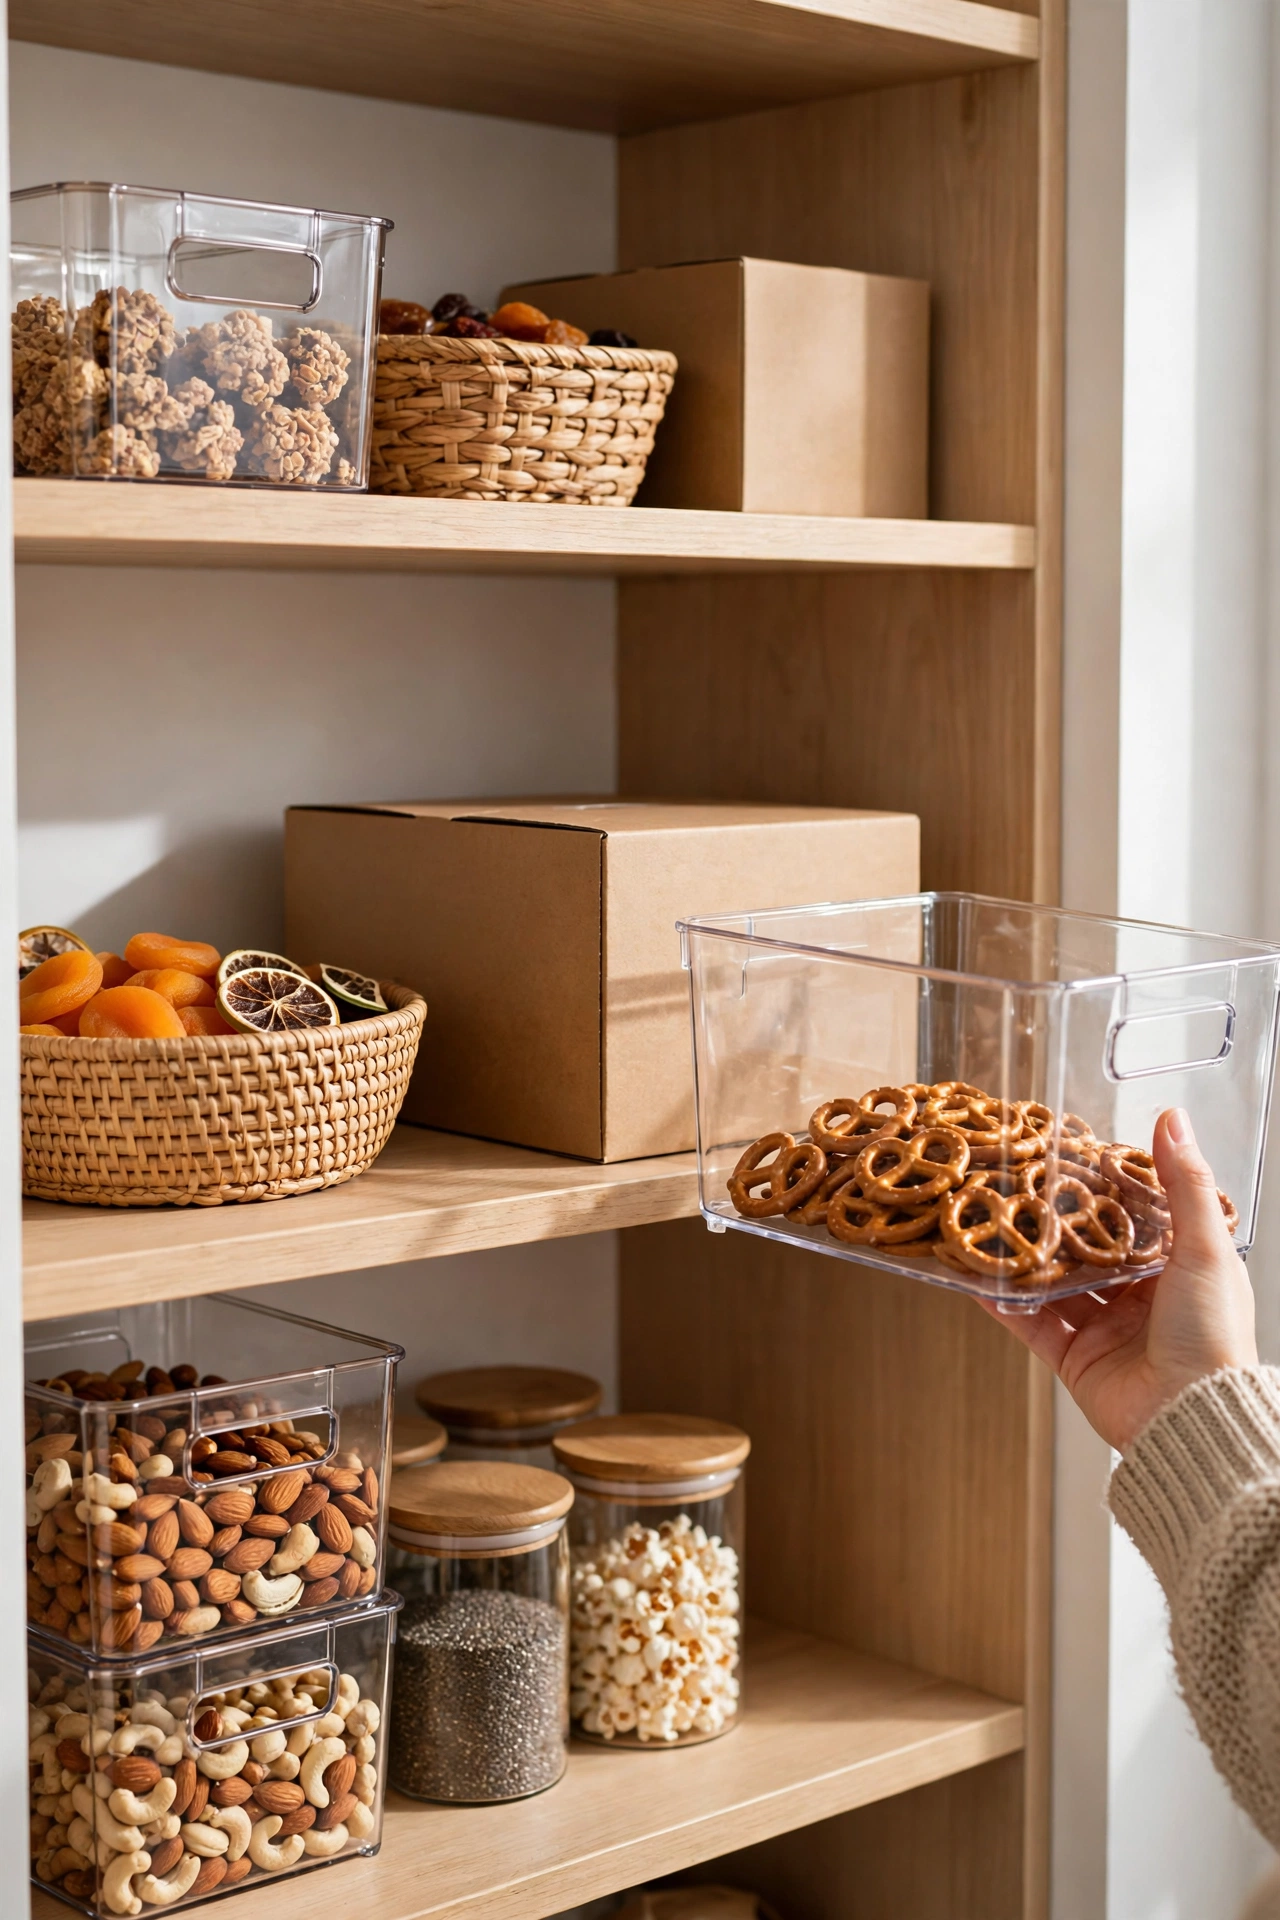
For every new snack or specialty item that enters the pantry, one old item leaves, gets used, or gets donated. The rule sounds strict, but it is the only one that stops slow creep: the extra sauce jar, the third kind of crackers, the gifted jam nobody eats. Apply it to snacks and condiments first, where creep happens fastest. Staples like rice and flour are exempt, since they get used on a schedule. One-in-one-out keeps the pantry at the size you planned, not the size it drifts to.
Try this: Put a small donation box by the pantry for unopened extras the rule pushes out.
Cost: $| Difficulty: Easy
15. Use front-opening bins for stacked snacks

Stacked bins fail when the bottom bin requires lifting everything above it. Front-opening bins solve this: each bin has a flap or open front, so snacks slide out without unstacking. Use two stacked bins per snack type at most, and keep the heaviest snacks in the bottom bin. Label the front of each bin with its contents, not the top, since the front is what you see. This setup works well on deep shelves where a regular bin becomes a dark hole.
Try this: Keep one front-opening bin empty as a buffer, so a big shopping trip has somewhere to go.
Cost: $$| Difficulty: Easy
16. Clip baskets under shelves for packets and wraps
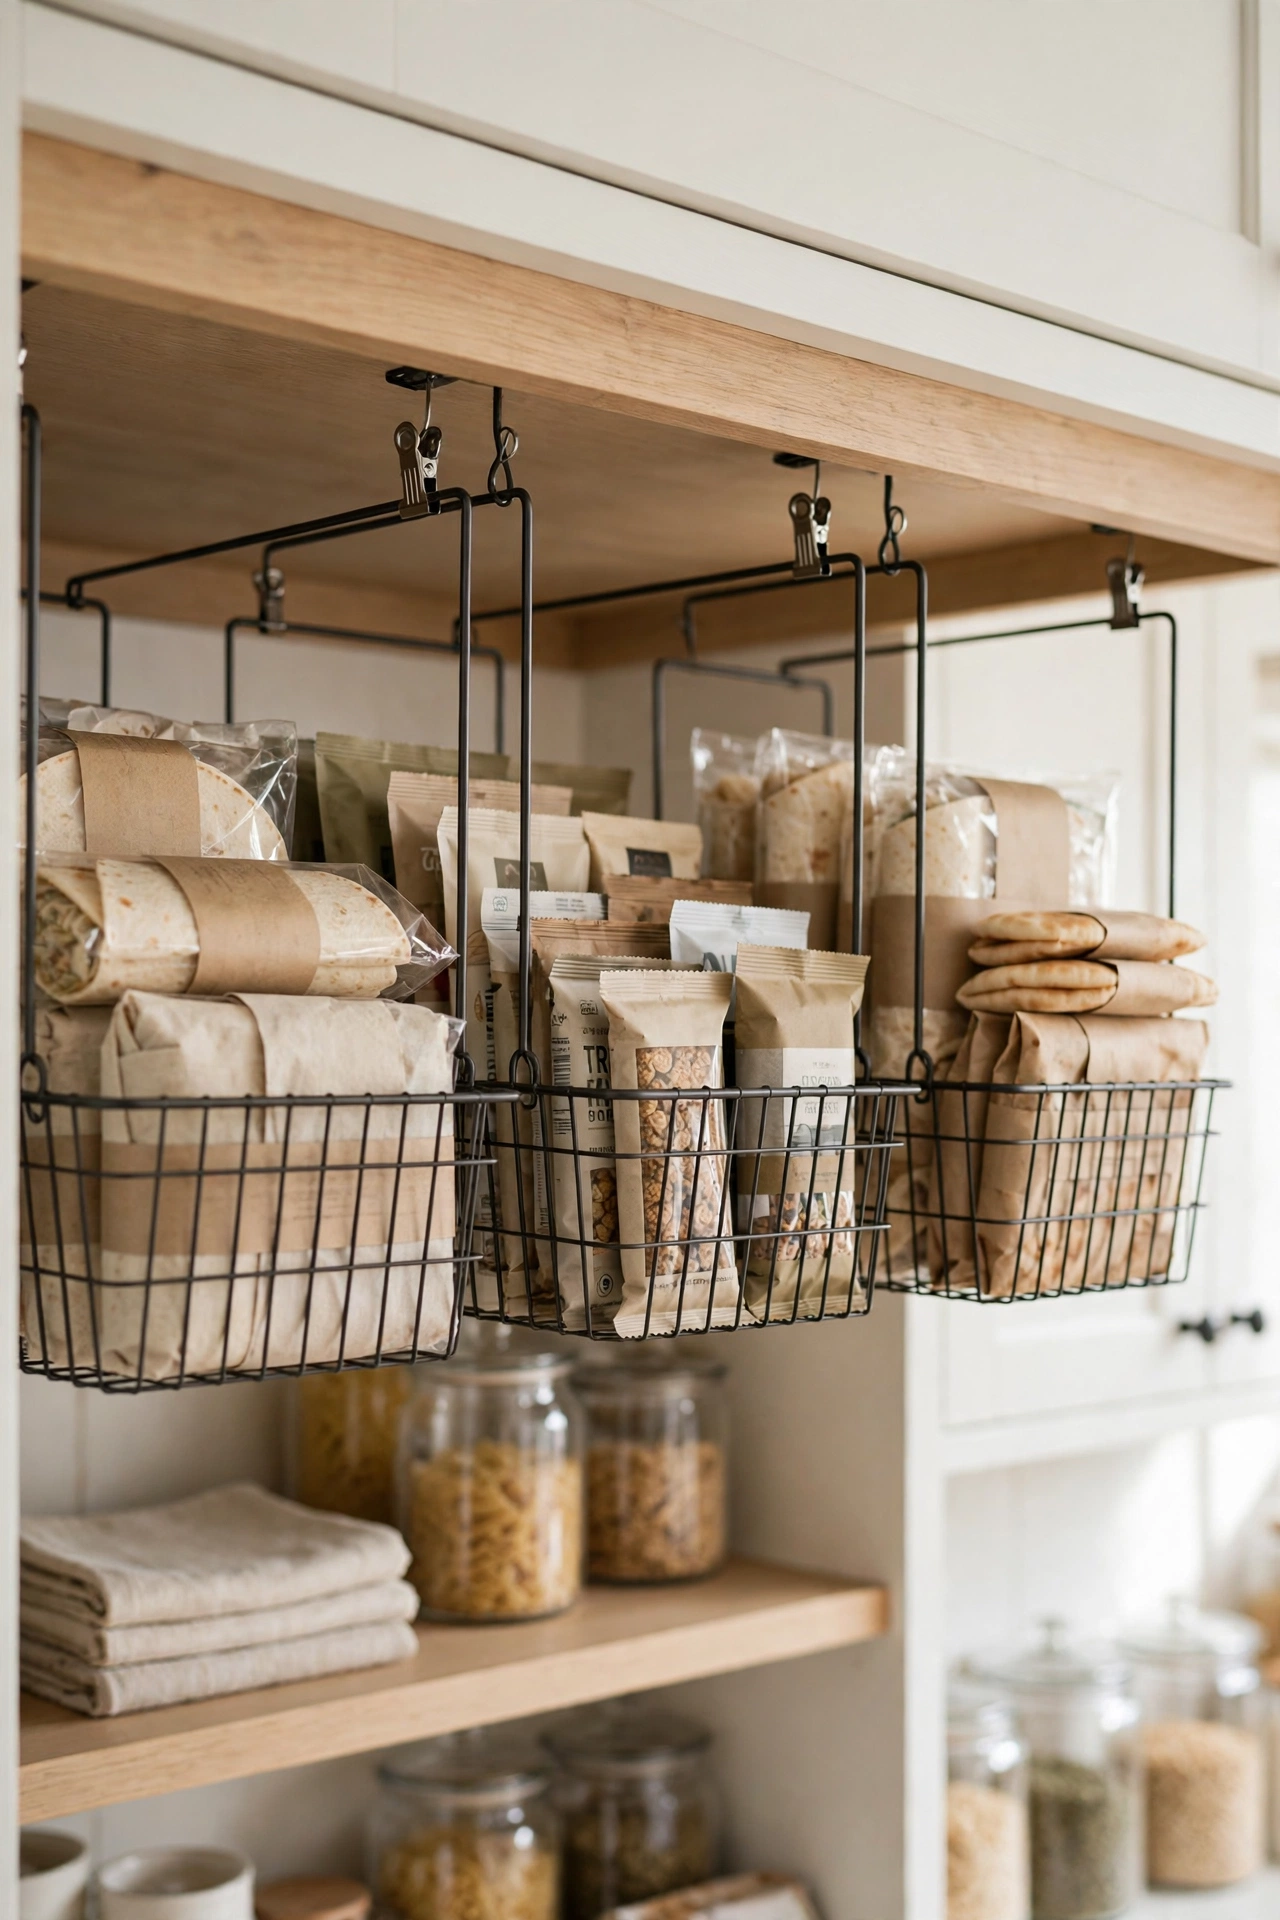
Wire baskets that clip under an existing shelf add storage without a single screw. They hold seasoning packets, foil, wraps, and small bags that otherwise pile up in a drawer. Measure the gap between shelves first: most clip baskets need at least five inches of clearance below the shelf. Keep only light items in them, since a loaded basket can sag or slip. One or two baskets per pantry is plenty; more than that turns the underside of every shelf into clutter.
Try this: Put wraps and foil in one basket and small packets in another, so each basket has one job.
Cost: $$| Difficulty: Easy
17. Stand trays and lids upright with tension rods

Baking sheets, cutting boards, and pot lids stack into a noisy pile that nobody wants to dig through. Place two tension rods upright on a shelf, spaced a few inches apart, to create slots that hold each tray or lid on its edge. Pulling one item out no longer topples the rest. This trick costs less than a store-bought divider and fits any shelf depth, since rods adjust to the space. Keep the heaviest board closest to the shelf wall so the row stays stable.
Try this: Sort lids by size, largest at the back, so the row reads like a file.
Cost: $| Difficulty: Easy
18. Break bulk buys into weekly portions on shopping day

A ten-pound bag of rice or a warehouse pack of oats saves money but wrecks a pantry when it lives there whole. On shopping day, split bulk buys into weekly portions: one jar for this week on the daily shelf, the rest sealed in the backstock bin. Portioning takes ten minutes and keeps the daily shelf at a fixed size no matter how big the bulk bag was. It also shows the real weekly cost of a staple, which makes the next bulk decision easier.
Try this: Use the same jars as your decanted staples, so bulk portions slot straight into the system.
Cost: $| Difficulty: Easy
19. Run a monthly expiry sweep

Pick one day a month, such as the first Saturday, and pull anything past its date or past its prime. Check the use-it-up shelf first, then the backstock bins, then the daily shelves. Face all dates forward as you go, so next month’s sweep is faster. Toss what is truly spoiled, and move anything close to its date onto the use-it-up shelf for the coming week. A monthly sweep takes about fifteen minutes and stops the slow build-up of forgotten food.
Try this: Set a phone reminder for the sweep so it survives busy months.
Cost: $| Difficulty: Easy
20. Build a zero-hole system for rentals
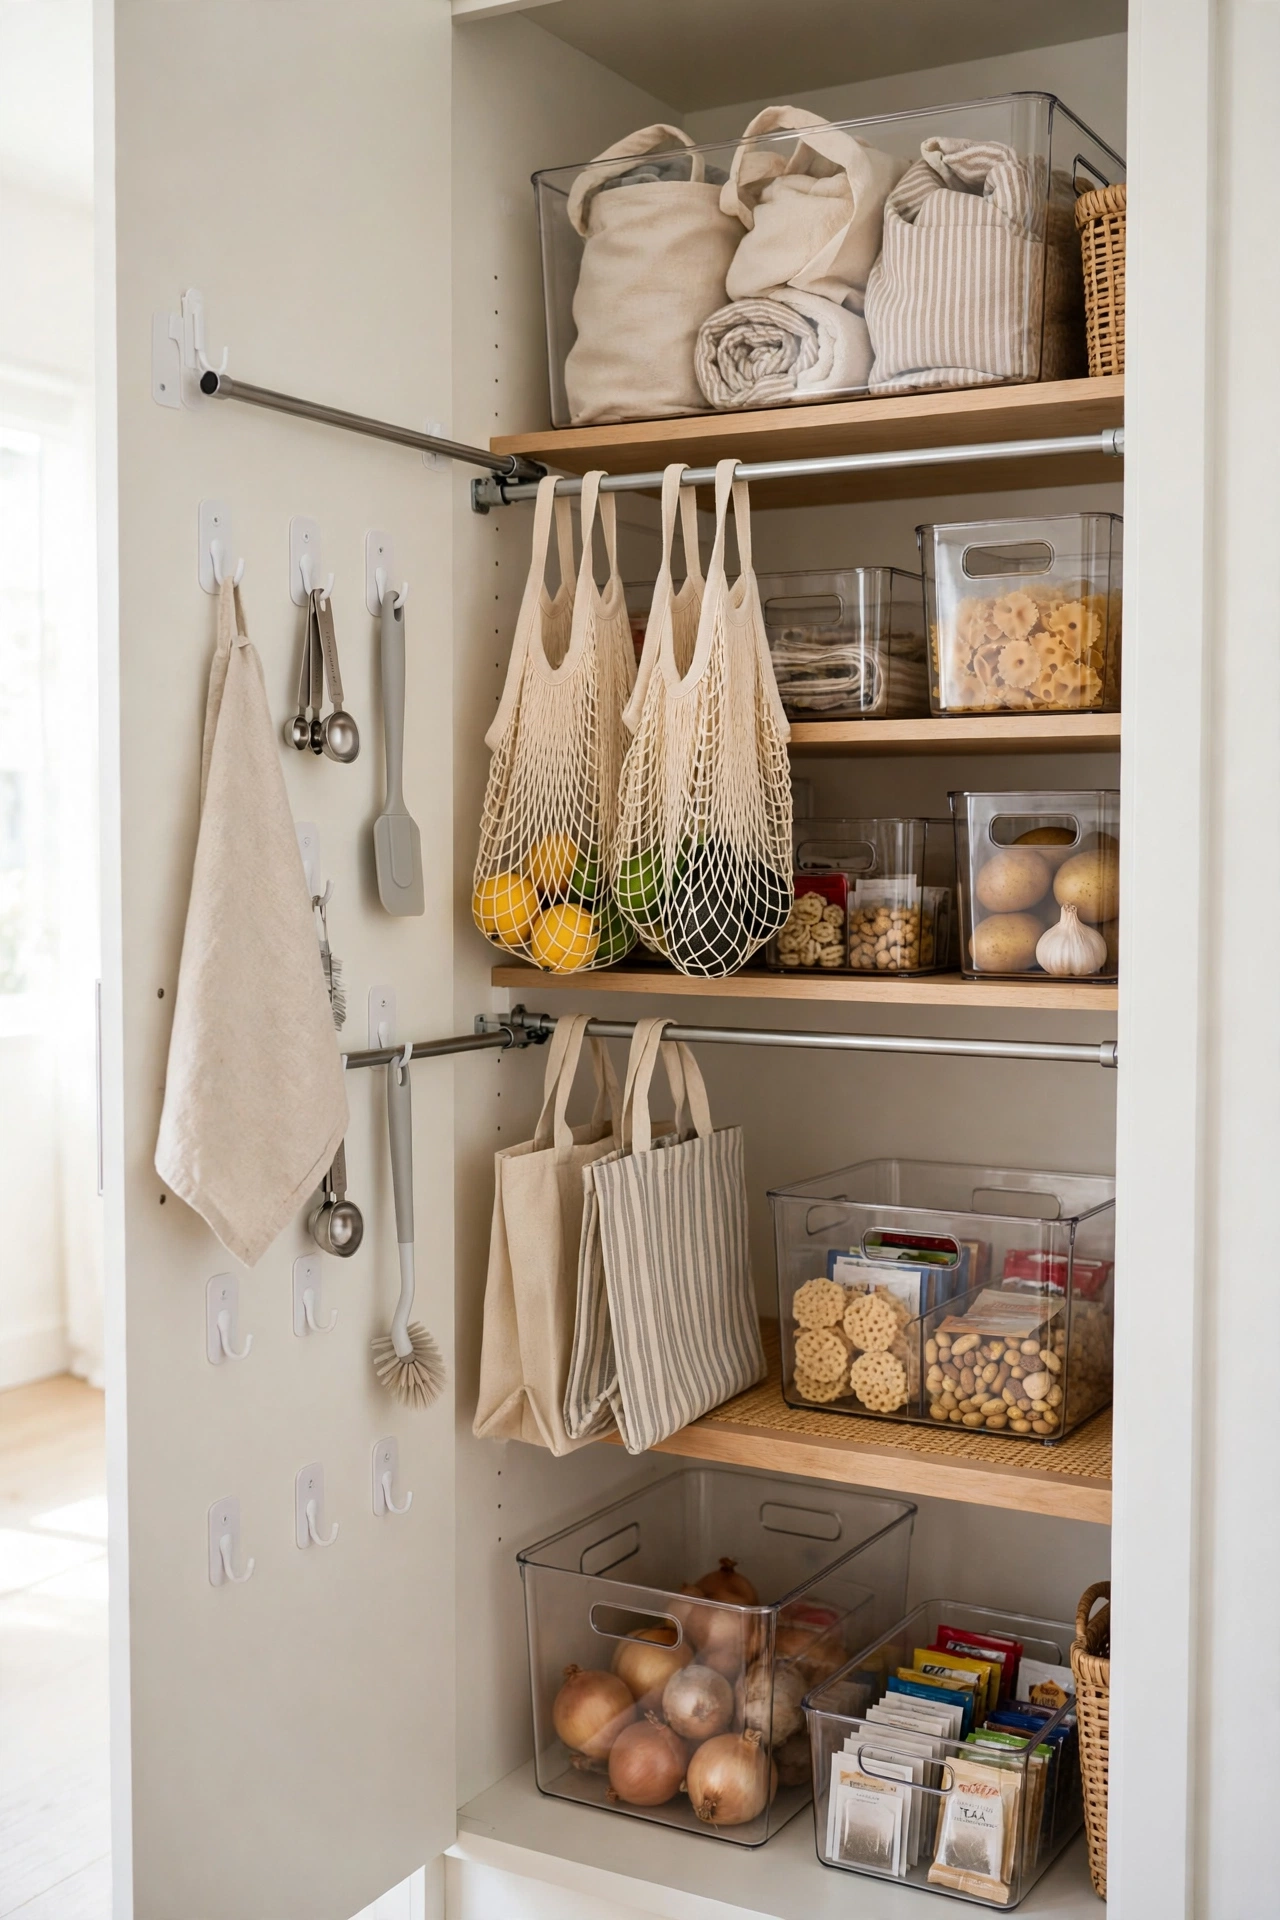
Renters can run the full system without drilling a single hole. Freestanding bins hold zones, tension rods divide trays and lids, adhesive hooks on the door hold the inventory list and a small basket, and clip-on under-shelf baskets add a shelf without screws. When moving day comes, the whole system packs into two boxes and rebuilds in the next kitchen in an hour. Check adhesive hook weight limits before hanging anything heavy, and remove hooks slowly at move-out to protect paint.
Try this: Photograph your zone map before moving, so the new pantry gets the same zones on day one.
Cost: $$| Difficulty: Moderate
21. Give pet food its own sealed station

Pet food bags tear, spill, and attract pests when they live open on a pantry floor. Pour kibble into a sealed bin with a scoop that stays inside, and tape the feeding chart to the inside of the pantry door. Keep treats in a smaller sealed jar beside it, so pet supplies never mix with human snacks. Store the bin low, since pet food is heavy, and wipe the scoop clean weekly. A sealed station also keeps strong pet food smells out of the rest of the pantry.
Try this: Write the pet’s daily portion on the chart so any family member can feed without guessing.
Cost: $$| Difficulty: Easy
22. Pack a seasonal swap box

Holiday baking supplies, summer picnic gear, and canning jars sit unused for ten months of the year. Pack them into one labeled box on a high shelf or in a closet, and swap the box contents with the season. When December baking starts, the box comes down and the summer box goes up. One box per season is the limit; two boxes means the seasonal system is becoming storage. Label the box with its season and a short contents list on the outside.
Try this: Swap boxes on the same day you run the monthly expiry sweep, so the habit piggybacks on an existing one.
Cost: $| Difficulty: Easy
23. Keep a restock list with a buy-two rule
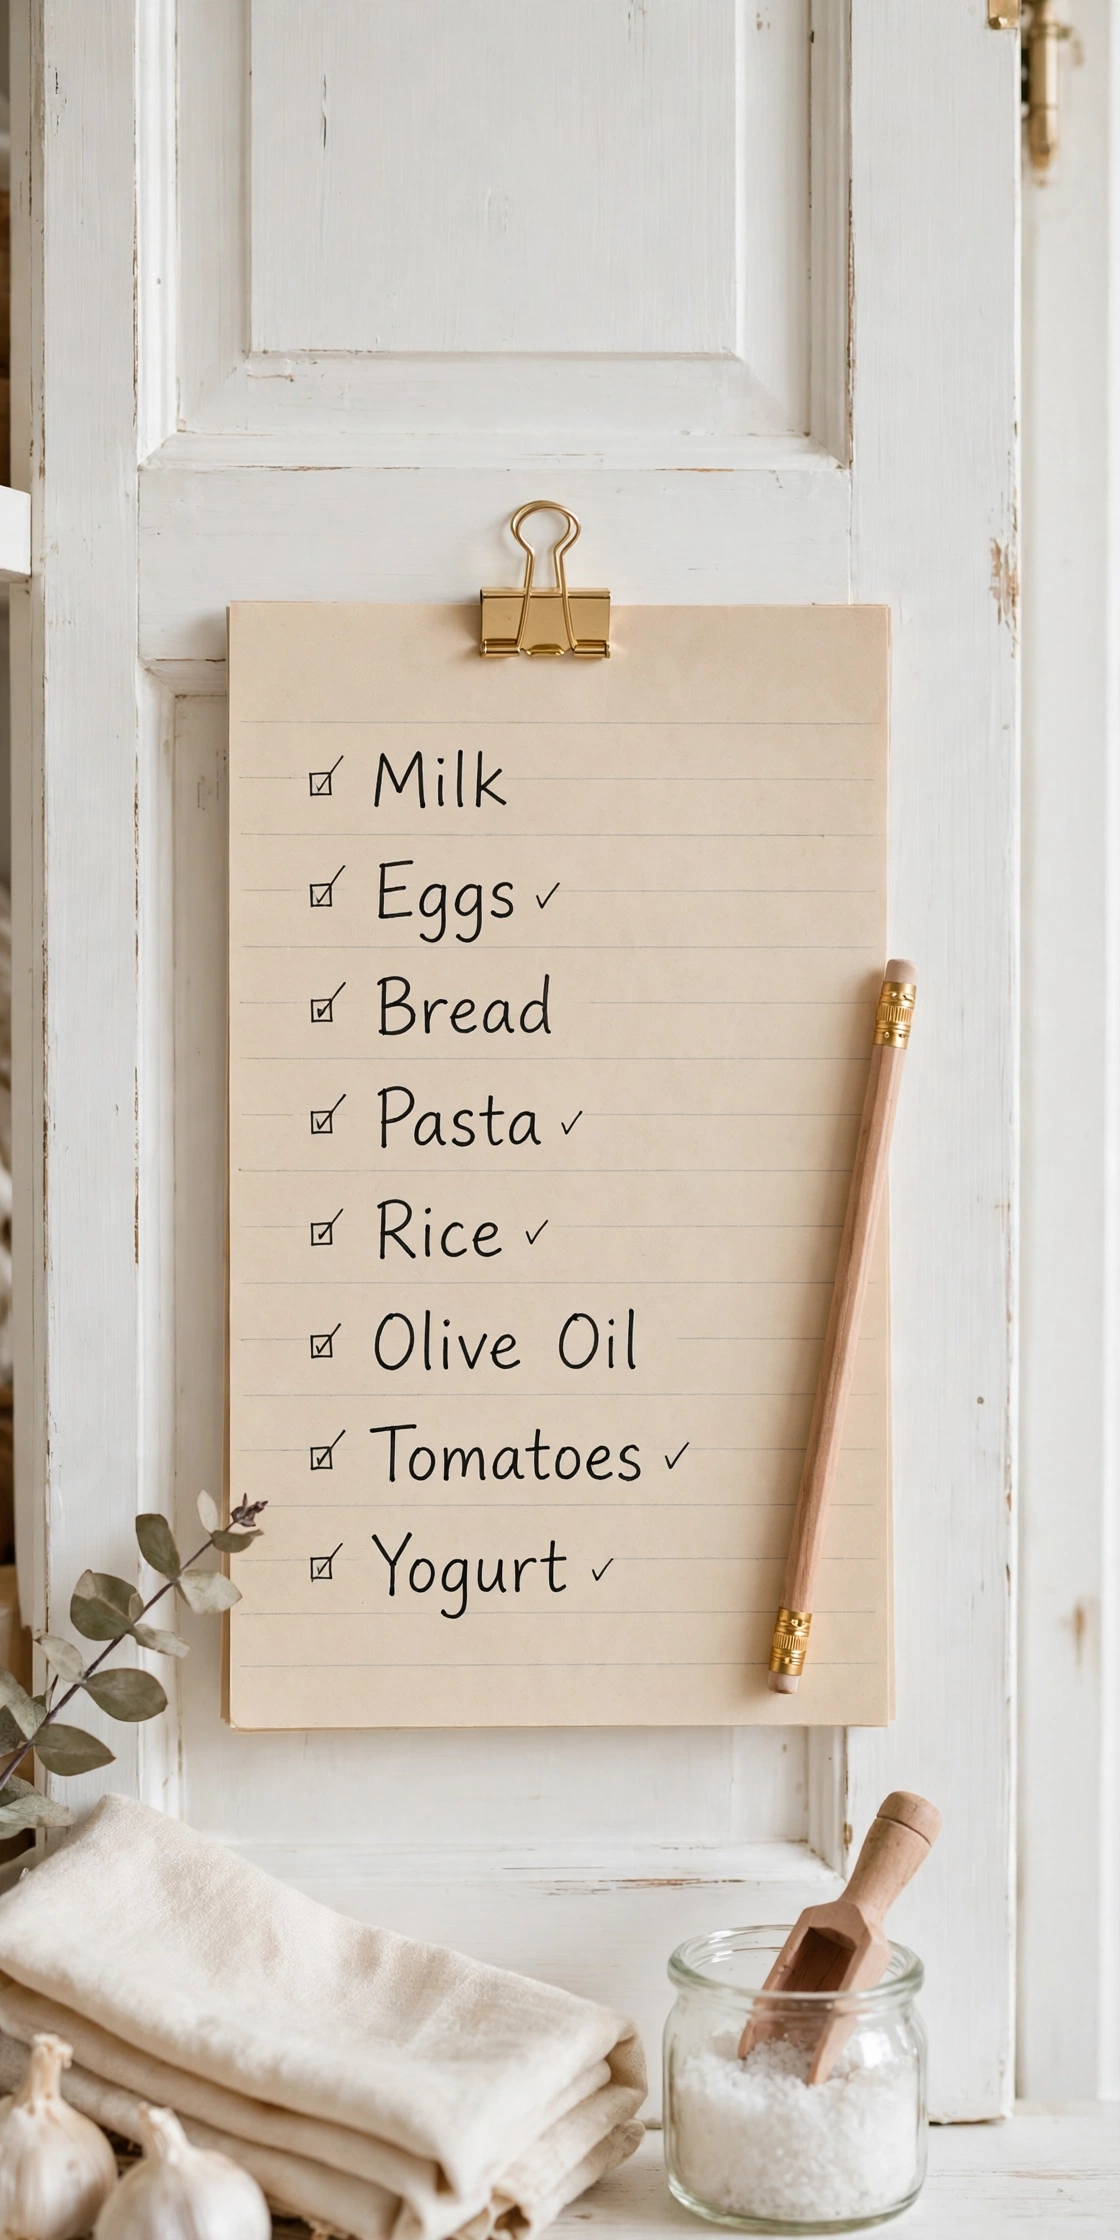
Pick your ten most-used staples and apply a buy-two rule: when the daily supply drops below half, buy two on the next trip. One goes to the daily shelf, one to the backstock bin. The rule ends the “we are out of rice again” problem without overbuying, because the backstock bin caps each staple at one spare. Pair the rule with the door inventory list, and restocking becomes a five-minute check instead of a full pantry audit before every shop.
Try this: Review your ten staples every season, since cooking habits change with the weather.
Cost: $| Difficulty: Easy
24. Use two label types: permanent zones, changeable contents
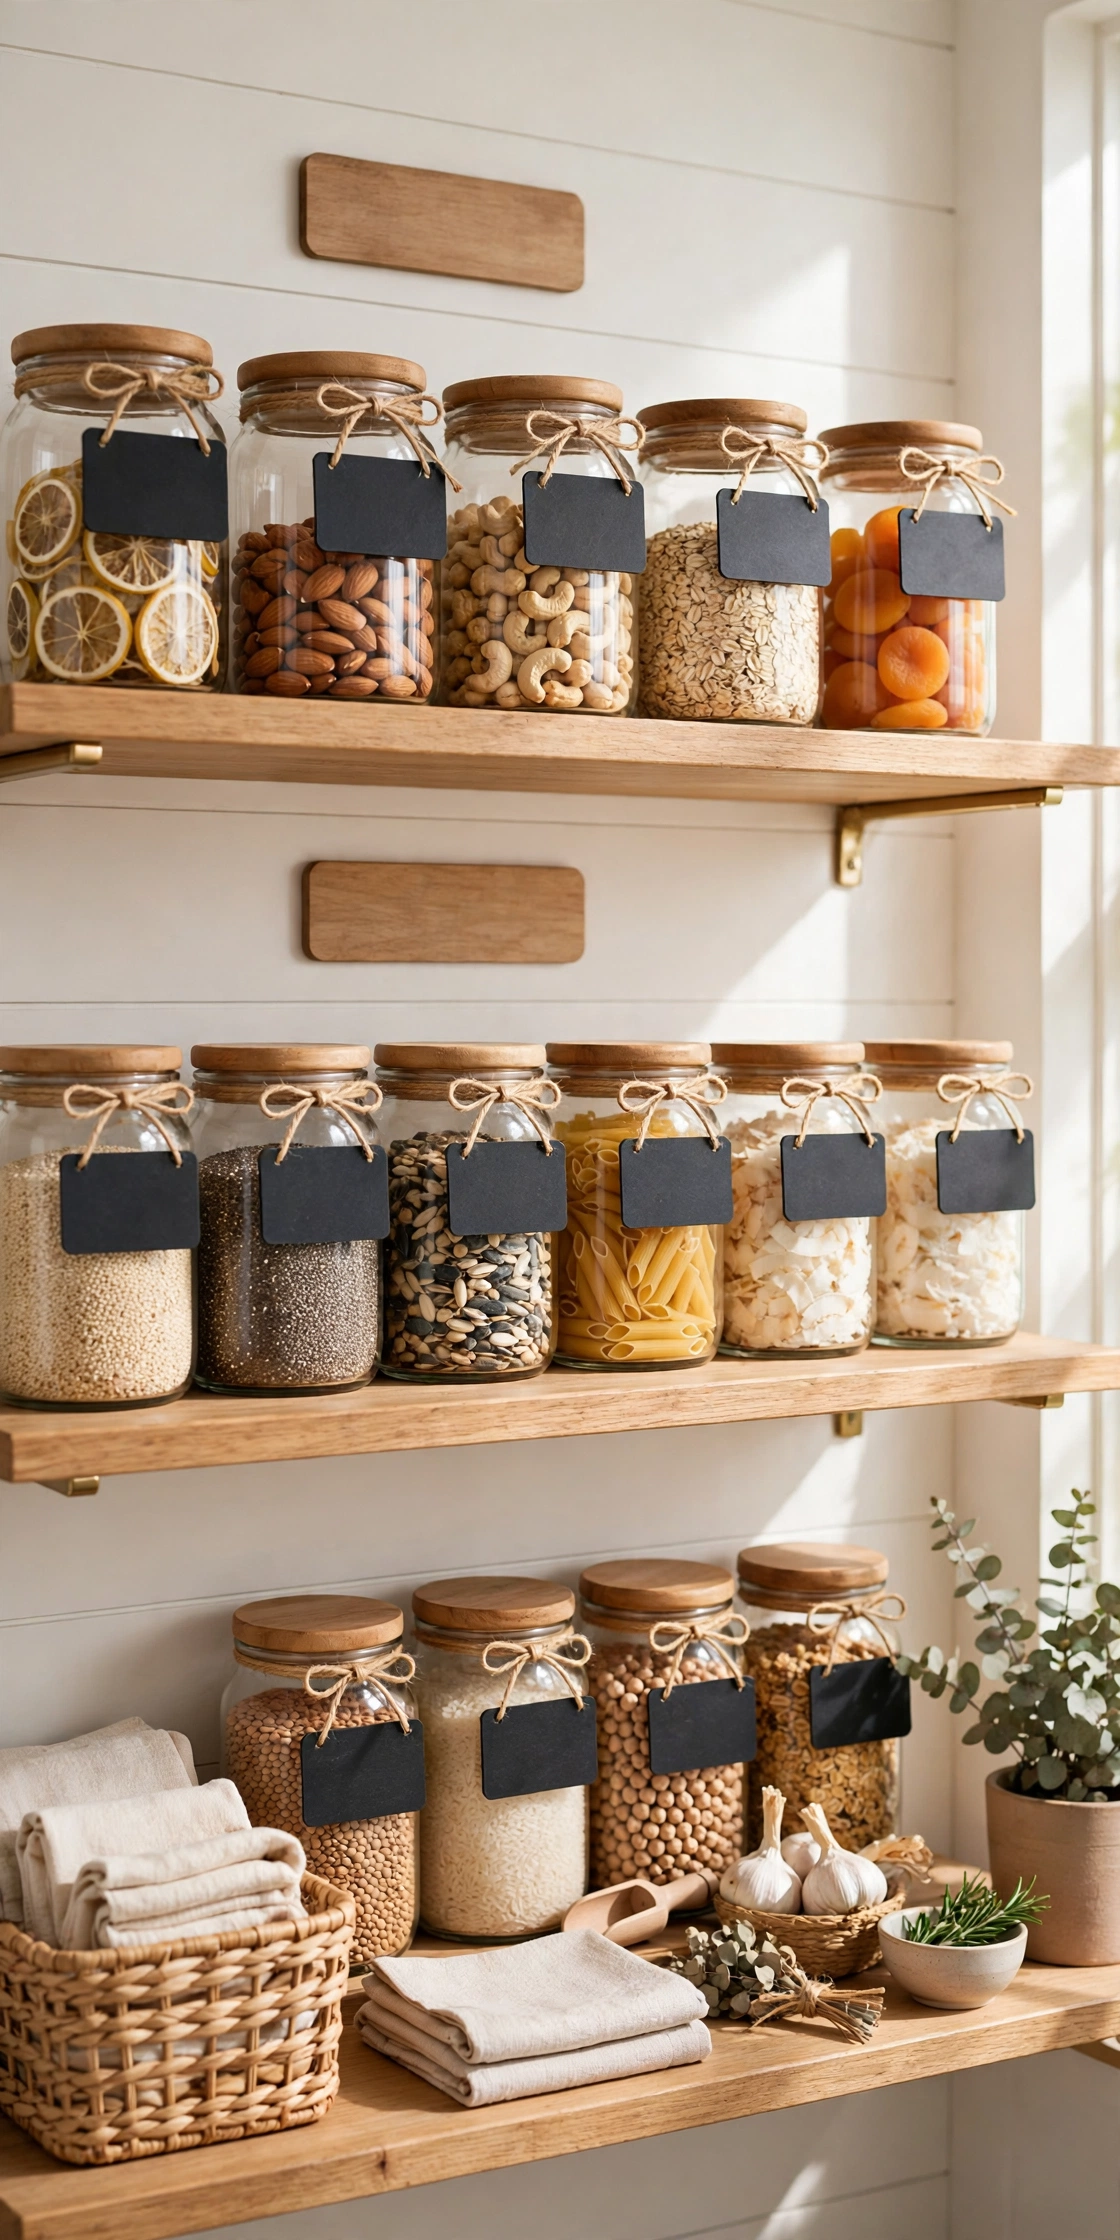
Labels fail when they try to do two jobs at once. Put permanent labels on shelves for zones that rarely change, such as baking, breakfast, and cans. Use changeable labels, such as chalk or wipe-off tags, on jars and bins whose contents change often. When a jar switches from oats to quinoa, only the chalk label changes, not the shelf system. This split keeps relabeling to a few seconds and stops the slow drift where labels no longer match contents.
Try this: Keep a chalk marker clipped to the inventory list so relabeling happens on the spot.
Cost: $$| Difficulty: Easy
25. Close the week with a five-minute reset
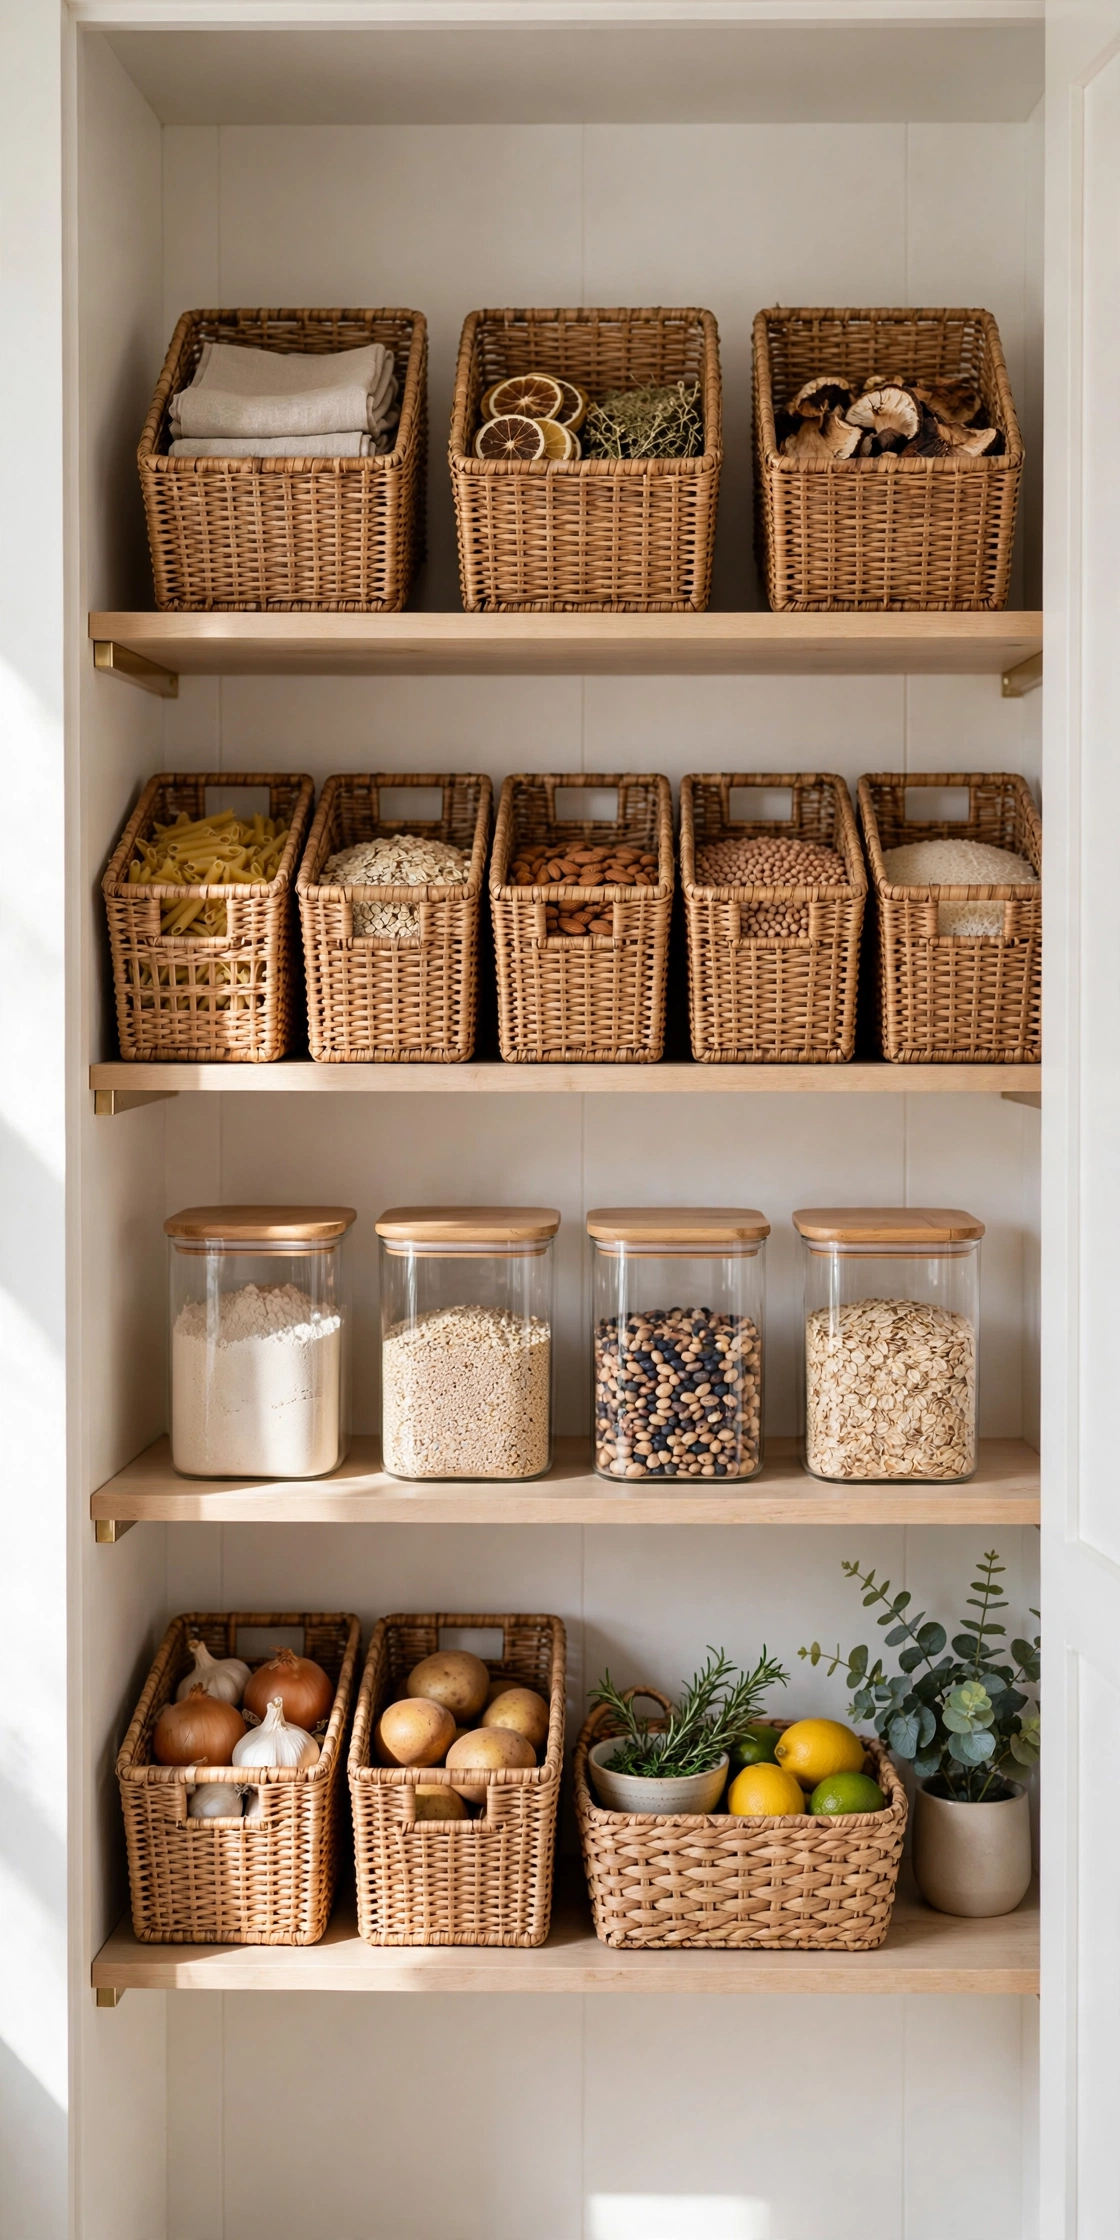
Pick one evening a week and spend five minutes returning strays to their zones, pushing items to the front of their rows, and wiping one shelf. The reset is deliberately short, so it survives busy weeks. It catches small drift before it becomes a full reorganization: the snack bin that wandered, the can that landed in the wrong zone, the box left on the counter. Systems that last are maintained in minutes, not rebuilt in weekends.
Try this: Pair the reset with taking out the trash, so it rides on a habit that already exists.
Cost: $| Difficulty: Easy
How to choose the right pantry organization system for your home
Start from your pantry type, not from a shopping list. A single cabinet needs bins and door space; a closet pantry needs zones and a rotation rule; a walk-in needs a zone map and a backstock limit. Pick three systems from this list that fix your biggest pain: lost items, expired food, or slow cooking. Run those three for a month before adding more. Systems that survive a month earn their place; systems that get ignored were solving a problem you did not have. Budget matters too: the five free systems in this list (rotation rule, use-it-up shelf, one-in-one-out, expiry sweep, restock list, weekly reset) fix most pantries before a single bin gets bought.
Genius pantry organization ideas at a glance
| Idea | Cost | Difficulty | Best for |
|---|---|---|---|
| Zone map on paper | Under $5 | Easy | Any pantry, before buying bins |
| Front-to-back rotation | $0 | Easy | Stopping expired food |
| Decant five weekly staples | $20 to $40 | Easy | Daily cooks |
| Date every jar | Under $5 | Easy | Baking and whole grain storage |
| Backstock bin per category | $10 to $15 per bin | Easy | Bulk buyers |
| Use-it-up shelf | $0 | Easy | Cutting food waste |
| This-week meal shelf | $10 | Easy | Meal planners |
| Grab-and-bake tote | $15 to $25 | Easy | Bakers in small kitchens |
| Spice packet file | $8 | Easy | Small packet collections |
| Drink station bin | $10 | Easy | Faster mornings |
| Lunchbox packing station | $12 | Easy | Families with school lunches |
| Gravity can track | $20 to $30 | Moderate | Heavy canned good users |
| Inventory list on the door | $5 | Easy | Stopping duplicate buying |
| One-in-one-out rule | $0 | Easy | Stopping pantry creep |
| Front-opening bins | $25 to $40 | Easy | Deep shelves |
| Clip-on under-shelf baskets | $12 to $18 | Easy | Adding space without screws |
| Tension rods for trays and lids | $10 | Easy | Baking sheet and lid piles |
| Bulk breakdown on shopping day | $0 to $10 | Easy | Warehouse and bulk shoppers |
| Monthly expiry sweep | $0 | Easy | Preventing forgotten food |
| Zero-hole renter system | $20 to $35 | Moderate | Renters and movers |
| Pet food station | $15 to $25 | Easy | Pet owners |
| Seasonal swap box | $10 | Easy | Holiday and seasonal cooks |
| Restock list with buy-two rule | $0 | Easy | Never running out of staples |
| Two-label system | $10 to $15 | Easy | Jars that change contents often |
| Five-minute weekly reset | $0 | Easy | Keeping any system alive |
Common mistakes to avoid
- Buying bins before mapping zones. Containers bought first rarely fit the food you actually keep. Map first, measure second, buy last.
- Decanting everything. Twenty matching jars look tidy for a week, then refilling them becomes a chore that kills the system. Decant five staples, not fifty items.
- Storing heavy items up high. Flour, canned goods, and bulk bags belong low. High heavy items are hard to lift and dangerous if they fall.
- Skipping the anchor on tall freestanding units. A tall pantry shelf or freestanding unit can tip, especially with kids in the house. Anchor it to a stud following the U.S. Consumer Product Safety Commission Anchor It guidance.
- Painting or drilling in older homes without checking for lead. Homes built before 1978 may have lead paint. Follow the U.S. Environmental Protection Agency Renovation, Repair and Painting Program rules before sanding or drilling painted surfaces, and hire a licensed electrician for any new wired lighting.
- Letting backstock grow without a cap. A backstock bin without a fill limit becomes a second pantry. One bin per category, and a full bin means no new purchases for that category.
More kitchen and storage ideas
If your pantry lives inside a cabinet, pull-out hardware changes how far you can reach into it. See these pantry cabinet with pull out shelves ideas.
For a walk-in space, the shelving layout decides whether the zones in this guide actually work. See these smart walk in pantry shelving ideas.
If a kitchen refresh is on your mind, warm wood tones pair well with an organized pantry wall. See these creative walnut kitchens design ideas.
The same zone-and-label thinking in this guide works in closets too. See these smart built in closet storage ideas.
For broader kitchen layout ideas that make pantry zones easier to reach, see these inspiring kitchen design ideas.
Frequently asked questions
How do I start organizing a pantry without buying anything?
Start with the five free systems: draw a zone map, run a front-to-back rotation rule, set aside a use-it-up shelf, start a one-in-one-out rule, and run a monthly expiry sweep. These five fix most pantries before a single bin gets bought, and they show which zones actually need containers.
How many bins do I actually need?
One bin per zone is a good starting point, which usually means four to six bins for a family pantry: breakfast, baking, cans, snacks, drinks, and backstock. Add a bin only when a zone overflows its current one twice in a row. Extra bins bought early tend to become extra clutter.
Should I decant everything into matching jars?
No. Decant only the five staples you use weekly, such as flour, sugar, rice, oats, and coffee. Everything else stays in its original packaging, where its label and date stay visible. Full decanting looks tidy for a week and then turns refilling into a chore.
How do I keep a pantry organized with kids in the house?
Give kids one zone they own, such as a lunchbox packing station or a low snack bin, and keep everything else in zones they do not need to open. The one-in-one-out rule and the five-minute weekly reset do the rest. Systems kids can use without help last longer than systems that need adult supervision.
What is the best way to store canned goods so nothing expires?
Use a front-to-back rotation rule on every can shelf, or a gravity can track that rolls the next can forward when you take one. Load new cans at the back, and run a monthly expiry sweep to catch anything close to its date. Move near-date cans to the use-it-up shelf so they get cooked first.
Final thoughts
A pantry stays tidy when every item has a zone, every zone has a limit, and one small habit keeps the whole thing honest. Pick three systems from this list, run them for a month, and add more only when the first three feel automatic.
For a dedicated coffee setup beyond pantry storage, see our guide to 22 Coffee Station Ideas for a Morning Routine That Runs Itself for counter corner trays, rolling carts, floating shelves, built-in cabinet nooks, and guest-ready brunch stations.
For a community pantry, see our guide to 20 Little Free Pantry Ideas for a Front Yard That Feeds the Neighborhood for a classic post-mounted box, a planter-base pantry, a repurposed cabinet, a mailbox mini pantry, and a winter-ready insulated box.


