


Mornings go sideways when the coffee maker lives in one spot, the mugs in another, and the filters somewhere you forgot. You end up opening three cabinets before the water even heats, and the counter looks worse after brewing than before. A coffee station fixes that by giving every piece one home, so the whole routine happens in a single stretch of counter.
This guide covers 22 coffee station ideas for kitchens of every size, from a single tray on a crowded counter to a built-in cabinet nook. Each idea lists a real cost range and a difficulty label, so you can pick a ten-minute setup or a weekend project. I started with a tray and two mugs on my own counter, and that small zone is still the first thing I reach for every morning.
Quick takeaways
- Put the station near an outlet and within a few steps of the sink, so filling and rinsing never become a chore.
- Keep only daily-use items on the station. Backstock lives in a cabinet or pantry, not on the counter.
- A tray, a rail, or a cart beats a remodel. Most of these ideas cost under $150 and need no drilling.
- Mugs go where hands reach them. Hooks, rails, and trees free cabinet space and end the morning mug hunt.
- Keep cords away from water and walkways, and never run a brewer on a frayed cord or a loose outlet.
1. Counter corner tray station

A wood tray turns a forgotten counter corner into a station in about five minutes. Set a drip brewer on one side of the tray, two or three daily mugs on the other, and a small jar of sugar in front. The tray edge stops drips from wandering across the counter, and the whole station lifts off in one move when you need the space for cooking. Pick a tray at least 16 inches wide so the brewer and mugs sit without crowding. Wipe the tray once a day and the corner stays clean.
Try this: Put a folded linen towel under the tray to catch drips and soften the look.
Cost: $ | Difficulty: Easy
2. Rolling cart station

A three-tier rolling cart gives you a coffee station that moves. The top shelf holds the brewer, the middle shelf holds mugs and a small jar set, and the bottom shelf holds backstock beans and filters. Roll it beside the counter in the morning and tuck it against a wall or into a pantry gap at night. Lock the wheels before brewing so the cart stays put while you pour. A cart about 17 inches wide fits most kitchen gaps without blocking a walkway.
Try this: Hang a small hook on the cart side for a hand towel, so spills get wiped right away.
Cost: $$ | Difficulty: Easy
3. Floating shelves above the machine

Two floating shelves above the brewer move mugs and jars off the counter and into easy reach. Keep the lower shelf at a height you can reach without a step stool, and reserve it for daily mugs and the sugar jar. The upper shelf holds backstock beans, a spare filter box, and one small plant for color. Anchor both shelves into studs, since a shelf of full mugs is heavier than it looks. Leave at least 18 inches between the brewer top and the lower shelf so steam clears freely.
Try this: Line up mugs by color on the lower shelf so the station reads tidy even on busy mornings.
Cost: $$ | Difficulty: Moderate
4. Wall-mounted mug rail

A metal rail with S-hooks turns a blank wall above the counter into mug storage. Mount the rail at shoulder height, hang four to six daily mugs from it, and keep the counter below clear for the brewer and a small tray. A rail beats a mug tree when counter space is tight, because it uses wall space you already ignore. Anchor the rail into studs with screws rated above the weight of full mugs. Skip adhesive rails for heavy ceramic mugs, since they tend to peel off over time.
Try this: Hang your two favorite mugs at the ends so the rail looks styled, not just stored.
Cost: $ | Difficulty: Easy
5. Built-in cabinet nook with pocket doors

A spare upper or lower cabinet becomes a coffee nook when you fit it with pocket doors that slide away. The brewer sits on a pull-out shelf inside, mugs hang from small hooks on the side walls, and jars line a narrow shelf above. Close the doors and the station disappears, which suits kitchens where the counter must stay clear for cooking. Add a small power strip inside the cabinet so the brewer cord never crosses the counter. Check that the cabinet depth fits your brewer with the lid open before you commit.
Try this: Stick a small battery puck light inside the nook so early mornings do not mean fumbling in the dark.
Cost: $$$ | Difficulty: Hard
6. Pull-out pod drawer organizer

A slim drawer organizer turns a junk drawer into pod storage. Sort pods by roast or flavor in rows, keep filters and stir sticks in the front section, and slide the drawer shut when brewing is done. The counter keeps only the brewer and two mugs, which suits small kitchens where every inch counts. Measure your drawer depth first, since most organizers need at least 15 inches to fit a full row of pods. Label the rows if two people drink different roasts.
Try this: Keep a small bin at the back of the drawer for used pods until trash day.
Cost: $ | Difficulty: Easy
7. Tiered tray syrup station

A two-tier tray gives syrups, sugar, and stir sticks a home without spreading across the counter. Put tall syrup bottles on the back of the top tier, the sugar jar and stir sticks on the front, and spare pods on the lower tier. The tray sits beside the brewer, so flavoring a cup takes one reach instead of three cabinet trips. Pick a tray with a raised edge so bottles do not slide off when you grab one. Wipe syrup drips the same day, since dried syrup glues bottles to the tray.
Try this: Limit the tray to three syrups so the station stays a station, not a syrup shop.
Cost: $ | Difficulty: Easy
8. Labeled glass canister set

Three matching glass canisters replace loose bags and boxes with one clean row. Fill one with beans, one with sugar, and one with grounds, then label each with a chalk marker or a printed label. Glass shows levels at a glance, so you never run out of beans mid-week without warning. Keep the canisters away from direct sun, since heat and light stale beans faster. A small scoop clipped to the bean canister keeps measuring tidy.
Try this: Date the bean canister when you refill it, so older beans get used first.
Cost: $ | Difficulty: Easy
9. Mug tree with daily rotation

A mug tree holds four to six mugs upright on a small footprint, which suits counters with no free wall. Put your two daily mugs on the lowest branches and rotate in a fresh pair each week from the cabinet, so every mug gets used and none gather dust. A weighted base matters more than looks, since a top-heavy tree tips when you pull a mug one-handed. Wipe the branches weekly, because coffee drips travel down handles onto the tree.
Try this: Keep the tree beside the brewer, not behind it, so you never reach over hot steam for a mug.
Cost: $ | Difficulty: Easy
10. Pour-over shelf with gooseneck kettle stand
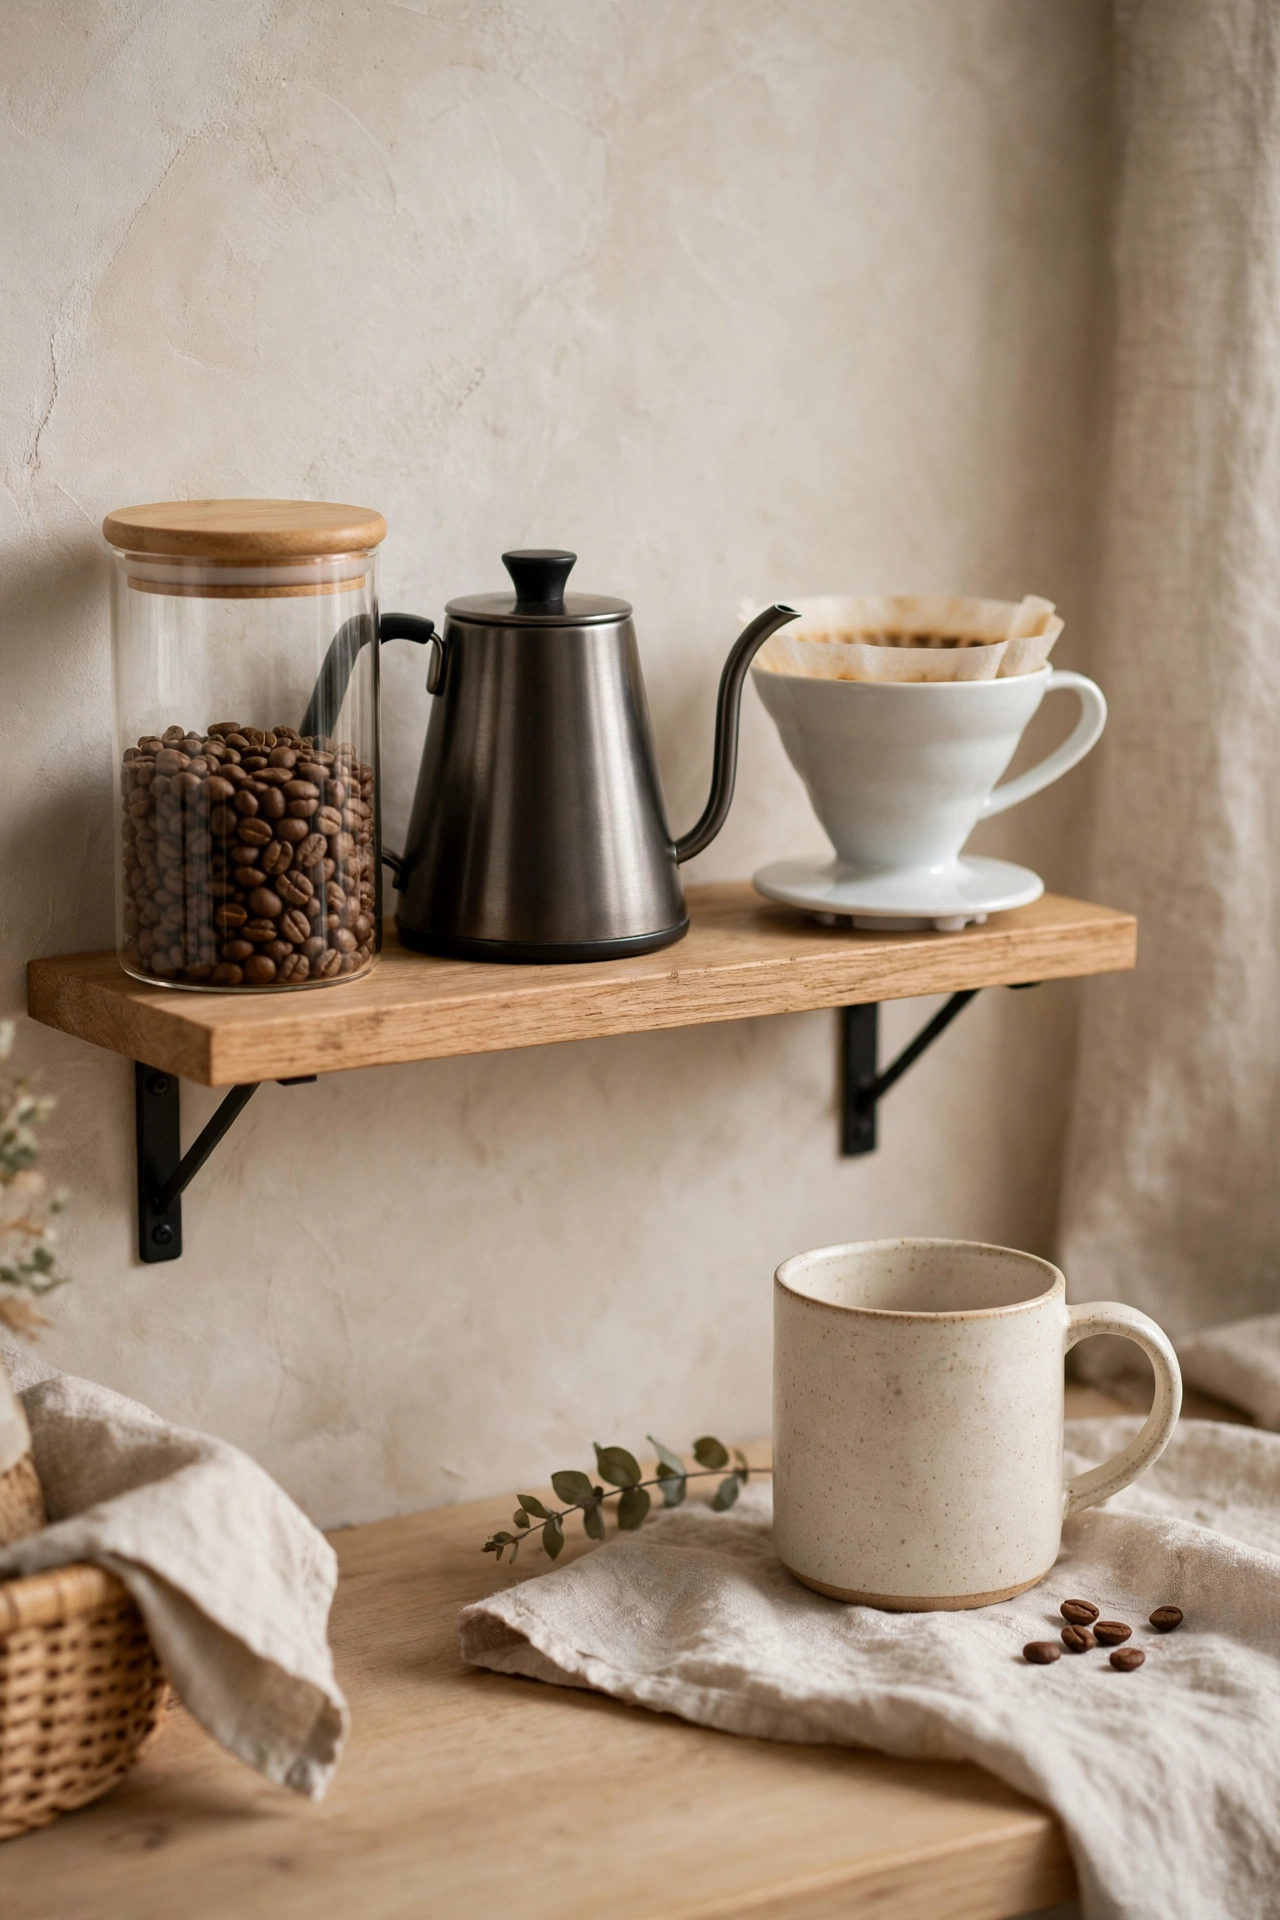
A pour-over station needs only a narrow shelf, a dripper, and a gooseneck kettle. Set the dripper on a small stand over your mug, keep the kettle on a heat-safe trivet beside it, and store filters and beans in a jar on the same shelf. The whole setup fits in about 12 inches of counter, which makes it a strong pick for apartments. Pour slowly in circles and the coffee tastes noticeably cleaner than a rushed pot. Keep a folded towel under the stand for drips.
Try this: Pre-wet the paper filter before adding grounds, so the cup never tastes like paper.
Cost: $$ | Difficulty: Easy
11. Espresso corner with tamper station
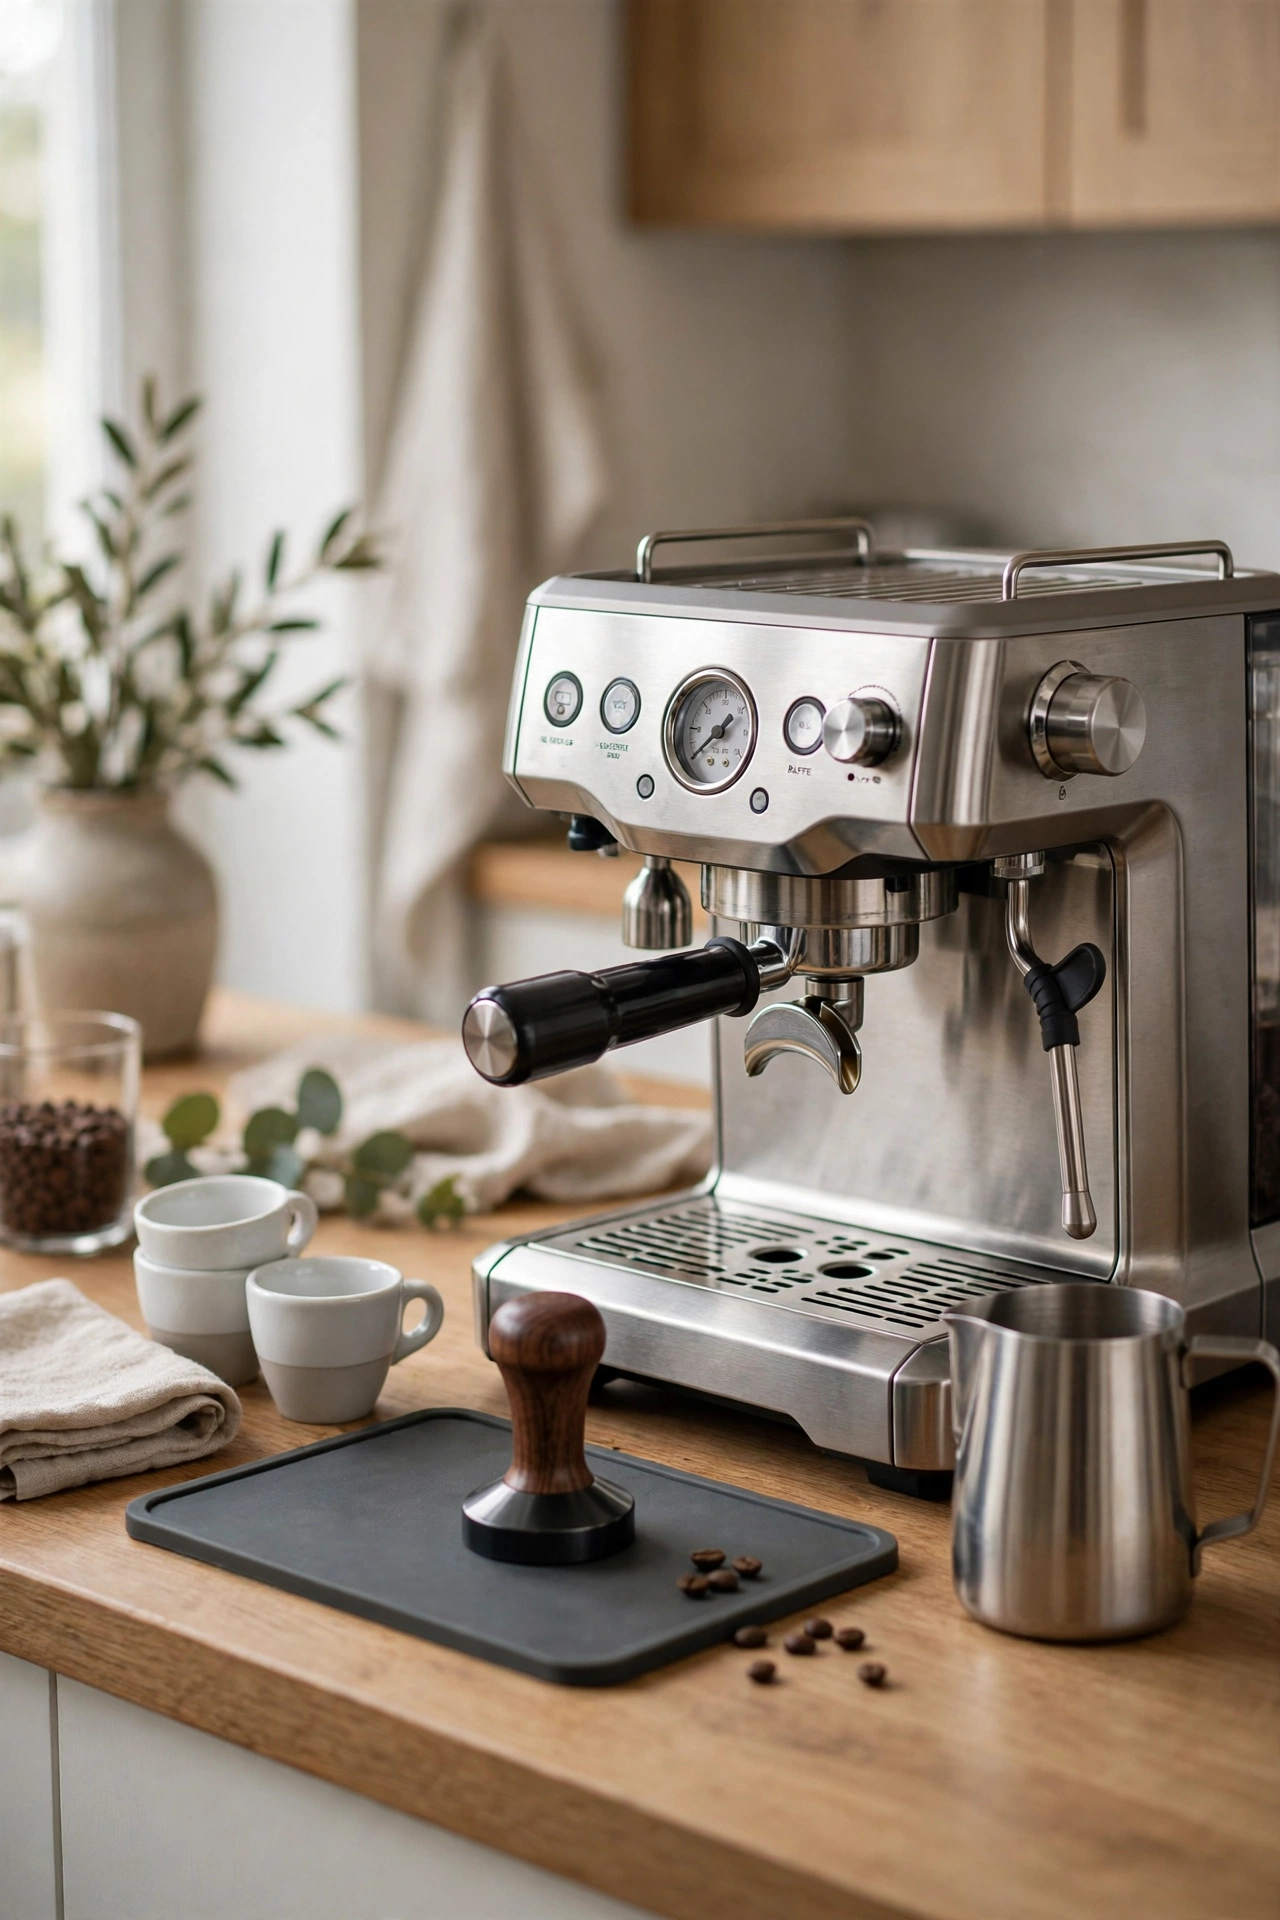
An espresso corner centers on a small tamper mat beside the machine. Tamp on the mat, keep two espresso cups stacked nearby, and park the milk pitcher in a small dish so drips stay put. A narrow tray under the whole setup catches grounds and splashes, which keeps the counter clean between shots. Store beans in an airtight jar within arm’s reach, since stale beans make flat espresso no matter how good the machine is. Wipe the steam wand right after frothing, every single time.
Try this: Keep a small brush beside the grinder to sweep stray grounds back into the bin.
Cost: $$ | Difficulty: Moderate
12. Cold brew fridge shelf station

A cold brew station lives on one fridge shelf instead of the counter. Keep a sealed cold brew pitcher on the shelf, a small jar of coarse grounds beside it, and a tray for the filter bags you use each batch. Brew a batch on Sunday, strain it Monday, and the whole week runs on one shelf of fridge space. Label the pitcher with the brew date, since cold brew tastes best within seven days. Keep the shelf away from strong foods like onions, which the coffee can pick up.
Try this: Dilute cold brew concentrate half and half with cold water, then adjust to taste.
Cost: $ | Difficulty: Easy
13. Repurposed sideboard station

A thrifted sideboard or dresser makes a coffee station with storage built in. The top holds the brewer and a tray, the drawers hold mugs and filters, and baskets on a lower shelf hold backstock beans. Look for a piece at least 30 inches wide so the brewer and mugs sit without crowding, and check that it stands level before you load it. A fresh coat of paint or a sanded top can make a $25 find look deliberate. Keep the sideboard near an outlet, or run a flat-plug strip behind it.
Try this: Line the top drawer with shelf liner so mug rings never stain the wood.
Cost: $$ | Difficulty: Moderate
14. Under-cabinet hooks and light strip
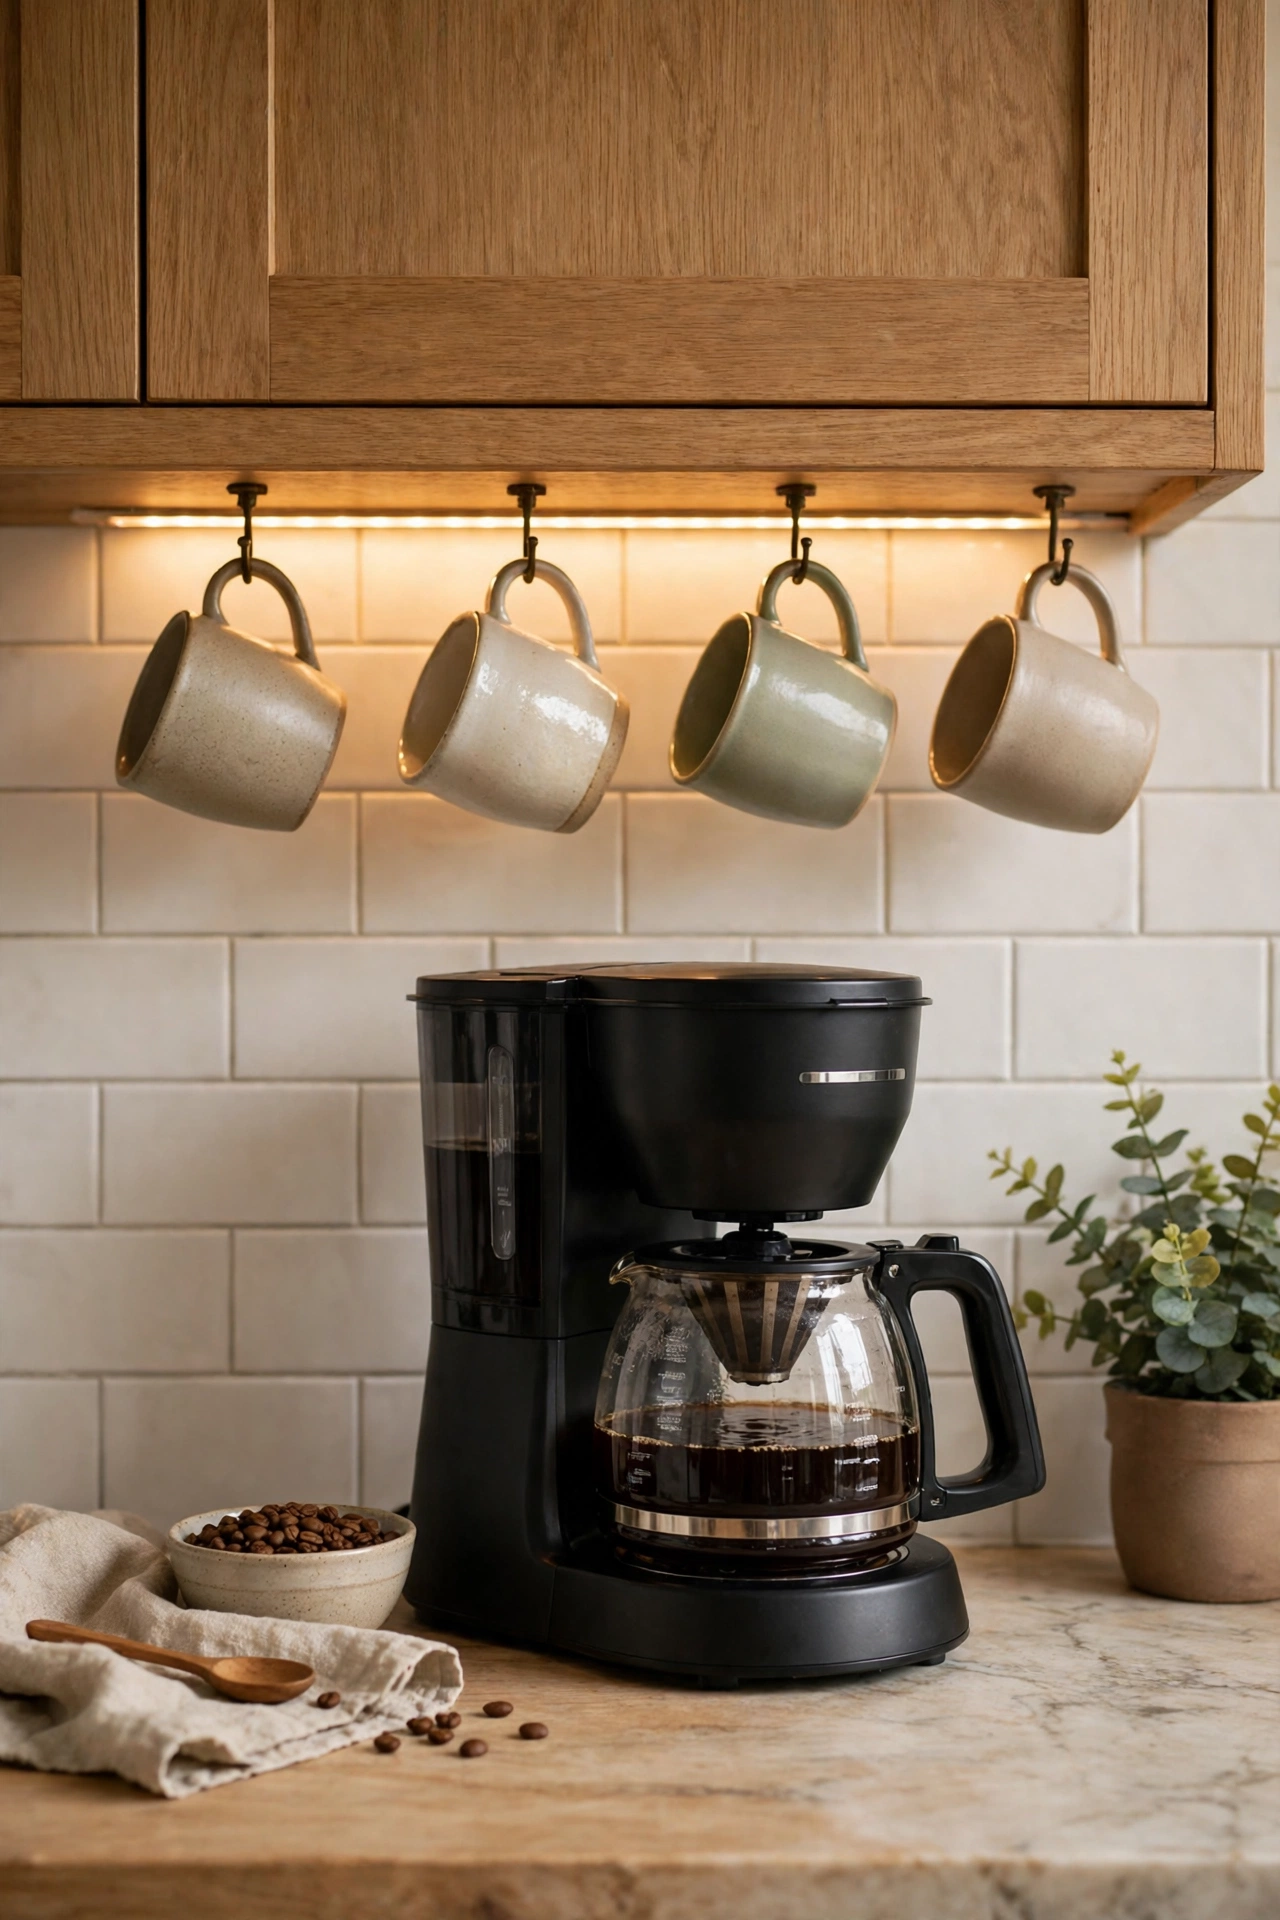
Small hooks screwed under an upper cabinet hold mugs above the brewer without using wall or counter space. Add a battery or plug-in LED strip under the same cabinet, and the station gets warm light for early mornings without a new fixture. Keep hooks at least 2 inches apart so mugs do not clink, and screw into the cabinet frame, not just the thin bottom panel. Run the light strip cord along the cabinet back so it never dangles near the brewer.
Try this: Pick a warm white strip, not cool white, so the corner feels like a cafe, not an office.
Cost: $ | Difficulty: Easy
15. Corner table nook station
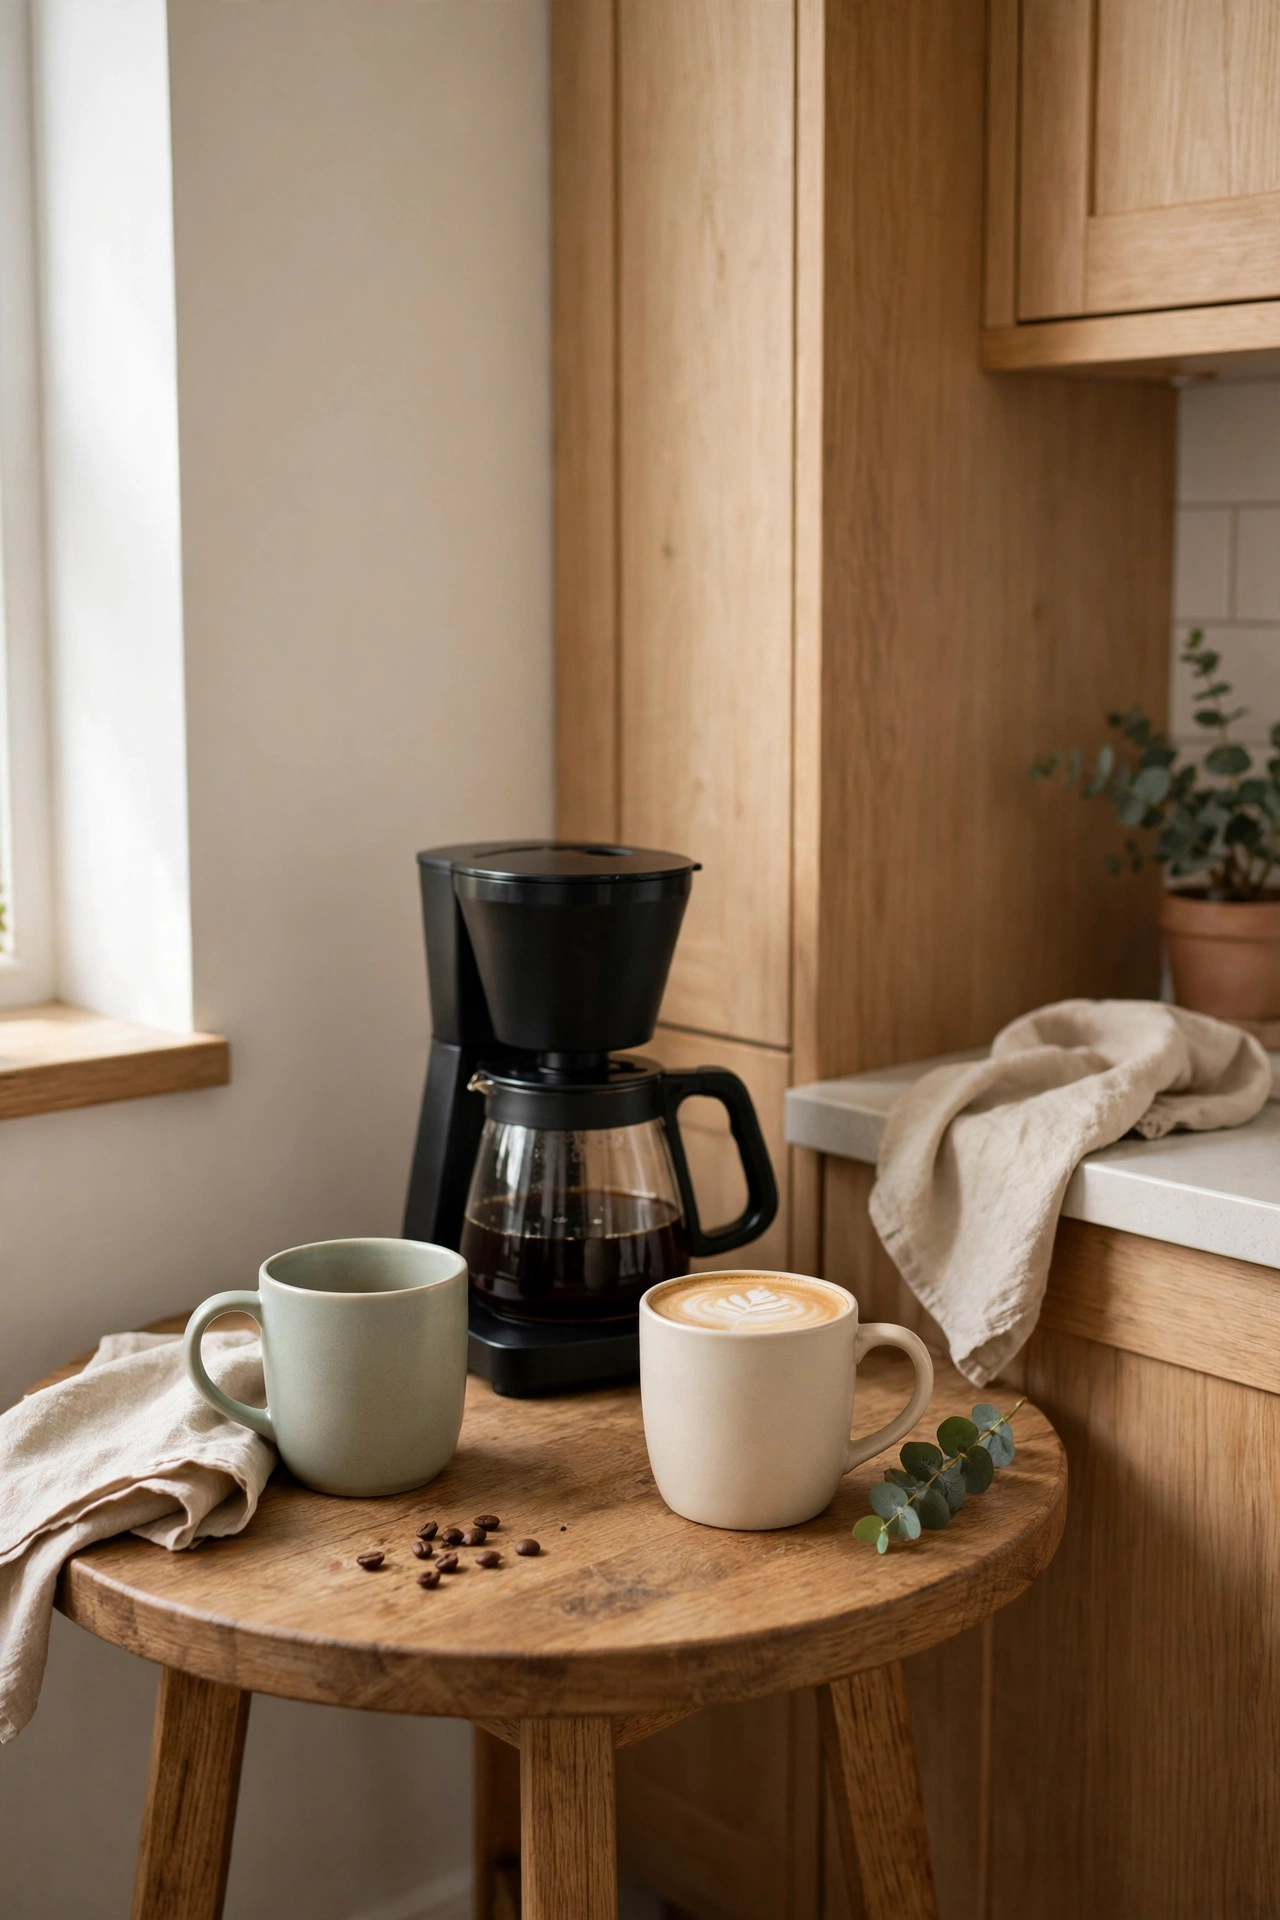
A small round table in an unused kitchen corner becomes a station and a seat in one. The brewer sits at the back of the table, two mugs wait beside it, and a tiny tray holds sugar and spoons. Pull up one chair and the corner works for slow weekend mornings, not just rushed weekdays. Pick a table about 24 inches across so it fits a corner without blocking the walkway. A washable tablecloth or a cork mat protects the top from rings.
Try this: Keep a small plant on the table edge so the nook feels like a destination, not a dumping spot.
Cost: $$ | Difficulty: Easy
16. Farmhouse crate station with mason jars

A wood crate on its side holds mason jars, mugs, and a small plant in one rustic unit. Stand the crate on the counter with the open side facing out, fill jars with beans, sugar, and stir sticks, and hang two mugs from small hooks inside the crate top. The crate keeps everything corralled, and the whole unit moves in one lift for cleaning. Sand rough edges before use, since splinters and bare feet do not mix. Line the crate bottom with a tray to catch jar drips.
Try this: Tie a short length of twine around each jar lid and tuck a tiny label under it.
Cost: $ | Difficulty: Easy
17. Minimalist one-tray station
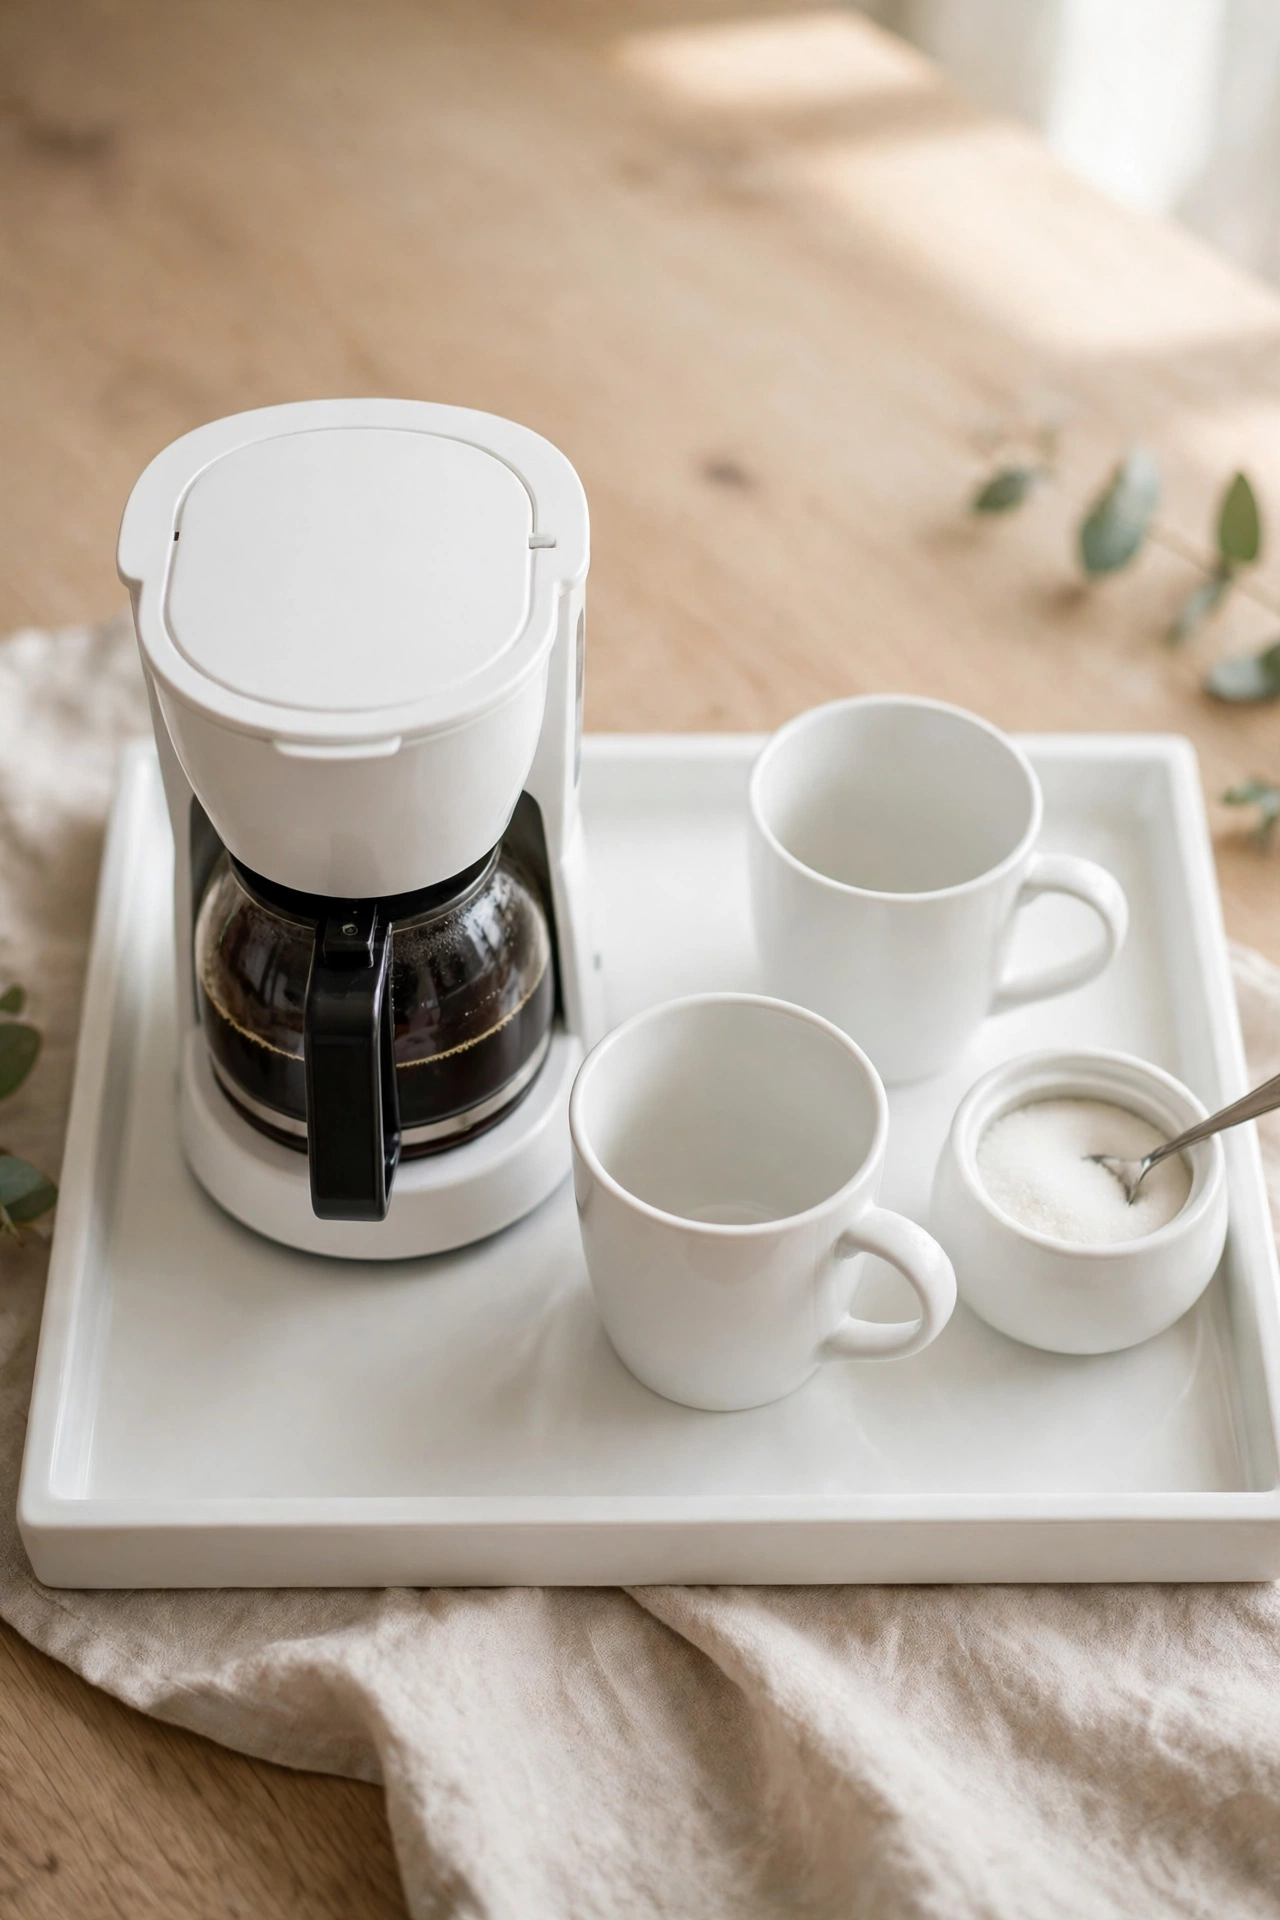
A single tray, one brewer, two mugs, and a sugar bowl make the smallest real station. Nothing else lives on the tray, which is the whole point: every item earns its place, and the counter around it stays empty. This setup suits people who drink one kind of coffee daily and hate clutter. Pick a tray in a neutral tone so it blends with the kitchen instead of competing with it. When a new gadget tempts you, it has to replace something on the tray, not join it.
Try this: Wash the tray each Sunday so the station starts the week clean.
Cost: $ | Difficulty: Easy
18. Dual-brewer station for two coffee drinkers

Two brewers side by side end the morning negotiation when two people drink different coffee. Give each brewer its own mug set and its own small jar of beans, and mark the jars so nobody grabs the wrong roast. The station needs about 36 inches of counter and two outlets, so measure before you buy a second machine. A shared tray for sugar and spoons sits between the brewers and keeps the setup from splitting into two stations. Clean both brewers on the same schedule.
Try this: Put the stronger roast on the left and the milder roast on the right, every day, so muscle memory does the work.
Cost: $$ | Difficulty: Easy
19. Guest-ready brunch coffee station
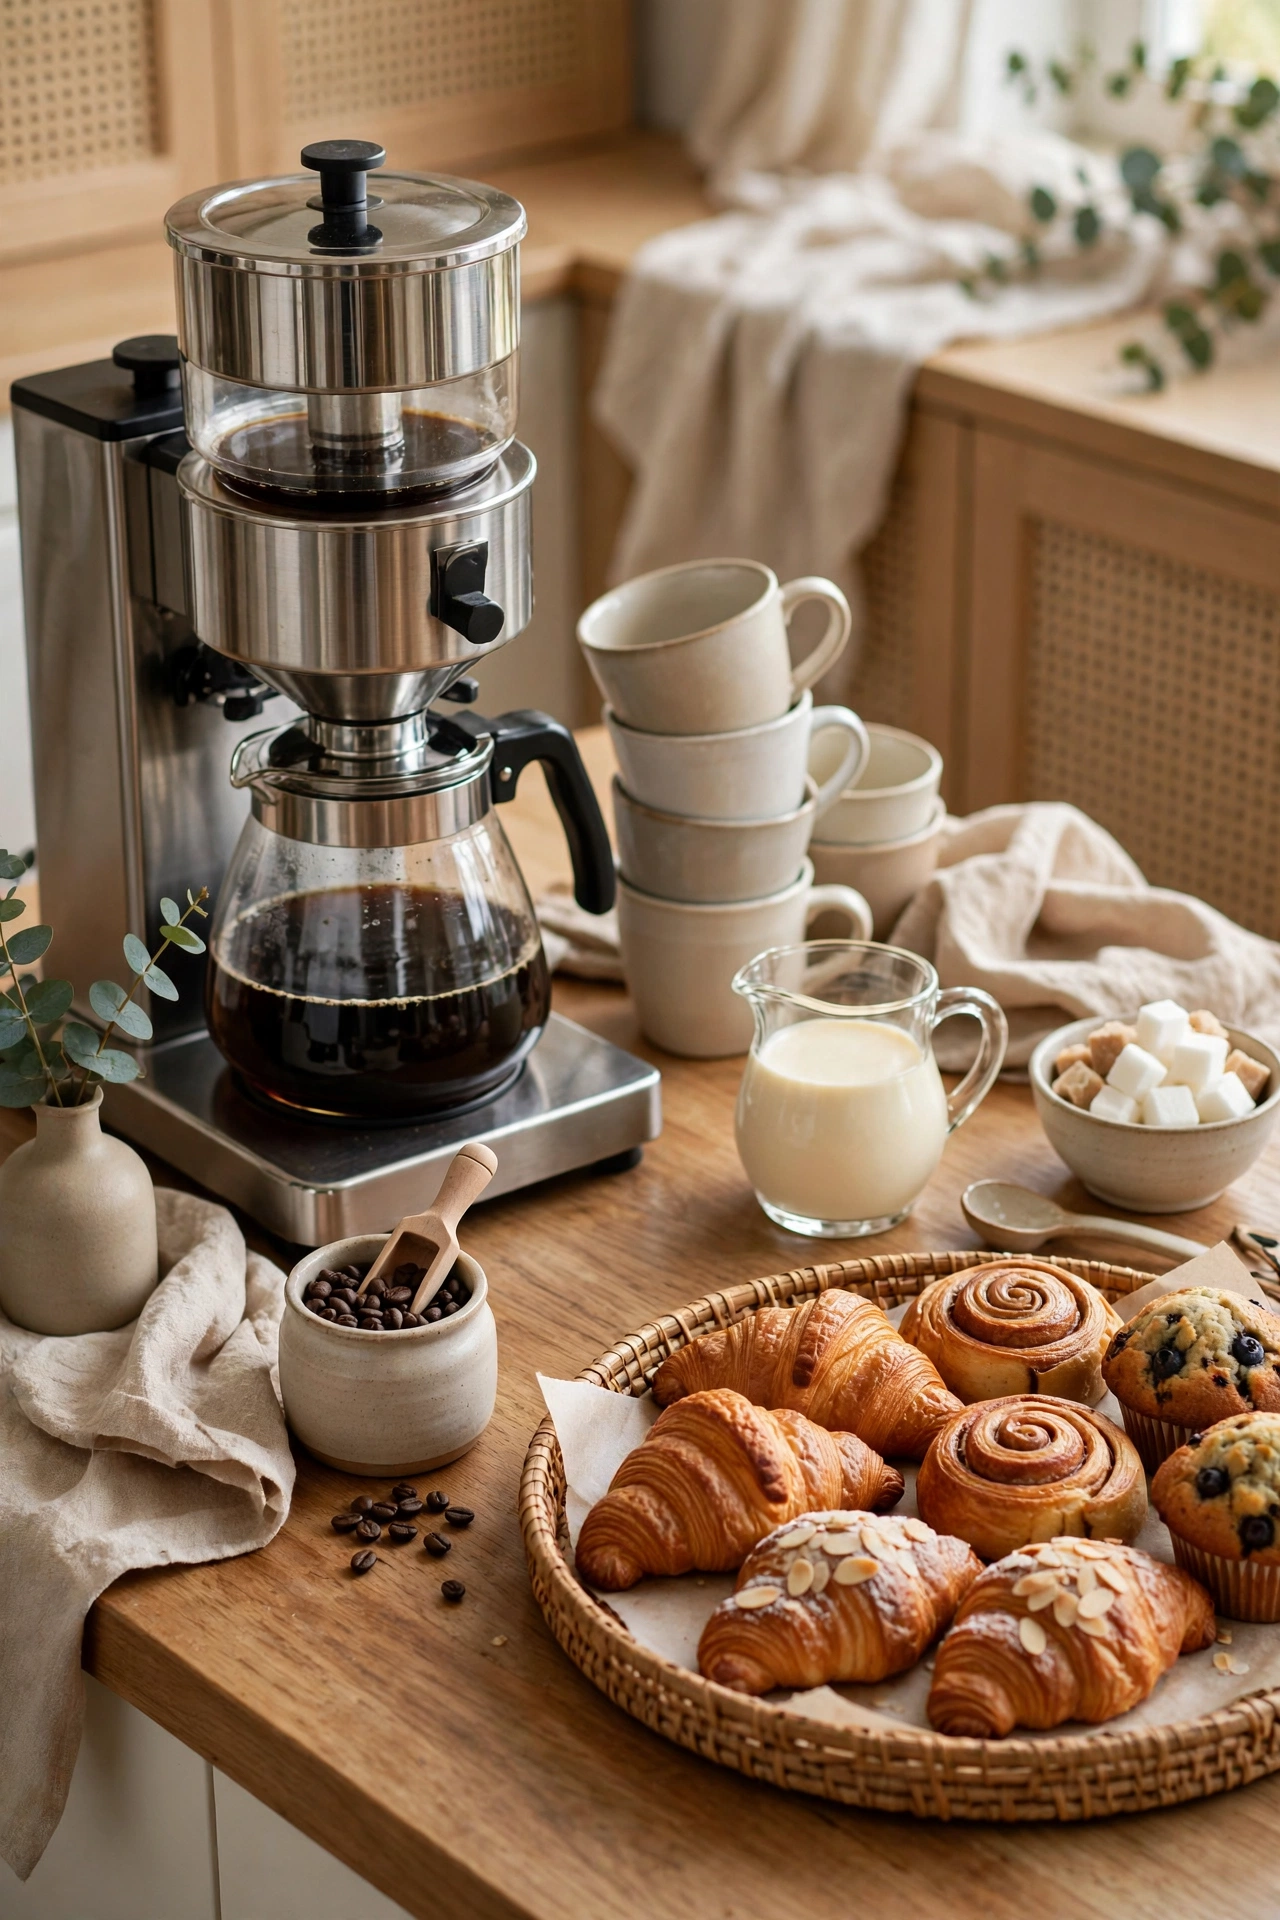
A guest station scales the daily setup up for brunch without a remodel. Set out a larger brewer or a second pot, six to eight mugs on a tray, a creamer pitcher, and a small plate of pastries beside it. Guests serve themselves, which frees the host to cook instead of pouring. Keep a small sign with the brew type and a decaf option, so nobody has to ask. Put the station on a sideboard or a cleared counter end, away from the stove, so guests never crowd the cook.
Try this: Brew a half pot first and start a second pot when the first runs low, so coffee stays fresh.
Cost: $$ | Difficulty: Easy
20. Home office coffee corner

A single-serve brewer on a small side table beside the desk keeps coffee within reach during work hours. The table holds the brewer, one mug, and a small jar of pods or beans, and nothing else, so work papers never share space with drips. Keep the table at least 12 inches from the laptop and any paper stack, and run the cord behind the table leg so it never crosses the walkway. A small tray under the brewer catches the odd splash before it reaches the desk.
Try this: Fill the water tank the night before, so the first work break starts with one button.
Cost: $ | Difficulty: Easy
21. Window-sill morning station
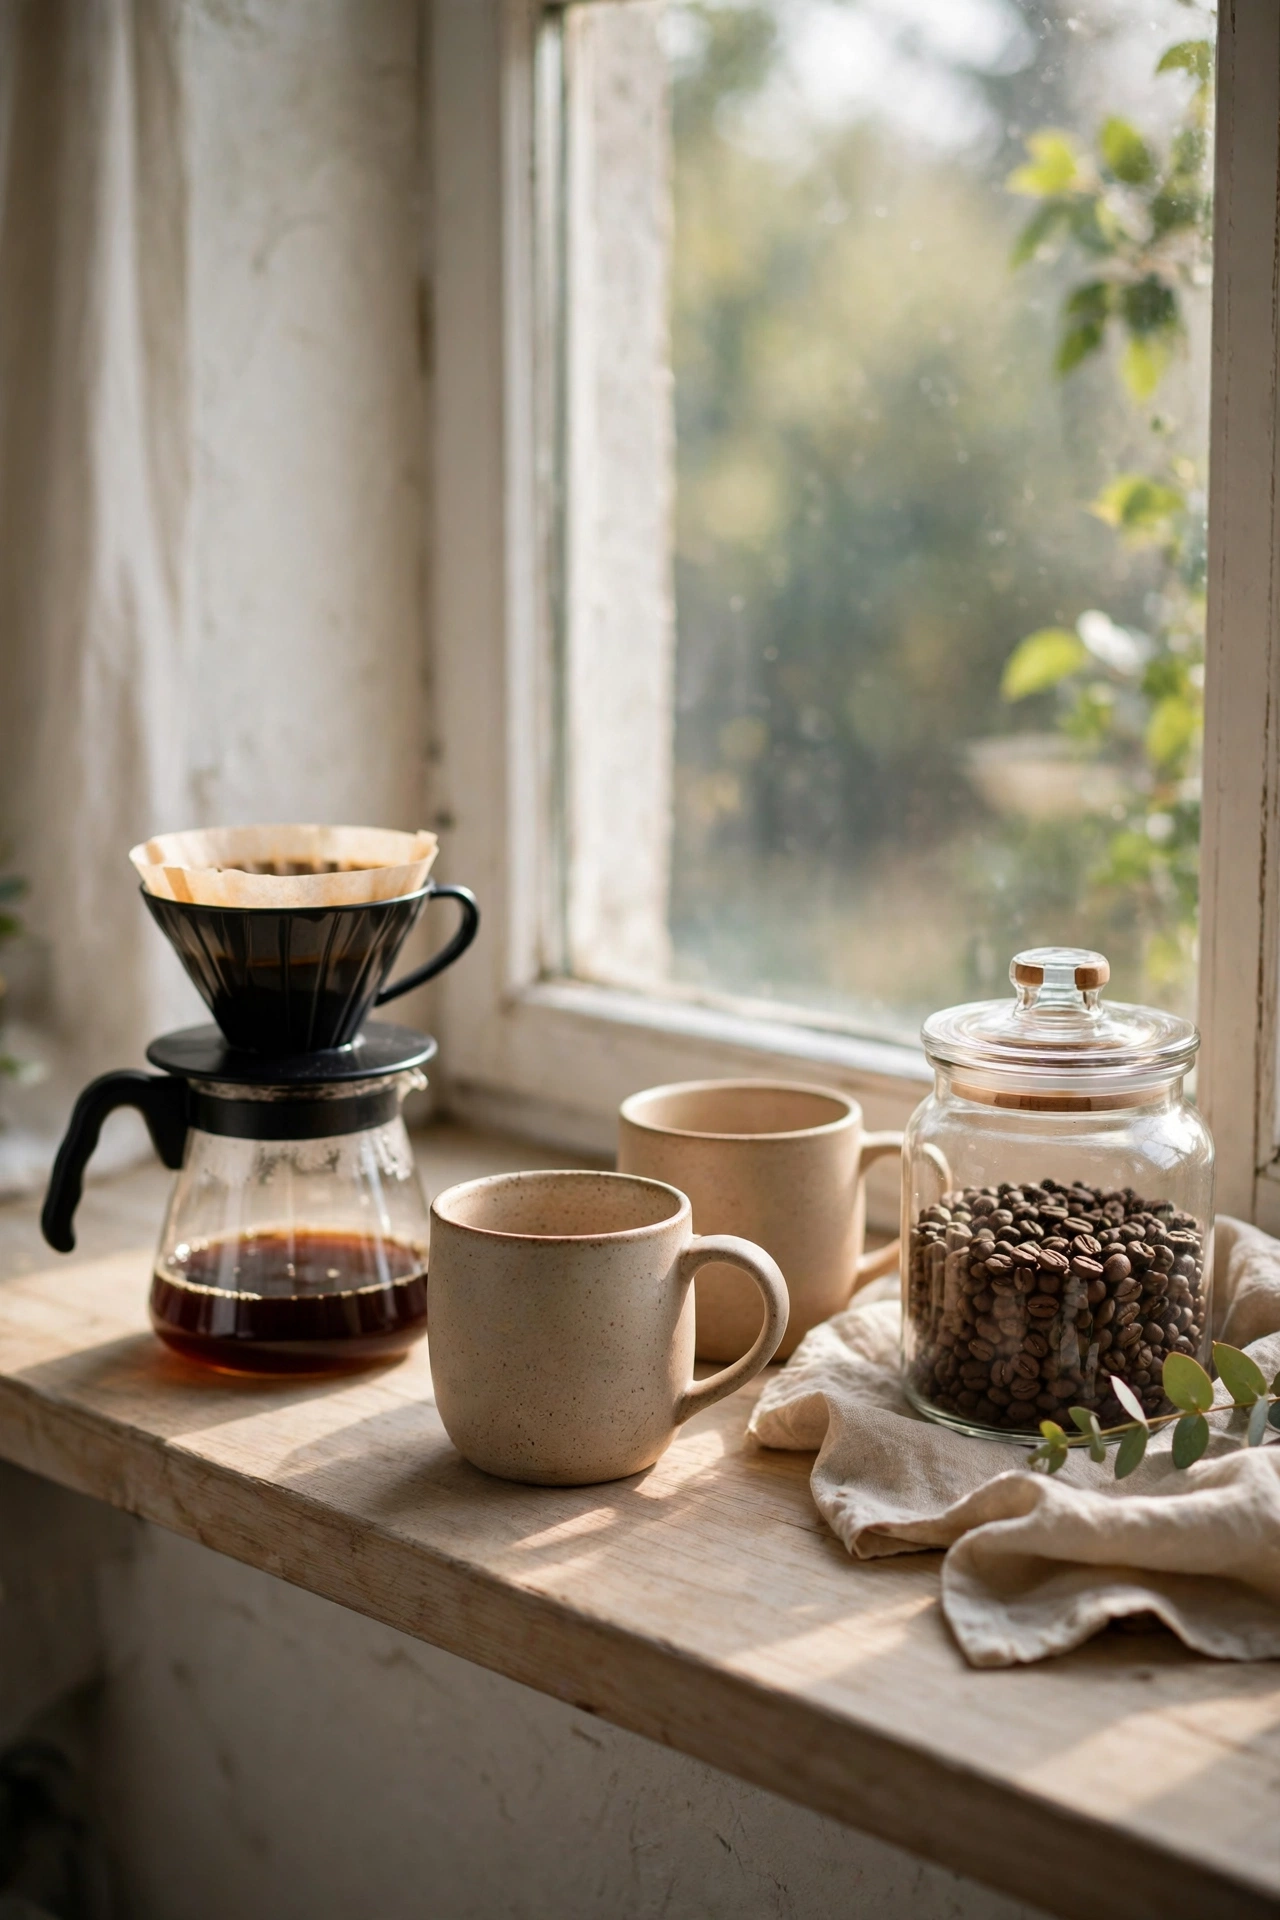
A deep window sill makes a morning station with natural light built in. Set a compact brewer on the sill, two mugs beside it, and a small jar of beans at the end. Morning light makes the corner feel intentional, and the sill keeps the station off the main counter entirely. Measure the sill depth first, since most brewers need at least 10 inches, and keep cords away from the window latch. A small tray under the brewer protects the sill from rings and drips.
Try this: Put a tiny herb pot at the far end of the sill, where it gets light without crowding the brewer.
Cost: $ | Difficulty: Easy
22. Chalkboard menu wall station
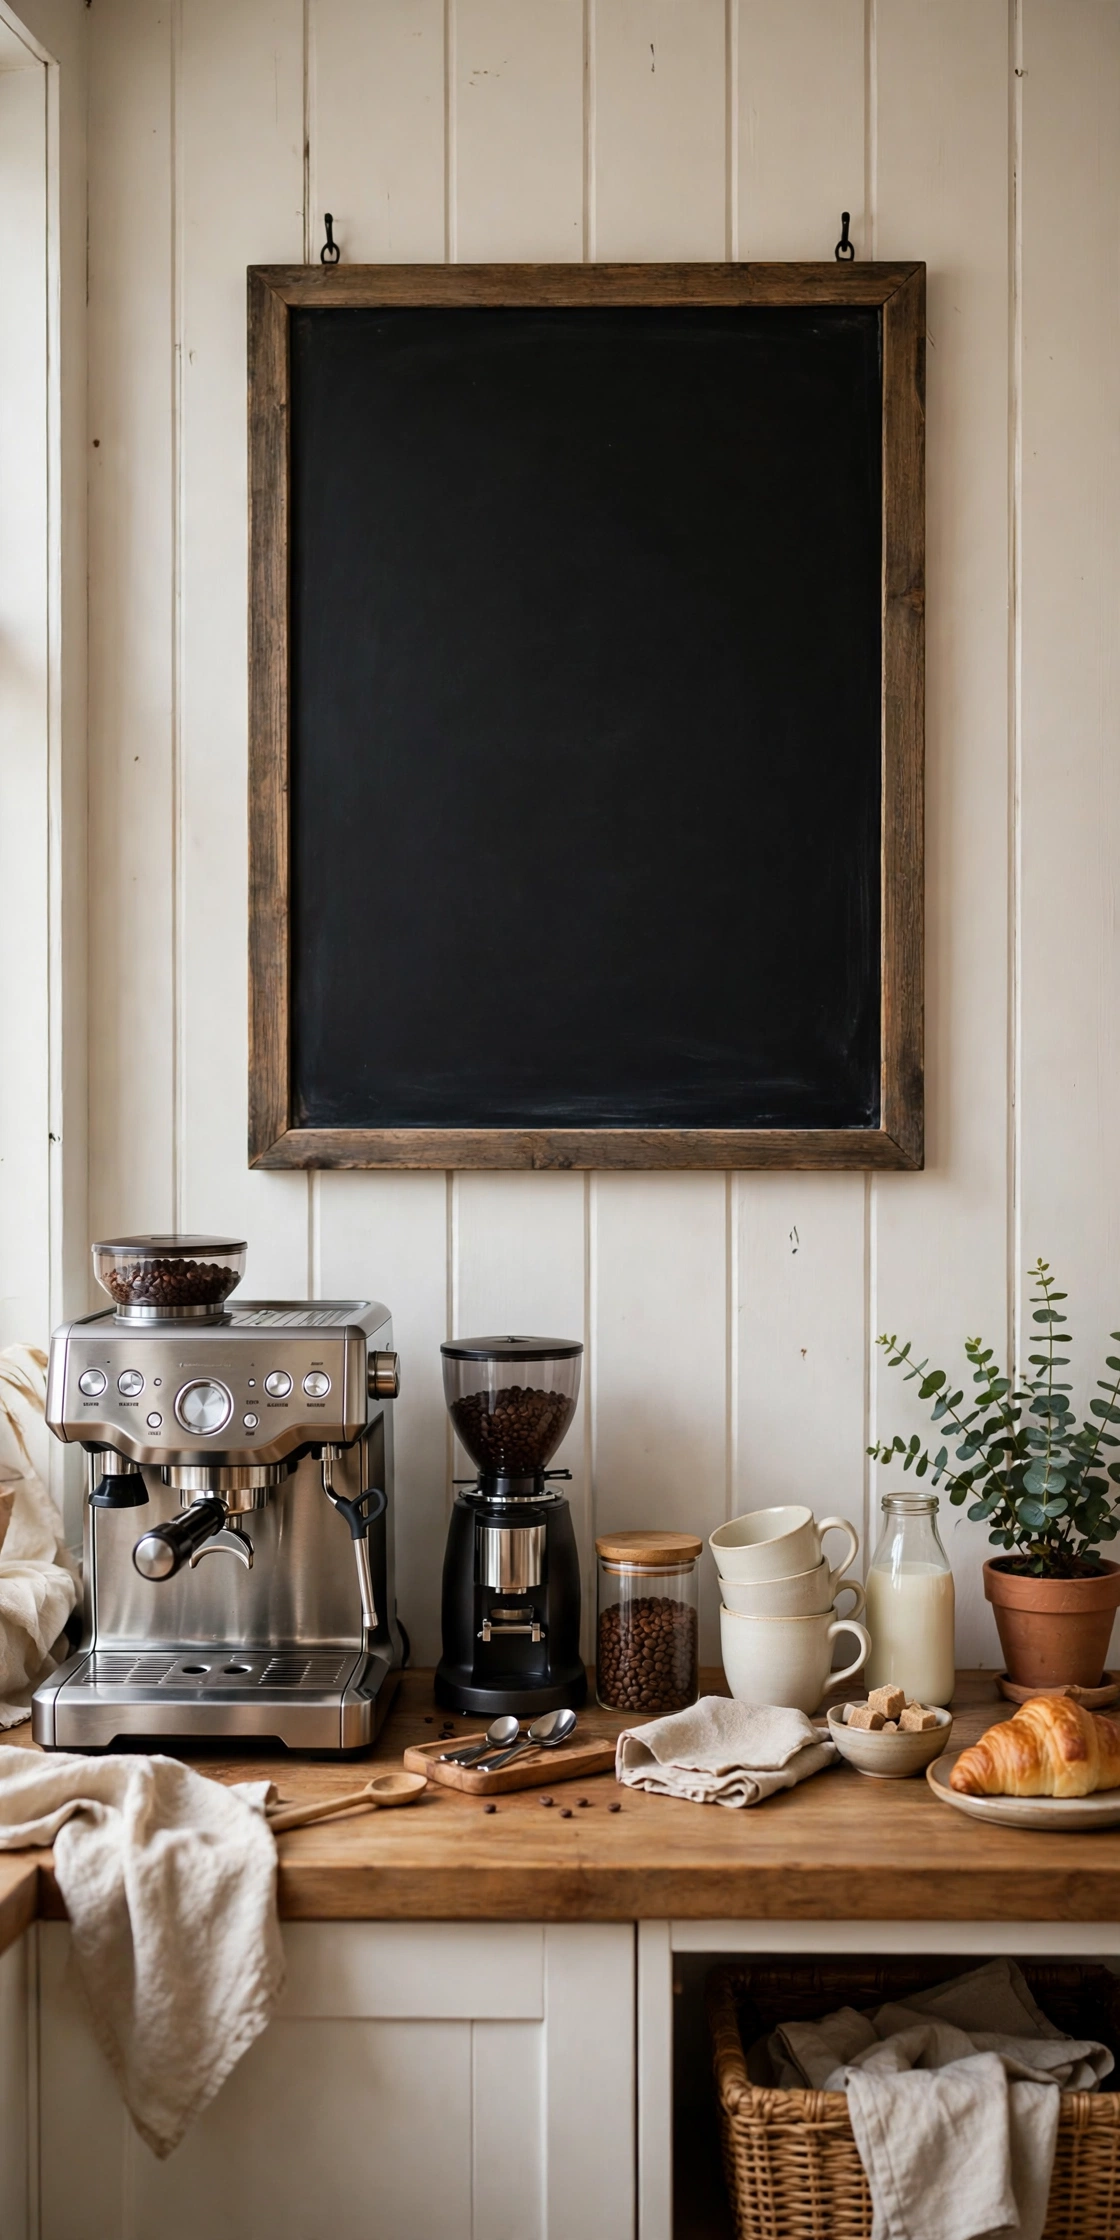
A framed chalkboard above the station turns the wall into a menu. Write the house brew, the guest option, and one fun drink of the week in chalk, and change it when the beans change. The board hangs above the brewer and mugs, so it decorates the exact wall the station already uses. Use a framed board rather than paint, since renters can take it down without repair. Keep chalk dust off the brewer by hanging the board at least a foot above the machine.
Try this: Write the brew ratio on the board for the week, so anyone can make the same cup twice.
Cost: $ | Difficulty: Easy
How to choose the right coffee station for your home
Start with space, not style. Measure the counter or corner you plan to use, count your outlets, and note how far the sink sits. A station that needs a long cord run or a daily water haul will get abandoned, no matter how good it looks. Then match the setup to your brew: pour-over drinkers need little more than a shelf, espresso drinkers need a tamper zone, and pod drinkers need drawer or bin storage. Renters should favor carts, trays, and rails, while owners can anchor shelves and build nooks. Pick one station type from the list, run it for two weeks, and only then add a second element.
Coffee station ideas at a glance
| Idea | Cost | Difficulty | Best for |
|---|---|---|---|
| Counter corner tray station | $ | Easy | Crowded counters |
| Rolling cart station | $$ | Easy | No spare counter |
| Floating shelves above the machine | $$ | Moderate | Mug collectors |
| Wall-mounted mug rail | $ | Easy | Tight counters |
| Built-in cabinet nook with pocket doors | $$$ | Hard | Clear counters |
| Pull-out pod drawer organizer | $ | Easy | Pod drinkers |
| Tiered tray syrup station | $ | Easy | Flavored drinks |
| Labeled glass canister set | $ | Easy | Bean buyers |
| Mug tree with daily rotation | $ | Easy | Small counters |
| Pour-over shelf with gooseneck kettle stand | $$ | Easy | Slow mornings |
| Espresso corner with tamper station | $$ | Moderate | Espresso drinkers |
| Cold brew fridge shelf station | $ | Easy | Iced coffee fans |
| Repurposed sideboard station | $$ | Moderate | Extra storage |
| Under-cabinet hooks and light strip | $ | Easy | Dark corners |
| Corner table nook station | $$ | Easy | Slow weekends |
| Farmhouse crate station with mason jars | $ | Easy | Rustic kitchens |
| Minimalist one-tray station | $ | Easy | One-coffee drinkers |
| Dual-brewer station for two coffee drinkers | $$ | Easy | Two-drinker homes |
| Guest-ready brunch coffee station | $$ | Easy | Hosts |
| Home office coffee corner | $ | Easy | Work-from-home |
| Window-sill morning station | $ | Easy | Bright kitchens |
| Chalkboard menu wall station | $ | Easy | Families |
Cost key: $ means $1 to $10, $$ means $11 to $99, $$$ means $100 to $999, $$$$ means $1,000 and up.
Common mistakes to avoid
Putting the station far from the sink tops the list, since every refill and rinse becomes a trip. Overloading the station runs second: when backstock, spare gadgets, and seasonal mugs all live on the counter, the station stops working and starts cluttering. Hanging heavy mugs on adhesive hooks comes third, since they peel off and break mugs. Skipping a tray under the brewer comes fourth, because drips stain counters and crate bottoms alike. Finally, never place a brewer where its cord crosses a walkway or hangs near the sink edge, since a pulled cord spills hot coffee fast.
Safety notes
Anchor tall cabinets, heavy wall shelving, and floating shelves into studs with hardware rated above the load, since a shelf of full mugs is heavier than it looks. Keep wood, curtains, and towels clear of stove heat and coffee maker steam, and never run a brewer on a frayed cord or a loose outlet. Keep cords away from water sources and walkways, and use a GFCI outlet near the sink where one is available. For homes built before 1978, test for lead paint and follow lead-safe rules before sanding or drilling. Hire a licensed electrician for new outlets or hardwired lights, and never leave a lit candle beside a coffee station curtain or towel.
More kitchen and home ideas
For a wider kitchen plan around your new station, see the general design guide.
10 Inspiring Kitchen Design Ideas for 2026 That Work in Real Homes
For pantry storage that keeps your backstock beans and filters tidy, see the pantry system guide.
25 Genius Pantry Organization Ideas for a Pantry That Stays Tidy
For the wall behind your station, a tile backsplash can tie the whole corner together.
17 Stunning Backsplash Tile Ideas for a Kitchen That Feels Finished
For a color scheme that warms up the station corner, the blue and gold kitchen guide shows bold pairings.
25 Must See Blue And Gold Kitchen Ideas for a Bold, Warm Room
For walk-in pantry shelving that holds coffee backstock at eye level, see the shelving guide.
25 Smart Walk In Pantry Shelving Ideas for a Pantry You Can Actually Shop
For safe wall anchoring of shelves and rails, see the U.S. Consumer Product Safety Commission guidance.
CPSC Anchor It guidance on anchoring heavy furniture and shelving
For lead-safe rules before drilling or sanding in older homes, see the U.S. Environmental Protection Agency program.
EPA Renovation, Repair and Painting program for pre-1978 homes
Frequently asked questions
How much counter space does a coffee station need? Most stations work in 24 inches wide by 18 inches deep, which fits a standard drip brewer plus two or three mugs. A pour-over or single-serve setup fits in about 12 inches, while a dual-brewer station needs closer to 36 inches. Measure your spot before buying a cart or tray.
Can I build a coffee station in a rental? Yes. Trays, rolling carts, mug trees, and freestanding sideboards need no drilling at all. If you want wall storage, use a rail or hooks only where your lease allows, and anchor into studs for safety. A framed chalkboard gives you a menu wall with zero wall damage.
Where should a coffee station go in the kitchen? Near an outlet and within a few steps of the sink, so filling the tank and rinsing the pot stay easy. A counter corner, a rolling cart beside the counter, or a spare cabinet nook all work. Avoid spots where the cord crosses a walkway or hangs near the sink edge.
How do I keep a coffee station from getting cluttered? Keep only daily-use items on the station and store backstock in a cabinet or pantry. Limit syrups to three, rotate mugs weekly, and wipe the tray daily. When a new gadget arrives, it should replace something on the station, not join it.
Do coffee beans stay fresh in glass canisters? Yes for daily use, as long as the canisters sit away from direct sun and heat. Glass shows levels at a glance, which helps you refill before running out. For longer storage, keep the bulk bag sealed in a cool cabinet and refill the canister weekly.
Final thoughts
Start with one tray, one brewer, and the mugs you actually reach for, then add a rail or a cart only when the routine asks for it.


