


Your first embroidery hoop looks fine from the front, then you flip it over and find a puckered mess, a knot the size of a pea, and a line of stitches that wander off the pattern. Most beginners blame their hands at this point. The real problem is almost always a small setup habit, and every one of those habits has a quick fix.
I still remember my first hoop: the fabric pulled in like a drawstring bag because I yanked every stitch tight. This guide covers the 10 mistakes beginners make most often in hand embroidery, what each one does to your work, and the exact fix for it, so your next piece stays flat, even, and fun to stitch.
- Pull stitches gently until they lie flat. Tight pulling puckers fabric and bends lines.
- Cut floss no longer than 18 inches. Longer thread tangles, knots, and wears dull.
- Always stitch in a hoop, on stable cotton or linen, with the right needle for your thread.
- Read the pattern first, transfer it with a removable method, and test on a scrap swatch.
- Fix mistakes early. A loose back, a wrong strand count, or dim light only gets harder to correct later.
1. Pulling every stitch too tight

Hard pulling is the fastest way to ruin a beginner piece. The fabric draws in around each stitch, the design shrinks a little, and straight lines start to curve. You spot it when the fabric no longer lies flat in the hoop or the back looks gathered. The fix is a lighter hand: pull the floss only until the stitch sits flat on the fabric, then stop. Check the back after every few stitches. If it gathers, ease off on the next ones.
Try this: stitch one slow line on scrap fabric and stop pulling the second the thread lies flat.
Cost: $. Difficulty: Easy. Time: 5 minutes of practice.
2. Cutting thread far too long
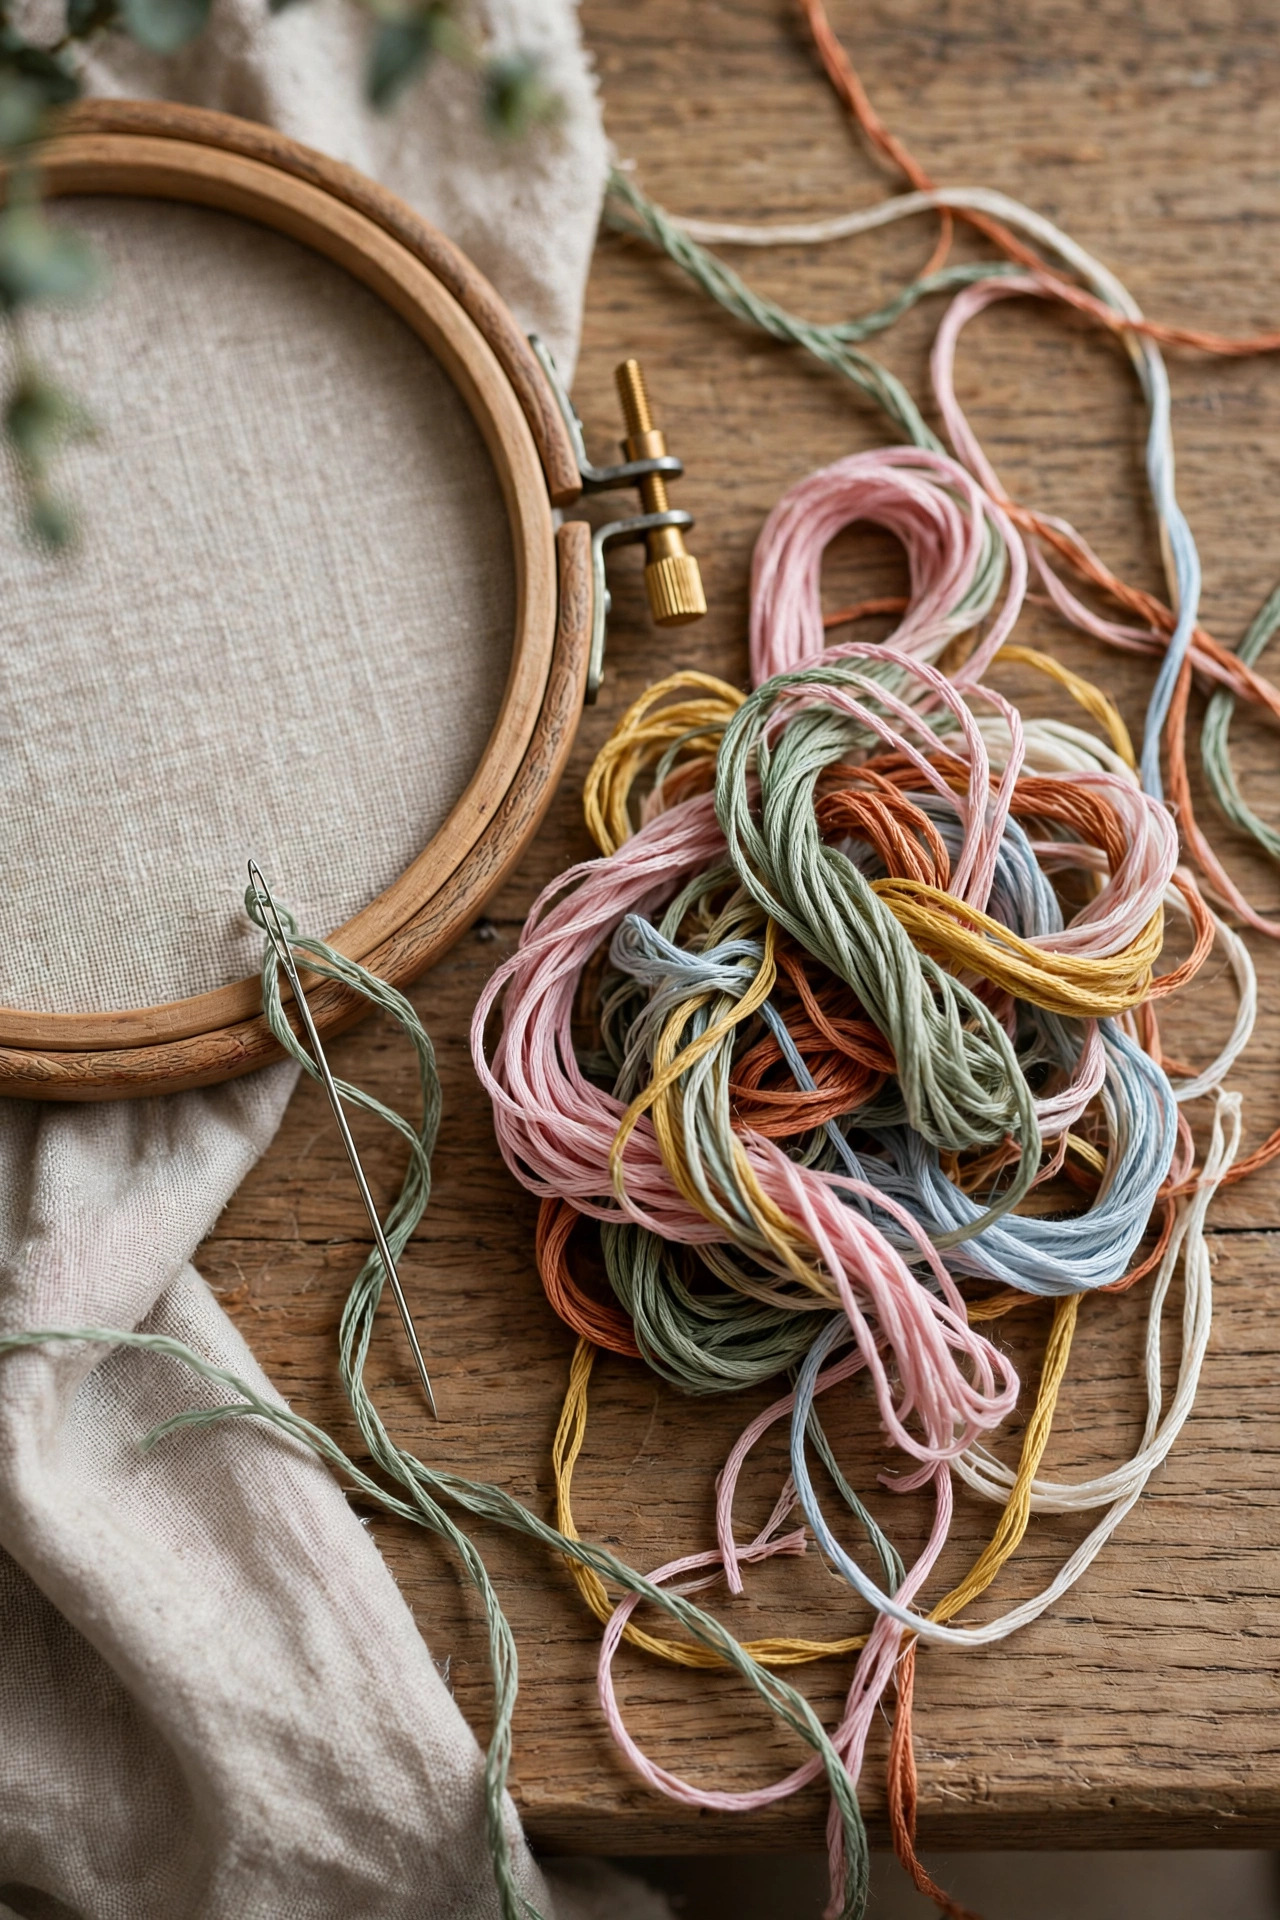
Long thread feels efficient because you rethread less often, but it costs you more time than it saves. Each pass through the fabric wears the floss, so the tail end looks dull and fuzzy compared with the start. Long lengths also twist and knot, and picking out a knot mid-design risks pulling nearby stitches loose. Cut your working thread to about 18 inches, roughly wrist to elbow. Rethreading takes seconds. A knot takes minutes.
Try this: cut three 18 inch lengths before you start, so a fresh one is always ready.
Cost: $. Difficulty: Easy. Time: 1 minute.
3. Skipping the hoop or hooping loosely

Stitching without a hoop, or with fabric sagging inside one, gives you uneven tension on every stitch. Some stitches sit tight, others sit loose, and the design looks wobbly even when your needlework is careful. Mount the fabric drum tight in the hoop before your first stitch, and re-tighten it when it slackens. A 6 inch hoop suits most beginner designs and is easy to hold. If the fabric slips, wrap the inner ring with a strip of cotton tape for extra grip.
Try this: tap the hooped fabric. It should sound taut, like a soft drum.
Cost: $. Difficulty: Easy. Time: 2 minutes.
4. Using the wrong needle
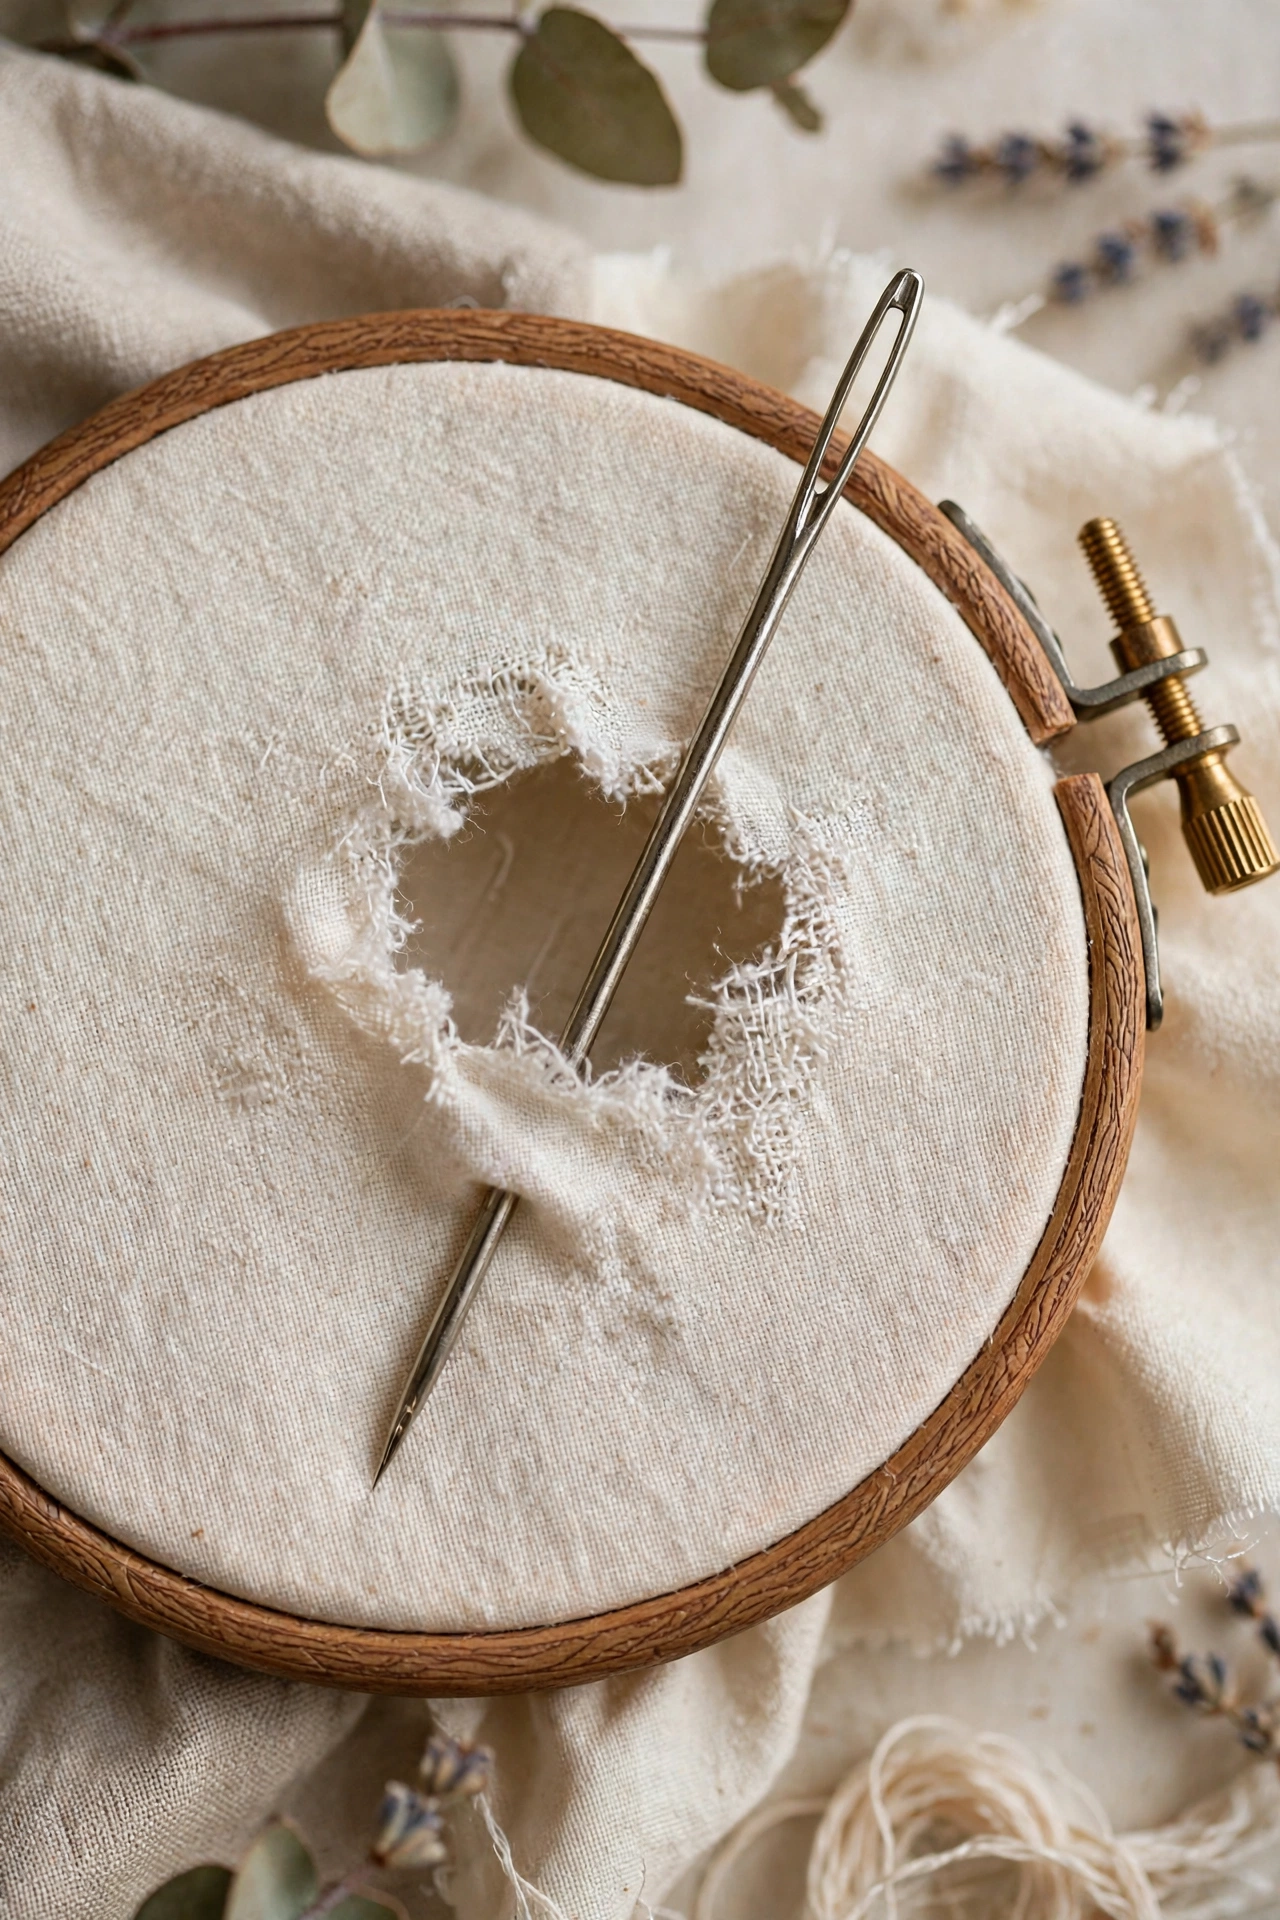
A needle that is too large leaves visible holes where it enters and exits the fabric. A needle that is too small is hard to thread, hard to pull through, and frays the floss as it drags. The wrong type causes trouble too: freehand surface work needs a sharp point that pierces the weave, while counted work needs a blunt point that slips between threads. Match the needle to your thread weight and fabric weave, and keep a small assortment on hand.
Try this: test a needle on a fabric corner first. It should glide through without a fight.
Cost: $. Difficulty: Easy. Time: 3 minutes.
5. Choosing the wrong fabric
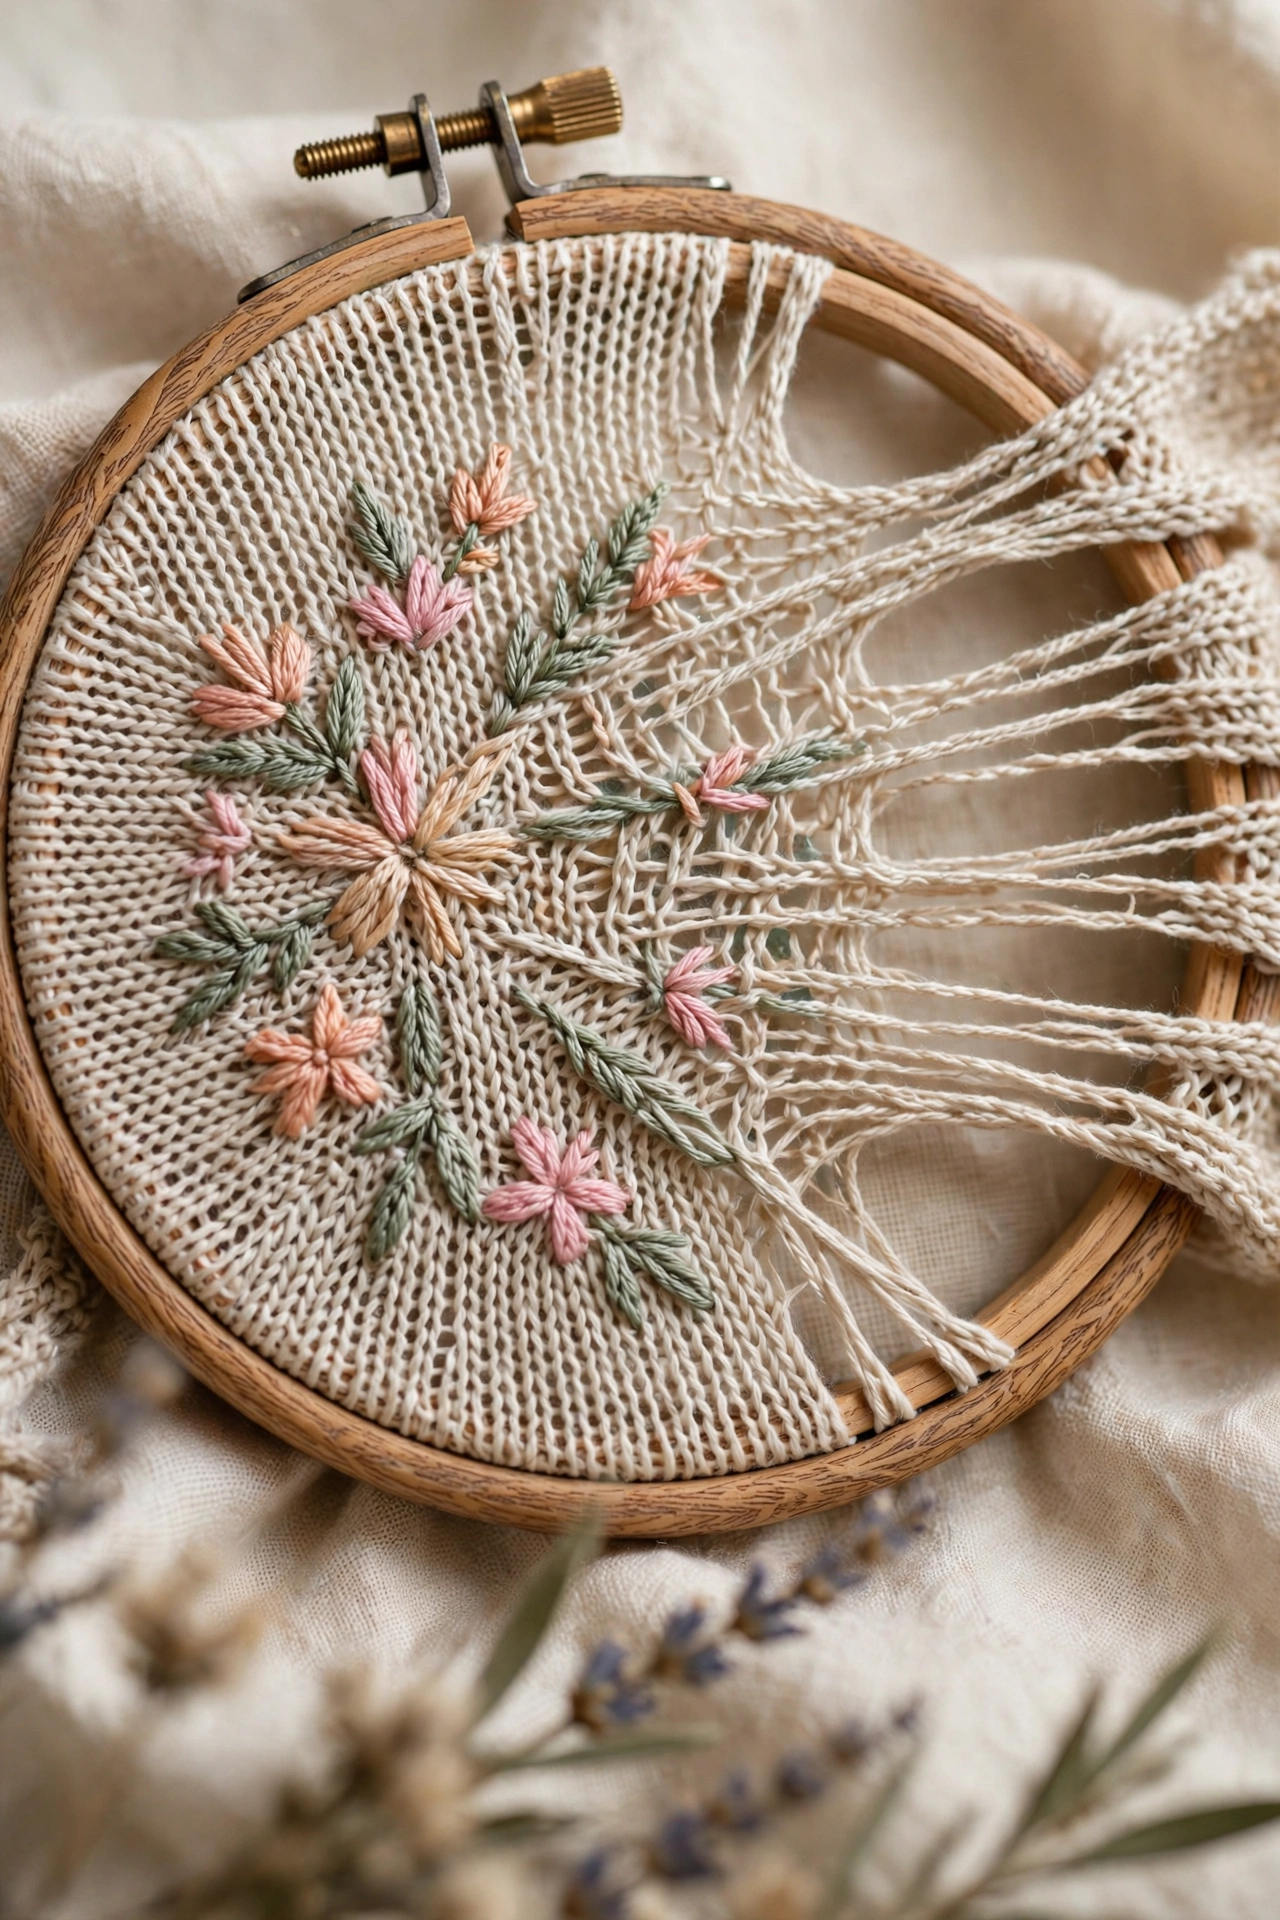
Stretchy or loosely woven fabric fights you from the first stitch. Stitches sink into open weaves, stretchy cloth shifts under the needle, and shapes come out uneven no matter how steady your hand is. Beginners learn fastest on a medium weight, firmly woven cotton or linen that holds its shape in the hoop. If you love a fabric that is too loose, fuse interfacing or a firmer cloth to the back before you stitch. That backing gives the stitches something solid to sit on.
Try this: hold the fabric up to light. A tight, even weave is a good sign.
Cost: $. Difficulty: Easy. Time: 5 minutes.
6. Skipping the transfer step

Stitching straight from a picture in your head gives you a design that drifts. Letters lean, circles wobble, and spacing changes halfway across the piece. Always transfer the design onto the fabric before you stitch. Pick the method for the design: if stitching will cover every line, a permanent transfer is fine, but for open or lacy work, use a removable method like a water soluble pen or ceramic chalk pencil. Lines that show after finishing are hard to hide.
Try this: transfer a small motif twice on scrap and test which pen rinses out clean.
Cost: $. Difficulty: Easy. Time: 10 minutes.
7. Starting with a bulky knot
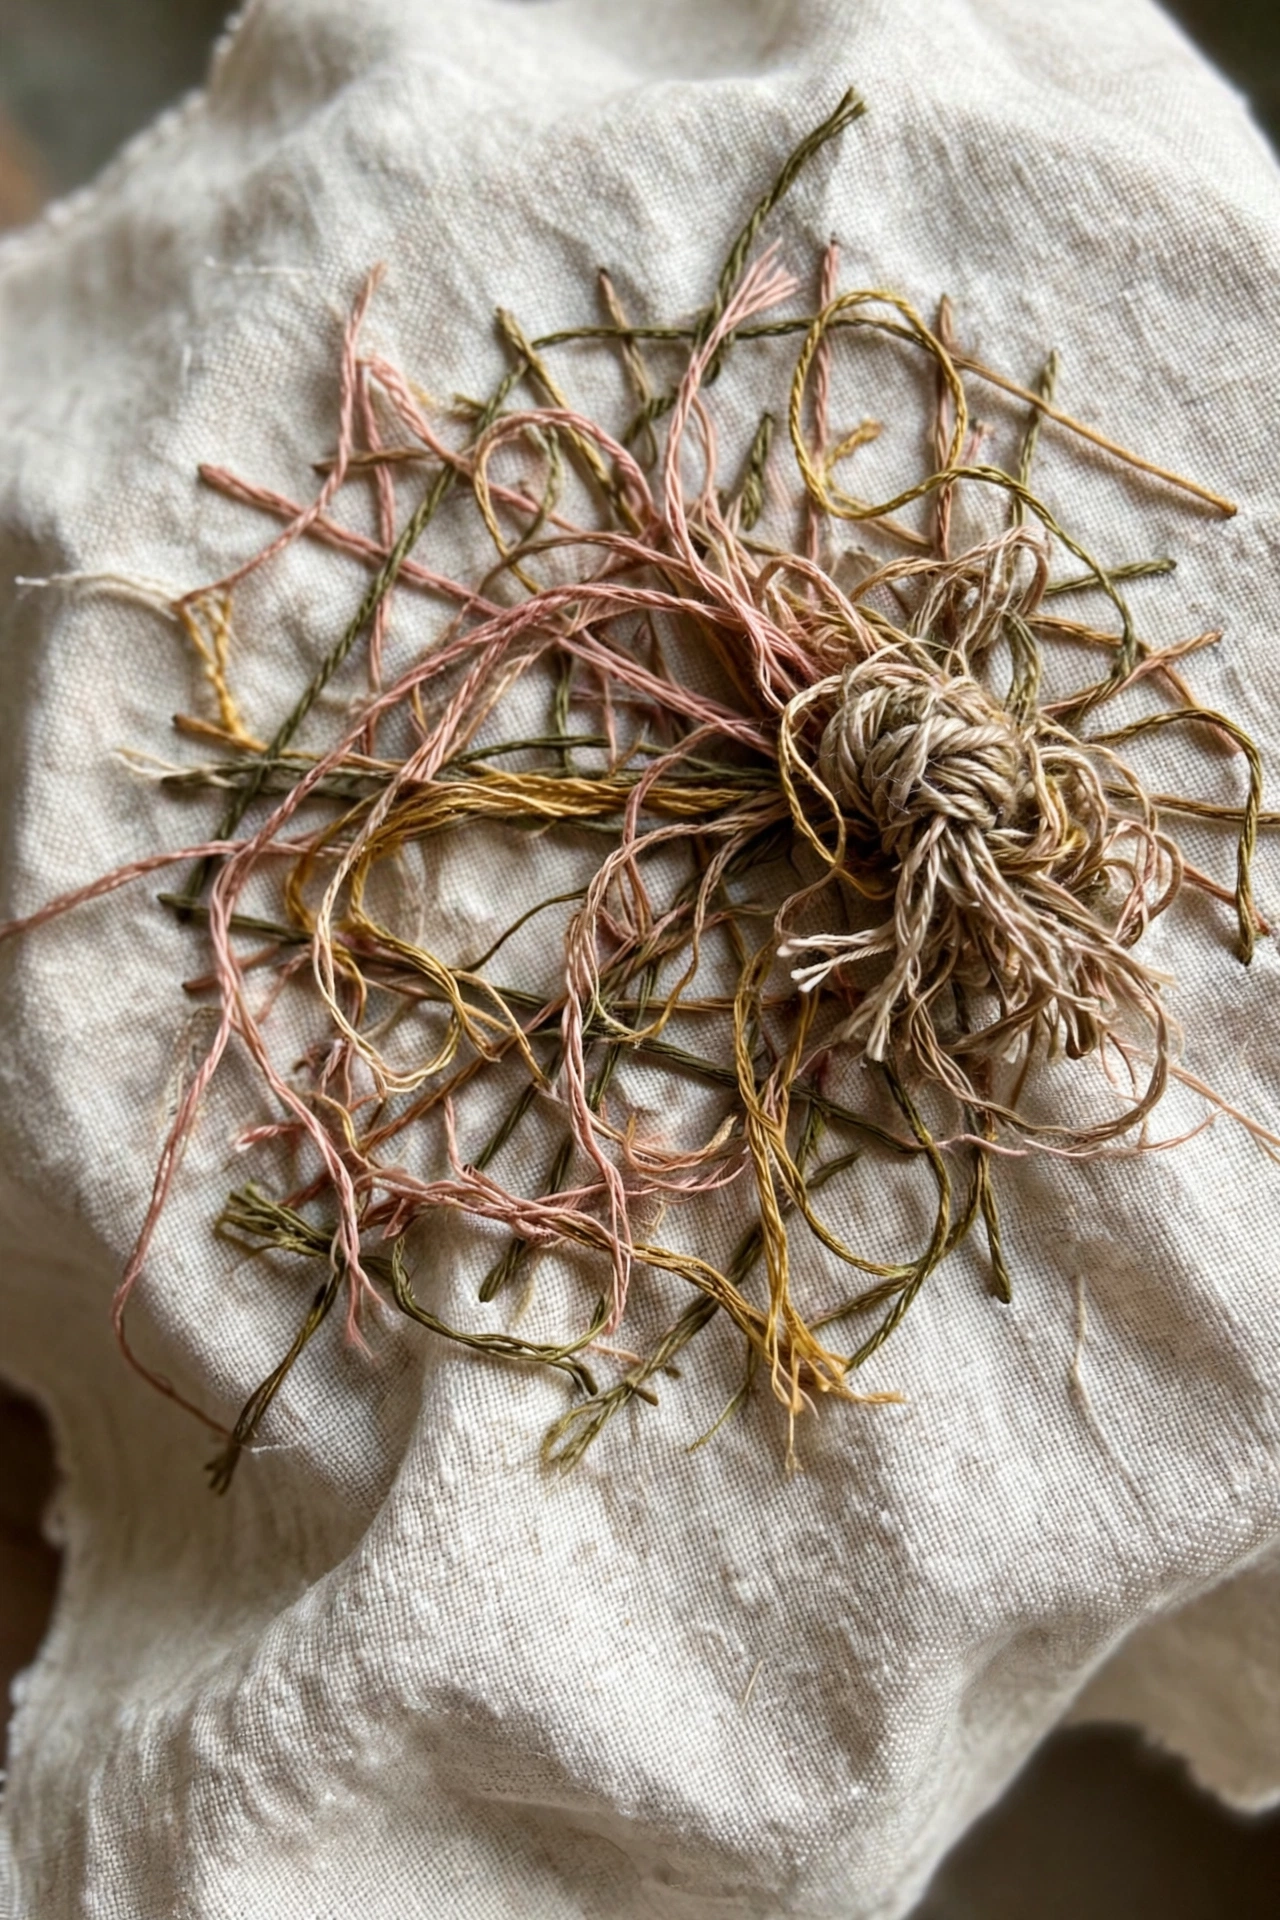
A big knot on the back stops your work from lying flat when you press or frame it. Knots also wobble loose over time, and a loose end can start unraveling nearby stitches. Skip the knot. Start with a waste knot on the front, a few stitches from your design, then snip it once the tail is caught. After that, start and end each thread by weaving the tail through stitches already worked on the back. The back stays flat and the thread stays put.
Try this: weave each tail through at least three existing stitches before trimming.
Cost: $. Difficulty: Easy. Time: 2 minutes per thread.
8. Not reading the pattern first

Jumping in without reading the pattern causes a chain of small errors. You use the wrong number of floss strands, so stitches look thin and gappy or thick and lumpy. You pick the wrong color, or you run out of thread halfway through because you never checked how much the design needs. Read the instructions twice before your first stitch: strand count, colors, stitch list, and finished size. Lay out every floss color next to the pattern so nothing is missing.
Try this: highlight the strand count for each section before you thread your first needle.
Cost: $. Difficulty: Easy. Time: 5 minutes.
9. Skipping a practice swatch

Starting on the final piece means your first stitches are also your learning stitches. Tension, spacing, and color choices all get tested in public, on fabric you care about. A scrap swatch catches all of that in private. Stitch a short line, a curve, and a filled shape on leftover fabric first, using the same needle, thread, and hoop you plan to use. You learn how tight to pull, how the colors read together, and whether the needle suits the cloth.
Try this: keep one swatch cloth in your kit and test every new thread on it.
Cost: $. Difficulty: Easy. Time: 10 minutes.
10. Stitching in poor light

Ordinary room light hides true colors and casts soft shadows across your work, so missed stitches and wrong shades only show up later in daylight. You stitch a whole section, then find the color reads differently. Stitch near a window in the daytime, or use a daylight lamp or daylight bulb in an ordinary lamp at night. Good light also saves your eyes during long sessions. If colors still look uncertain, step outside with the piece before you commit to a large area.
Try this: check every new floss color in daylight before you stitch with it.
Cost: $. Difficulty: Easy. Time: 2 minutes.
Common beginner hand embroidery mistakes compared
| Mistake | Warning sign | Fix | Cost | Time |
|---|---|---|---|---|
| Pulling stitches too tight | Puckered fabric, bent lines | Pull only until the stitch lies flat | Free | 5 minutes |
| Cutting thread too long | Tangles, knots, dull floss | Cut 18 inch lengths | Free | 1 minute |
| Skipping the hoop | Uneven, wobbly stitches | Hoop drum tight, re-tighten often | Free | 2 minutes |
| Using the wrong needle | Holes in fabric, frayed floss | Match needle to thread and weave | Under $5 | 3 minutes |
| Choosing the wrong fabric | Sinking stitches, shifting shapes | Firm cotton or linen, or add interfacing | Under $10 | 5 minutes |
| Skipping the transfer step | Drifting, uneven design | Transfer first, removable method for open work | Under $5 | 10 minutes |
| Starting with a bulky knot | Lumpy back, unraveling | Waste knot, then weave tails in | Free | 2 minutes |
| Not reading the pattern first | Wrong strands, wrong color | Read twice, lay out all floss first | Free | 5 minutes |
| Skipping a practice swatch | Learning stitches on the final piece | Test line, curve, and fill on scrap | Free | 10 minutes |
| Stitching in poor light | Wrong colors, missed stitches | Daylight or a daylight lamp | Under $10 | 2 minutes |
Cost key: $ means $1 to $10, $$ means $11 to $99, $$$ means $100 to $999, $$$$ means $1,000 and up.
How to set up a practice swatch that catches mistakes early
A good swatch is small and boring on purpose. Cut a scrap of the same fabric you plan to use, hoop it the same way, and thread the same needle and floss. Stitch one straight line, one curve, and one small filled shape. Then check three things: the fabric lies flat, the stitches sit evenly, and the colors read the way you expected. If anything looks off, change one thing at a time: looser pull, shorter thread, or a different needle. A swatch also tells you whether your transfer pen rinses out clean before it touches your real piece. Keep the swatch in your kit and add to it each time you try a new thread or fabric. It becomes a quick reference for what works.
Safety notes for hand embroidery
Keep needles, pins, and scissors away from babies and toddlers, and store them in a closed case or pincushion when you step away. A thimble protects your pushing finger, and good light protects your eyes during long sessions. Trim loose threads so they do not catch on other work. If a finished piece will go near a small child, skip beads, buttons, and glued decorations that could come loose, since small parts are a choking hazard. The American Academy of Pediatrics choking prevention guide explains which household items to keep away from infants and young children. For deeper study, the Embroiderers’ Guild of America offers study boxes on surface embroidery, color theory, and other techniques through its chapters.
For learning more about small-part safety, see the American Academy of Pediatrics choking prevention guide. For structured embroidery study, see the Embroiderers’ Guild of America study boxes.
Related reading
Once these habits feel natural, a first project is the next step. For a gentle first design, see our guide to 19 Easy Alphabet Embroidery With Flowers And Leaves, From Daisy Chains to Rose Vines for daisy chain initials, wildflower meadow letters, and rose vine scripts with stitches, costs, and time for each.
If you enjoy slow, creative pages as much as slow stitching, see our guide to 12 Easy Steps To Start Art Journaling, From First Wash to Finished Page for picking a journal and a five-tool kit to watercolor washes, torn-paper collage, and doodle pages, with costs, difficulty, and time for each.
For handmade gifts that use the same careful handwork, see our guide to 15 Thoughtful DIY Sewing Gifts for Friends That Feel Personal, Not Store-Bought for sewn gifts with materials, methods, and time labels.
For more beginner-friendly projects around the house, see our guide to 30 Creative DIY Home Decor Ideas for 2026 for a Home That Feels Like You for a full roundup of simple decor projects with costs and difficulty for each.
For gifts that pair well with a stitched piece, see our guide to 19 Amazing DIY Birthday Gifts for Friends That Feel Personal, Not Store-Bought for handmade birthday ideas with materials and time labels.
Frequently asked questions
Can I fix puckered embroidery after I finish stitching?
Sometimes. Light puckering relaxes with gentle pressing from the back on a soft towel, using steam and no sliding motion. Deep puckering from very tight stitches rarely flattens fully, because the fabric itself has been pulled out of shape. Prevention works better: pull each stitch only until it lies flat, and check the back often while you work.
How long should my embroidery thread be?
About 18 inches, roughly wrist to elbow. Shorter lengths tangle less, knot less, and stay glossy from start to finish. Longer thread wears dull as it passes through the fabric again and again, and the extra length makes knots more likely. Cut three short lengths at the start so a fresh one is ready when you need it.
Do I really need a hoop for hand embroidery?
Yes, for most beginner work. A hoop holds the fabric taut so your tension stays even from stitch to stitch. Without one, stitches vary in tightness and the design looks wobbly. A 6 inch hoop suits most beginner designs. Re-tighten the fabric when it slackens, and remove the hoop before storing a piece so it does not leave a crease.
What fabric is best for a first embroidery project?
A medium weight, firmly woven cotton or linen. Stable fabric holds its shape in the hoop and gives stitches a solid base to sit on. Stretchy cloth shifts under the needle, and loosely woven cloth lets stitches sink. If you love a loose fabric, fuse interfacing to the back first so the stitches have support.
Why does the back of my embroidery look messy?
Messy backs usually come from long thread tails, big knots, and long jumps of thread carried across open areas. Start with a waste knot or woven tails instead of a bulky knot, trim tails after weaving them through three existing stitches, and keep carried threads short. A tidy back also presses flatter and frames better.
Final thoughts
Every embroiderer makes these mistakes at the start. The difference between a frustrating first piece and a good one is rarely talent. It is a short thread, a taut hoop, a gentle pull, and a quick check of the back before small problems grow. Fix one habit on your next swatch, and the rest get easier from there.

For beautiful hand embroidery letters ideas, see our guide to 10 Beautiful Hand Embroidery Letters Ideas, From Satin Block Initials to Goldwork Monograms for satin-filled block initials and chain stitch script words to goldwork monograms and cross stitch samplers, with costs, difficulty, and time for each.
For hand embroidery stitches every beginner must learn, see our guide to 10 Hand Embroidery Stitches Every Beginner Must Learn, From Running Stitch to French Knots for running stitch and backstitch to satin stitch and French knots, with steps, costs, difficulty, and time for each.
For stunning hand beaded embroidery ideas, see our guide to 23 Stunning Hand Beaded Embroidery Ideas, From Lavender Sprigs to Moon Phases for lavender sprigs and moon phases to koi fish and coral reefs, with materials, costs, difficulty, and time for each project.


