



Setting up the Thanksgiving buffet on the kitchen island sounds simple until fifteen hungry people are circling it and the gravy is getting cold. I learned the hard way that a beautiful spread means nothing if guests cannot move through it. The island is the best buffet spot in most homes, but only if you set it up like a serving line, not a display.
These 15 Thanksgiving buffet setup ideas for kitchen islands cover the full layout: where the plates go, how to keep food hot, what to do about drinks and dessert, and how to decorate without blocking the food. Follow the flow from idea 1 to idea 15 and your island will serve a crowd smoothly.
Quick takeaways
- Plates go first, utensils and napkins go last, so guests’ hands stay free while serving.
- Risers and cake stands create height so every dish is visible and reachable.
- Keep hot foods hot with chafing dishes or slow cookers, and cold foods on ice.
- Perishable foods should not sit out more than 2 hours, per FDA guidance.
- Set up a backup refill station on a nearby counter to restock without blocking the line.
1. Start the line with plates
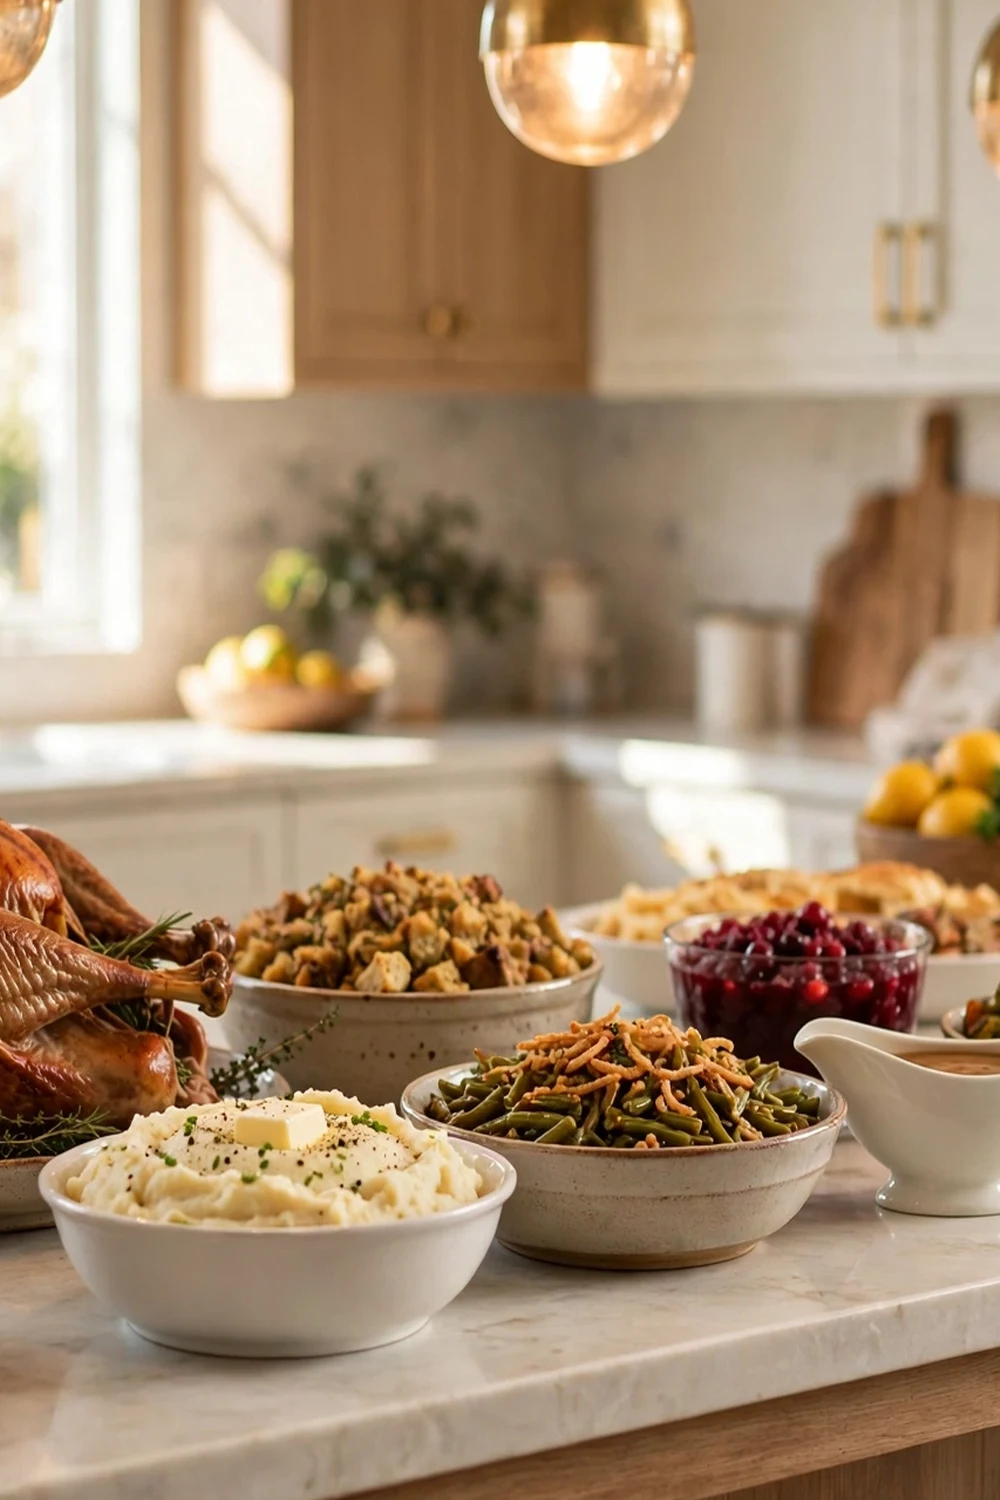
Stack the dinner plates at one end of the island so guests naturally begin there and move in one direction. Put the turkey right after the plates, then sides, then sauces, then bread and utensils at the far end. A one-way flow prevents the awkward shuffle of people reaching past each other. Mark the starting end with a small pumpkin so nobody begins in the middle. Try this: warm the plates in a low oven for 10 minutes so hot food stays hot longer. Cost: $. Difficulty: easy.
2. Build height with risers
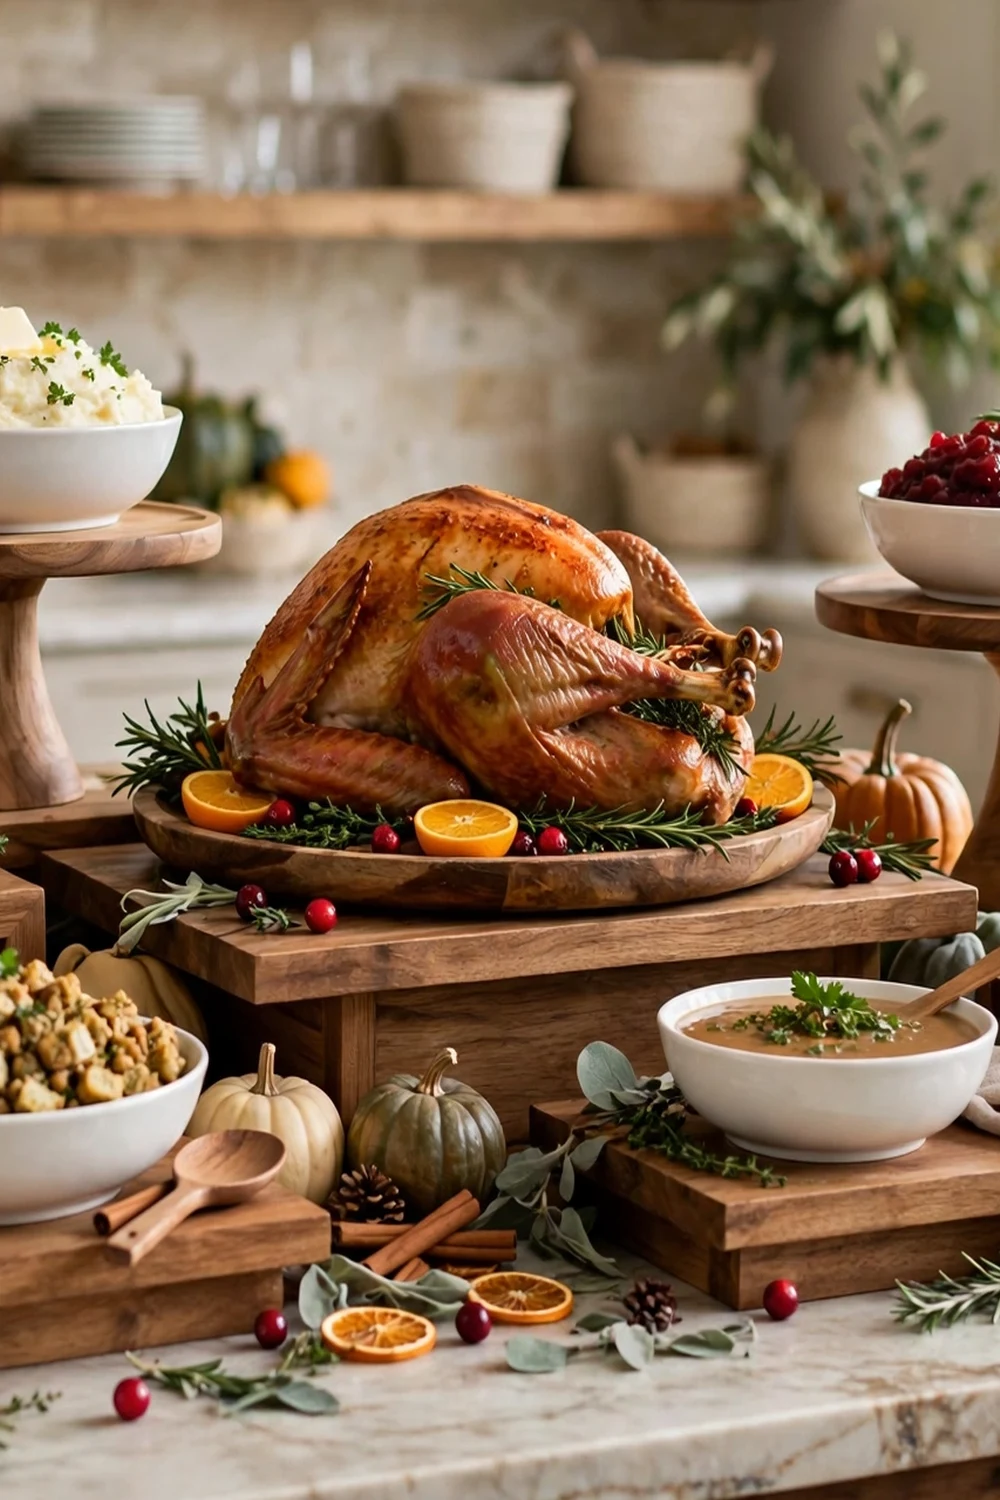
Flat spreads hide the dishes in back. Lift bowls and platters on wooden risers, cake stands, and overturned sturdy crates so every dish is visible from the line. Varying heights also makes the island look styled rather than crowded. Keep the tallest pieces in the center so they do not block anyone’s reach. Try this: these stunning tiered trays for fall decor double as beautiful risers for small sides and condiments. Cost: $$. Difficulty: easy.
3. Carve at the carving station
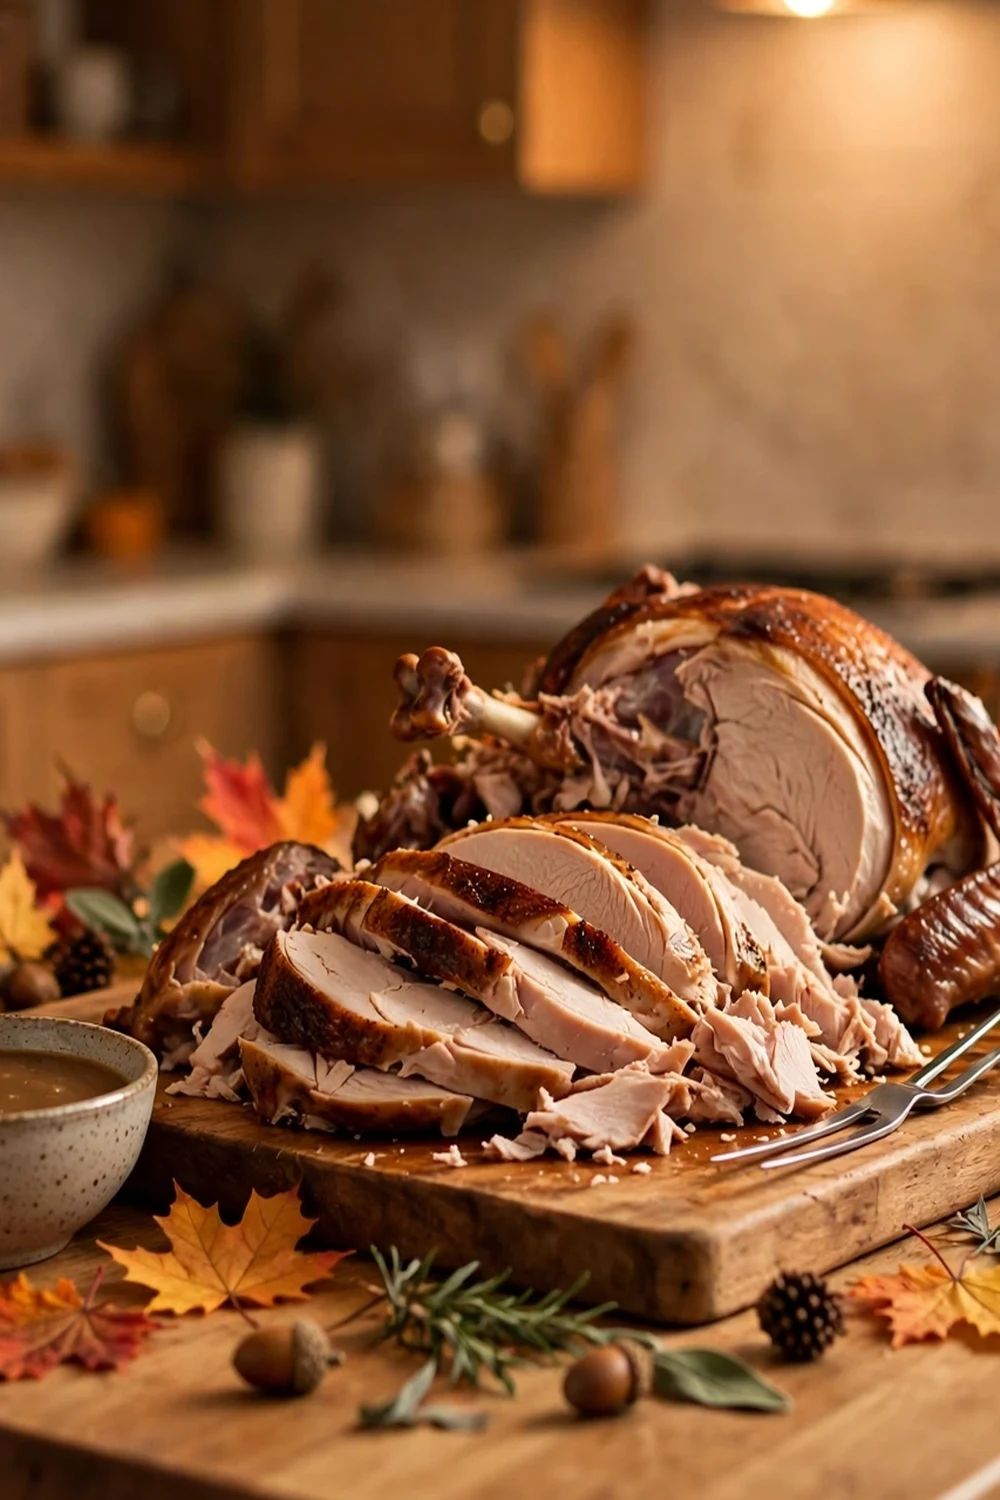
Give the turkey its own zone at the start of the line with a big cutting board, a sharp carving knife, and a serving fork. Carving to order keeps the meat juicier than pre-slicing everything, and guests love watching. Keep a small bowl nearby for bones and a damp towel for quick wipe-downs between guests. Try this: carve half the bird before guests arrive so the line never stalls. Cost: $. Difficulty: easy.
4. Keep sides hot in chafing dishes
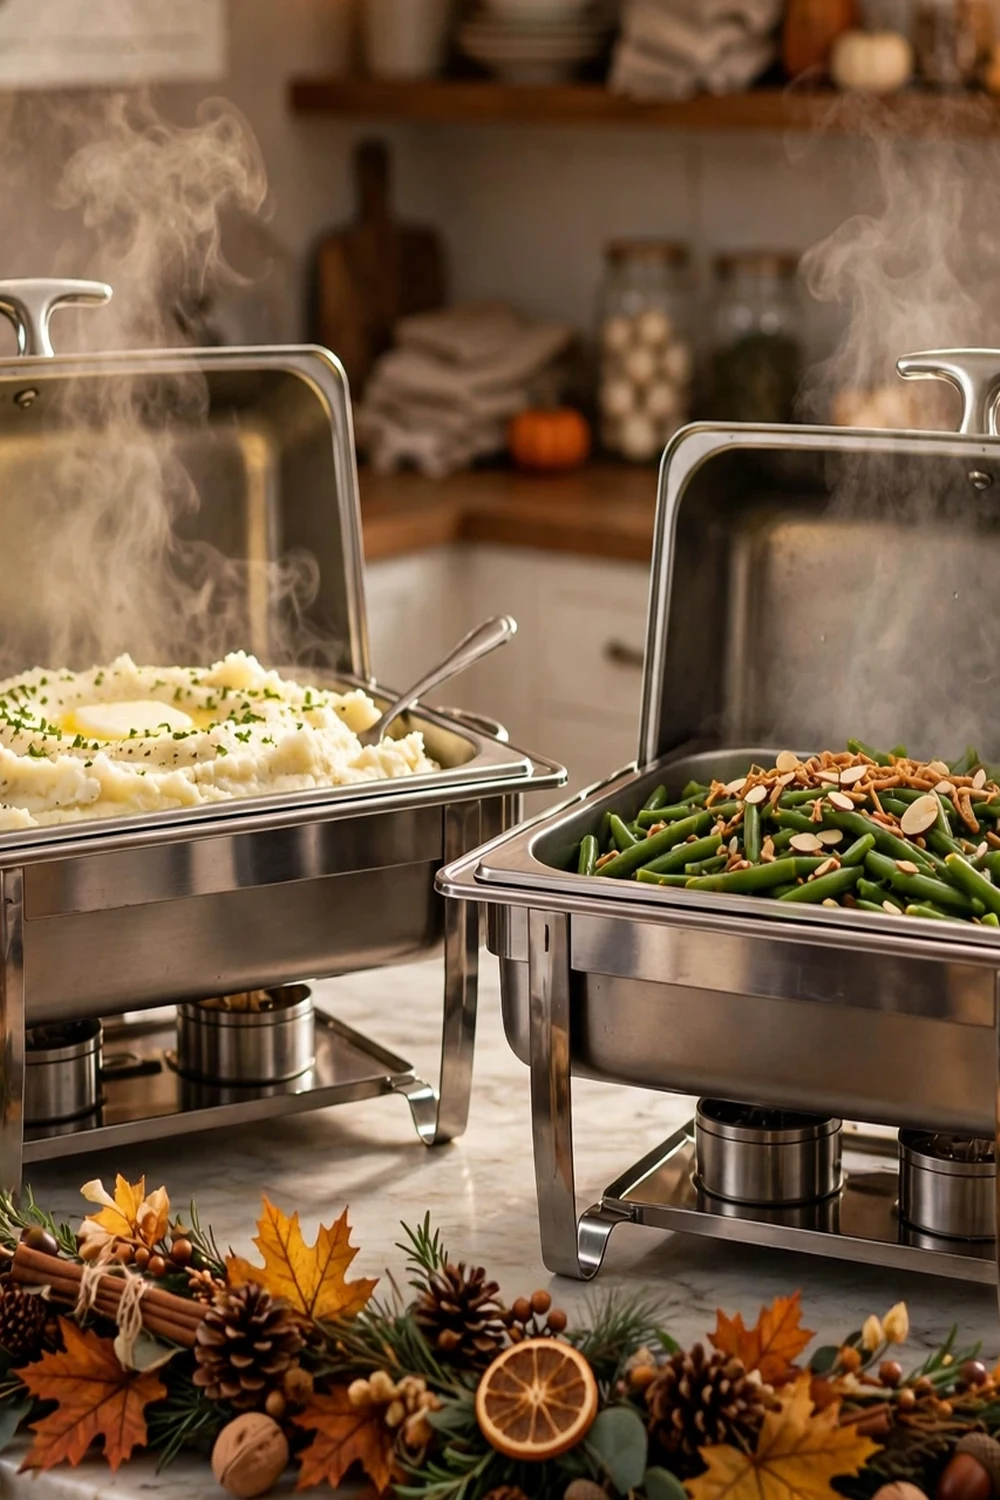
Mashed potatoes, stuffing, and green beans go lukewarm fast on a cool countertop. Line up two or three chafing dishes for the hot sides, with serving spoons and a spoon rest beside each. Split big batches into two smaller dishes so one can refill while the other serves. Check the Sterno guide to chafing dish setup for safe fuel handling before the party. Try this: put a damp towel under each dish to protect the countertop from heat. Cost: $$. Difficulty: easy.
5. Put drinks on the back side

Use the back side of the island for a self-serve drink station: a cider dispenser, stacked glasses, and a small ice bucket. Separating drinks from food means thirsty guests do not clog the serving line. Add cinnamon sticks and orange slices for a festive touch that costs almost nothing. Try this: label one dispenser “cider” and one “water” so kids grab the right one. Cost: $$. Difficulty: easy.
6. Extend the island for dessert

Set pies and desserts on the far end of the island or a connected extension, on cake stands at different heights. Keep dessert separate from the main line so guests are not juggling pie while serving turkey. A small stack of dessert plates and forks beside the pies completes the station. Try this: slice the first pie before guests arrive to encourage the shy ones. Cost: $$. Difficulty: easy.
7. Label every single dish

Little tent cards in front of each dish save you from answering “what is this” forty times and help guests with allergies steer clear of problem ingredients. Note the dish name and the big allergens: nuts, dairy, gluten. Blank cards and a marker take five minutes and make the whole spread look professional. Try this: tuck the cards into mini pumpkins or pinecones for a fall look. Cost: $. Difficulty: easy.
8. Run a runner down the center

A table runner down the middle of the island ties the whole buffet together and protects the countertop from scratches and drips. Burlap, plaid flannel, or a fall quilt runner all work; just keep it narrow so it does not steal serving space. Tuck mini pumpkins and eucalyptus along it between the dishes. Try this: these free table runner fall quilt patterns include narrow designs sized for islands. Cost: $$. Difficulty: easy.
9. Keep the centerpiece low
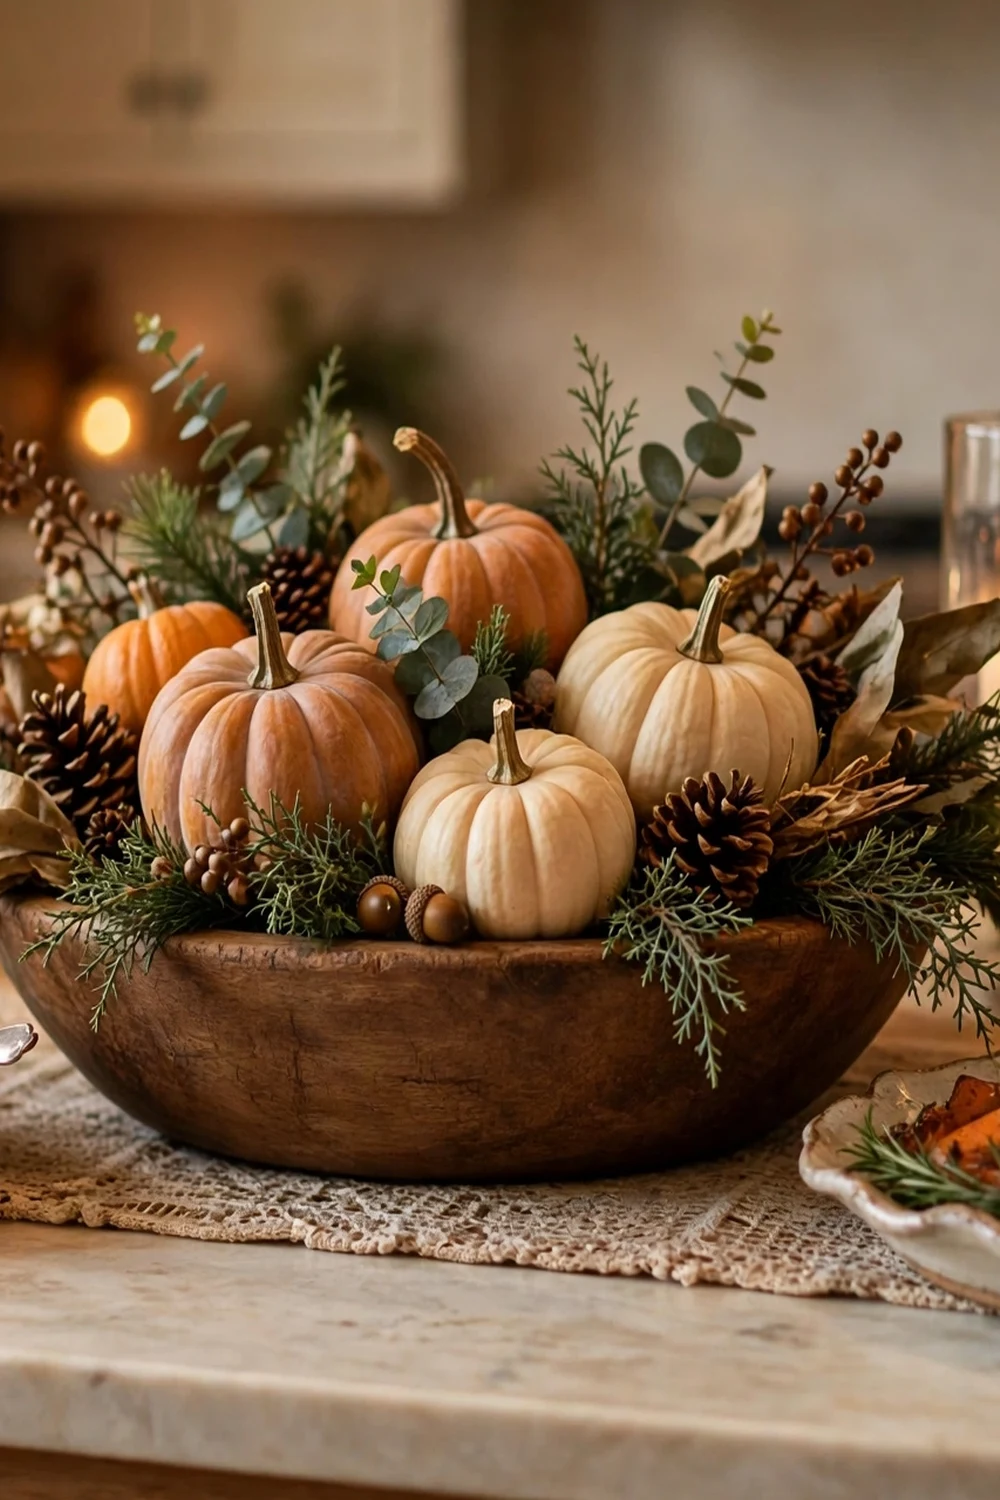
A low dough bowl of pumpkins, greenery, and pinecones adds warmth without blocking sightlines or reaching arms. Anything tall in the middle of a buffet becomes an obstacle guests have to serve around. Keep every decorative element under eight inches in the serving zone and save the tall drama for the sideboard. Try this: build the centerpiece on a tray so you can lift the whole thing off if you need the space. Cost: $$. Difficulty: easy.
10. End with the utensil basket

Forks, knives, spoons, and napkins go at the very end of the line so guests are not balancing a full plate while grabbing silverware. A woven basket or galvanized bucket keeps it tidy and matches fall decor. Roll napkins around the flatware for a polished look that also keeps things sanitary. If you are using disposable flatware for a big crowd, stand the bundles upright in a tall jar so they are easy to grab. Try this: put a few extra napkins here; someone always needs one mid-line. Cost: $. Difficulty: easy.
11. Add a kids’ snack corner
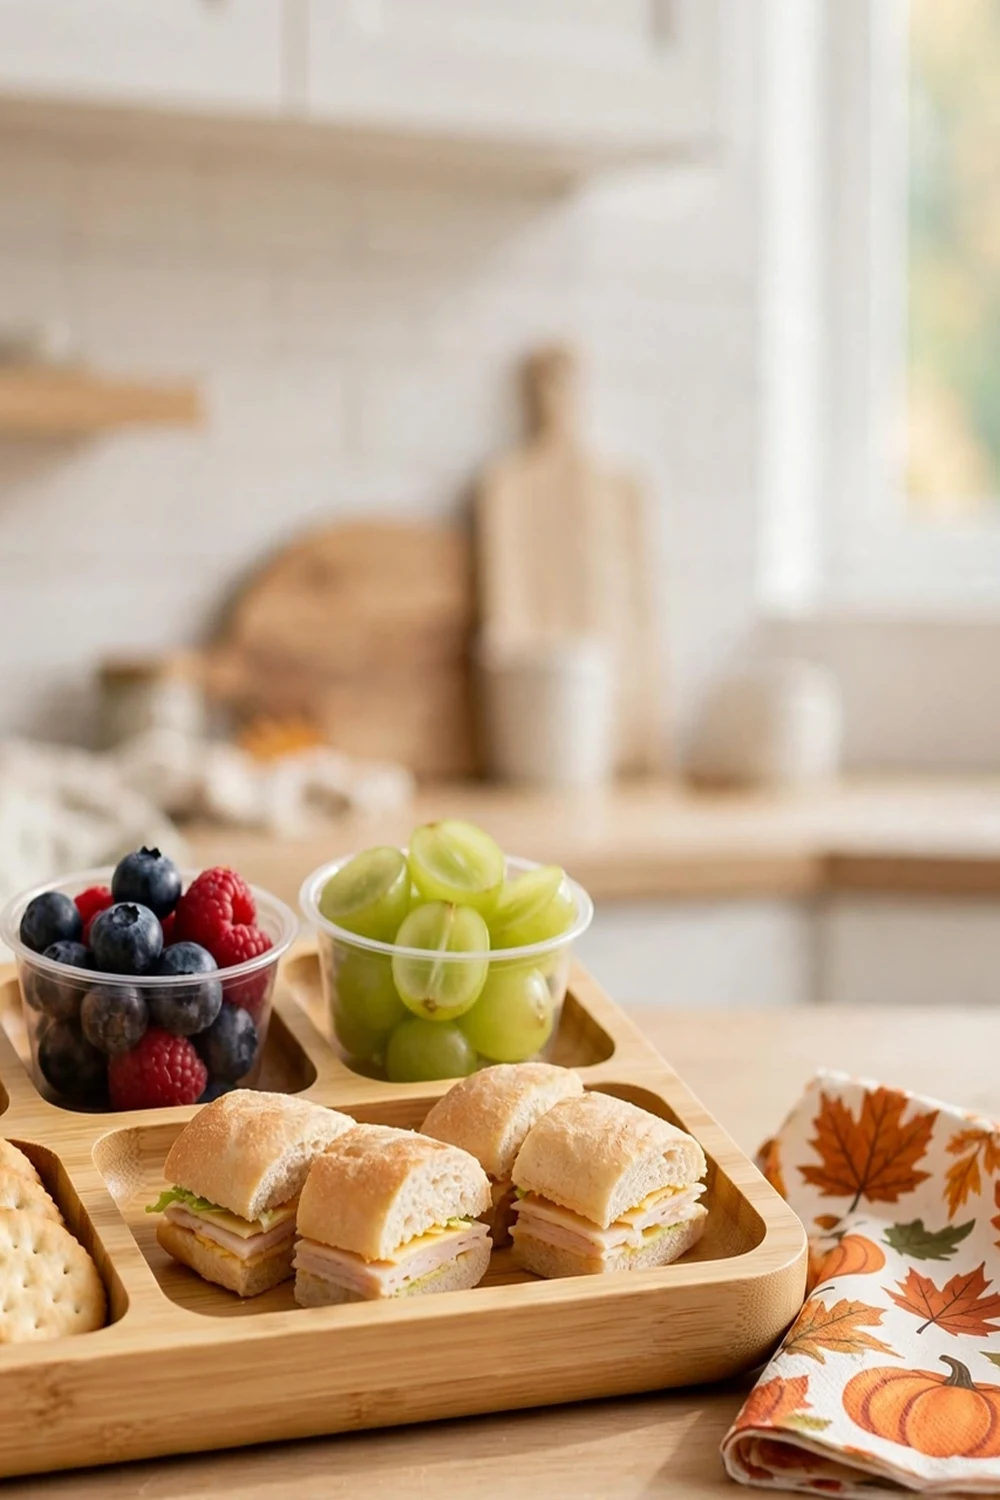
Little kids will not wait for the main line. Set a low tray of cheese cubes, fruit, crackers, and mini sandwiches at kid height on a nearby counter so they can graze without reaching over hot dishes. It keeps small hands away from the chafing dishes and buys you a calm hour. Try this: use small cups instead of a shared bowl to cut down on double-dipping. Cost: $$. Difficulty: easy.
12. Line up gravy and sauces

Gravy, cranberry sauce, and any special sauces get their own row after the sides: a gravy boat, easy-pour pitchers, and small spoons. Sauces in awkward containers slow the line, so decant everything into pourable vessels before guests arrive. Keep a backup gravy boat warming on the stove. A small ladle in the gravy boat beats a spoon for neat pouring over mashed potatoes. Try this: warm the gravy boat with hot water first so the gravy does not skin over. Cost: $. Difficulty: easy.
13. Finish with the bread basket

Warm rolls and cornbread sit at the end of the line in a cloth-lined basket with a butter dish alongside. Bread last means it does not get crushed under the turkey, and guests grab it on their way out of the line. Cover the basket with a clean towel to hold the warmth. Try this: time the rolls to come out of the oven ten minutes before serving. Cost: $. Difficulty: easy.
14. Set up a coffee station
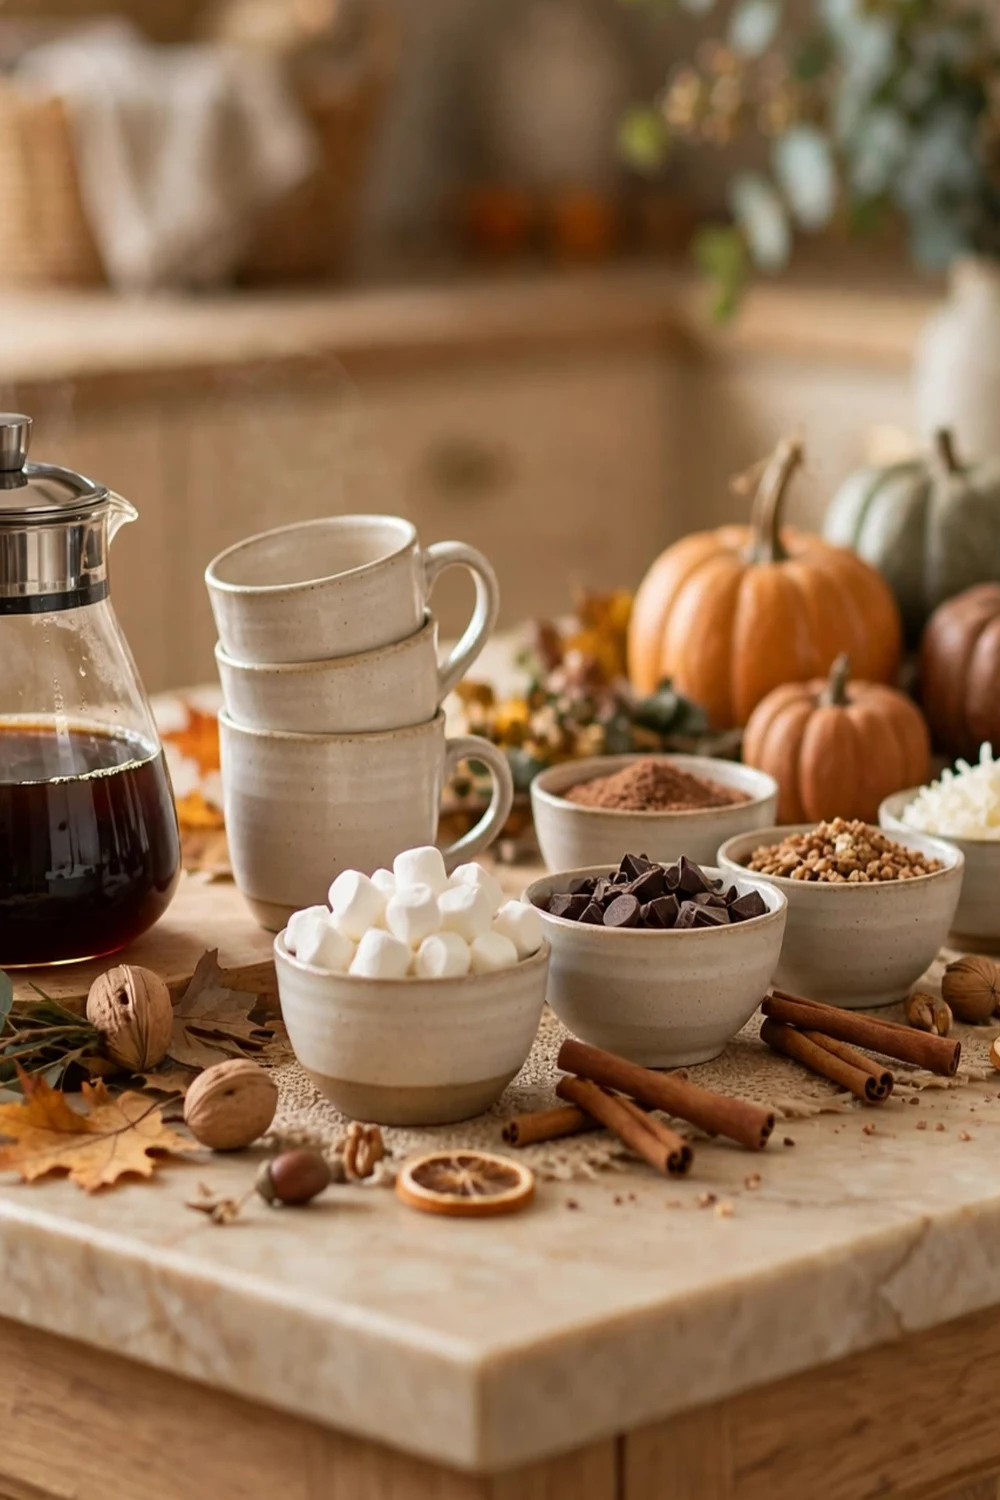
After dinner, the island converts to a coffee and hot cocoa bar: carafe, stacked mugs, and small bowls of toppings like whipped cream, cinnamon, and marshmallows. Clear the dinner dishes first so the station feels fresh. Guests linger longer when the coffee is easy to reach. Set out a small trash bowl for stir sticks and sugar packets so the station stays tidy all evening. Try this: add a decaf option and label it clearly for the evening crowd. Cost: $$. Difficulty: easy.
15. Stage backups on the next counter

Keep covered backup dishes on the nearest counter so you can refill the island without squeezing through the guest line. Foil-covered casseroles, an extra platter of turkey, and spare serving spoons wait here. Refill a dish when it hits one-third full, not when it is empty, to keep the line moving. Cover everything with foil or lids so the backups stay hot and look intentional. Try this: assign one helper the refill job so it actually happens. Cost: $. Difficulty: easy.
Buffet setups at a glance
How to lay out the island step by step
Clear the island completely first, then lay the runner down the center. Place plates at one end and work toward the other: turkey, hot sides, cold sides, sauces, bread, utensils. Put the drink station on the back side and desserts on the extension. Walk the line yourself with an empty plate before guests arrive; if you have to reach over anything or double back, rearrange it now.
For the decorative side of the spread, these flower Thanksgiving centerpieces add color without blocking the food, as long as you keep them low.
Food safety for buffet serving
Hot foods need to stay hot and cold foods cold. Use chafing dishes, slow cookers, or warming trays for anything meant to be served warm, and nest cold dishes over ice. Perishable foods should not sit at room temperature for more than 2 hours, so note when you set the food out and refresh or refrigerate leftovers promptly. The FDA food safety resources cover safe serving temperatures and the 2-hour rule in detail. Keep raw and cooked foods separate, and give every dish its own serving utensil to avoid cross-contamination.
Frequently asked questions
Where do you put plates on a Thanksgiving buffet?
At the very start of the serving line, so guests pick one up first and move in one direction. Put napkins and utensils at the far end so guests’ hands stay free while they serve themselves.
How do you keep Thanksgiving food warm on a kitchen island?
Use chafing dishes with fuel canisters for hot sides, slow cookers for mashed potatoes or meatballs, and warming trays for platters. Warm the serving dishes first, and refill from backup dishes kept hot on the stove rather than letting the line go empty.
How long can Thanksgiving food sit out on a buffet?
Perishable foods should not sit at room temperature for more than 2 hours, according to FDA guidance. Note the time you set food out, and refrigerate leftovers promptly. On warm days or in warm kitchens, that window shrinks.
Should the Thanksgiving buffet go on the kitchen island or dining table?
The island usually wins: guests can access both sides, traffic flows in one direction, and the dining table stays free for seating and place settings. Use the island when it is clear of prep work; otherwise a sideboard or folding table against a wall works.
How do you decorate a Thanksgiving buffet without blocking food?
Keep every decorative element low, under eight inches in the serving zone, and save tall pieces for the ends or a nearby sideboard. A narrow runner, mini pumpkins, and a low dough-bowl centerpiece add style without stealing serving space.
What do you do with the island after dinner?
Clear the dinner dishes, wipe the island down, and convert it to a dessert and coffee station. Cake stands of pie, a coffee carafe, and mugs turn the same space into the evening gathering spot with almost no extra work.
A kitchen island Thanksgiving buffet works when it runs like a good restaurant line: clear direction, hot food hot, and refills ready before anything runs out. Set it up once using this order and you will spend the holiday enjoying your guests instead of managing the food.
For dough bowl ideas for kitchen island styling, see our guide to 20 Dough Bowl Ideas for Kitchen Island That Still Leave Room to Cook for an everyday fruit bowl, a potted herb bowl, a candle trio, a two-bowl long island, and a seasonal swap bowl.


