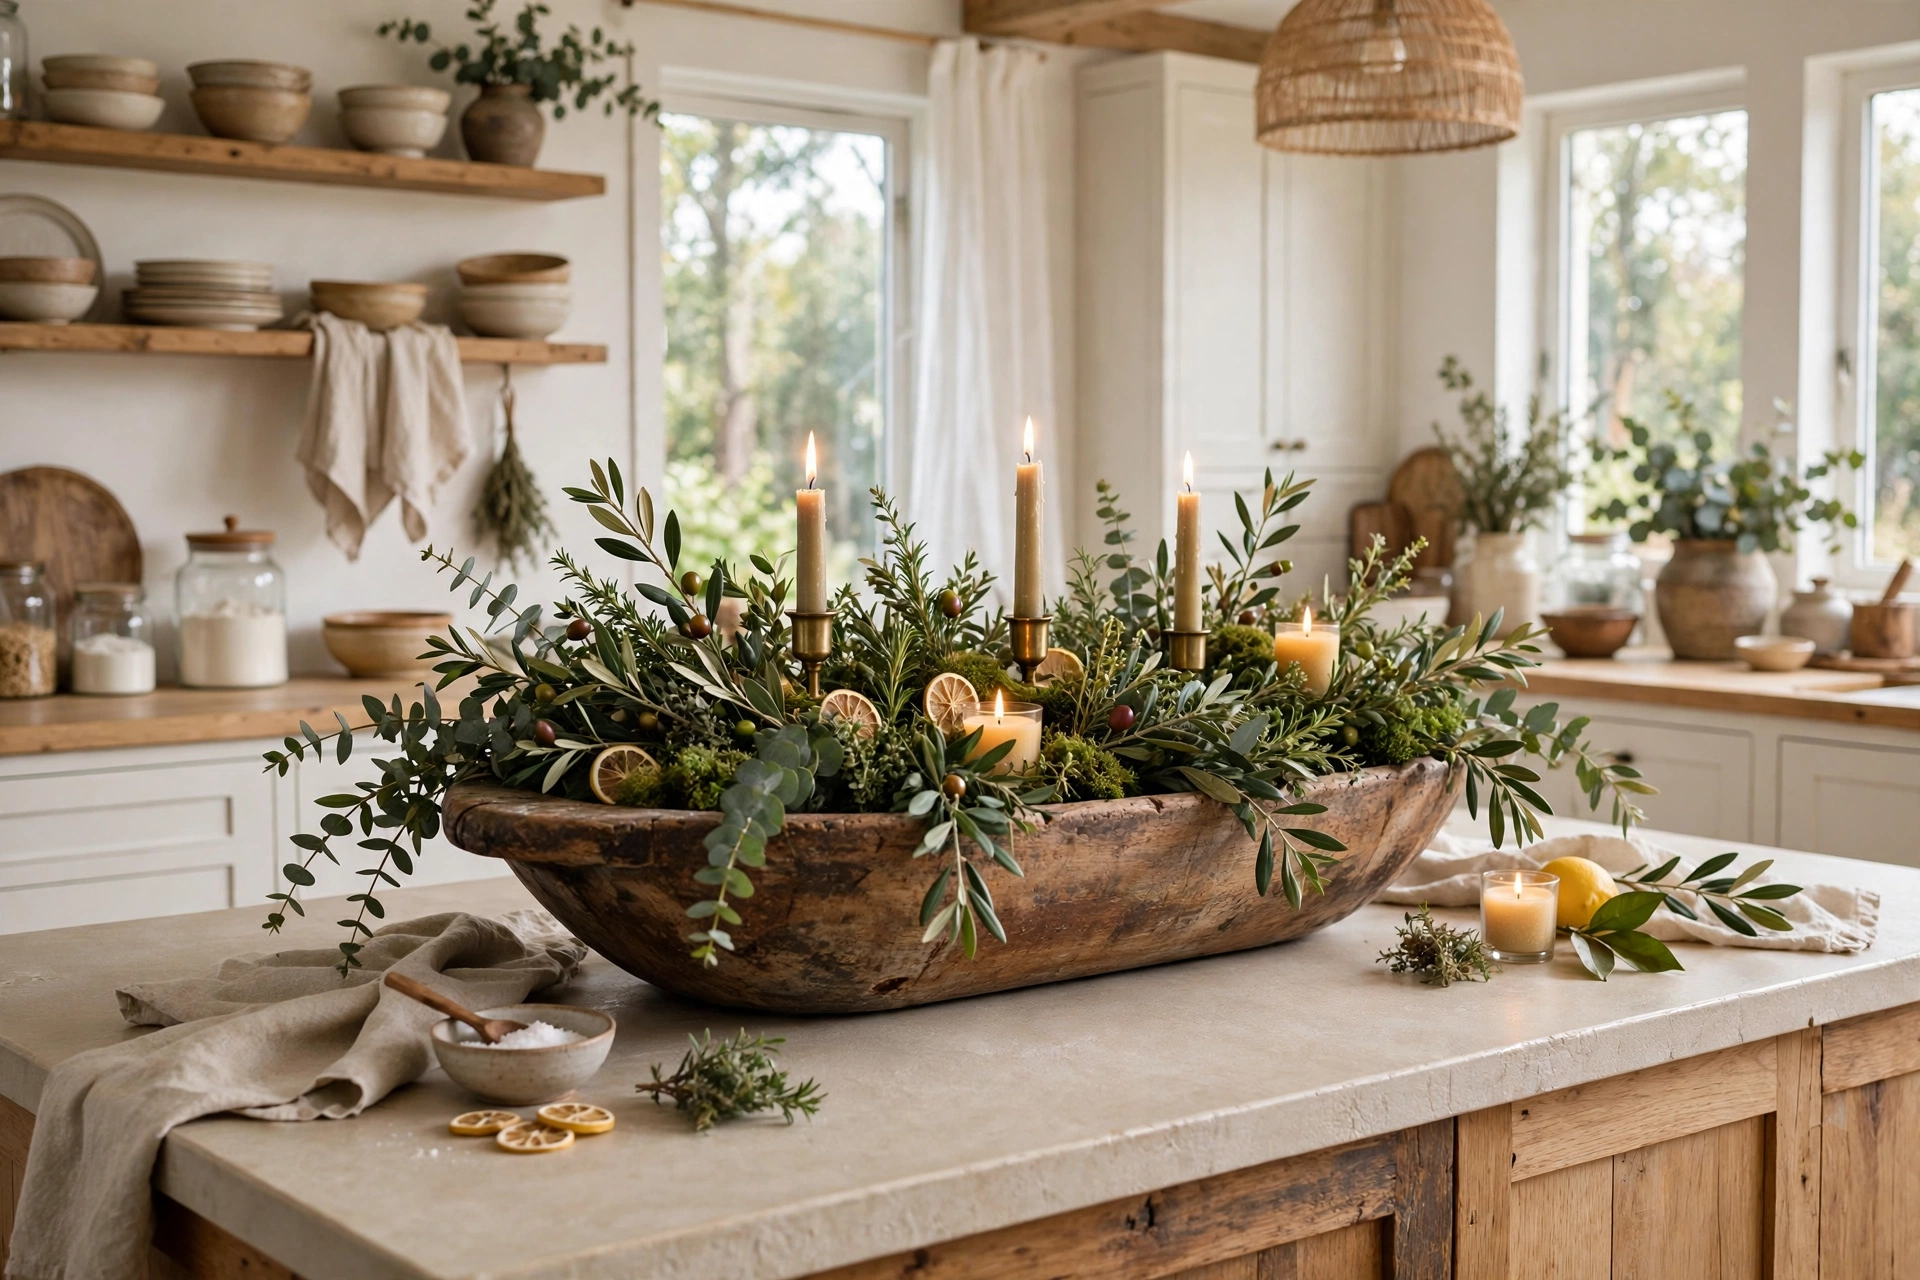
A kitchen island collects everything. Mail lands there, keys land there, and the fruit bowl migrates there by itself. A dough bowl gives that middle stretch a job, so the island looks styled without losing the space you cook on.
This guide covers 20 dough bowl ideas made for kitchen islands specifically. Each one notes the bowl size, the filler, and the cost, so you can pick one that fits your island length and still leaves room to chop, plate, and set down a hot pan.
Quick takeaways
- Size the bowl to about one-third to one-half of your island length, and keep it at one end when you need prep space.
- Low fills beat tall ones on an island, since you need sightlines across the room.
- One bowl plus four seasonal filler swaps costs less than four separate displays.
- Felt pads under the bowl stop scratches on stone and wood counters.
- Battery candles are the safe pick near dried fillers, moss, and fabric.
How to size a dough bowl for your island
Measure the island first, then shop. A bowl that runs about one-third to one-half of the island length looks anchored without crowding the surface. On a 6-foot island, that means a bowl around 24 to 36 inches long. On a small 4-foot island, one 18 to 22 inch bowl is plenty, and two small bowls beat one oversized one.
Depth matters as much as length. A shallow bowl, about 3 to 4 inches deep, holds fillers without hiding them, and it slides to one end when you need the counter back. Set the bowl on felt pads or a thin board so the rough wood base never drags across stone, quartz, or butcher block. Keep the display low, under about 12 inches tall, so people seated at the island can still see each other across it.
1. Everyday fruit bowl
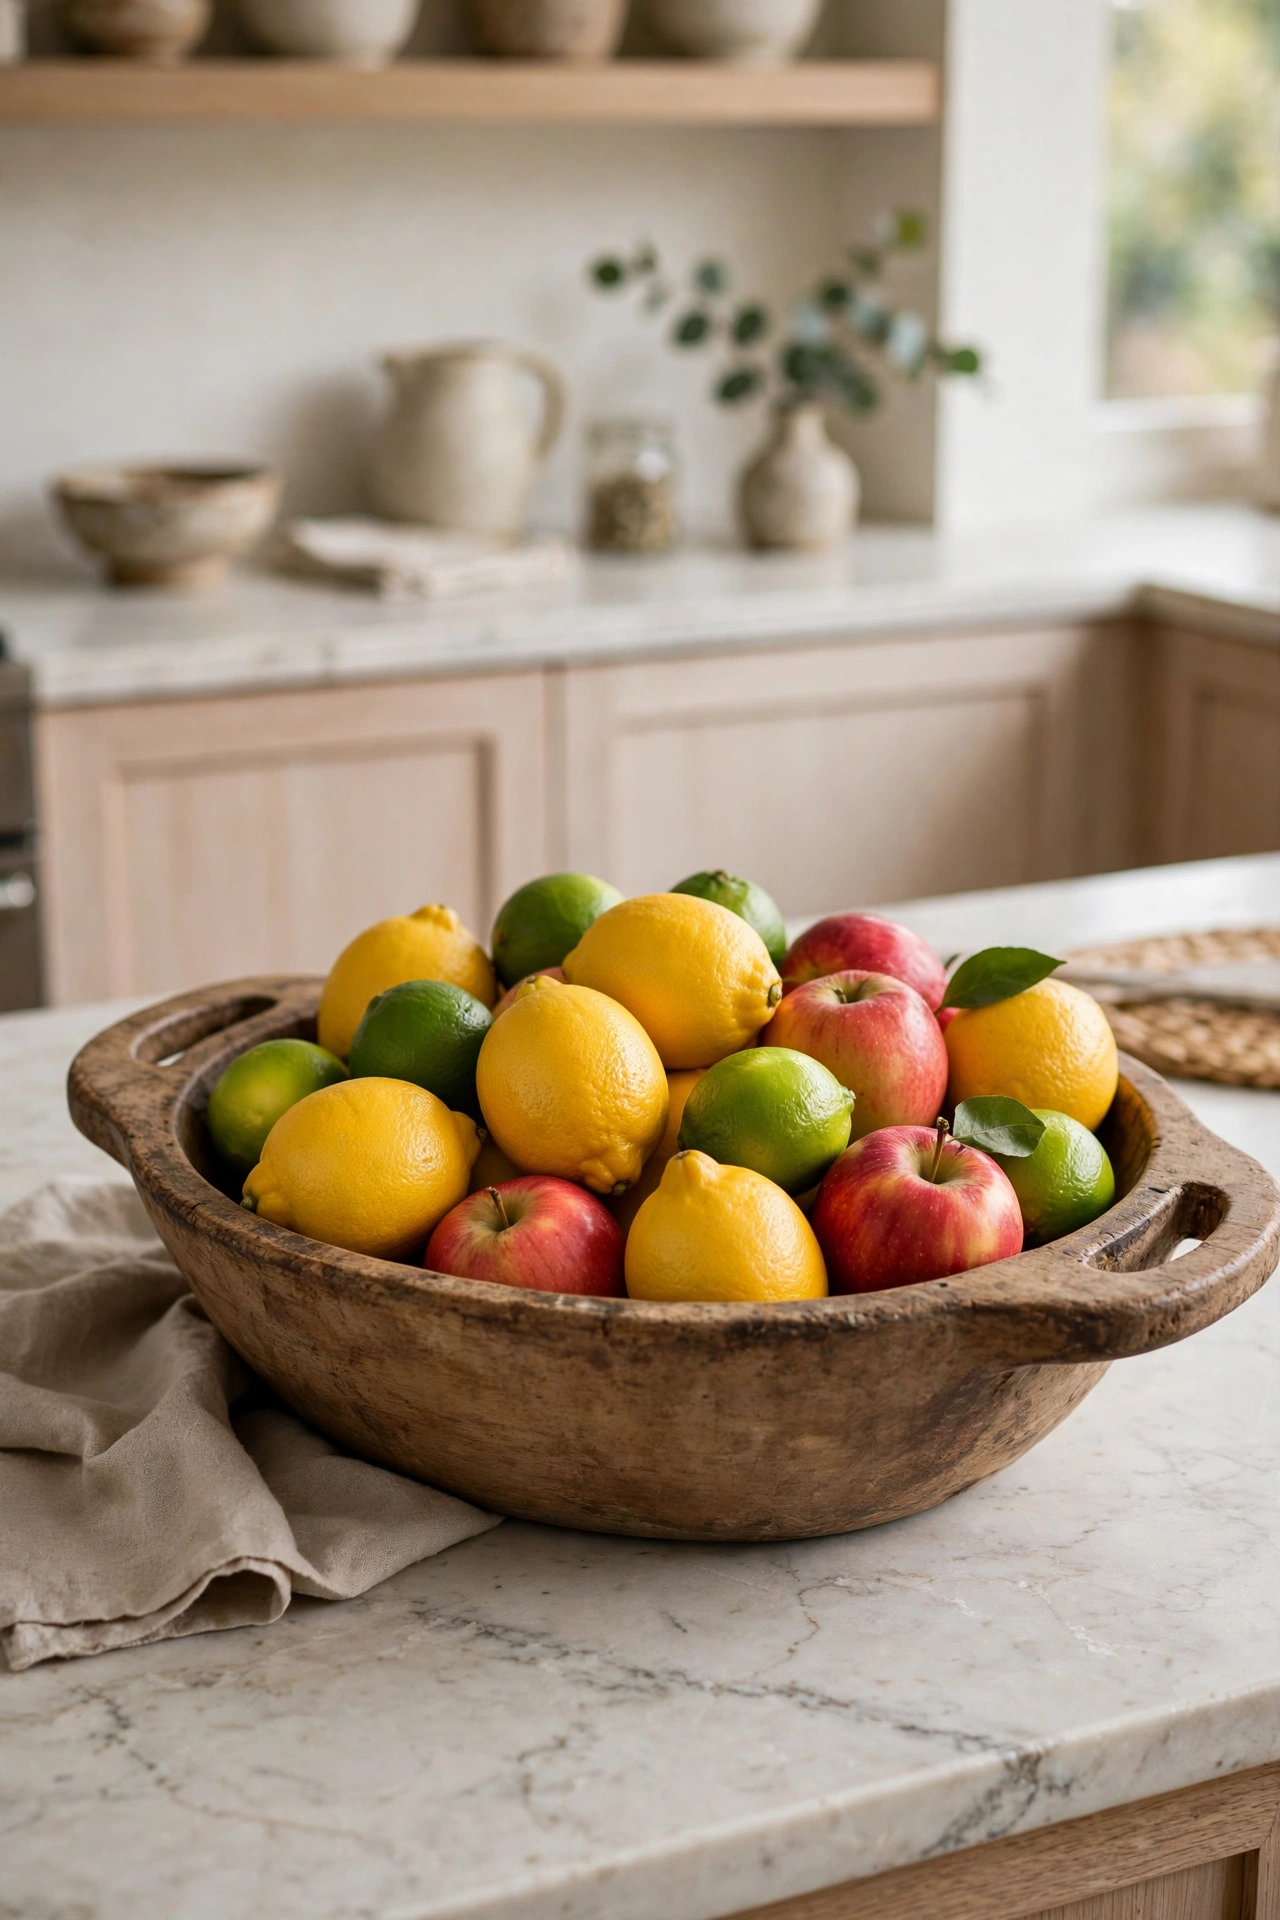
Start with the bowl that earns its place. A 24 inch dough bowl filled with lemons, limes, and a few apples gives the island color and gives your household something to grab. Keep the fruit to one layer so nothing hides underneath and spoils. Wash the fruit before it goes in, and swap any soft piece the same day you spot it. This bowl sits best at the island end farthest from the stove, where hands reach it without crossing a hot pan.
Try this: put a folded linen napkin under the fruit so the bowl base stays clean and the colors read softer.
Cost: $ | Difficulty: Easy.
2. Potted herb bowl

Three small terracotta pots of basil, parsley, and mint fit neatly inside a medium dough bowl, and the bowl catches soil drips that would otherwise reach the counter. Snip what you need while you cook, then set the bowl back in its spot near a window side of the island. Water the pots in the sink, never in the bowl, so the wood stays dry. Rotate the pots once a week so each plant gets even light.
Try this: tuck a layer of small pebbles under the pots so they sit level and drain away from the wood.
Cost: $$ | Difficulty: Easy.
3. Bread and linen bowl

A loaf of bread in a linen-lined dough bowl turns the island into a serving station without any extra dishes. The linen keeps crumbs contained, and the bowl shape keeps the loaf from rolling. This works best on the island end near the dining table, where people slice and serve. Use a board under the bowl if you cut bread directly beside it, and swap the linen every two or three days.
Try this: add a small butter dish and a bread knife beside the bowl on a shared board for a complete setup.
Cost: $ | Difficulty: Easy.
4. Morning coffee bowl
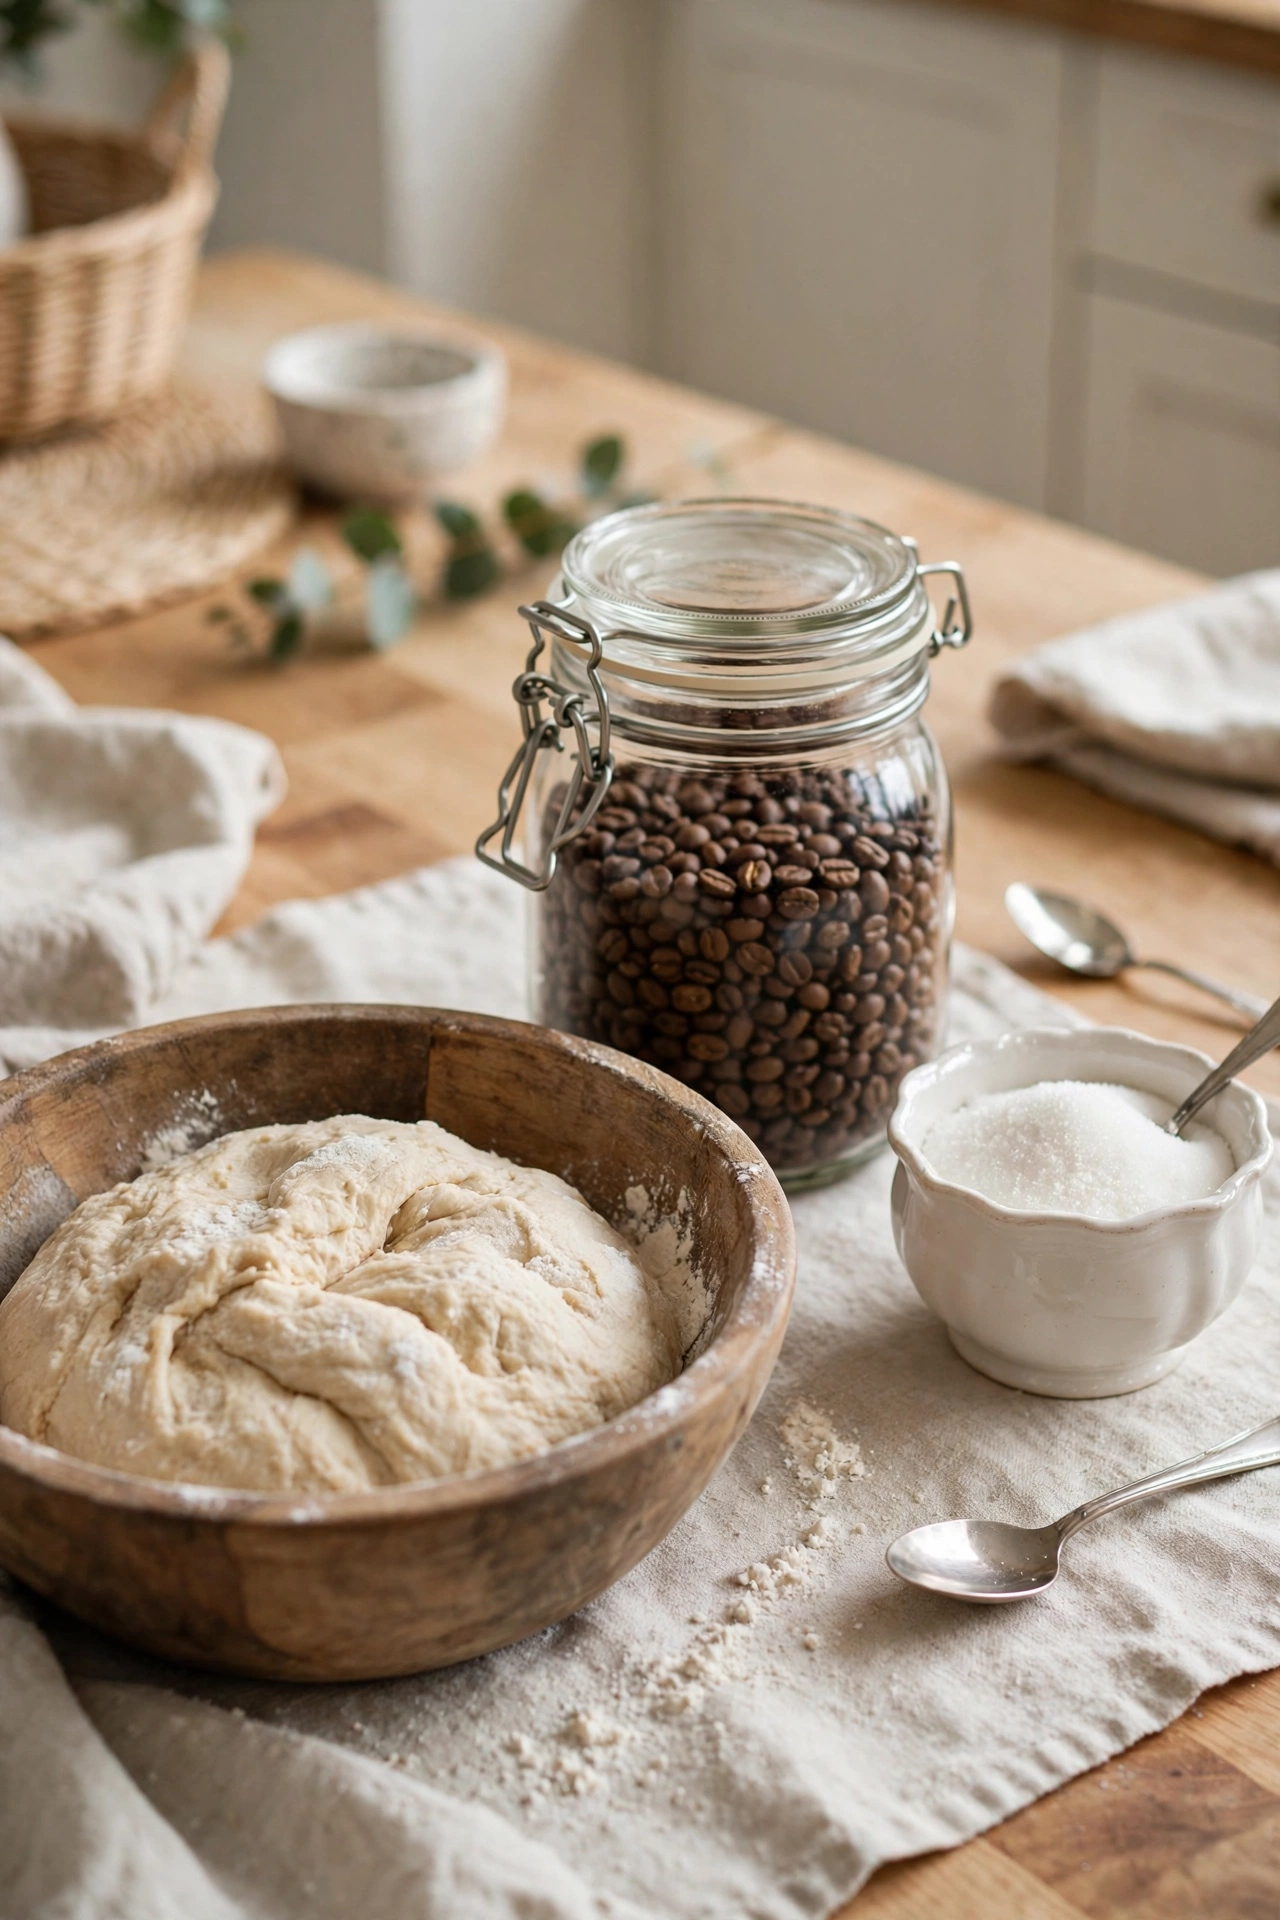
Group the coffee routine into one bowl and the island stays tidy through the morning rush. A small jar of beans, a covered sugar bowl, and a spoon cup fit inside a 20 inch dough bowl with room to spare. Keep the bowl near the coffee maker side of the island, away from the sink splash zone. Refill the jars once a week so the setup never looks half empty.
Try this: add a tiny vase with one fresh stem to soften the hard jars and tins.
Cost: $ | Difficulty: Easy.
5. Battery candle trio bowl
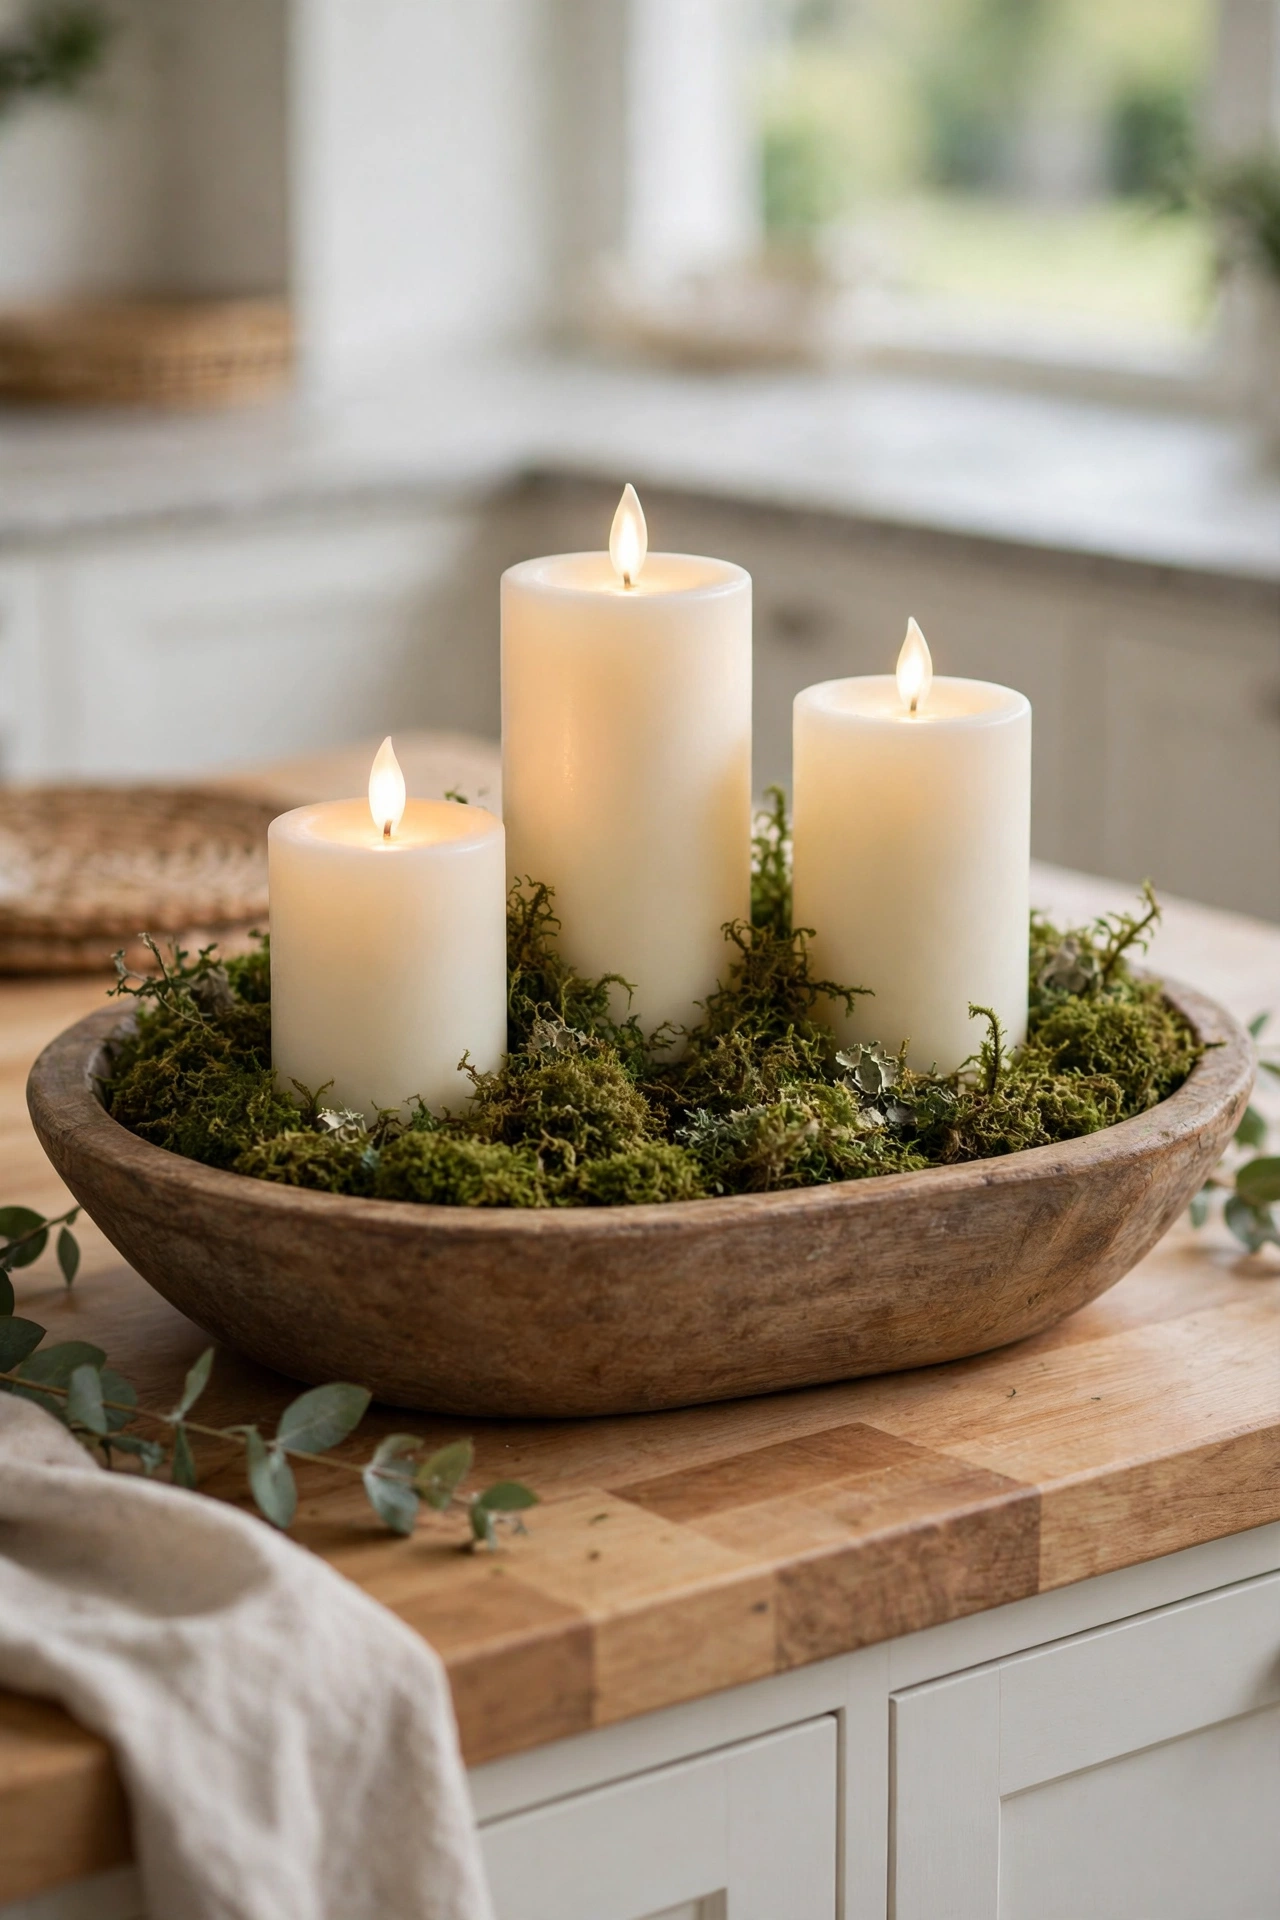
Three battery pillar candles at staggered heights, set on a bed of preserved moss, give the island a warm glow without any flame near dried material. Use candles with built-in timers so they switch on at dinner and off by bedtime. The moss base hides the candle bases and stops them sliding when the bowl moves. Keep the total height under 12 inches so sightlines stay open.
Try this: wrap one candle base in twine for texture that matches the wood bowl.
Cost: $$ | Difficulty: Easy.
6. Single stem statement bowl
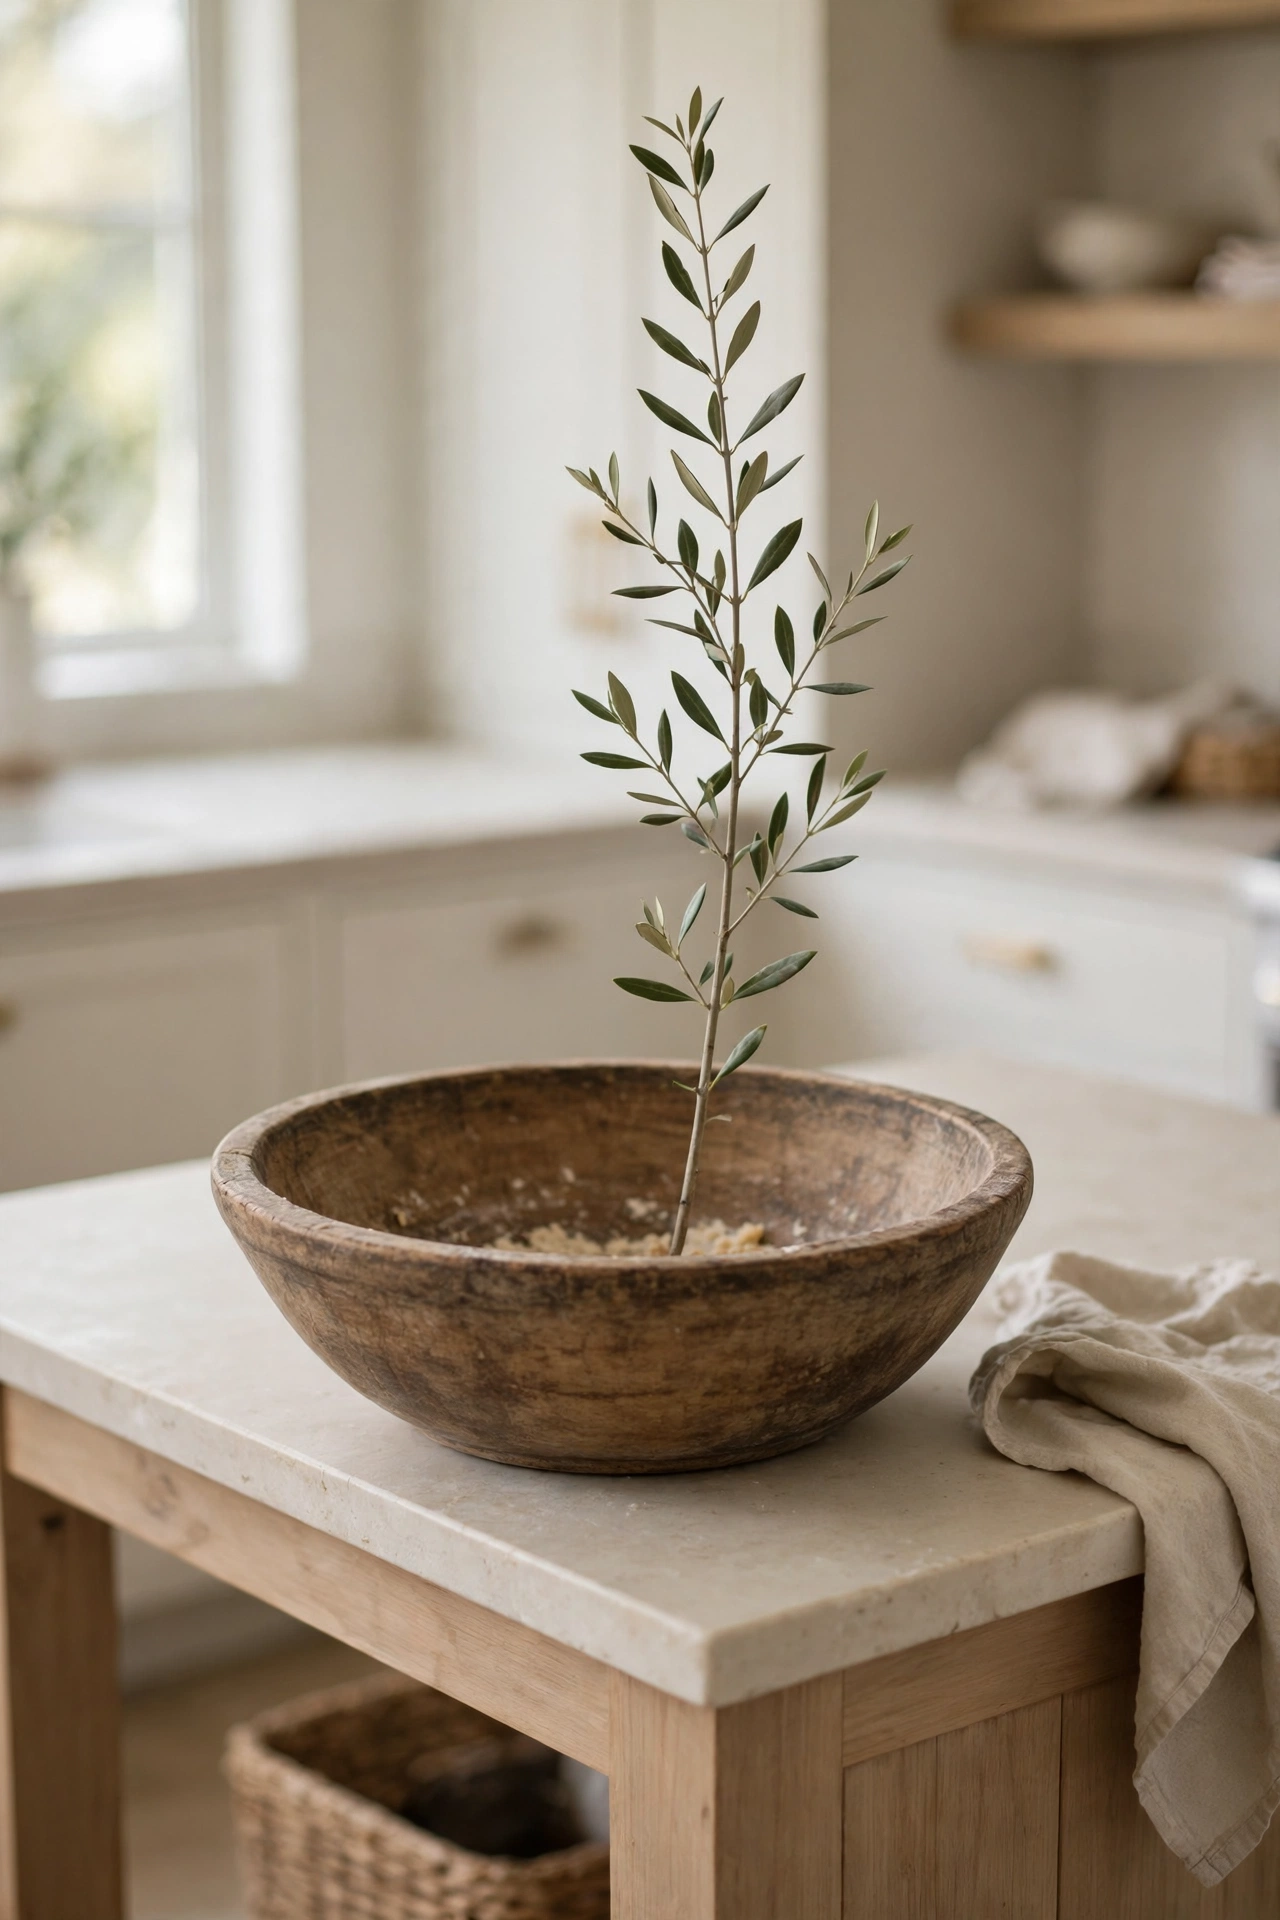
One tall branch in an otherwise empty bowl suits a minimalist kitchen better than a full display. Choose a stem with an interesting shape, such as curly willow or a bare birch branch, and let it rise about 18 inches above the bowl rim. The empty wood around it reads as intentional, not unfinished, when the bowl itself is large and well made. This setup also leaves the most counter space of any idea here.
Try this: change the stem with the season, one branch four times a year, and the island always looks current.
Cost: $ | Difficulty: Easy.
7. Seasonal swap bowl
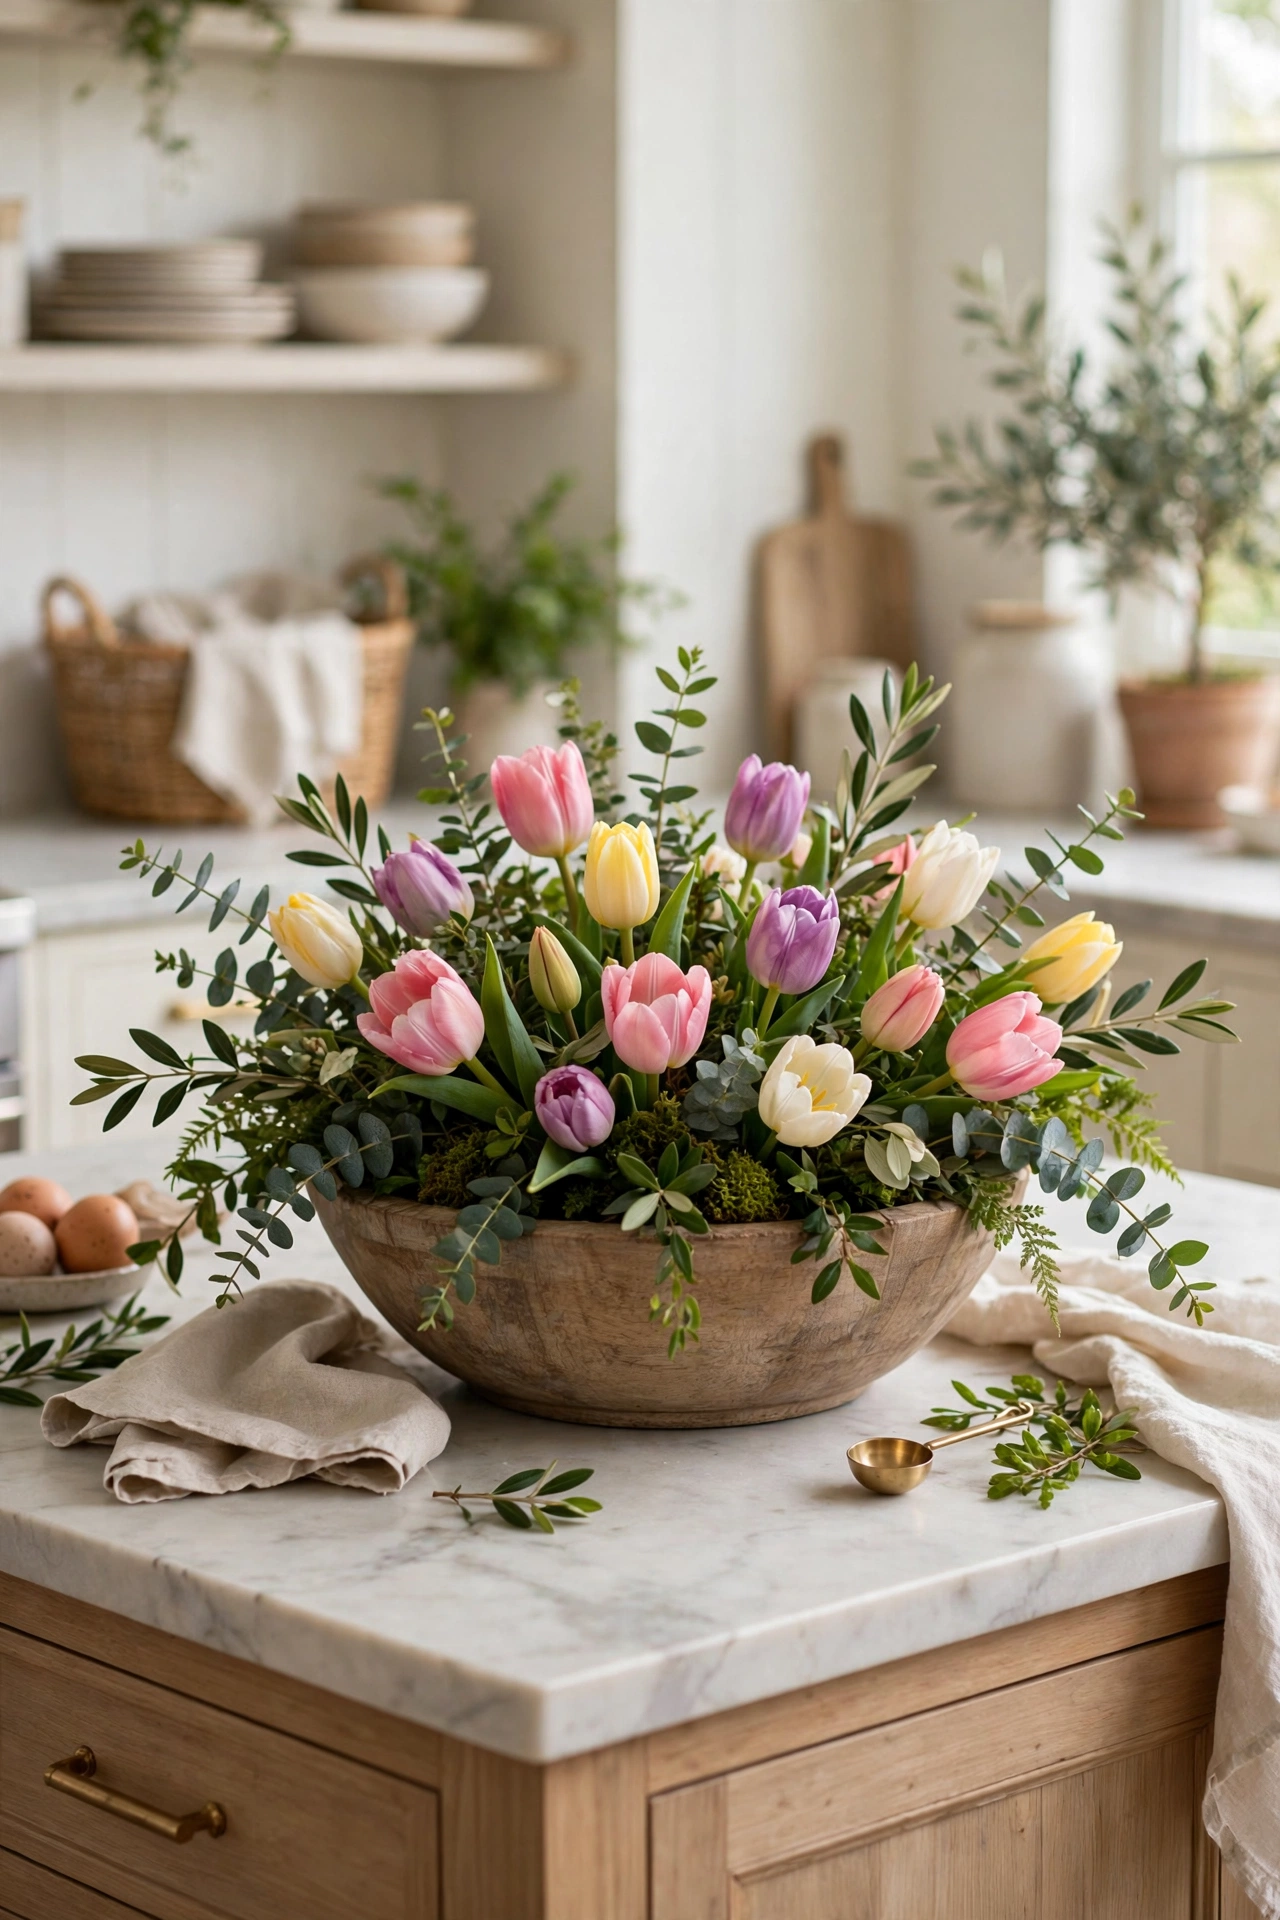
Buy one good bowl and swap only the fillers four times a year. Spring gets faux tulips and fresh greenery, summer gets lemons and olive stems, fall gets mini gourds and dried leaves, and winter gets pinecones with battery fairy lights. Store each season’s fillers in one labeled box so the swap takes under 20 minutes. The bowl, the pads, and the placement never change, which keeps the island looking settled.
Try this: photograph each seasonal version once so you can rebuild a favorite without guessing.
Cost: $$ | Difficulty: Easy.
8. Lemon and olive branch bowl
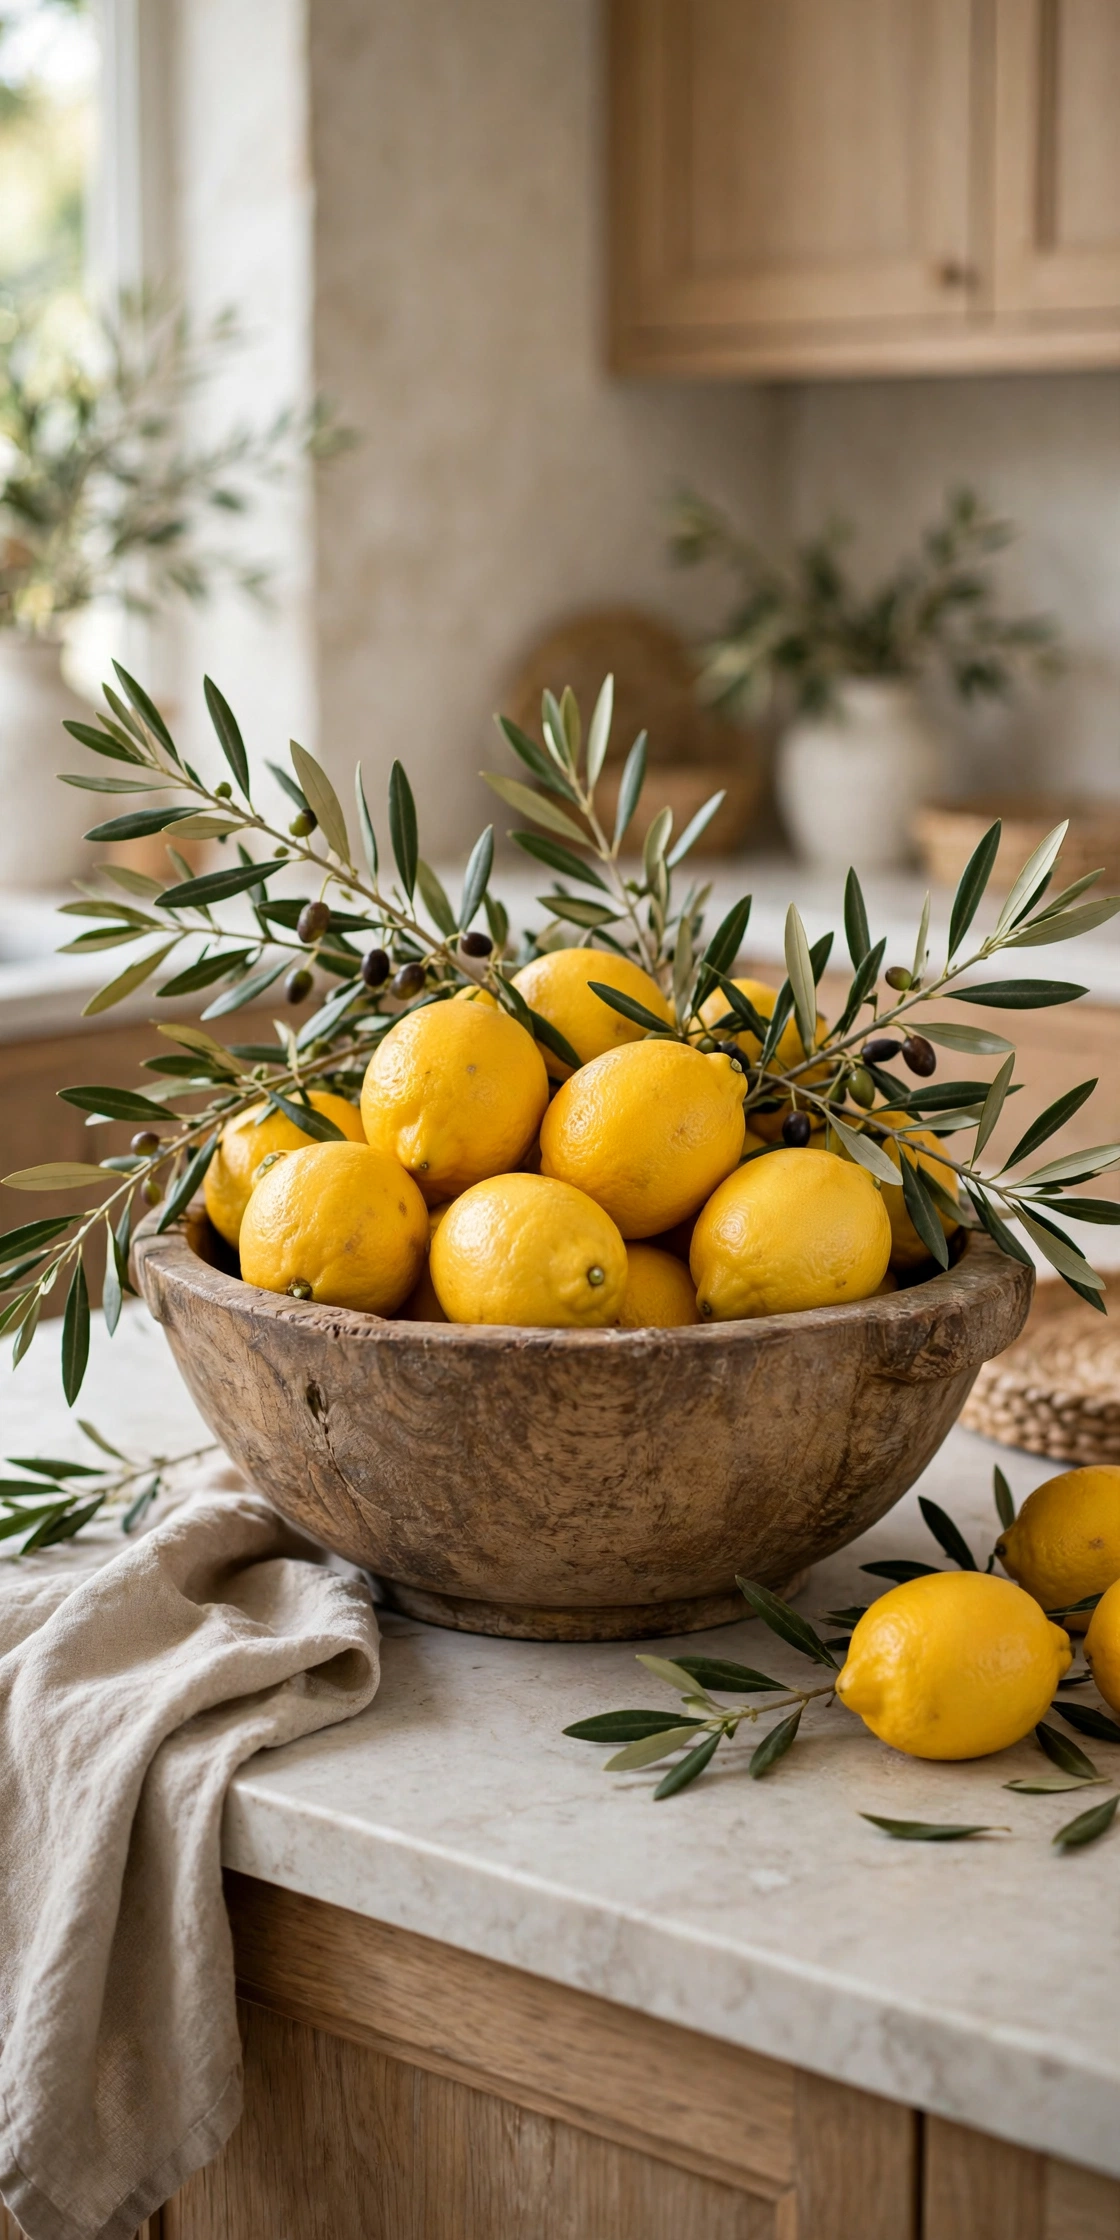
Lemons and olive branches make a bright, everyday bowl that suits white and light wood kitchens. Lay the olive stems first so they spill over the bowl edges, then nestle six to eight lemons among them. The green and yellow pairing reads fresh without any seasonal theme, so it works in any month. Replace a lemon when its skin dulls, and trim olive stems that drop leaves.
Try this: add two limes for a deeper green note that keeps the bowl from looking flat.
Cost: $ | Difficulty: Easy.
9. Dried lavender bowl

Bundles of dried lavender laid across a dough bowl bring scent and soft purple color to the island without any watering or upkeep. Lay five to seven bundles in alternating directions so the buds cover the bowl base fully. Keep the bowl away from the stove, since dried lavender is flammable, and dust it with a dry cloth once a month. Replace the bundles once a year when the scent fades.
Try this: tie each bundle with plain twine and tuck a small linen square under them for a finished base.
Cost: $ | Difficulty: Easy.
10. Wood bead garland bowl
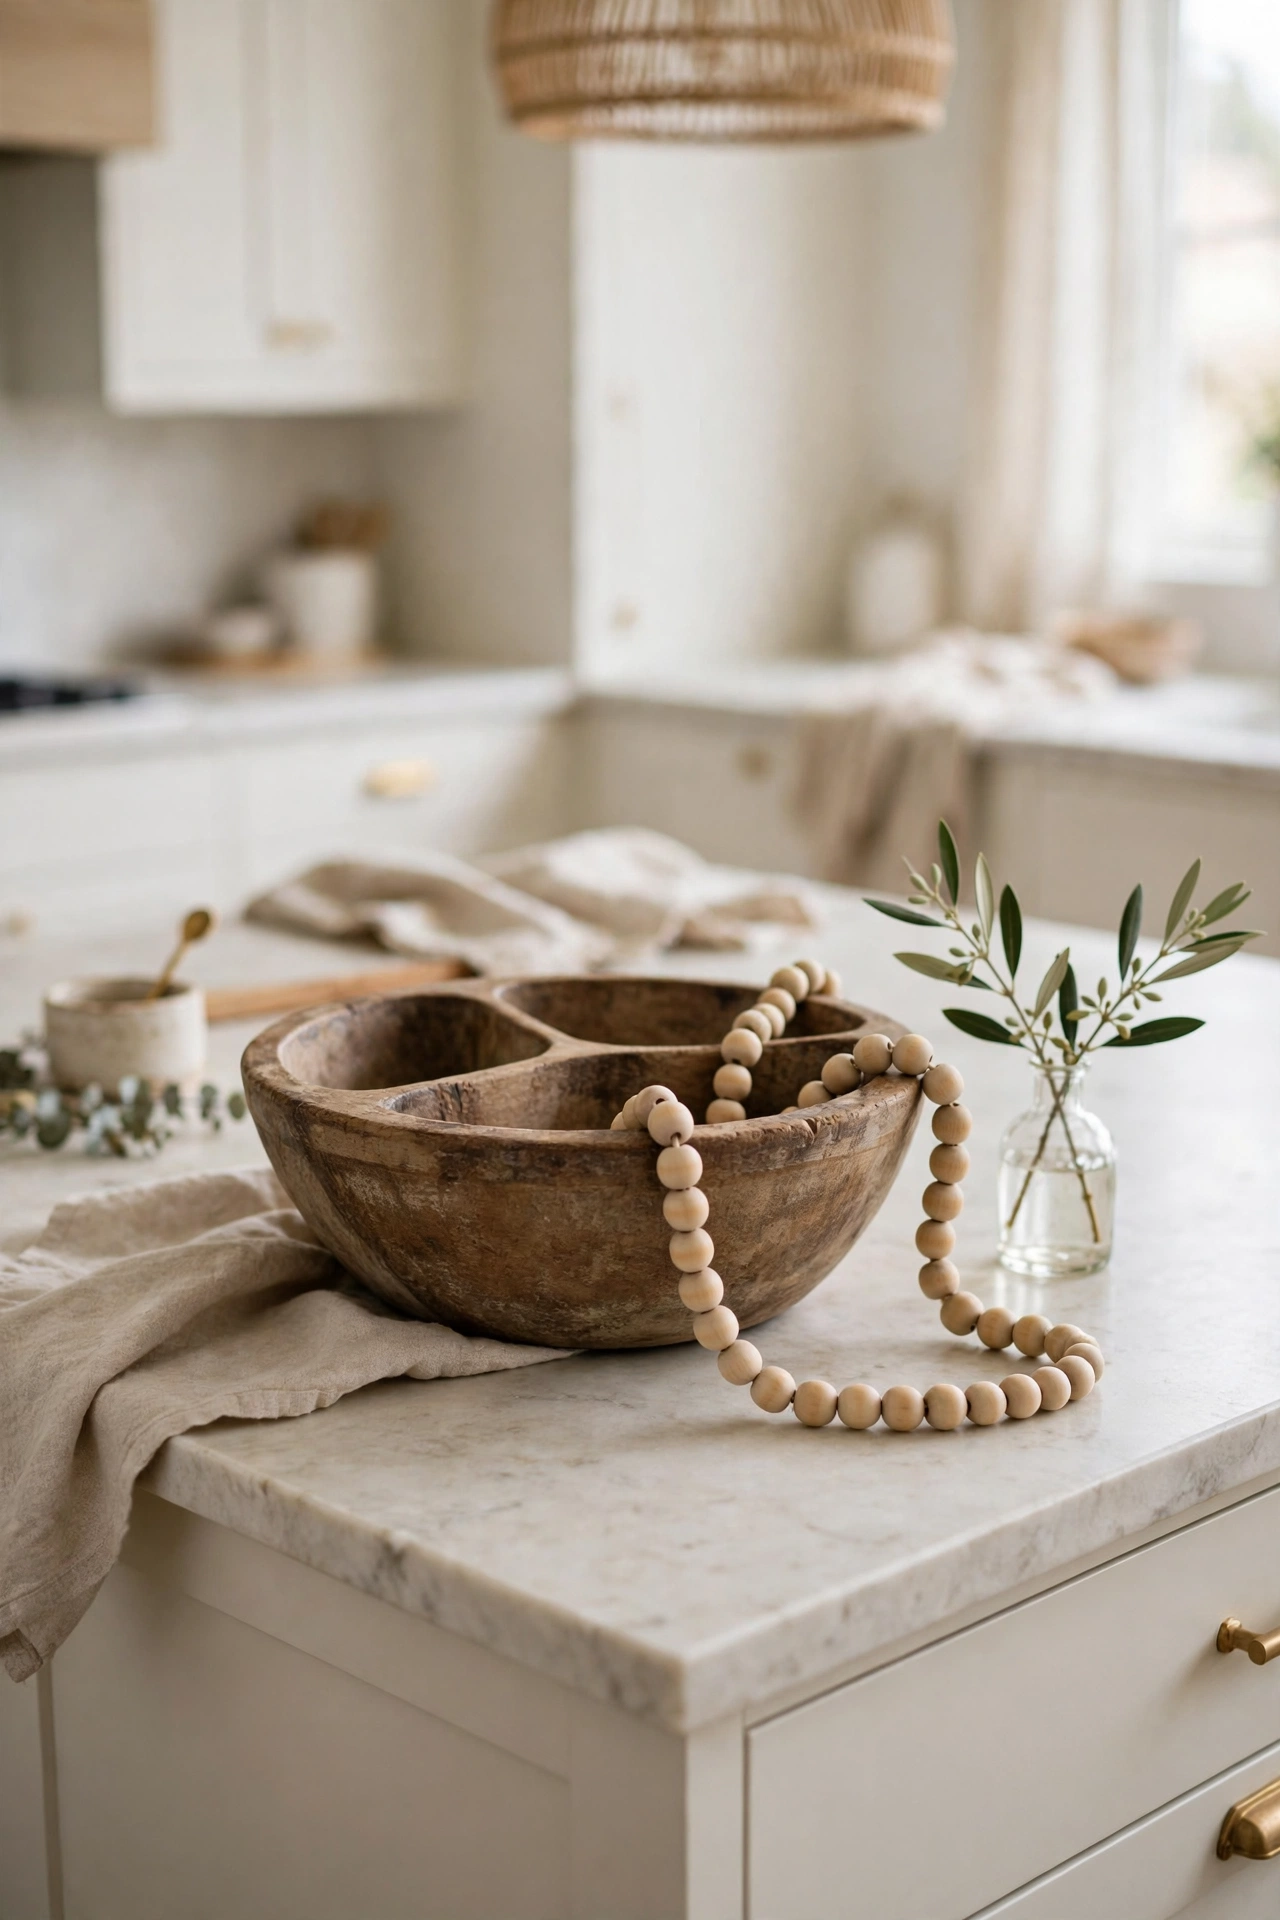
A wood bead garland draped in loose loops inside a dough bowl adds texture that suits farmhouse and neutral kitchens. Drape the garland so some beads spill over the rim, then set one small bud vase with a single stem in the center for height. The beads are easy to move aside when you need the bowl for serving, and they never wilt or drop leaves. Wipe the beads with a dry cloth when dust builds up.
Try this: use natural unfinished beads for a warm tone, or whitewashed beads for a lighter look.
Cost: $ | Difficulty: Easy.
11. Faux succulent bowl

Faux succulents set in pebbles inside a dough bowl give the island a green display with zero watering and no soil mess. Pick five to seven succulents in varied shapes, such as rosettes, trailing stems, and spiky aloe types, and nestle them at different heights. The pebble base hides the plastic stems and keeps each plant upright. Dust the leaves with a soft brush every few weeks.
Try this: mix one real air plant among the faux ones for a touch of live green that needs only a weekly mist.
Cost: $$ | Difficulty: Easy.
12. Cotton stem bowl

Cotton stems fill a dough bowl with soft white texture that brightens a dark wood island. Bundle seven to nine stems together, trim them to about twice the bowl length, and fan them so the bolls face outward in every direction. The look stays neutral through every season, which suits kitchens that change little else. Keep the bowl away from open flames, since cotton bolls catch fire fast.
Try this: add a strip of burlap under the stems to echo the farmhouse texture of the bowl.
Cost: $ | Difficulty: Easy.
13. Moss and fern bowl
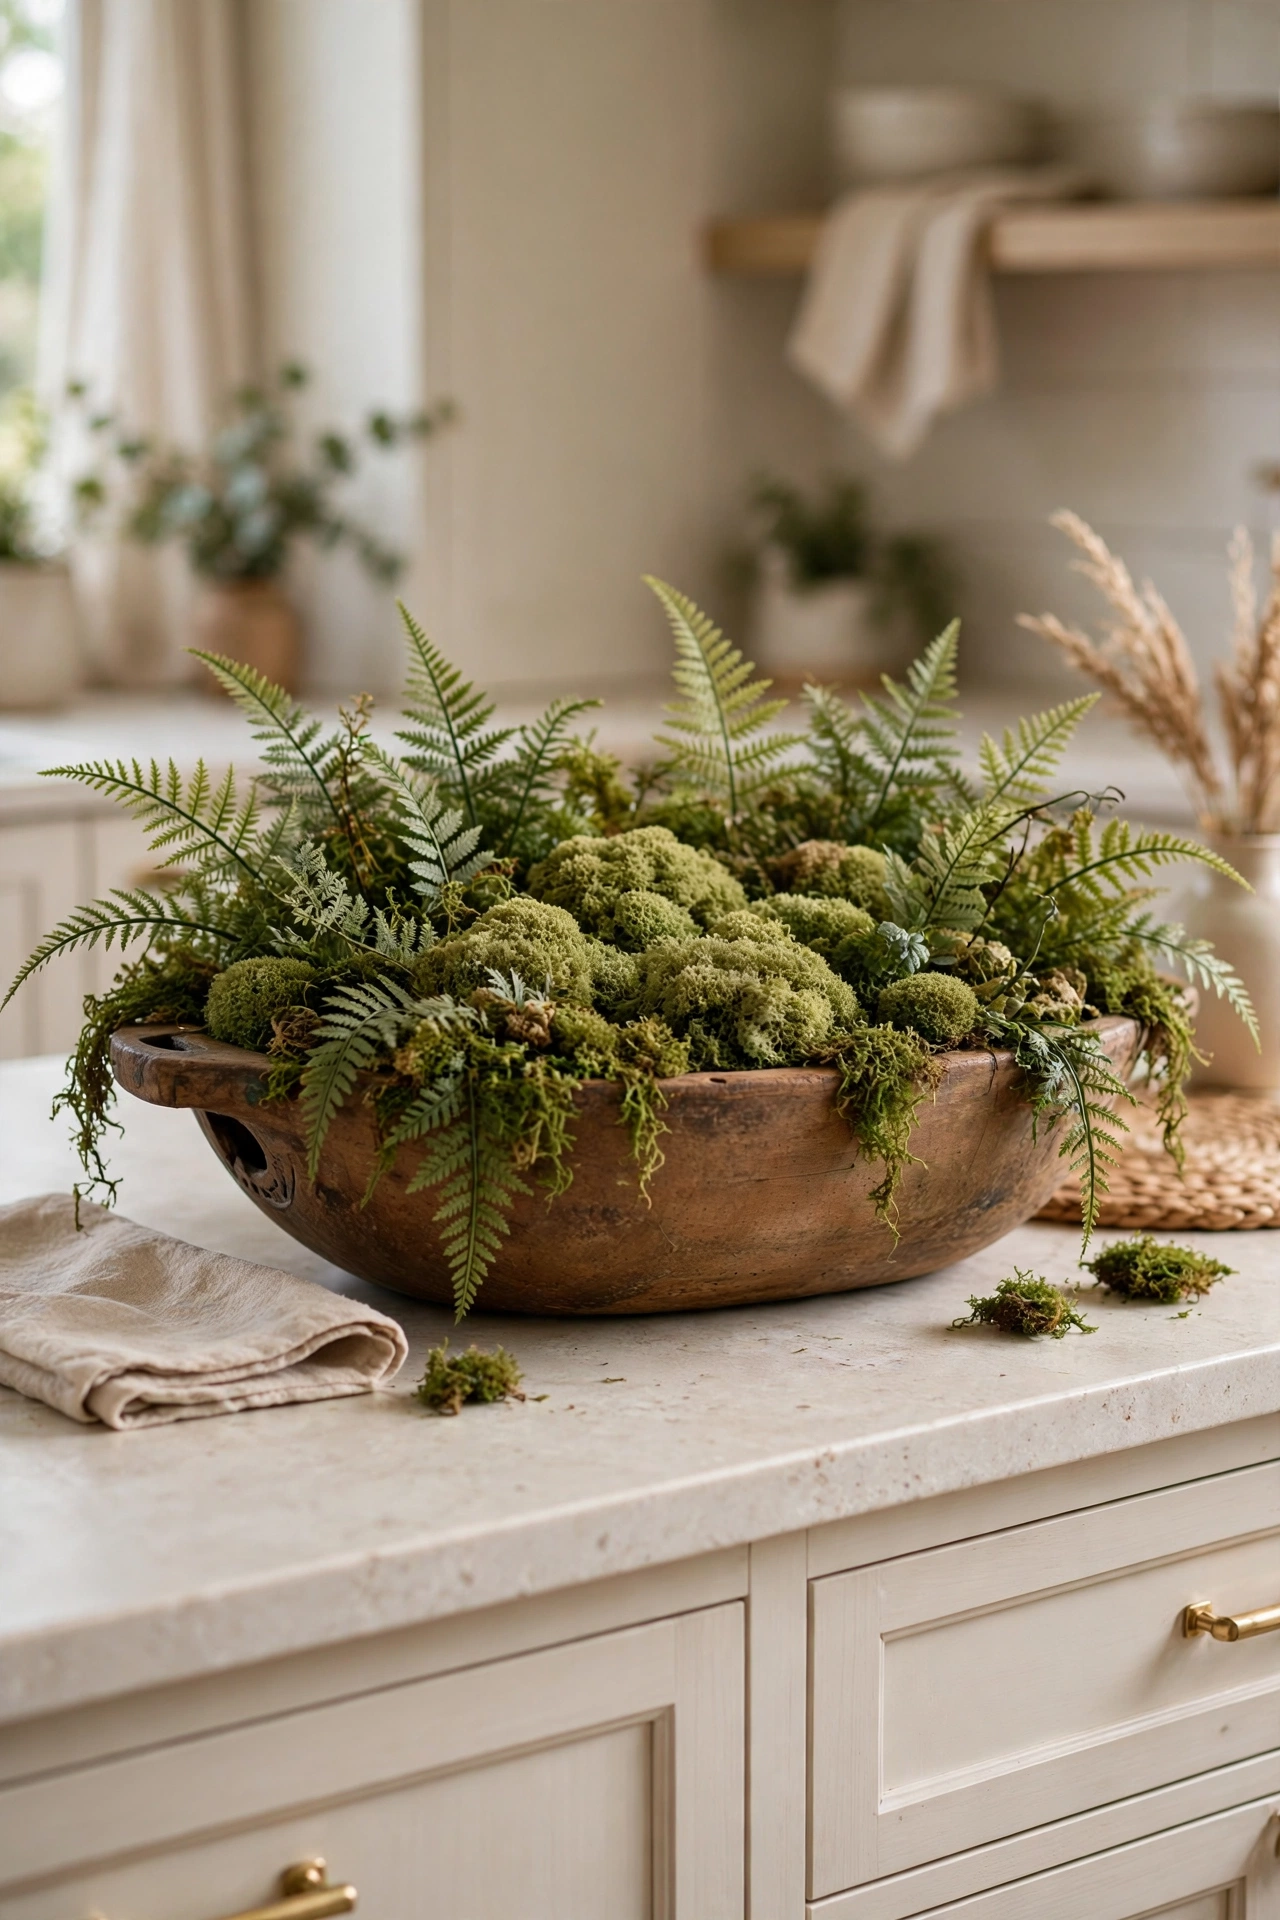
Preserved moss mounded inside a dough bowl, topped with a few faux fern fronds, makes a green island display that needs no light or water. Mound the moss higher in the center so the bowl looks full from every seat at the island. Tuck the fern stems into the moss at angles that spill over the rim on one side only, which keeps the display from looking crowded. Mist nothing, since preserved moss holds its color dry.
Try this: add two small stones on the moss for a woodland floor detail.
Cost: $$ | Difficulty: Easy.
14. Olive branch only bowl

Long olive branches alone, spilling over the rim of a dough bowl, make one of the simplest island displays here. Use five to seven branches about 24 inches long, and let them fall naturally rather than arranging each one. The silvery green leaves suit nearly any kitchen color, from white cabinets to dark wood. Replace branches when leaves drop heavily, usually every three to four weeks for fresh stems, or use faux branches for a permanent version.
Try this: bind the stems with twine at the bowl center so the arrangement holds its shape when moved.
Cost: $ | Difficulty: Easy.
15. Fall pumpkin and candle bowl

Mini pumpkins in cream, orange, and sage, grouped around one battery candle, make a fall island bowl that never touches a flame. Use five to seven pumpkins in mixed sizes so the group looks gathered rather than matched. Set the candle slightly off center so the light falls across the pumpkins in the evening. When fall ends, swap the pumpkins for pinecones and keep the same bowl and candle.
Try this: add a few dried leaves under the pumpkins to fill gaps and add autumn color.
Cost: $ | Difficulty: Easy.
16. Winter pinecone and fairy light bowl
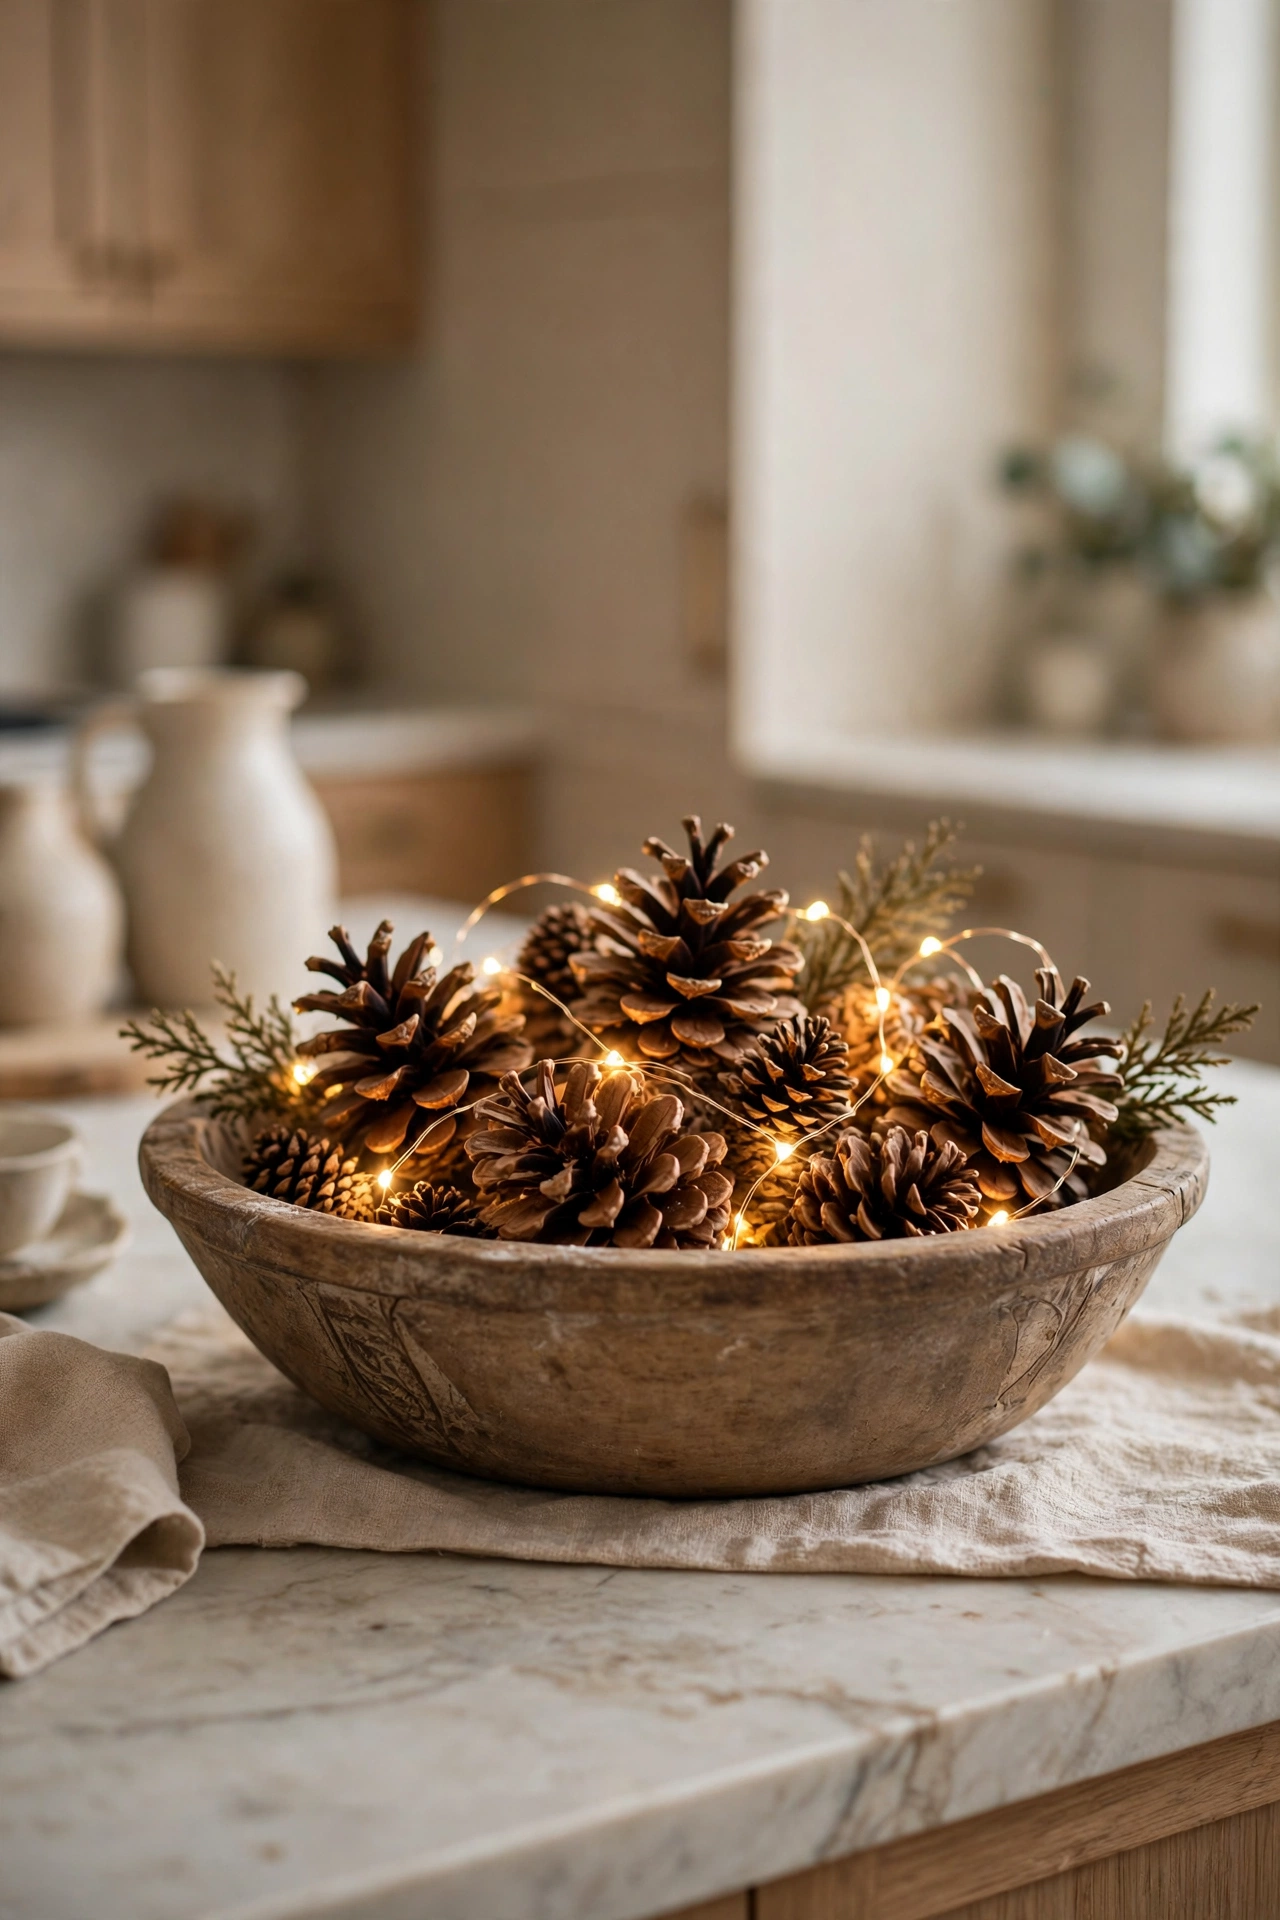
Pinecones mixed with a strand of battery fairy lights make a winter island bowl that glows after dark without any candles. Fill the bowl with pinecones in two sizes, then weave the light strand through them so the bulbs sit between cones, not on top. Use a light strand with a timer so it runs through dinner and switches off overnight. Keep the battery pack tucked under the pinecones at the back.
Try this: add a few sprigs of faux cedar for green contrast against the brown cones.
Cost: $$ | Difficulty: Easy.
17. Coastal shell and driftwood bowl

Shells and small driftwood pieces inside a dough bowl suit a coastal or light-filled kitchen. Gather shells in white, sand, and pale pink, and mix in two or three short driftwood pieces for height and shape. Keep the arrangement low and flat so it never blocks the view across the island. Rinse real shells before display, and dry them fully so no dampness reaches the wood bowl.
Try this: add a small glass fishing float or a single starfish as one focal piece.
Cost: $ | Difficulty: Easy.
18. Bowl on a riser board

Setting a dough bowl on a long wood board or riser anchors it on a large island and protects the counter in one move. The board should run about 6 inches longer than the bowl on each end, leaving room for a candle or a small vase beside the bowl. The whole vignette slides as one piece when you need counter space, which beats moving each item separately. Choose a board finish that matches the bowl wood or contrasts with it deliberately.
Try this: use a marble board under a wood bowl for a mixed material look.
Cost: $$ | Difficulty: Easy.
19. Two-bowl long island
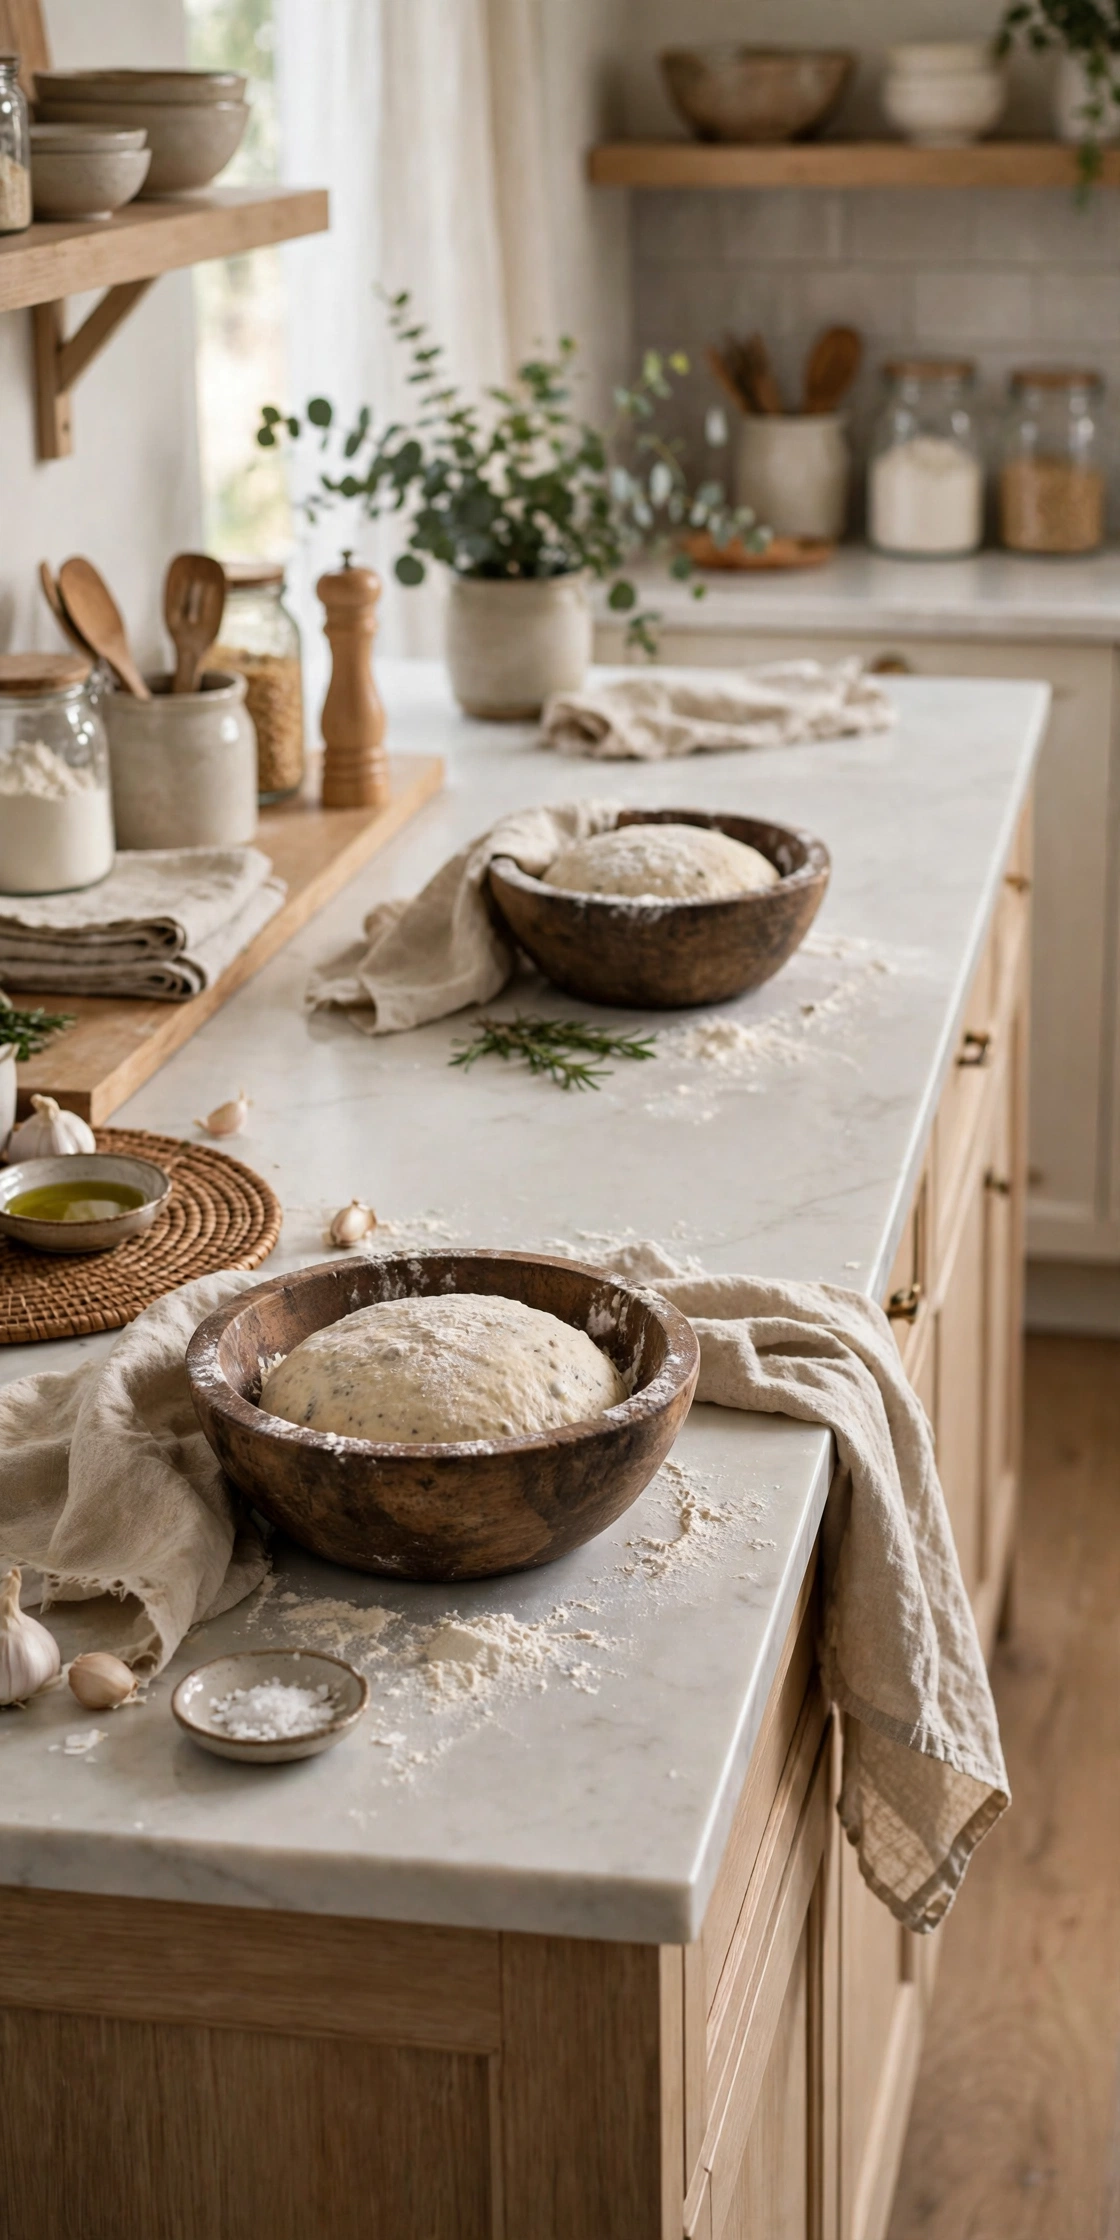
A long island, 8 feet or more, looks better with two smaller bowls than with one oversized one. Place one bowl about a third of the way along the island and the second about two-thirds along, leaving the middle stretch clear for prep and serving. Keep the two bowls in the same wood tone but vary the fillers, such as fruit in one and greenery in the other, so they relate without matching exactly.
Try this: use the same filler in both bowls at holidays for a pulled-together party look.
Cost: $$ | Difficulty: Easy.
20. Party snack bowl

For gatherings, fill the dough bowl with wrapped snacks, mixed nuts in small cups, and a few chocolate pieces, and the island becomes the party station. Wrapped items only, so guests never reach into loose food, and small cups keep nuts separate for allergy safety. Place the bowl at the island end nearest the drinks, and clear it the same evening so crumbs never sit overnight. Line the bowl with a linen napkin for easy cleanup.
Try this: add small labels for each snack so guests with allergies can choose safely.
Cost: $ | Difficulty: Easy.
Dough bowl ideas at a glance
| Idea | Cost | Difficulty | Best for |
|---|---|---|---|
| Everyday fruit bowl | $ | Easy | Daily use |
| Potted herb bowl | $$ | Easy | Cooks |
| Bread and linen bowl | $ | Easy | Serving |
| Morning coffee bowl | $ | Easy | Mornings |
| Battery candle trio bowl | $$ | Easy | Evenings |
| Single stem statement bowl | $ | Easy | Minimal kitchens |
| Seasonal swap bowl | $$ | Easy | Year-round |
| Lemon and olive branch bowl | $ | Easy | Bright kitchens |
| Dried lavender bowl | $ | Easy | Scent |
| Wood bead garland bowl | $ | Easy | Farmhouse style |
| Faux succulent bowl | $$ | Easy | No upkeep |
| Cotton stem bowl | $ | Easy | Neutral rooms |
| Moss and fern bowl | $$ | Easy | Green display |
| Olive branch only bowl | $ | Easy | Simple style |
| Fall pumpkin and candle bowl | $ | Easy | Fall |
| Winter pinecone and fairy light bowl | $$ | Easy | Winter evenings |
| Coastal shell and driftwood bowl | $ | Easy | Coastal kitchens |
| Bowl on a riser board | $$ | Easy | Large islands |
| Two-bowl long island | $$ | Easy | Long islands |
| Party snack bowl | $ | Easy | Gatherings |
Cost key: $ means $1 to $10, $$ means $11 to $99, $$$ means $100 to $999, $$$$ means $1,000 and up. Most ideas here stay under $75 because the bowl itself is the main purchase and fillers swap in and out.
Mistakes to avoid
The most common mistake is buying the bowl before measuring the island. A bowl that covers half the usable counter turns a display into an obstacle, and a tiny bowl on a long island looks lost. Measure first, then buy once.
Another mistake is building the display too tall. Anything over about 12 inches blocks sightlines and gets knocked when people pass dishes across the island. Keep tall stems to one side, or skip them and let the bowl itself carry the look. A third mistake is using real candles near dried fillers, moss, cotton, and lavender. Battery candles give the same glow with none of the risk.
Safety notes for dough bowl displays
Keep dough bowl displays clear of cooking zones and stove heat, since wood bowls and dried fillers scorch and catch fire. Use battery candles only near dried material, moss, cotton, and fabric, and keep any real flame at least 12 inches from flammable decor, per the NFPA candle safety guide. Secure heavy bowls away from the island edge so a bump cannot send them to the floor, and keep cords from fairy lights taped down and clear of walkways. Keep small filler items, such as beads, nuts, and pebbles, away from toddlers, and check damp natural fillers for mold before reuse. Check CPSC Recalls before buying bulk craft supplies or battery lights.
Related reading
If you want Christmas-only fills for your bowl, the Christmas dough bowl guide has 15 holiday arrangements in one place. 15 Christmas Dough Bowl Centerpiece Ideas
If your island also serves as a buffet at Thanksgiving, the buffet setup guide lays out the line, the stations, and the flow. 15 Thanksgiving Buffet Setup Ideas For Kitchen Islands
For a spooky island look, the Halloween island guide covers cauldrons, skeleton boards, and candy stations. 20 Halloween Kitchen Island Decor Ideas
For the wider fall kitchen look around your bowl, the fall kitchen guide keeps the room cookable while it looks seasonal. 7 Fall Kitchen Decor Ideas for a Cozy Kitchen You Can Still Cook In
For table centerpieces beyond the island, the fall centrepiece guide covers warm arrangements for the dining table. 10 Fall Centrepiece Ideas for a Warm and Welcoming Table
Frequently asked questions
What size dough bowl fits a kitchen island?
Pick a bowl about one-third to one-half of your island length. On a 6-foot island, that means 24 to 36 inches long. On a 4-foot island, one 18 to 22 inch bowl is enough, and a long island over 8 feet looks better with two smaller bowls than one oversized one.
Can a dough bowl stay on the island while you cook?
Yes, if it sits at one end and stays low. Slide it to the end farthest from the stove, keep the total height under about 12 inches, and leave the middle stretch clear for chopping and plating. A bowl on a board slides as one piece when you need the counter back.
How do you keep a dough bowl from scratching the counter?
Set felt pads under the bowl base, or set the whole bowl on a thin board or riser. Never drag a rough wood bowl across stone, quartz, or butcher block. Lift it to move it, even for small adjustments.
Are real candles safe in a dough bowl?
Battery candles are the safer pick, since dough bowls hold dried fillers, moss, cotton, and fabric that catch fire fast. If you use a real flame, keep it at least 12 inches from any flammable decor, per the NFPA candle safety guide, and never leave it burning unattended.
How often should you change the fillers?
Swap fillers with the seasons, about four times a year, and check dried fillers for dust and mold at each swap. Fruit bowls need daily checks for soft pieces, and fresh stems need replacing every three to four weeks. Faux fillers last until they look dusty or faded.
Final thoughts
One good dough bowl, sized to your island and filled for real life, does more than a shelf of small decor. Pick the idea that matches how you actually use the island, and let the bowl earn its place there.