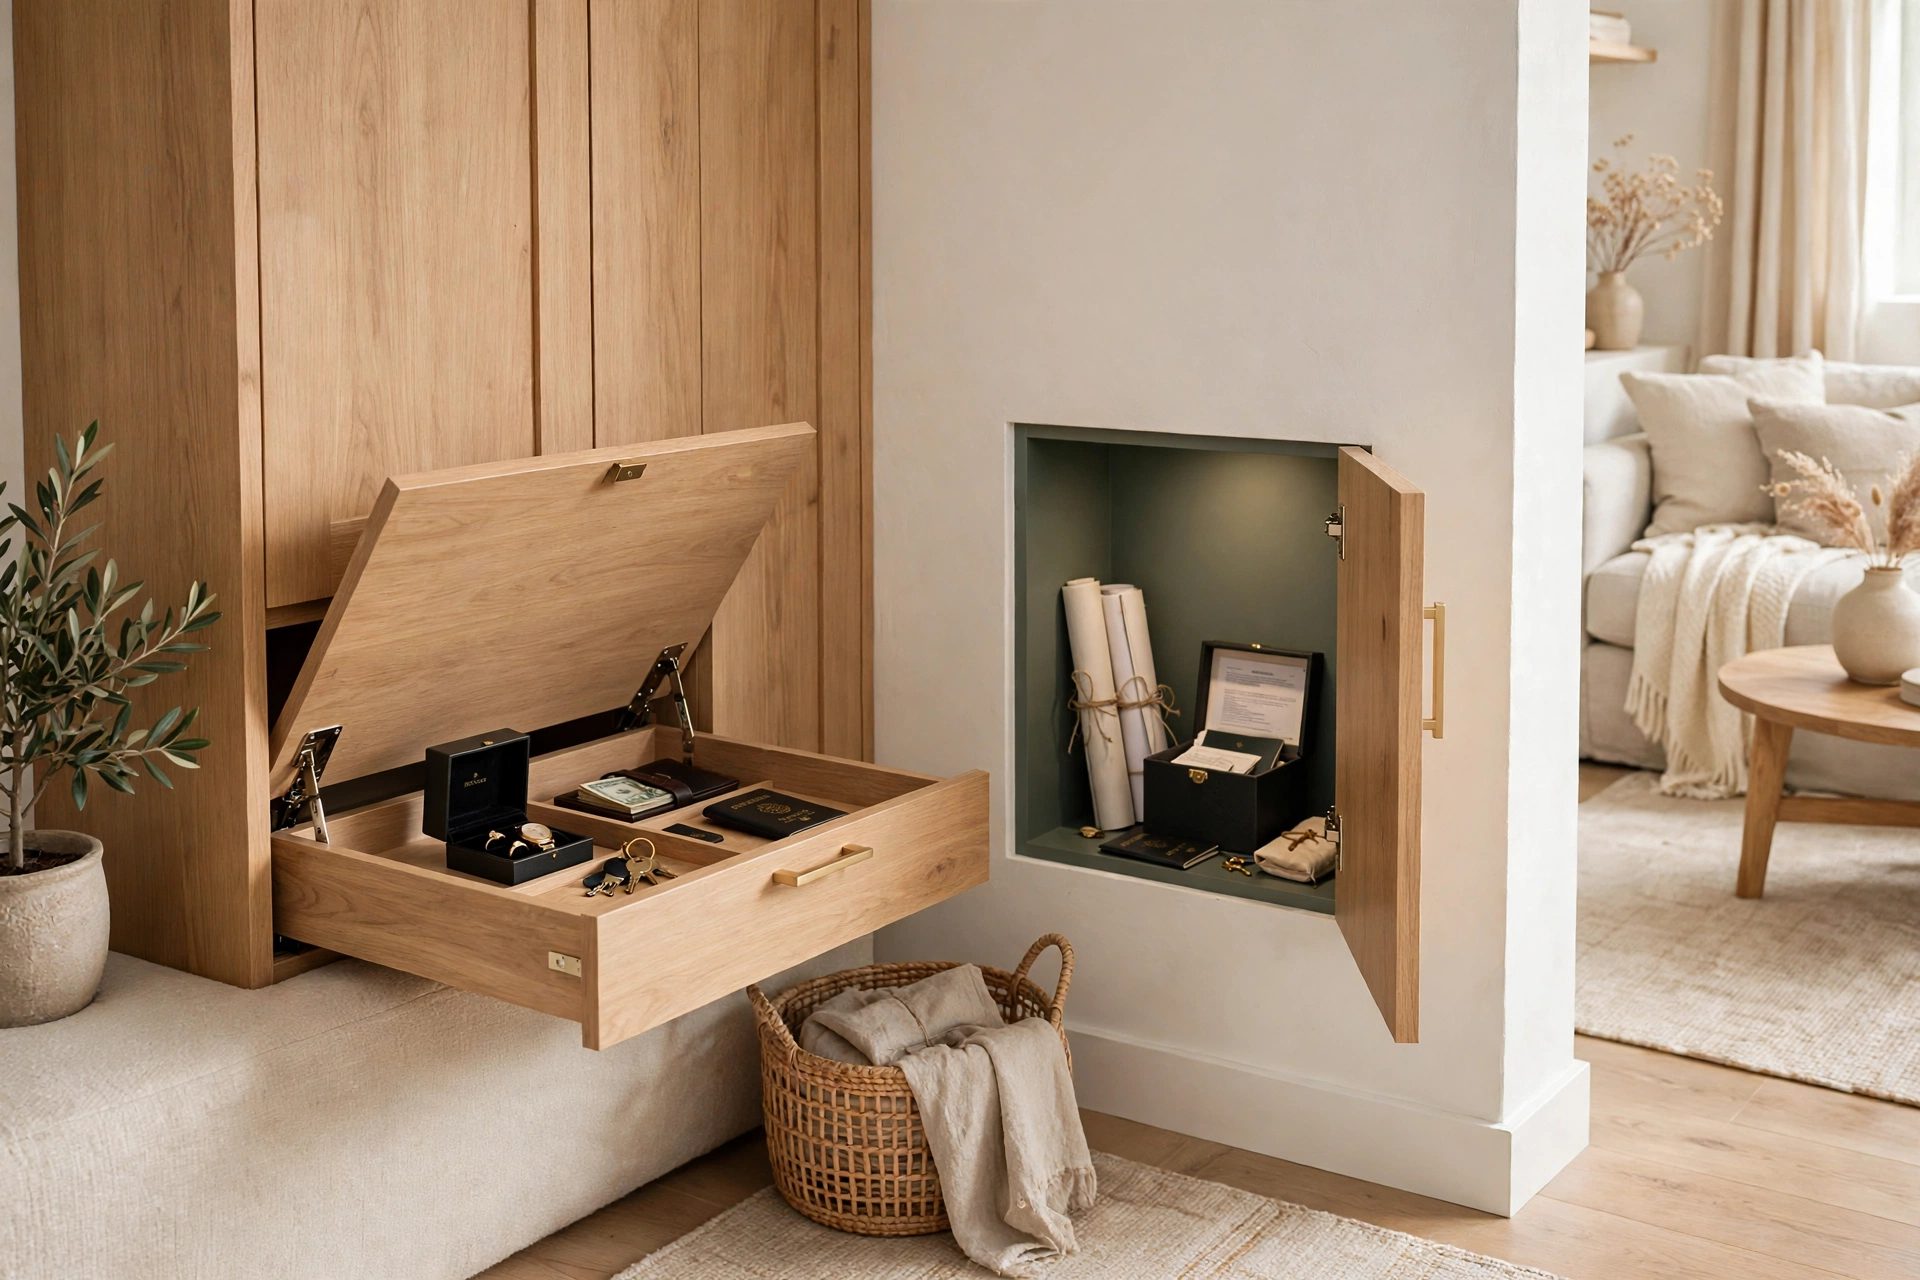
Every home has a few things that need a spot out of sight: a spare key, a passport, a small box of keepsakes, the backup drive with family photos. Leaving them in a kitchen drawer works until someone opens that drawer, and a safe feels like overkill for a spare key. A secret compartment fixes the middle ground. It hides everyday items inside furniture, walls, floors, and ordinary objects, so the room looks the same and only you know where things sit.
This guide covers 12 secret compartment storage ideas for furniture, walls, floors, and everyday objects. Each one lists a real cost range and a difficulty label, so you can pick a weekend project or a buy-it-ready option. I started with one false drawer bottom in my own nightstand, and that single hidden slot now holds the items I used to dig for every time I traveled.
Quick takeaways
- A secret compartment hides items from casual view. It is not a safe, so keep irreplaceable originals in a safe or a bank box.
- Furniture compartments cost the least and need the fewest tools. Wall and floor compartments cost more and suit planned work.
- Shallow beats deep. A compartment that holds flat items gets used, while a deep one turns into a junk hole.
- Write down where each compartment sits. A hiding spot you forget is a hiding spot you lost.
- Never block a vent, a smoke alarm, or an electrical panel with a compartment, and never hide a working outlet behind a panel.
1. False bottom drawer with a magnet lift
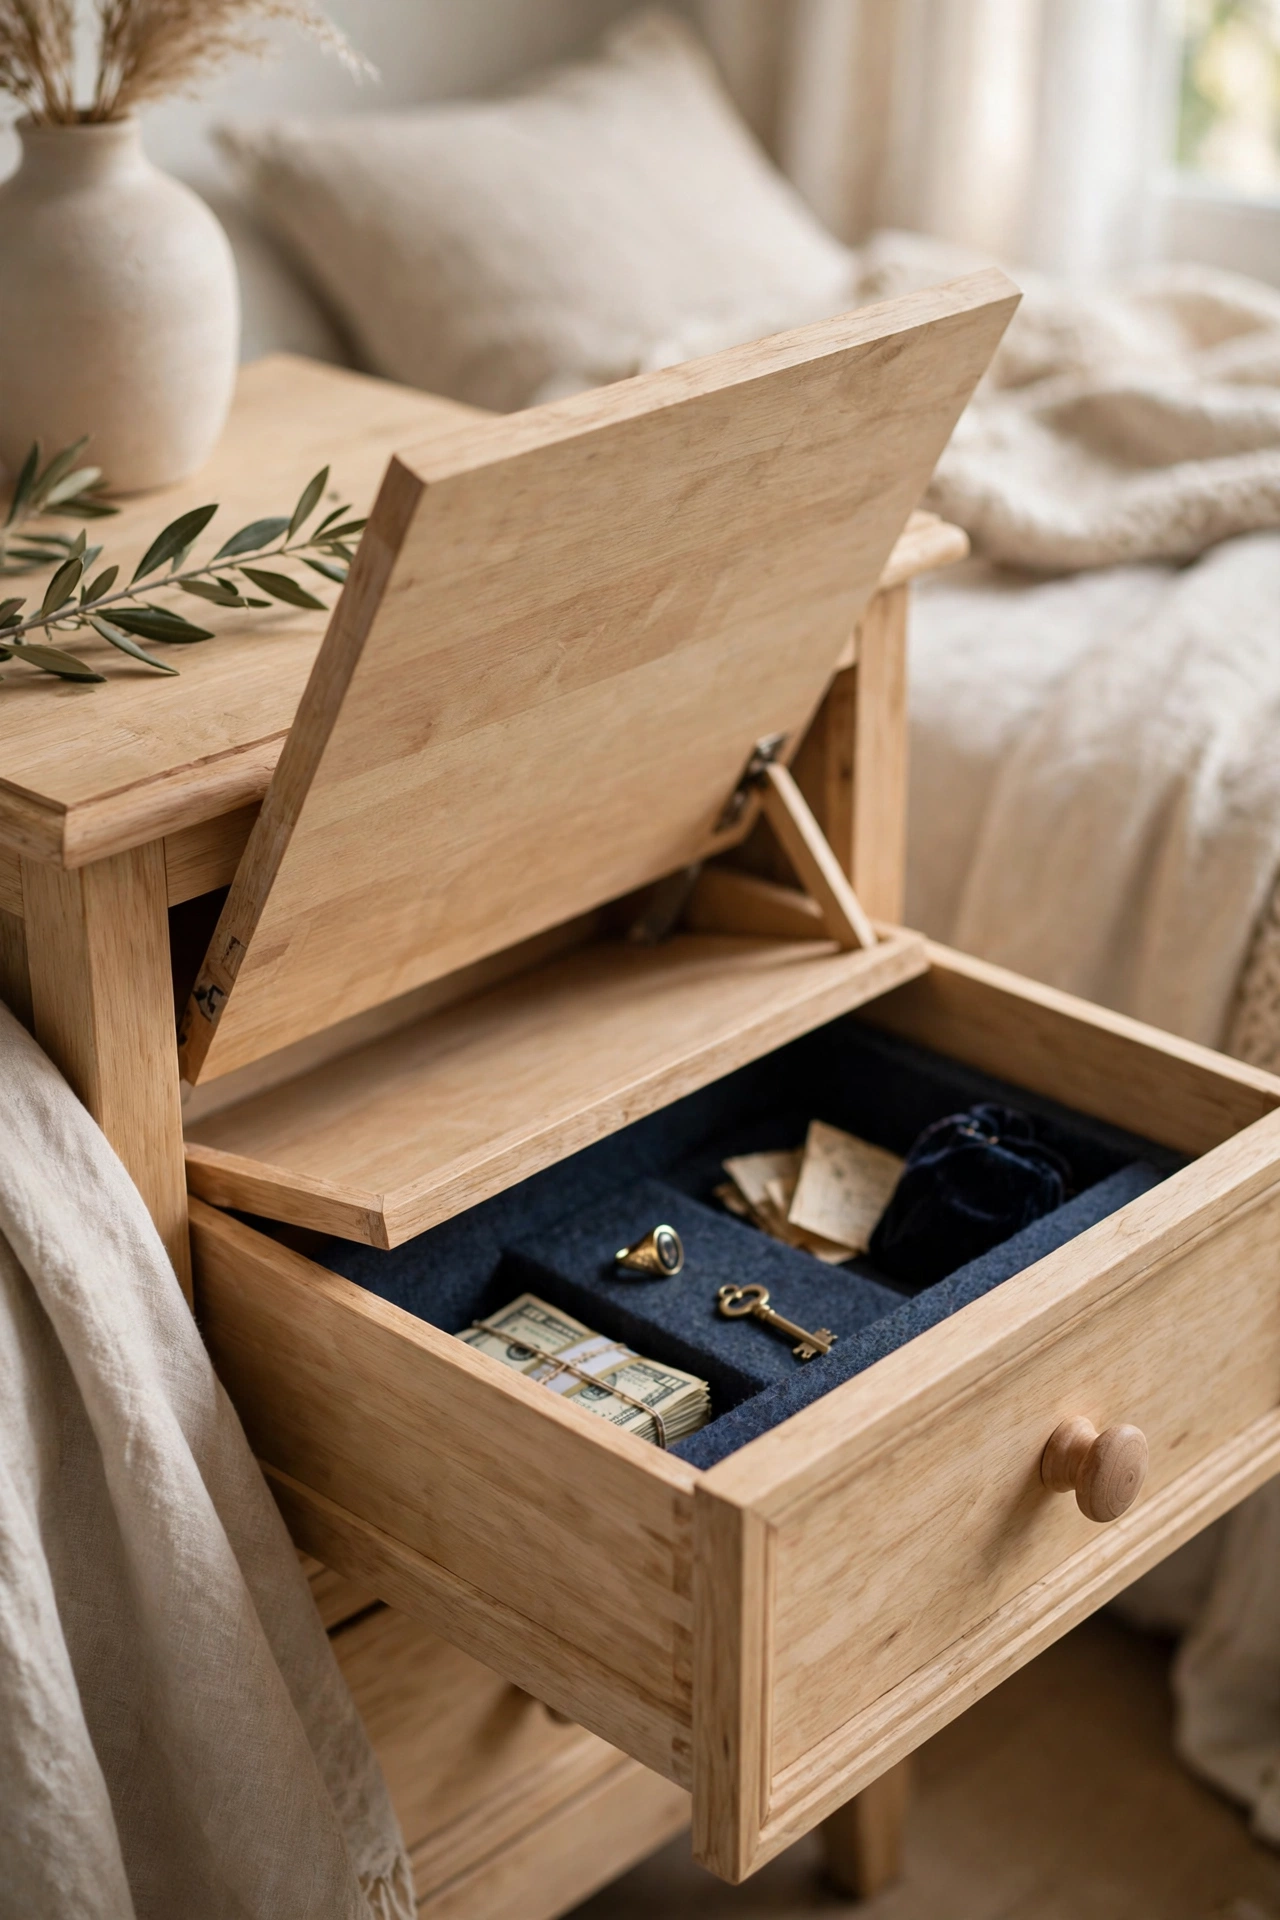
A false bottom turns an ordinary drawer into two drawers. Cut a thin plywood panel to sit about 2 inches above the real drawer bottom, supported on small wood blocks glued around the inside walls. The visible drawer keeps its normal contents on top, while passports, a spare key, or a backup drive rest in the shallow space below. A small finger notch or a rare earth magnet set into the panel gives you a clean way to lift it without a visible handle. Measure twice, since a panel that rocks or sits high gives the trick away at a glance.
Try this: Start with a nightstand drawer, where the shallow depth suits flat items and the drawer stays close at hand.
Cost: $ | Difficulty: Easy
2. Hollow book safe on the shelf

A hollow book looks like reading material and works like a small box. Pick a thick hardcover you will not miss, glue the page block together, and cut a rectangular cavity through the center pages, leaving a half inch border on all sides. The cover stays intact, so the book sits on a shelf between real books and draws no attention. It suits a spare key, a USB drive, small jewelry, or folded cash for emergencies. Choose a dull, common title rather than a bright or famous one, since an eye catching spine invites curious hands.
Try this: Place it in the middle of a row, spine out, with two real books leaning against it on one side.
Cost: $ | Difficulty: Easy
3. Hinged artwork wall niche
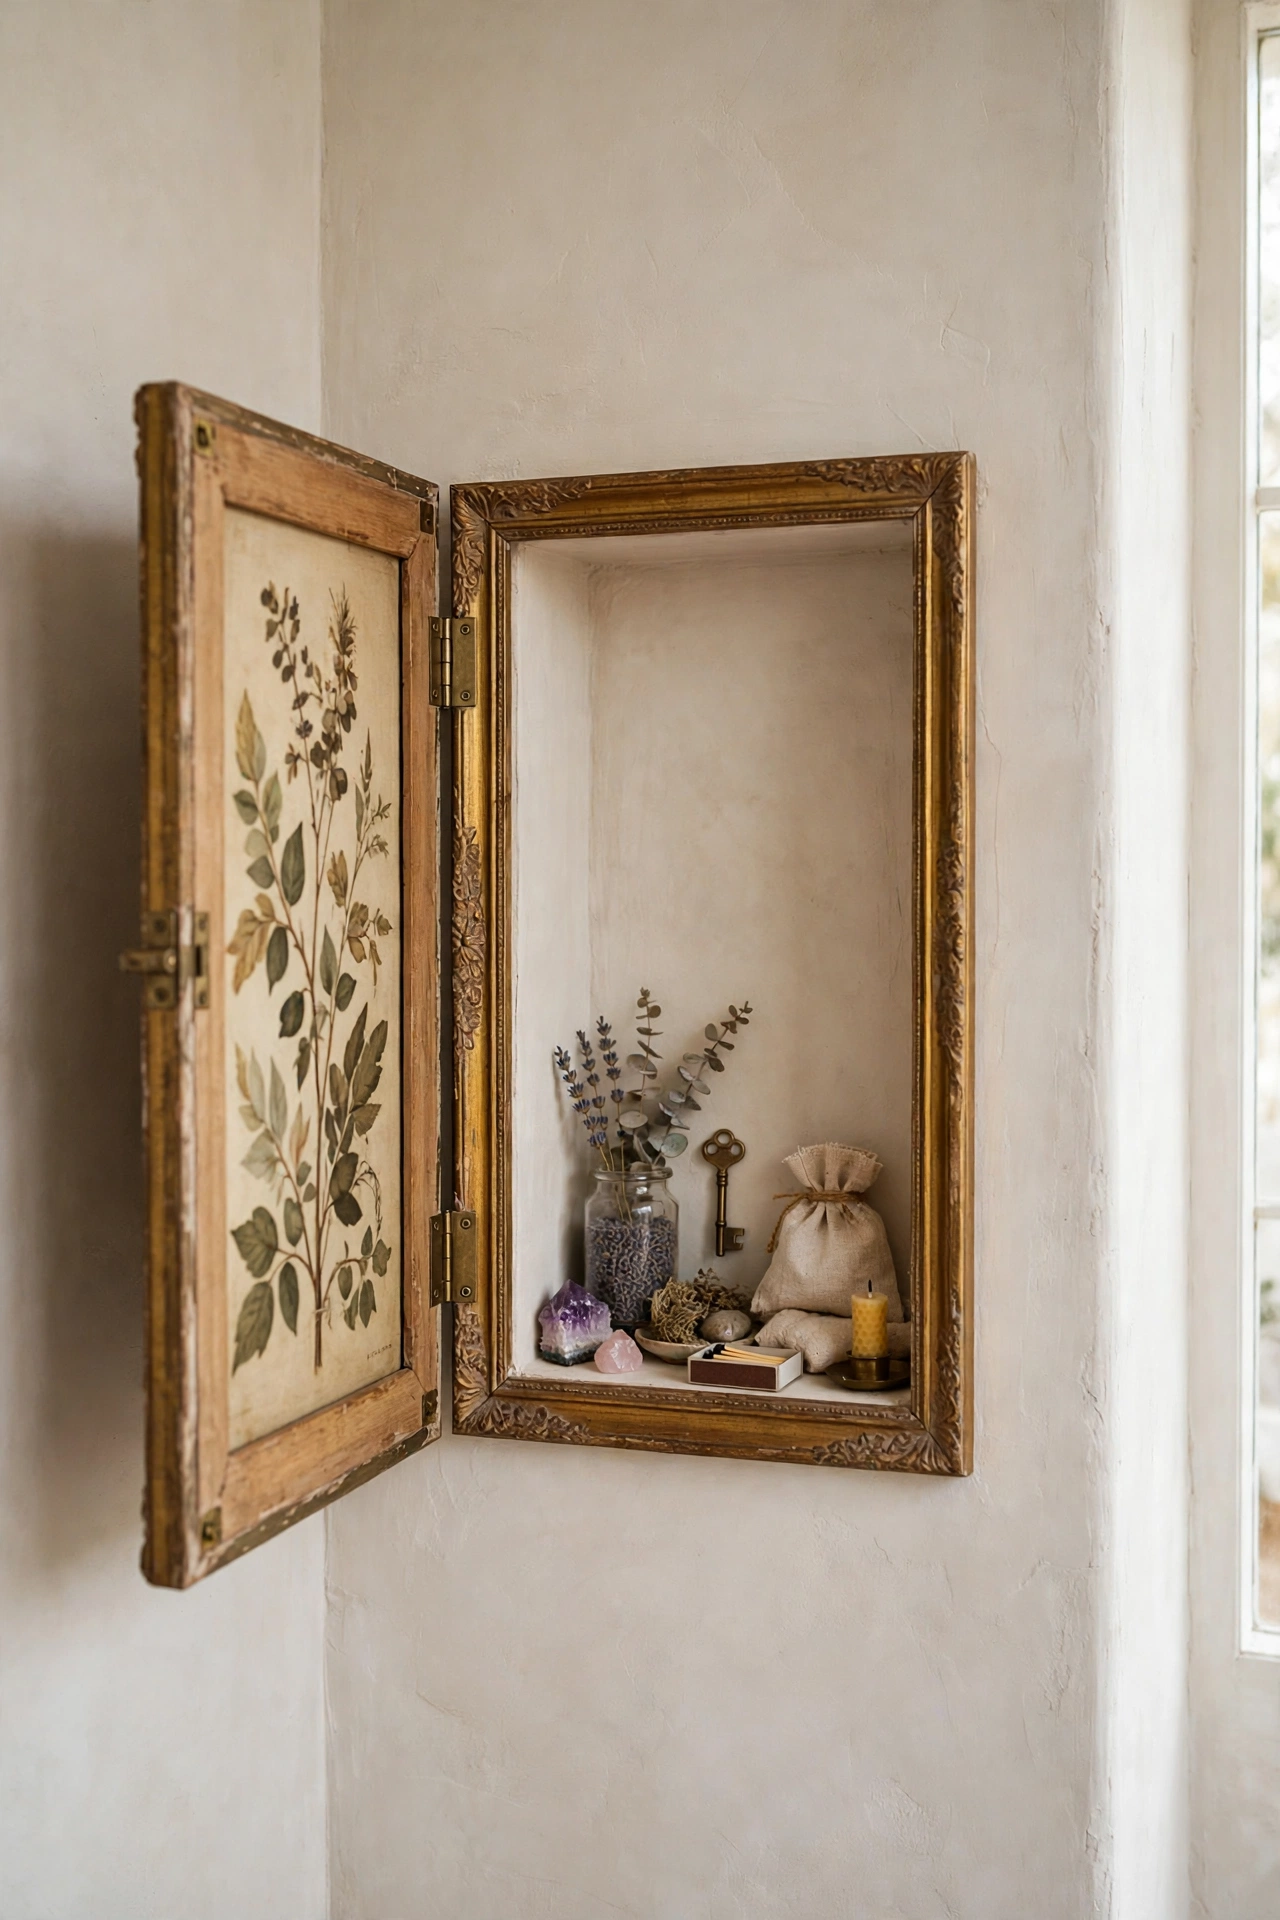
A framed print on a hinge opens like a small cabinet door and reveals a shallow niche in the wall behind it. The niche only needs to be 3 to 4 inches deep, which fits inside most interior walls between studs, and it holds documents, a spare key, or a small lockbox. Mount the frame on two small concealed hinges and add a magnetic catch so it closes flush and stays shut. Keep the frame size modest, since an oversized frame on a narrow wall looks staged and invites a second look from visitors.
Try this: Hang it in a hallway, where a framed print looks natural and the niche stays out of daily traffic.
Cost: $$ | Difficulty: Moderate
4. Magnetic baseboard cavity

The space behind a short run of baseboard can hold flat items no one thinks to look for. Remove a 12 to 18 inch section of baseboard, clear a shallow cavity in the drywall behind it, and refit the board on small magnets or a pair of concealed hinges. From the room, the board looks untouched, with the same paint and the same caulk line as its neighbors. It suits a spare key, a flat backup drive, or folded documents. Label the spot on a private list, since a cavity this well hidden is easy to forget during a move.
Try this: Pick a run behind a door swing or a heavy dresser, where the board rarely gets bumped or kicked.
Cost: $ | Difficulty: Moderate
5. Stair tread pull out drawer

One stair tread can pull out as a drawer and give you a slim, hidden slot right in the staircase. A drawer box fitted under a single tread holds shoe care supplies, a flashlight, small tools, or a spare key, and the tread face keeps the same nosing and finish as the other steps. Use full extension slides rated for the load and a push to open latch, so no handle breaks the line of the staircase. Check the framing first, since a tread drawer needs solid support on both sides and must never weaken the stair structure.
Try this: Use the second or third tread from the bottom, where the drawer stays easy to reach and out of the main sight line.
Cost: $$ | Difficulty: Advanced
6. Kitchen toe kick drawer
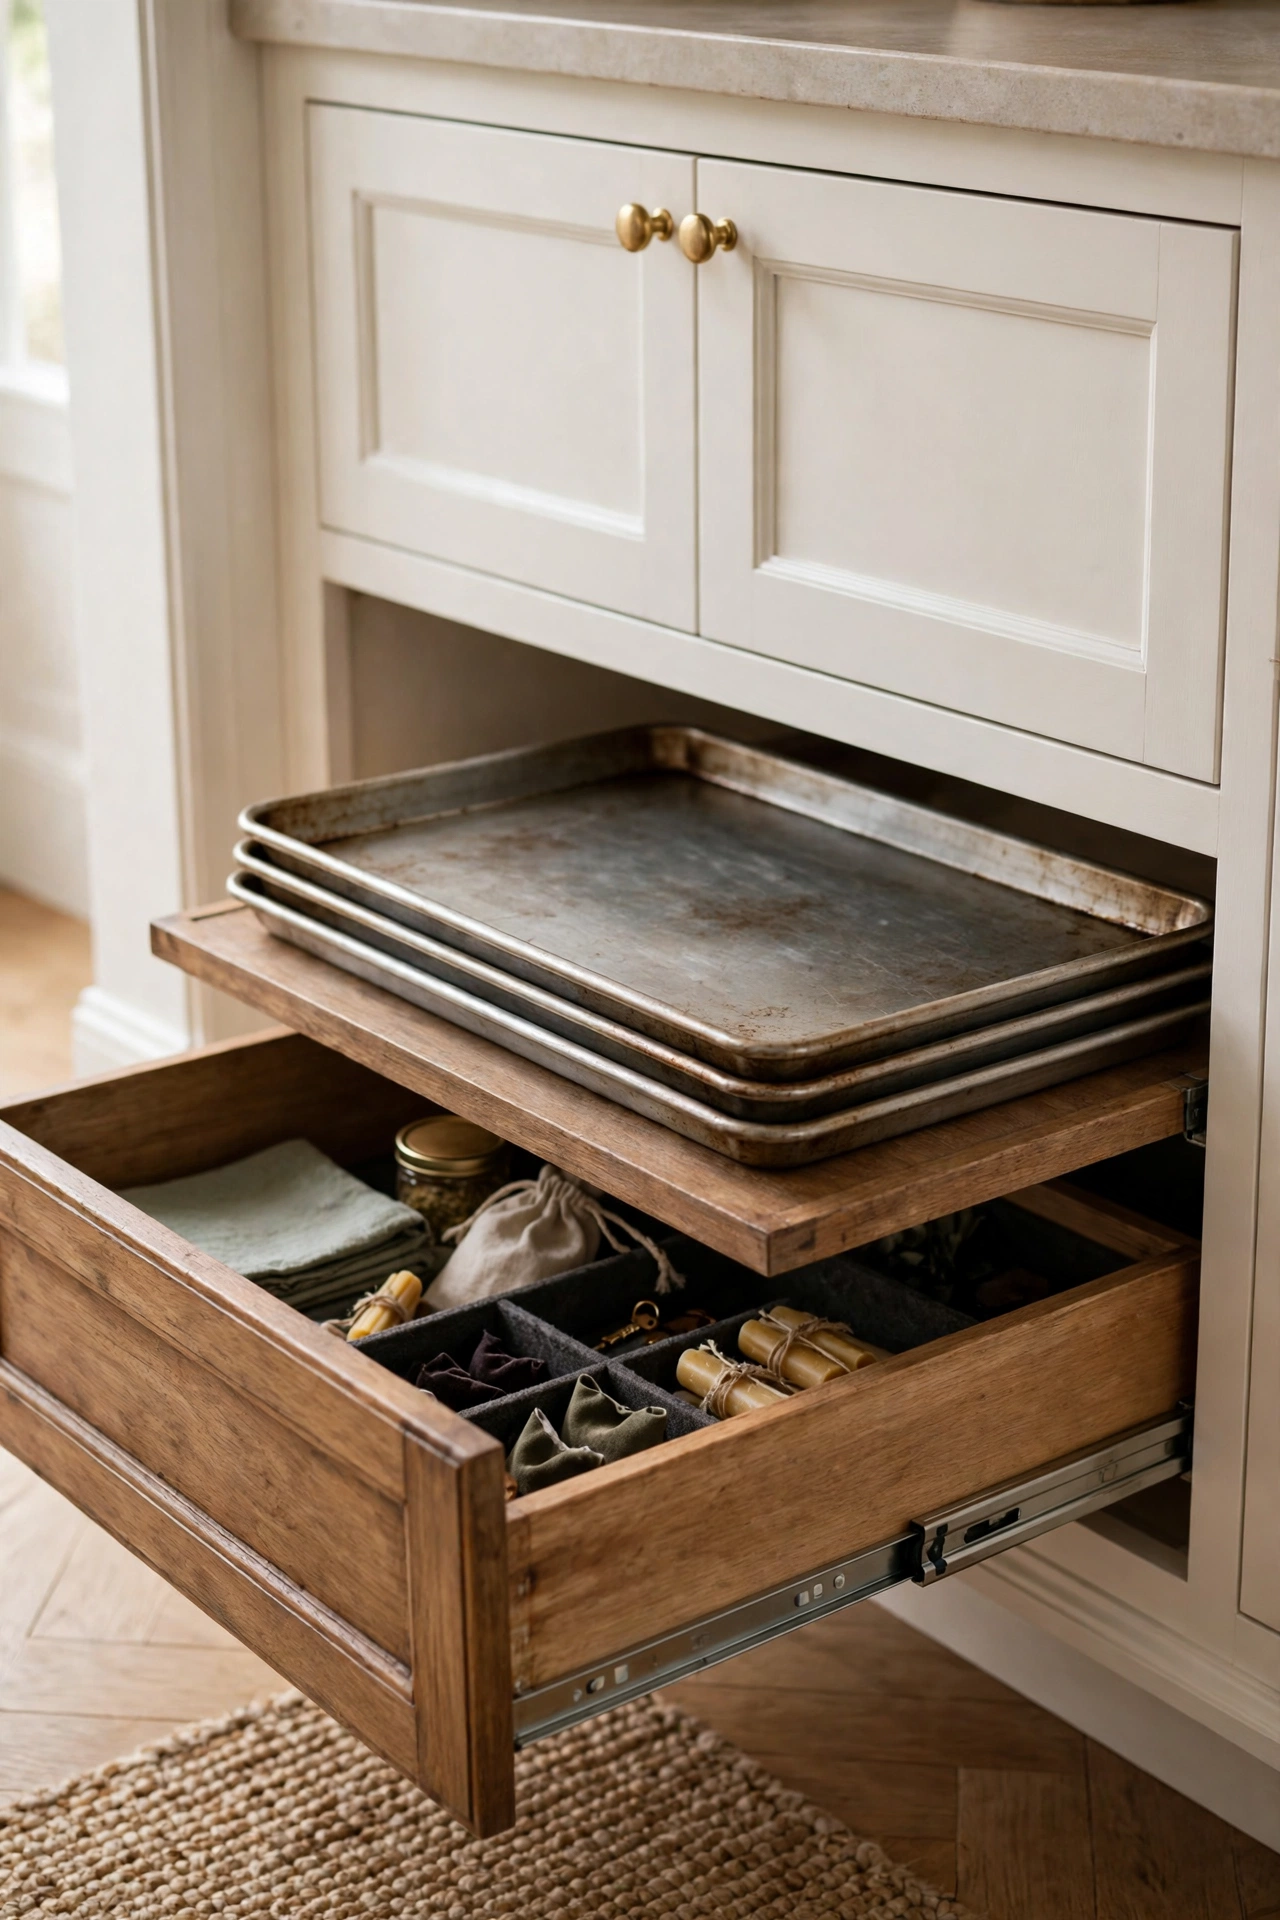
The recessed strip under kitchen cabinets hides a drawer most kitchens never use. A toe kick drawer runs the width of one cabinet, sits about 4 inches tall, and slides out on low profile runners to hold baking sheets, cutting boards, flat trays, or table linens. It needs no new cabinet and no change to the kitchen layout, and it closes flush with the same toe kick material as the rest of the run. Keep the contents flat and light, since a low drawer packed with heavy pans strains the runners and scrapes the floor.
Try this: Put it under the cabinet beside the oven, where flat baking gear stays close to where you use it.
Cost: $$ | Difficulty: Moderate
7. Hollow bedpost stash
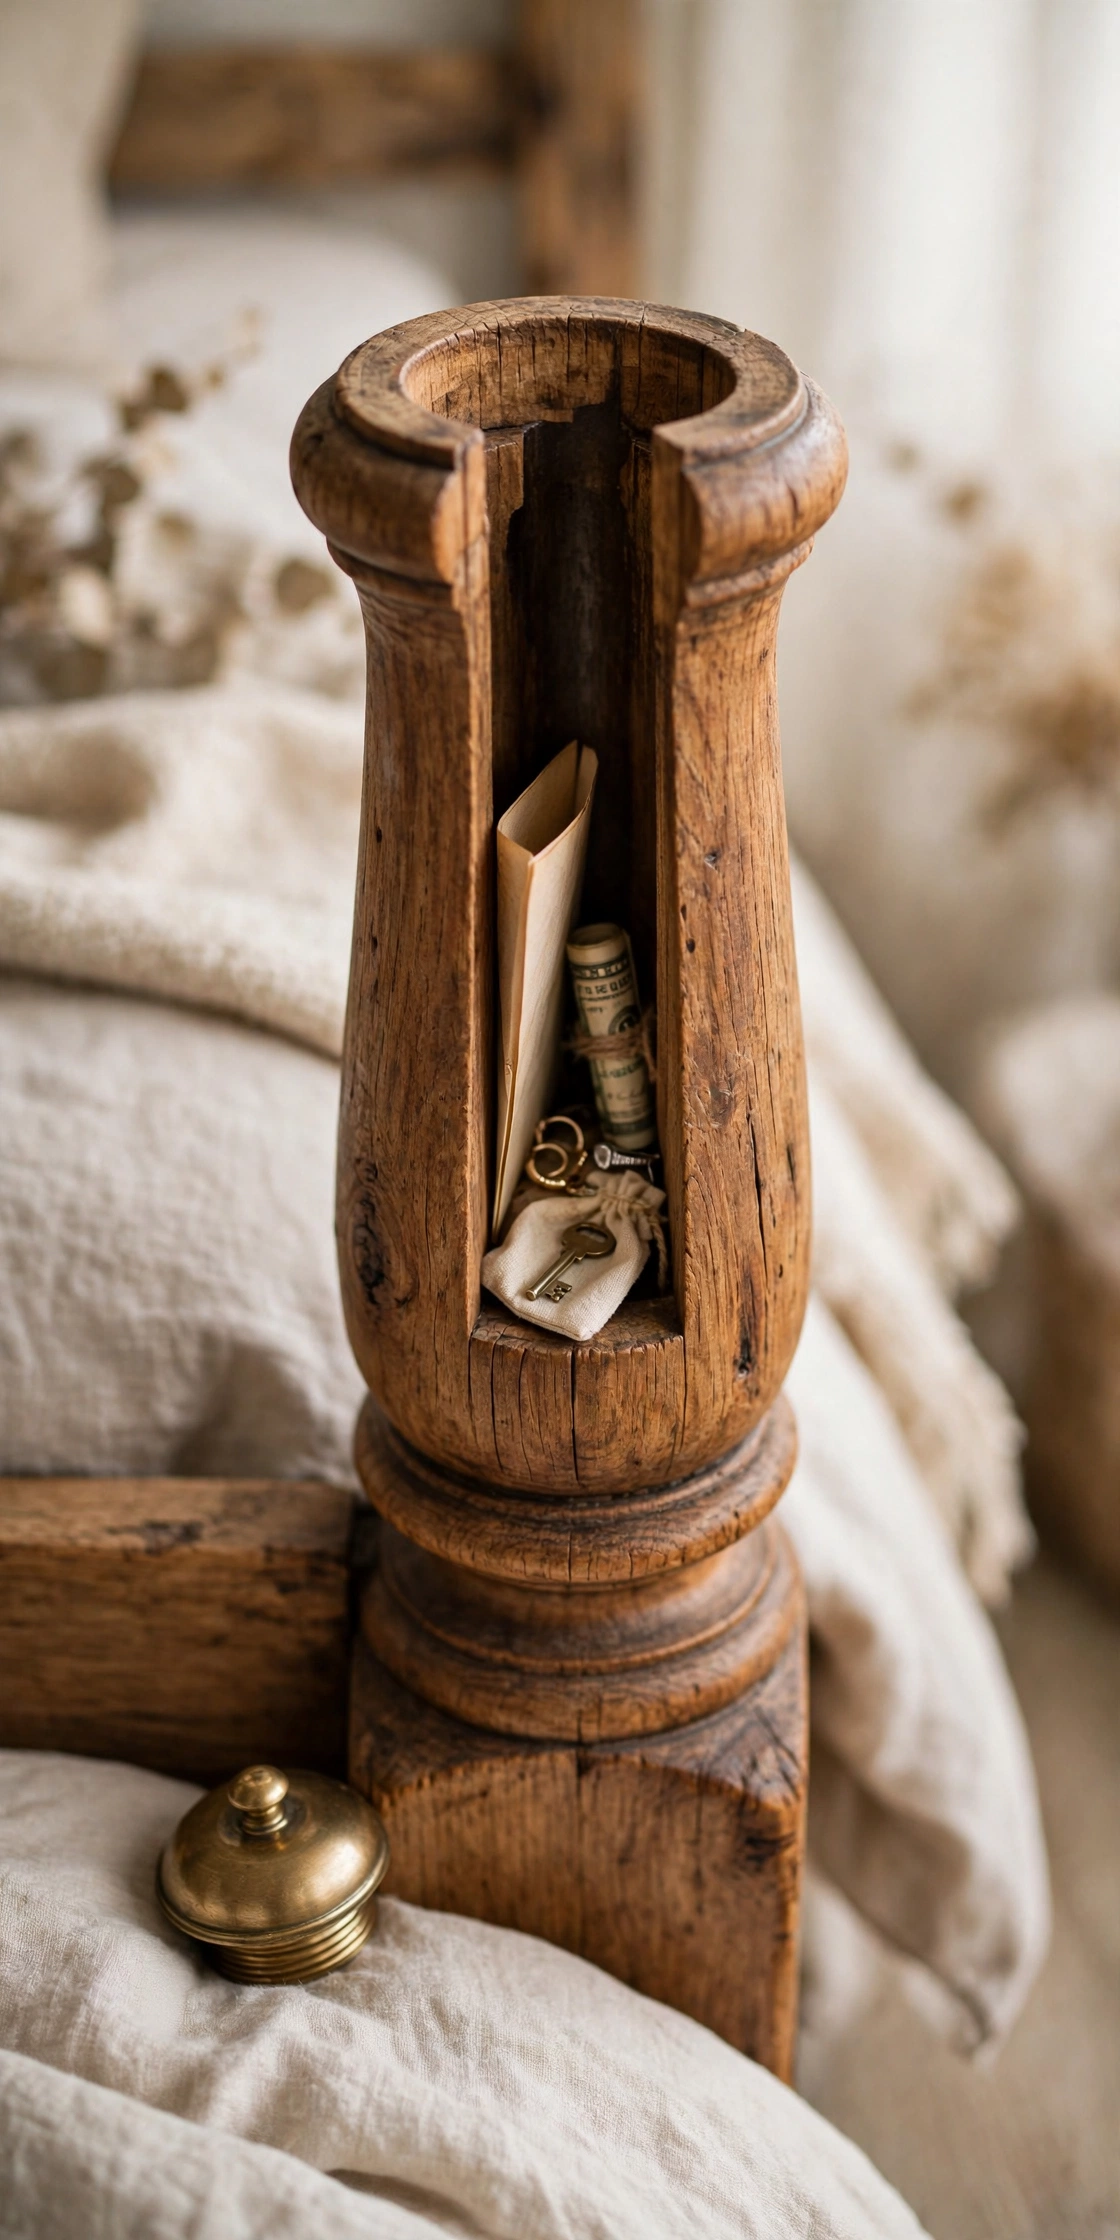
A chunky bedpost or a thick table leg can hide a narrow vertical compartment for small items. Some ready made posts come with a capped top that unscrews or lifts off, and a woodworker can bore a similar cavity into a solid post and fit a matching cap. The space suits a rolled document, a spare key, or a small keepsake, and the post looks solid from every angle once the cap sits back in place. Match the cap grain and finish to the post, since a cap that catches the light differently gives the compartment away.
Try this: Use the post farthest from the door, where guests rarely stand close enough to inspect the woodwork.
Cost: $$ | Difficulty: Moderate
8. Removable tile panel in the bath or kitchen

One tile on a bathroom or kitchen wall can lift out and reveal a small recessed compartment behind it. Set the tile on a backer panel with silicone bumpers or small magnets instead of mortar, so it sits flush with its neighbors and pulls free with a suction cup or a thin pry tab tucked at one edge. The cavity suits a spare key, small jewelry, or a backup drive, and it survives steam and splashes because the tile face seals the opening. Keep the grout line consistent with the rest of the wall, since a wider or cleaner joint marks the panel.
Try this: Pick a tile at the end of a row or beside a fixture, where a slightly different joint reads as normal variation.
Cost: $$ | Difficulty: Moderate
9. False back panel under the kitchen sink

The cabinet under a kitchen sink has dead space at the back that a false panel can turn into a hidden slot. Fit a thin panel a few inches in front of the cabinet back, on small cleats, and leave the space behind it for items you want out of sight, such as a spare key, a small lockbox, or cleaning product refills you keep away from kids. The front of the cabinet keeps its normal look, with pipes and bins in front of the panel doing the camouflage work. Keep the panel clear of pipes and the garbage disposal, and never store anything against a hot water line.
Try this: Add a small finger pull at one top corner, painted to match the cabinet interior, so you can remove the panel without tools.
Cost: $ | Difficulty: Easy
10. Pull up floorboard compartment

A single floorboard can lift out and reveal a shallow compartment between the joists below. Fit the board with a finger pull or a magnetic lift point, line the cavity with a shallow tray, and keep the board finish matched to the floor around it. The space suits documents, a backup drive, or seasonal keepsakes you only need a few times a year. Keep the tray shallow so it clears the joists, and never cut a joist or a subfloor support to gain depth, since that weakens the floor and creates a repair bill far larger than the compartment is worth.
Try this: Place it under a rug edge or beside a heavy bookcase, where foot traffic rarely lands directly on the board.
Cost: $$ | Difficulty: Advanced
11. Floating shelf with a hidden latch

A floating shelf can carry a slim compartment inside its own body. Build or buy a shelf with a hollow core, a hinged bottom, or a sliding front panel held by a hidden latch, and the shelf still displays books or a plant on top while the compartment below holds a spare key, a small lockbox, or folded documents. The trick works because the shelf depth reads as normal from the room, and the latch sits where a hand naturally grips the shelf edge. Test the latch with the shelf loaded, since a latch that sticks under weight turns a quick grab into a wrestling match.
Try this: Mount it above a desk or a dresser, where a shelf looks expected and the latch stays within easy reach.
Cost: $$ | Difficulty: Moderate
12. Plant pot inner stash for a spare key
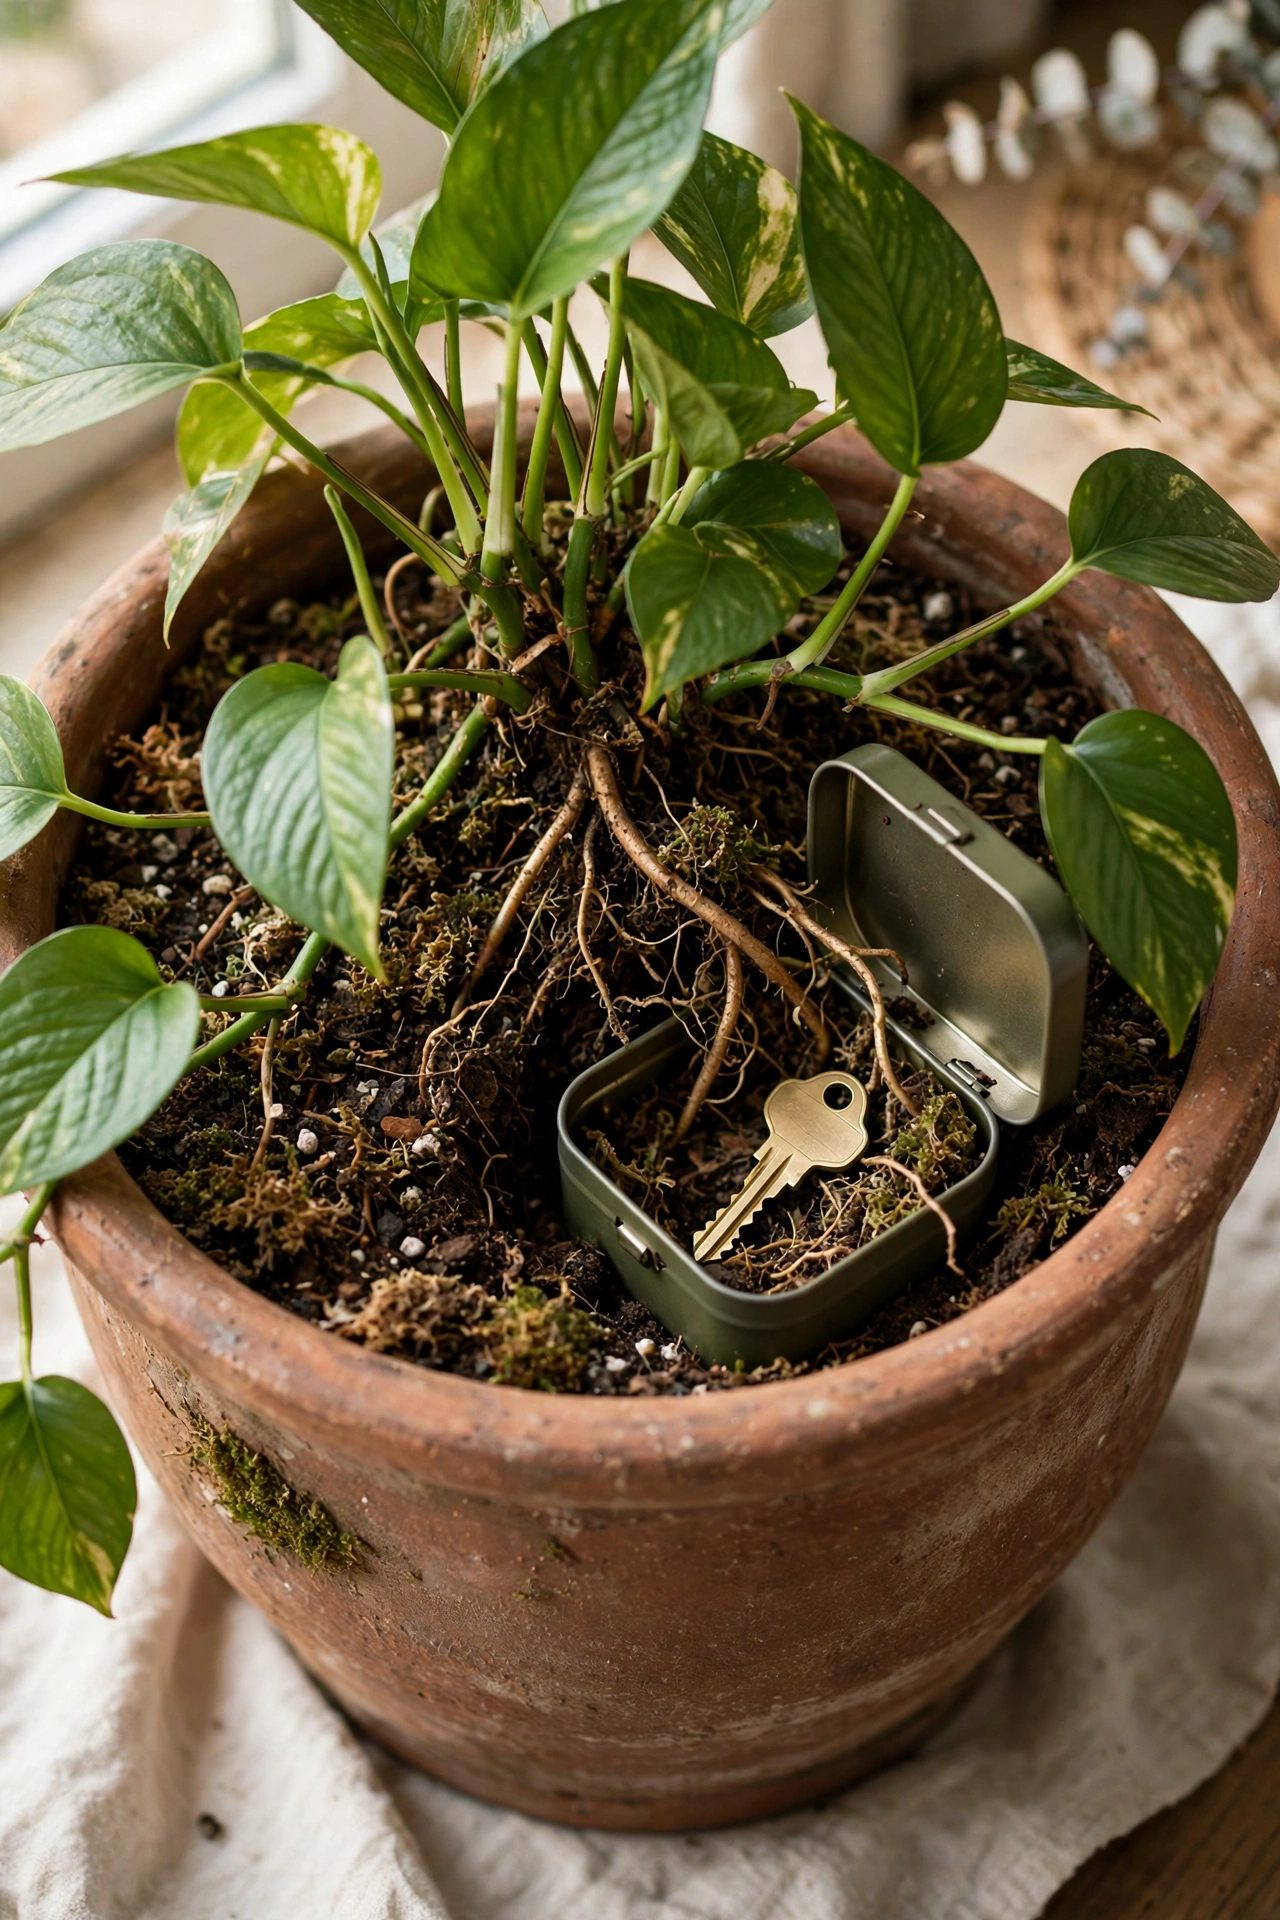
A large plant pot can hide a small waterproof container beside the root ball, and the plant does the camouflage work for free. Set a small sealed container into the pot, off to one side and above the drainage layer, so it stays dry and reachable without disturbing the roots. It suits a spare house key or a small backup drive, and it works best in a pot that stays in one place by a door or on a porch. Check the container every few months, since soil shifts with watering and a container that sinks too deep becomes hard to find.
Try this: Use a pot with a wide rim and a plant with dense foliage, so the container stays out of sight from standing height.
Cost: $ | Difficulty: Easy
How to choose the right secret compartment
Start with what you need to store and how often you need it. Flat items like documents and spare keys fit shallow compartments in drawers, baseboards, and wall niches, while bulkier items need a stair tread drawer, a toe kick drawer, or a floorboard tray. Daily items belong in a spot you can reach without tools, and rarely used items can sit in a deeper or more involved compartment. Renters should stick to furniture based ideas and freestanding pieces, since wall, tile, and floor compartments need cutting into surfaces you do not own. Measure the item before you build, and leave a little slack around it so you can pull it out without a struggle.
Secret compartment storage at a glance
| Idea | Cost | Difficulty | Best for |
|---|---|---|---|
| False bottom drawer | $ under $25 | Easy | Passports, spare keys, backup drives |
| Hollow book safe | $ under $25 | Easy | Small jewelry, USB drives, folded cash |
| Hinged artwork wall niche | $$ $25 to $150 | Moderate | Documents, spare keys, small lockboxes |
| Magnetic baseboard cavity | $ under $25 | Moderate | Spare keys, flat drives, folded documents |
| Stair tread pull out drawer | $$ $25 to $150 | Advanced | Shoe care, flashlights, small tools |
| Kitchen toe kick drawer | $$ $25 to $150 | Moderate | Baking sheets, trays, table linens |
| Hollow bedpost stash | $$ $25 to $150 | Moderate | Rolled documents, spare keys, keepsakes |
| Removable tile panel | $$ $25 to $150 | Moderate | Spare keys, small jewelry, backup drives |
| False back panel under the sink | $ under $25 | Easy | Spare keys, small lockboxes, refills |
| Pull up floorboard compartment | $$ $25 to $150 | Advanced | Documents, backup drives, keepsakes |
| Floating shelf with a hidden latch | $$ $25 to $150 | Moderate | Spare keys, small lockboxes, documents |
| Plant pot inner stash | $ under $25 | Easy | Spare house keys, small backup drives |
Cost key: $ means $1 to $10, $$ means $11 to $99, $$$ means $100 to $999, $$$$ means $1,000 and up. Most ideas here land in the first two bands, since the materials are plywood, magnets, hinges, and paint you may already own.
Common mistakes to avoid
The most common mistake is building a compartment and then forgetting it exists. Keep a private list of every compartment and what sits inside it, and check the list when you move or hand the house to someone else. A second mistake is hiding the only copy of something critical, such as a passport or a will, in a spot no one else could find in an emergency. Keep originals where a trusted person can reach them, and use secret compartments for copies, spares, and everyday items. A third mistake is cutting into structure: joists, studs, and stair framing carry loads, so a compartment that weakens them costs far more than it saves. When a project touches framing, wiring, or plumbing, get a licensed pro involved before you cut.
Safety notes
Anchor tall hidden furniture and heavy wall panels into studs with hardware rated above the load they carry, so a panel or a shelf cannot tip when it swings open. Keep every compartment clear of heaters and stove heat, and keep walkways and exits clear of drawers or panels that swing into traffic. Never hide a smoke alarm or a carbon monoxide alarm behind a panel, and never block access to an electrical panel with a compartment. Test for lead paint and follow lead safe rules before drilling, sanding, or cutting in any home built before 1978. Hire a licensed electrician for new outlets or hardwired lights in or near a hidden compartment, and never wire a fake outlet to look live. The U.S. Consumer Product Safety Commission publishes Anchor It guidance on anchoring heavy furniture so it cannot tip onto a child. The EPA Renovation, Repair and Painting program sets the lead safe rules for work in homes built before 1978. A hidden compartment hides items from casual view, and it is not a substitute for a locked safe when the item truly matters.
More home and storage ideas
If secret doors caught your eye, the ideas here pair well with a bigger project. See our guide to 27 Secret Door Ideas That Hide Rooms in Plain Sight for doors that conceal whole rooms behind bookcases, mirrors, and paneling.
For closet storage that works in the open, rather than in hiding, see our guide to 25 Smart Built In Closet Storage Ideas for a Closet That Works Harder for built in systems, drawer towers, and shelf layouts.
If your hidden spots sit near the kitchen, see our guide to 25 Genius Pantry Organization Ideas for a Pantry That Stays Tidy for zone maps, rotation rules, and systems that keep food visible and easy to reach.
For rooms where the layout itself needs to work harder, see our guide to 13 Useful Bedroom Layouts With Different Furniture for Every Room Size for arrangements that fit beds, desks, and storage into rooms of every size.
For open shelf systems that keep folded clothes tidy without hiding them, see our guide to 30 Genius Clothing Shelf Organization Ideas for Shelves That Stay Tidy for dividers, file folding, bins, and zones by garment type.
Frequently asked questions
Are secret compartments secure?
They hide items from casual view, and they are not a substitute for a locked safe. A determined searcher who knows what to look for will find most compartments, so keep irreplaceable originals, large amounts of cash, and critical documents in a safe or a bank box, and use compartments for spares, copies, and everyday items.
Can renters build secret compartments?
Yes, with furniture based ideas. False bottom drawers, hollow books, freestanding shelves with hidden latches, and plant pot stashes need no cutting into walls or floors. Skip wall niches, tile panels, baseboard cavities, and floorboard compartments in a rental, since those change surfaces you do not own and can cost you a deposit.
What should I never hide in a secret compartment?
Never hide the only copy of a passport, a will, or a medical directive, since a trusted person may need it in an emergency and may not know where it sits. Never block a smoke alarm, a carbon monoxide alarm, a vent, or an electrical panel with a compartment, and never store anything against a hot water line or a heater.
How do I remember where my compartments are?
Keep a private list, on paper or in a password protected note, of each compartment and what sits inside it. Check the list once a season, when you move, and before you sell or hand over the house, so no compartment gets left behind with items still inside.
Do I need a permit to build a wall or floor compartment?
Small compartments that do not touch framing, wiring, or plumbing usually need no permit, but rules vary by town and by project. A compartment that cuts a stud, a joist, or a stair stringer touches structure and needs a licensed pro, and any work near wiring needs a licensed electrician.
Final thoughts
Pick one compartment, build it well, and use it for a month before you add a second. A single false drawer bottom or a single hollow book teaches you what you actually reach for, and that lesson keeps the rest of your compartments useful instead of forgotten.