


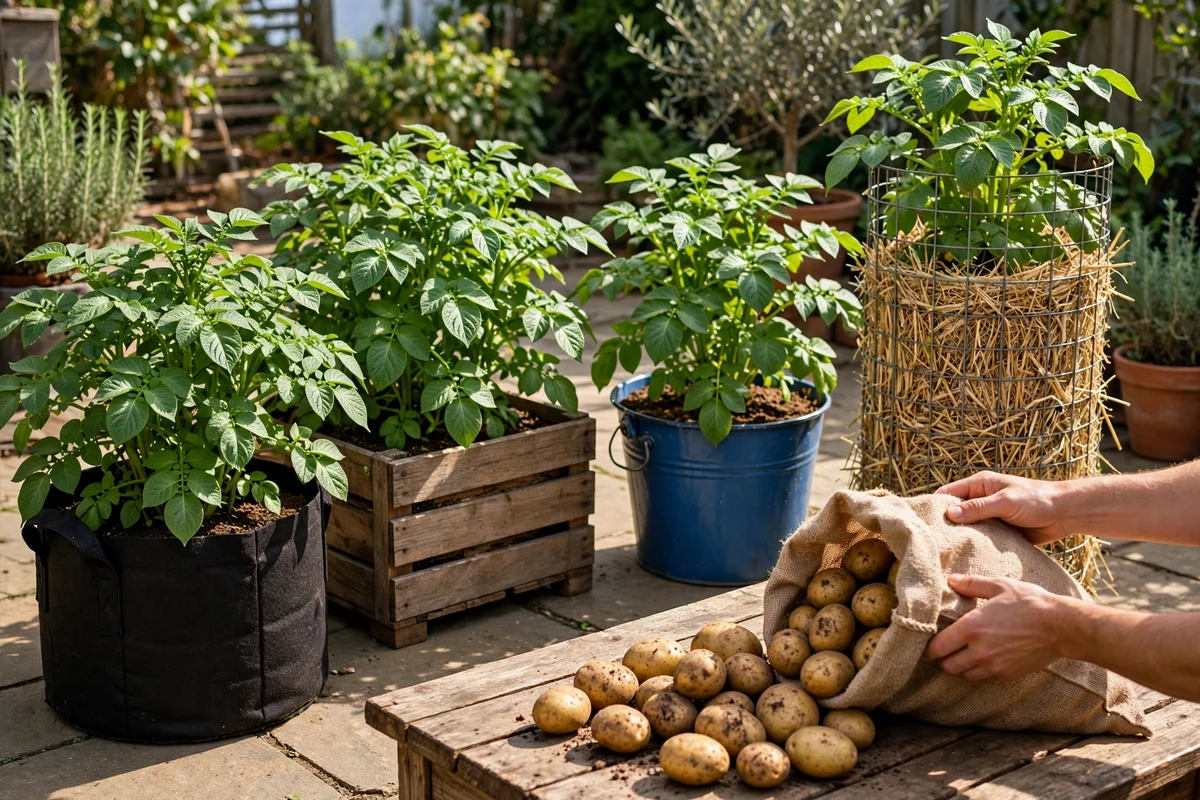
No yard? No problem. A sunny patio, balcony, or driveway corner is enough room to grow a real crop of potatoes if you pick the right container. Potatoes adapt well to pots because they form tubers along buried stems, and every time you add soil (a step called hilling), you give the plant more stem to work with. The result is a harvest you tip out by hand, with no digging and no forked tubers.
This guide covers 20 container ideas, from 10-gallon grow bags to laundry baskets and wire towers, plus how to hill, water, feed, and harvest. Most setups cost under $20 and suit beginners. I started with two buckets on my patio three years ago and now run a row of grow bags every spring. If I can do it between work calls, you can too.
Quick takeaways
- Use containers at least 12 to 15 inches deep with drainage holes. Bigger containers grow bigger harvests.
- Start with certified seed potatoes, not grocery store spuds, to avoid disease.
- Hill up soil or straw as stems grow, keeping tubers buried so they stay white and safe to eat.
- Water steadily (about 1 to 2 inches per week) and stop watering when foliage yellows.
- Harvest new potatoes 2 to 3 weeks after flowering, or wait until tops die back for full-size tubers.
1. The 10-gallon grow bag classic
Fabric grow bags are the most forgiving way to start. The porous sides air-prune roots and drain freely, so overwatering is rare. Fill a 10-gallon bag one-third full with a loose potting mix blended with compost, set 3 seed potatoes on top, and cover with 4 inches of mix. As stems reach 6 inches tall, roll the bag sides up and add more mix until the bag is nearly full. At harvest, tip the whole bag over and pick tubers from the loose soil.
Try this: choose a bag with handles so you can shift it to follow the sun through the season.
Cost: $$. Difficulty: Easy.

2. A 5-gallon bucket from the hardware store
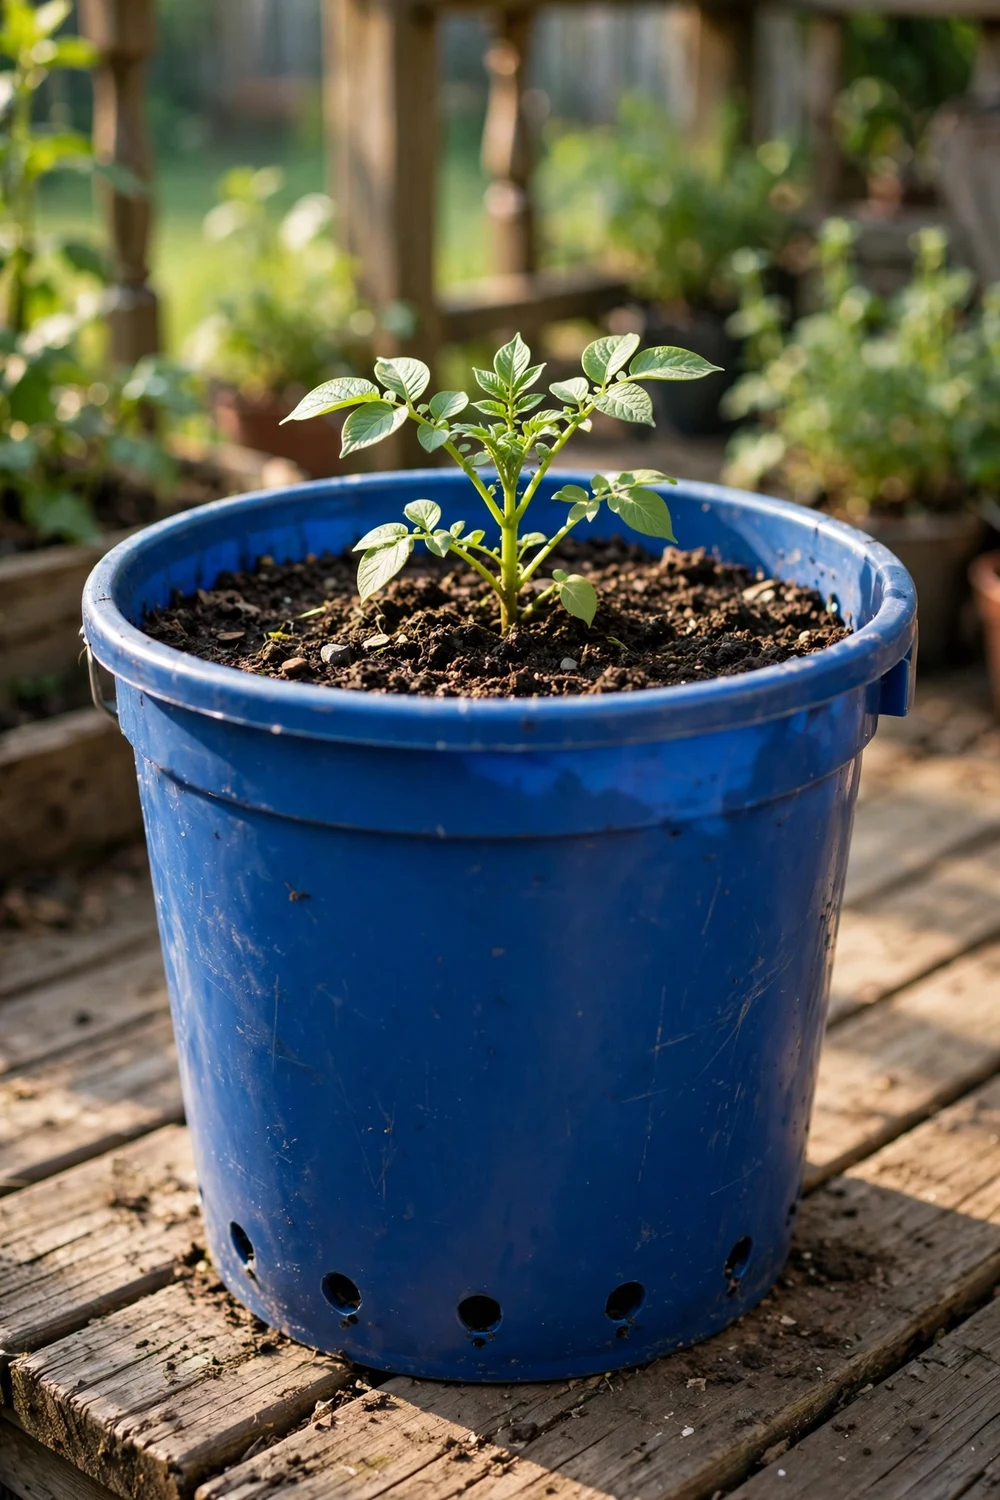
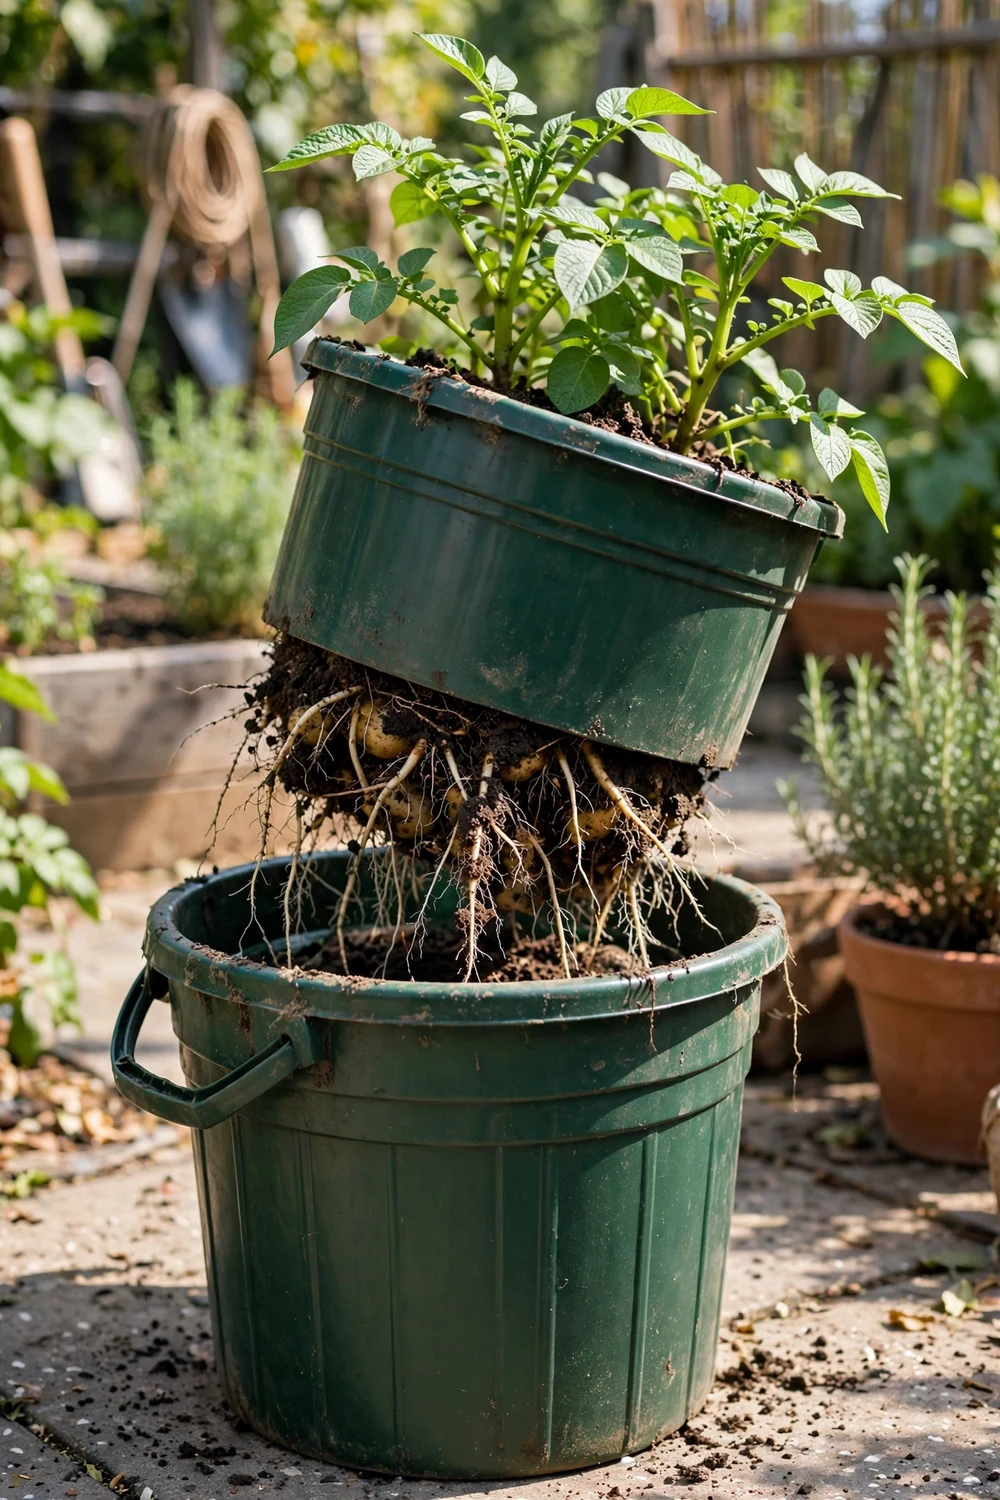
One clean 5-gallon bucket grows one generous plant. Drill 8 to 10 half-inch holes in the bottom and a few around the lower sides for drainage, then add 4 inches of potting mix and one chitted seed potato. Cover it, then keep adding mix as the plant grows until the bucket is full. Black buckets warm fast in spring sun, which speeds early growth, but they can overheat in July, so shift them into afternoon shade in hot climates.
Try this: write the variety and planting date on the bucket with a paint pen so you can compare results next year.
Cost: $. Difficulty: Easy.
3. A chicken-wire potato tower
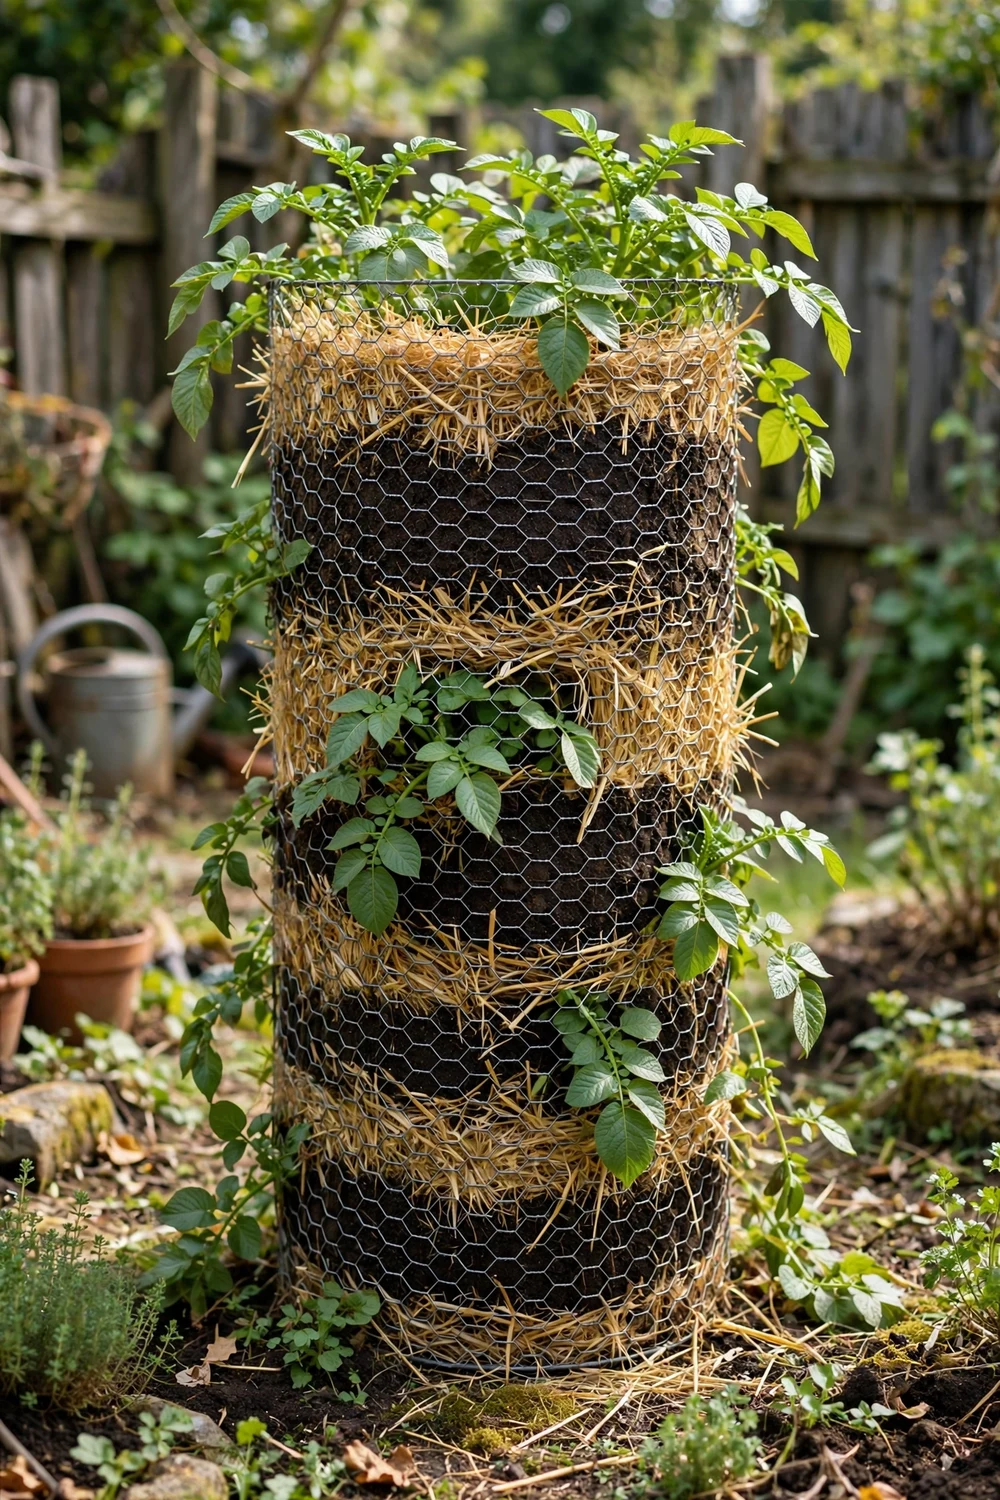
A wire tower suits indeterminate varieties that keep forming tubers along tall stems. Shape a cylinder of chicken wire about 2 feet wide and 3 feet tall, anchor it with stakes, and line the inside with straw. Add 6 inches of soil, set seed potatoes around the edge, and cover. Keep layering straw and soil as stems climb. To harvest, untie the wire, peel it back, and pull straw away to reveal clean tubers with almost no digging.
Try this: late-season varieties like Russet Burbank fill tall towers best.
Cost: $$. Difficulty: Moderate.
4. A wooden crate lined with burlap
Slatted wooden crates look right on a porch and breathe well. Line the inside with burlap or landscape fabric so soil stays put while water drains. Fill one-third with a mix of potting soil and compost, add 2 to 3 seed potatoes, and hill up as usual. Cedar and untreated pine last a season or two; avoid crates stamped with chemical treatment codes if you plan to eat the harvest.
Try this: set the crate on bricks so air moves underneath and the wood dries between waterings.
Cost: $$. Difficulty: Easy.

5. A tall kitchen trash can
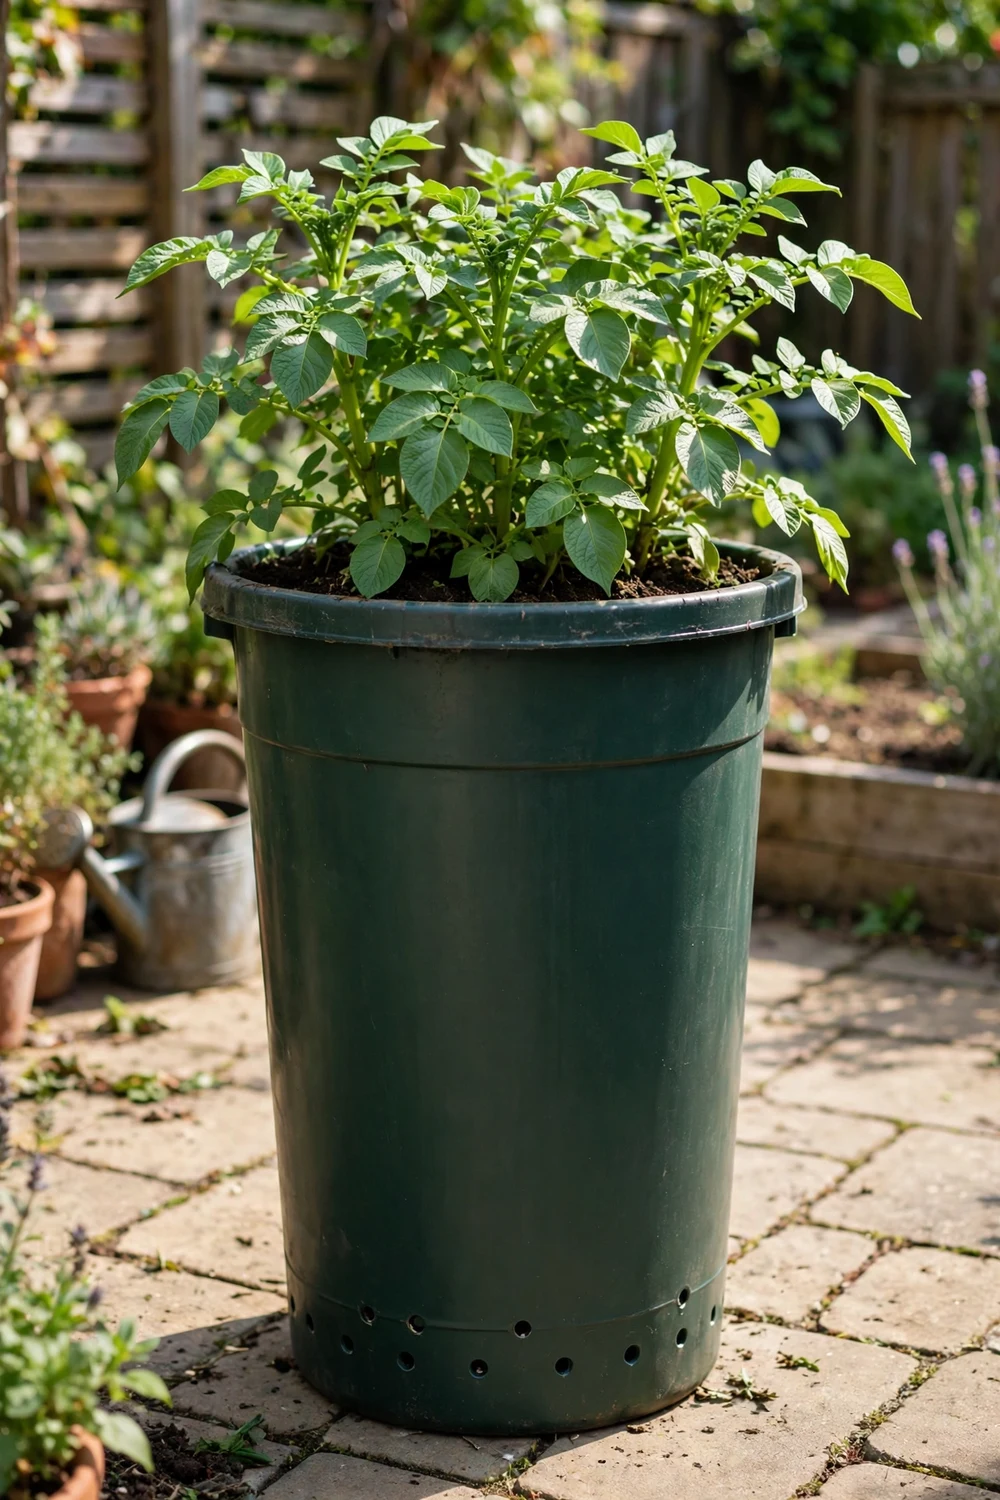
A new, food-grade tall trash can (around 20 to 32 gallons) gives indeterminate potatoes serious vertical room. Drill drainage holes in the bottom and lower sides, add 6 inches of soil, and plant 4 seed potatoes. The tall walls make hilling easy because you just keep adding mix. Dark cans absorb heat, so this setup shines in cool spring weather and northern climates.
Try this: use a can with a snap lid to cover plants during a surprise late frost.
Cost: $$. Difficulty: Easy.
6. A half whiskey barrel
Half barrels hold 4 to 5 seed potatoes and look like they were made for a patio garden. Drill at least a dozen half-inch drainage holes in the bottom, since barrels are deep and water pools fast. Add a 2-inch layer of coarse gravel or broken pot shards before the soil for extra drainage. Fill one-third with potting mix, plant, and hill through the season. A full barrel is heavy, so place it in its final sunny spot before you add soil.
Try this: plant a quick crop of radishes on top while potato stems are still short to use the surface.
Cost: $$. Difficulty: Moderate.

7. A sturdy cardboard box
A big cardboard box works for one season and then composts, which keeps things simple. Fold the flaps inward for strength, bury the bottom edge 2 inches into the ground or weigh it with bricks so wind cannot topple it, and fill with soil and compost. Plant 3 seed potatoes and hill as stems grow. The box softens by harvest time, so you can tear it open and collect potatoes without any digging at all.
Try this: double-box it (one box inside another) if your cardboard feels thin.
Cost: $. Difficulty: Easy.

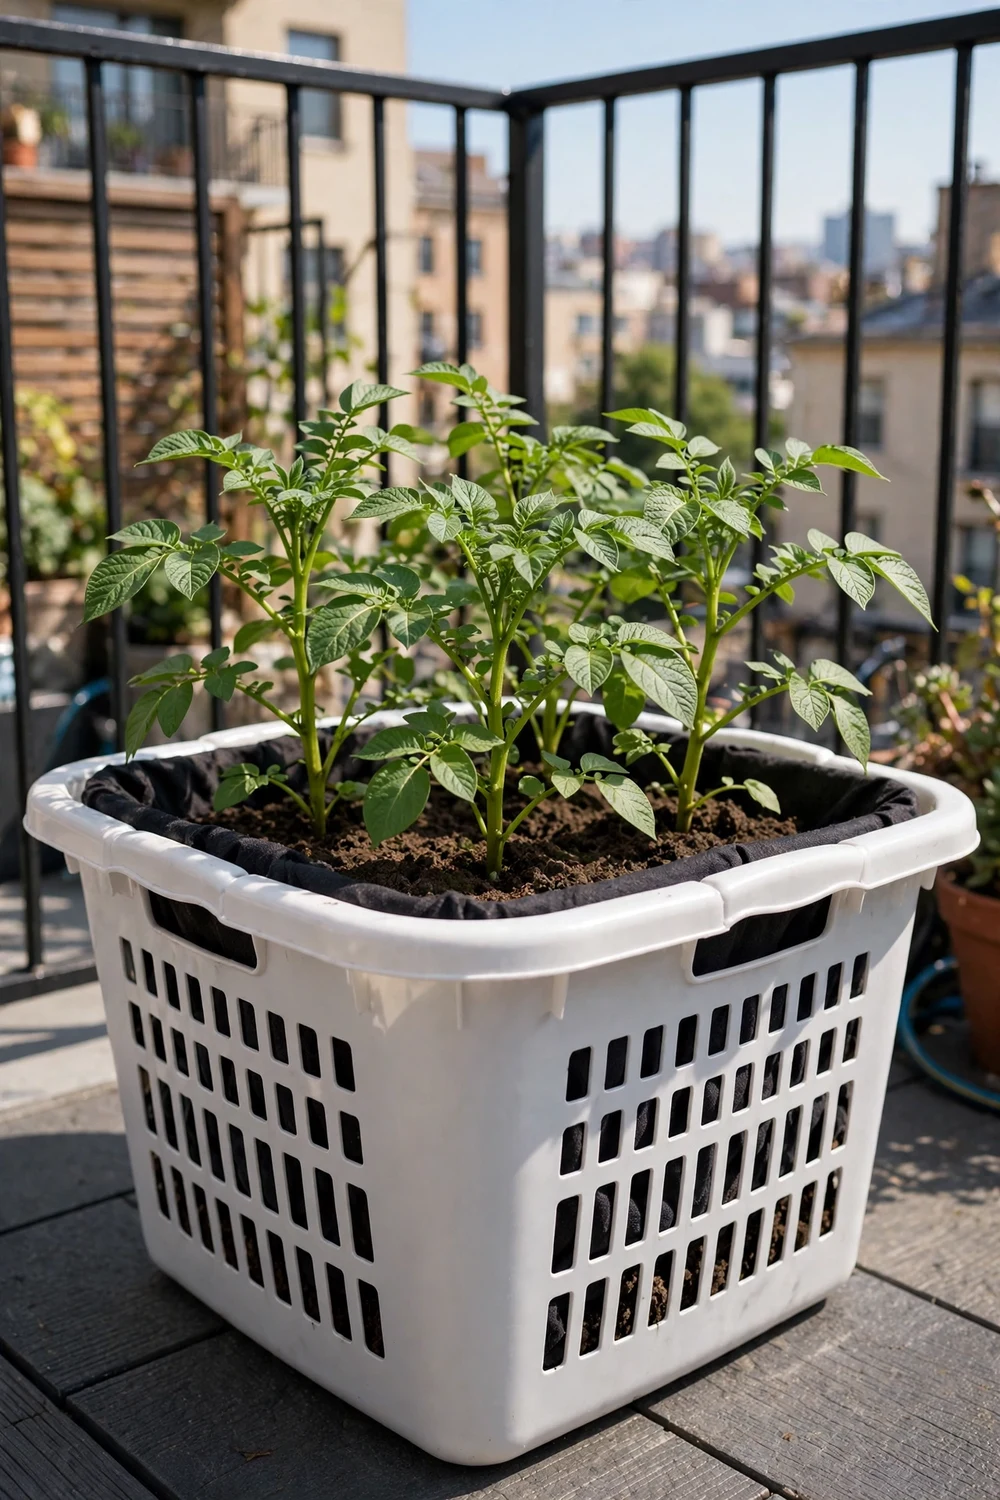
8. A laundry basket with side slots
Plastic laundry baskets have built-in side holes that work like planting pockets. Line the basket with landscape fabric, fill the bottom 6 inches with soil, and set seed potatoes around the edge with eyes facing outward. Add soil in layers as stems grow. The side slots give extra air to the root zone, and at harvest you can reach through them to steal a few new potatoes early.
Try this: tuck straw, not soil, against the sides so tubers near the edge stay clean.
Cost: $. Difficulty: Easy.
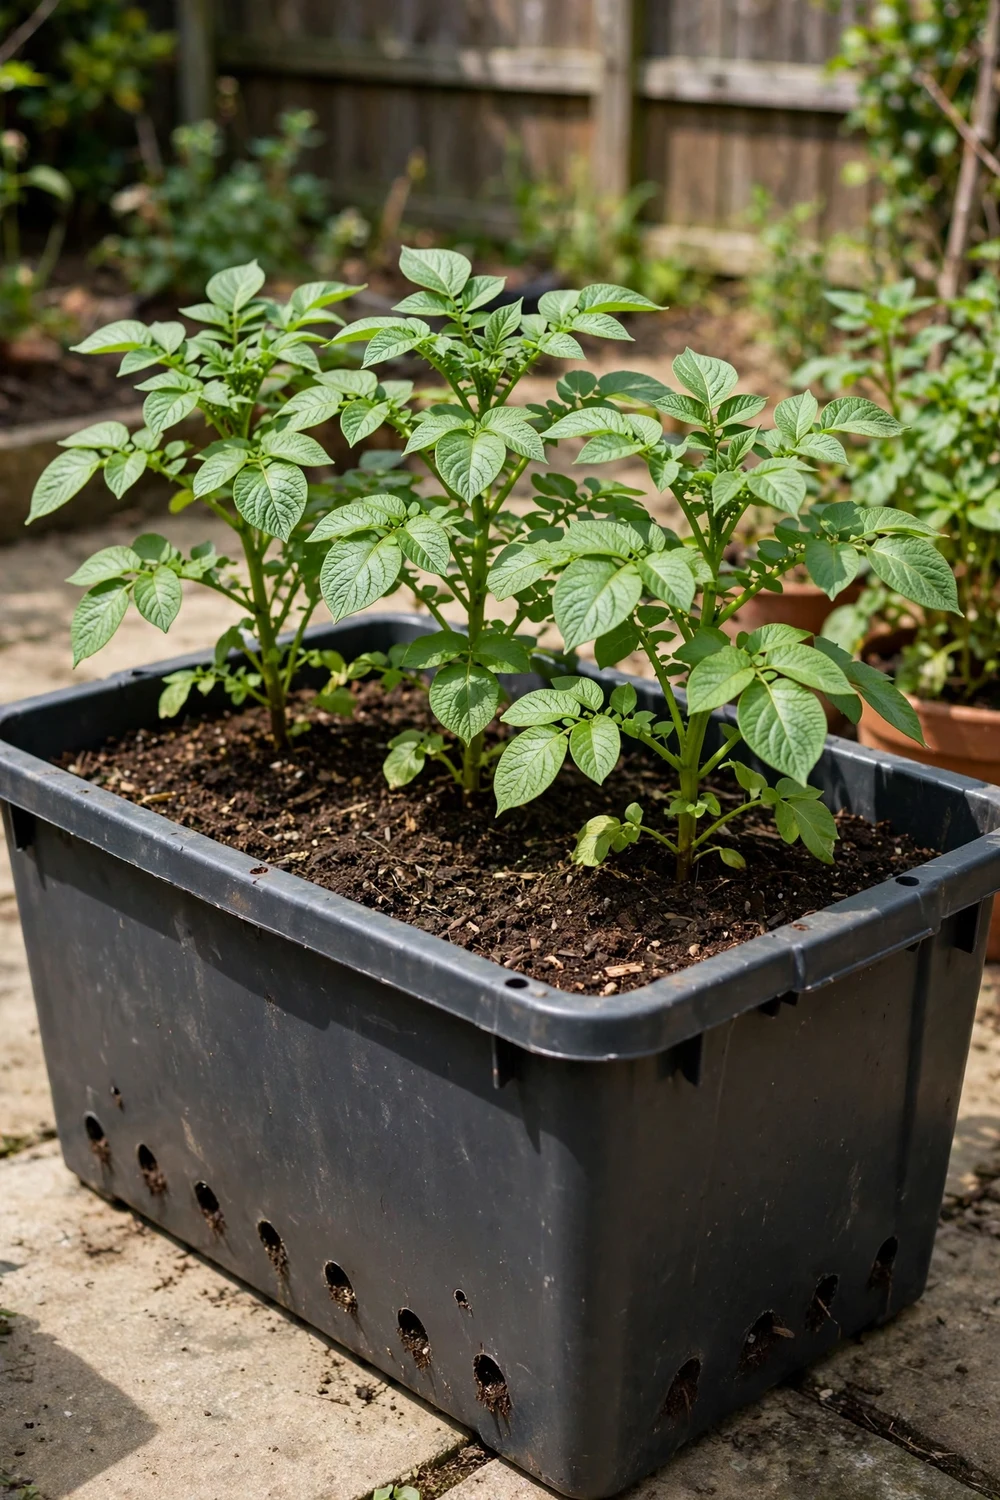
9. A 17-gallon storage tote
Clear or opaque storage totes are cheap, deep, and easy to find. Drill holes every 4 inches across the bottom plus a row near the base of the sides. Plant 3 to 4 seed potatoes in 6 inches of mix and hill upward. Totes with snap lids double as frost covers on cold nights. If you use a clear tote, wrap the outside with burlap or dark fabric, because light reaching tubers turns them green.
Try this: paint the outside white in hot climates to reflect heat and keep roots cool.
Cost: $$. Difficulty: Easy.
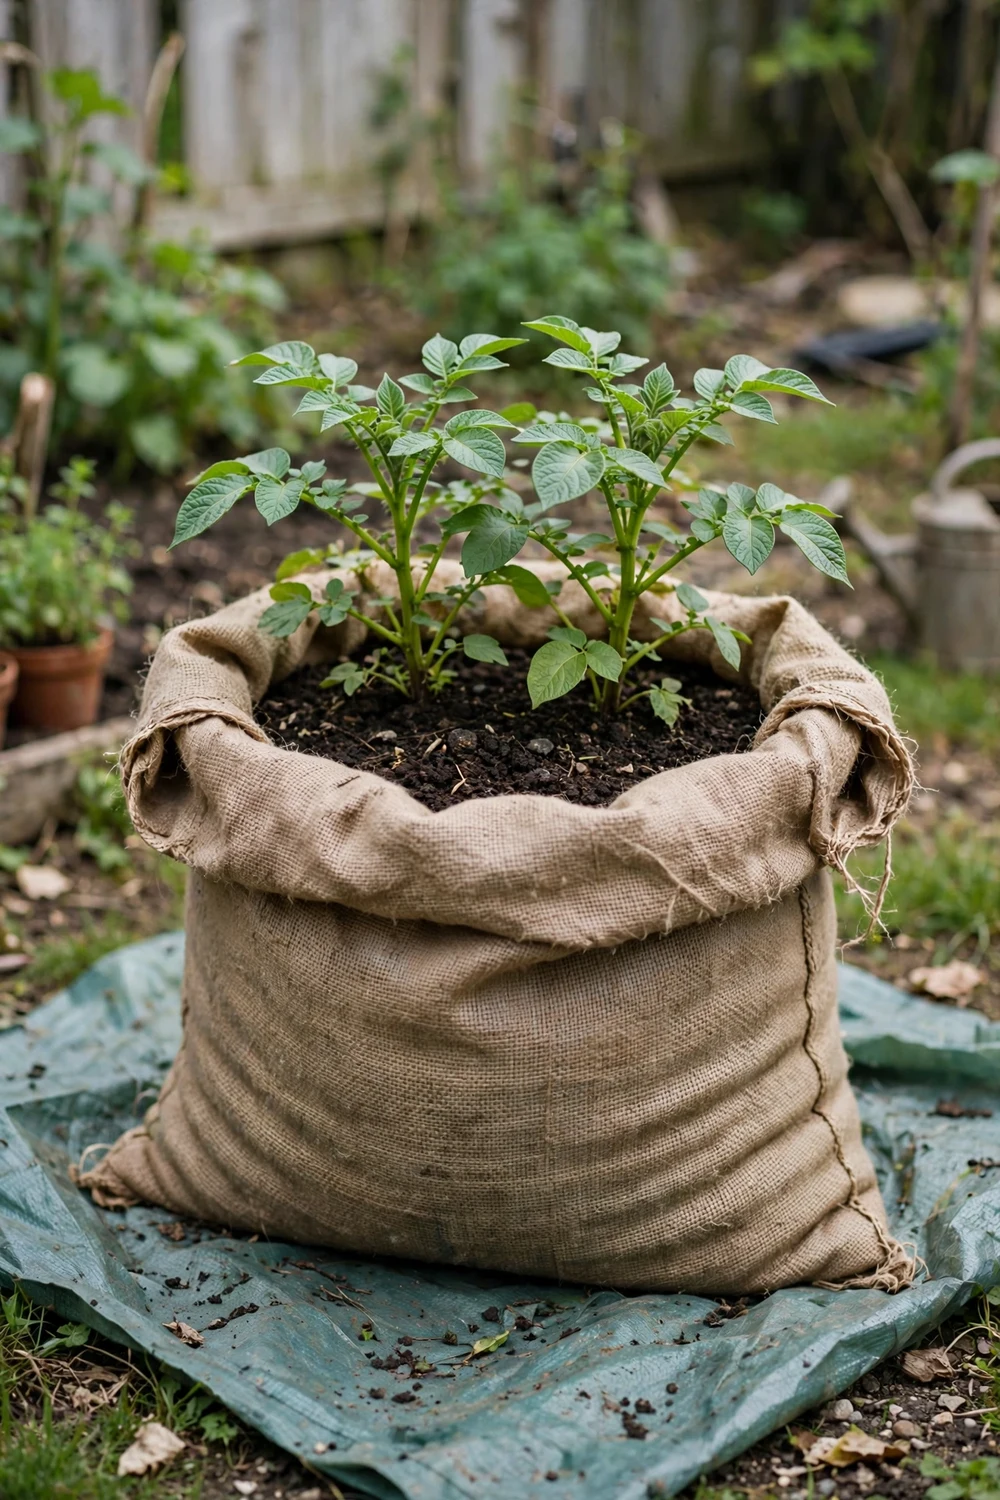
10. A burlap coffee sack
Burlap sacks breathe, drain, and cost almost nothing. Roll the sides down to form a short, wide pot, add 6 inches of potting mix, and plant 2 seed potatoes. Unroll the sides a few inches each time you hill until the sack stands full height. Set sacks inside a shallow tray or on a tarp, because water seeps through burlap and will stain a deck.
Try this: ask a local coffee roaster for empty sacks; many give them away.
Cost: $. Difficulty: Easy.
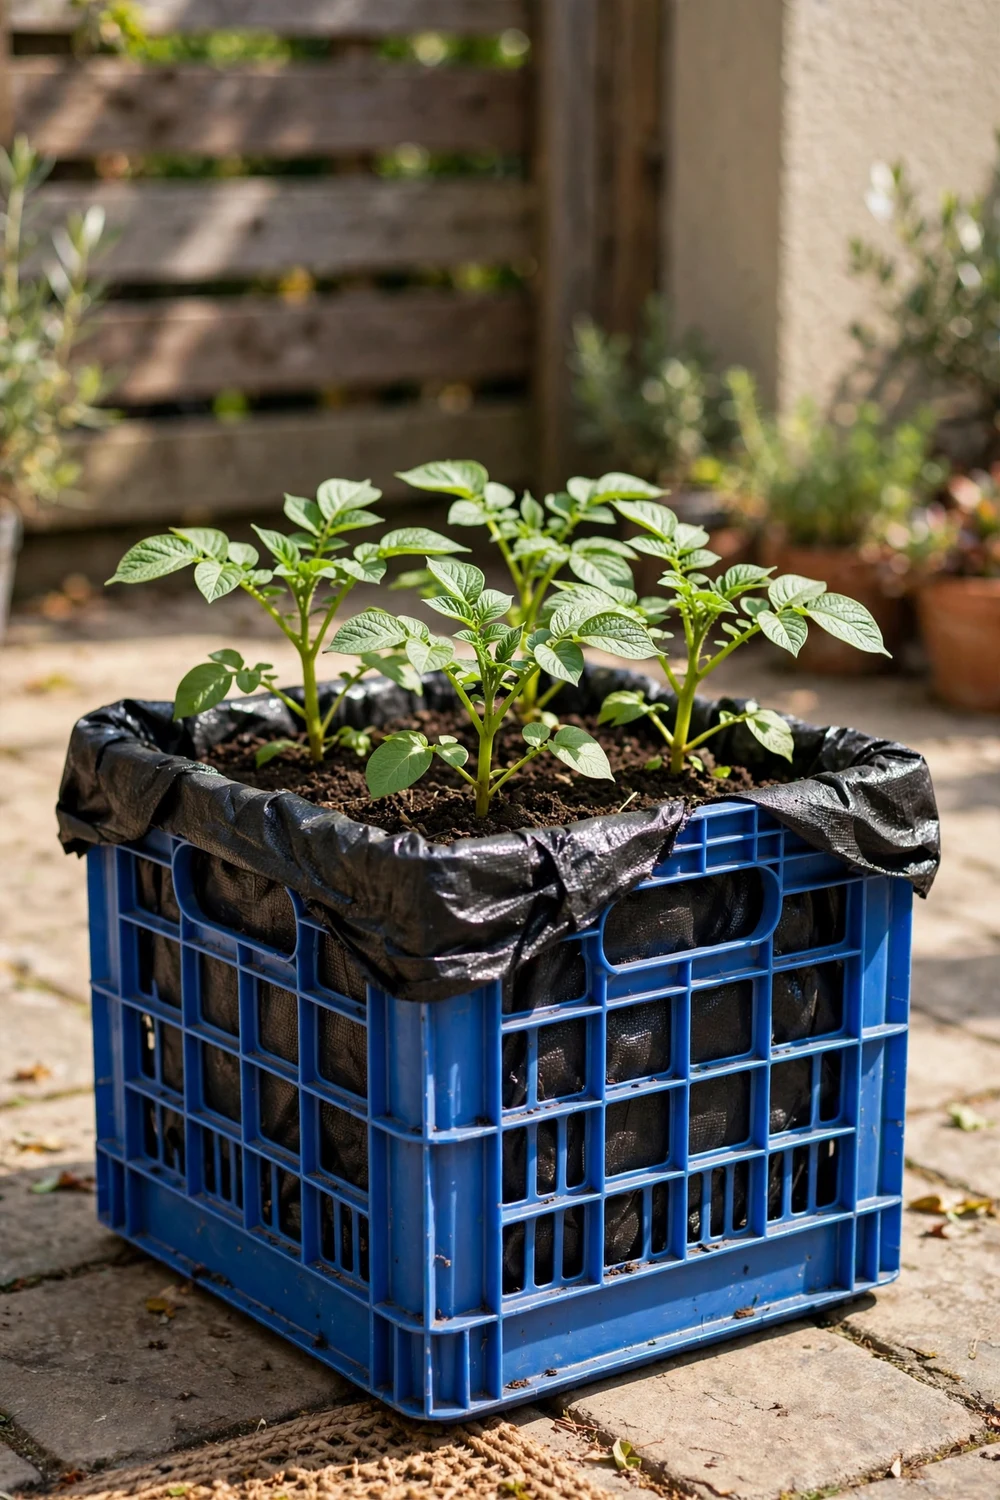
11. A milk crate lined with landscape fabric
Milk crates are rigid, stackable, and free if you already have them. Line one with landscape fabric, fill with 6 inches of soil, and plant 2 seed potatoes. When stems are tall, set a second lined crate on top and keep hilling. The open grid gives roots plenty of air. At harvest, lift the top crate off and tip each one out separately, which makes sorting tubers by size easy.
Try this: zip-tie the crates together so a summer storm cannot knock the stack over.
Cost: $. Difficulty: Easy.
12. A bushel basket
A bushel basket brings a farm-stand look to the patio. Line it with burlap to hold soil, add 6 inches of mix, and plant 2 seed potatoes. Baskets drain fast, so plan to water a little more often than you would with plastic pots. Harvest is the fun part: tip the basket on its side and roll the potatoes out like apples at a market stall.
Try this: rest the basket on a plant caddy with wheels to chase the sun.
Cost: $$. Difficulty: Easy.

13. Nested double buckets for easy checks
Cut the bottom out of one 5-gallon bucket and nest it inside a second intact bucket. Plant in the inner bucket and hill normally. When you want to check tuber size, lift the inner bucket and peek through the open bottom without disturbing the plant. This setup is ideal for beginners who are tempted to dig around, since every inspection used to cost the plant some roots.
Try this: mark a fill line on the inner bucket so hilling stays consistent each time.
Cost: $. Difficulty: Moderate.
14. A rolling recycling bin
A tall wheeled recycling bin holds 4 to 5 seed potatoes and moves with one hand. Drill drainage holes in the bottom and lower sides, fill one-third with soil, and plant. The wheels matter more than they sound: you can roll plants into full sun in spring, into afternoon shade during heat waves, and under cover before hail. Clean the bin well first and use one that held only paper or cans.
Try this: lock the wheels once plants are tall so wind cannot roll the bin over.
Cost: $$. Difficulty: Moderate.

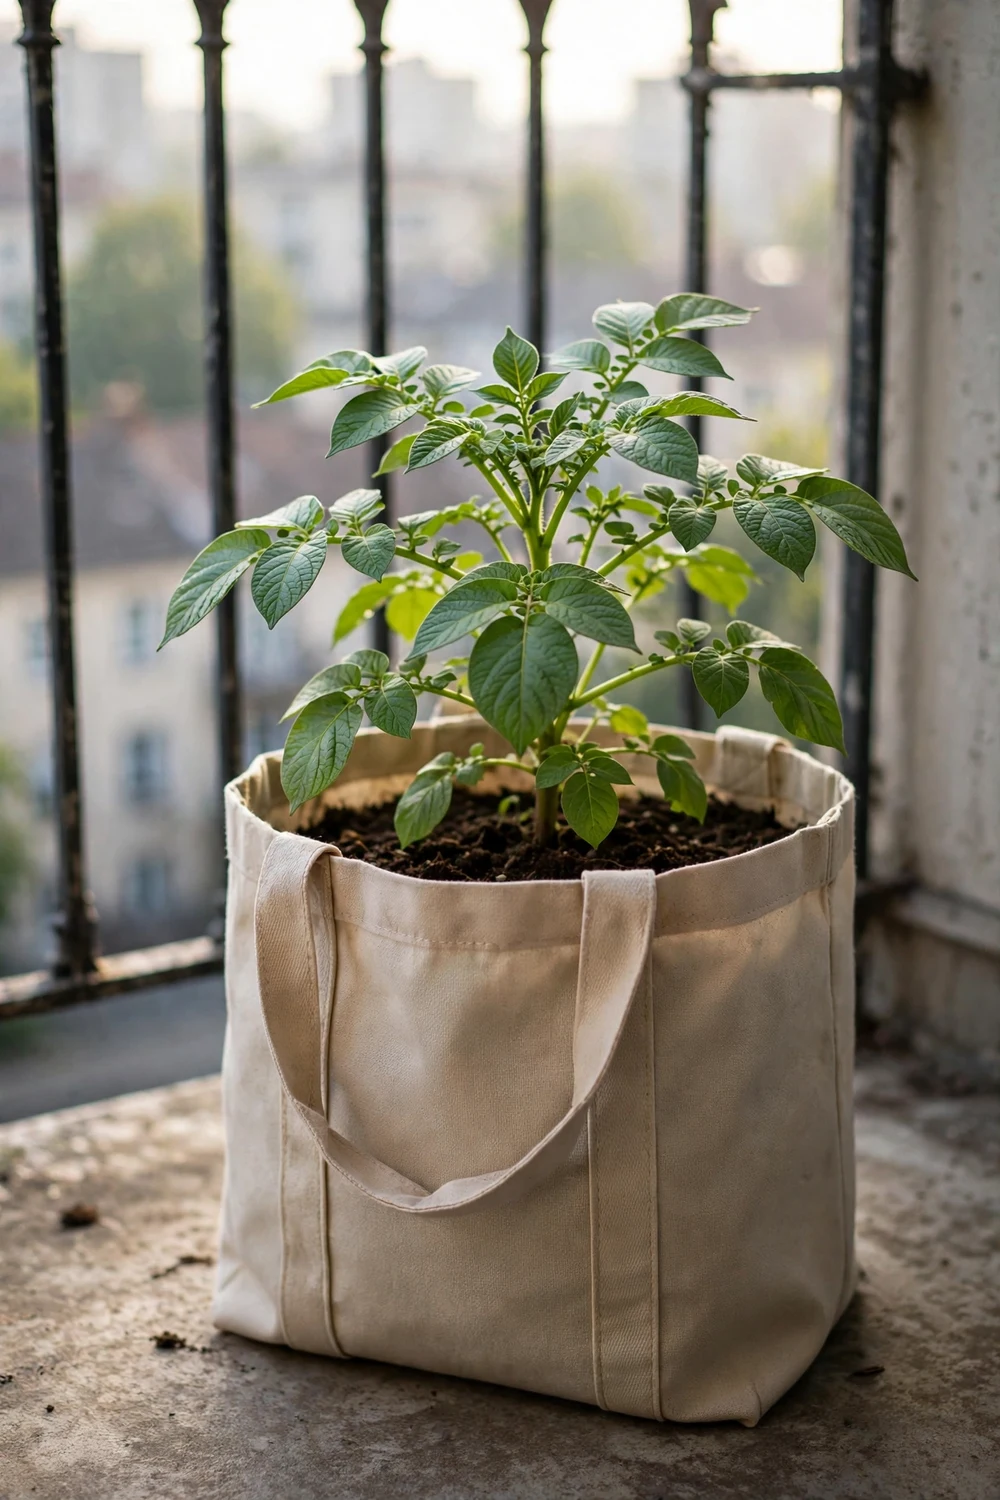
15. A reusable fabric shopping tote
One sturdy fabric tote grows one seed potato, which makes it the smallest serious option here. Fill it halfway with potting mix, plant a chitted seed potato, and add mix as the stem grows. Totes suit balconies and renters because they weigh little and fold flat for storage. The thin fabric dries quickly, so check moisture daily in summer and water when the top inch feels dry.
Try this: grow an early variety like Yukon Gold for new potatoes in about 60 days.
Cost: $. Difficulty: Easy.
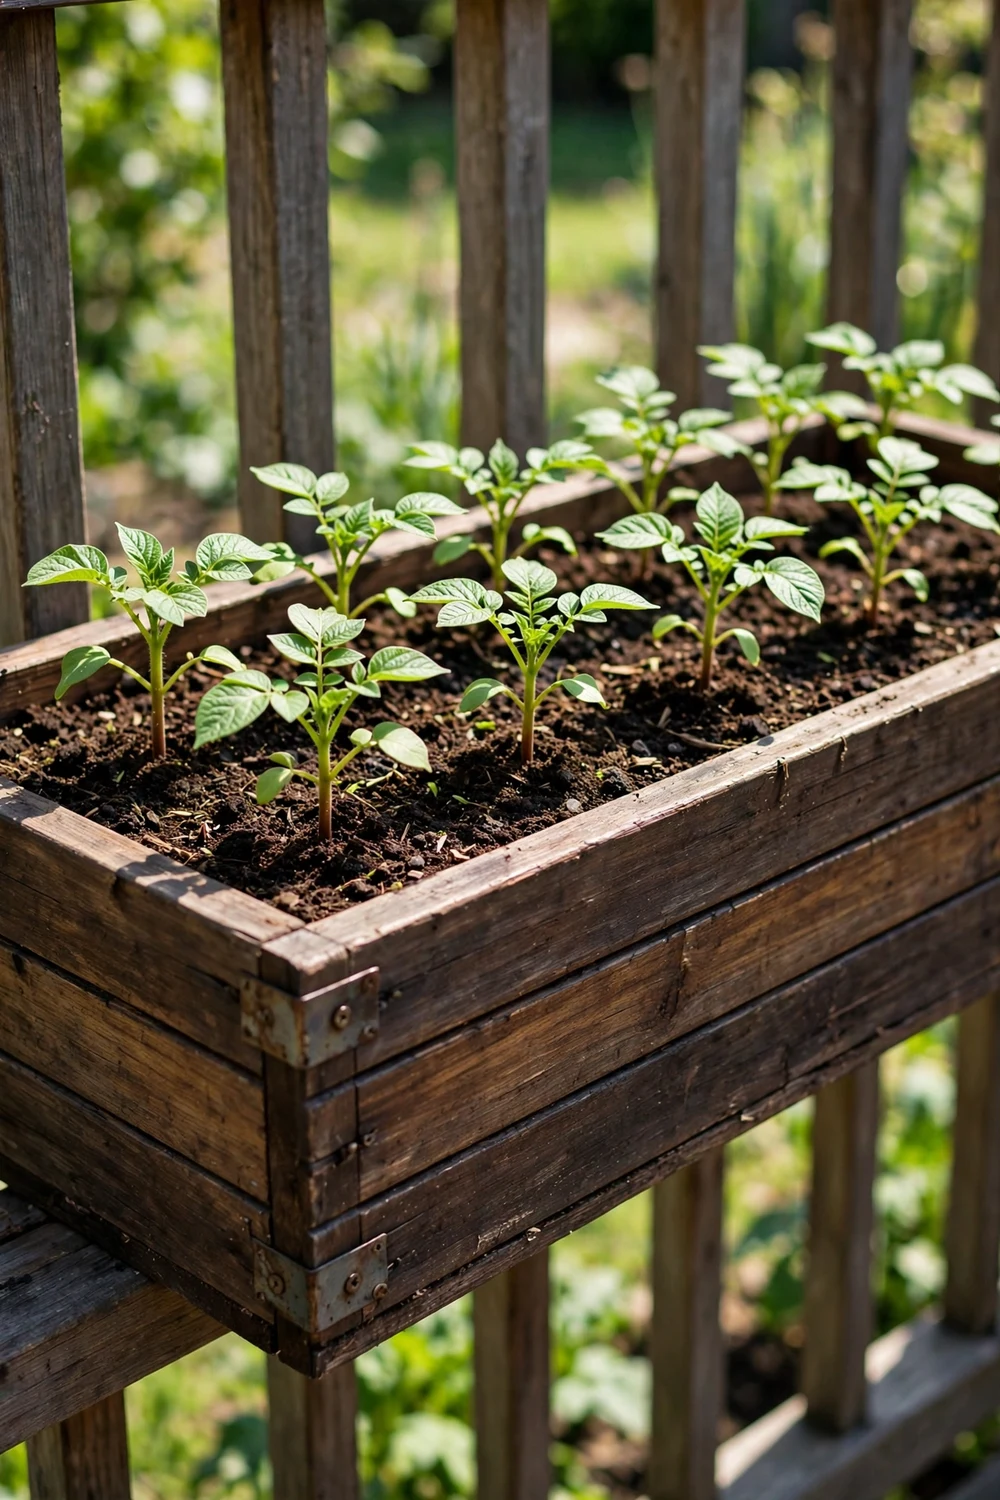
16. A shallow window box for baby new potatoes
You do not need depth if you harvest early. Fill a deep window box (at least 10 inches) with rich potting mix, plant fingerling or early varieties 4 inches apart, and skip hilling. Dig baby new potatoes 2 to 3 weeks after flowering, when skins are thin and flavor is sweet. The plants stay compact, so a sunny railing or wide sill works.
Try this: plant every 2 weeks from April to June for a steady supply of new potatoes.
Cost: $$. Difficulty: Easy.
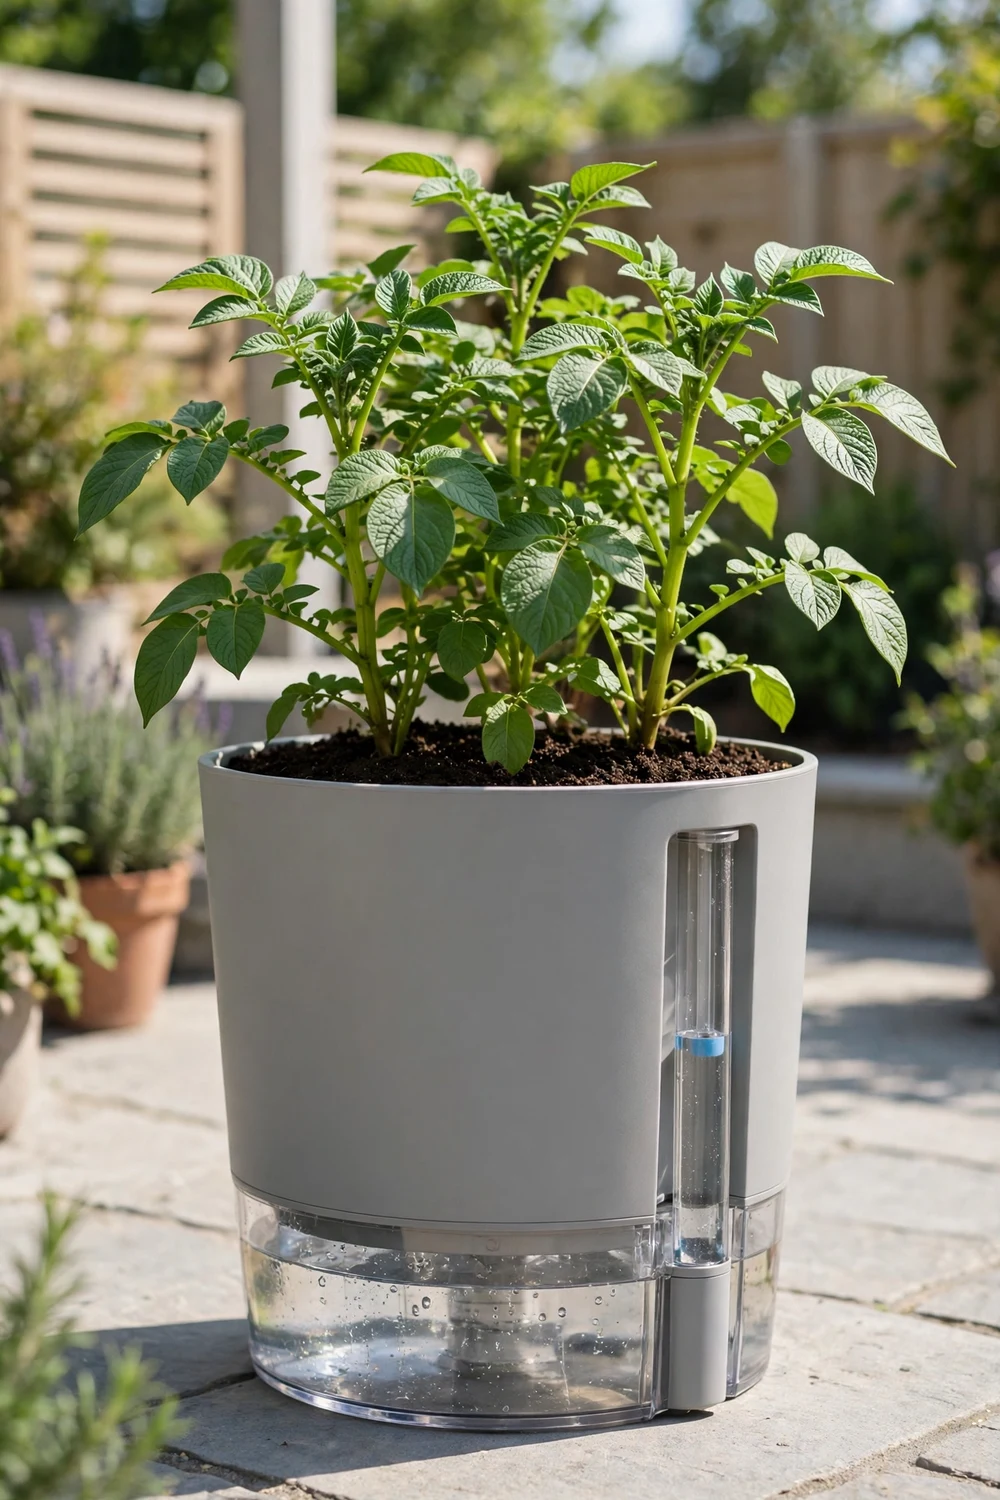
17. A self-watering container with a reservoir
Containers dry out faster than garden beds, and inconsistent water gives small, cracked tubers. A self-watering planter with a bottom reservoir wicks moisture up evenly, which keeps soil consistently damp during flowering when tubers are sizing up. Plant 2 to 3 seed potatoes in the soil chamber and keep the reservoir filled. Check the water level gauge every few days in hot weather.
Try this: add liquid feed to the reservoir instead of top-watering to feed roots directly.
Cost: $$. Difficulty: Moderate.
18. A trash bag inside a tomato cage
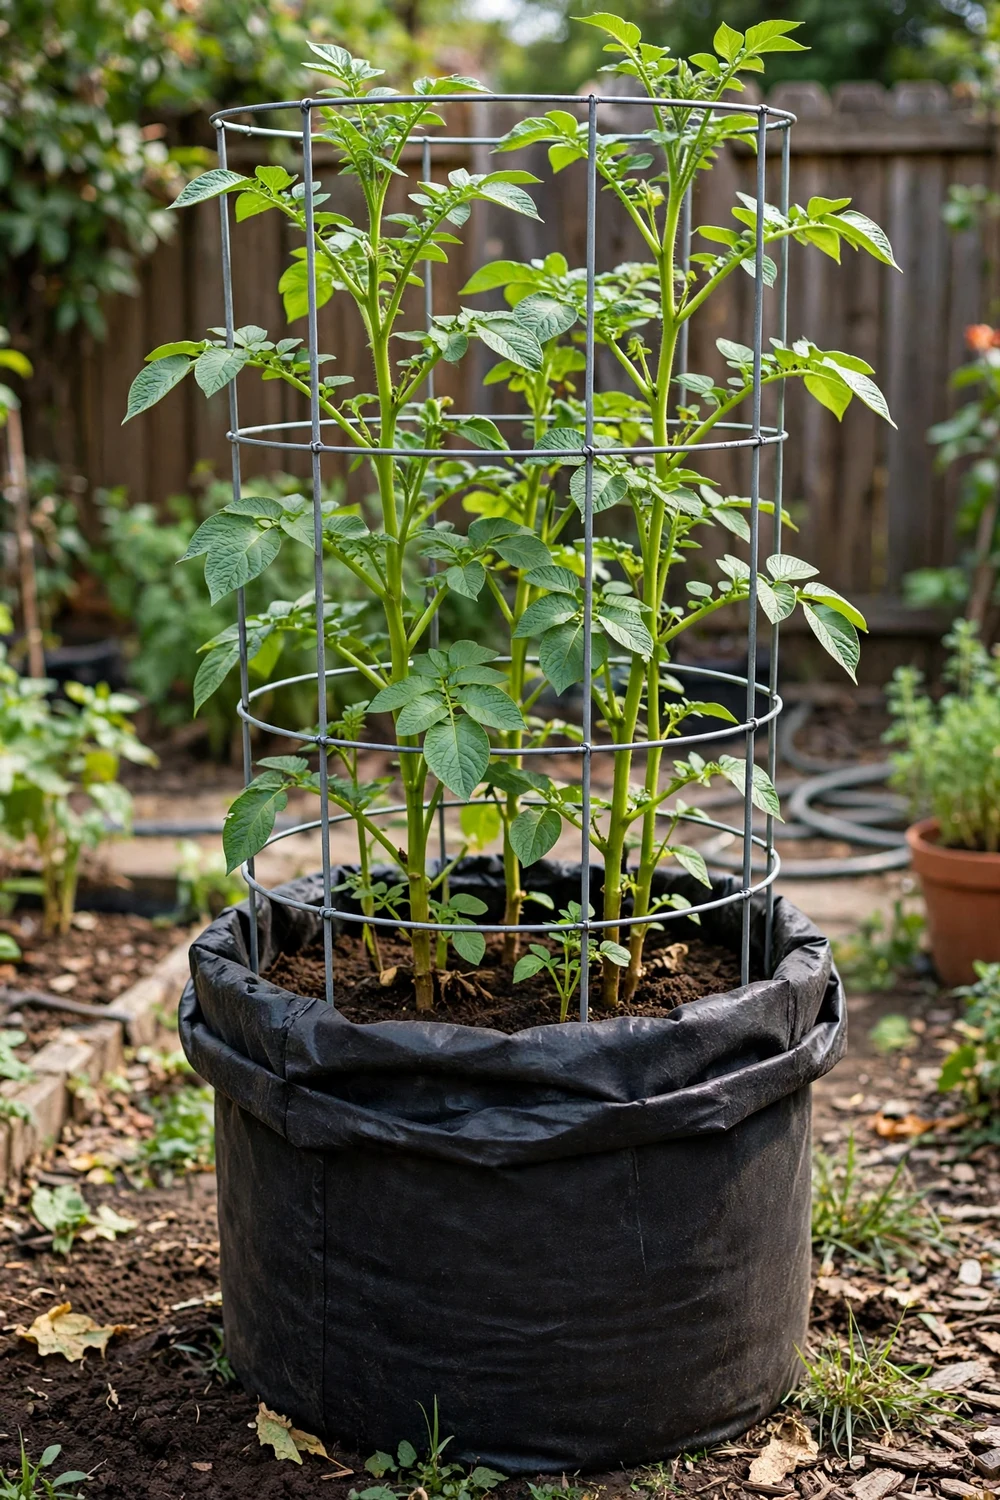
For a nearly free vertical setup, stand a tall tomato cage on the patio and line it with a heavy-duty trash bag with drainage slits cut in the bottom. Fill one-third with soil, plant 3 seed potatoes, and hill as stems rise through the cage rings. The cage supports tall foliage in wind. Use thick contractor bags, since thin kitchen bags tear once they hold 10 gallons of wet soil.
Try this: roll the bag edge down over the top cage ring for a neater look.
Cost: $. Difficulty: Easy.
19. Straw-layer no-dig box
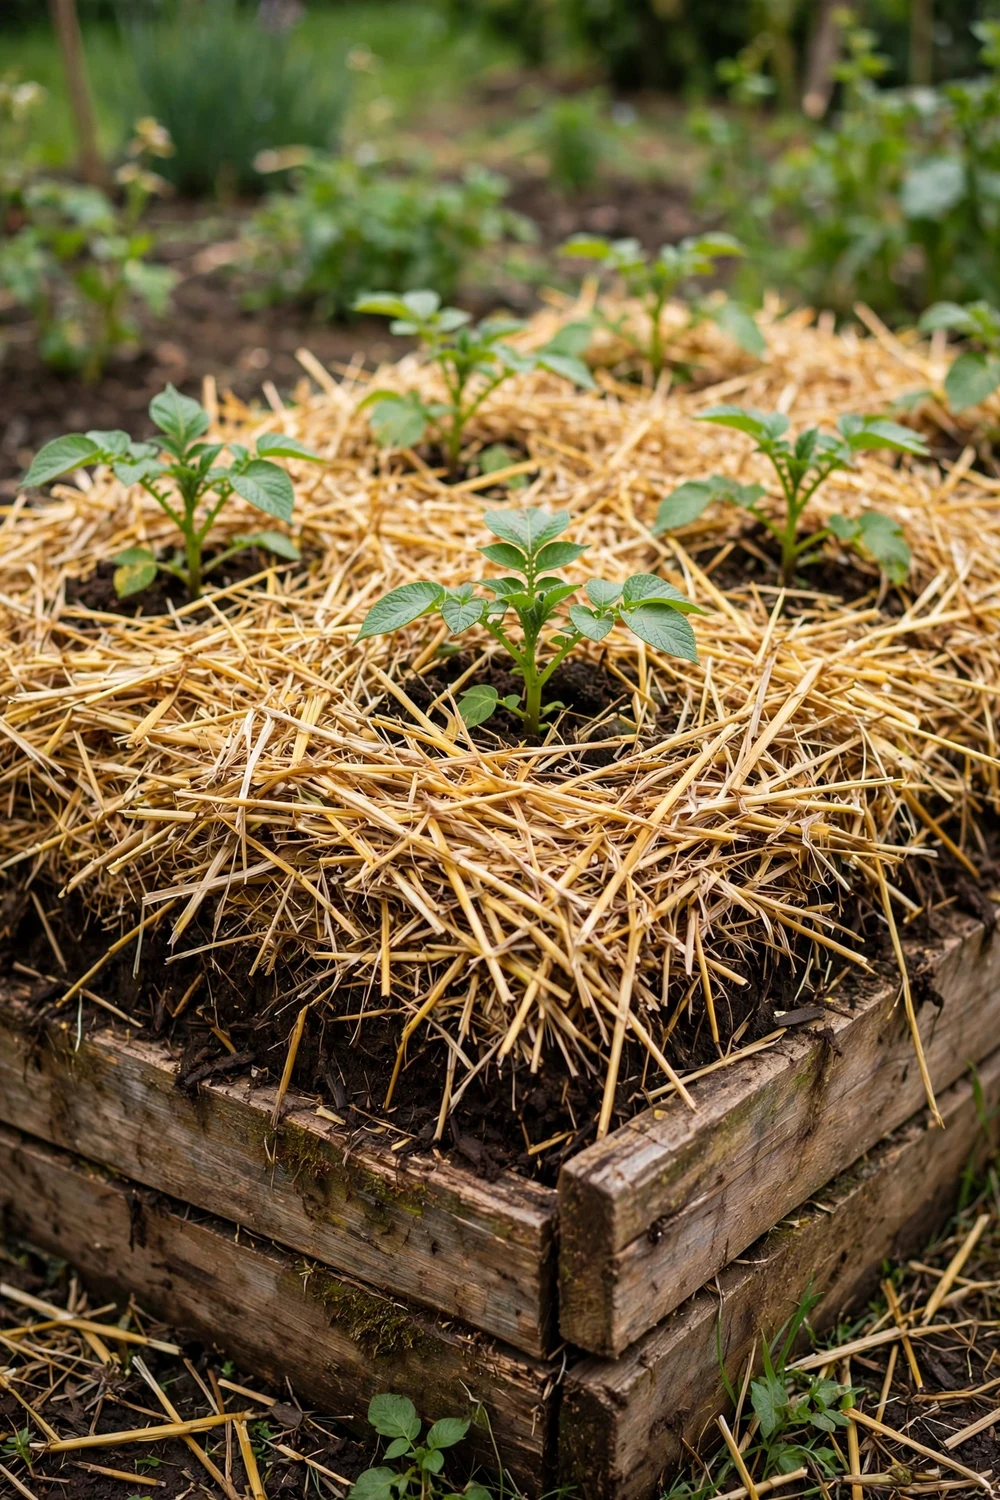
Instead of hilling with soil, layer clean straw. Fill any deep container one-third with compost, set seed potatoes on top, and cover with 4 inches of straw. Keep adding straw as stems grow. Tubers form in the loose straw and come out remarkably clean at harvest. Use straw, not hay, since hay carries weed seeds. This method suits anyone with a bad back, because harvest means lifting straw, not digging.
Try this: water straw layers well at planting so they settle and stay put.
Cost: $. Difficulty: Easy.
20. An indoor setup under grow lights
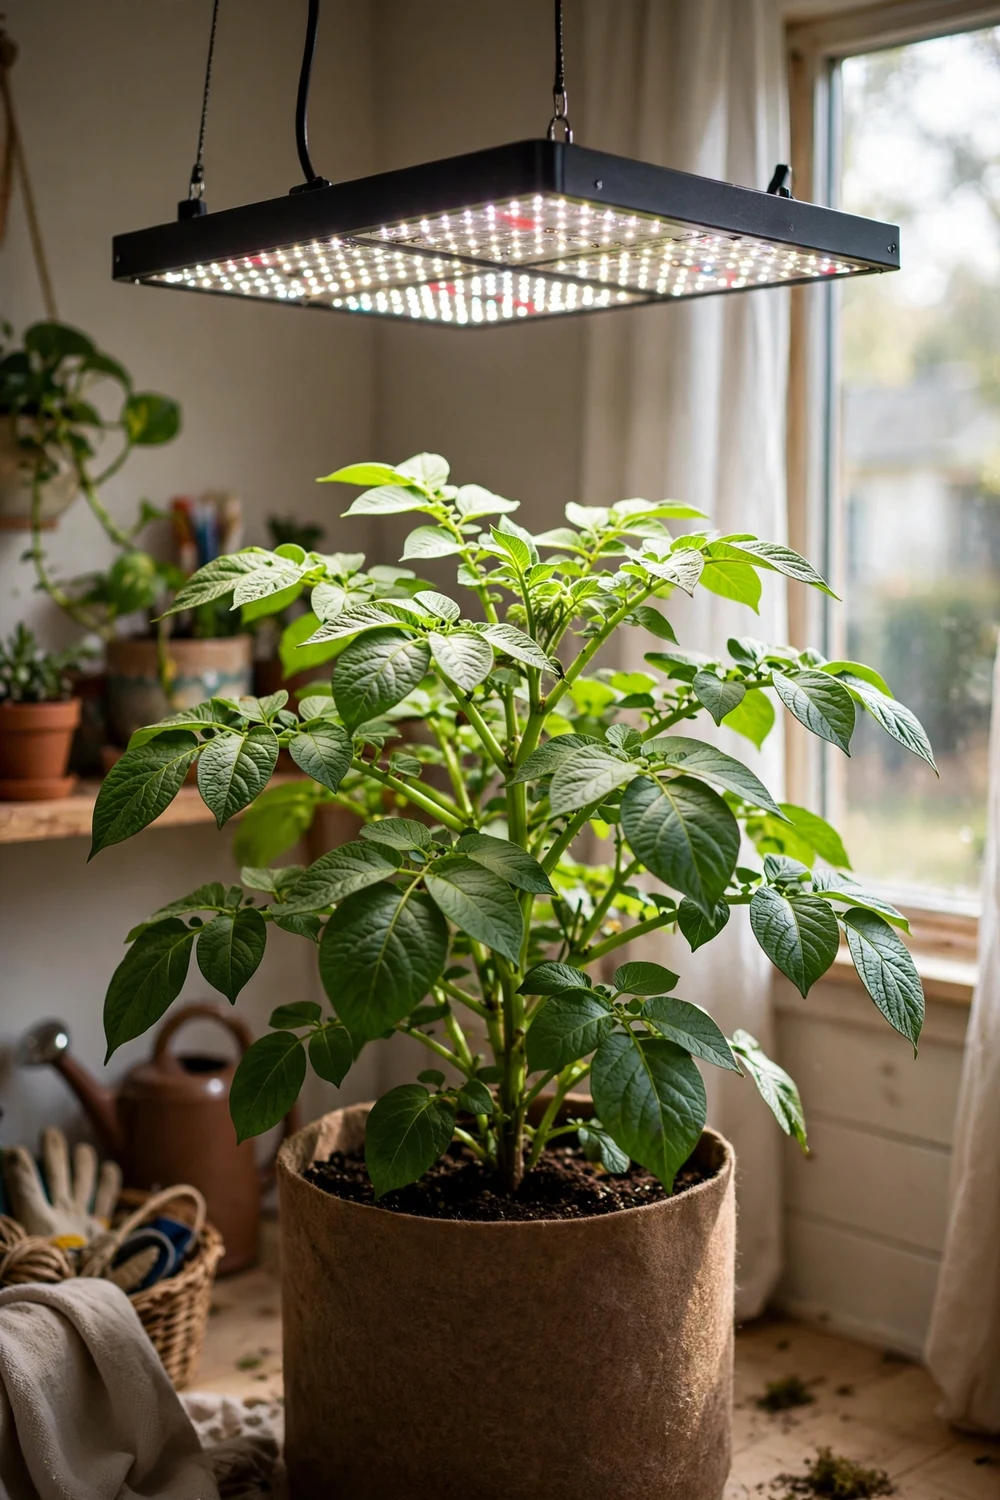
Potatoes can grow indoors in a cool, bright spot with strong supplemental light. Use a 10-gallon container, certified seed potatoes, and a full-spectrum LED run 14 to 16 hours a day. Keep the room between 60 and 65 degrees, since heat makes plants leggy and tubers small. Expect a modest harvest of new potatoes rather than a full crop, and start 8 to 10 weeks before you want to eat.
Try this: choose a compact early variety and skip hilling past two-thirds full indoors.
Cost: $$. Difficulty: Hard.
How to hill up potatoes in a container
Hilling is the one technique every method above shares. Start with seed potatoes covered by 4 inches of soil. When stems reach 6 to 8 inches tall, add 3 to 4 inches of soil or straw around them, leaving the top leaves exposed. Repeat every 2 to 3 weeks until the container is full or the plant flowers. Buried stem sections sprout stolons, and stolons swell into tubers, so each hilling round raises your potential yield. Never use garden soil alone; it compacts in pots. A mix of potting soil and compost stays loose and feeds the plant.
Watering and feeding basics
Container potatoes need steady moisture, about 1 to 2 inches of water per week, with extra during flowering when tubers form. Water deeply until it runs from the drainage holes, then let the top inch dry before watering again. Feed with a low-nitrogen fertilizer once plants are 8 inches tall; too much nitrogen grows leaves instead of tubers. Stop watering when foliage yellows and dies back so skins can set for storage.
When and how to harvest
For new potatoes, wait 2 to 3 weeks after flowering, then reach in and pick a few. For a full harvest, wait until the tops yellow and die back completely, then stop watering and wait 1 to 2 weeks so skins toughen. Tip the container over onto a tarp and sort through the soil by hand. Let harvested potatoes cure in a dark, airy spot at 50 to 60 degrees for a week before storing. Handle them gently, since bruises shorten storage life.
Container potato growing: compare your options
Mistakes to avoid with container potatoes
Planting grocery store potatoes is the most common error; they can carry blight and are often treated to block sprouting, so buy certified seed potatoes. Skipping drainage holes is second; standing water rots tubers in days. A third mistake is hilling with heavy garden soil, which compacts and suffocates roots. Use a loose potting mix. Finally, do not harvest too early if you want storage potatoes; wait for the tops to die back fully so skins set.
Safety notes for potato growers
Potato tubers that turn green have been exposed to light and contain solanine, a natural compound that is toxic in quantity. Cut away small green spots generously, and discard potatoes that are green throughout or taste bitter. Keep all tubers buried during hilling to prevent greening. Use food-grade containers or new materials; avoid old buckets that held paint or chemicals, and if you reuse old potting soil, the EPA notes that urban soils can carry lead, so test before growing food in it (EPA lead guidance). Potato foliage is toxic to pets, so keep containers where curious dogs and cats cannot chew the leaves (ASPCA potato listing).
Keep learning
If containers spark a bigger garden plan, these guides pair well with potato growing. For a full in-ground setup, read 15 Beginner Friendly Raised Vegetable Garden Ideas. To plan what grows well beside potatoes, see 12 Companion Planting Charts for Raised Beds. And if you want to start earlier next year, 16 Vegetables To Start Seeding In January shows what to sow while seed potatoes chit indoors. For technique detail from university sources, the Illinois Extension guide to growing potatoes in containers and Seed Savers potato growing guide both cover hilling and harvest timing.
Frequently asked questions
How many seed potatoes should I plant per container?
Plant 1 seed potato in a 5-gallon bucket, 3 in a 10-gallon grow bag, and 4 to 5 in a half barrel or 20-gallon trash can. Crowding more in rarely raises yield; it shrinks tuber size because plants compete for water and nutrients.
Do potato containers need drainage holes?
Yes, always. Potatoes rot quickly in standing water. Drill at least 8 to 10 half-inch holes in the bottom of buckets and totes, plus a few around the lower sides. Fabric grow bags and burlap drain on their own.
Can I plant potatoes from the grocery store?
You can, but certified seed potatoes are a safer choice. Grocery potatoes may carry diseases like blight and are sometimes treated with sprout inhibitors. Seed potatoes are tested disease-free and bred for the variety on the label.
Why did my potatoes turn green?
Light exposure causes green skin and raises solanine levels. Hill soil or straw over tubers to keep them buried, and wrap clear containers so light cannot reach inside. Cut away small green areas generously; discard tubers that are green throughout or taste bitter.
How deep should a potato container be?
Aim for at least 12 to 15 inches of soil depth. Determinate varieties do fine in 5-gallon buckets, while indeterminate types keep producing along taller stems and reward deeper containers like trash cans and wire towers.
Can I grow potatoes in a container indoors?
Yes, with strong supplemental light and cool temperatures around 60 to 65 degrees. Use a 10-gallon container and a full-spectrum LED for 14 to 16 hours daily. Expect a modest harvest of new potatoes rather than a full crop.
Container potatoes prove you do not need a big garden to grow real food. Pick one container from this list, grab certified seed potatoes, and start hilling. By midsummer you will be tipping out your first harvest with your hands in the soil and dinner half planned.
Beyond potatoes, try these vegetables you can grow in buckets.


