



You want string lights across the patio, but there is no tree, no pergola, and no wall in the right spot. That is exactly the problem DIY light poles solve: freestanding posts you build in an afternoon that give your outdoor lights a place to hang anywhere in the yard.
This guide covers 15 creative DIY pole designs for outdoor lights, from simple bucket-and-concrete builds to planter-based poles that pull double duty as garden decor. Each idea includes the materials, a cost estimate, and a difficulty label so you can pick a project that fits your weekend.
Quick takeaways
- A planter filled with concrete around a wooden post is the most stable no-dig light pole design for patios and decks.
- Use only lights and extension cords rated for outdoor use, and plug them into a GFCI protected outlet.
- Keep every pole at least 10 feet from overhead power lines and never nail or staple light wire.
- Call 811 before you dig any post holes or footings, even for shallow ones.
- LED string lights stay cool, sip power, and last far longer than incandescent bulbs outdoors.
1. Planter base post pole
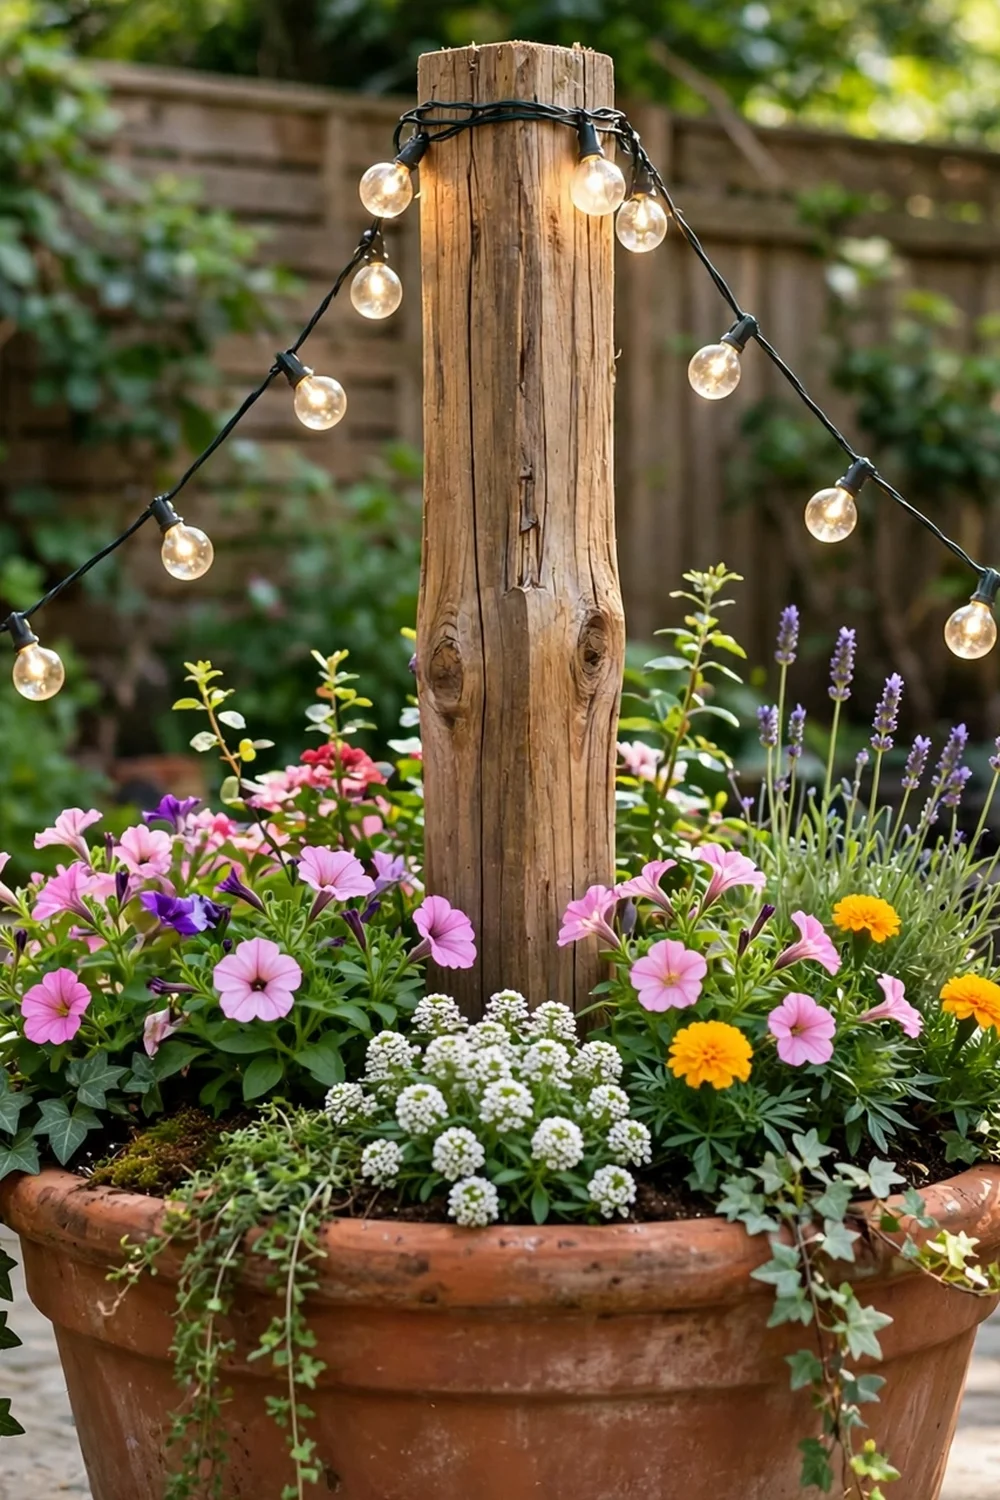
This is the classic flower pot string light pole for a reason: a large planter filled partway with concrete holds a wooden post rock solid, and the top half still works as a planter. Set an 8 foot 4 by 4 post into quick-set concrete inside a 20 inch or larger planter, level it, and let it cure for 48 hours. Fill the top with soil and flowers so the base looks like decor instead of a construction project. Add a screw hook at the top and hang your strand. Try this: plant trailing flowers so greenery spills over the planter edge. Cost: $$. Difficulty: easy.
2. Wooden post pair with screw hooks
Two pressure-treated 4 by 4 posts set 10 to 12 feet apart make the simplest light support in the book. Sink each post 2 feet into a post hole filled with fast-setting concrete, checking plumb with a level before the mix sets. Screw a large eye hook into the top of each post, then drape the string lights between them. This design shines over a picnic table or a hammock, where one straight run of lights is all you need. Try this: stain the posts to match your fence for a built-in look. Cost: $$. Difficulty: moderate.

3. PVC pipe pole
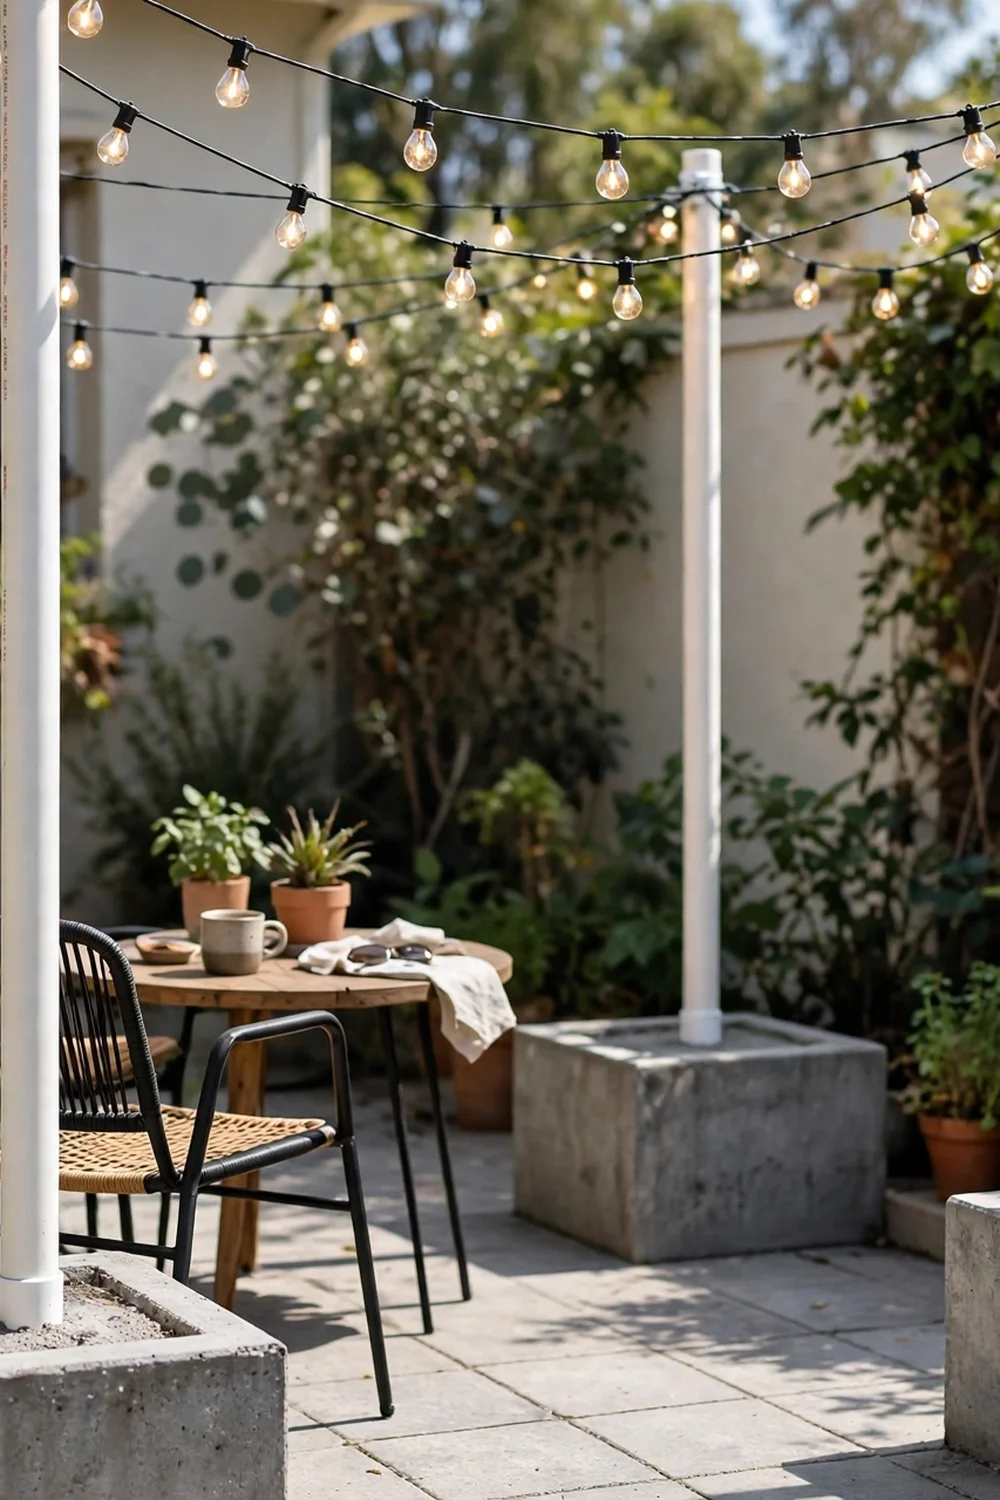
PVC pipe is cheap, light, and never rots, which makes it a smart choice for temporary or seasonal light poles. Use 2 inch schedule 40 pipe cut to 9 or 10 feet, and set the bottom 18 inches into a concrete-filled bucket or planter. Paint the pipe with exterior spray paint so it blends in, since bare PVC looks unfinished in a garden. Cap the open top to keep rain out. Because PVC flexes, keep the light strands shorter than 12 feet per span. Try this: use gray electrical conduit pipe for a sturdier gray finish. Cost: $$. Difficulty: easy.
4. Galvanized bucket pole
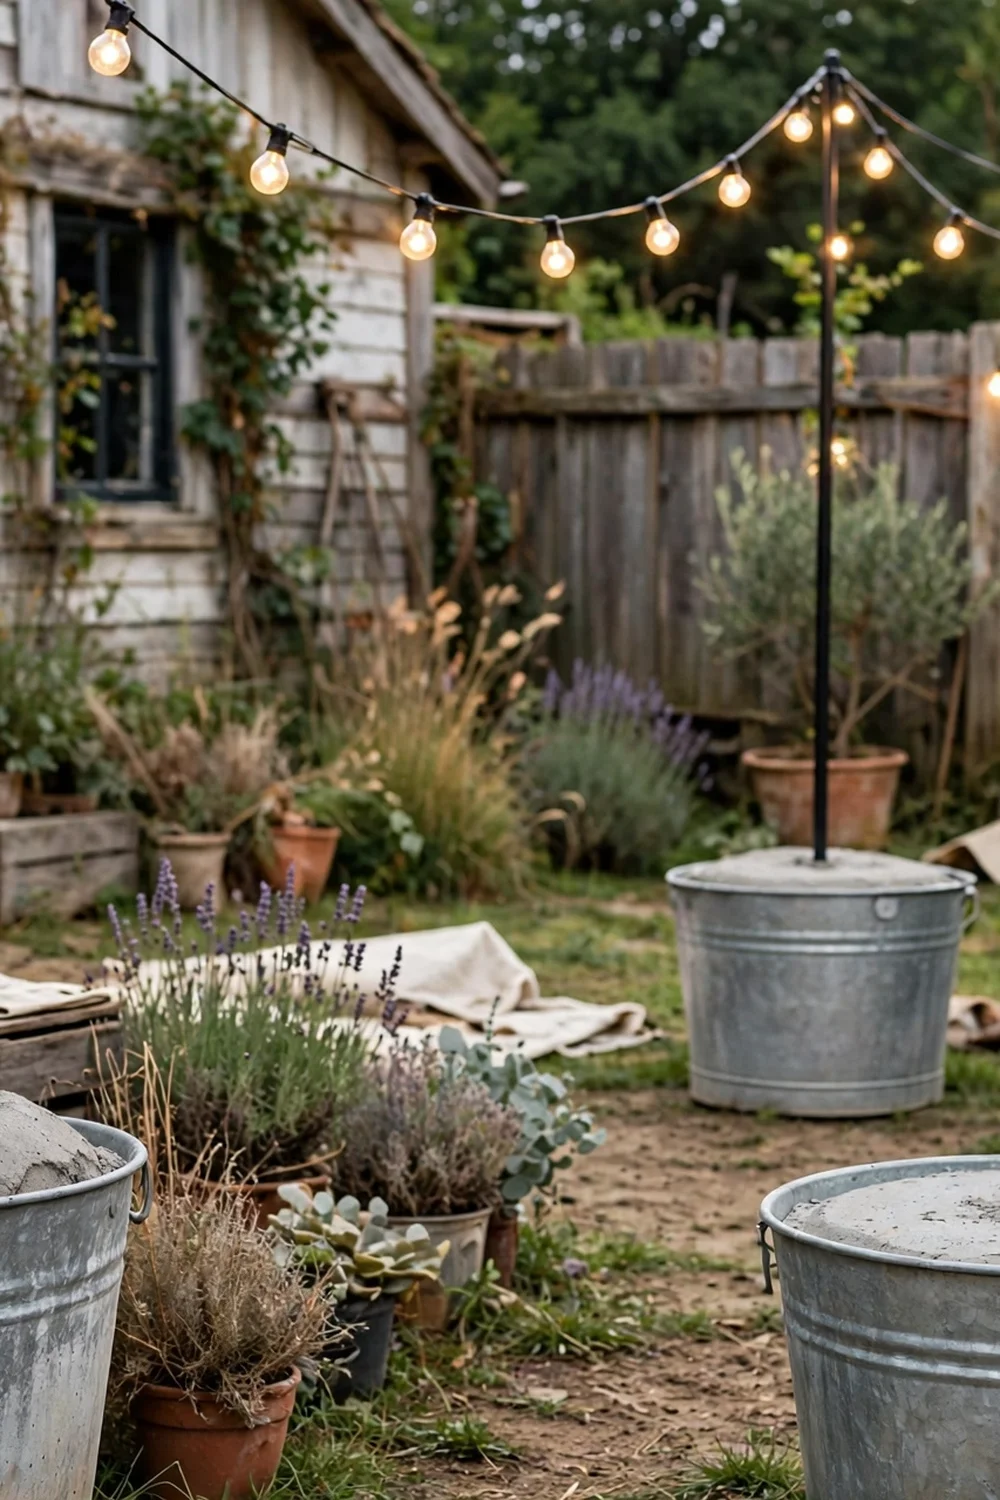
A galvanized metal bucket filled with concrete makes a rugged farmhouse-style base for a slim pole. Stand a 10 foot metal conduit pipe or wooden dowel in the bucket, pour in concrete, and hold it plumb until the mix firms up, usually about 20 minutes with fast-setting mix. The bucket looks good as is, or you can paint it to match your decor. This design is light enough for one person to move, which makes it great for parties and renters. Try this: wrap a strand of fairy lights around the bucket itself for extra glow. Cost: $$. Difficulty: easy.
5. Whiskey barrel planter pole
A half whiskey barrel gives you the heaviest, most garden-friendly base of any design here. Set a cedar 4 by 4 post into concrete poured inside the barrel, then plant flowers and herbs around the top so the pole rises from a burst of color. The barrel shape suits cottage and rustic yards, and at nearly 2 feet wide it resists tipping in strong wind. Drill a few drainage holes above the concrete line so the planting layer drains freely. Try this: add a solar cap light on the post top for a second light source. Cost: $$. Difficulty: moderate.

6. Bamboo pole cluster
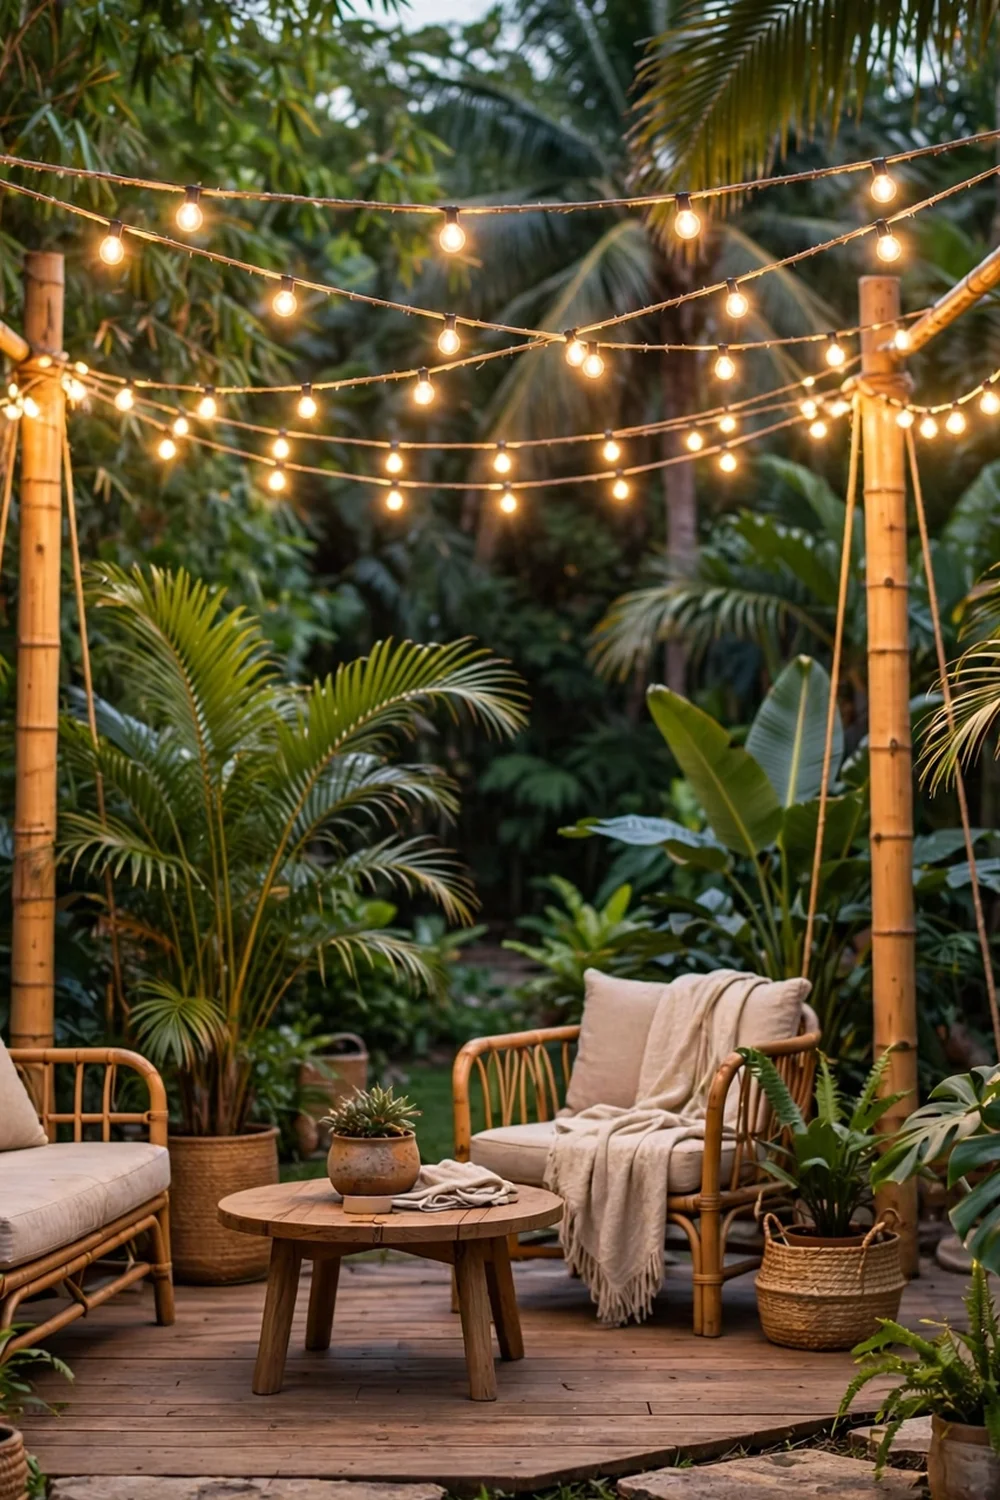
Thick bamboo poles bring a tropical feel and cost very little if bamboo grows locally. Bundle three poles together with rope at the top, teepee style, or set single poles into concrete-filled pots. Bamboo is strong but light, so bury the base at least 18 inches or use a wide heavy planter. Seal the cut ends with exterior varnish to slow splitting. Hang paper lanterns instead of plain strands for a luau or tiki party look. Try this: lash the poles with jute twine for a natural finished look. Cost: $$. Difficulty: easy.
7. Shepherds hook poles
Shepherds hooks are ready-made poles that push straight into the ground, no concrete required. A 65 inch double hook holds two strands or one strand plus a hanging lantern, and the curled top keeps lights from sliding off. Space them 8 to 10 feet apart along a path or garden bed and drape lights in swags between them. They pull out easily at season end, which renters will appreciate. Try this: hang a citronella candle from the second hook for bug control. Cost: $$. Difficulty: easy.
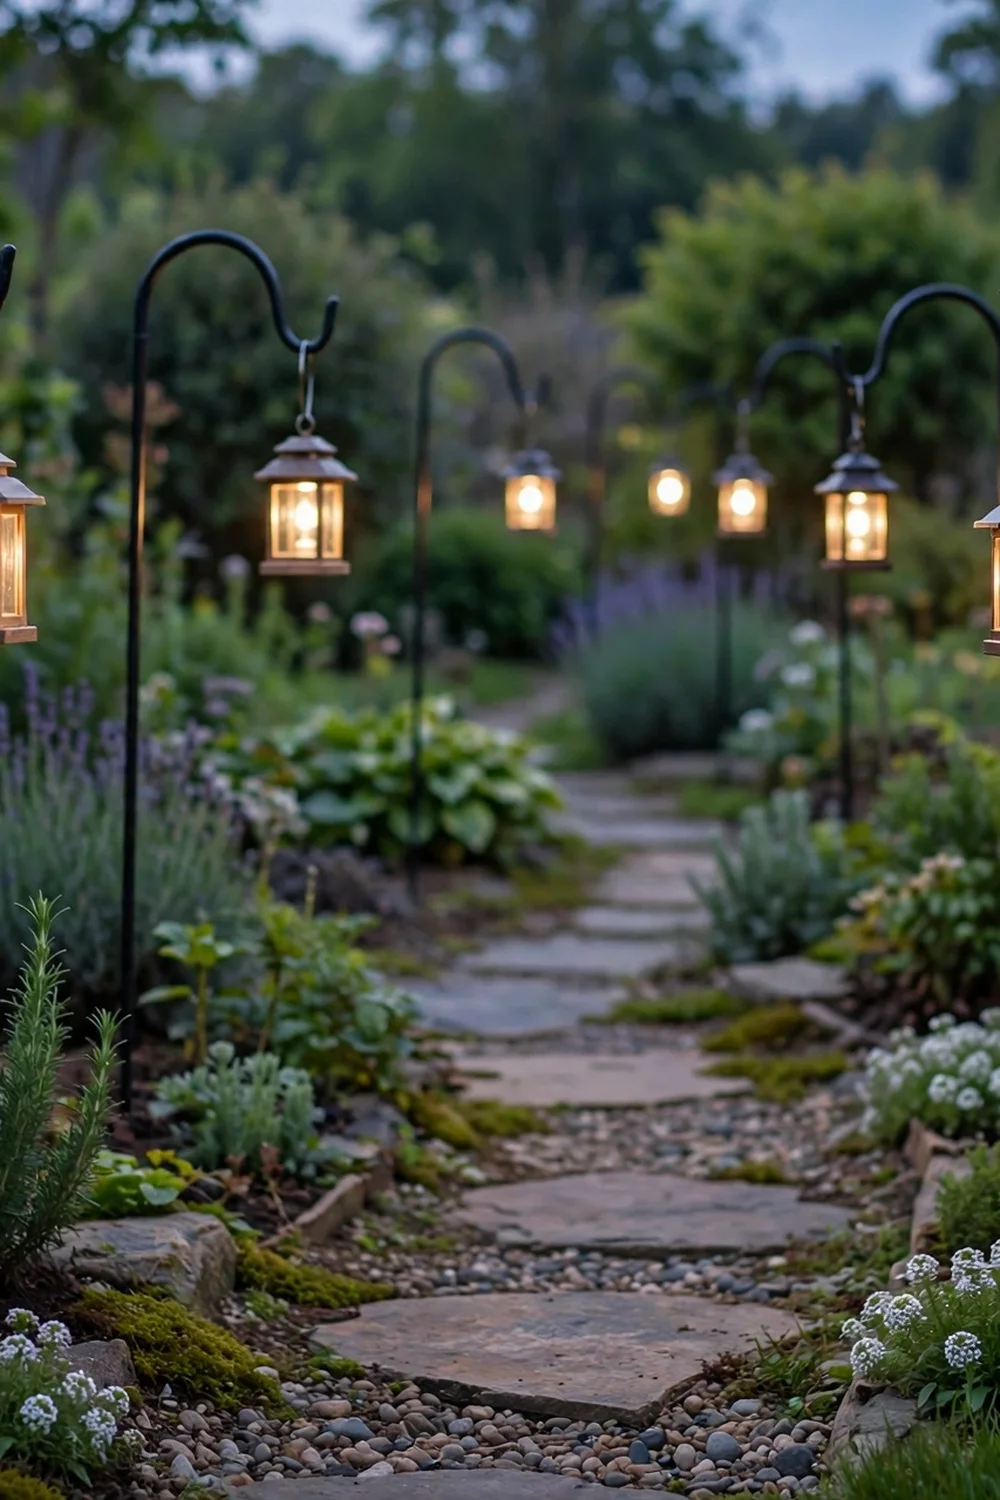
8. Metal conduit lantern pole
Electrical conduit pipe painted matte black makes a slim modern pole that suits contemporary patios. Use 3/4 inch rigid conduit in 10 foot lengths, set into a concrete-filled planter, and mount a small outdoor lantern head on top with a weatherproof box. The lantern gives steady area light while string lights handle the festive look. Conduit bends easily with a bender if you want a curved top hook. Try this: add a photocell so the lantern switches on automatically at dusk. Cost: $$. Difficulty: moderate.

9. Solar cap top pole
Adding a solar post cap to the top of your light pole gives you light even when the string lights are off. Build the pole from a 4 by 4 post in a planter as usual, then screw a solar cap sized for 4 by 4 posts onto the top. The cap charges by day and glows at dusk automatically, which marks the pole locations and adds safety after dark. Make sure the cap gets at least 6 hours of sun or the glow fades early. Try this: use warm white caps to match warm white string lights. Cost: $$. Difficulty: easy.

10. Repurposed tree stand pole
An old metal Christmas tree stand is a surprisingly sturdy pole base. Slip a 2 by 2 or 3 by 3 wooden post into the stand, tighten the screws, and you have a freestanding pole that cost almost nothing. Add a sandbag or a potted plant in front of the stand to hide it and add weight. This is the fastest build on the list, perfect for a party this weekend. Paint the post dark so it recedes at night. Try this: store the stands flat in winter for next year. Cost: $$. Difficulty: easy.

11. Double pole crossbeam frame
Two poles with a crossbeam between them create a frame that supports multiple light strands in neat rows over a dining table. Set two 8 foot posts 8 feet apart in concrete, then bolt a 2 by 4 across the tops. Drape three or four strands from the beam so they run parallel like a canopy. This design handles heavier lights and small hanging planters because the beam spreads the load. Try this: hang the strands with a slight sag for a relaxed bistro look. Cost: $$. Difficulty: moderate.

12. Stained pole with hanging lantern
A stained cedar pole with a hanging glass lantern looks like a permanent garden feature rather than a light support. Stain the post with exterior wood stain in walnut or weathered gray, set it in a concrete-filled stone-look planter, and hang a lantern with an LED candle from a side arm. The lantern glows warmly while the string lights do the heavy lifting overhead. Add a finial on top for a finished touch. Try this: use a battery lantern with a timer so it lights itself nightly. Cost: $$. Difficulty: easy.

13. Grapevine wrapped pole
Wrap a plain wooden pole with grapevine garland and the support becomes part of the decor. Secure the garland with a few dabs of hot glue or thin wire, then wind a strand of warm fairy lights through the vines. This works best on a sturdy 4 by 4 post in a planter, since the garland adds visual weight. Swap the garland for faux eucalyptus in spring or pine garland in winter for seasonal looks. Try this: tuck a few artificial berries into the garland for color. Cost: $$. Difficulty: easy.

14. Umbrella stand pole
A heavy patio umbrella stand makes an instant no-build pole base. Slide a wooden dowel or metal pole into the stand tube and tighten the locking screw, then hang your lights from a hook at the top. Cast iron stands weigh 30 to 50 pounds, so the pole stays put in wind. This is ideal for renters and anyone who wants the lights gone by Monday. Choose a stand with a wide base for the best stability. Try this: paint the pole to match the stand for a unified look. Cost: $$. Difficulty: easy.

15. Galvanized pipe industrial pole
Threaded galvanized pipe fittings let you build a pole with no cutting and no special tools. Screw together two 5 foot lengths of 3/4 inch pipe with a coupling, add a 90 degree elbow at the top for a hanging arm, and set the base in concrete inside a metal bucket. The industrial look pairs well with Edison bulb strands and modern patios. Pipe threads grip tightly, so the assembly stays rigid. Try this: add a pipe flange at the bottom inside the concrete for extra anchoring. Cost: $$. Difficulty: easy.

How to choose the right pole design
Match the base to the surface. Planters and buckets work on decks and patios where you cannot dig, while buried posts suit lawns and garden beds. Match the height to the span: poles 8 to 10 feet tall handle light strands up to 14 feet, and longer spans need taller poles or a support in the middle. Check wind exposure too, because a pole that is fine in a sheltered courtyard can tip on an open lot. When in doubt, go wider and heavier on the base.
Light pole designs at a glance
Safety notes
Call 811 before you dig any post holes, even shallow ones. The free service marks underground utilities within a few days. Before you dig, read the 811 before-you-dig guide so you know the process. For the lights themselves, use only strands and cords rated for outdoor use, plug them into a GFCI protected outlet, and keep every pole and strand at least 10 feet from overhead power lines. The U.S. Department of Energy exterior lighting guide recommends LED fixtures with automatic controls for efficiency and long life, which suits string light setups well. Never staple or nail through light wire, and unplug strands before adjusting them.
Once your poles are up, make the space around them just as inviting. These backyard fire pit ideas give your lit patio a warm gathering spot. For the ground under the lights, these simple backyard patio layouts show easy arrangements. And if you love a colorful look, these Mexican patio ideas pair beautifully with string lights.
Frequently asked questions
How do you hang string lights without trees?
Use freestanding poles like the planter-base or bucket designs above. Set one pole at each end of the area you want lit, spaced 10 to 14 feet apart, and drape the lights between the tops. Planter-based poles work on patios and decks where you cannot dig.
How tall should DIY light poles be?
Aim for 8 to 10 feet tall for most patios. That height clears heads, keeps the lights above eye level, and allows a gentle sag in the strand. Taller poles suit longer spans, since the sag grows with distance.
How do I keep light poles from tipping over?
Use a wide, heavy base: at least a 20 inch planter with concrete, or a post buried 2 feet deep. Keep spans under 14 feet so wind load stays low, and bring lightweight poles indoors before storms.
Can I plug string lights into an indoor outlet?
It is safer to use an outdoor outlet with GFCI protection. If you must run from inside, use an outdoor-rated extension cord through a window or door that closes on it without pinching, and keep all connections dry.
How many string light strands can I connect together?
Follow the number printed on the packaging, usually 3 to 5 strands for LED sets. Connecting more than the manufacturer allows can overheat the wire and void the safety listing.
Are solar string lights good enough for a patio?
Solar strands work well as accent light in sunny spots, but they glow dimmer and shorter than plug-in strands, especially in winter. Use plug-in lights for your main patio lighting and solar strands for paths and accents.
One sturdy pole changes what your yard can be after dark. Build a pair this weekend, string your lights, and you will wonder why the patio ever sat in the dark. The best part is that most of these designs move with you, so the glow follows you to the next home too.


