



A backyard without a fire pit sits empty after sunset. Everyone drifts back inside once the light fades, and the best hours of a summer evening go to waste.
These 20 backyard fire pit ideas cover every style and budget, from a $60 brick ring to a gas fire table. Each one includes realistic costs, what the build involves, and the safety rules that matter.
Quick takeaways
- Keep every fire pit at least 10 feet from the house, fences, trees, and overhangs.
- Wood gives real campfire flavor and cooking ability; gas gives instant on-off convenience.
- A 36-inch-diameter pit suits 4 to 6 people; go 44 inches or larger for bigger groups.
- Pea gravel or pavers under the pit beat grass, which scorches and turns muddy.
- Check local burn ordinances before you build; many suburbs restrict wood fires.
1. Classic stone ring fire pit
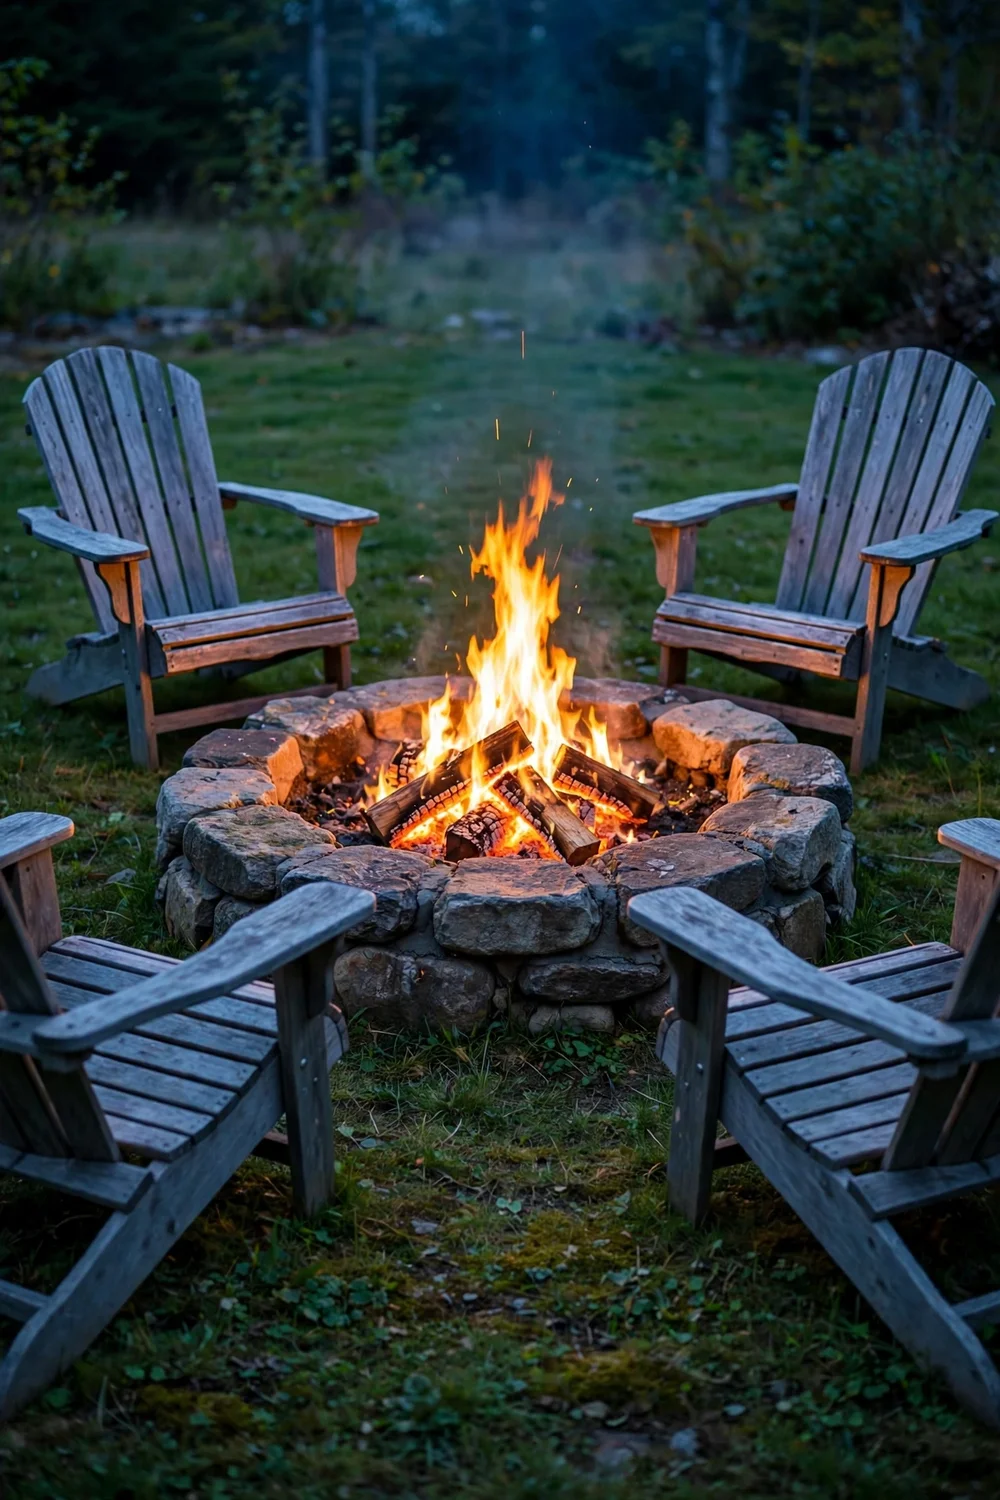
Stack 36-inch-diameter natural stone or manufactured wall block in two courses with construction adhesive for a timeless round pit. A steel fire ring insert ($60 to $100) protects the stone from direct heat and extends its life. Set the whole thing on 4 inches of compacted gravel for drainage. This is the most forgiving first fire pit project and looks right in almost any yard. Try this: cap the top course with flat flagstones to create a ledge for drinks. Cost: $$$. Difficulty: easy.
2. Sunken gravel lounge pit

Dig a shallow 8-inch depression, fill it with pea gravel, and set a low steel bowl in the center with ground-level seating cushions around the edge. The sunken design blocks wind, which means steadier flames and less smoke in faces. Keep the seating ring at least 3 feet from the bowl’s edge. This works best in yards with good drainage; add a French drain if your soil holds water. Try this: edge the gravel circle with steel landscape edging to keep it crisp. Cost: $$$. Difficulty: moderate.
3. Modern concrete gas bowl

Set a 36-inch cast concrete fire bowl on a patio and connect it to a propane tank hidden in a matching side table or a natural gas line. Gas means instant flames, no smoke, and no ash cleanup, which suits patios near the house where wood smoke would drift into windows. Concrete bowls run $400 to $900; a plumber must run a gas line if you skip propane. Try this: fill the bowl with fire glass instead of lava rock for a cleaner flame look. Cost: $$$$. Difficulty: moderate.
4. Fire pit dining table
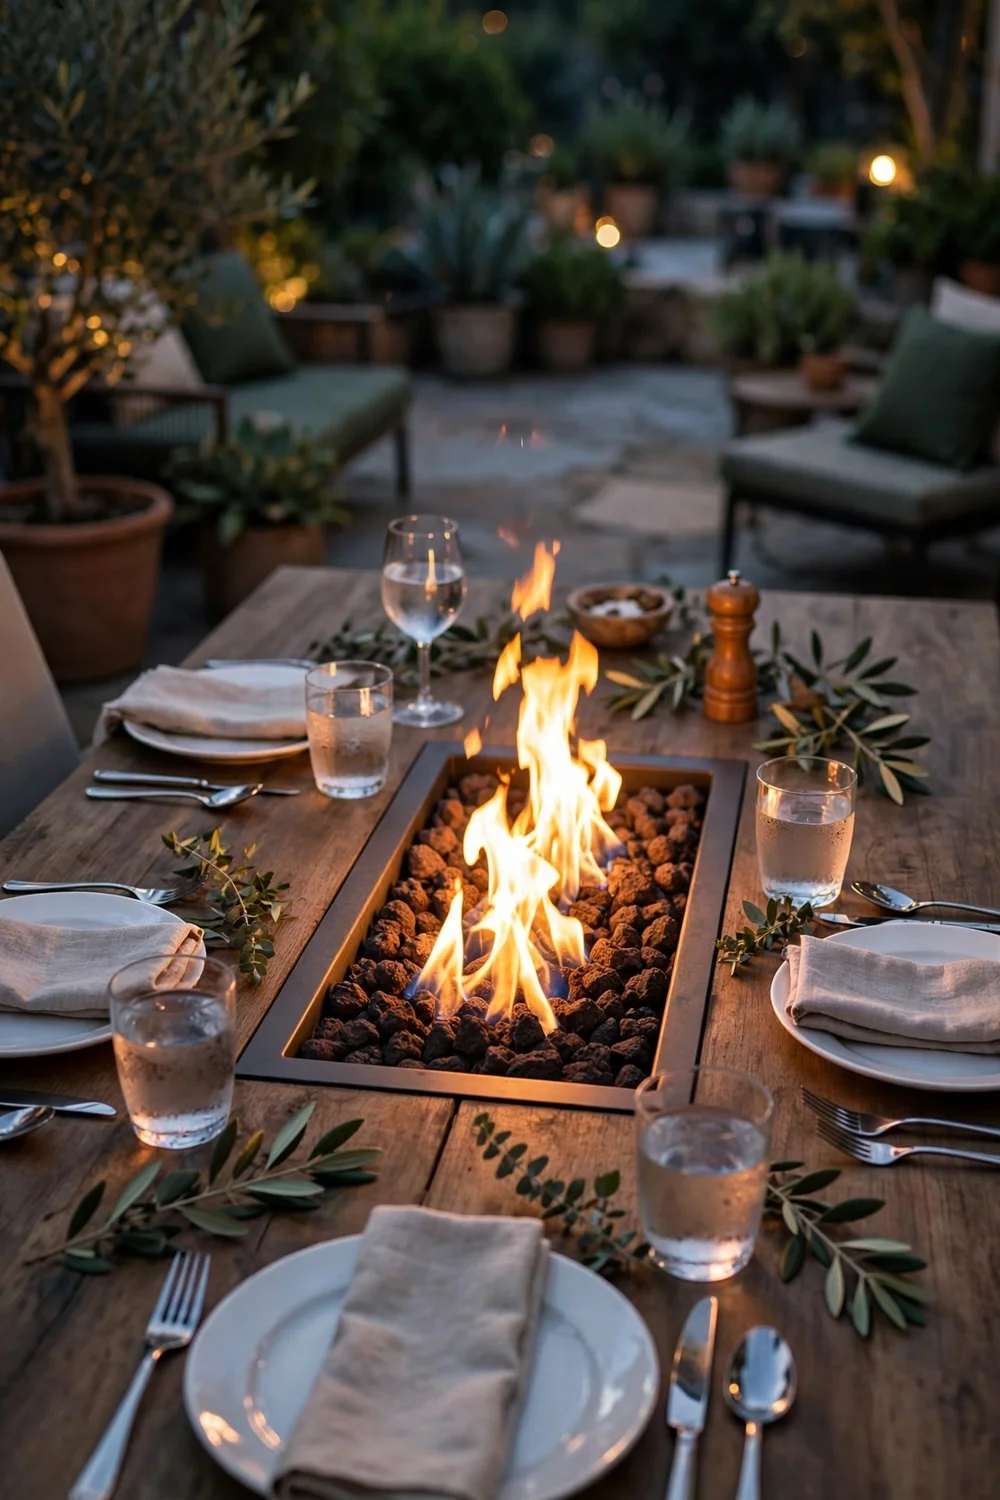
Choose a 48-inch outdoor dining table with a gas fire insert in the center, surrounded by the table surface for plates and drinks. These hybrid tables seat 6 comfortably and keep the fire at a social height. Most run on a 20-pound propane tank stored in the base, giving 8 to 10 hours of burn time. Keep a fire-rated cover on hand for rain. Try this: add a wind guard ring so the flame stays steady during breezy dinners. Cost: $$$$. Difficulty: easy.
5. Rustic steel bowl on legs

Place a 30-inch solid steel fire bowl on a tripod or four-leg stand for a portable pit you can move with the seasons. Steel develops a natural patina that looks better each year, and the raised design keeps heat off grass. Look for 3mm-thick steel or better; thin bowls warp after a few hot fires. Pair with log rounds for seating and the whole setup costs less than a dinner out. Try this: store it upside down or under a cover to slow rust on the interior. Cost: $$$. Difficulty: easy.
6. Brick square fire pit
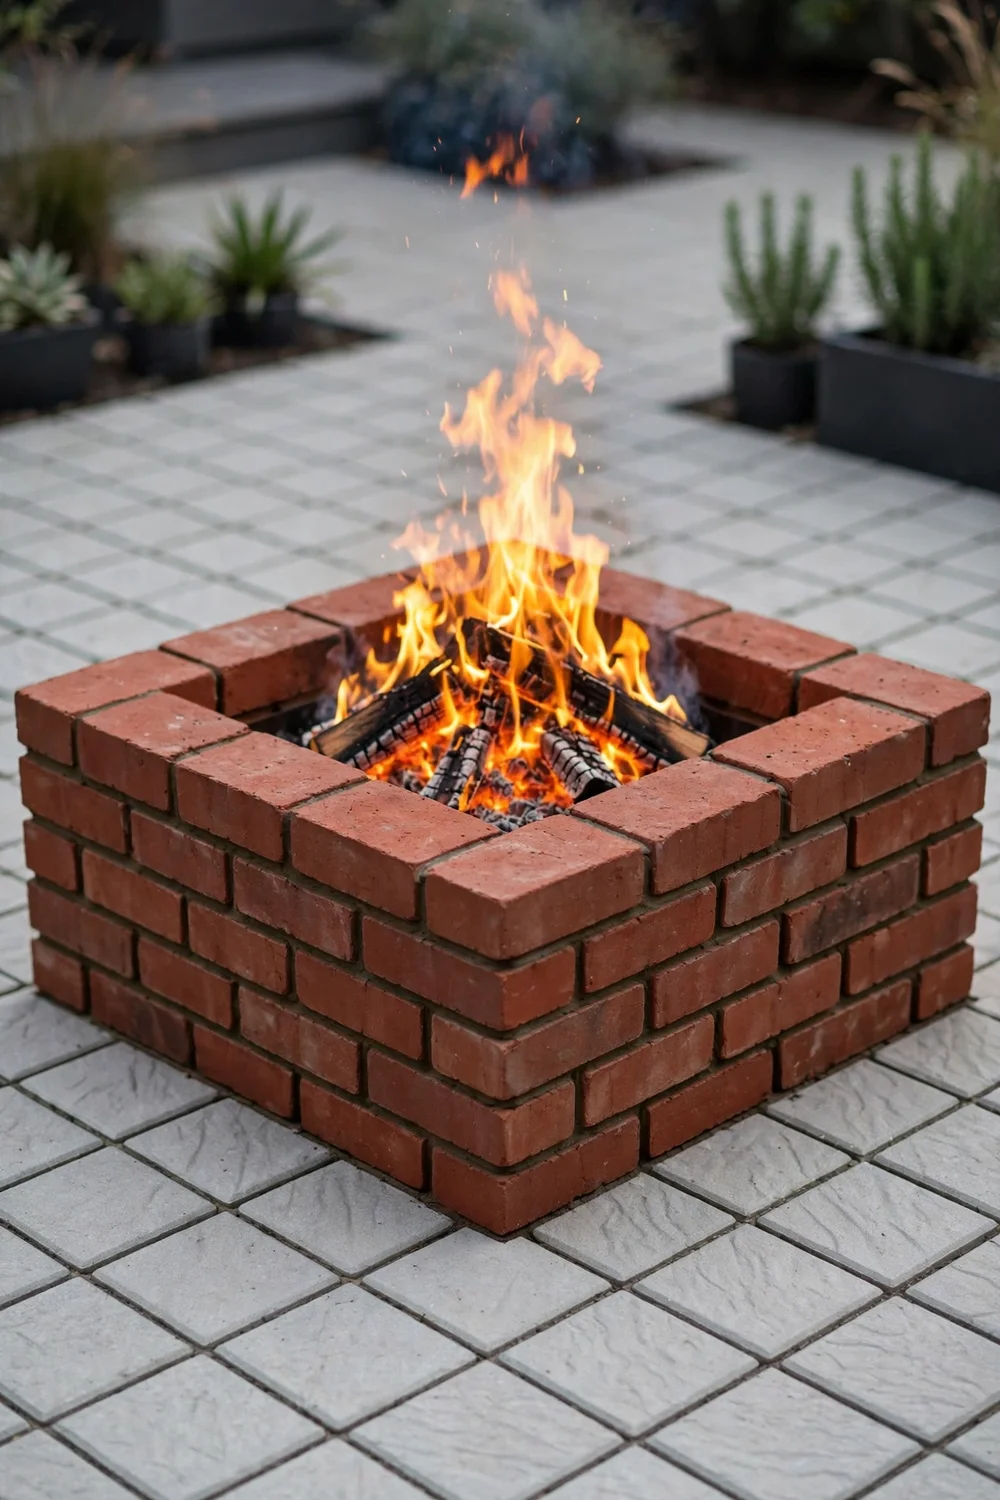
Lay standard clay bricks in a 36-inch square, two courses high, using high-heat mortar on the inner course. The square shape suits modern patios and makes seating arrangement simple: one bench or two chairs per side. Use fire-rated brick or a steel liner inside; regular brick can crack under repeated heat. The geometric look pairs well with concrete pavers. Try this: leave small gaps in the bottom course for airflow to feed the fire. Cost: $$$. Difficulty: easy.
7. Corten steel linear fire pit
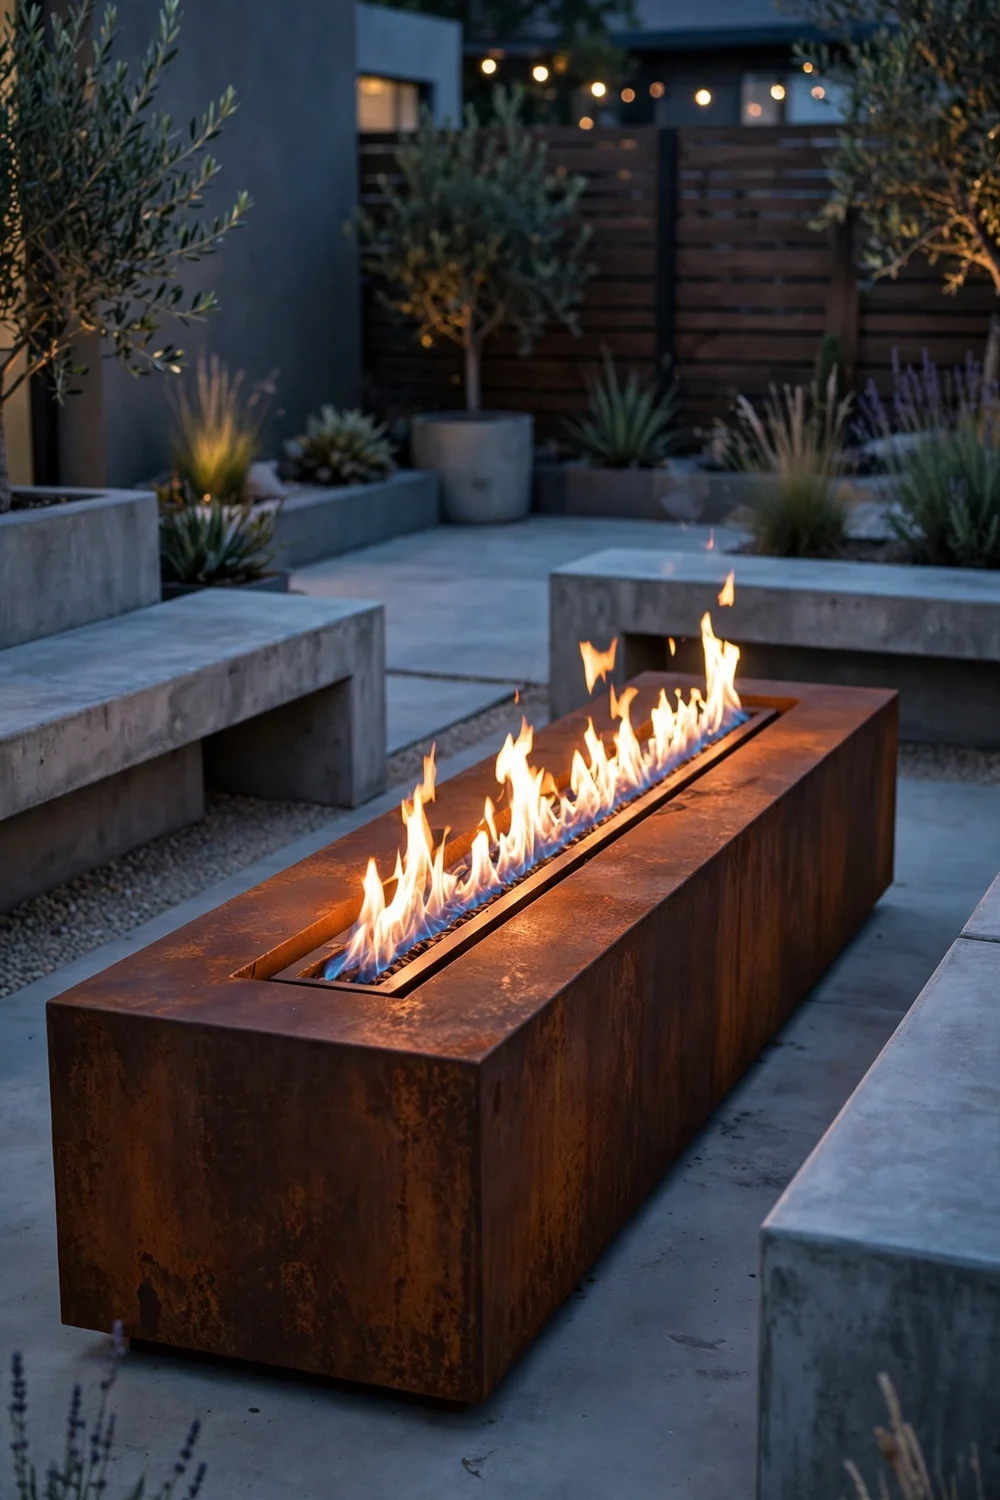
Install a 48-inch rectangular corten steel trough with a linear gas burner for a sculptural, architectural fire feature. Corten arrives orange-brown and weathers to a deep rust patina that needs zero maintenance. The long flame suits modern patios and pairs with linear bench seating. These are premium pieces at $1,500 to $3,000, usually gas-fueled for clean operation. Try this: flank it with two low concrete benches to echo the rectangular lines. Cost: $$$$. Difficulty: moderate (gas hookup).
8. In-ground flagstone fire pit
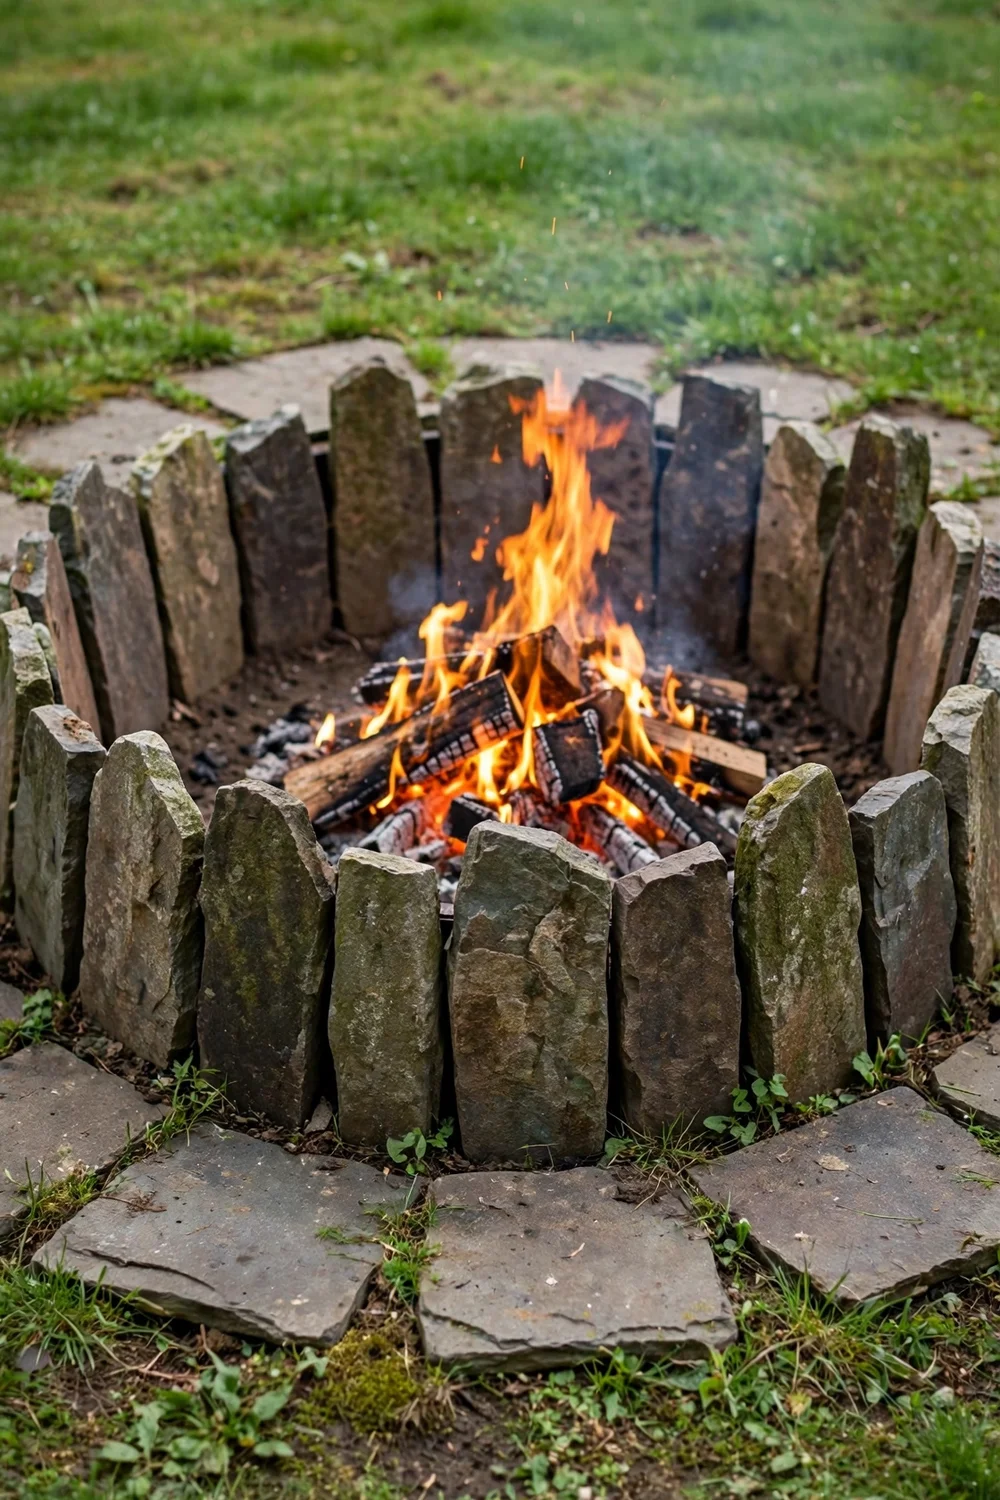
Dig an 18-inch-deep, 36-inch-wide pit, line the walls with upright flagstones, and fill the floor with 6 inches of gravel. The in-ground design disappears into the lawn when not in use and blocks wind beautifully. Call 811 before digging to mark utility lines; this is non-negotiable. Keep the surrounding grass mowed short for 10 feet in every direction. Try this: ring the pit with flat stones at grade level to define the edge and catch rolling logs. Cost: $$$. Difficulty: moderate.
9. Smokeless portable fire pit
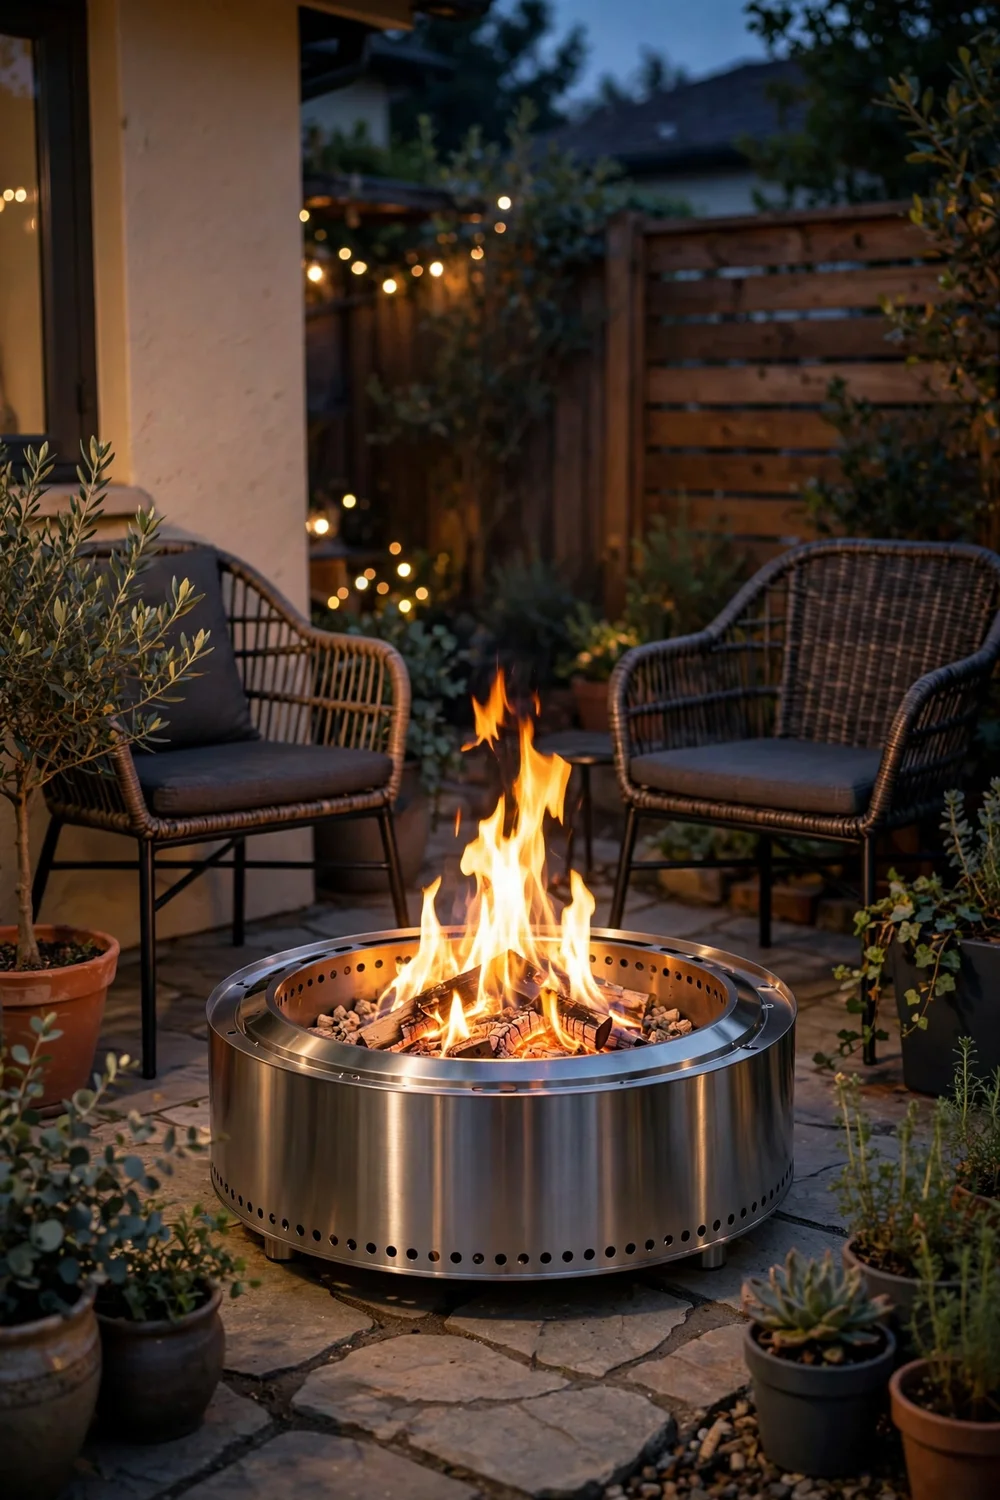
Buy a double-wall smokeless fire pit (19 to 27 inches wide) that reburns smoke through secondary combustion for a nearly smoke-free flame. These suit small patios and neighborhoods where smoke complaints are a real risk. They burn wood pellets or split logs and cool down faster than masonry pits. Expect to pay $200 to $400 for a quality unit. Try this: use kiln-dried wood for the cleanest burn and least ash. Cost: $$$. Difficulty: easy.
10. Curved built-in bench seating
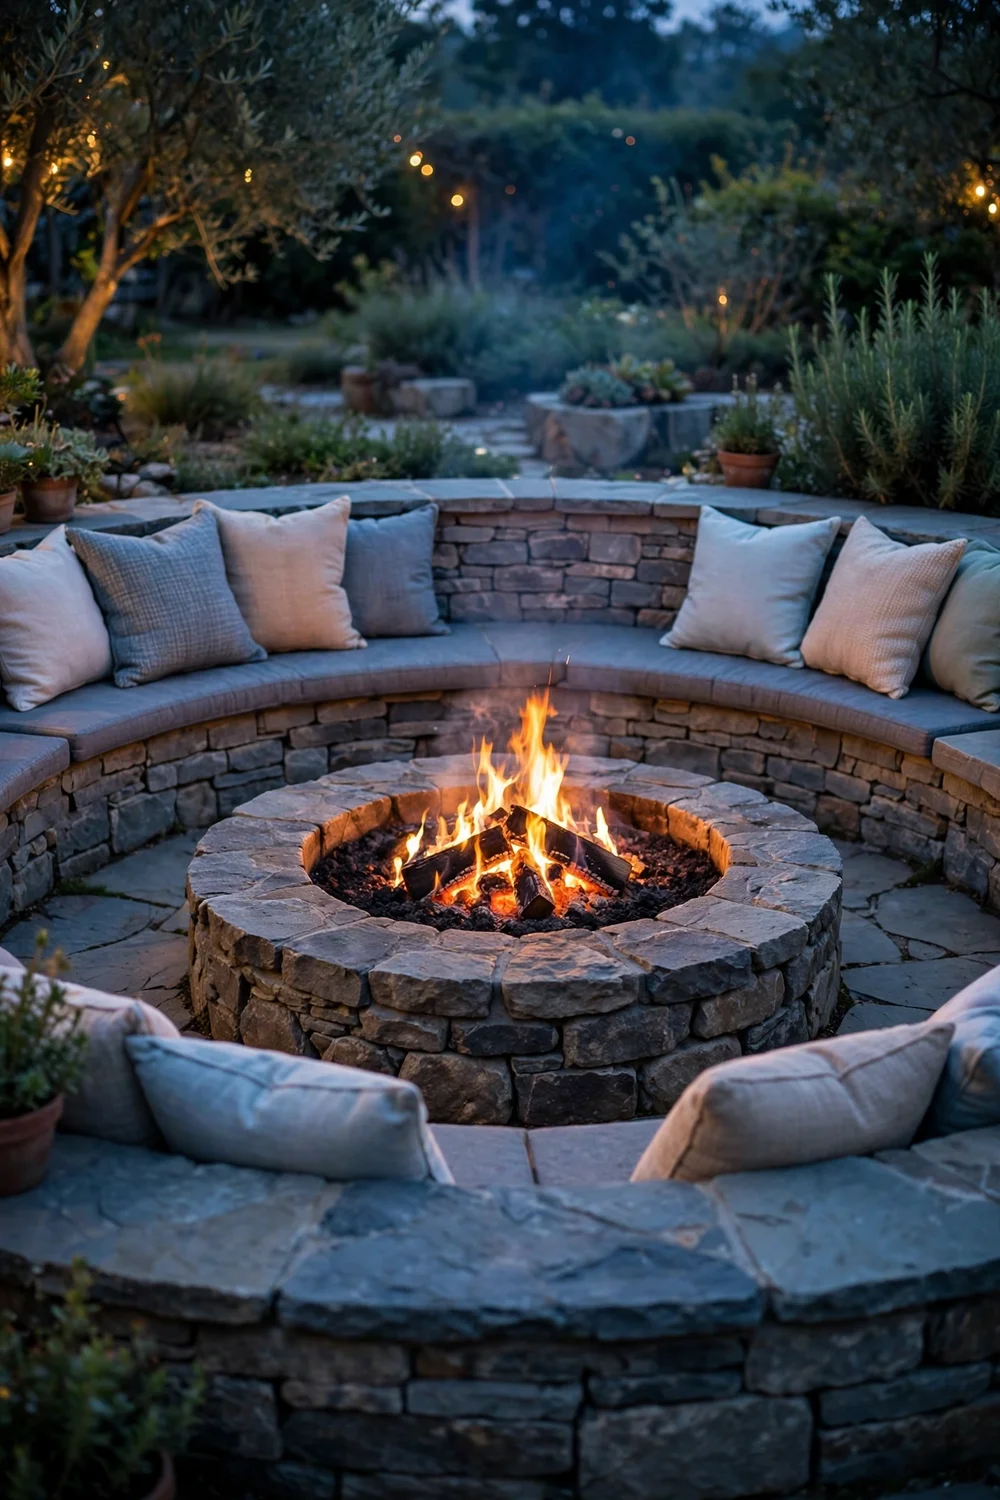
Build a curved seating wall from the same wall block as your fire pit, arcing 270 degrees around it at 18 inches high and 16 inches deep. Built-in seating never blows away, seats a crowd, and makes the fire area feel like a designed outdoor room. Cap the wall with smooth bluestone for comfort. Leave a 4-foot gap in the arc for entry. Try this: add outdoor cushions in a weatherproof fabric for comfort without permanent upholstery. Cost: $$$$. Difficulty: moderate.
11. Adirondack circle on pea gravel

Arrange four to six Adirondack chairs in a circle on a 14-foot round pea gravel pad with a steel fire bowl in the center. The gravel pad defines the zone, drains rain, and costs a fraction of a paver patio. Polywood Adirondacks survive weather for a decade; wood ones need yearly sealing. Keep chair fronts 4 feet from the fire for comfort and spark safety. For more small-yard layouts, these small patio ideas show how to fit seating into tight spaces. Try this: add a small side table between every other chair for drinks. Cost: $$$. Difficulty: easy.
12. Fire pit under string lights

Hang warm-white string lights overhead in a zigzag between the house and two 10-foot poles, with the fire pit centered below. The lights define the gathering zone after dark and make the area feel magical for almost no money. Keep lights at least 10 feet above the fire and 10 feet horizontally from the flames. Use outdoor-rated strands on a timer. Try this: add a dimmer plug so you can lower the lights once the fire is roaring. Cost: $$$. Difficulty: easy.
13. Campfire cooking setup

Fit your fire pit with a tripod and cast iron Dutch oven or a swing-arm grill grate to cook real meals over the flames. A 36-inch pit gives enough room for a cooking zone on one side and a social fire on the other. Burn hardwood like oak or hickory for steady cooking coals, and keep a spray bottle of water handy for flare-ups. S’mores are just the beginning; try campfire chili or foil-pack dinners. Try this: let the fire burn down to coals before cooking for even heat without scorching. Cost: $$$. Difficulty: easy.
14. Tabletop mini fire pit

Set a 10-inch tabletop fire bowl fueled by gel canisters or a small propane canister on a side table for flame ambiance without a full fire. These suit apartment balconies and small patios where a real pit is impossible; check your lease and local rules first. They give real flame and warmth for 2 to 3 hours per fuel canister. Never use them on a glass tabletop without a heat-proof mat. Try this: cluster three minis at different heights for a bigger visual impact. Cost: $$$. Difficulty: easy.
15. Gas fire column

Install a 36-inch-tall stone or concrete column with a gas burner on top for a vertical flame accent at a patio corner or flanking a seating area. Columns work where a full pit would crowd the space, and the height keeps flames visible over furniture. They run on propane or natural gas with push-button ignition. Keep the same 10-foot clearance from structures as any fire feature. Try this: place two columns symmetrically to frame a walkway or view. Cost: $$$. Difficulty: moderate.
16. Fire pit with open pergola

Build an open-beam pergola over the seating area with the fire pit centered beneath the open roof, keeping at least 10 feet of vertical clearance from flames to beams. The structure defines the space and carries lights, while the open top vents smoke and heat safely. Never put a solid roof over a wood fire; gas features need manufacturer-specified clearances too. Use cedar or pressure-treated lumber rated for ground contact. Try this: hang the string lights from the beams instead of adding poles. Cost: $$$$. Difficulty: moderate.
17. Beach-style log seating fire pit

Surround a simple steel fire bowl with large log rounds (18 to 24 inches tall) as rustic stools for a campfire feel that costs almost nothing. Hardwood logs like oak last several seasons; softwood rots faster. Sand the tops smooth and seal the cut ends to slow cracking. Arrange 5 to 7 rounds in a loose circle, leaving walking gaps. Try this: top each round with a round outdoor cushion for comfort on long evenings. Cost: $$$. Difficulty: easy.
18. Multi-level patio fire zone

Split a paver patio into two levels with a 7-inch step, placing the fire pit lounge on the lower level and dining on the upper. The level change defines zones without walls and improves sightlines from the house. Retaining wall block forms the step; compact the base well to prevent settling. This suits sloped yards where a flat patio would need extensive grading. Try this: add step lights to the riser for safe footing after dark. Cost: $$$$. Difficulty: hard.
19. Chiminea corner nook

Tuck a clay or cast iron chiminea into a patio corner with two chairs angled toward it for an intimate two-person fire nook. The chimney directs smoke upward, which neighbors appreciate, and the enclosed design feels safer on small patios. Clay chimineas need a sand base inside and gradual first fires to cure; cast iron versions are tougher but heavier. Keep 10 feet of clearance overhead. Try this: burn pinon wood for a pleasant scent that also deters mosquitoes. Cost: $$$. Difficulty: easy.
20. Painted cinder block fire pit
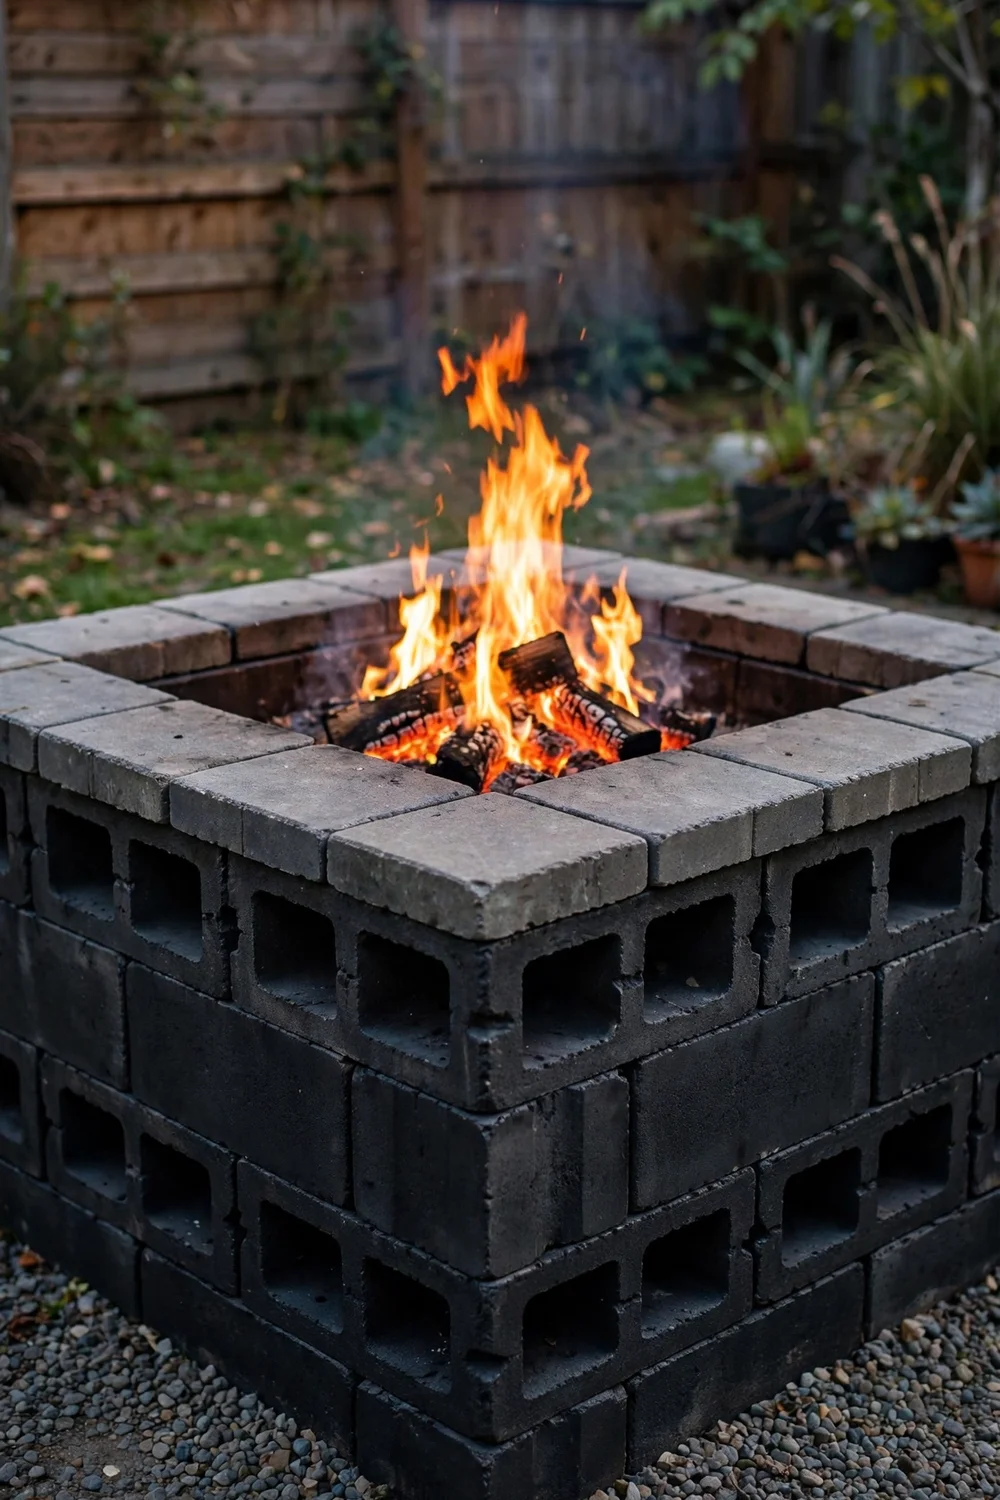
Stack 24 standard cinder blocks in a 36-inch square, two courses high, and paint the exterior with high-heat paint in charcoal or terracotta. This is the cheapest sturdy fire pit you can build in an afternoon. Line the inside with a steel ring or fire brick since block alone degrades with direct heat. The paint transforms industrial block into something that looks intentional. Try this: cap the top with 2-inch concrete pavers for a finished ledge. Cost: $$$. Difficulty: easy.
Wood vs gas: how to choose
Choose wood if you want real campfire crackle, cooking ability, and the lowest fuel cost; a cord of hardwood runs $200 to $300 and lasts a season of weekend fires. Choose gas if your patio sits close to the house, your city restricts wood burning, or you want instant flames with zero cleanup. Gas costs more upfront and needs a plumber for natural gas lines, but a propane tank swap takes five minutes. Many households end up happiest with a wood pit in the yard’s far corner plus a small gas table near the house.
Mistakes to avoid with backyard fire pits
The most dangerous mistake is poor clearance: keep 10 feet minimum from the house, fences, sheds, trees, and anything overhead. The most common mistake is building on grass, which dies into a muddy ring within weeks; use gravel or pavers instead. Do not build under low tree branches or a solid patio cover with a wood fire. Finally, never use lighter fluid or gasoline to start a fire; use a fire starter cube or newspaper and kindling. If your yard needs a full refresh around the pit, these cottagecore backyard ideas pair naturally with a rustic fire setup.
Fire pit safety rules that matter
Never leave a fire unattended, and keep a hose or fire extinguisher within reach every time you burn. The National Fire Protection Association advises keeping anything that can burn at least 3 feet from the fire and fully extinguishing fires before leaving. The U.S. Fire Administration adds that you should check local burn ordinances first, since many areas ban open burning during dry or windy conditions. Keep kids and pets 3 feet back, never burn trash or treated lumber, and let ashes cool for 48 hours before disposal. A well-planned courtyard layout can help you site the pit with proper clearance from the start.
Frequently asked questions
How far should a fire pit be from the house?
At least 10 feet from the house, fences, sheds, trees, and anything overhead. Local codes may require more, so check your city’s rules before you build.
Do I need a permit for a backyard fire pit?
It depends on your city and HOA. Many areas allow small recreational fires without a permit but restrict wood burning during dry seasons. Call your local fire department or check the city website before building.
Is a gas or wood fire pit better?
Wood gives authentic campfire flavor and lets you cook, with lower fuel costs. Gas offers instant on-off flames, no smoke, and no ash, which suits patios near the house. Pick based on your distance from the house and local burn rules.
What should I put under a fire pit?
Pea gravel or concrete pavers are best. They drain water, do not burn, and will not scorch like grass. Avoid placing any fire pit directly on a wood deck unless it is rated for it and sits on a heat shield.
How do I stop a fire pit from smoking so much?
Burn only dry, seasoned hardwood, never green wood or trash. A smokeless double-wall design reburns smoke for a much cleaner flame. Good airflow under the fire also reduces smoke.
Can I leave a fire pit burning unattended?
No. Never leave any fire unattended, and fully extinguish it with water before going inside. Drown the coals, stir, and feel for heat to confirm it is out.
Conclusion
The right fire pit turns your backyard into the place everyone gathers after dark. Pick the fuel and style that fit your space, give it proper clearance, and keep the marshmallows stocked.


