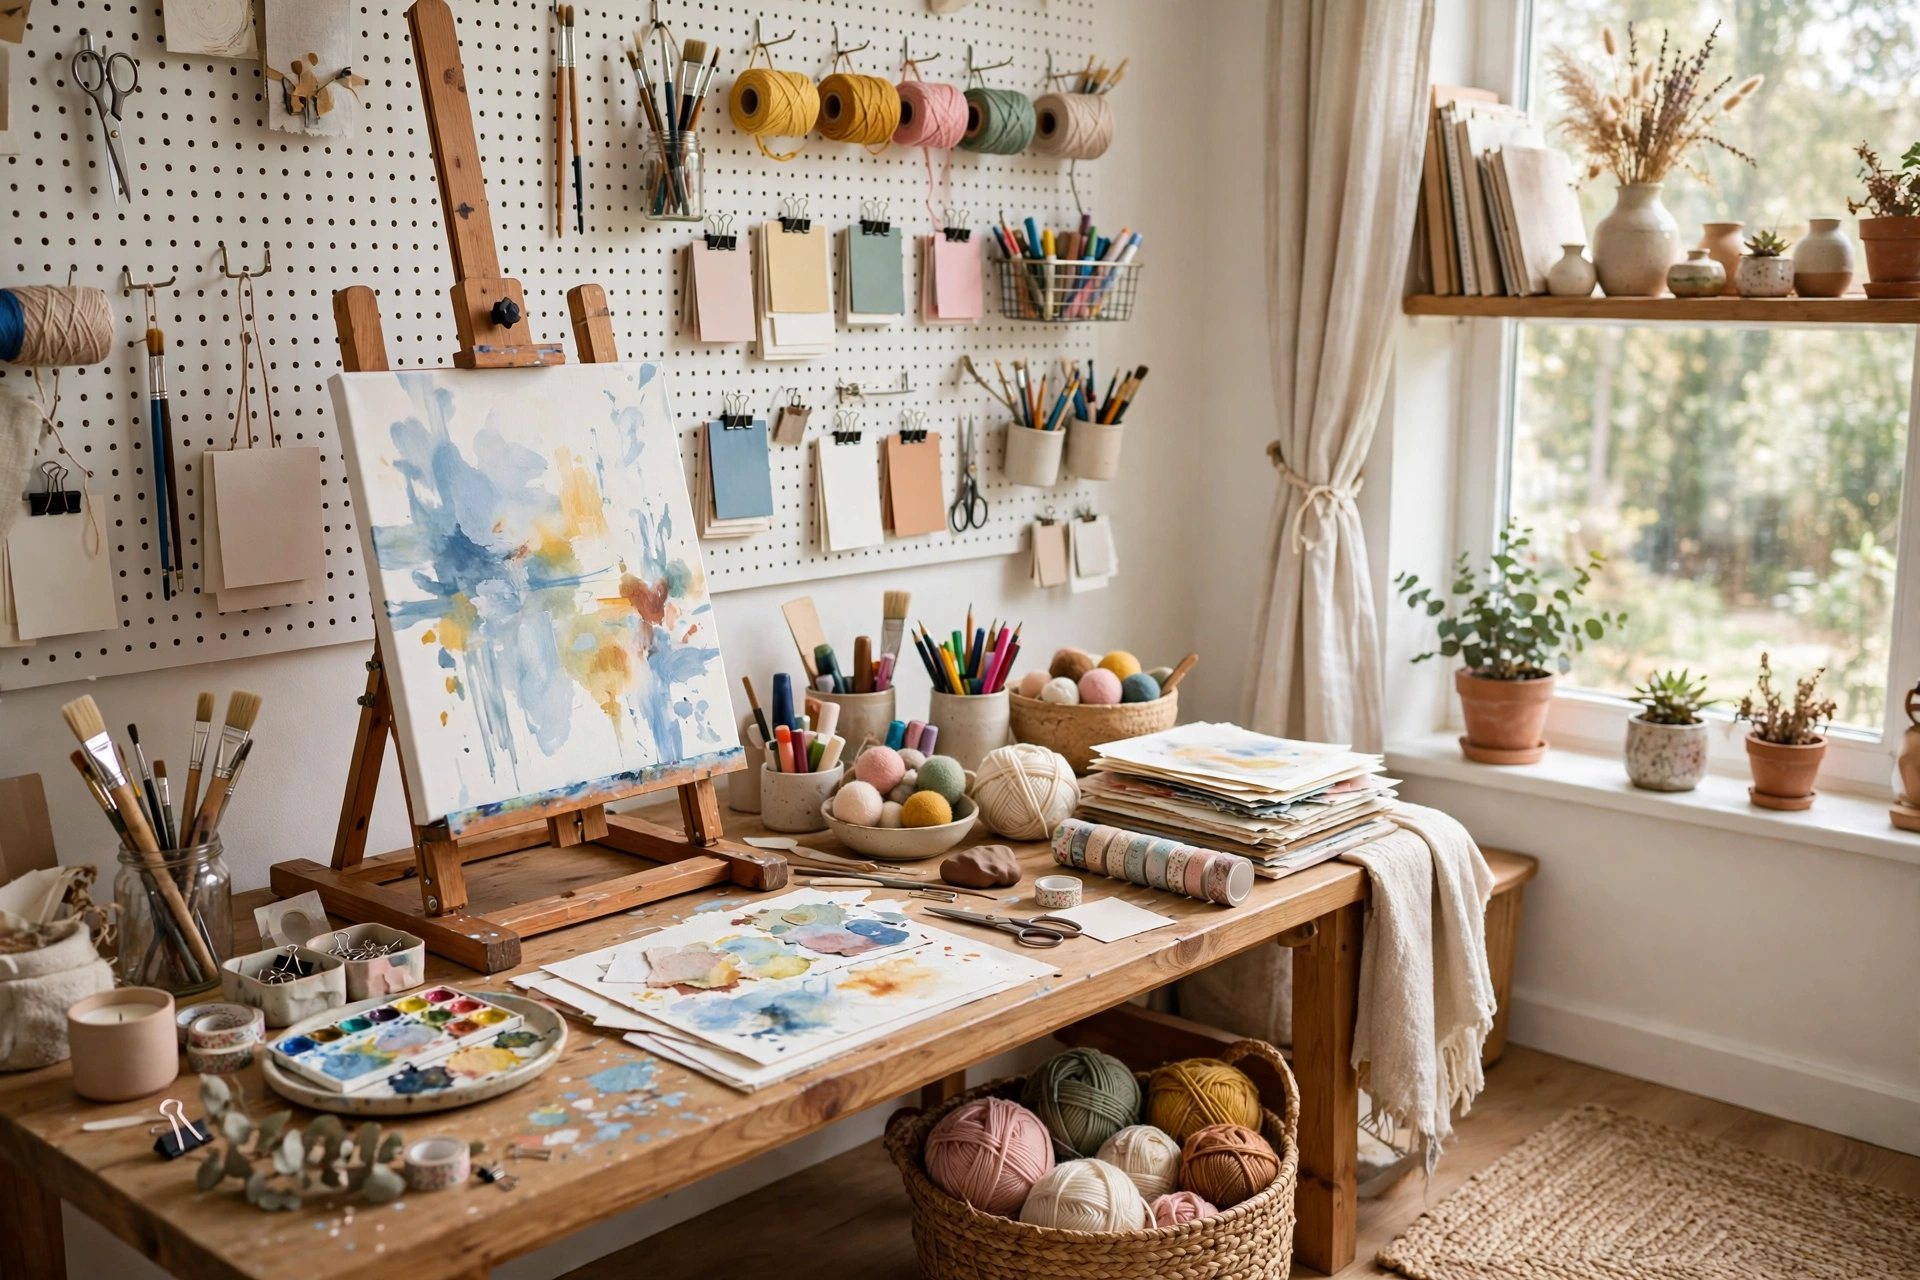
Supplies on the kitchen table, a sewing machine on the dining chair, paint tubes in a grocery bag by the door. When every project starts with unpacking and ends with packing away, making art starts to feel like a chore, and the chore wins more often than the art does. A room of your own, even a corner of one, changes that math because the work can stay out between sessions.
Last spring I moved my watercolor tin off the kitchen table and onto a small rolling cart, and that one move doubled how often I painted. This guide covers 26 creative art studio hobby room ideas for painters, sewers, paper crafters, and makers, from closet studios and fold down tables to full spare rooms, garage corners, and garden sheds, each with a cost and difficulty label so you can pick the setup that fits your space and budget.
Quick takeaways
- Light comes first: a north window is ideal, and a 5000K daylight lamp is the fallback for windowless rooms.
- A 4 by 6 foot corner holds a full drawing or watercolor setup, and a 2 by 4 foot closet holds a fold down studio.
- Keep wet crafts and dry crafts in separate zones so paint never reaches fabric.
- Closed storage hides the mess; open storage shows only what you use every week.
- Ventilation is a safety decision, not a comfort extra, whenever solvents, sprays, or sawdust are involved.
1. North window easel corner

A north facing window gives steady, even light all day, which is why painters prize it for judging true color. Set a standing easel at an angle to the window so light falls across the canvas instead of glaring back at you, and keep a small side table for your palette, water jar, and rag. A 4 by 6 foot corner is enough for this setup, and a sheer curtain softens any direct sun that sneaks in during summer. Add a clip on task lamp for evening sessions so the corner works after dark too.
Try this: Tape a small white card to the wall and check your mixed colors against it in window light before they go on canvas.
Cost: $| Difficulty: Easy
2. Pegboard tool wall

A pegboard wall turns the most boring wall in the room into the most useful one. A 4 by 8 foot sheet of pegboard, mounted into studs, holds brushes, scissors, rulers, tape, and ribbon on hooks, with small wire baskets for tubes and jars. Everything stays visible, so you stop buying a third pair of fabric scissors because you could not find the second pair. Paint the board a soft white or sage first so it reads as decor, not a garage wall, and label the baskets you reach for daily.
Try this: Trace each tool in pencil on the board once, so a missing tool shows up as an empty outline.
Cost: $| Difficulty: Easy
3. Rolling cart studio
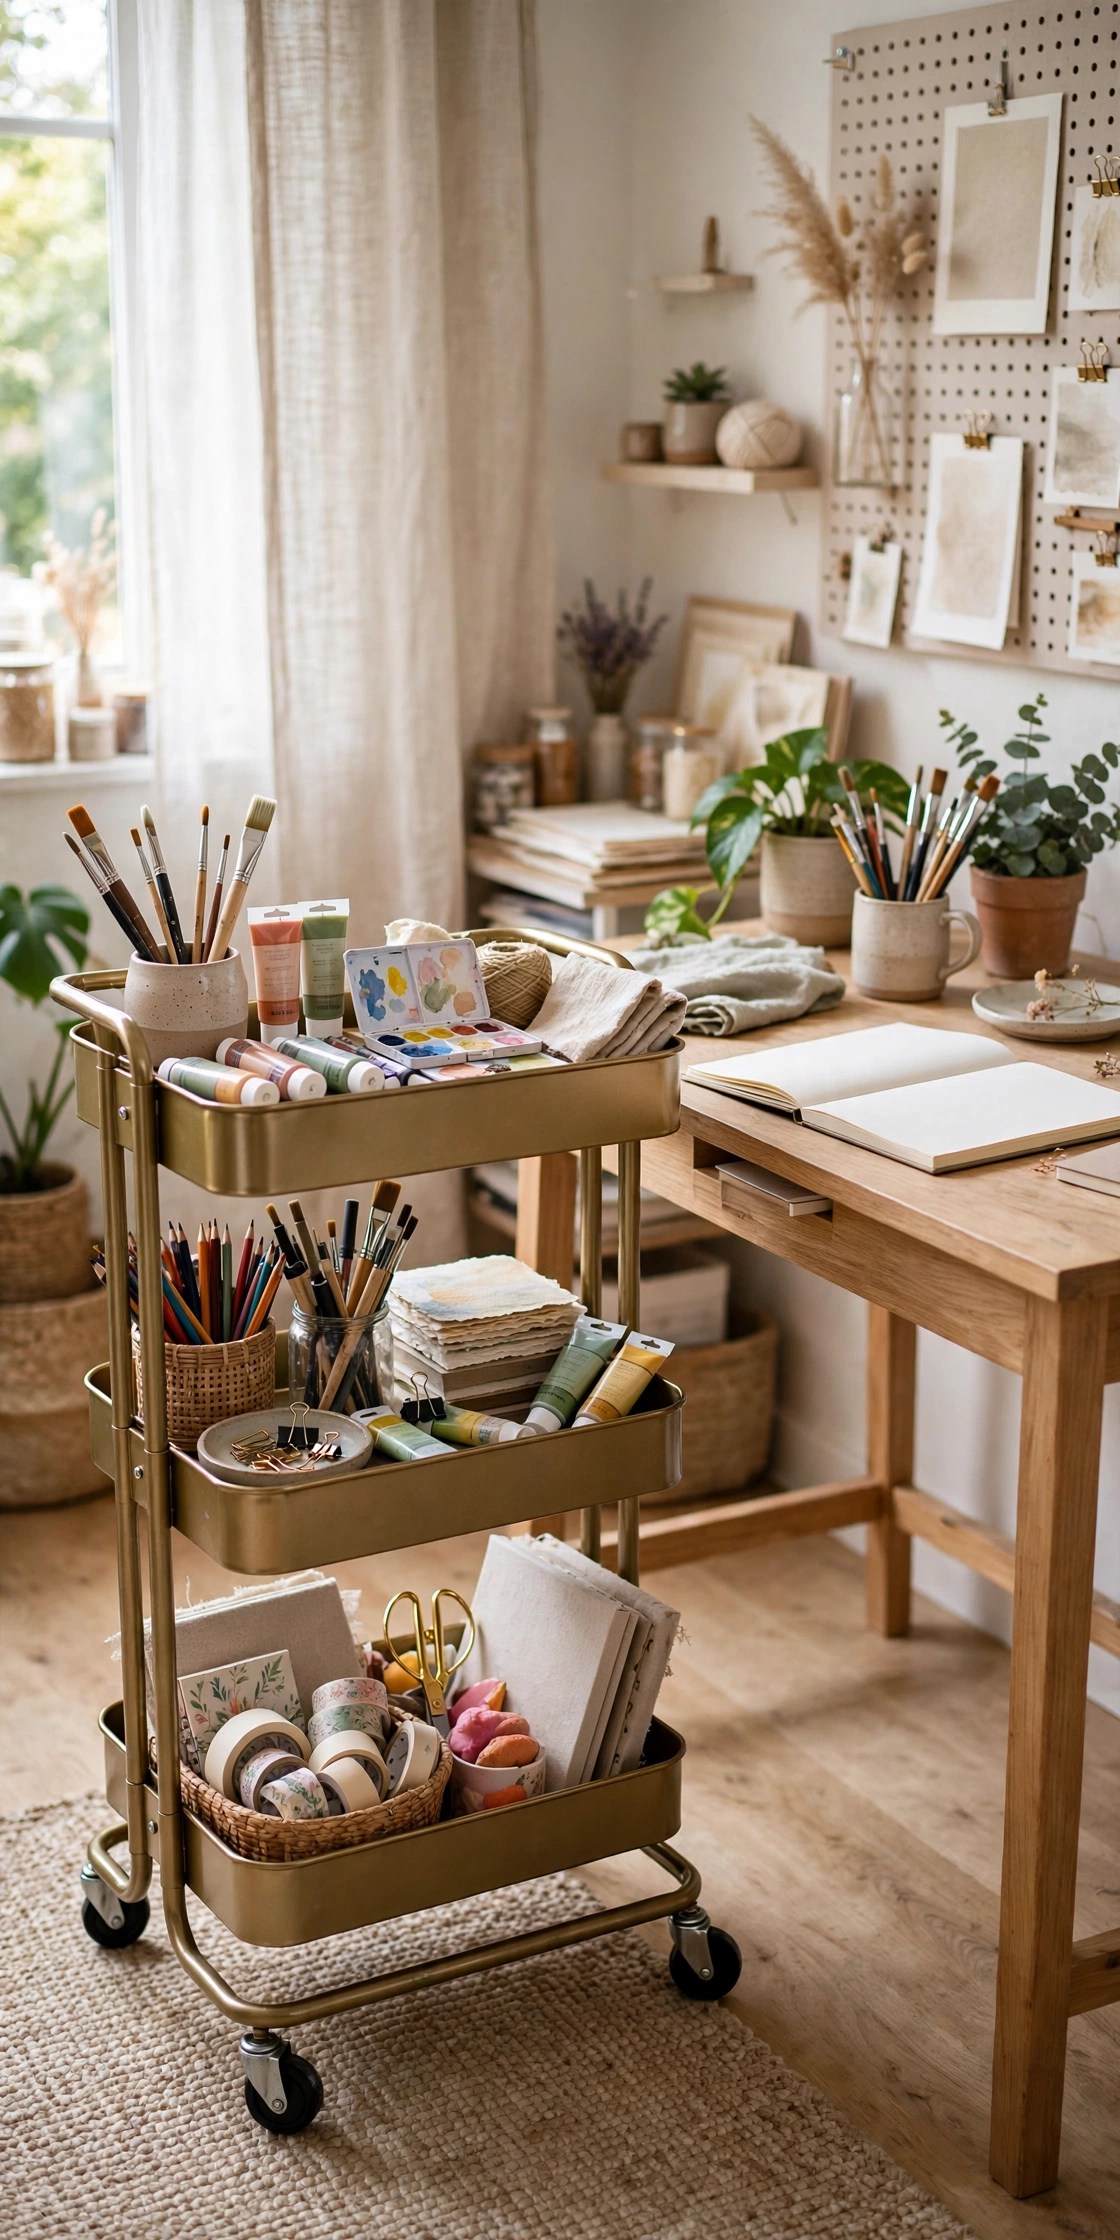
A three tier rolling cart is the smallest real studio you can own. Load the top tier with the supplies for your current project, the middle tier with paints or fabric, and the bottom tier with paper and sketchbooks, then park it beside your desk or table. Locking casters keep it still while you work and let you roll it to a sink for cleanup or into a closet when guests arrive. This setup suits renters and shared homes because nothing is fixed to a wall, and the whole studio costs less than a single bookshelf.
Try this: Keep one empty bin on the cart for works in progress so unfinished pieces never pile on the table.
Cost: $| Difficulty: Easy
4. Closet art studio

An unused closet, roughly 2 by 4 feet, becomes a studio that closes its doors when you are done. Mount a fold down table at desk height inside, add two shelves above it for paints and paper, and run a plug strip for a lamp and a glue gun. A daylight bulb in a clip lamp fixes the lack of a window, and a small fan on the shelf keeps air moving. The doors hide the mess completely, which is the whole point for anyone whose studio shares a bedroom or hallway.
Try this: Paint the inside of the closet white before you mount anything, since dark closet walls eat the light from a small lamp.
Cost: $| Difficulty: Moderate
5. Fold down wall table

A wall mounted fold down table gives you a 30 by 48 inch work surface that vanishes when you fold it up. Mount it into studs at a height that suits sitting or standing, and pair it with a wall grid or pegboard above for tools. This setup works on a spare wall in a living room, bedroom, or hallway, and it suits dry media best: drawing, journaling, paper crafts, and hand sewing. Keep a small caddy of daily tools on the wall beside it so setup takes under a minute.
Try this: Add a shallow lip along the back edge so pencils and brushes do not roll off when the table is folded halfway.
Cost: $| Difficulty: Moderate
6. Sewing station with cutting table

Sewing needs two surfaces, not one: a machine table and a cutting table. Set the cutting surface at 36 to 38 inches high, about two inches above standard counter height, so long cutting sessions do not strain your back. A large self healing mat on top protects the table and gives you grid lines for straight cuts. Keep the machine on a sturdy table beside it, with thread, bobbins, and scissors in a drawer or wall pocket within arm’s reach. A pressing spot with a small ironing board nearby saves constant trips across the room.
Try this: Cut a full quilt back in one pass by clearing the whole cutting table first, since folded fabric shifts and miscuts.
Cost: $$| Difficulty: Moderate
7. Painting wash zone

Every painting studio needs a wet corner where water, rinse jars, and dirty brushes are allowed to be messy. If a real sink is out of reach, a deep bucket station works: one bucket for rinse water, one jar for clean water, and a wipeable mat under the whole area. Put this zone on a vinyl or tile floor, or lay a canvas drop cloth over wood, and keep paper towels and rags in a wall basket above. Separating the wash zone from the dry work surface keeps water rings off sketchbooks and finished pieces.
Try this: Rinse brushes in the dirty jar first and the clean jar second, and your rinse water stays usable twice as long.
Cost: $$| Difficulty: Moderate
8. Drying rack wall

Wet paintings stacked flat smudge, and wet paintings leaned on furniture dent corners. A wall mounted drying rack with clips or shallow shelves gives each piece its own slot and its own air. Mount the rack near, but not above, your work table so you can move a finished piece straight from easel to rack without crossing the room. Leave at least 2 inches between slots for airflow, and keep the rack away from direct sun, which can crack thick paint. A rack that holds 10 sheets covers most home painters for a full week of work.
Try this: Clip a small date tag to each piece so you know which painting is dry enough to stack or frame.
Cost: $| Difficulty: Easy
9. Flat file storage

Large paper, prints, and finished drawings crease and curl when they live in rolls or leaning stacks. A flat file, or a stack of shallow boxes sized to your paper, keeps sheets flat, sorted by size, and easy to pull without disturbing the rest. Label each drawer by paper type and size, and slip finished pieces into clear sleeves before filing so charcoal and pastel do not transfer. If a real flat file is too dear, a set of large pizza style boxes on a shelf does the same job for a fraction of the price.
Try this: File new paper the day it arrives, since a loose pile on the floor becomes a bent pile within a week.
Cost: $$| Difficulty: Easy
10. Inspiration board wall

An inspiration board gives your eyes somewhere useful to rest between work sessions. Pin sketches, photos, color swatches, fabric scraps, and quotes to a cork board or a wire grid, and change it when a project changes. Keep the board at eye level beside, not behind, your work surface so you can glance at it without turning around. A board that stays the same for a year stops inspiring, so swap at least three pins each time you start something new.
Try this: Pin your current palette, literally, as paint swatches or thread wraps, so color decisions stay consistent across a project.
Cost: $| Difficulty: Easy
11. Daylight lamp setup

A room with no good window still works as a studio with the right lamps. Use two 5000K daylight lamps instead of one, placed on opposite sides of your work surface, because a single lamp throws a shadow from your own hand across the canvas. Add a sheer curtain trick in reverse: if the room has a small window with harsh sun, diffuse it with tracing paper or a sheer panel so colors read true. Daylight bulbs cost little, and they pay off every time you mix a color that looks right at the desk and wrong in daylight.
Try this: Check finished color work under both lamp light and phone flashlight before calling it done, since each reveals different shifts.
Cost: $| Difficulty: Easy
12. Two person shared studio

Two makers in one room need two zones, not one big shared table. Split the room with a bookshelf, a curtain, or a rolling cart used as a divider, and give each person their own work surface, light, and storage. Shared items, like a cutting mat or a printer, live on a neutral middle surface both people can reach without crossing into the other’s zone. Agree on one rule before you start: each person clears their own zone at the end of a session, so resentment never gets a chance to build.
Try this: Color code the storage bins, one color per person, so shared shelves never turn into a guessing game.
Cost: $$| Difficulty: Moderate
13. Spare bedroom full studio

A spare bedroom is the most comfortable full studio setup because it asks for no compromise on space. Furnish it with a large work table, real shelving instead of stacked boxes, a wash zone in one corner, and a chair you can sit in for hours. Keep one wall free for large canvases and one corner for drying, and leave a clear path to the door for carrying finished work out. If the room lacks natural light, add a daylight LED fixture rather than relying on the original overhead bulb, which usually flatters nothing.
Try this: Keep a folding guest cot in the closet so the room can still host a visitor without dismantling the studio.
Cost: $$$| Difficulty: Involved
14. Garage corner studio
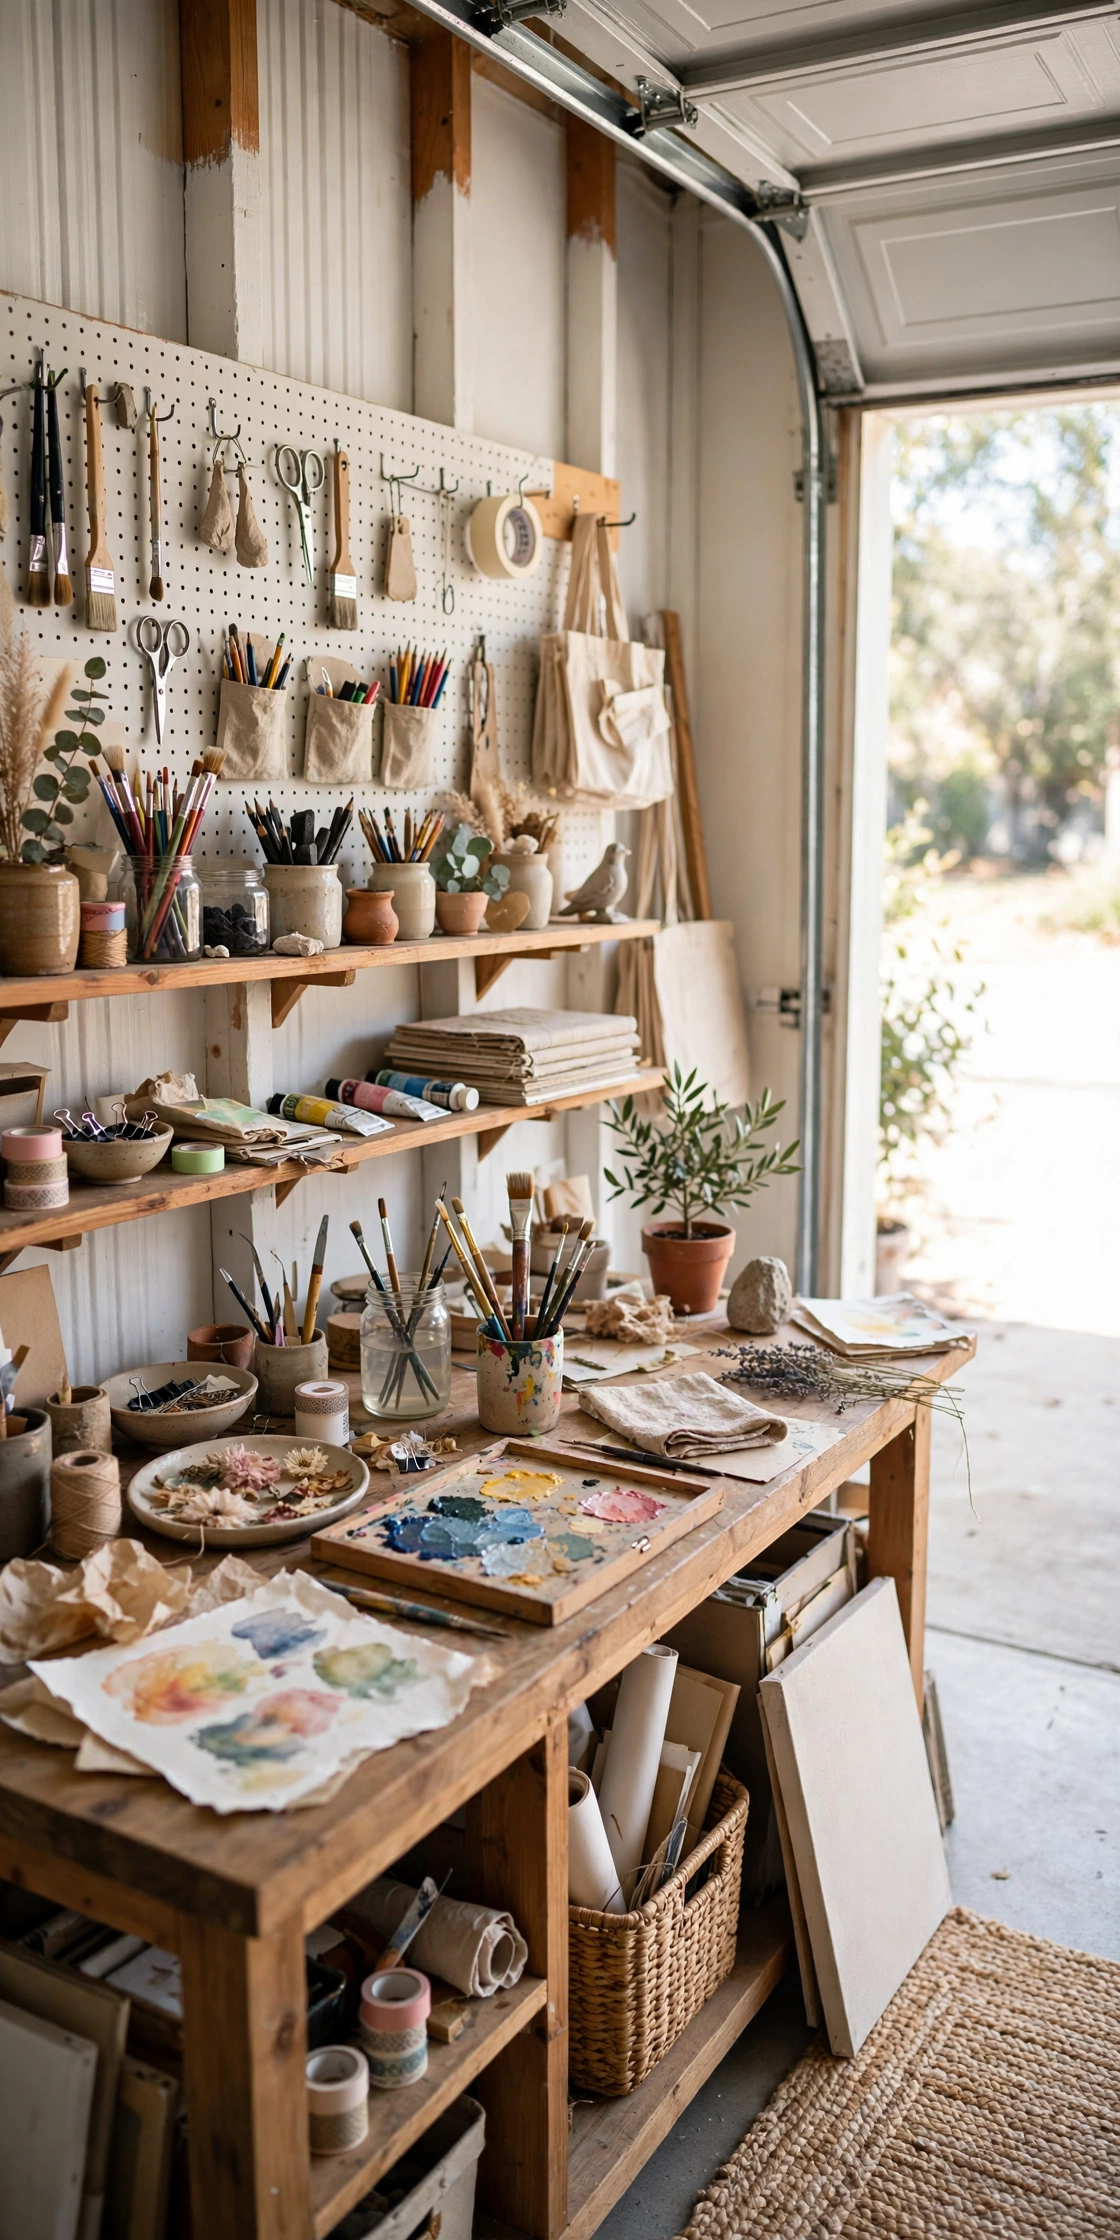
A garage corner suits messy work because concrete floors shrug off paint drips and glue spills. Claim one corner with a sturdy workbench, open shelving on the wall, and a fan in the window or door for ventilation whenever solvents or sprays are in use. A portable heater extends the corner into cold months, and a lockable cabinet keeps supplies safe from dust and damp. Keep finished work inside the house, not in the garage, since temperature swings and humidity warp paper and canvas over time.
Try this: Lay a canvas drop cloth under the bench even on concrete, since dried paint on concrete still tracks into the house on shoes.
Cost: $$| Difficulty: Moderate
15. Garden shed studio

A backyard shed, cleaned out and fitted with a work table and shelves, gives you a studio fully separate from the house, which matters most when solvent smells or dust are part of your craft. Budget for at least one openable window before moving solvent based work in, since a shed with a single door traps fumes fast. Add a small sink or a bucket wash station, a daylight lamp for cloudy days, and insulation if you plan to work through winter. A shed studio also gives you a door you can close on a half finished project without anyone tripping over it.
Try this: Run power through a proper outdoor rated line with help from a licensed electrician rather than an extension cord through the yard.
Cost: $$$| Difficulty: Involved
16. Attic studio

An attic makes an atmospheric studio with sloped ceilings and a skylight, but it is also one of the least ventilated parts of a house by default. If you set up here, a window that opens or a small gable vent with a fan running during any solvent work is not optional, and low VOC or water based paints are the safer default in this space. Use low storage along the eaves and a proper desk under the tallest part of the ceiling, and keep finished work away from roof leaks and summer heat. A rug and a fan make the room usable in both hot and cold months.
Try this: Work only with dry media up here until you have tested the ventilation on a warm day with the fan running.
Cost: $$| Difficulty: Involved
17. Tabletop easel corner
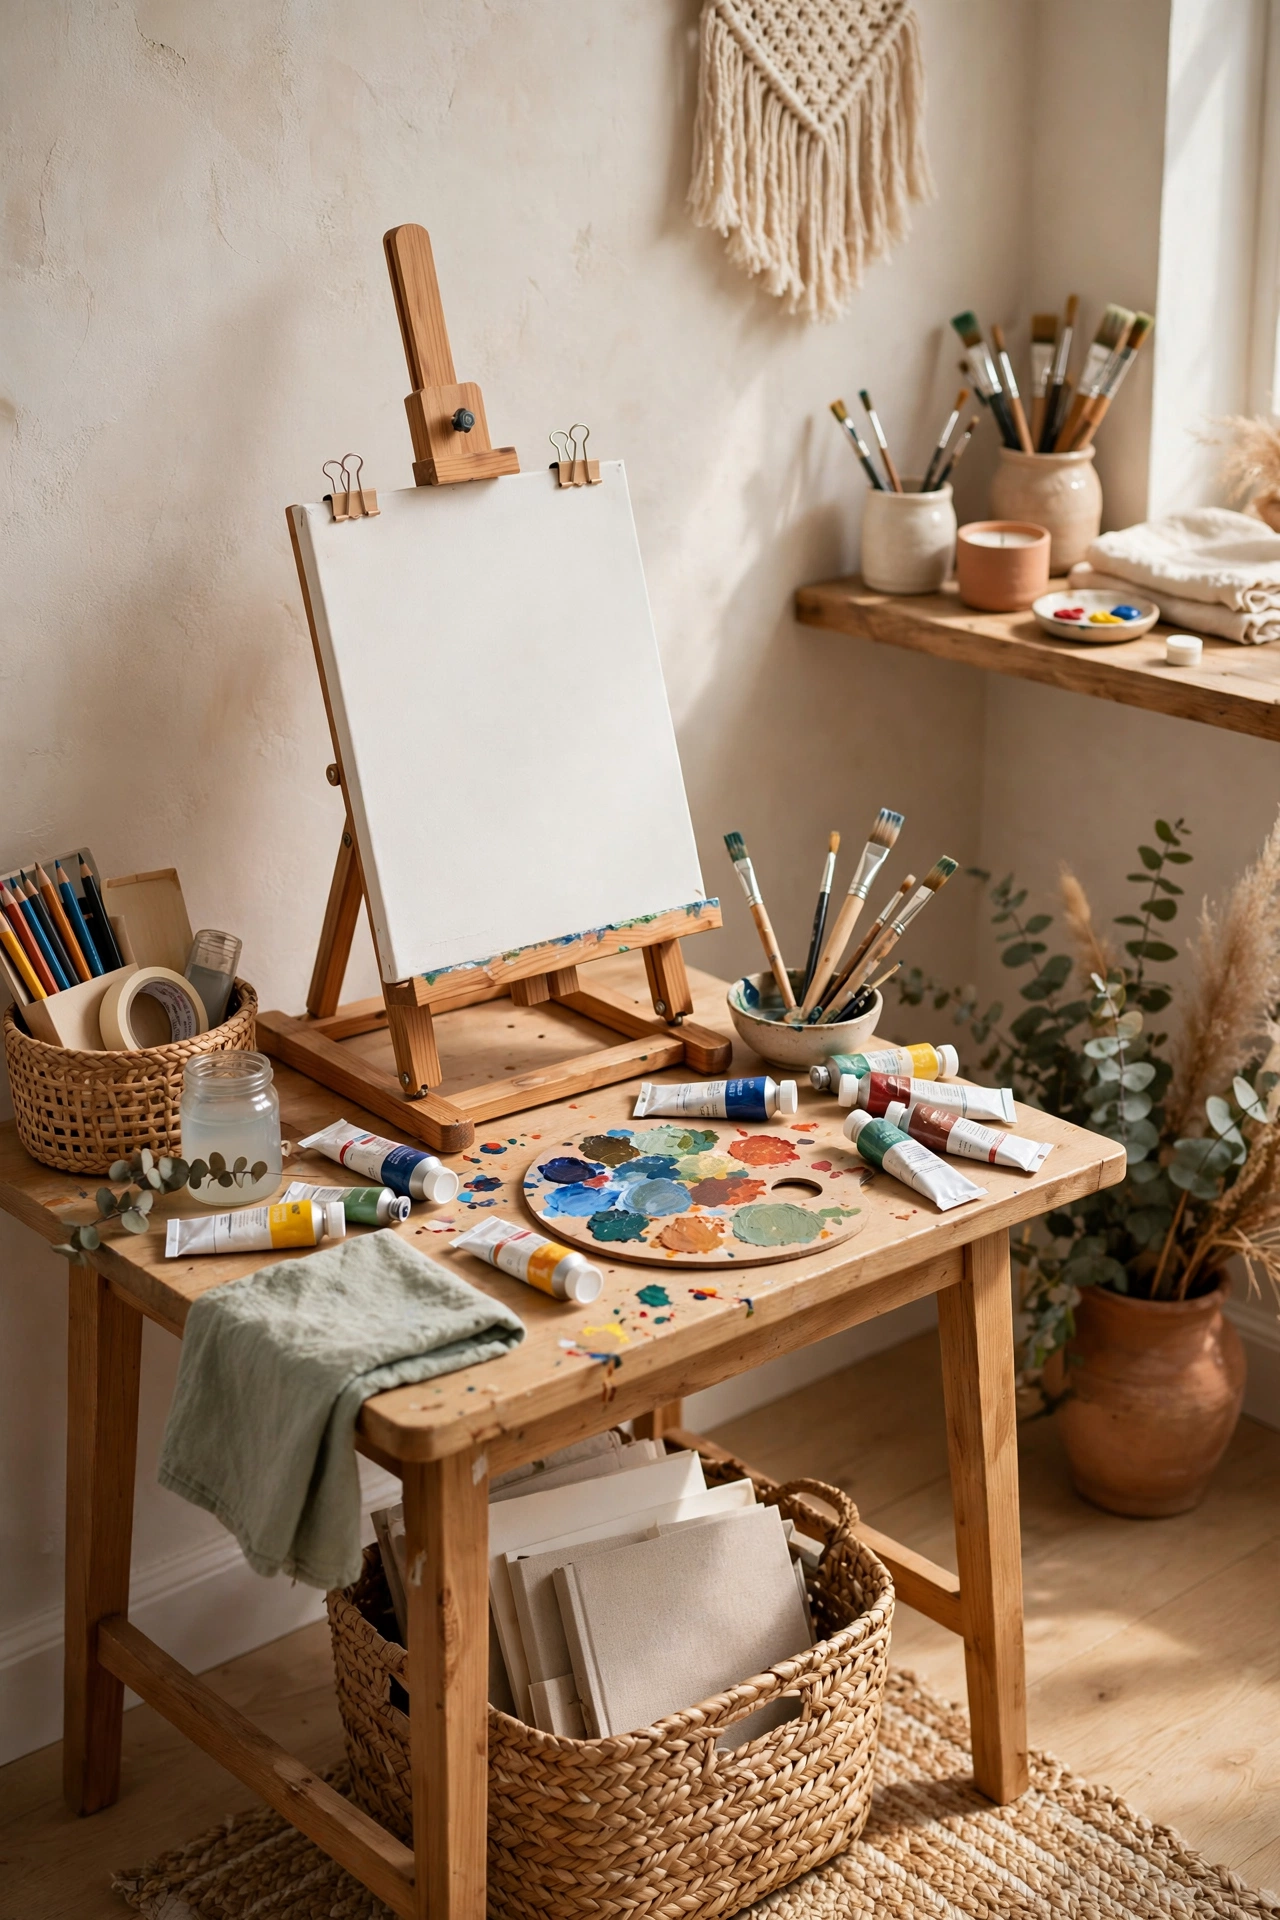
A tabletop easel on an existing desk or table is the fastest way to start a studio with no new furniture. A collapsible easel folds flat into a drawer when you need the table back, and a small tray beside it holds the palette, water jar, and brushes for the current piece. This setup suits apartments and shared rooms because it packs away in under two minutes, and it works best for small canvases and sketchbooks rather than large stretched canvas. Pair it with a daylight clip lamp so the corner works in the evening too.
Try this: Keep a dedicated tray for the easel kit so setup means lifting one tray, not hunting five separate items.
Cost: $| Difficulty: Easy
18. Central craft island

A central island turns a large craft room into a room built for big projects. A 36 inch high island with drawers below gives you a cutting surface, an assembly area, and storage in one piece, and two people can work from opposite sides without crowding each other. Rolling stools tuck under the overhang, and a pendant light above keeps the surface shadow free. Reserve the island top for active work only, and move finished pieces and supplies to wall storage at the end of each session so the island stays clear for the next project.
Try this: Measure your largest quilt back or paper roll before buying, since an island that is too short for your biggest project wastes its purpose.
Cost: $$$| Difficulty: Involved
19. Fabric wall storage

Fabric stored in closed bins gets forgotten, and fabric stored in piles gets wrinkled. Hang bolts on wall rods or dowels, sorted by color, with smaller cuts folded into labeled clear bins below. A full wall of fabric doubles as decor in a sewing room and lets you see every option before you cut. Keep the wall away from direct sun, which fades prints over months, and keep delicate silks in closed bins instead of open rods. A fabric wall also ends the habit of buying a print you already own.
Try this: Clip a small swatch card to each bolt with the yardage left, and update it after each cut.
Cost: $$| Difficulty: Easy
20. Jewelry detail bench

Jewelry and other small detail work need a bench built for close looking, not a big table. A narrow bench with a task lamp, a magnifier on an arm, and shallow bead trays keeps tiny parts contained and visible. Line the trays with a light colored felt so a dropped bead shows up instead of bouncing away, and keep pliers, cutters, and findings in a small wall pocket above the bench. A lip along the front edge of the bench stops beads from rolling onto the floor, which is where most of them used to end up.
Try this: Work over a baking sheet with raised edges when stringing beads, since it catches every runaway bead in one place.
Cost: $| Difficulty: Moderate
21. Family maker table with lockable cabinet

A shared family table works when the sharp, messy, and small part supplies have a home of their own. Set a sturdy table in the middle of the room for joint projects, and keep cutters, hot glue guns, solvents, and tiny parts in a lockable cabinet beside it that only adults open. Kids get their own open bin of safe supplies, crayons, paper, blunt scissors, and washable paint, so they can start without asking. Wipeable table covering and a wash zone nearby keep cleanup to a few minutes after every session.
Try this: End each family session with a two minute tidy, since a table that starts clean gets used again the next day.
Cost: $$| Difficulty: Moderate
22. Finished work gallery wall
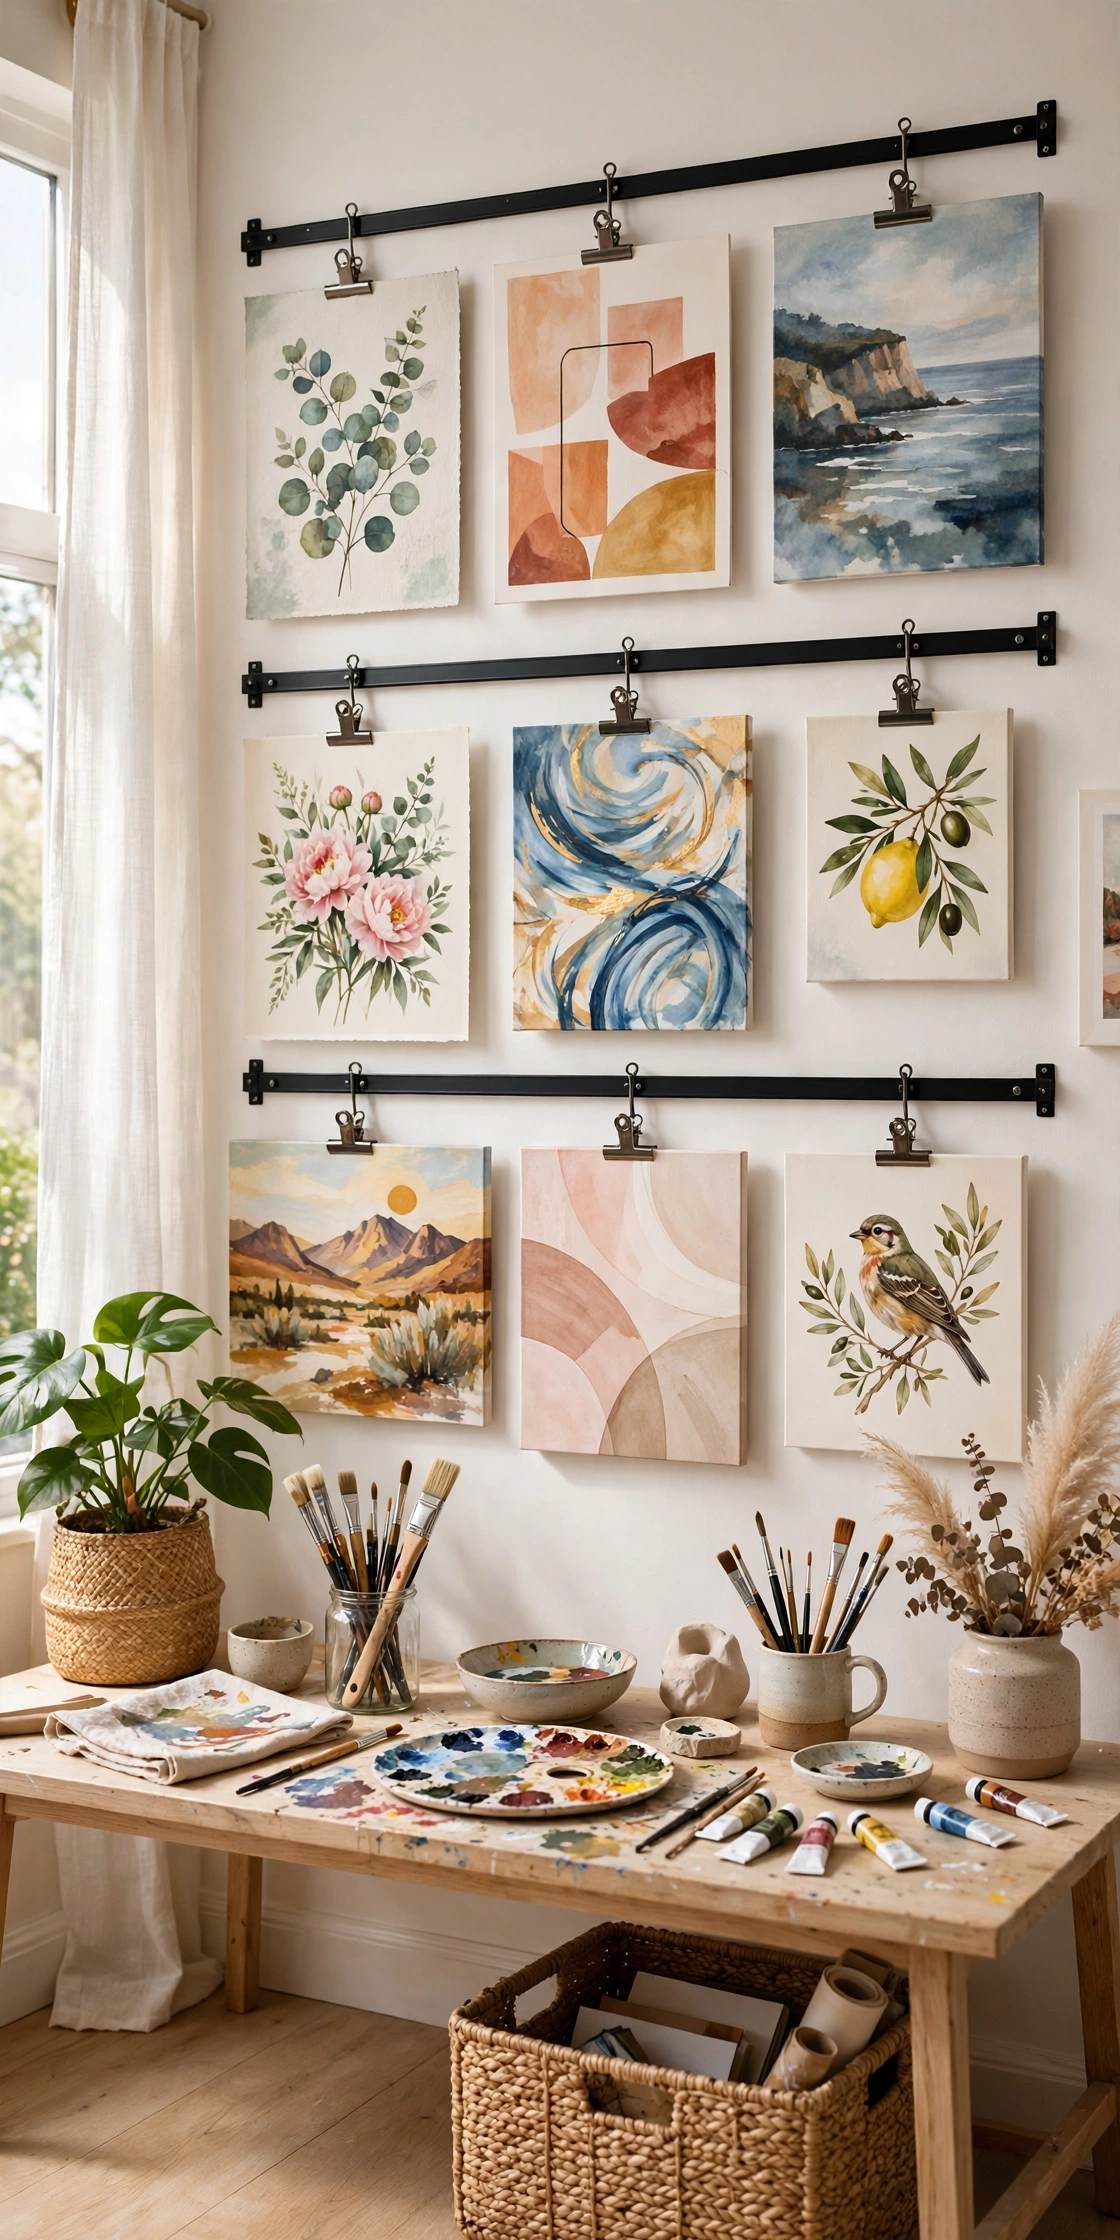
Finished work deserves a wall of its own, and a gallery wall gives you one without framing everything. Mount clip rails or a picture ledge and rotate pieces as you finish them, so the wall always shows your newest work. Seeing progress on the wall motivates the next piece in a way a stacked pile never does, and it also tells you which pieces are truly finished and which ones still need work. Keep the gallery wall away from the wash zone and direct sun, and reserve the top rail for large pieces and the lower rail for small ones.
Try this: Photograph each piece before it goes on the wall, so you have a record even after it is gifted or sold.
Cost: $| Difficulty: Easy
23. Gift wrapping station
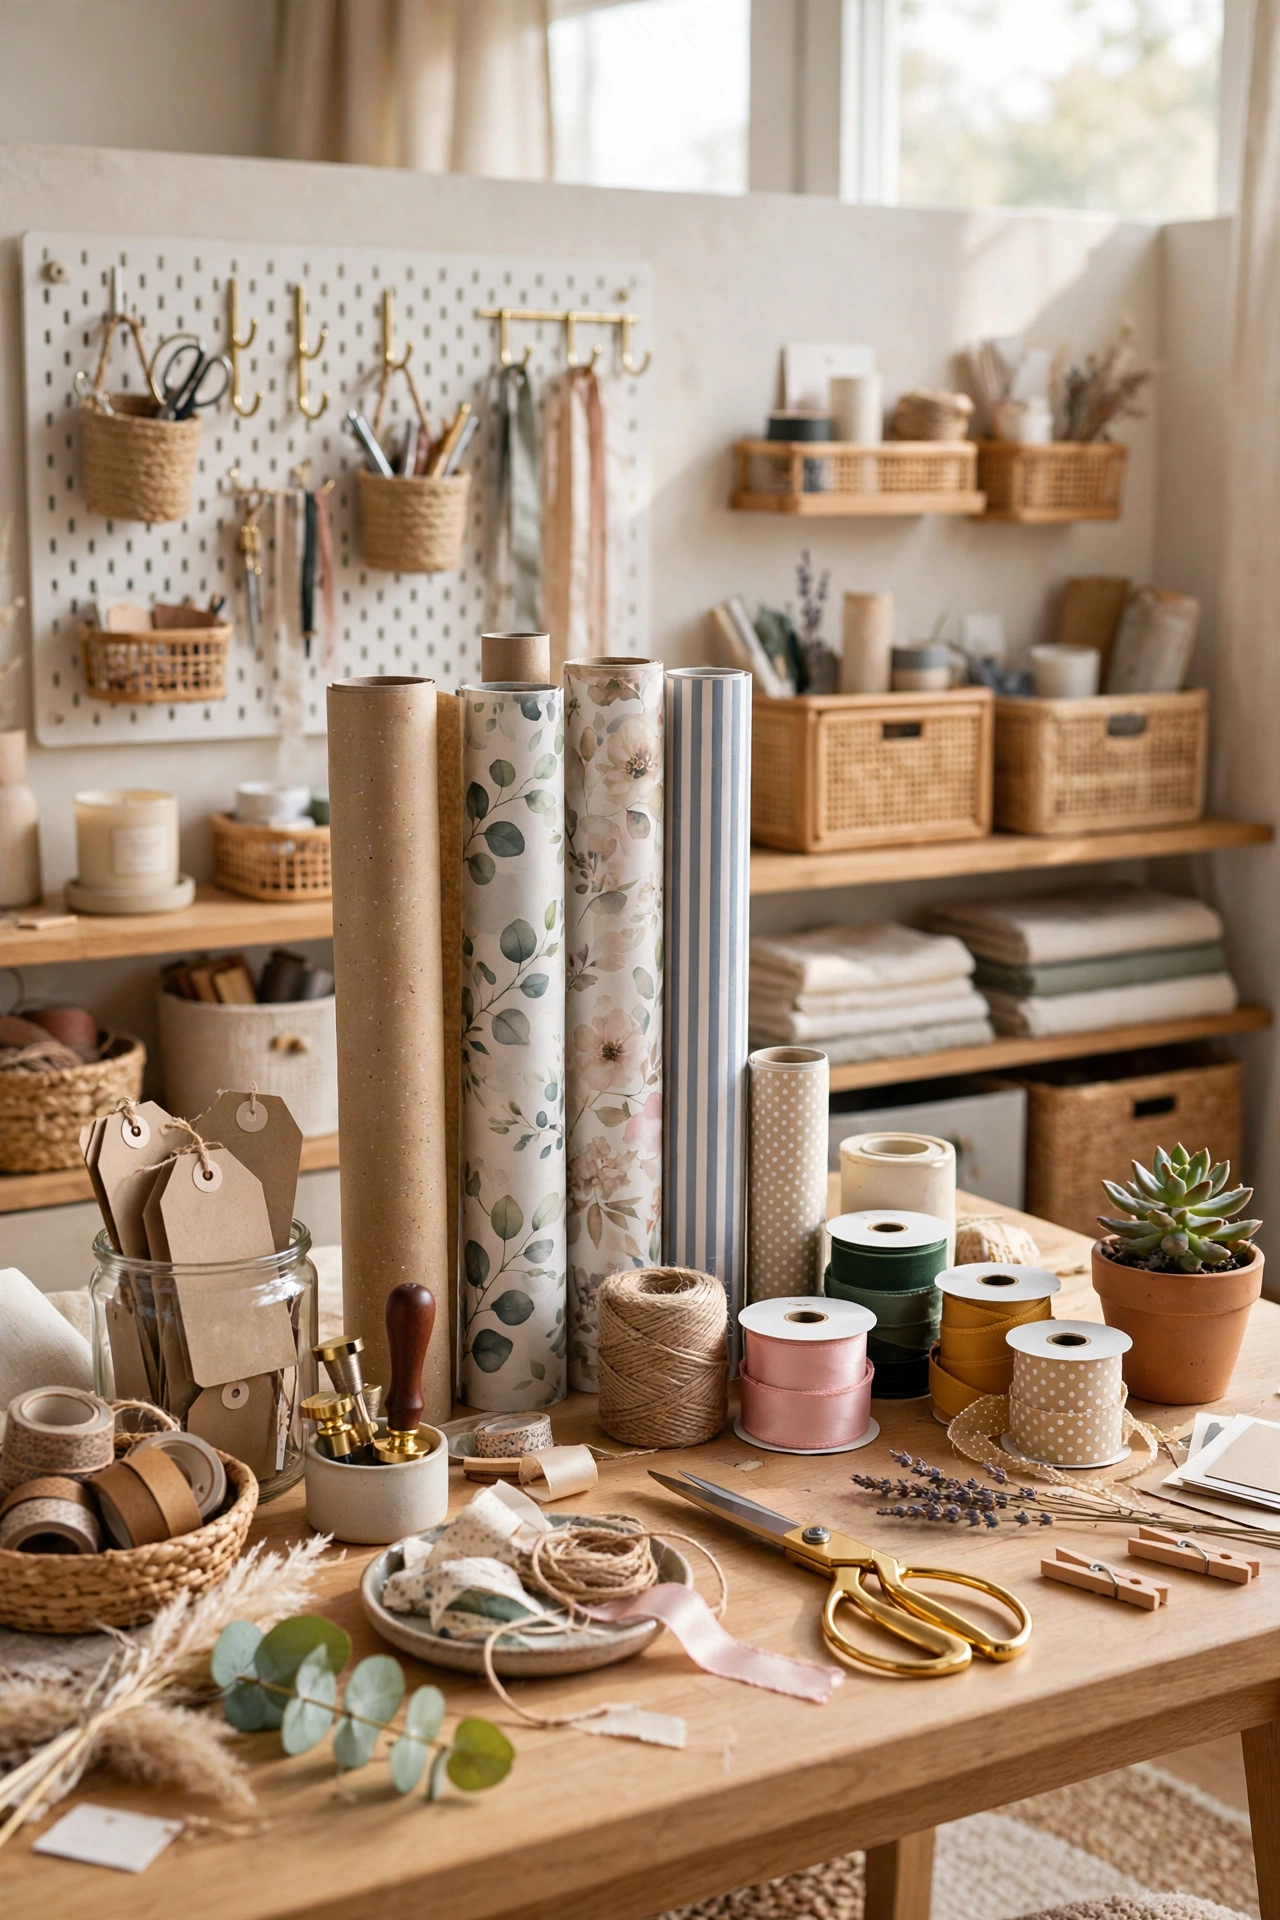
Gift wrapping earns its own station in a hobby room because it uses tools nothing else uses. Mount paper rolls in holders at counter height, ribbon spools above, and a flat wrap surface at standing height so your back does not ache after the third present. Deep storage above holds tissue, boxes, and bags, and a lacquered or vinyl surface wipes clean after tape and glue. A wrapping station also keeps rolls from unrolling across the cutting table every December, which is when you need that table most.
Try this: Cut ribbon to length and store it on labeled cards, since loose ribbon tangles into a knot within a week.
Cost: $| Difficulty: Easy
24. Flower pressing station

Flower pressing needs one thing other crafts do not: a flat surface that nothing else touches for days at a time. Set a heavyweight book press on a dedicated side table, with blotting paper, tweezers, and labeled envelopes nearby for pressed petals. A greenhouse window or a sunny shelf above gives you a drying spot for fresh flowers before they go in the press. Keep the station away from the wash zone, since pressed flowers and water do not mix, and press only fully dry flowers to avoid mold in the press.
Try this: Press two of each flower, since one usually tears when you lift it from the paper.
Cost: $| Difficulty: Easy
25. Thrifted furniture studio

A studio built from thrifted furniture costs little and looks collected rather than matched. Hunt for used kitchen cabinets for the base, painted plywood shelves for the top, and an old dresser for supply drawers, then paint them one color so the room reads as planned. Totes inside the cabinets keep each craft separate, and a coat of wipeable paint on the work surfaces handles glue and paint drips. Check secondhand pieces for a solid frame and working drawers before you buy, since a wobbly cabinet stays wobbly no matter how nice the paint looks.
Try this: Sand and seal any thrifted piece that will hold wet supplies, since old finishes often fail under water rings.
Cost: $| Difficulty: Moderate
26. Portable capsule kit

A portable capsule kit is a studio that fits in one bag: a sketchbook, a pencil set, a small watercolor tin, two brushes, a water brush, and a rag. Keep the bag packed by the door so a trip to the porch, a park bench, or a kitchen table becomes a studio session with no setup at all. This setup suits anyone whose home has no spare corner, and it pairs well with a home base like a rolling cart for larger work. Restock the bag after every outing, since a kit missing its water brush is a kit that stays home next time.
Try this: Tape a small checklist inside the bag lid so restocking takes thirty seconds, not a memory test.
Cost: $| Difficulty: Easy
How to choose the right setup for your space
Start with light, then space, then mess level. A north window or a 5000K lamp decides where painting lives, while sewing and paper crafts care more about table size than window direction. Measure your three biggest pieces before you buy anything: the work surface, the storage unit, and the chair clearance behind you. If you rent, lean on rolling carts, fold down tables, and wall grids that leave only small holes, and skip built in cabinetry. For paint safety, choose water based or low VOC paints and materials with the AP seal from the Art and Creative Materials Institute where you can, since that seal marks products evaluated as non toxic for their intended use. Learn more about art material safety at ACMI.
Compare all 26 ideas
| Idea | Cost | Difficulty | Best for |
|---|---|---|---|
| North window easel corner | Low | Easy | Painters with a free window |
| Pegboard tool wall | Low | Easy | Any maker with a spare wall |
| Rolling cart studio | Low | Easy | Renters and shared homes |
| Closet art studio | Low | Moderate | Small bedrooms and hallways |
| Fold down wall table | Low | Moderate | Dry media in tight spaces |
| Sewing station with cutting table | Medium | Moderate | Sewers and quilters |
| Painting wash zone | Medium | Moderate | Painters with water media |
| Drying rack wall | Low | Easy | Painters with regular output |
| Flat file storage | Medium | Easy | Paper and print collectors |
| Inspiration board wall | Low | Easy | Any maker needing a muse wall |
| Daylight lamp setup | Low | Easy | Windowless rooms |
| Two person shared studio | Medium | Moderate | Couples and housemates |
| Spare bedroom full studio | High | Involved | Dedicated makers with a spare room |
| Garage corner studio | Medium | Moderate | Messy and dusty crafts |
| Garden shed studio | High | Involved | Solvent and dust heavy work |
| Attic studio | Medium | Involved | Dry media with skylight light |
| Tabletop easel corner | Low | Easy | Apartments and beginners |
| Central craft island | High | Involved | Large rooms and big projects |
| Fabric wall storage | Medium | Easy | Sewers with large stashes |
| Jewelry detail bench | Low | Moderate | Jewelry and miniature makers |
| Family maker table with lockable cabinet | Medium | Moderate | Families sharing one room |
| Finished work gallery wall | Low | Easy | Makers who finish often |
| Gift wrapping station | Low | Easy | Paper crafters and gift givers |
| Flower pressing station | Low | Easy | Botanical crafters |
| Thrifted furniture studio | Low | Moderate | Budget makers with thrift access |
| Portable capsule kit | Low | Easy | Makers with no spare corner |
Common mistakes to avoid
- Skipping ventilation for solvents. Solvents, thinners, and sprays need moving air: an open window plus a fan, local exhaust where you can get it, or a respirator if you cannot. Water based and low VOC paints are the safer default in small rooms, and solvents are a hard no in a bedroom you sleep in.
- Leaving tall shelves unanchored. A loaded bookshelf or flat file tips easily when a drawer opens or a child climbs. Anchor tall furniture to studs with anti tip hardware, and check the U.S. Consumer Product Safety Commission guidance at CPSC Anchor It.
- Painting over old paint without checking. Homes built before 1978 may have lead paint under new coats, and sanding it spreads lead dust. Read the U.S. Environmental Protection Agency rules at EPA Renovation, Repair and Painting before you sand or strip.
- Mixing wet and dry crafts on one surface. Paint water reaches fabric, and fabric lint reaches wet paint. Give each craft its own zone and its own table covering.
- Buying furniture before measuring. Measure the work surface, the storage unit, and the chair clearance first, since a table that blocks the door never gets used.
- Leaving small parts and sharp tools in reach of kids. Cutters, pins, beads, and hot glue guns belong in a lockable cabinet, not an open tray, in any room kids use.
More home and hobby ideas
For storage hacks built around one store’s pieces, see these IKEA craft room hacks.
For desk setups that pair well with a studio corner, see these beautiful desk setup ideas.
For renter friendly moves that leave only small holes, see these creative renter friendly upgrades.
For layouts that squeeze a studio into one room, see these one room apartment layout ideas.
For turning a backyard shed into a retreat, see these she shed ideas.
Frequently asked questions
How much space do I need for an art studio hobby room?
A 4 by 6 foot corner holds a full drawing or watercolor setup, and a 2 by 4 foot closet holds a fold down studio with shelves. A full spare room is comfortable but not required, since most makers use one work surface, one storage wall, and one light.
What lighting works if I have no north window?
Two 5000K daylight lamps on opposite sides of your work surface give even light without hand shadows. If you have a small window with harsh sun, diffuse it with a sheer curtain or tracing paper so colors read true.
Can I use solvents in a small studio room?
Use water based or low VOC paints as the default in small rooms. If a solvent is necessary, work with an open window and a fan running, or wear a respirator, and never use solvents in a bedroom you sleep in.
How do I keep a shared hobby room tidy?
Give each craft and each person their own zone, use closed storage for anything you do not use weekly, and end each session by clearing your own zone. Doors, curtains, and rolling carts hide the rest between sessions.
What should I buy first on a small budget?
Buy in this order: a work surface you can leave set up, a daylight lamp, a pegboard or rolling cart for tools, and labeled bins for supplies. A table and a lamp beat a wall of new supplies you have nowhere to use.
Final thoughts
Start with the smallest setup that lets you leave your work out, a cart, a corner, or a closet, and let the room grow around the craft you actually do every week.
For powerful garage home gym ideas for serious training at home, see these powerful garage home gym ideas.
For easy steps to start art journaling, see our guide to 12 Easy Steps To Start Art Journaling, From First Wash to Finished Page for picking a journal and a five-tool kit to watercolor washes, torn-paper collage, and doodle pages, with costs, difficulty, and time for each.
For creative classroom crafts for kids, see our guide to 25 Creative Classroom Crafts For Kids, From Paper Plate Masks to Galaxy Jars for teacher-friendly classroom crafts for kids, all under $1 per student or free, with materials, methods, and time labels for groups of 20 to 30 students.