



There is nothing like a real fire to pull people outside after dinner. The problem is that most backyard fire pits are either a rusty bowl on dead grass or a project that never gets past the planning stage. We spent one whole summer talking about building a fire pit, then built it in a single Saturday once we finally picked a design.
A bonfire pit can be as simple as a ring of stones or as finished as a gas fire table with built-in benches. These 20 ideas cover every style and budget, from quick weekend builds to polished setups worth saving for. Each one includes what it costs, how hard it is, and the safety rules that keep the fun from turning into a problem.
Quick takeaways
- Keep any open flame at least 10 feet from the house, trees, and fences.
- Wood pits give the classic crackle, gas pits give instant on-off control with no smoke.
- A gravel or paver pad under the pit protects the grass and catches stray sparks.
- Check local burn rules before you build, since many cities restrict wood fires.
- Keep a hose, bucket of water, or extinguisher within reach every time you light up.
1. Classic stone ring pit
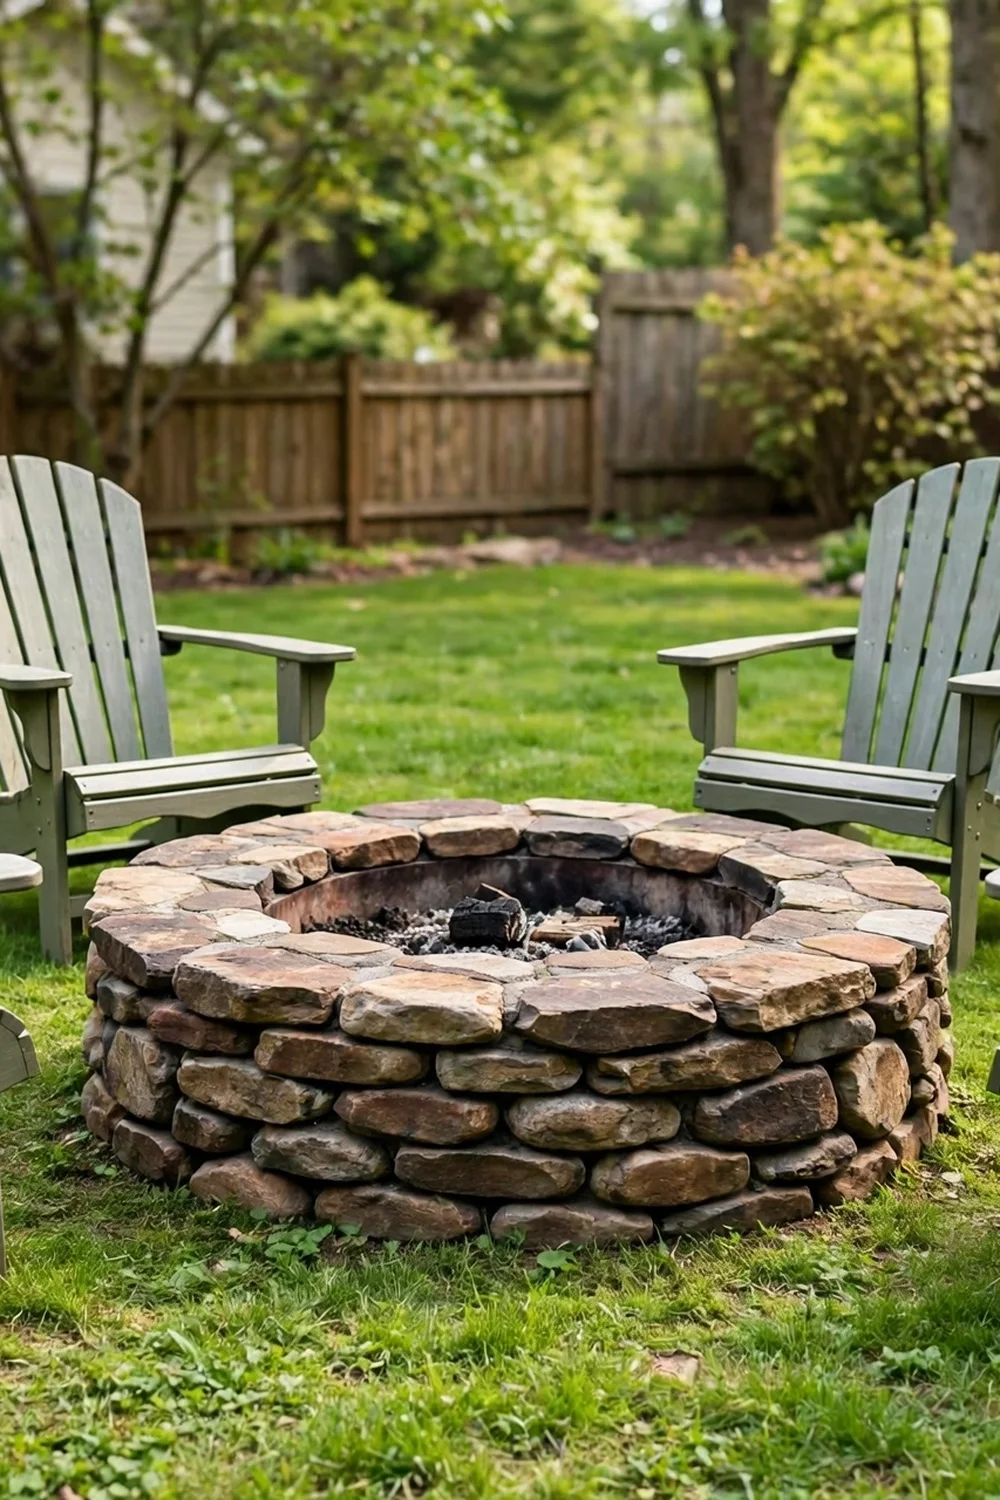
Stack natural fieldstone or wall stone in a circle about 3 feet across and 2 feet high, and you have the classic campfire look. No mortar needed for a simple version, which keeps it a true weekend project. Set the ring on bare soil or gravel, never directly on a wooden deck. Fill the bottom with 4 inches of gravel for drainage, then sand. Irregular stones look best, and you can often source them from a local stone yard for under $100.
Try this: cap the top row with flat capstones to create a shelf for mugs and roasting sticks.
Budget: about $80 to $250 in materials. Difficulty: easy.
2. Stacked paver wall pit
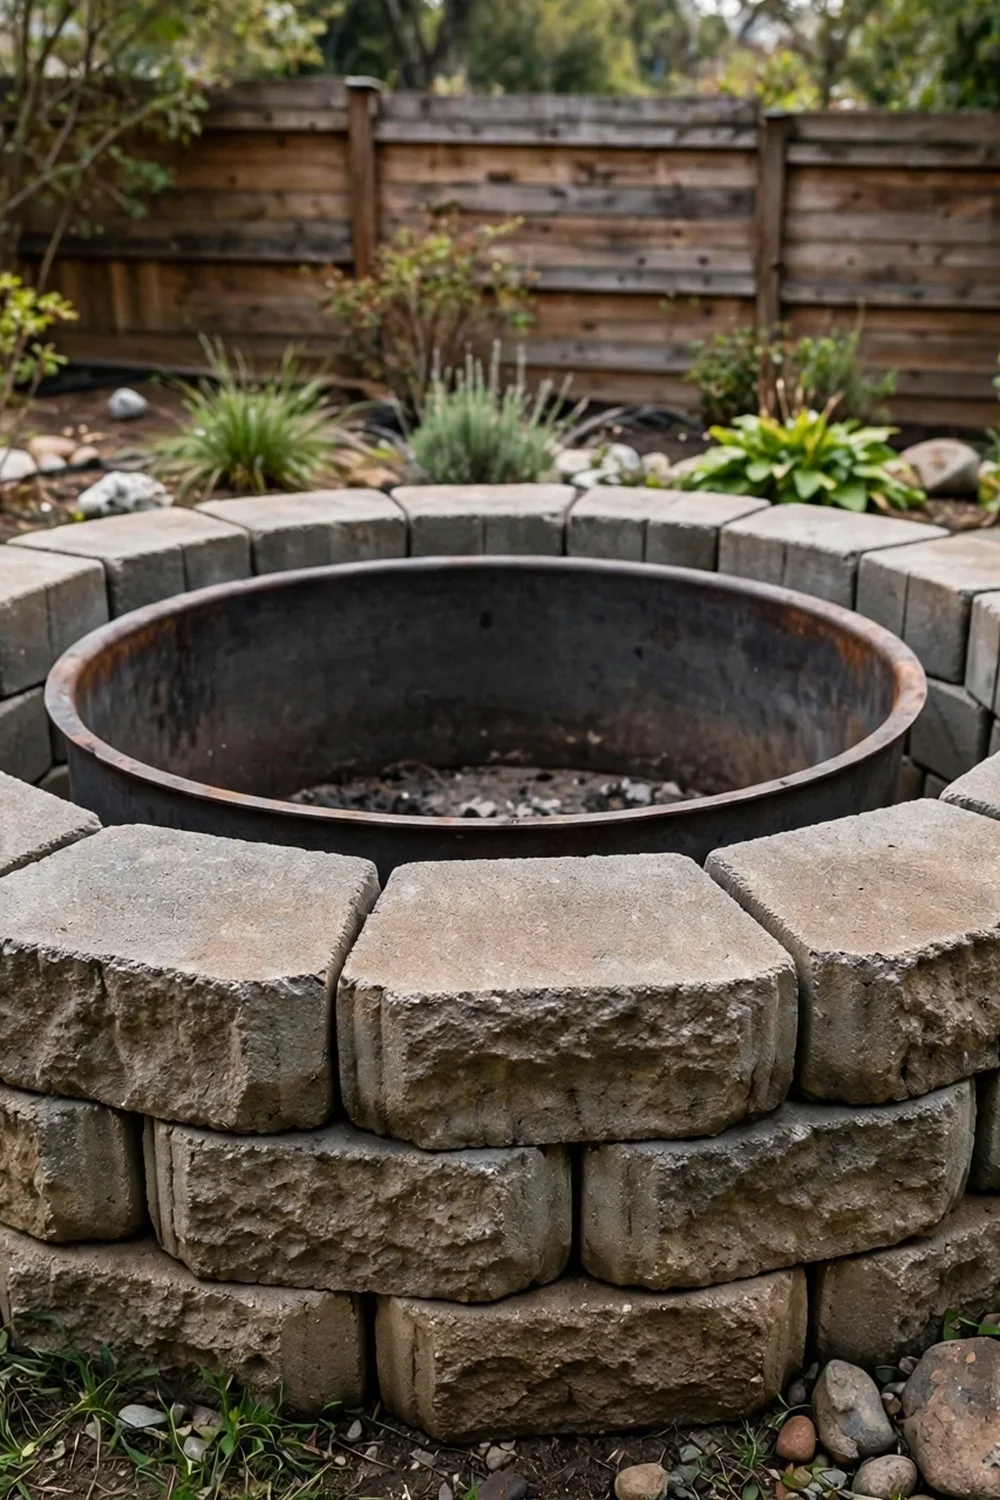
Curved retaining wall blocks from the home center stack into a clean, uniform fire pit in an afternoon. Three courses of blocks plus a steel fire ring insert give you a tidy 36-inch pit that looks store-bought. The blocks are cheap, usually $2 to $4 each, and their weight keeps the pit stable without adhesive. Leave small gaps unfilled at the base course so air feeds the fire from below.
Try this: glue the top course with construction adhesive so the cap row never shifts when kids lean on it.
Budget: about $150 to $350. Difficulty: easy.
3. Steel bowl on a gravel pad

A store-bought steel fire bowl on a round gravel pad is the fastest path to your first bonfire. Spread landscape fabric, edge the circle with steel edging, and fill with 3 inches of pea gravel. The gravel pad stops grass fires from stray sparks and gives chairs a level spot. Bowls cost $60 to $200 and last 3 to 5 years before rust wins, so treat the pad as permanent and the bowl as replaceable.
Try this: keep a fitted metal lid or spark screen on hand for windy nights.
Budget: about $120 to $350 total. Difficulty: easy.
4. Sunken conversation pit
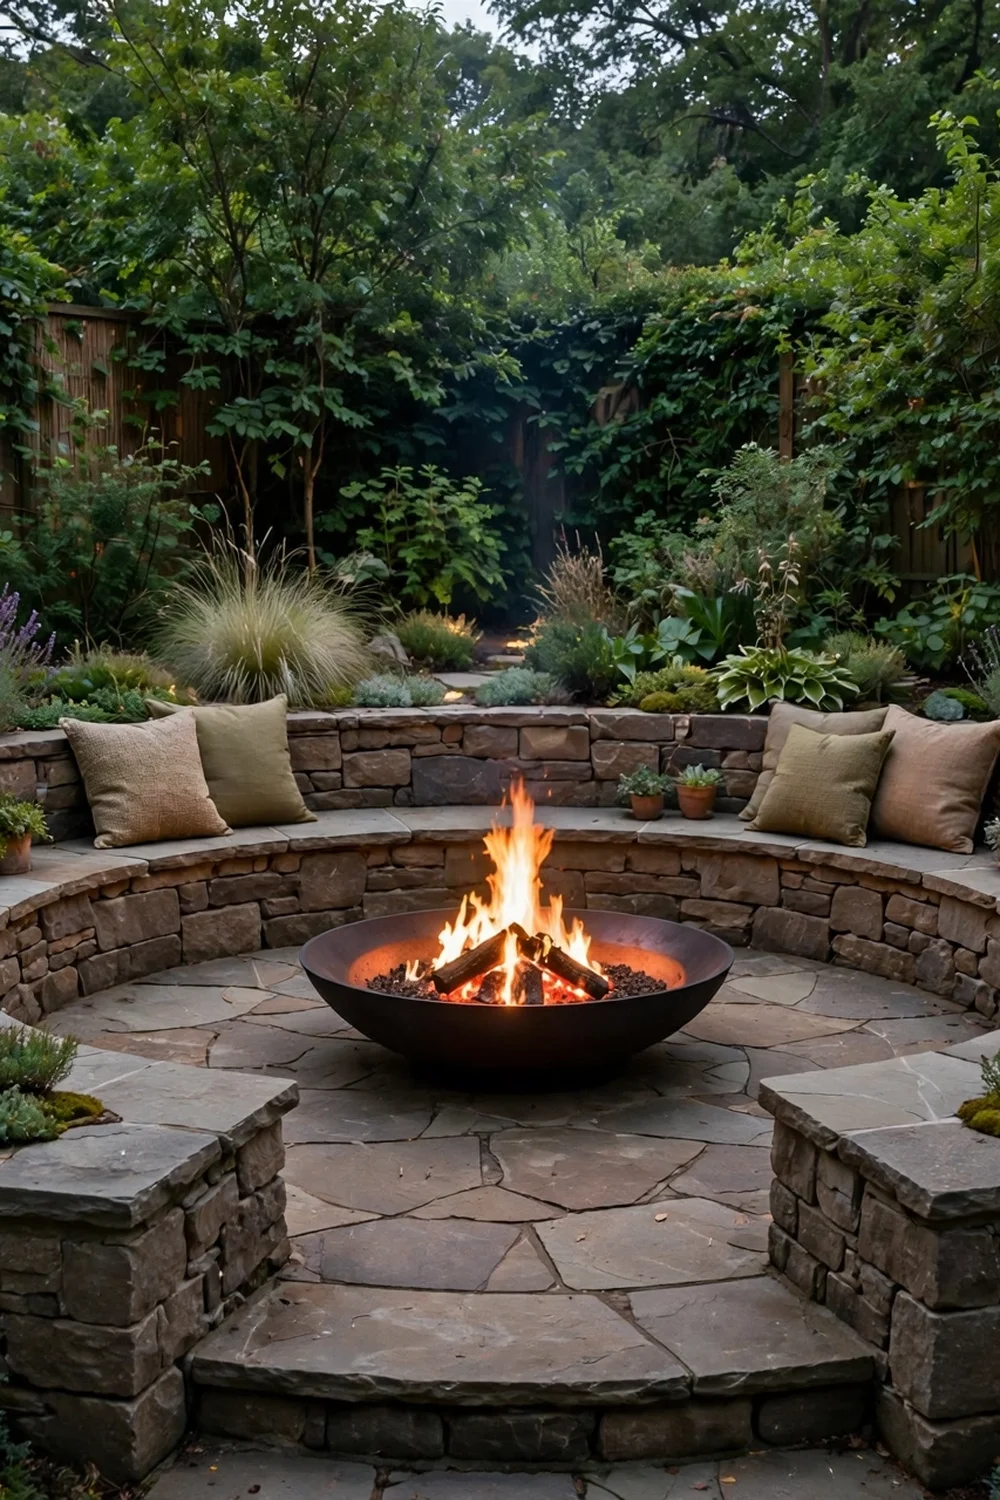
Dig a shallow bowl about 18 inches deep and 10 feet across, line the rim with a low stone seating wall, and set the fire at the center. The sunken design blocks wind, which means steadier flames and less smoke in faces. It feels like a private hideaway even in a flat yard. This one involves real digging, so call 811 before you break ground and check that the spot drains well after rain.
Try this: add a French drain at the lowest point so the pit never turns into a pond.
Budget: about $400 to $1,200. Difficulty: moderate to advanced.
5. Raised corten steel pit

Corten steel pits arrive shiny and weather into a rich rust-brown patina that looks intentional and modern. The raised bowl keeps the fire at knee height, which is comfortable for roasting and easy on backs. They need no paint and no cover, since the patina protects the steel. Place it on pavers or gravel, because the rust runoff can stain concrete for the first few months.
Try this: let the first rain season finish the patina before you set it on a light-colored patio.
Budget: about $300 to $800. Difficulty: easy.
6. Rectangular concrete trough pit

A long, low concrete trough with a linear burner suits modern patios and narrow yards, since seating lines up on two sides instead of circling around. Most versions run on propane or natural gas, so there is no smoke and no ash. A 48-inch trough warms a 10-foot seating zone. Gas installation needs a licensed pro and a gas line, but daily use is as simple as turning a key.
Try this: fill the trough with fire glass in amber tones to hide the burner and reflect the flame.
Budget: about $1,500 to $3,500 installed. Difficulty: advanced.
7. Smokeless wood pit
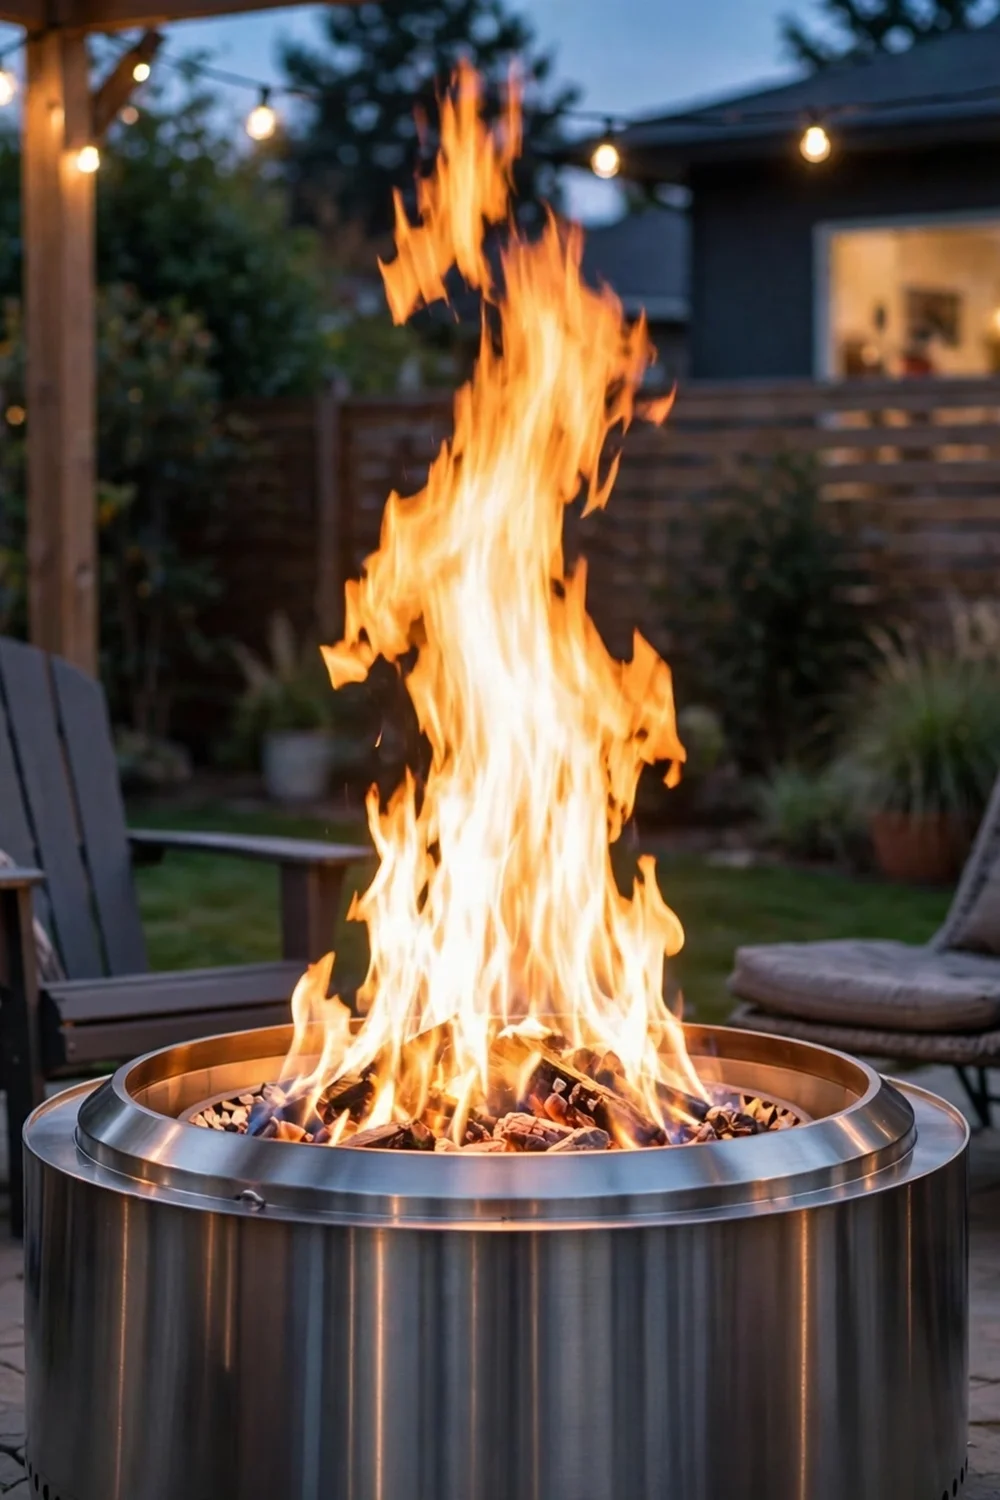
Double-wall smokeless pits reburn the smoke before it leaves the fire, so you get tall flames with barely a wisp. They are the best pick for close neighbors and anyone tired of playing musical chairs to dodge smoke. They burn through wood faster than a standard pit, so keep a good stack nearby. The stainless body stays cooler on the outside than a basic steel bowl, but it is still hot to the touch.
Try this: burn only dry, seasoned hardwood for the cleanest flame and least ash.
Budget: about $200 to $500. Difficulty: easy.
8. Gas fire pit table
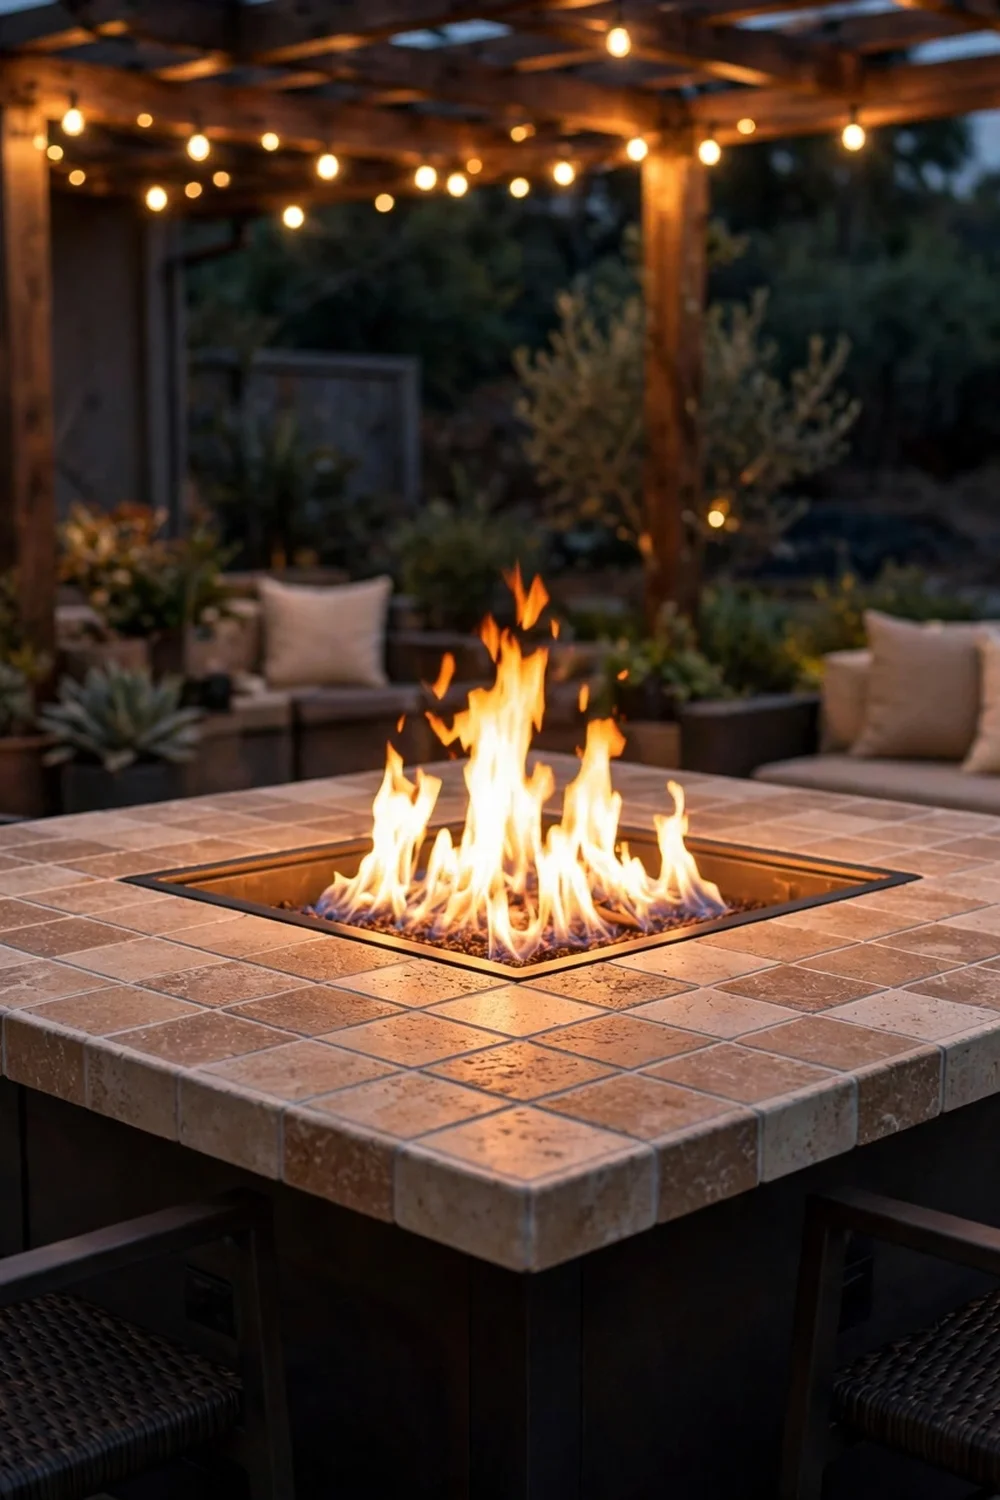
A fire pit table works as a coffee table by day and a fire feature by night. The burner sits in the center of a tile or stone top, leaving the rim free for drinks. Propane tanks hide in the base, and push-button ignition lights it in seconds. It is the right choice for patios under a pergola or near the house, where wood smoke would be a problem. Keep the flame low when drinks are on the table.
Try this: add a fitted cover so the table doubles as a serving surface when the fire is off.
Budget: about $300 to $1,200. Difficulty: easy.
9. Portable propane pit for small yards

Small propane pits put out real warmth with zero installation, which makes them ideal for renters and tiny patios. They run off a standard 1-pound canister or a 20-pound tank with an adapter, and most include a carry handle. Check your lease and local rules first, since some apartments ban open flames of any kind. When in doubt, a tabletop gel-fuel bowl gives the glow with even fewer restrictions.
Try this: store a spare canister so the fire never dies mid-evening.
Budget: about $80 to $250. Difficulty: easy.
10. Brick in-ground pit

Set firebrick flush with a paver patio for a pit that looks built into the landscape. Dig 12 inches down, lay a gravel base, and stack firebrick on edge for the walls. The flush rim means no tripping edge and easy mowing right up to the patio. Use real firebrick, not standard house brick, since regular brick can crack or pop under repeated heat. A steel ring inside the brick adds a clean edge and protects the mortar.
Try this: run a paver soldier course around the pit opening for a crisp finished border.
Budget: about $250 to $600. Difficulty: moderate.
11. Fire pit with built-in stone benches
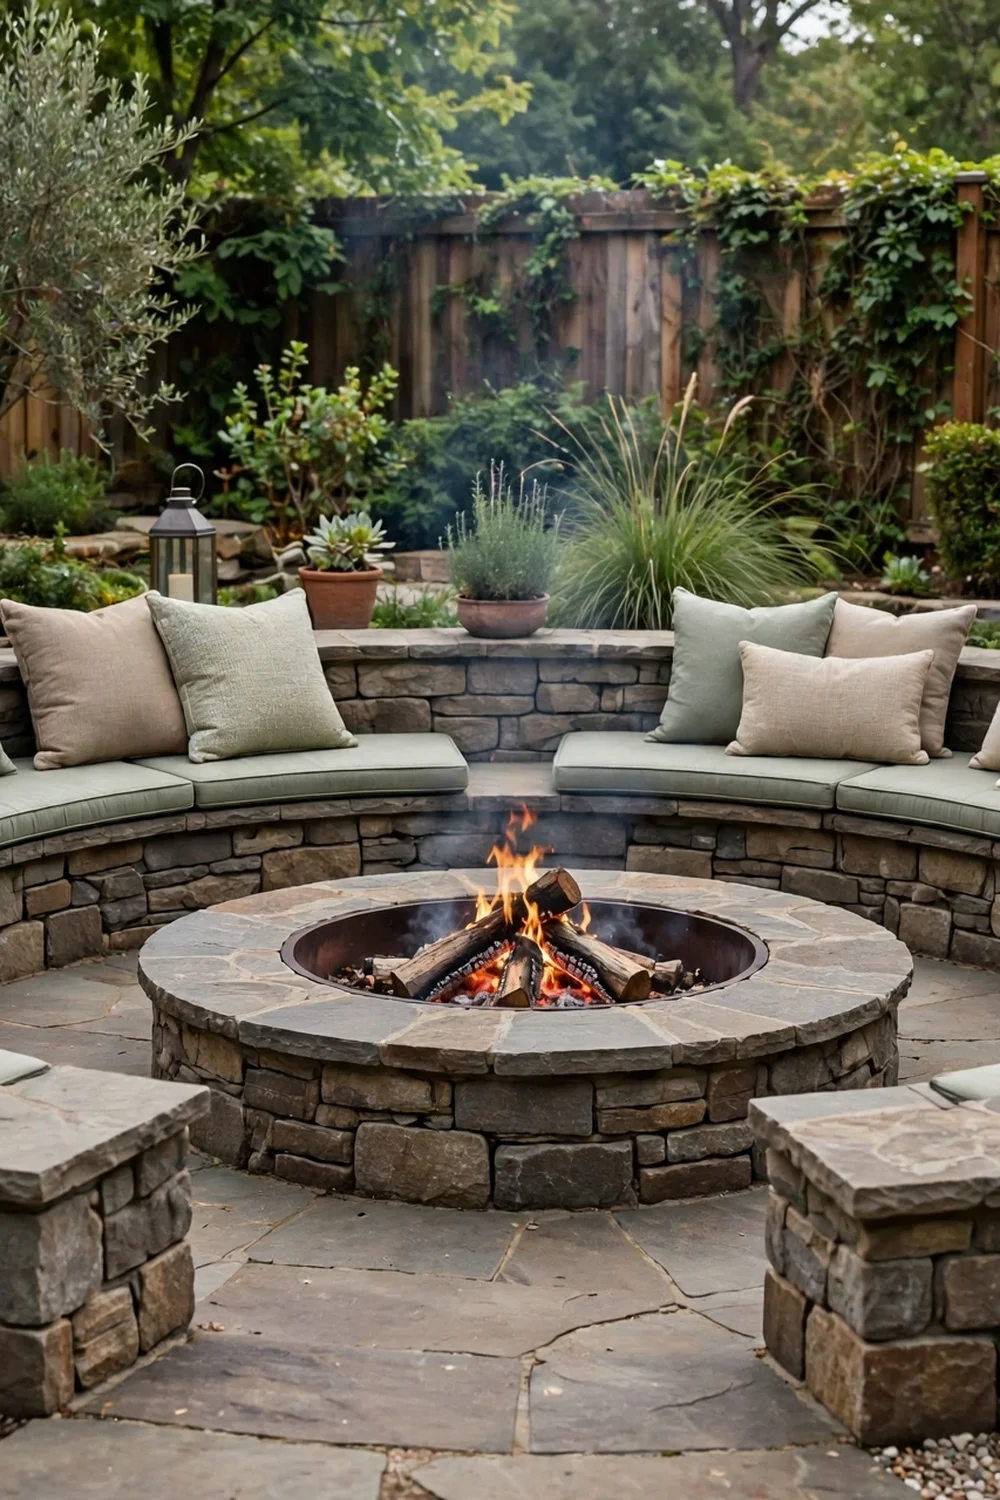
Curve low stone benches around three sides of the pit so seating is always ready and never blows away. A 16-inch seat height with an 18-inch depth fits most adults comfortably. Top the stone with wood or composite caps for a warmer seat. Built-ins cost more upfront than chairs but end the endless hunt for enough seating when friends drop by. Leave one side open for wheelchair access and for tending the fire.
Try this: add outdoor cushions in a washable fabric to soften the stone.
Budget: about $800 to $2,500. Difficulty: moderate to advanced.
12. Adirondack circle around the flames
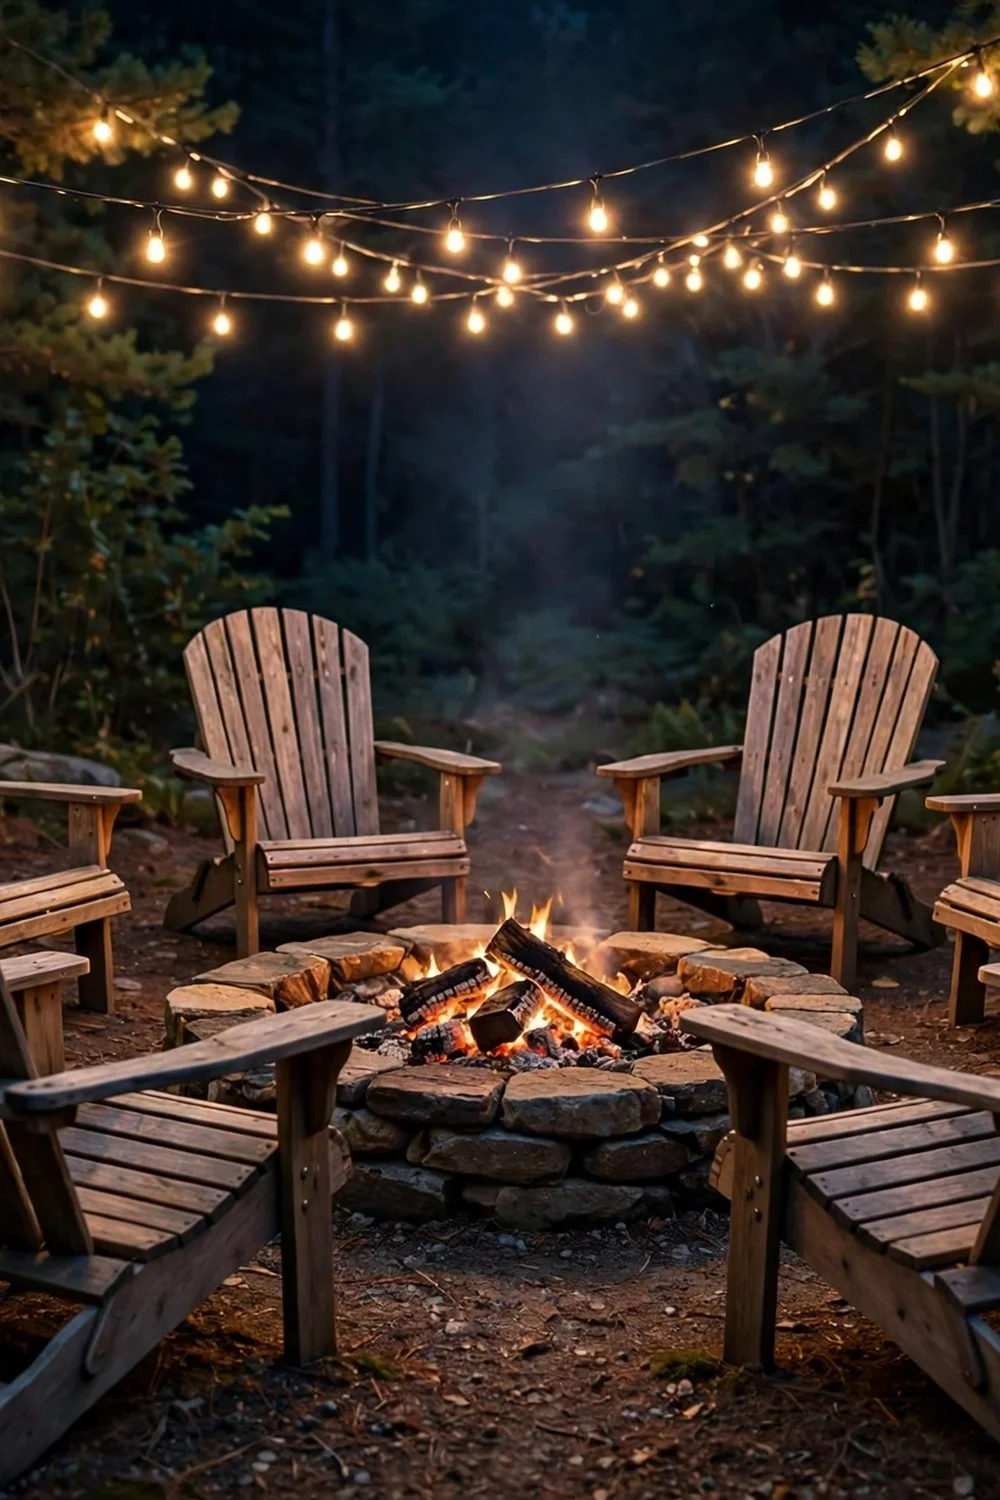
Four to six Adirondack chairs in a loose circle is the classic bonfire setup for a reason. The wide arms hold drinks, the reclined seat invites long talks, and polywood versions never need staining. Space chairs about 4 feet from the pit edge so faces stay comfortable. Mix two chair colors, like navy and white, for a look that photographs well and hides wear.
Try this: anchor each chair with a short piece of rebar through the back leg on windy sites.
Budget: about $100 to $300 per chair. Difficulty: easy.
13. Swing bench facing the fire

Hang a porch-style swing bench from a sturdy A-frame so two people can sway by the fire. The gentle motion makes it the most fought-over seat in the yard. The frame must be built for dynamic load, so use 4 by 4 posts set in concrete and hangers rated for at least 500 pounds per pair. Keep the swing 6 to 8 feet from the flames so sparks never reach the chains or cushions.
Try this: add a weatherproof outdoor cushion set made for swings, not indoor throw pillows.
Budget: about $250 to $700. Difficulty: moderate.
14. Gravel patio with string lights

Give the pit a defined home with a round gravel patio and string lights overhead. The gravel drains fast, costs a fraction of pavers, and forgives uneven ground. Edge it with steel or stone, lay fabric underneath, and spread 3 to 4 inches of compacted gravel. Hang lights from shepherd’s hooks or posts around the edge for a festival feel. This is the best budget upgrade for a pit that currently sits on patchy grass.
Try this: use warm-white LED strands on a dusk-to-dawn timer so the patio lights itself.
Budget: about $200 to $600. Difficulty: easy to moderate.
15. Lounge chairs and outdoor rug zone

Treat the fire pit like an outdoor living room with deep lounge chairs and a big outdoor rug. The rug defines the space and softens a plain concrete pad, while the low chairs keep the fire at eye level. Choose a rug made for outdoors in a dark pattern that hides ash and soot. Shake it out monthly and hose it down each season. This setup turns the pit from a fire spot into the yard’s main hangout.
Try this: pick a rug at least 8 by 10 feet so all chair legs sit on it.
Budget: about $150 to $500 for rug and chairs. Difficulty: easy.
16. Cooking grate pit for campfire meals
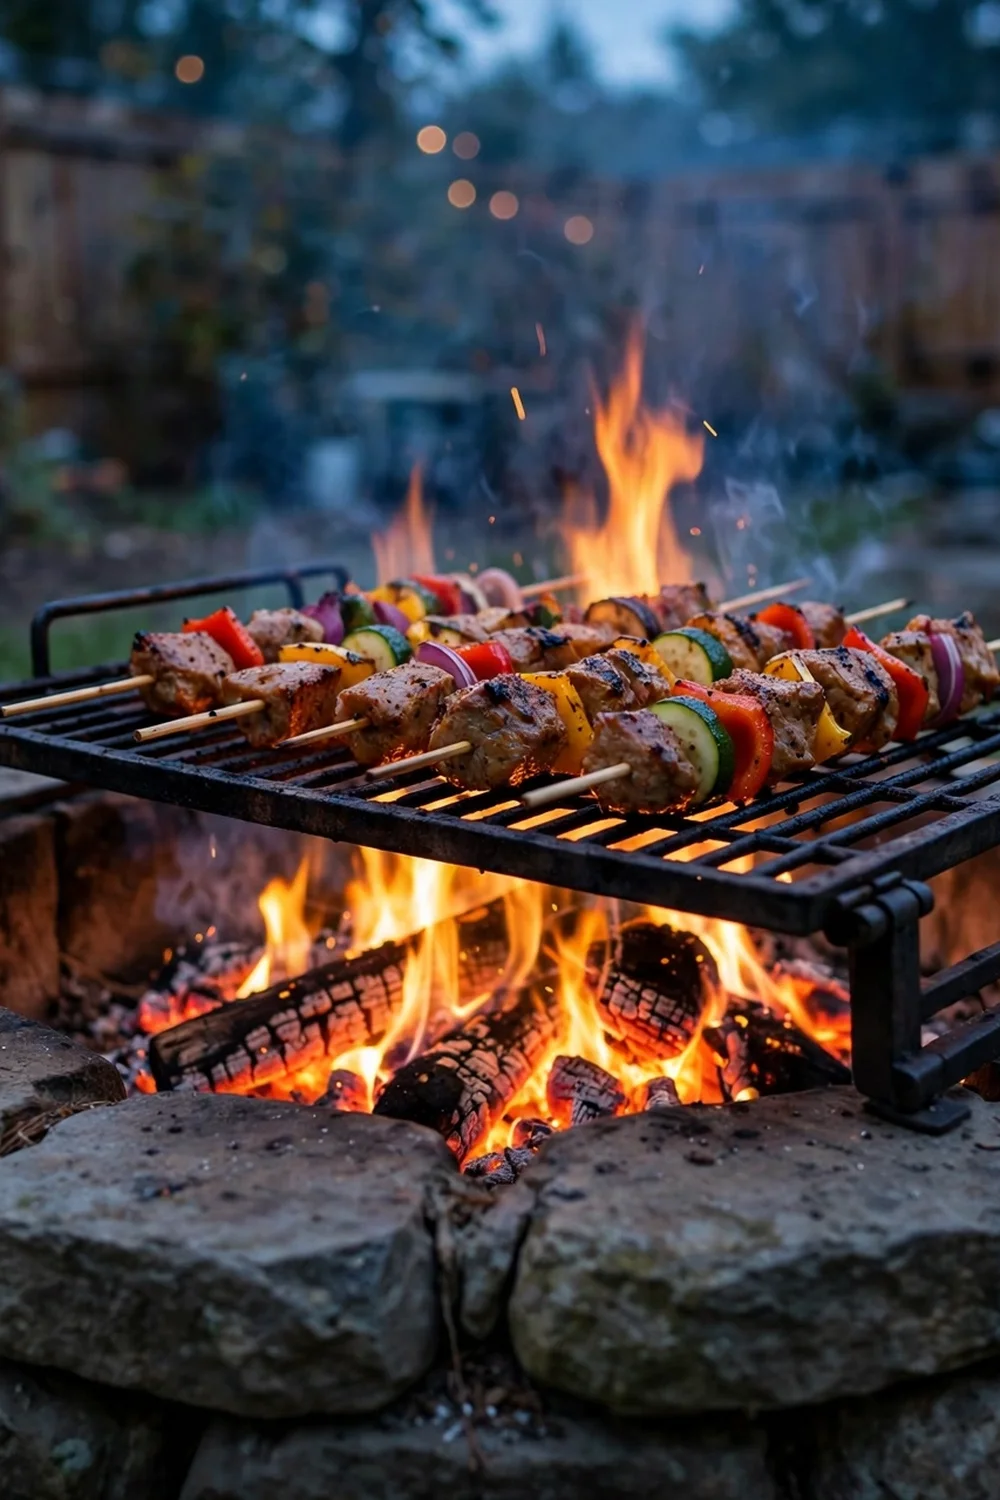
Add a hinged cooking grate over the pit and it becomes an outdoor kitchen for hot dogs, skewers, and foil-packet dinners. A swing-away grate lets you tend the fire without lifting hot metal. Keep a separate small fire on one side for cooking coals and the main blaze on the other, so food never sits over roaring flames. Cast iron grates season up nicely and last for years with a coat of oil after each use.
Try this: keep long-handled tongs and heat-proof gloves in a nearby storage box.
Budget: about $40 to $150 for the grate. Difficulty: easy.
17. Tabletop fire bowl for patios
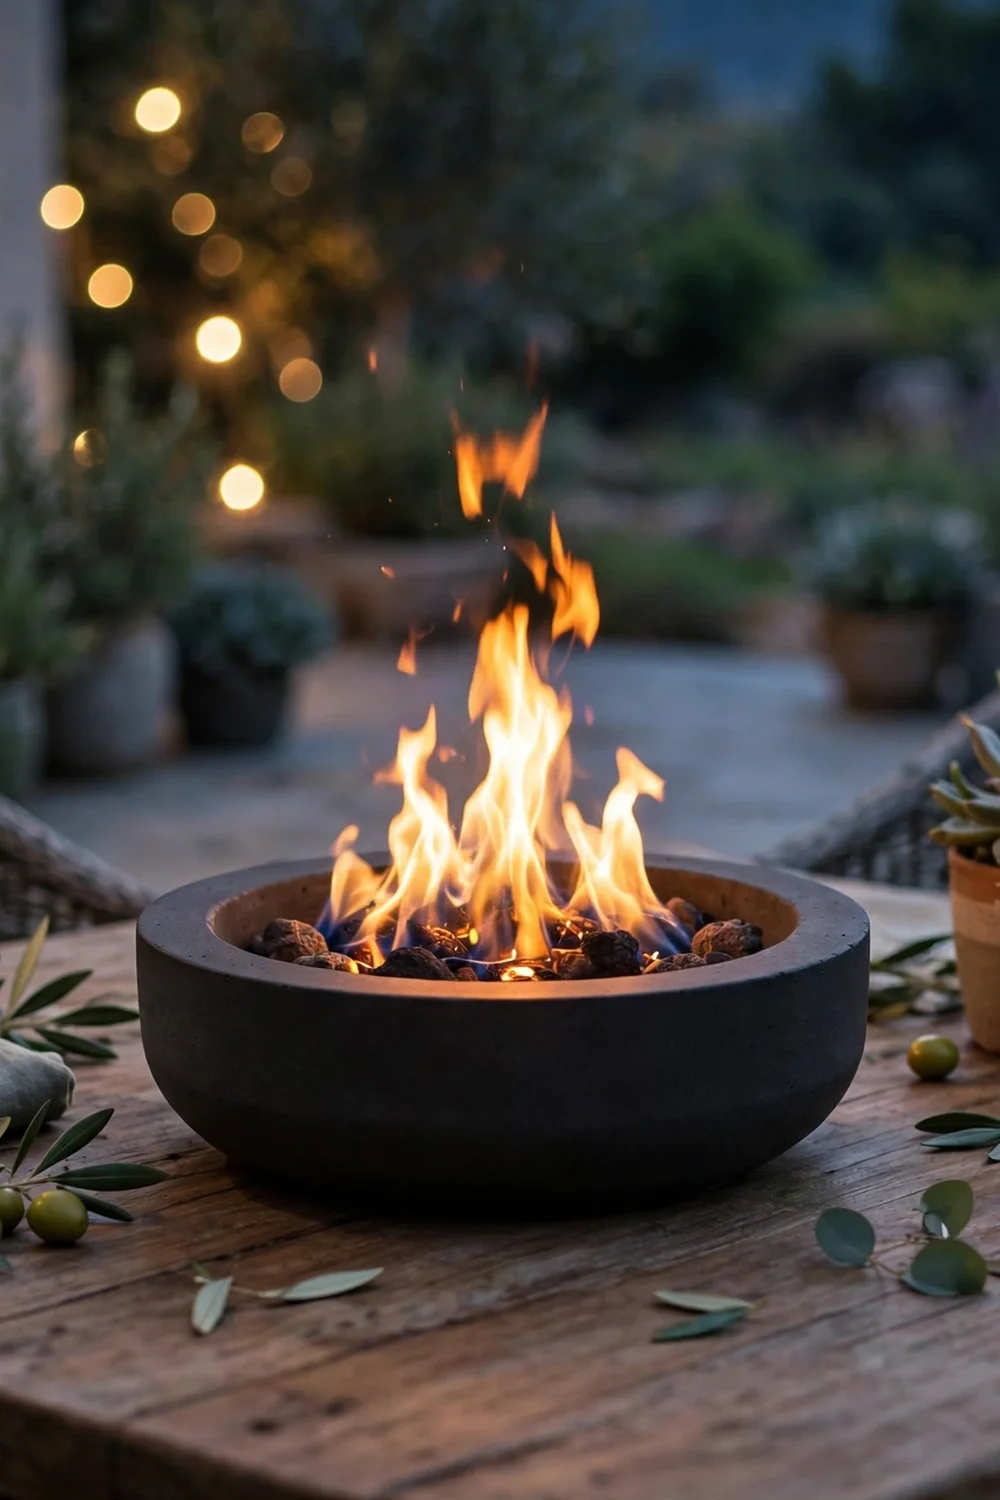
A tabletop fire bowl brings the bonfire feel to a dining table without a full pit. Most burn clean gel fuel or bioethanol, so there is no smoke and no ash on the table. They put out ambiance, not real warmth, so think of them as a candle upgrade rather than a heater. Never leave one burning unattended, and keep the fuel canisters stored away from the table when not in use.
Try this: surround the bowl with small succulents for a centerpiece that looks styled even unlit.
Budget: about $30 to $120. Difficulty: easy.
18. Pit with a log storage nook

Build a small roofed nook next to the pit to keep firewood dry and within reach. A simple 4-foot-wide rack with a slanted metal roof holds a weekend’s worth of wood and looks tidy. Dry wood lights faster, burns cleaner, and throws less smoke, so the nook pays for itself in better fires. Stack bark-side up, leave air gaps between rows, and keep the pile at least 10 feet from the flames.
Try this: toss a moisture meter in the nook and only burn wood reading under 20 percent.
Budget: about $80 to $250. Difficulty: easy.
19. Two-zone pit with prep counter

Add a low stone or concrete counter on one side of the pit for drinks, s’mores supplies, and serving dishes. The counter keeps food off laps and gives the cook a staging area. A 6-foot counter at bar height with two stools turns the pit into a serving station during parties. Build it from the same stone as the pit so the whole area reads as one design.
Try this: add a small trash bin with a lid under the counter for easy cleanup.
Budget: about $300 to $800. Difficulty: moderate.
20. Wind screen for open yards
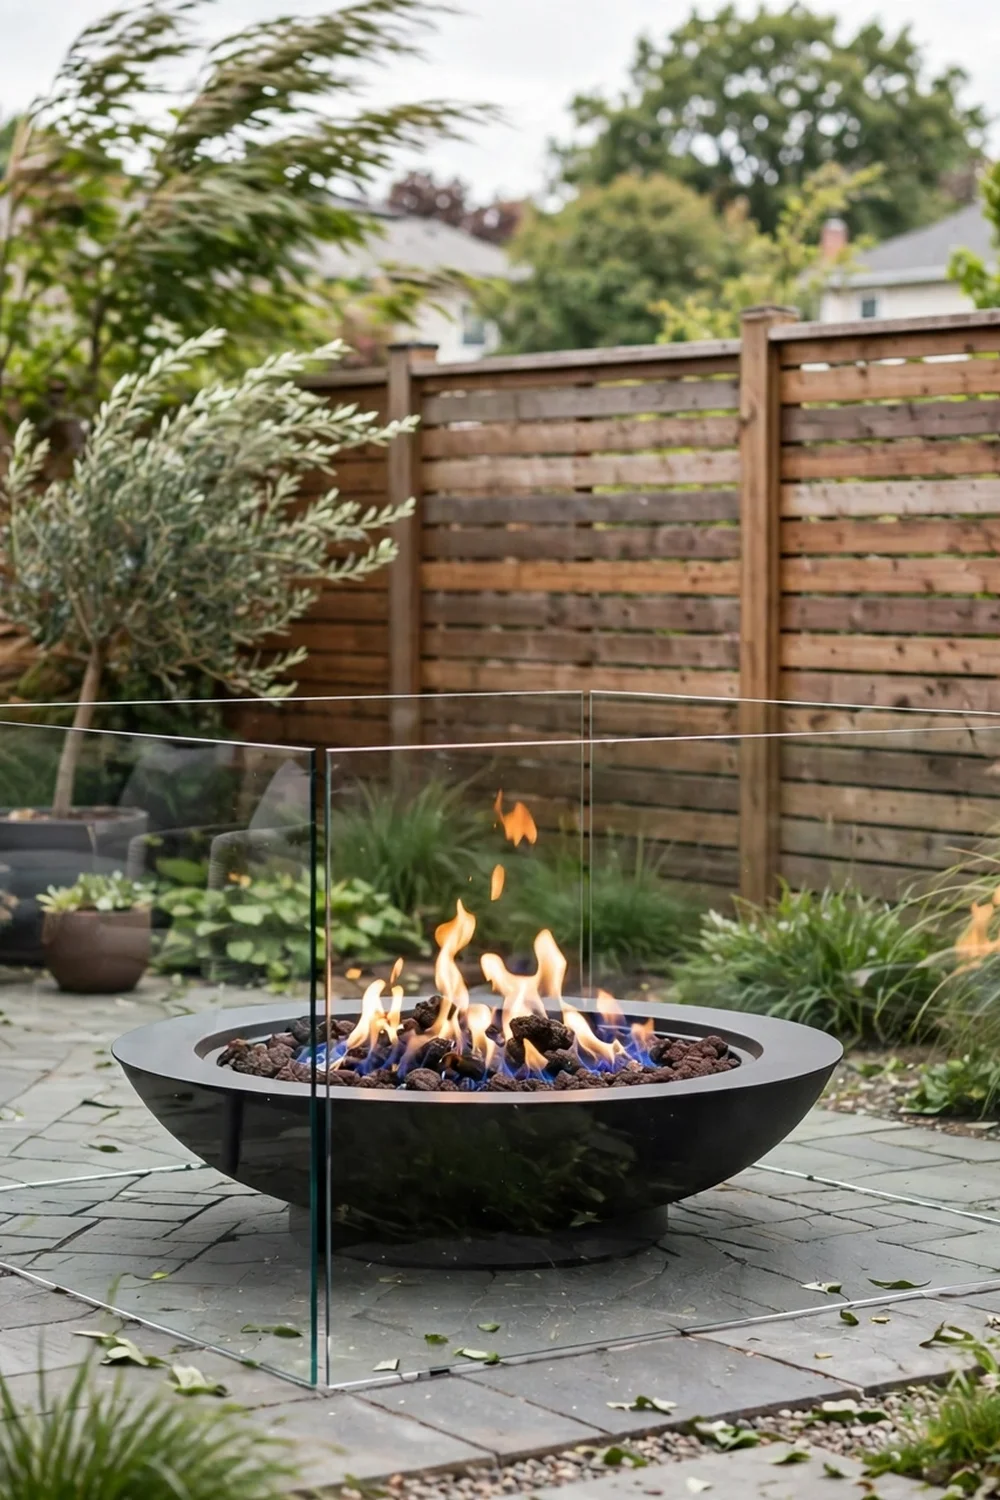
A low tempered-glass wind screen around a gas pit blocks gusts that flatten the flame and blow heat away. Screens sit in a weighted base or bolt to the pit rim and stand about 6 inches above the burner. They also keep curious hands a step farther from the flame. This is the fix for exposed yards and rooftop patios where wind ruins every fire night. Never use a glass screen on a wood fire, since the heat and sparks can damage it.
Try this: choose a screen with a small gap at the base so combustion air still feeds the burner.
Budget: about $80 to $250. Difficulty: easy.
Fire pit styles compared
Wood and gas each have loyal fans. This table lines up the main options so you can pick the fire that fits your yard and your patience.
How to pick the right fire pit for your yard
Match the pit to three things: your space, your fuel tolerance, and your local rules. A big wood pit needs 10 to 20 feet of clearance in every direction, which rules out small patios. Gas pits need less clearance and no wood storage, but they need a pro for the gas line if you go with natural gas. Check your city or county burn rules before you buy anything, since many urban areas ban wood fires entirely or require a permit.
Think about how you will actually use it. Weekly s’mores with kids favor a simple wood ring with a cooking grate. Quiet evenings for two favor a gas table you can light in seconds. If you want the full bonfire setup, these DIY fire pit landscaping steps walk through grading and edging the area around the pit. For a bigger covered gathering space, these outdoor pavilion with fireplace ideas show how to combine shelter and flame. And if the pit will sit on a paver patio, these concrete paver ideas help you pick a patio pattern that frames the fire nicely.
Fire pit safety rules every family should follow
Fire is the whole point, so treat safety as part of the design. Keep open flames at least 10 feet from the house, wooden fences, sheds, and low tree branches, and more like 20 feet for a true bonfire-size blaze. Never build a fire pit on a wooden deck unless it is a gas unit rated for that use, and even then keep a non-combustible pad underneath. The National Fire Protection Association’s home fire safety guidance covers outdoor fire risks in detail and is worth a read before your first burn.
Before digging any in-ground pit, call 811 a few business days ahead so utilities can mark buried lines. The free 811 service works in every state. Keep fires small and manageable, never use gasoline or lighter fluid to start them, and keep a hose, bucket of water, or extinguisher within arm’s reach. Use battery or LED candles, never real flame, near dried decor, curtains, or mulch beds. When the night ends, drown the coals, stir the ashes, and feel for heat before you walk away.
Frequently asked questions
How far should a fire pit be from the house?
Keep wood-burning pits at least 10 feet from the house, and 20 feet or more for large bonfire-style pits. Measure from the edge of the flames, not the edge of the pit, and account for overhanging branches and wooden fences. Gas pits can sit closer, but always follow the manufacturer’s clearance numbers in the manual.
Can I put a fire pit on a wooden deck?
Wood-burning pits should never sit on a wooden deck, since sparks and radiant heat can ignite the boards. Some gas fire tables are rated for deck use with a heat shield or non-combustible pad underneath. Check the product manual and your local fire code before placing any flame on a deck.
Is wood or gas better for a backyard fire pit?
Wood gives the crackle, the smell, and the cooking coals, but it makes smoke and ash and needs dry storage. Gas lights instantly, burns clean, and shuts off with a knob, but it costs more to install and never quite matches a real wood fire. Pick wood for the full campfire experience and gas for convenience and clean air.
Do I need a permit for a backyard fire pit?
It depends on where you live. Many cities allow small recreational fires without a permit but ban them during dry or windy conditions, while others require a permit or ban wood burning outright. Call your local fire department or check the city website before you build, since fines for illegal burns are common.
How do I keep kids safe around a fire pit?
Set a 3-foot kid-free circle around the pit that children learn early, and never leave the fire unattended while kids are outside. Use a spark screen on wood fires, keep roasting sticks long, and teach kids to stop, drop, and roll. Store matches and lighters where kids cannot reach them.
How do I put out a bonfire completely?
Drown the fire with water, stir the ashes with a shovel, then drown it again. Keep going until the ashes are cool to the touch. A fire that looks out can hold heat in buried coals for hours, so never leave the pit until everything is cold.
Our Saturday-build stone ring is still going strong years later, and it gets more use than any other corner of the yard. Pick the style that fits your space, build the safety habits in from day one, and the fire pit will quietly become the place where your family ends every good day.


