A watercolor set can sit on a shelf for weeks when every flower you try turns into a brown puddle. My first set sat untouched for a month because I kept loading the brush with too much paint and scrubbing the paper until the colors went muddy. The fix was smaller than I expected: one flower at a time, the lightest wash first, and a pause while each layer dried.
This guide gives you 15 step by step watercolor flowers tutorials for beginners, one flower per tutorial, with the brush size, the palette colors, and the drying cues spelled out. Each tutorial stands alone, so you can start with the easiest flower and skip the harder ones until your brush feels steady.
Quick takeaways
- Paint one flower at a time and start with the lightest wash first.
- Wet-on-wet gives soft petals, wet-on-dry gives crisp detail.
- Let each layer dry fully before you glaze over it.
- Leave white paper unpainted wherever you want a highlight.
- One round brush and 6 colors cover all 15 tutorials in this guide.
Supplies you actually need
You need less than the craft aisle suggests. Cold press watercolor paper at 140 lb holds wet washes without buckling, and a size 6 round brush with a fine tip handles most petals. Add a size 2 round brush for centers and a rigger brush for stems and tendrils. A small pan set with rose pink, crimson, cadmium yellow, ultramarine blue, dioxazine purple, and sap green mixes every color in these tutorials.
Keep two jars of water on the table, one for rinsing and one for mixing clean washes. Painter tape holds the paper flat, paper towels lift mistakes, and a hairdryer on low heat shortens drying time between layers. Tape the paper down before you start so a wet wash does not curl the edges.
1. Spiral rose watercolor tutorial
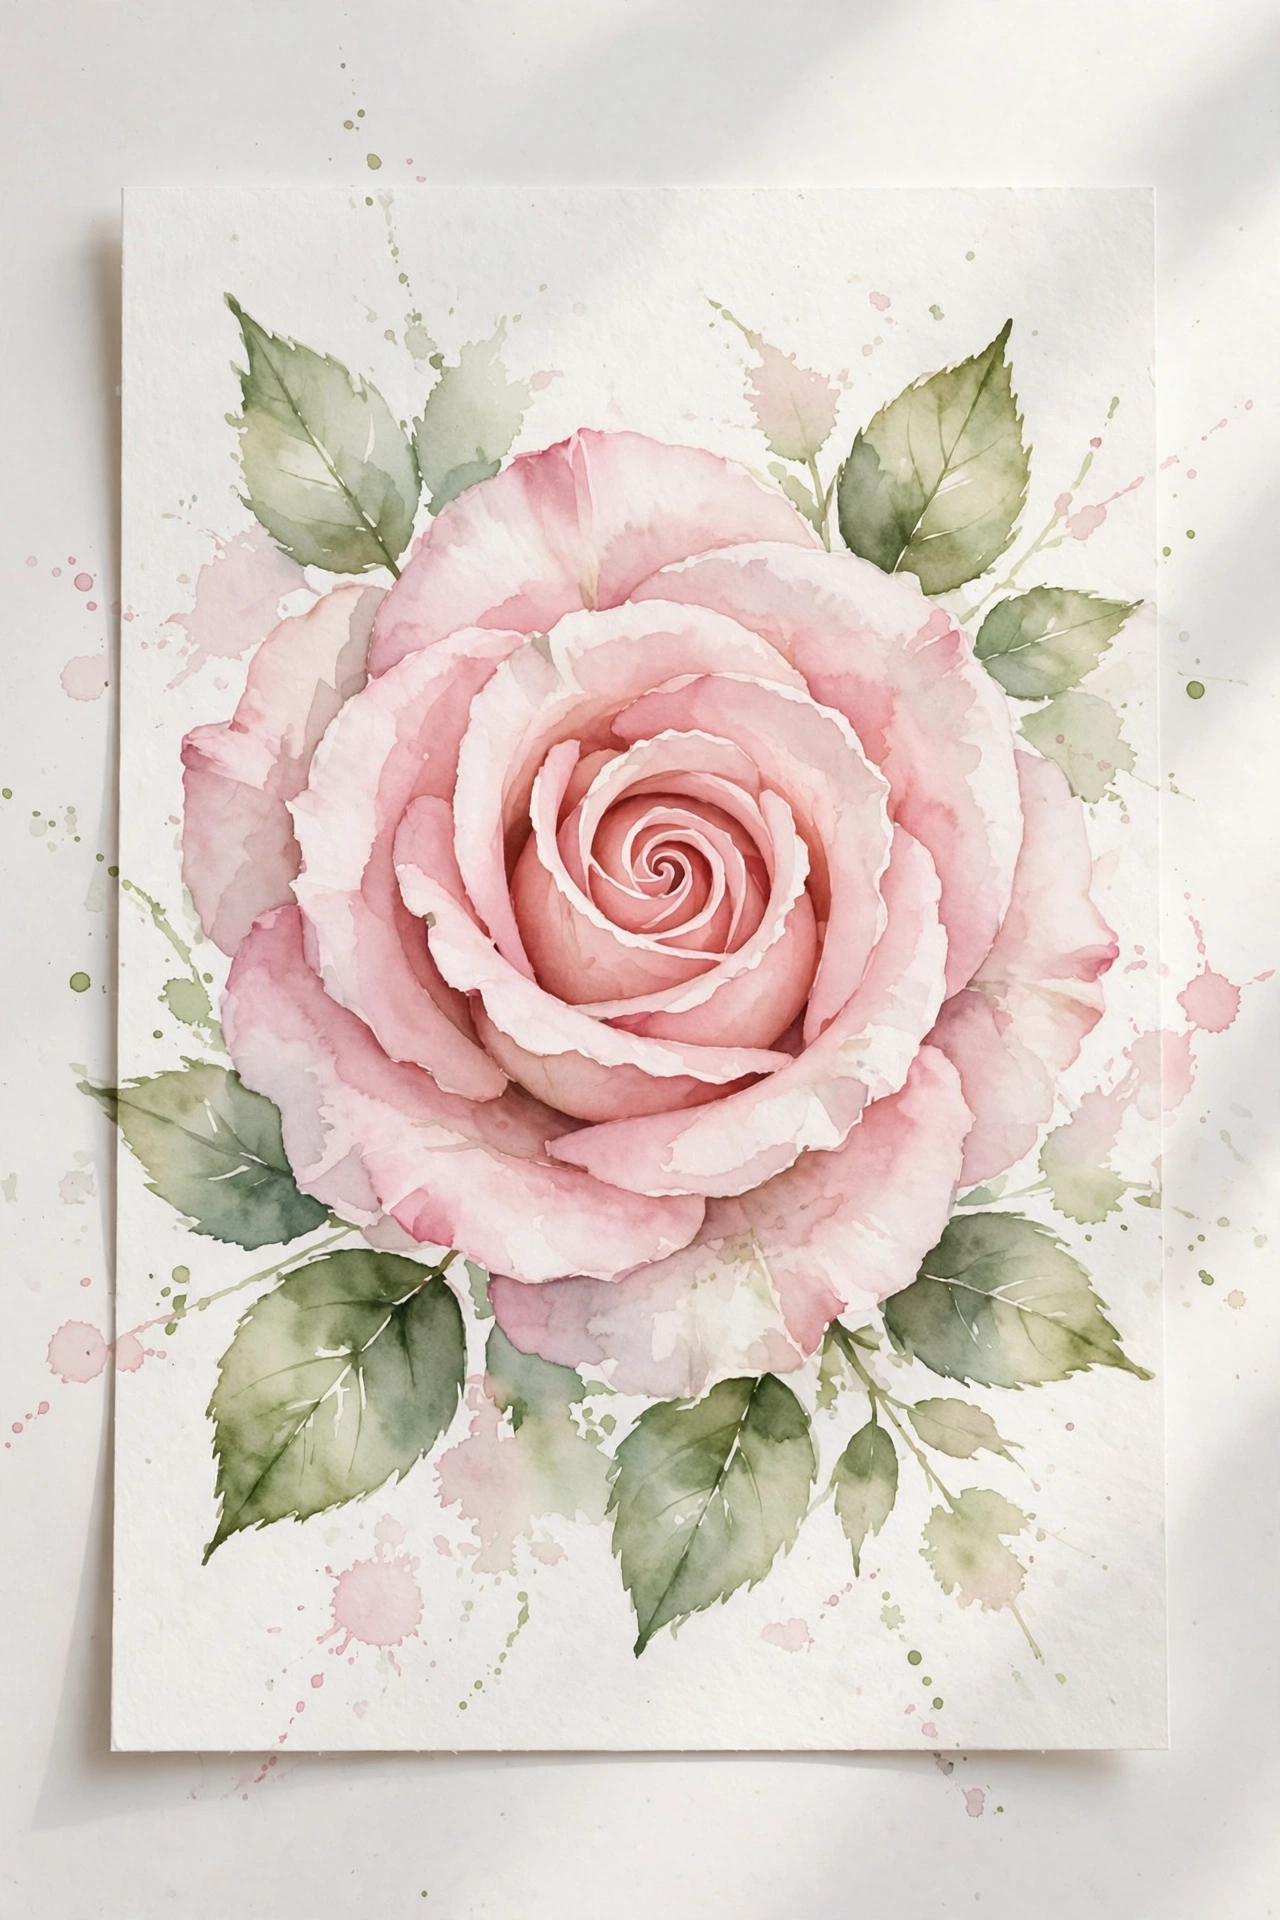
Sketch a loose spiral as your petal guide, keeping the pencil lines faint. Wet the center with clean water and drop in diluted rose pink, then build the outer petals with less water and more pigment so each ring reads darker than the last. Let each petal dry slightly before you touch its neighbor, or the rings will bleed into one blob. Shade the inner layers with crimson and paint flowing S-shaped leaves in sap green.
Try this: paint three tiny roses on scrap paper first to test your pink mix.
Cost: $ | Difficulty: Easy | Time: 30 minutes.
2. Simple lavender sprigs watercolor tutorial
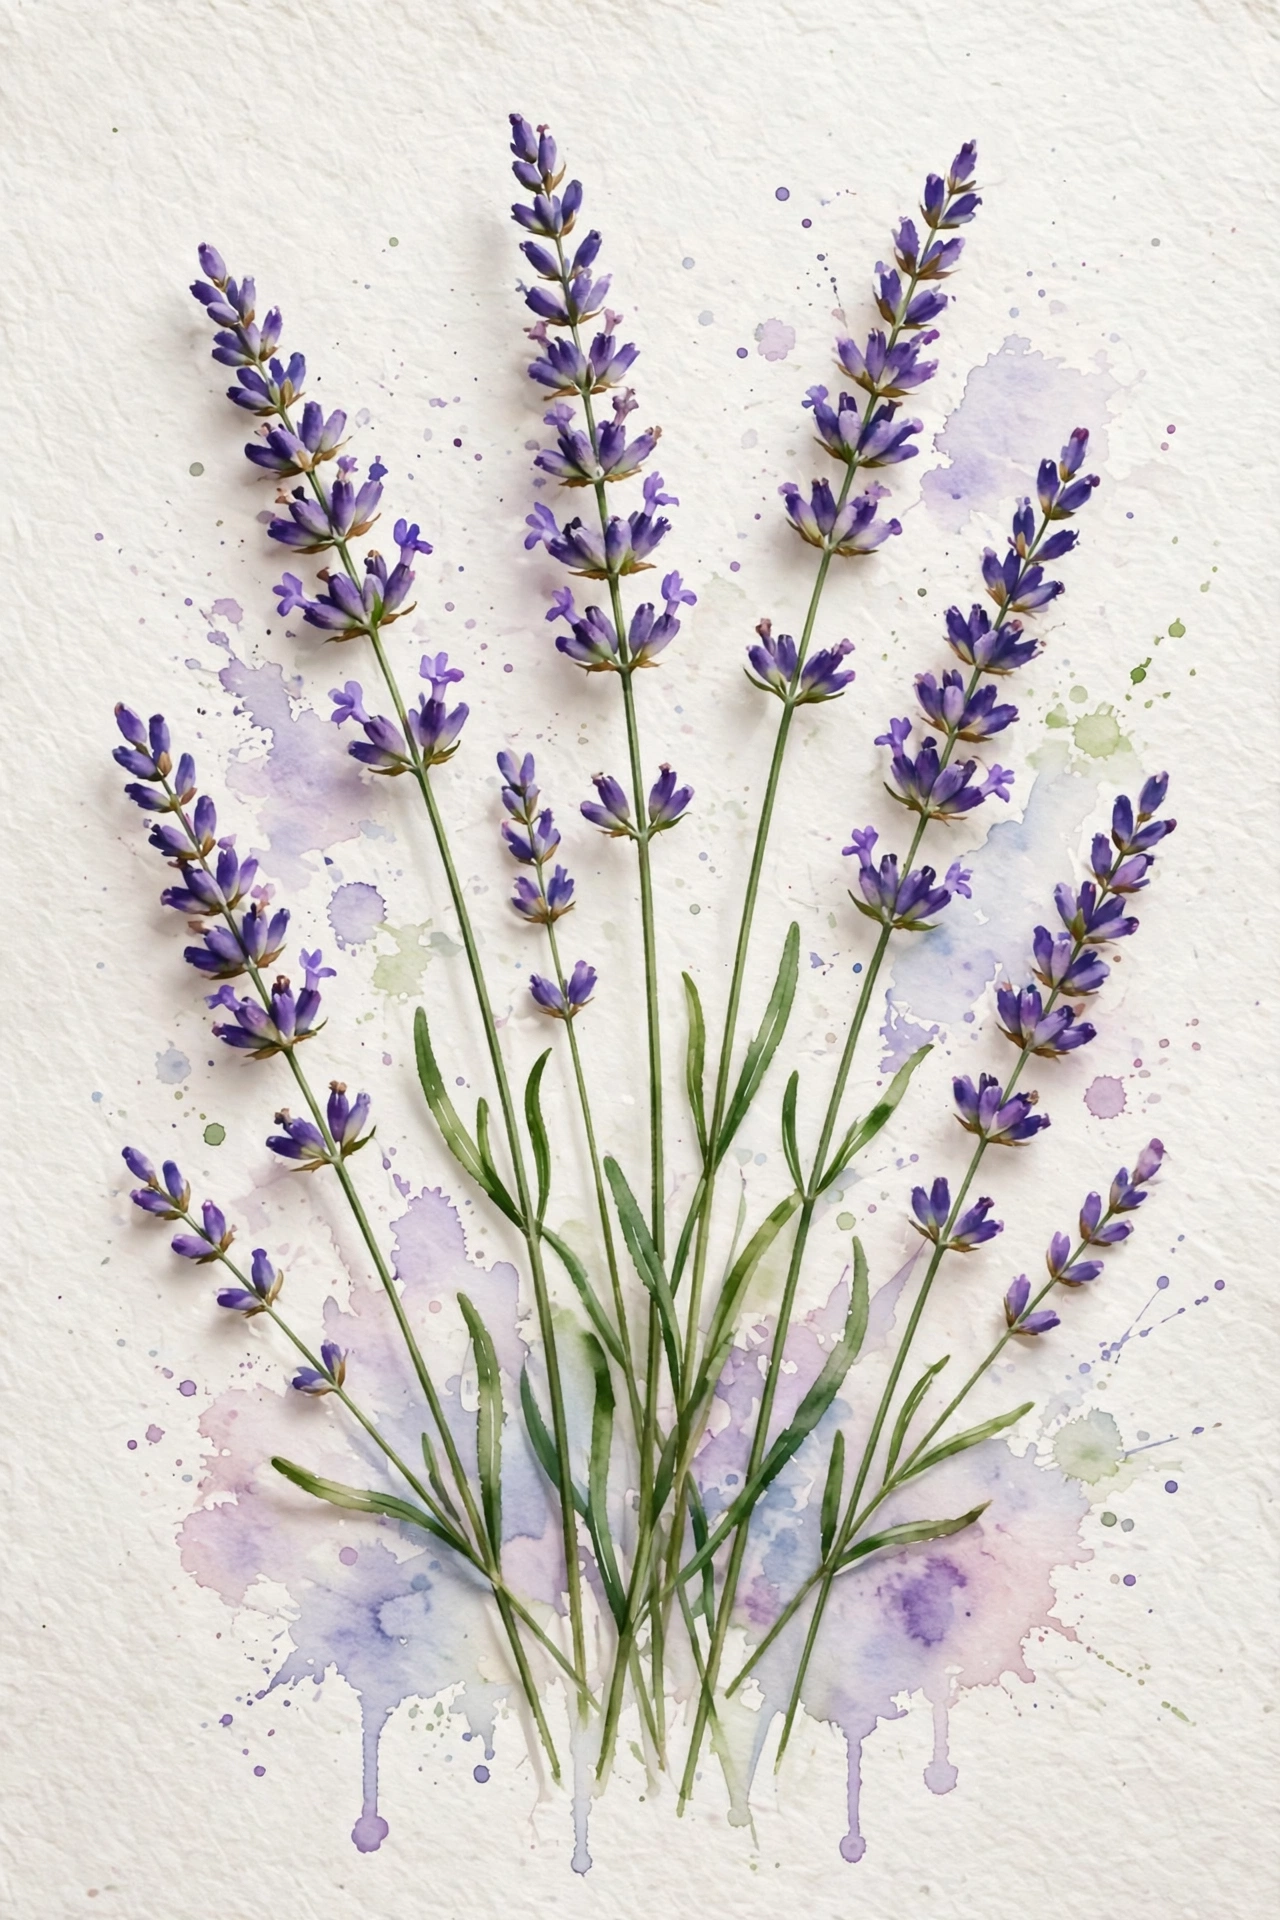
Paint a thin vertical stem in sap green with the tip of a size 2 round brush. Dot small lavender buds from the top of the stem downward, pressing lightly so each bud stays separate. Blend dioxazine purple with a touch of ultramarine blue for color variation across the buds, then flick thin leaves outward from the stem with quick upward strokes. The whole sprig takes one sitting and forgives wobbly dots, which is why it suits a first session.
Try this: hold the brush upright like a pencil for fine, controlled dots.
Cost: $ | Difficulty: Easy | Time: 20 minutes.
3. Daisy watercolor tutorial with negative space

Draw the daisy shape lightly, then paint the background wash around the petals instead of painting the petals themselves. The white paper left behind becomes the petals, which is the whole trick of negative painting. Use a soft green and blue wash for the background, keeping it pale so the white shape stays bright. Once the wash dries, paint a warm yellow center with a few darker dots for texture.
Try this: squint at your paper to check the white petal shape before the wash dries.
Cost: $ | Difficulty: Easy | Time: 25 minutes.
4. Sunflower head watercolor tutorial

Start with the brown center, dabbing burnt sienna and dark brown in short strokes to suggest seeds. Paint the golden petals radiating outward with a wet brush, softening the outer edges so they look painterly rather than cut out. Leave a thin gap of white paper between some petals for light. Add a short green stem and one curved leaf after the flower dries. Sunflowers forgive uneven petals because real ones are rarely even.
Try this: paint the center first so the petals have a target to radiate from.
Cost: $ | Difficulty: Easy | Time: 30 minutes.
5. Layered peony watercolor tutorial
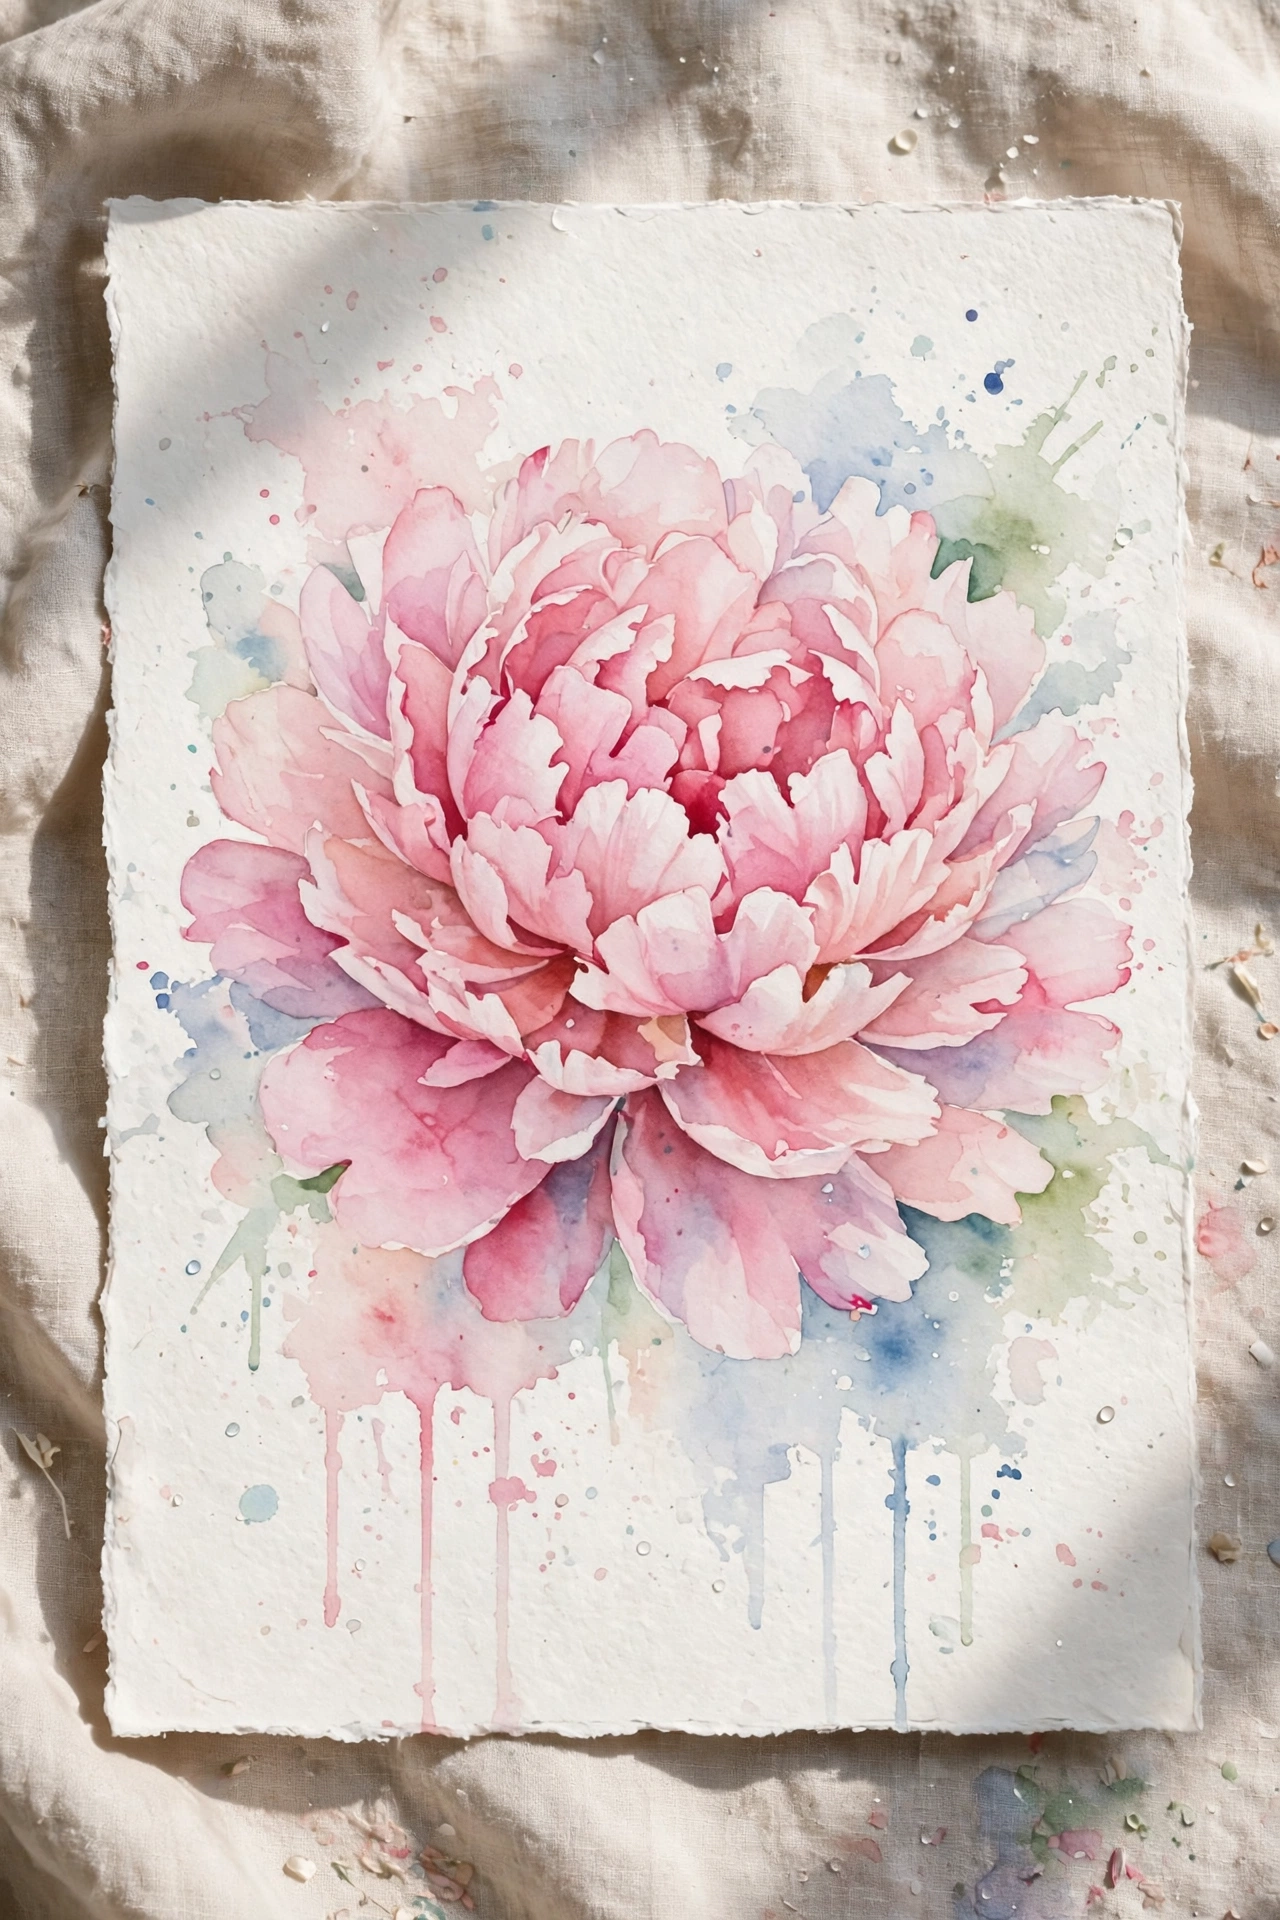
Work from the outer petals inward, which keeps the center loose and light instead of overworked. Lay a pale opera rose wash for the outer ring and let it dry fully. Add a second ring of petals with a deeper rose mix, then a third, smaller ring near the center, drying between each ring. The rings read as depth without any single petal needing detail. Finish with a few darker strokes at the petal bases and two soft green leaves.
Try this: use a hairdryer on low heat between rings to keep the session moving.
Cost: $$ | Difficulty: Medium | Time: 45 minutes.
6. Tulip buds watercolor tutorial

Wet one cup-shaped petal area with clean water, then drop in your tulip color and watch it spread inside the wet shape. Tulips suit wet-on-wet painting because their petals are simple cups with soft edges. Add a second, slightly darker tone at the base of each petal while the wash is still damp. Paint the stem and long leaf only after the flower dries, using a single pull of the brush for each.
Try this: paint three buds in different colors on one page to compare how each pigment bleeds.
Cost: $ | Difficulty: Easy | Time: 20 minutes.
7. Scarlet poppy watercolor tutorial

Wet the petal area and drop in cadmium red, then step back and let the pigment bleed. That natural bleed is the painting, so resist adding more strokes while it spreads. Once dry, paint a dark, almost black center with a ring of tiny stamens using a size 2 brush. Add a thin, slightly wobbly stem and one narrow leaf in sap green. Poppies reward speed: the faster you work, the fresher the petals look.
Try this: tilt the paper slightly so the red pools toward the petal base.
Cost: $ | Difficulty: Easy | Time: 20 minutes.
8. Cherry blossom branch watercolor tutorial
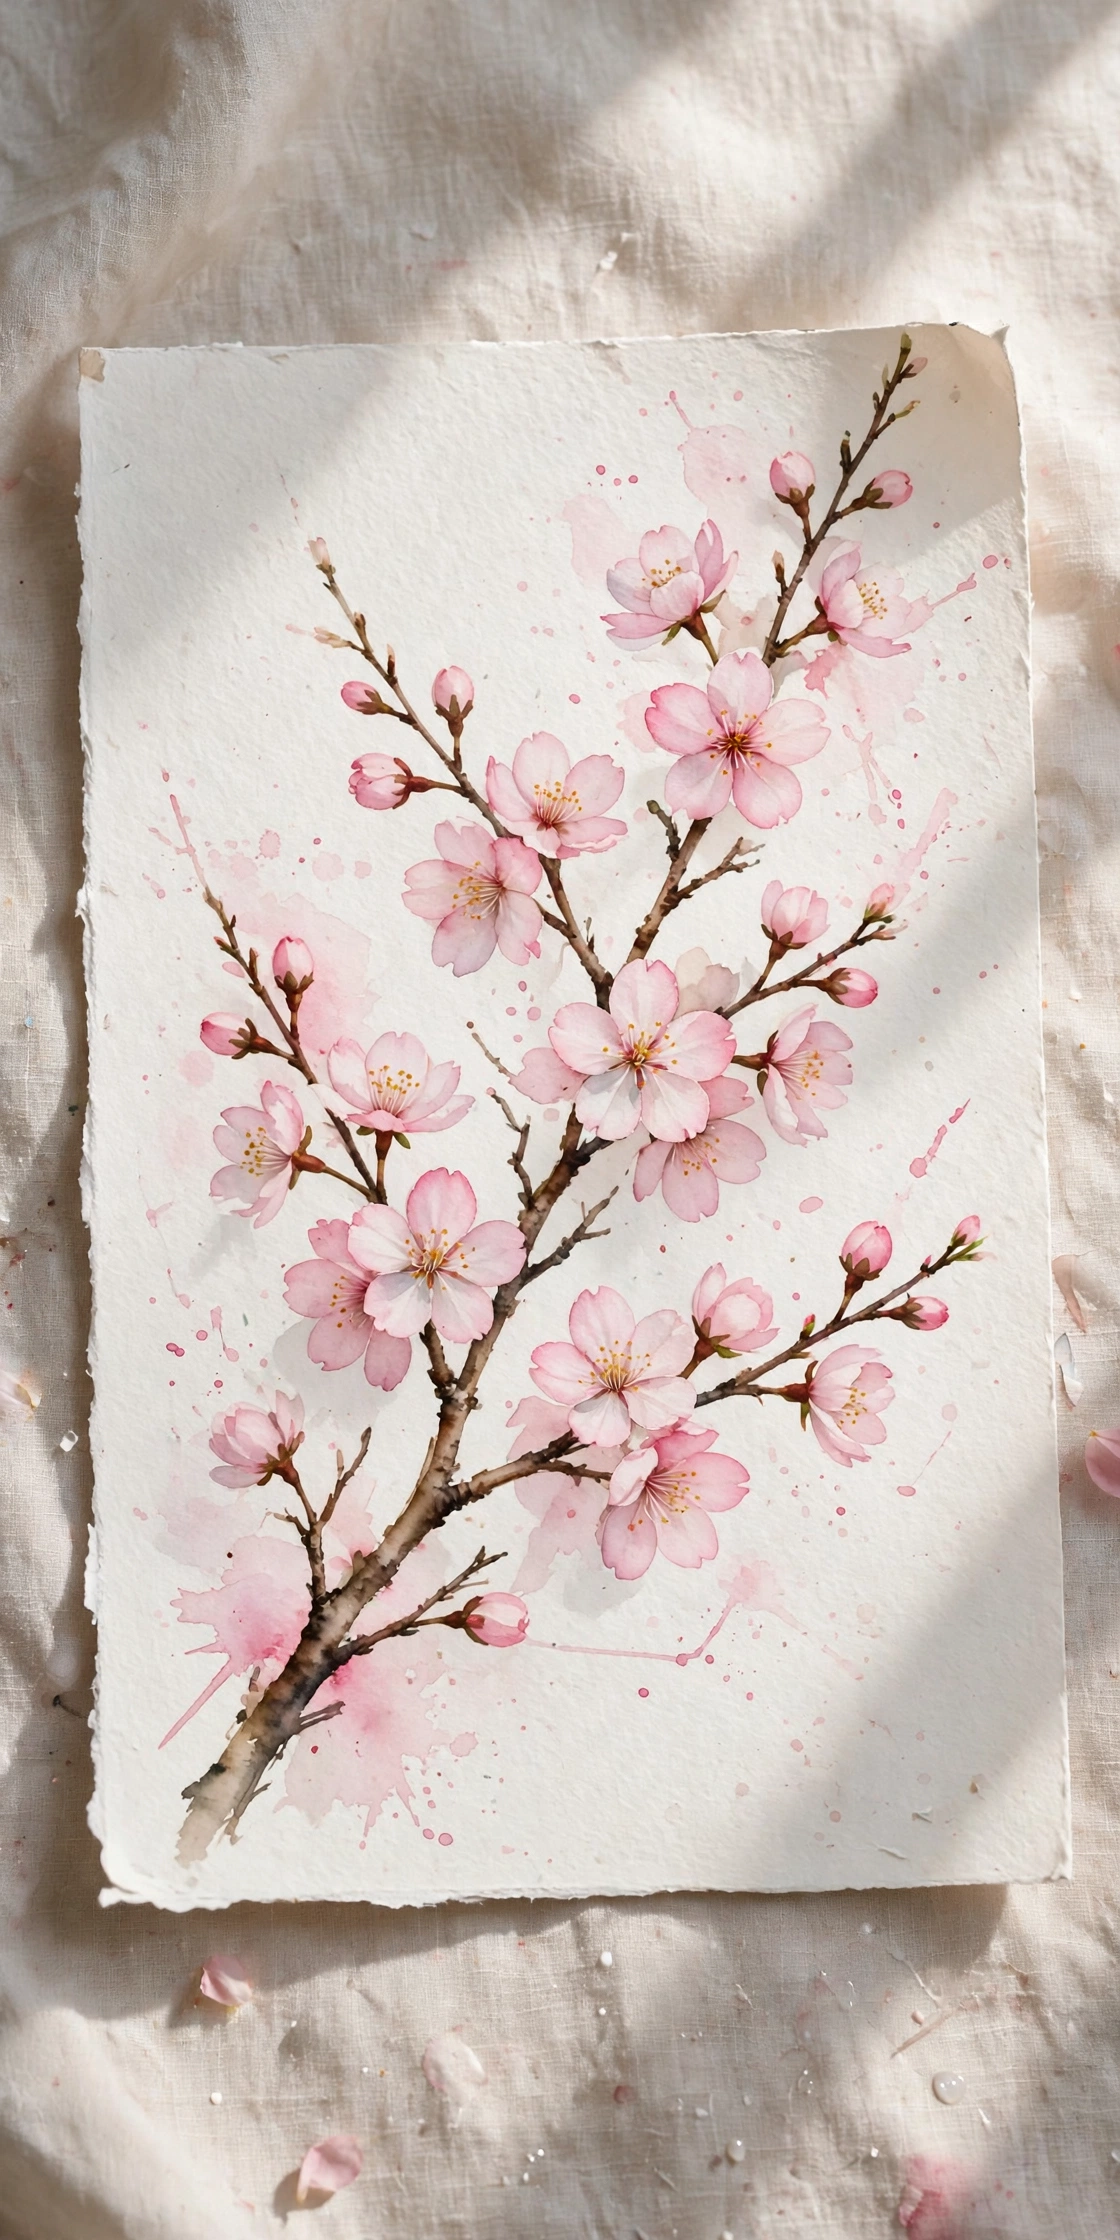
Paint the bare branch first with a dark brown rigger brush, adding one or two thin side twigs. Wash a very pale blue sky behind the branch and let it dry. Stamp tiny blossoms along the twigs with a fingertip or small sponge dipped in diluted pink, clustering five dots per bloom. Add deeper pink dots at the cluster centers once the first layer dries. The branch gives the painting structure, so loose blossoms still read as a tree.
Try this: test your sponge stamp on scrap paper so the dots stay small.
Cost: $ | Difficulty: Easy | Time: 25 minutes.
9. Hydrangea cluster watercolor tutorial
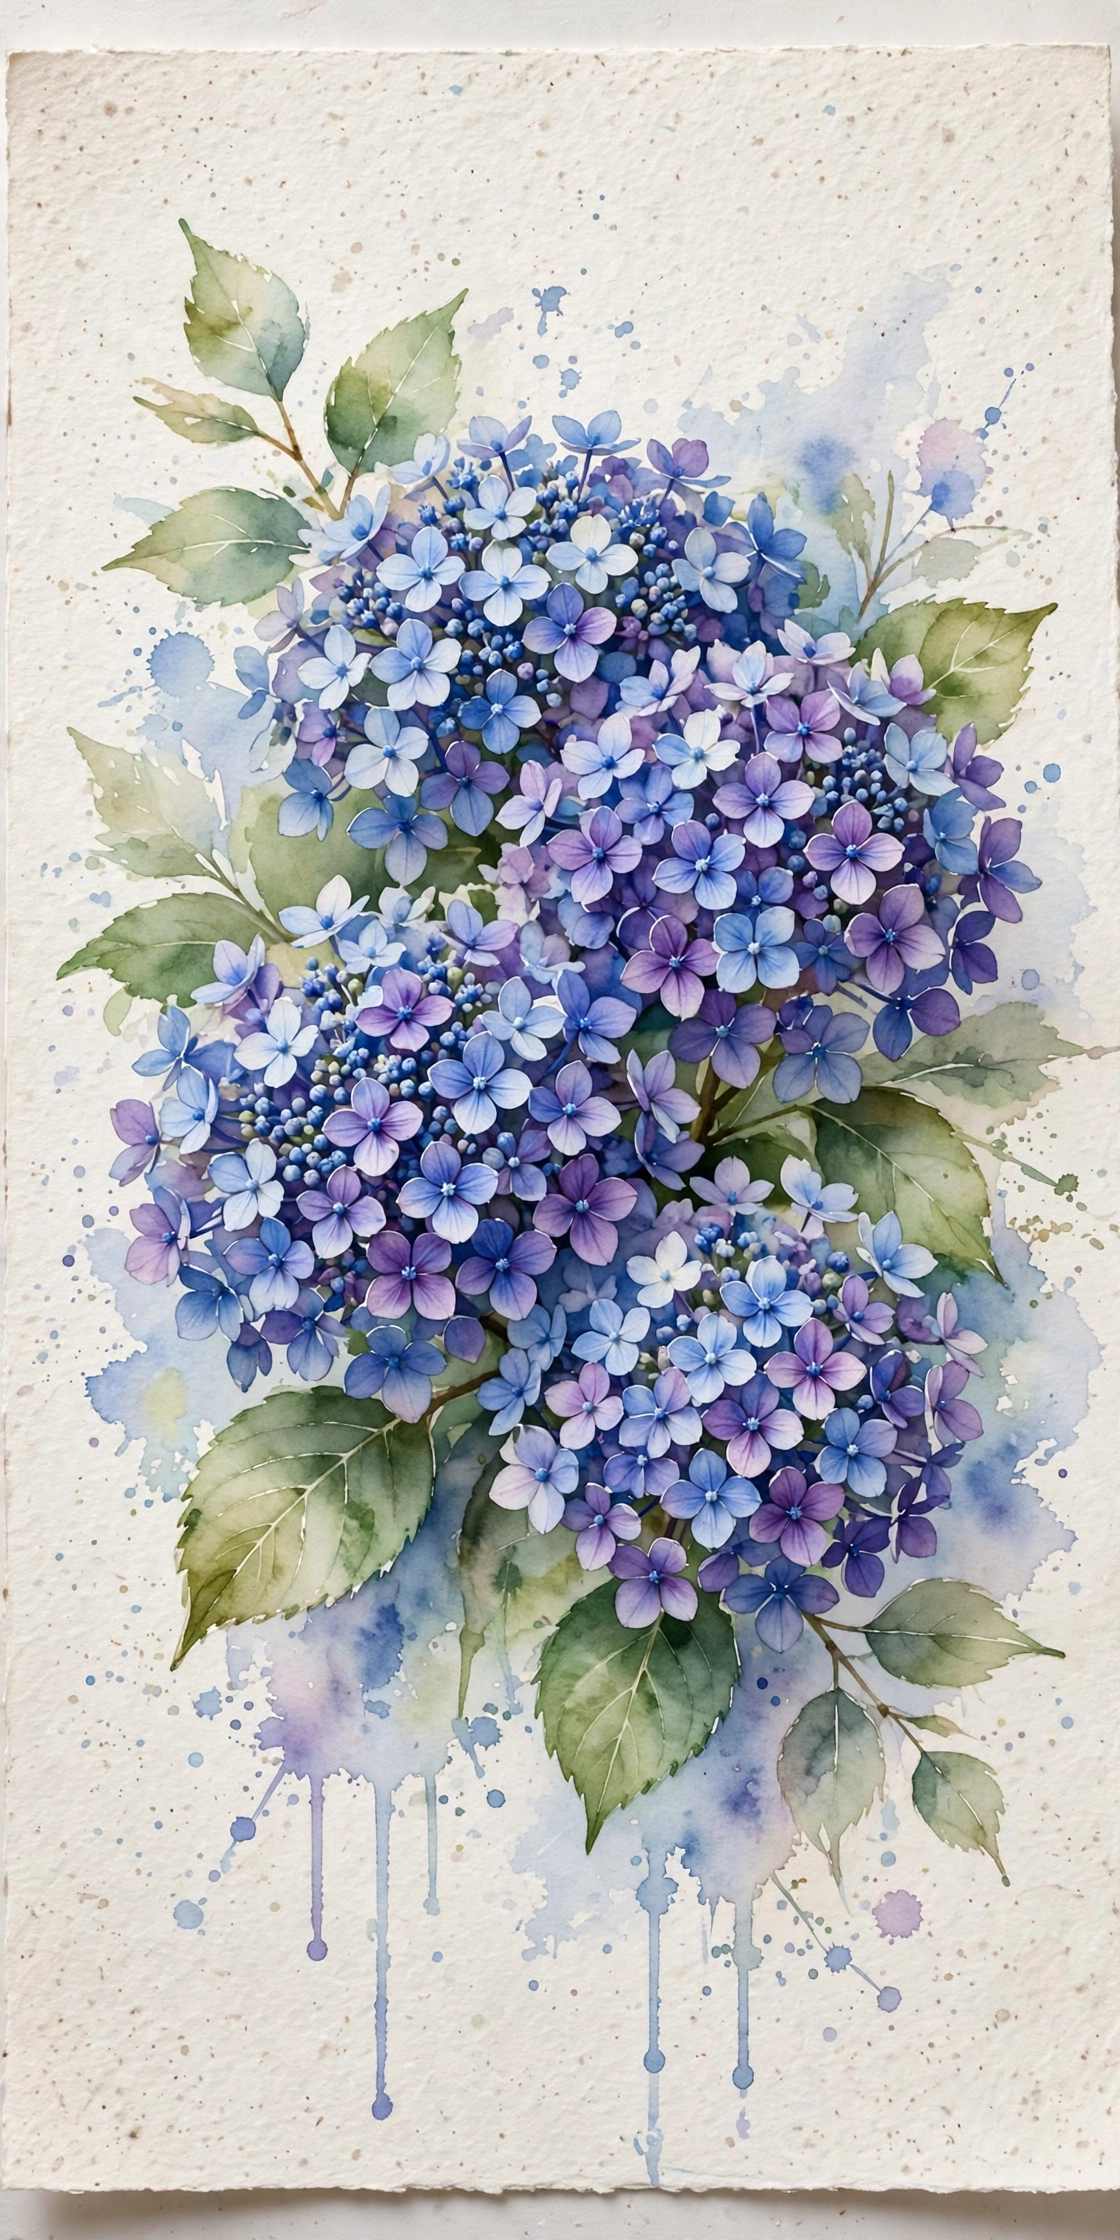
A hydrangea bloom is dozens of small four-petalled flowers packed together, so you paint it with dabs, not outlines. Load a round brush with diluted blue and dab small florets in a loose mound shape, leaving tiny gaps of white paper between clusters. Vary the mix across the mound with purple and soft green dabs for depth. Once dry, add darker florets in the shadowed lower half and two broad leaves beneath. The dab method makes this cluster faster than it looks.
Try this: rotate the paper as you dab so your wrist stays loose.
Cost: $$ | Difficulty: Easy-Medium | Time: 40 minutes.
10. Cosmos gradient watercolor tutorial
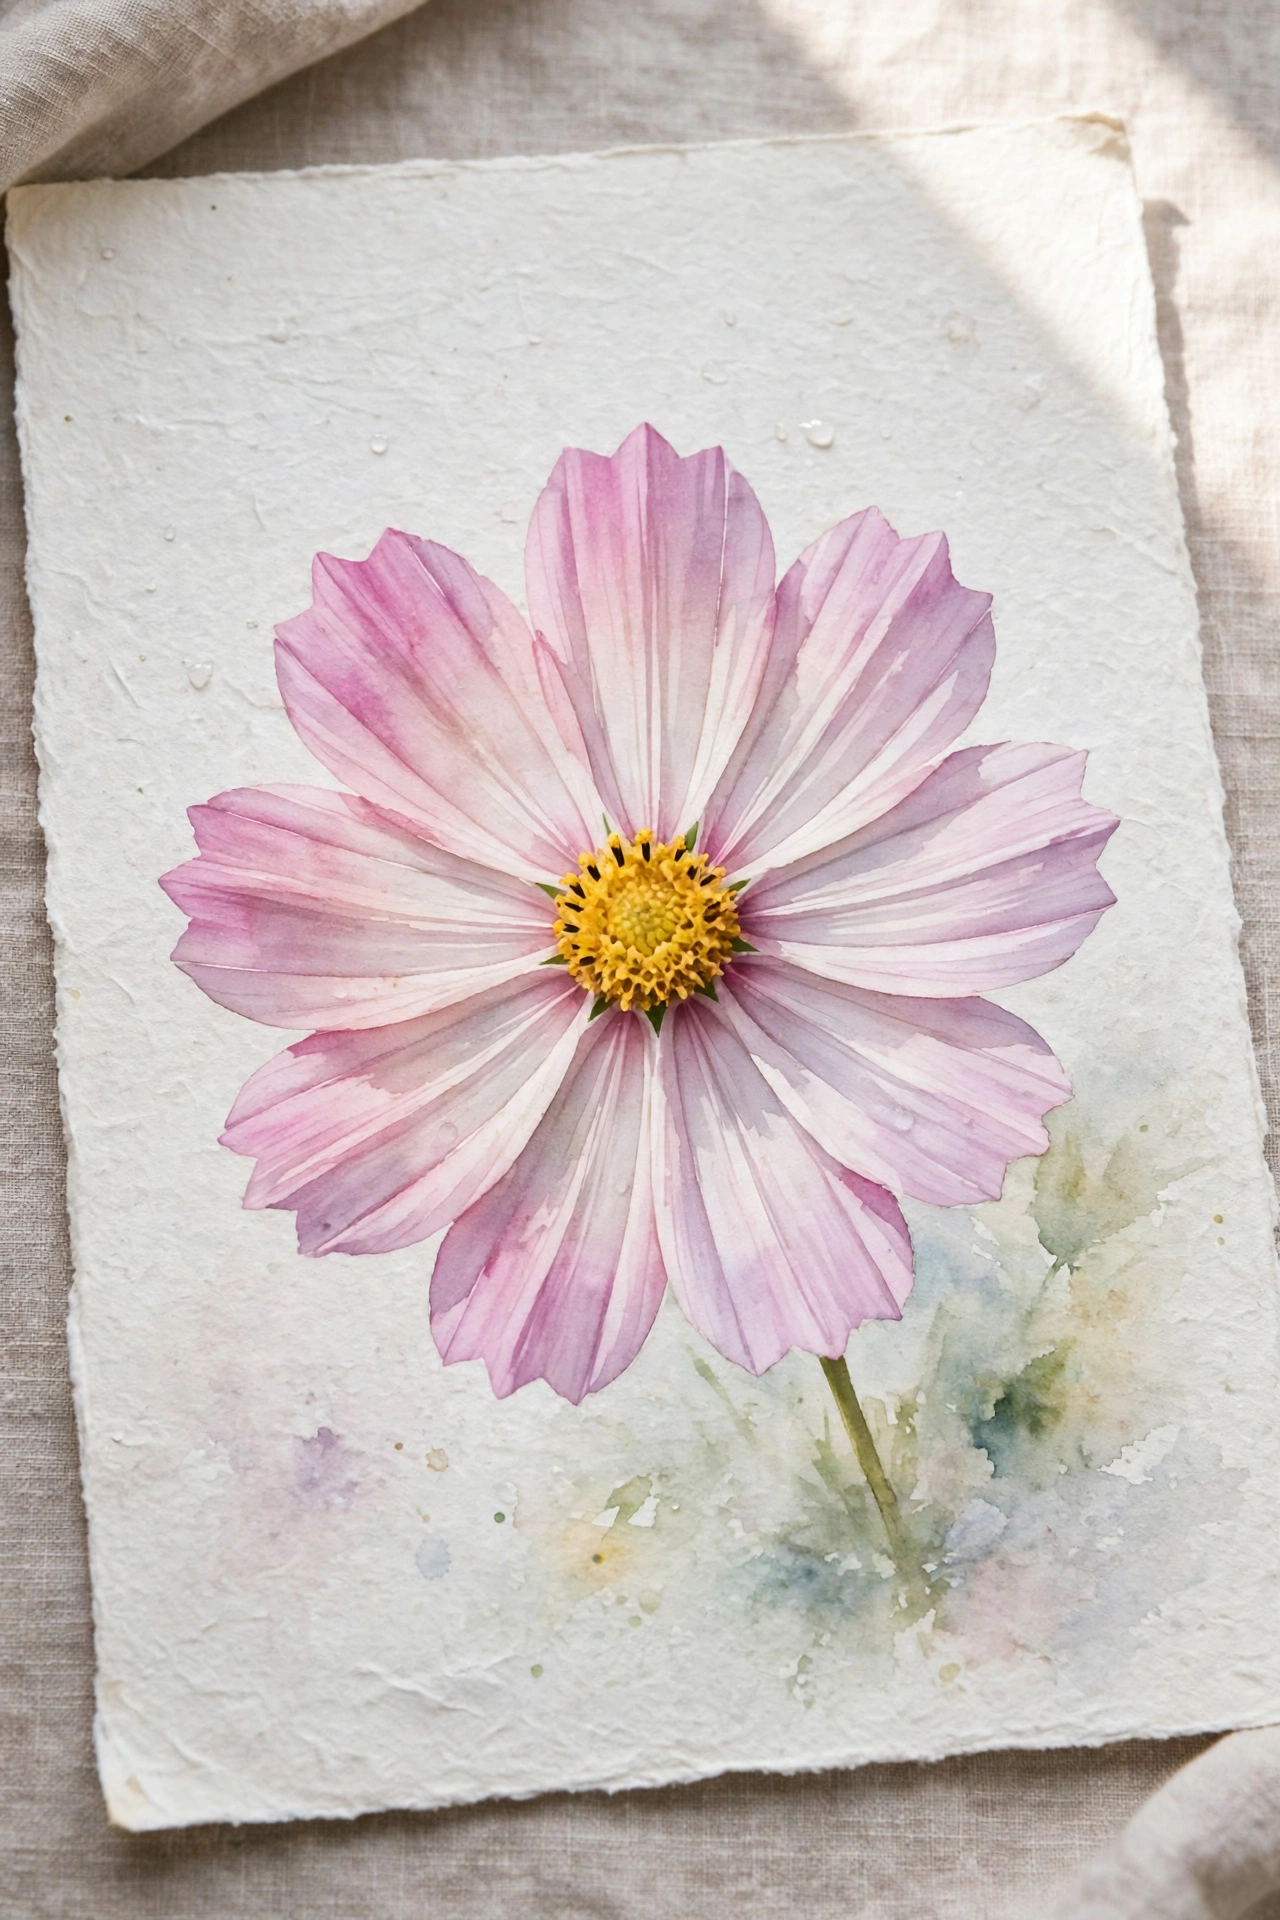
Paint each cosmos petal with a light wash at the tip and a deeper tone at the base, blending the two while the petal is still damp. That two-tone gradient is the whole flower, so keep the petal count to eight and the shapes simple. Add a warm yellow center with a ring of tiny brown dots once the petals dry. Cosmos petals are wide and flat, which makes the gradient easy to see and control.
Try this: load the brush with light paint, then dip just the tip in darker paint before each stroke.
Cost: $ | Difficulty: Easy | Time: 25 minutes.
11. Anemone contrast watercolor tutorial

Paint wide white petals by leaving the paper mostly bare and shading only the petal bases with a hint of violet. The contrast comes from the center: paint a detailed dark navy stamen disk with a fine brush, then add a ring of violet at the petal bases. Keep outlines minimal so the white petals stay clean against the dark heart. Anemones teach restraint, since the painting works best when you stop early.
Try this: use white gouache for one bright petal edge if the wash covered it.
Cost: $ | Difficulty: Medium | Time: 35 minutes.
12. Wildflower field watercolor tutorial
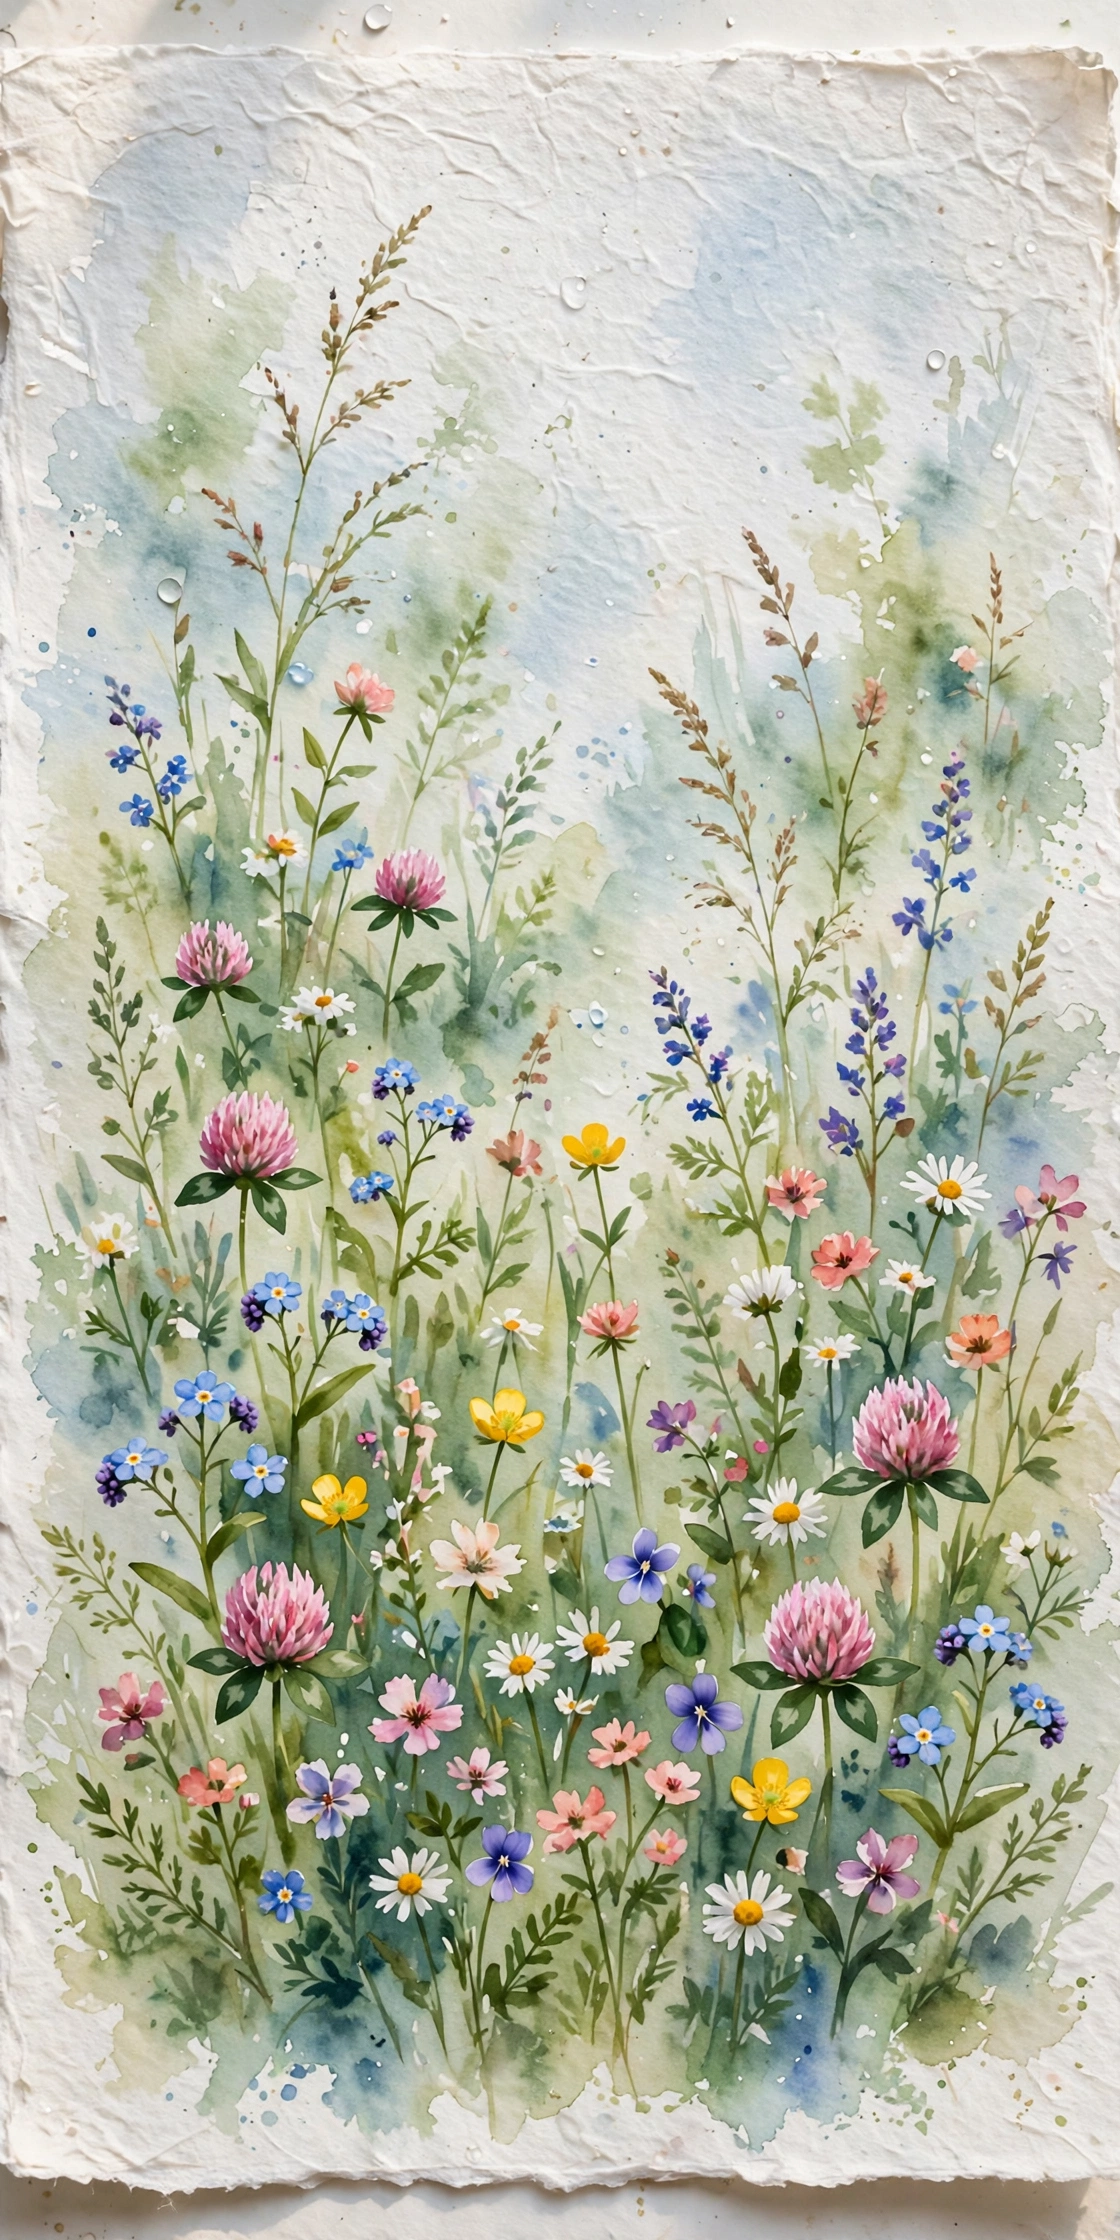
Wash horizontal bands of green across the lower half of the page for the field base, keeping the top band pale for sky. Dot small floral shapes throughout the green in mixed yellows, oranges, purples, and whites, working quickly so the dots stay loose. Flick upward strokes for stems, then layer a second round of dots in varied colors for depth. Nothing here needs a sketch, which makes this field a good warm-up page.
Try this: work top to bottom so your hand never drags through wet paint.
Cost: $ | Difficulty: Easy | Time: 30 minutes.
13. Camellia glazed wash watercolor tutorial
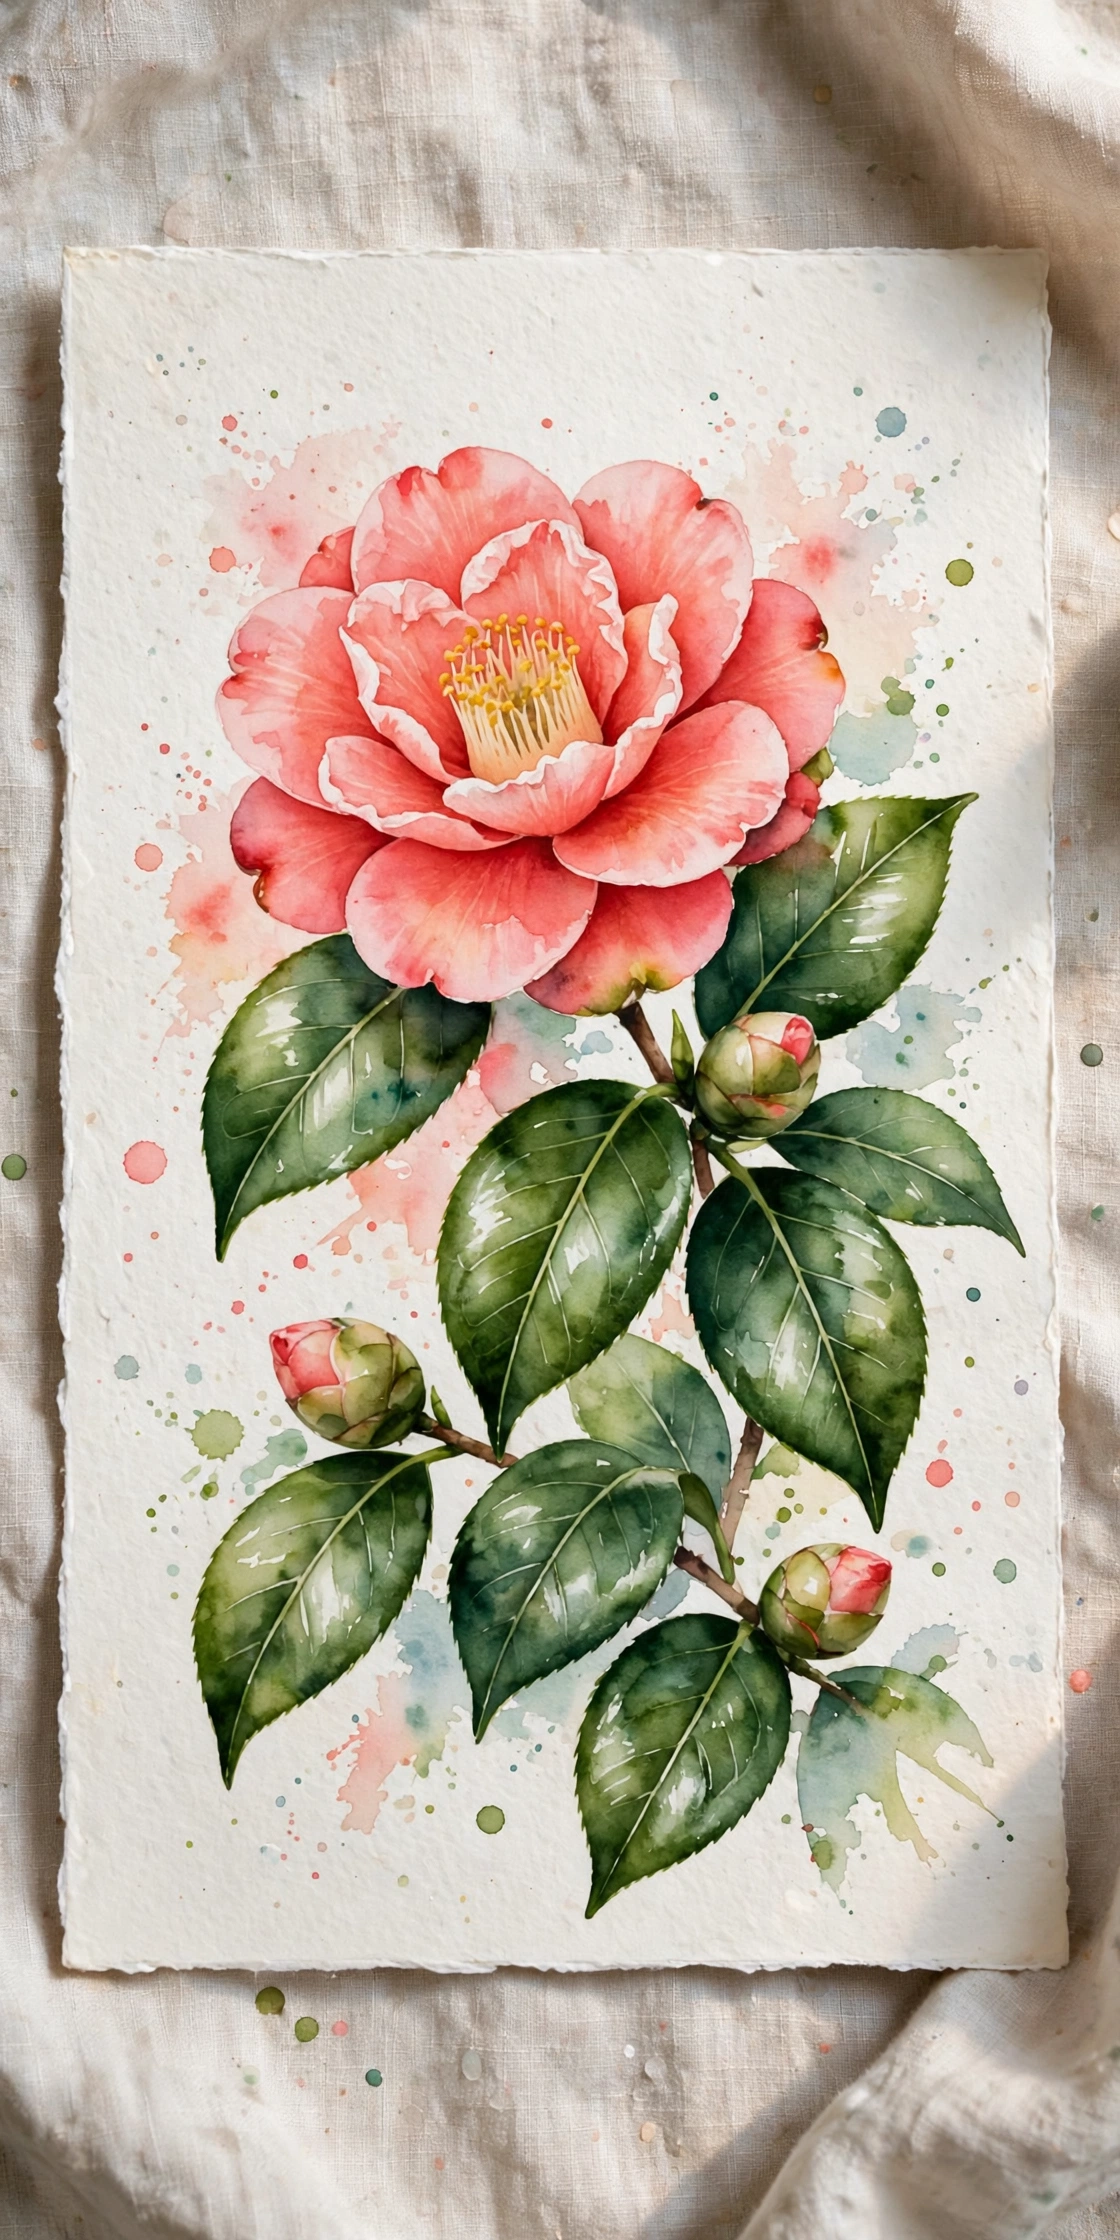
Paint a circular base in diluted pink, then add curved petals working inward from the base toward the center. Let each layer dry fully, then glaze the next layer with a slightly deeper coral so the middle builds rich color without turning muddy. Paint glossy leaves in deep green with a single darker vein each. Glazing rewards patience: the drying time between layers is what keeps the coral clear.
Try this: paint two camellias side by side so one dries while you work on the other.
Cost: $ | Difficulty: Medium | Time: 40 minutes.
14. Sweet pea watercolor tutorial

Sweet pea blooms look like small butterflies, so paint each one as two upper petals and one lower petal in lilac, pink, or white. Keep the petals soft with a wet-on-wet wash, then add curling tendrils with a rigger brush once the blooms dry. A thin green stem and two narrow leaves finish the spray. Sweet peas suit a narrow vertical page, which also makes them easy to frame as a bookmark.
Try this: curl the tendril by rolling the rigger brush as you pull the stroke.
Cost: $ | Difficulty: Easy | Time: 25 minutes.
15. Magnolia watercolor tutorial

Paint magnolia petals one at a time with space between each, using cream with a blush wash at the petal base. The gaps of white paper between petals are what make the bloom read as large and waxy, so do not let neighboring petals touch while wet. Add a deep wine-colored base where the petals meet, then one broad green leaf below. Magnolias take longer than the other flowers here, but the single-bloom page makes a strong finished piece.
Try this: paint the petals in order around the bloom, drying each before its neighbor.
Cost: $$ | Difficulty: Medium | Time: 45 minutes.
Comparison table: all 15 watercolor flower tutorials at a glance
| Tutorial | Main technique | Cost | Difficulty | Time |
|---|---|---|---|---|
| Spiral rose | Layered washes | $ | Easy | 30 min |
| Lavender sprigs | Wet-on-dry dots | $ | Easy | 20 min |
| Daisy negative space | Negative painting | $ | Easy | 25 min |
| Sunflower head | Wet brush petals | $ | Easy | 30 min |
| Layered peony | Ring layering | $$ | Medium | 45 min |
| Tulip buds | Wet-on-wet | $ | Easy | 20 min |
| Scarlet poppy | Wet-on-wet bleed | $ | Easy | 20 min |
| Cherry blossom branch | Stamped blooms | $ | Easy | 25 min |
| Hydrangea cluster | Dabbed florets | $$ | Easy-Medium | 40 min |
| Cosmos gradient | Two-tone gradient | $ | Easy | 25 min |
| Anemone contrast | Lifted whites | $ | Medium | 35 min |
| Wildflower field | Loose dots | $ | Easy | 30 min |
| Camellia glazed wash | Glazing | $ | Medium | 40 min |
| Sweet pea | Wet-on-wet wash | $ | Easy | 25 min |
| Magnolia | Spaced petals | $$ | Medium | 45 min |
Cost key: $ means $1 to $10, $$ means $11 to $99, $$$ means $100 to $999, $$$$ means $1,000 and up. 12 of the 15 tutorials cost under $5; the peony, hydrangea, and magnolia cost more because they use larger paper and more pigment layers.
Mistakes to avoid
The most common beginner mistake is paint that is too thick. Your brush should flow with color, not scrub, because thick paint dries flat and dull. The second mistake is painting a new layer before the last one dries, which mixes colors on the paper into mud. The third is overworking a petal: put the mark down, then stop touching it. Covering every highlight is the fourth mistake, since watercolor highlights are the paper itself and cannot be painted back in. The fifth is mixing too many colors in one wash, which turns even bright pigments brown.
Safety notes for watercolor painting
Keep rinse water in a jar that looks nothing like a drinking glass, and never rinse brushes in a cup you drink from. Choose paints with the ACMI AP seal, which marks art materials evaluated as non-toxic under federal requirements, and you can check seals at acmiart.org. Keep small supplies such as brush caps and paint pans away from babies and toddlers, since small objects are choking hazards, and the American Academy of Pediatrics choking prevention guide at healthychildren.org lists household items to keep out of reach. Do not paint on skin, and keep paint water away from food preparation areas.
Related reading
If you want a place to keep your practice pages, read our easy steps to start art journaling, which shows how a watercolor wash opens a journal page.
For another flower art project that needs no paint at all, see our creative diy home decor ideas, which include pressed flower frames and clay flower mirror frames.
If little kids want to paint beside you, try our easy preschool crafts, which include a watercolor resist star sized for ages 3 to 5.
To turn a finished flower painting into a gift, see our 17 easy handmade birthday card ideas for friends, which include a watercolor wash birthday card.
For flower art you can carry on a trip, see our fun travel scrapbook journal ideas, which include a pressed petals and leaves page.
Frequently asked questions
What supplies do I need to start painting watercolor flowers?
Cold press watercolor paper at 140 lb, a size 6 round brush, a size 2 round brush for detail, a rigger brush for stems, and a small pan set with rose pink, crimson, cadmium yellow, ultramarine blue, dioxazine purple, and sap green. Add two water jars, a palette, painter tape, and paper towels. That kit covers every tutorial in this guide, and a hairdryer on low heat helps between layers.
Which flower should a complete beginner paint first?
Start with lavender sprigs or a scarlet poppy. Lavender needs only dots and one thin stem, so it teaches brush control without any petal shaping. A poppy needs one wet wash and one dark center, so it teaches wet-on-wet bleeding in a single sitting. Both finish in about 20 minutes, which keeps a first session short and encouraging.
Why do my watercolor flowers turn muddy?
Mud usually comes from three causes: paint mixed too thick, a new layer painted before the last one dried, or too many colors mixed in one wash. Fix it by watering down your paint until the brush flows, waiting until each layer feels dry to the touch, and limiting each wash to two colors plus a green for leaves. If a wash already looks muddy, let it dry and glaze one clean color over the top instead of scrubbing it.
Do I need to sketch before painting watercolor flowers?
A light sketch helps for roses, peonies, and magnolias, where petal placement matters, but loose flowers such as wildflower fields and poppies need no sketch at all. Keep sketch lines faint so they do not show through the wash, and skip the sketch entirely when you paint wet-on-wet, since the water will soften the pencil anyway. Either way works, so choose the method that keeps you painting instead of erasing.
How do I keep white highlights in watercolor?
Plan the highlights before you paint and leave that paper unpainted, because watercolor highlights are the paper itself and cannot be added back with white paint. Paint around the highlight area, or lift a small highlight later with a clean damp brush while the wash is still slightly wet. For crisp white petals, such as daisies and anemones, paint the background around the flower instead of the flower itself.
Final thoughts
Pick one flower from this guide, tape down a fresh sheet, and paint it today while the steps are still fresh in your mind. The first painting does not need to be frame-ready; it only needs to teach your hand how water, pigment, and paper behave together, and the second flower will already feel easier.