


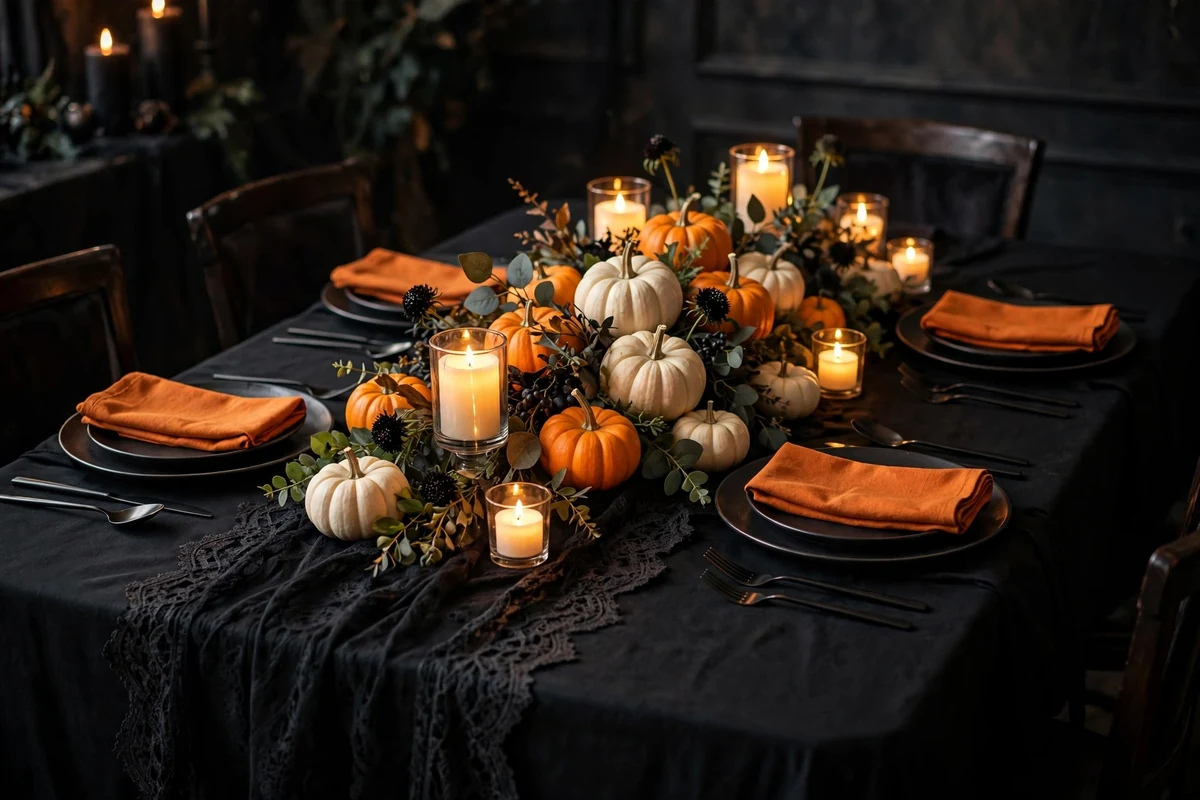
The party is tomorrow, the dining table is bare, and the Halloween store line wrapped around the block last night. A last minute Halloween tablescape does not need a craft room or a big budget. It needs a clear plan and pieces you probably already own.
These 15 last minute Halloween tablescape ideas each take under an hour, and most take under 20 minutes. Pick one strong centerpiece, repeat two colors, and let candlelight do the rest. Your table will look planned, not panicked.
Quick takeaways
- One runner, one centerpiece, and candlelight are enough to carry a whole Halloween table.
- Stick to two colors plus black so last minute pieces look coordinated instead of random.
- LED candles give the flicker without the fire risk near dried leaves, cheesecloth, and paper.
- Mini pumpkins, candy, and books you own are the fastest high-impact fillers.
- Most of these setups cost under $20 and take 10 to 30 minutes.
1. The ten-minute pumpkin row
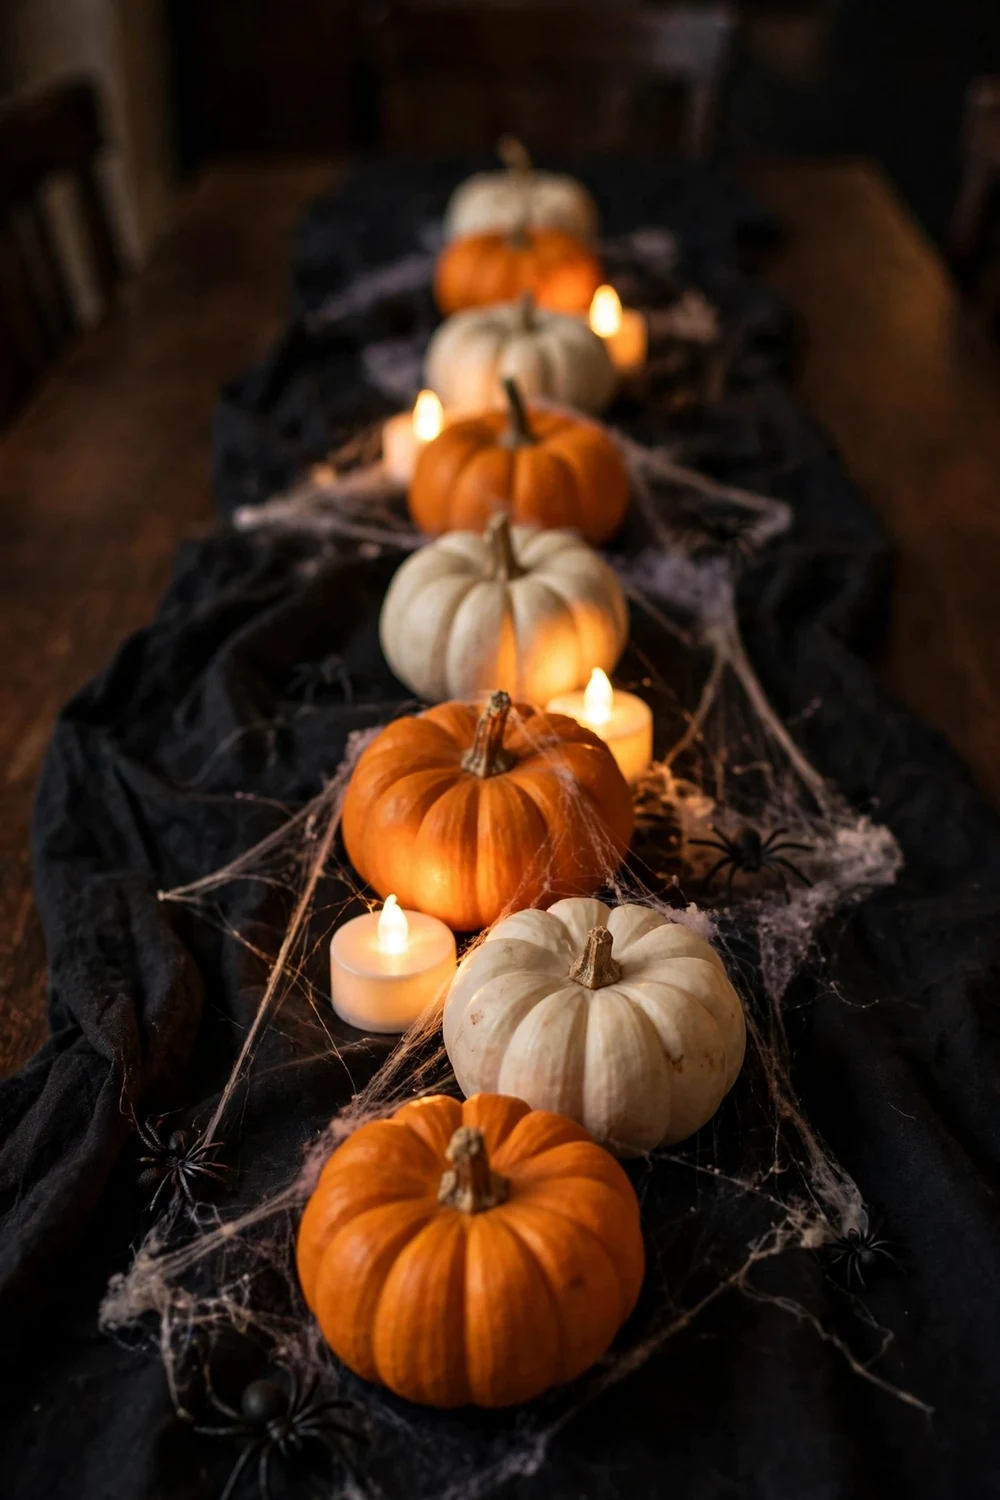
Line mini pumpkins of mixed sizes down the center of a black tablecloth and tuck LED tea lights between them. The mix of orange, white, and green-striped minis gives you color variety without buying a thing beyond the pumpkins, and the tea lights make the whole row glow after dark. Scatter a few plastic spiders and a wisp of fake cobweb to finish it.
Try this: alternate orange and white pumpkins so the row reads as a pattern instead of a pile. Cost: $$. Difficulty: easy, 10 minutes.
2. Candle cluster centerpiece
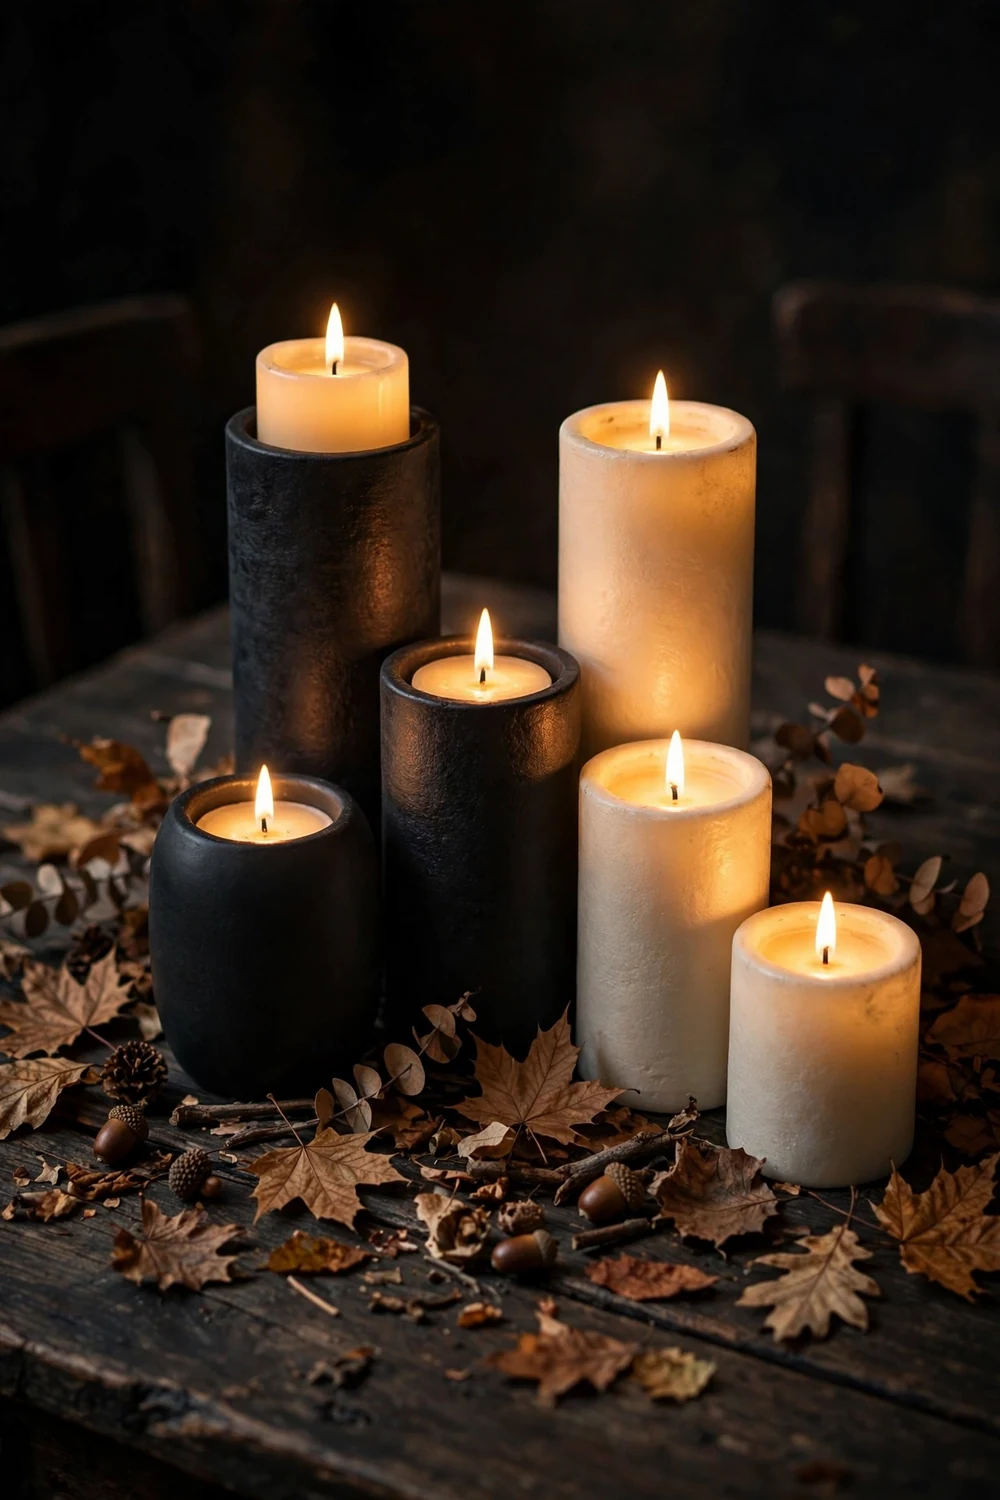
Group five to seven pillar candles of different heights in the middle of the table and scatter dried autumn leaves around their bases. The height variation is what makes this look designed rather than thrown together. Use black, cream, and deep orange candles to pull in Halloween color without a single plastic decoration. Battery-operated pillars keep it safe around the leaves.
Try this: use odd numbers of candles and set the tallest in the middle for a natural peak. Cost: $$. Difficulty: easy, 10 minutes.
3. Skeleton hand place settings
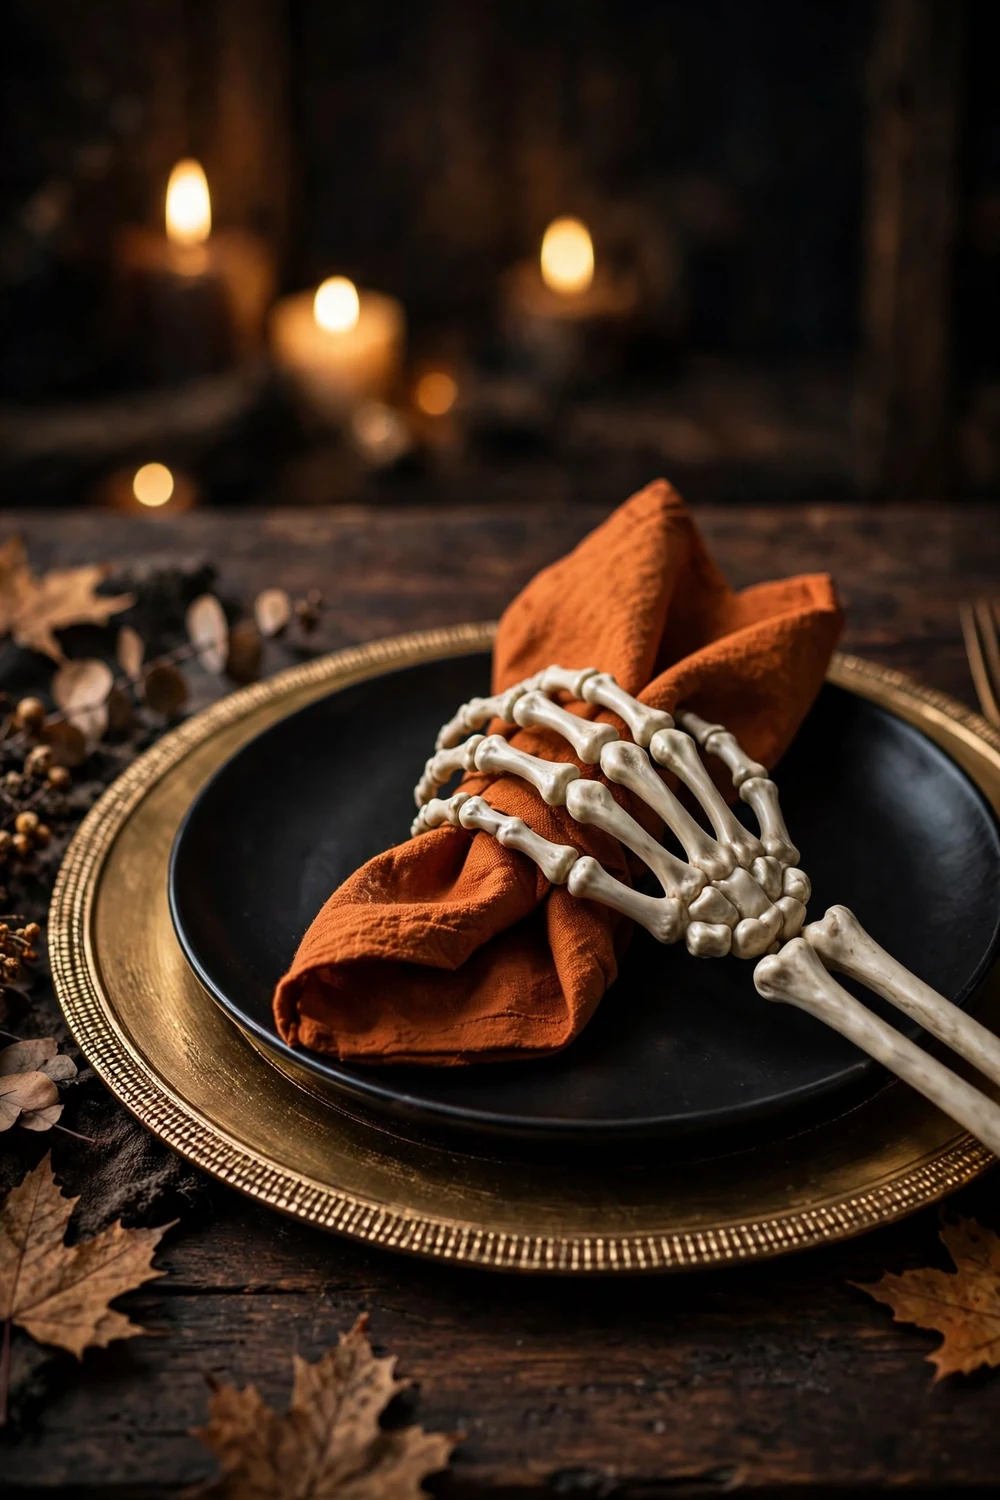
Set a plastic skeleton hand on each black plate, curled around a folded orange or burgundy napkin. With gold chargers underneath and tall black candles behind, each seat gets its own little moment. A bag of skeleton hands costs a few dollars at any party store, and this single detail makes the plainest tableware feel themed.
Try this: bend the skeleton fingers gently around the napkin so the hand looks like it is gripping it. Cost: $. Difficulty: easy, 15 minutes.
4. Cheesecloth runner with spiders
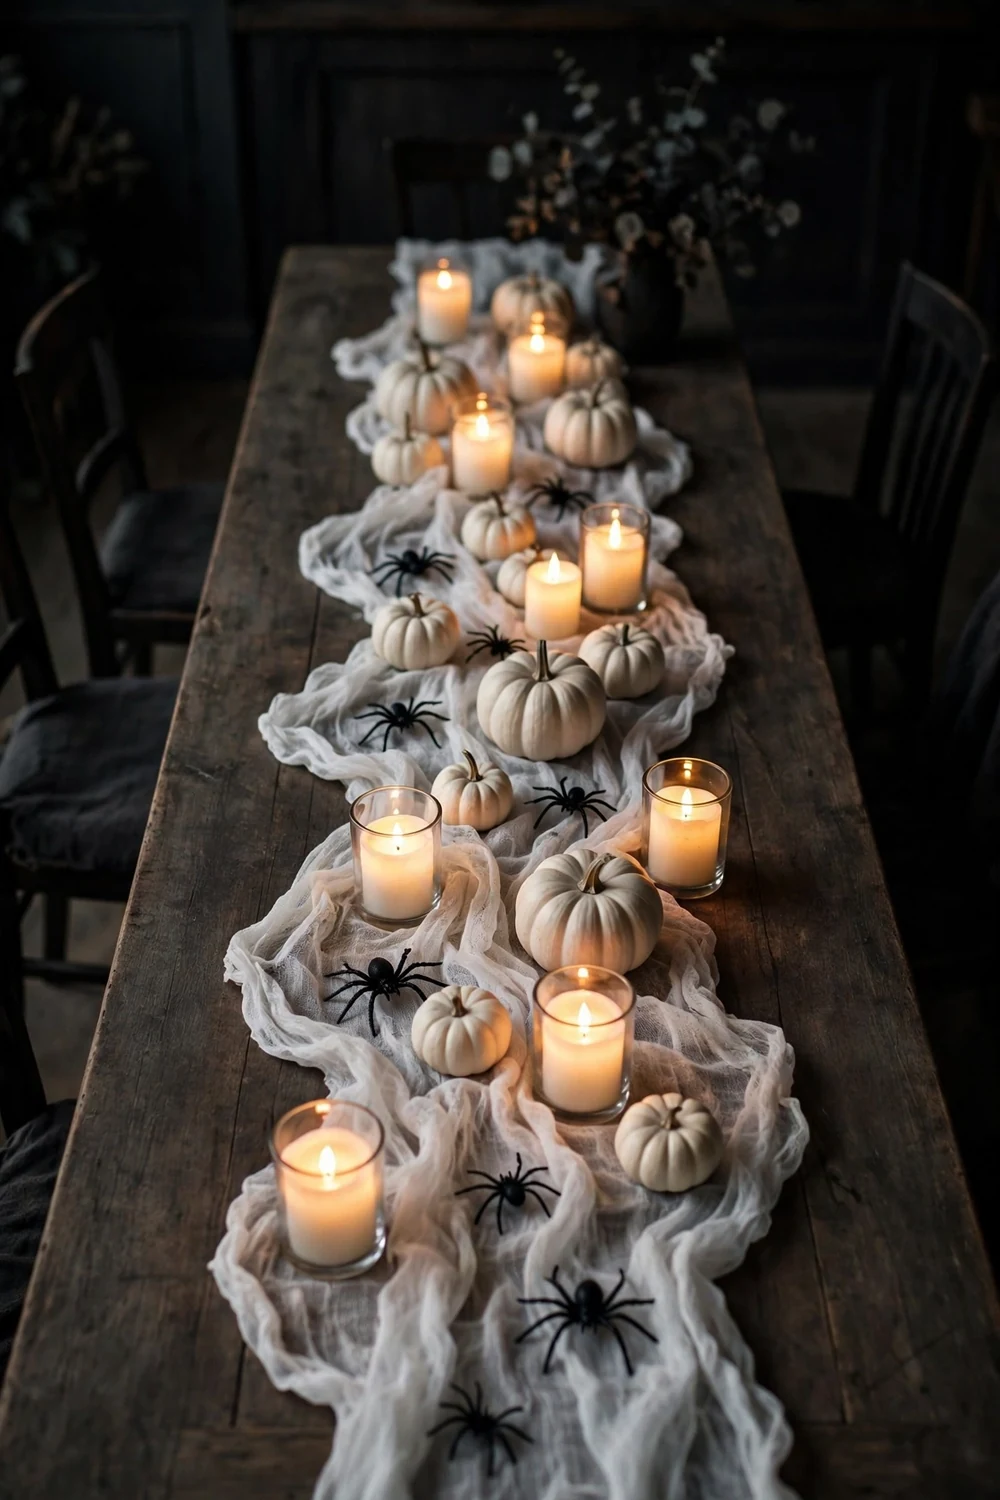
Drape a length of white cheesecloth loosely down the center of the table, letting it wrinkle and puddle instead of lying flat. Place black plastic spiders on top and line up small pumpkins and LED candles along it. The gauzy fabric reads as instant cobweb and softens every hard edge on the table. One package of cheesecloth covers a six-foot table.
Try this: pull the cheesecloth thin in a few spots so light passes through it like real webbing. Cost: $. Difficulty: easy, 10 minutes.
5. Candy bowl centerpieces
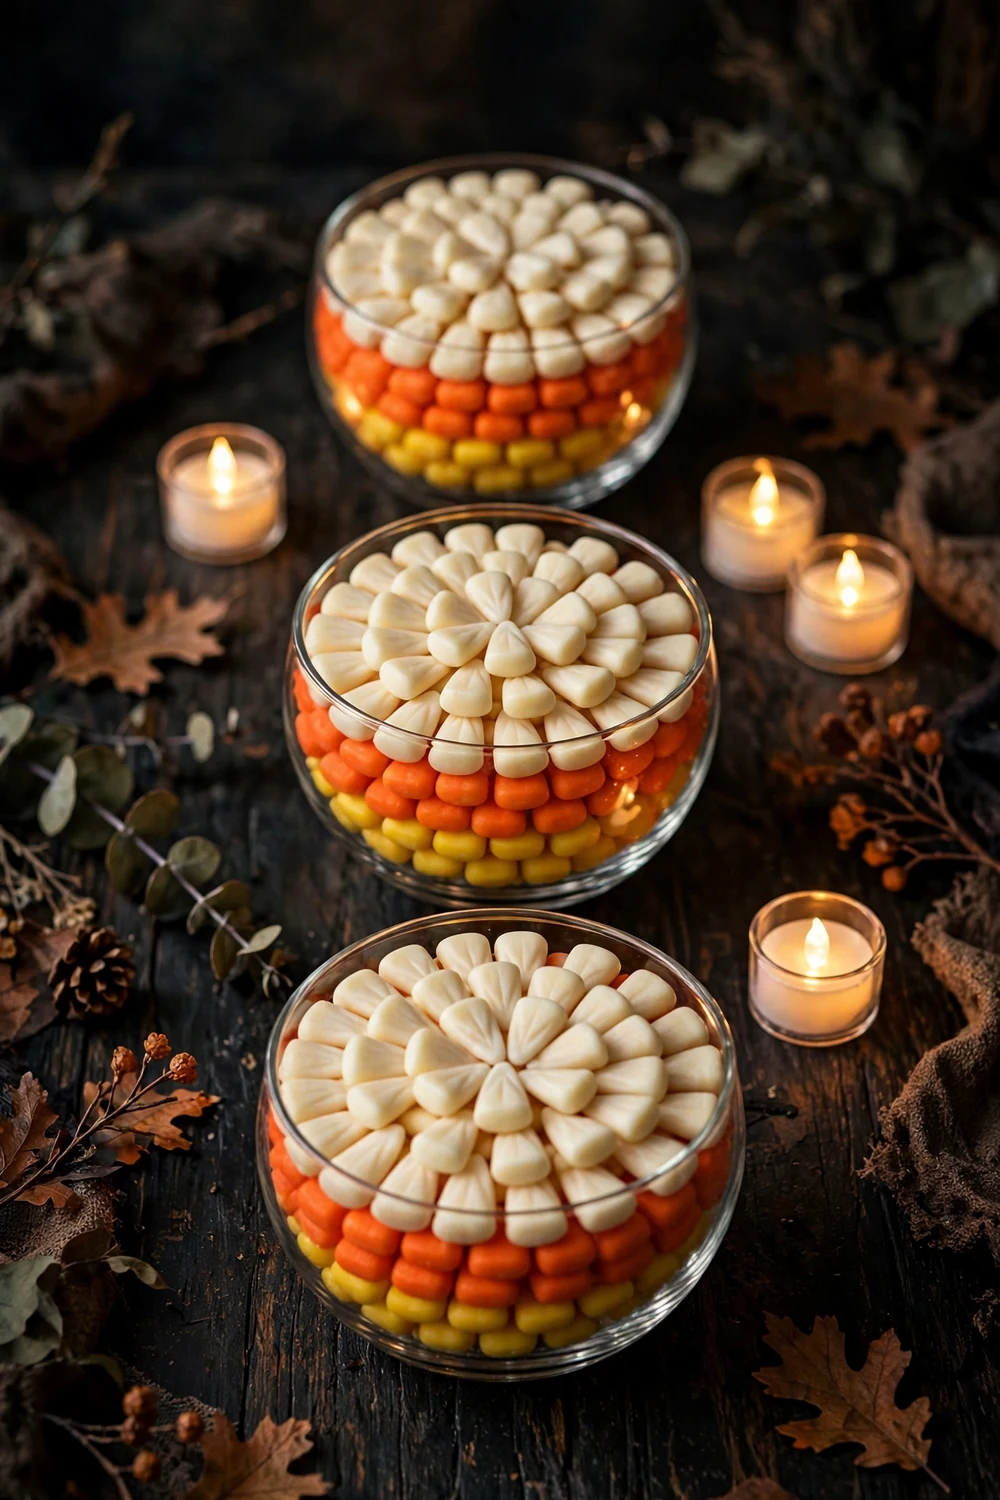
Fill two or three clear glass bowls with candy corn, layering the orange, yellow, and white pieces so the stripes show through the glass. Set them down the center with small LED candles beside each bowl. The candy doubles as decor and dessert, and guests will pick at it all evening. Use bowls you already own and spend the money on the candy itself.
Try this: pour the candy in slowly around the edges so the color bands stay visible through the glass. Cost: $$. Difficulty: easy, 10 minutes.
6. Grocery store dark florals
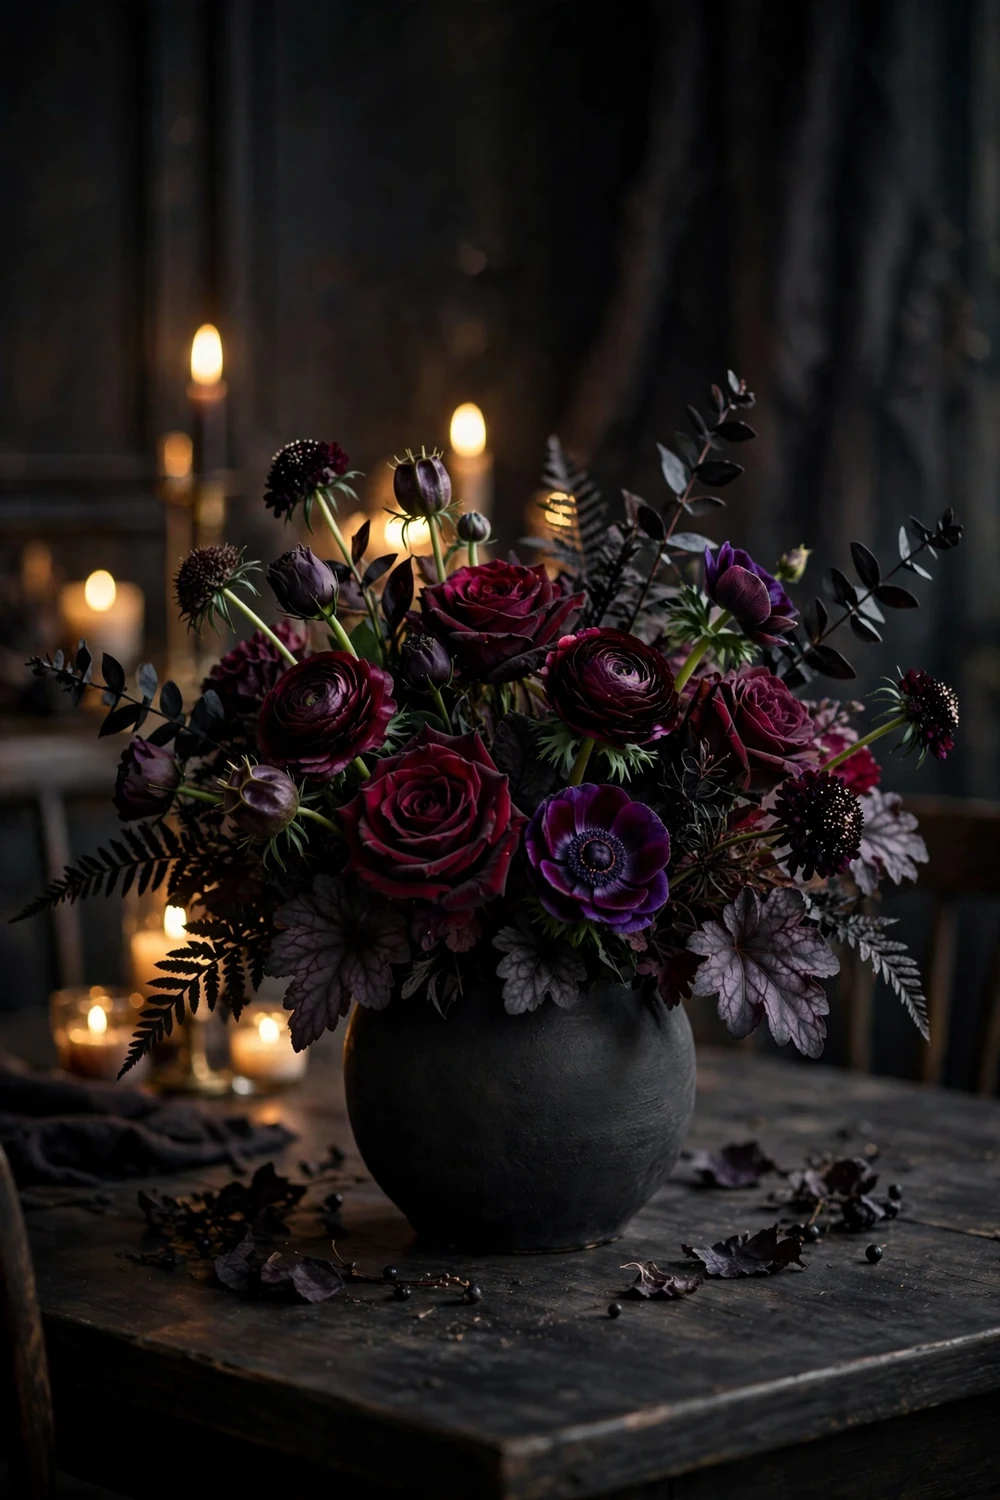
Grab a bunch of the darkest flowers at the grocery store, deep burgundy mums, nearly black dahlias, or dark purple roses, and drop them in a matte black vase. Moody florals make a Halloween table look grown-up in a way plastic decorations never do. Trim the stems short so the arrangement sits low and guests can talk over it. One $15 bunch split between two small vases covers a long table.
Try this: ask the floral counter for their darkest fall bunch and add a few bare branches from the yard for height. Cost: $$. Difficulty: easy, 15 minutes.
7. Apothecary potion bottles
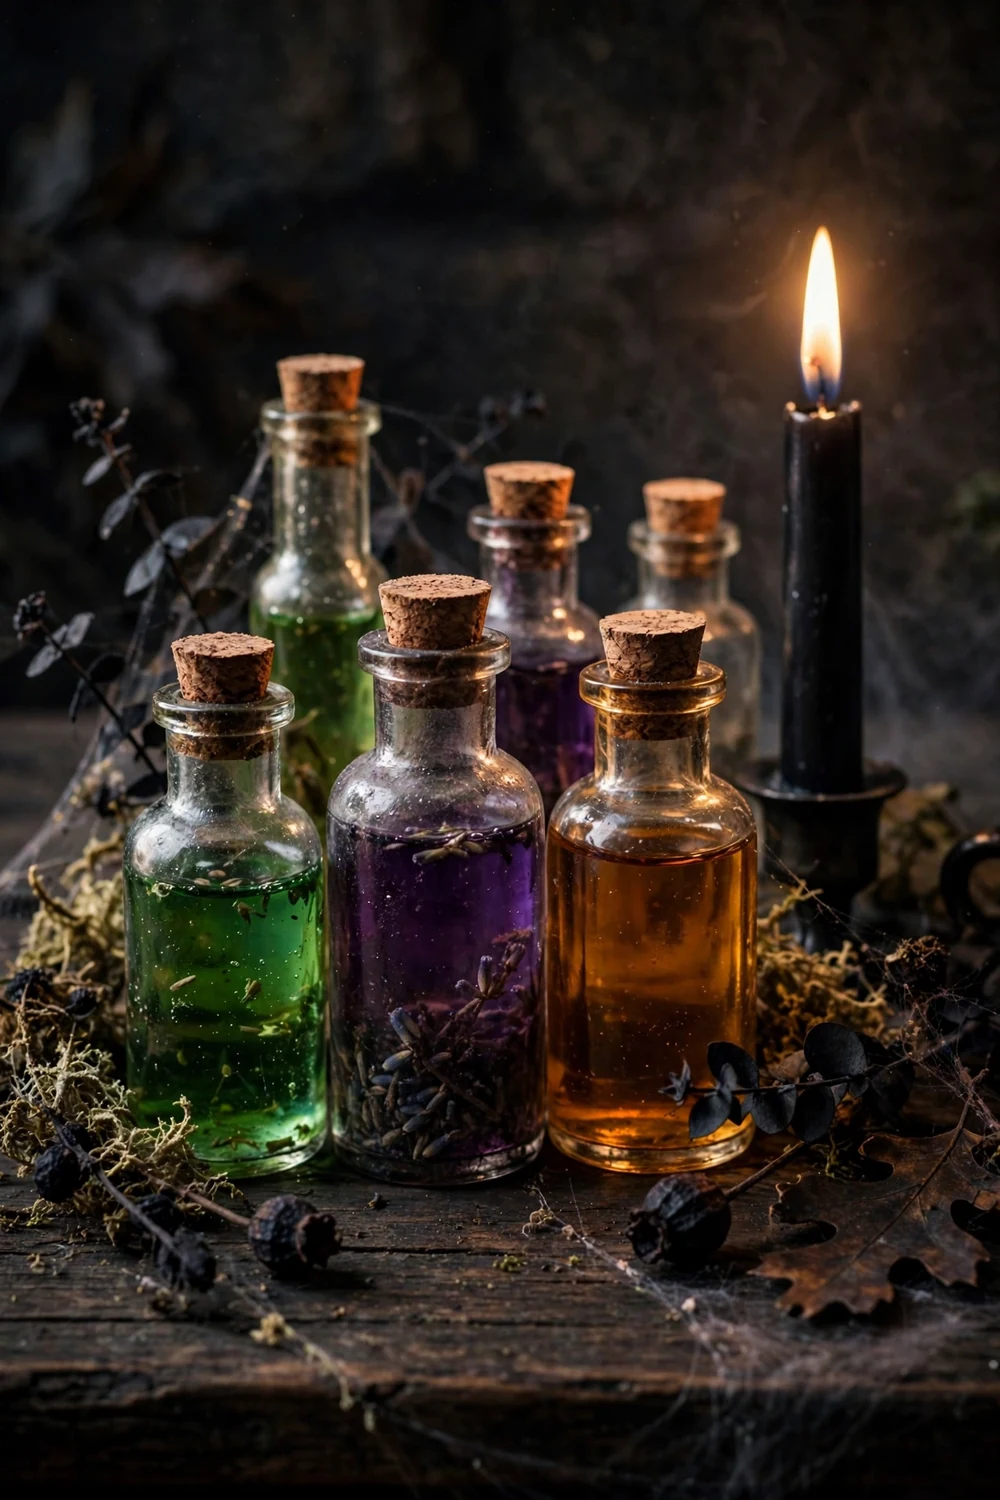
Cluster small glass bottles filled with colored water, green, purple, and amber, down the center of the table with a black taper candle nearby. Old spice jars, mini liquor bottles, and bud vases all work. The colored liquids catch candlelight beautifully and the whole setup reads as a witch’s shelf. Add cork stoppers or twine ties for a finished look.
Try this: add one drop of food coloring per bottle and vary the fill levels so no two bottles match. Cost: $. Difficulty: easy, 20 minutes.
8. Haunted library book stack
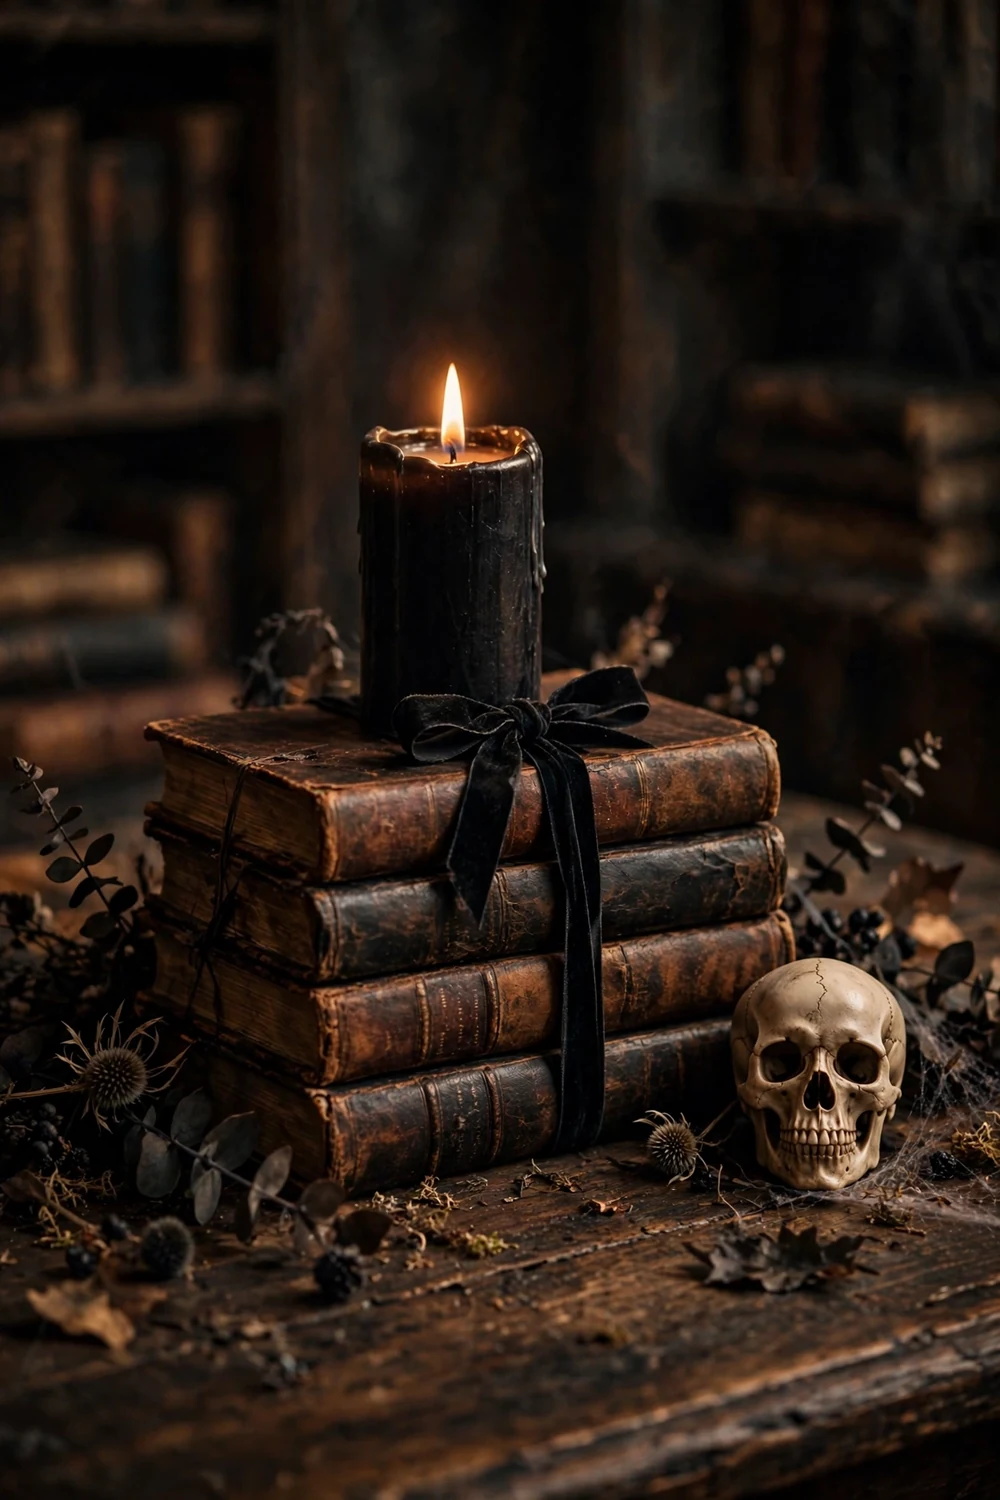
Stack four or five old hardcover books of different sizes, tie them with black ribbon, and top the stack with a pillar candle and a small skull. It gives your table a haunted library feel with zero shopping. Thrift stores sell hardcovers for a dollar or two if your shelves are all paperbacks. Set the stack slightly off-center so it feels styled, not staged.
Try this: turn the books so their spines face different directions for a collected, uneven look. Cost: $. Difficulty: easy, 10 minutes.
9. Paper bat napkin wraps
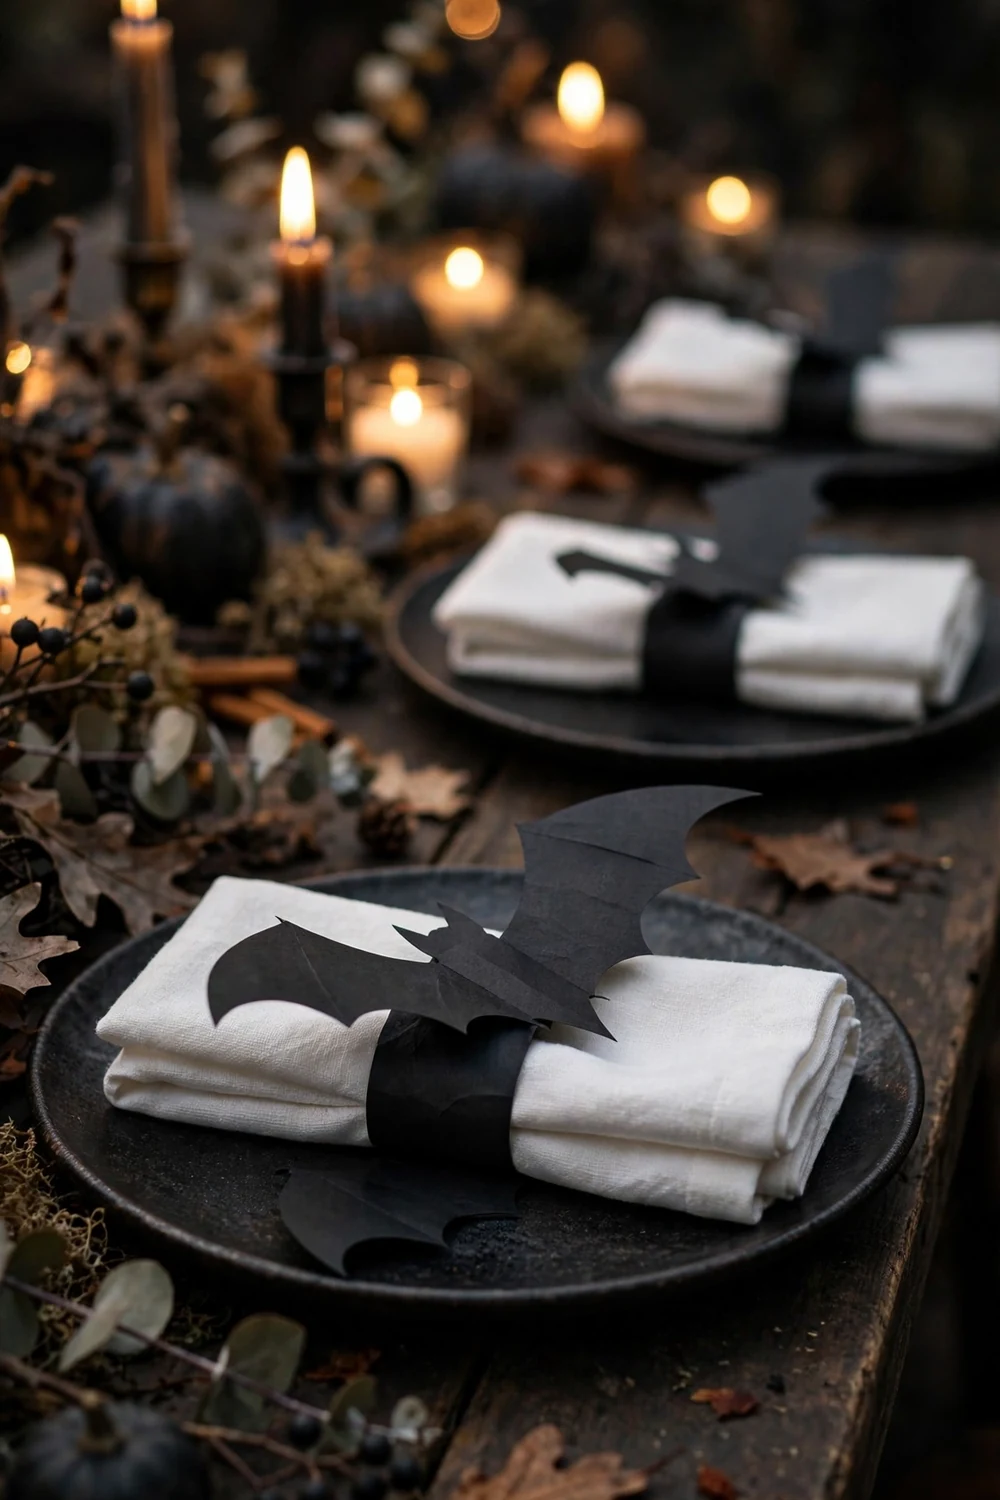
Cut simple bat shapes from black construction paper and wrap one around each folded napkin, tucking the wings so the bat hugs the fold. This tiny detail makes every place setting feel custom. A single sheet of construction paper makes six to eight bats, and the whole project takes less time than folding the napkins themselves. Kids can cut while you set the table.
Try this: fold the bat in half first and cut both wings at once so they come out symmetrical. Cost: $. Difficulty: easy, 20 minutes.
10. Skull place card holders
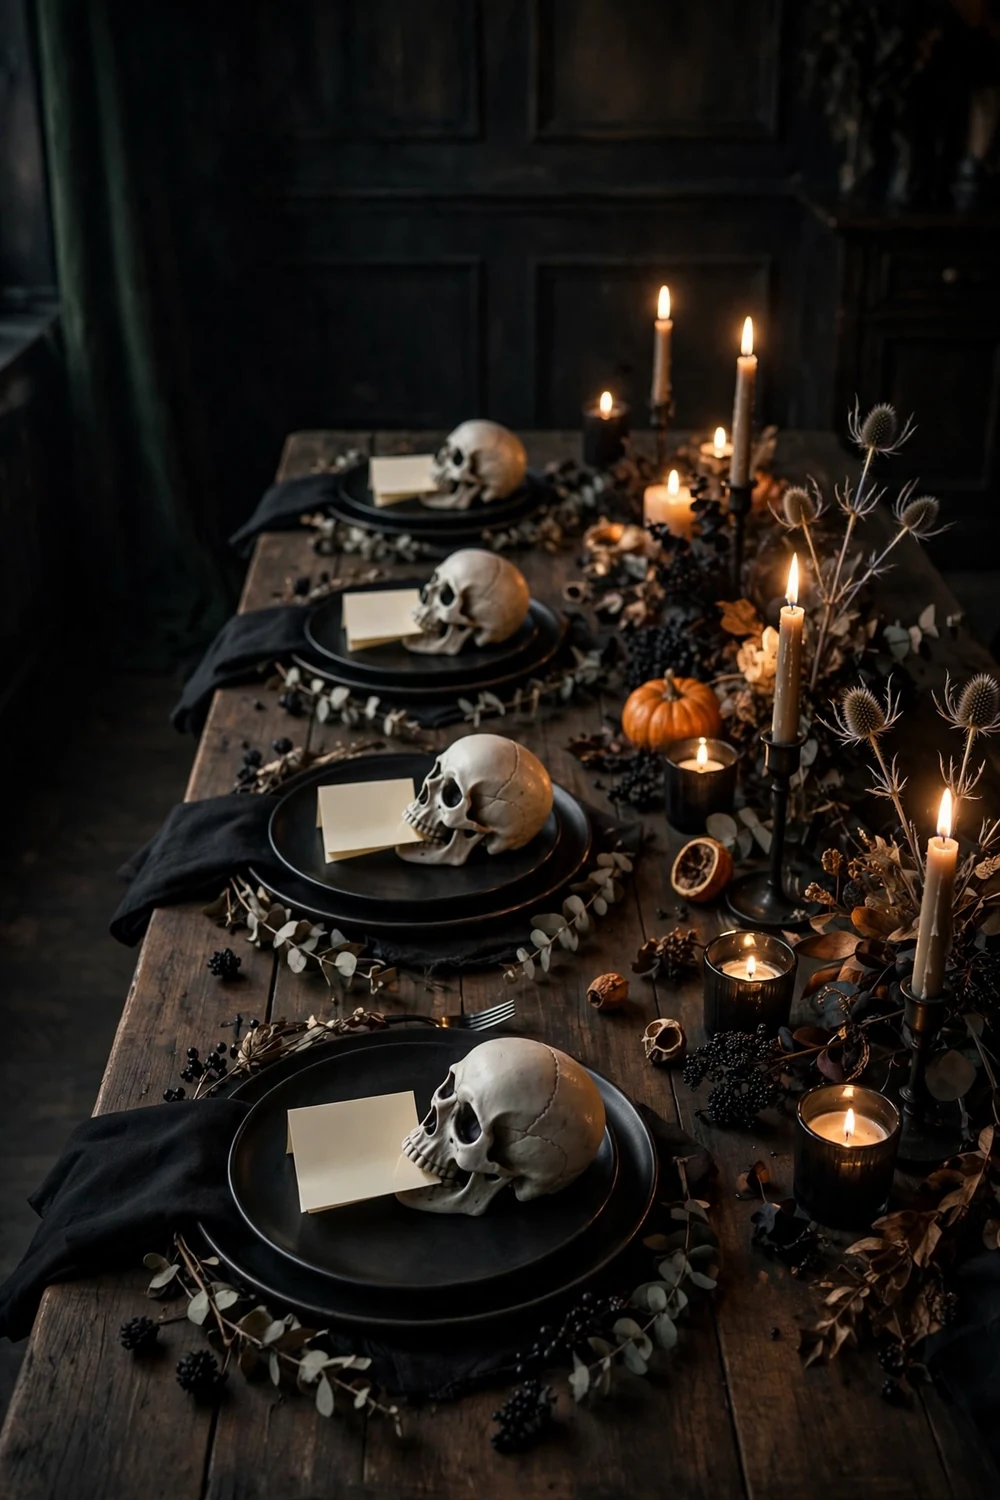
Prop small decorative skulls at each seat with a handwritten name card tucked against them or balanced on top. The skulls do the decorating and the cards do the seating plan in one move. Mini skulls come in multi-packs at craft and party stores, and kraft paper cards keep the look rustic. Write names in a metallic gold pen so they show up in candlelight.
Try this: lean each card at a slight angle against the skull so guests can read names from their chairs. Cost: $. Difficulty: easy, 20 minutes.
11. Velvet pumpkin trio
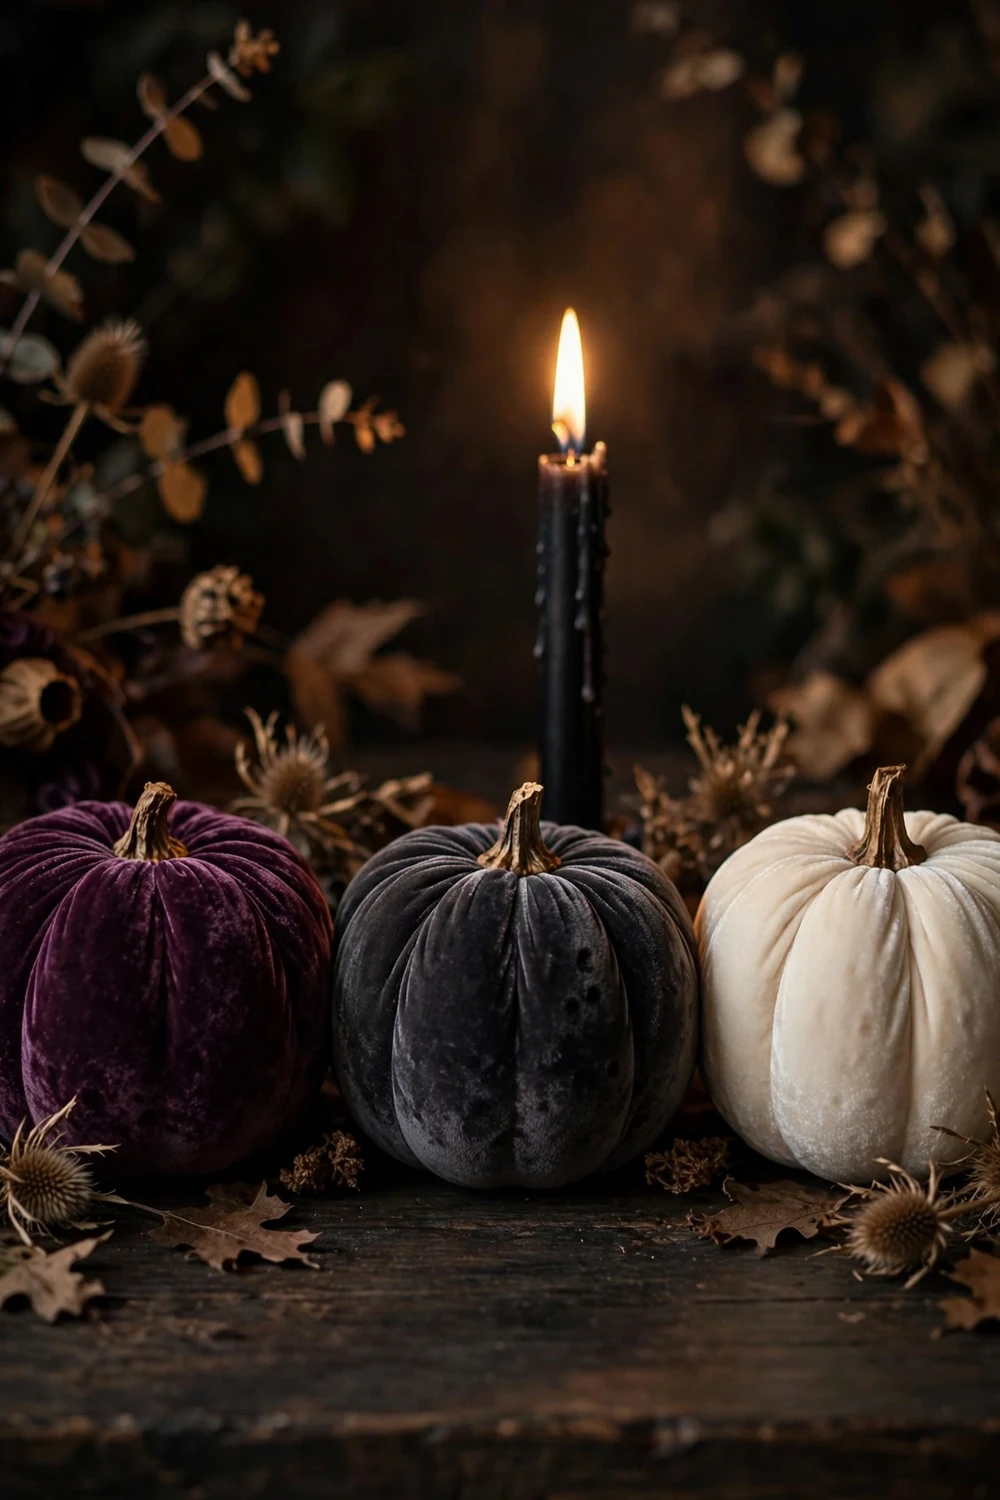
Arrange three velvet pumpkins in plum, charcoal, and cream in a loose row down the table. The soft fabric texture looks expensive against a dark tablecloth, and velvet pumpkins store flat so you can reuse them for years. Place the largest in the middle and angle the two smaller ones slightly outward. A black taper candle behind the group adds the glow.
Try this: mix real mini pumpkins in with the velvet ones so the textures contrast. Cost: $$. Difficulty: easy, 5 minutes.
12. Black lace over color
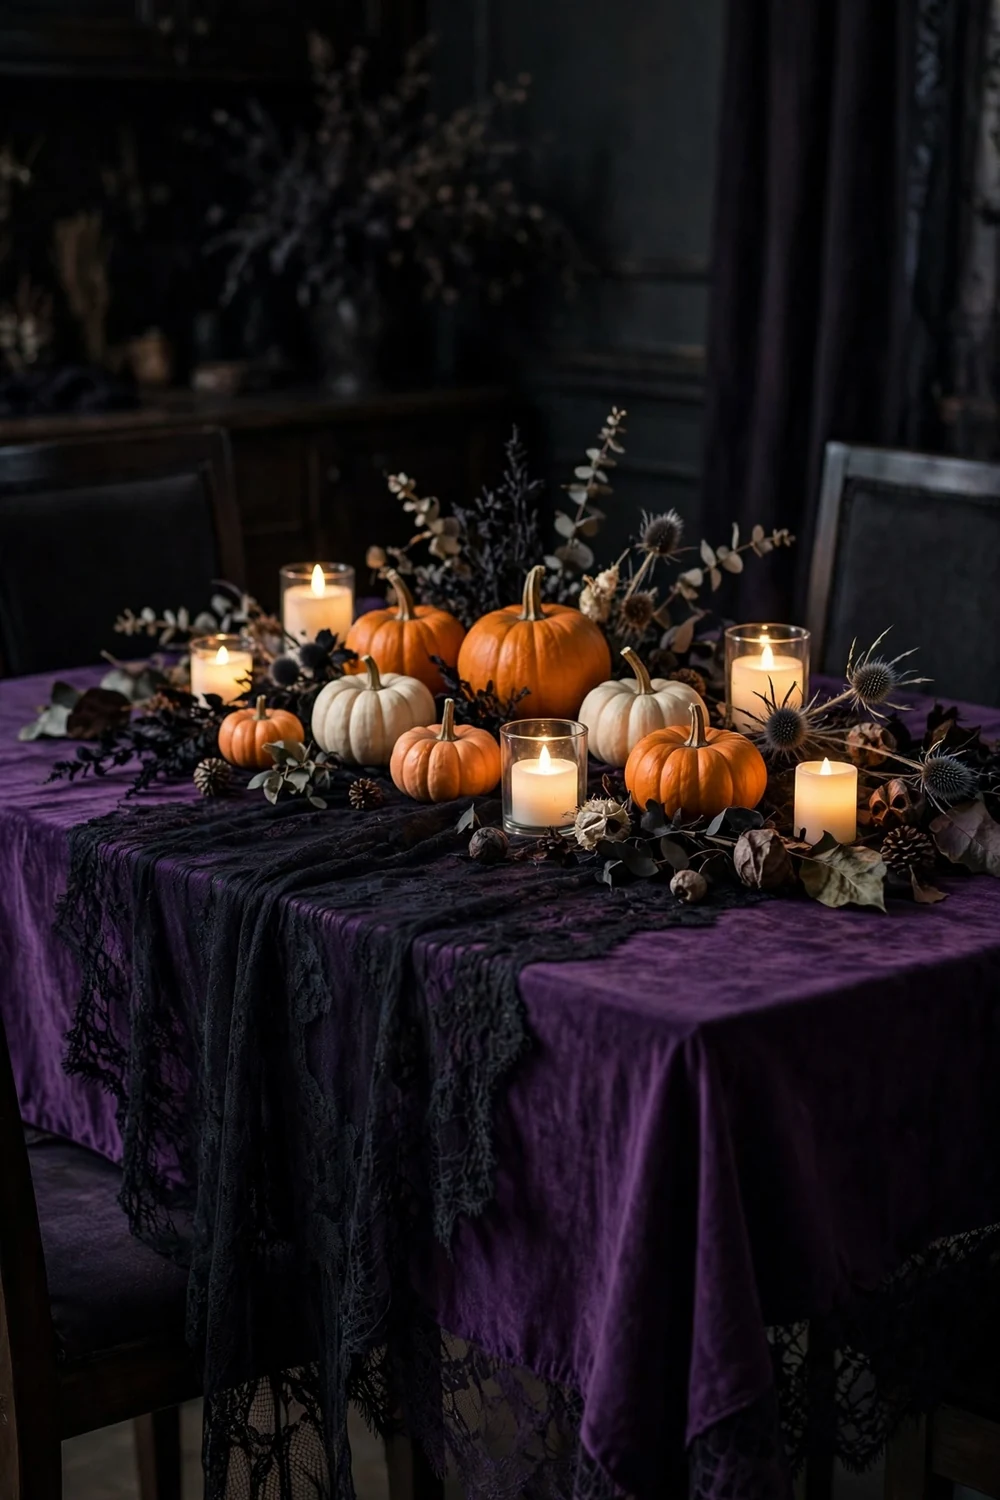
Lay a black lace runner or a length of lace fabric over a deep purple, burnt orange, or emerald tablecloth, letting the lace hang past the table edges. The pattern of the lace against the solid color underneath does all the visual work. This is one of the fastest ways to make an ordinary tablecloth look like a Halloween costume for your table.
Try this: layer two lace pieces at a slight angle so the patterns overlap and look richer. Cost: $$. Difficulty: easy, 10 minutes.
13. Cauldron candy station
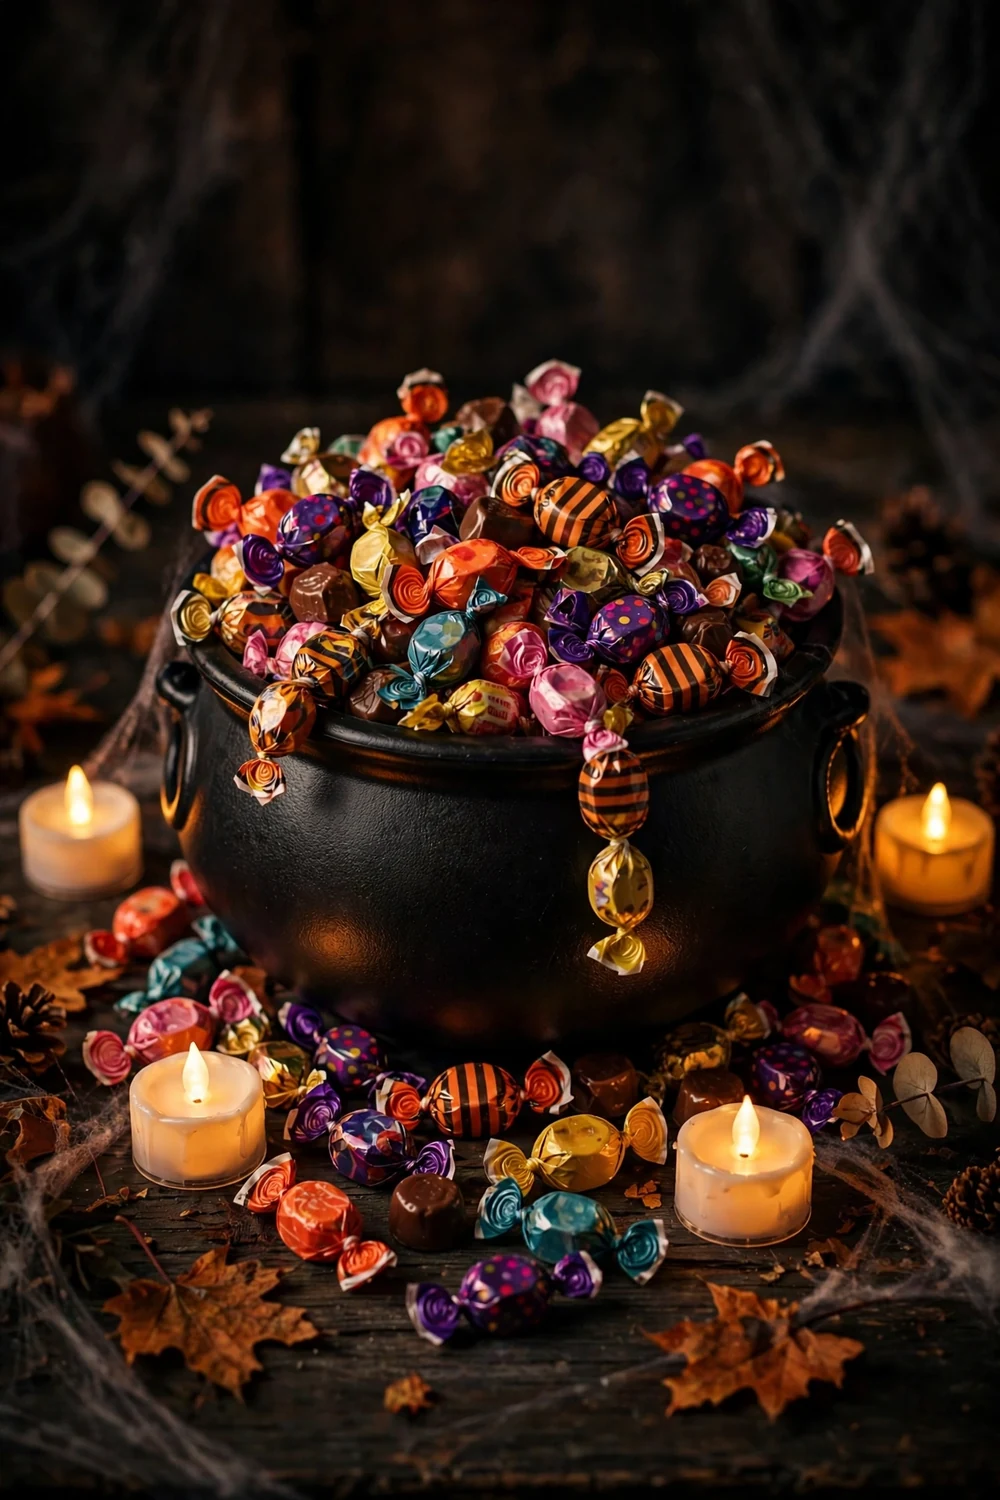
Fill a black plastic cauldron with individually wrapped candy and set it in the center of the table with LED candles around it. The cauldron is the centerpiece and the treat bowl in one, which saves both money and table space. Tuck a battery puck light under the candy so the whole cauldron glows from within when the room lights go down.
Try this: mound the candy high above the rim so the cauldron looks overflowing. Cost: $$. Difficulty: easy, 10 minutes.
14. DIY spiderweb placemats
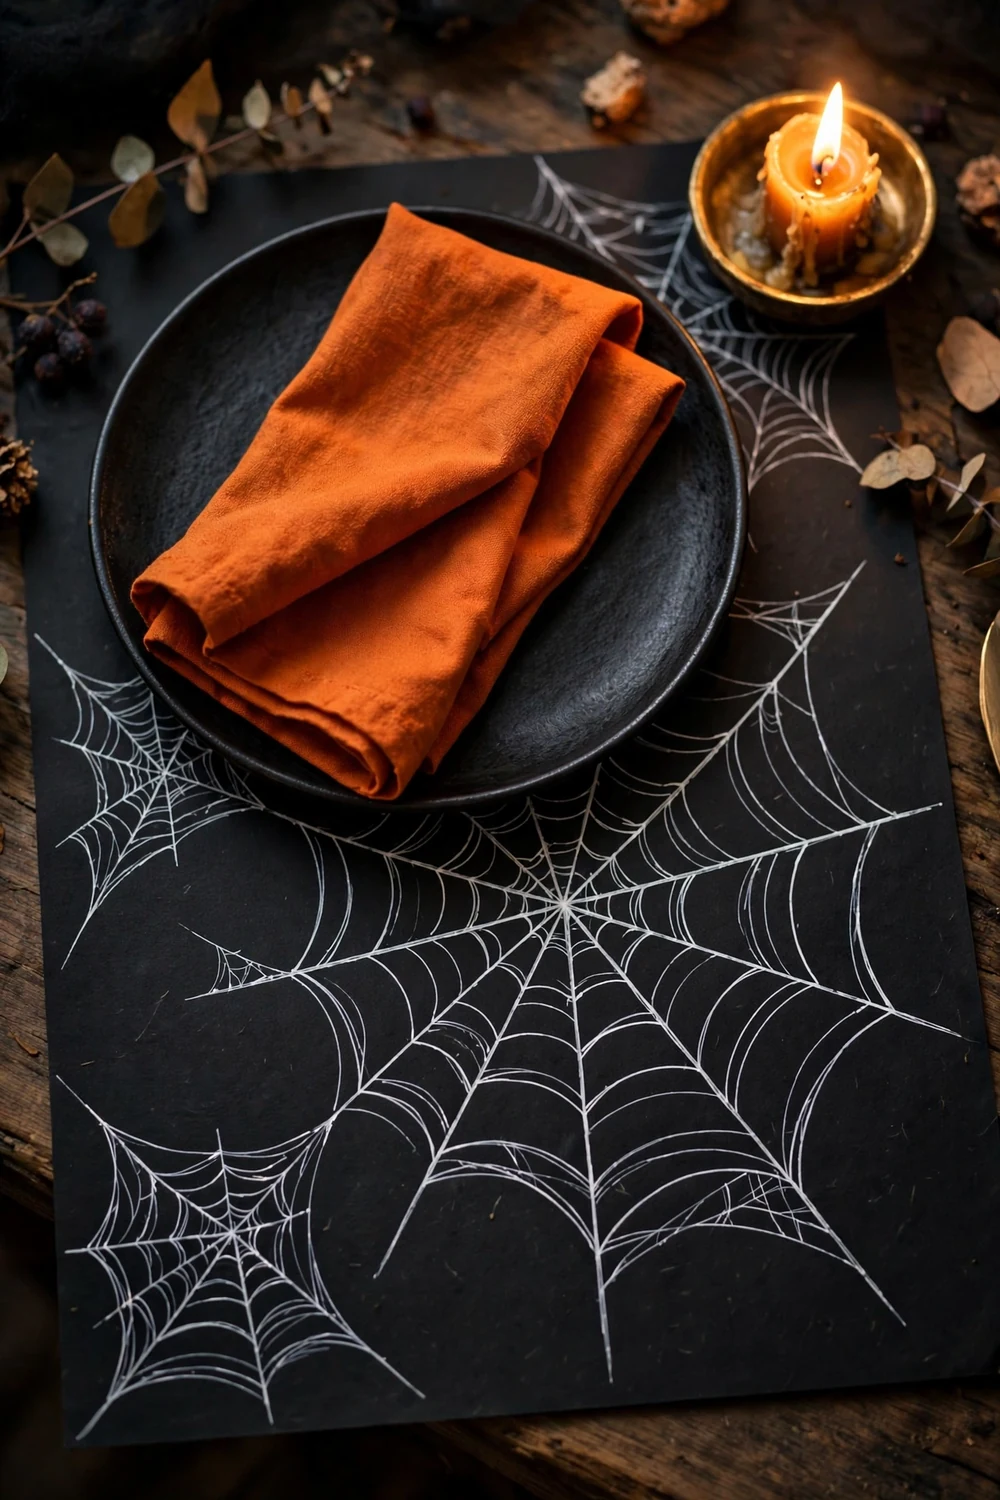
Cut black craft paper into placemat-sized rectangles and draw spiderwebs on each one with a white chalk marker. Start with a small X in the center, add curved lines between the spokes, and every mat takes about two minutes. The handmade webs look intentional and graphic against dark plates. Stack extras so every guest gets one.
Try this: draw each web slightly off-center so the set looks hand-drawn, not printed. Cost: $. Difficulty: easy, 25 minutes.
15. Tall taper drama
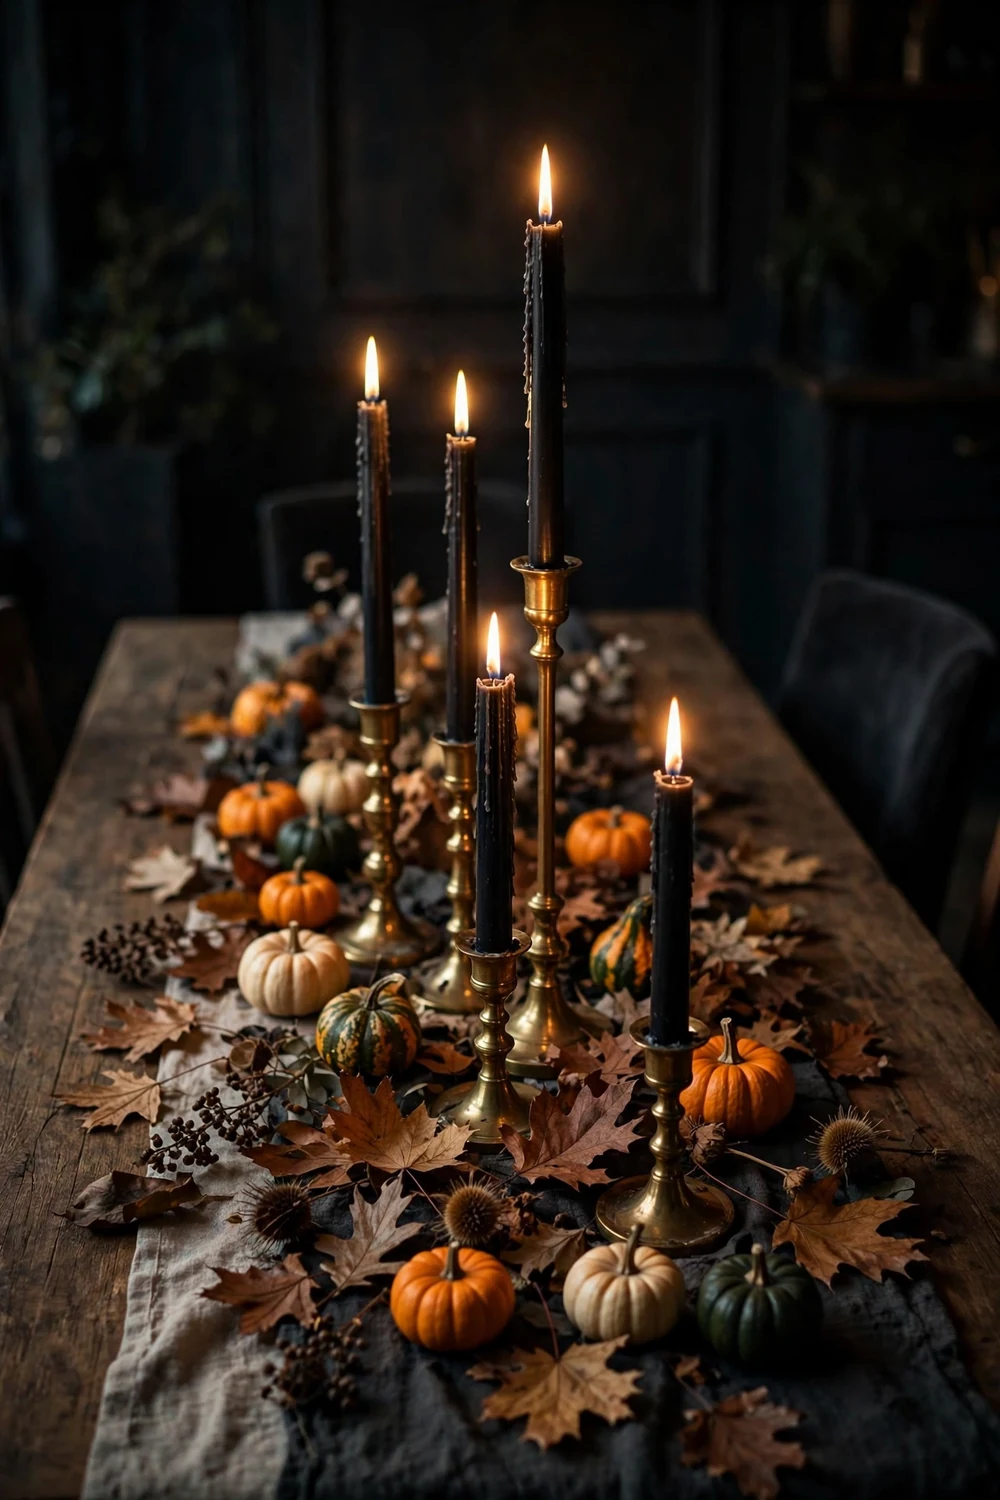
Line the table with tall black taper candles in brass or gold holders and scatter dried leaves and a few mini pumpkins between them. Height is the whole trick here. Tall candles pull the eye up and make a simple table feel like a banquet hall. Use drip-free tapers so wax never reaches the tablecloth, and keep paper or dried decor a few inches from each flame.
Try this: vary the taper heights by an inch or two instead of lining them up evenly. Cost: $$. Difficulty: easy, 15 minutes.
How to build a last-minute Halloween table in 30 minutes
Start with the tablecloth and runner, since they set the whole palette. Add your centerpiece next, then place candles and work outward with small fillers like leaves, spiders, and mini pumpkins. Set the place settings last so you are not reaching over plates. If you only have ten minutes, skip the place settings entirely and spend it all on the centerpiece and lighting.
Candle and kid safety for your Halloween table
Real candles and Halloween decor are a risky mix, since tables end up crowded with dried leaves, cheesecloth, paper bats, and excited kids. The National Fire Protection Association advises keeping candles at least 12 inches from anything that can burn and never leaving them unattended. Battery-operated LED candles give you the same flicker with none of the risk, which is why most of these ideas use them. If you do light real tapers, keep them clear of sleeves, costumes, and anything paper, and blow them out before the dessert course when attention drifts. Read the NFPA Halloween fire safety tips before the party for the full guidance.
If you want more seasonal table ideas after the holiday passes, see 30 Fall Entry Table Decor Ideas for styling that carries into November. For tiered displays that work on a dining table too, browse 25 Stunning Tiered Trays for Your Fall Decor.
Frequently asked questions
How can I decorate a Halloween table at the last minute?
Start with a dark tablecloth, add one strong centerpiece like a pumpkin row or candle cluster, and finish with LED candles. Two colors plus black keep it coordinated. Most of the ideas above take 10 to 20 minutes and use things you already own.
What colors work best for a Halloween tablescape?
Black with orange is the classic, but black with cream, plum, or metallic gold looks more elegant. Pick two colors plus black and repeat them in the runner, candles, and napkins so the table reads as one plan.
Are real candles safe on a Halloween dinner table?
They can be if you keep them 12 inches from anything flammable and never leave them unattended, but LED candles are the safer choice around dried leaves, cheesecloth, and paper decor. Use real tapers only in sturdy holders, well clear of sleeves and costumes.
How do I make a Halloween table look elegant instead of cheap?
Limit yourself to two colors, use real materials like velvet, glass, and brass, and let candlelight do the heavy lifting. One restrained palette with good lighting always looks more expensive than a table covered in novelty items.
Can I reuse my Halloween table decor for Thanksgiving?
Yes. Remove the black and spooky pieces, keep the candles, pumpkins, and dried leaves, and swap in warm harvest tones. Velvet pumpkins, brass holders, and neutral runners transition straight into Thanksgiving.
What should I put in the center of a Halloween table?
One focal point: a pumpkin row, a candle cluster, a cauldron of candy, or a dark floral arrangement. Keep it low enough that guests can see each other, and build outward with small fillers rather than adding a second centerpiece.
A last minute Halloween table is really about confidence, not crafts. Choose your two colors, build one strong centerpiece, light the candles, and let the room go dim. Nobody will know you started an hour ago, and honestly, that is half the fun.


