


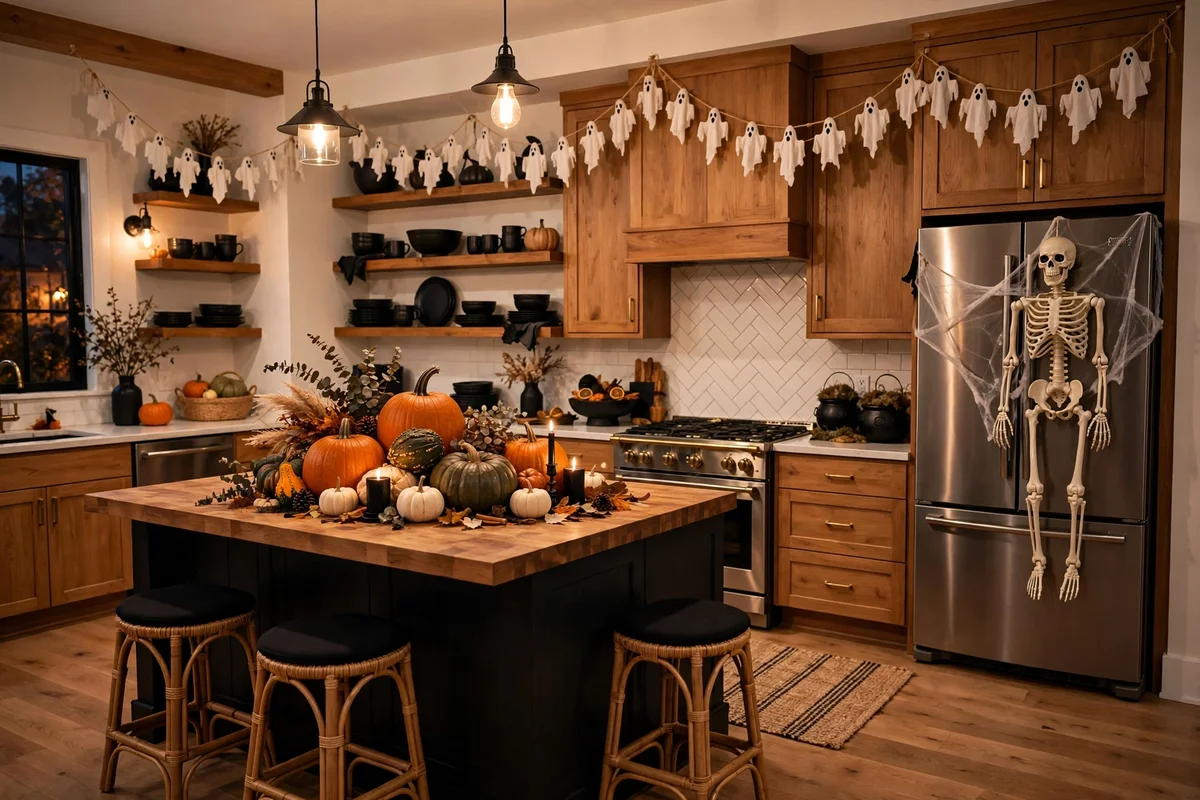
The kitchen is where everyone ends up at a Halloween party, which means it deserves better than a single pumpkin on the counter. But it is also a working room with hot burners, sharp knives, and food prep that cannot wait. Halloween kitchen decor has to look good without getting in the way of cooking or creating a fire risk.
These 18 Halloween kitchen decor ideas style every zone, from the fridge to the island to the open shelves, while keeping the kitchen safe and functional. Each idea includes cost and difficulty.
Quick takeaways
- Decorate zones, not the whole kitchen: island, shelves, fridge, window, coffee corner.
- Keep all decor at least 3 feet from stove burners and hot surfaces.
- Use flameless candles near dried florals, fabric, and paper.
- Leave one full prep zone completely clear for cooking.
- Faux pumpkins beat real ones in a warm kitchen: no rot, no fruit flies.
1. Skeleton on the Fridge
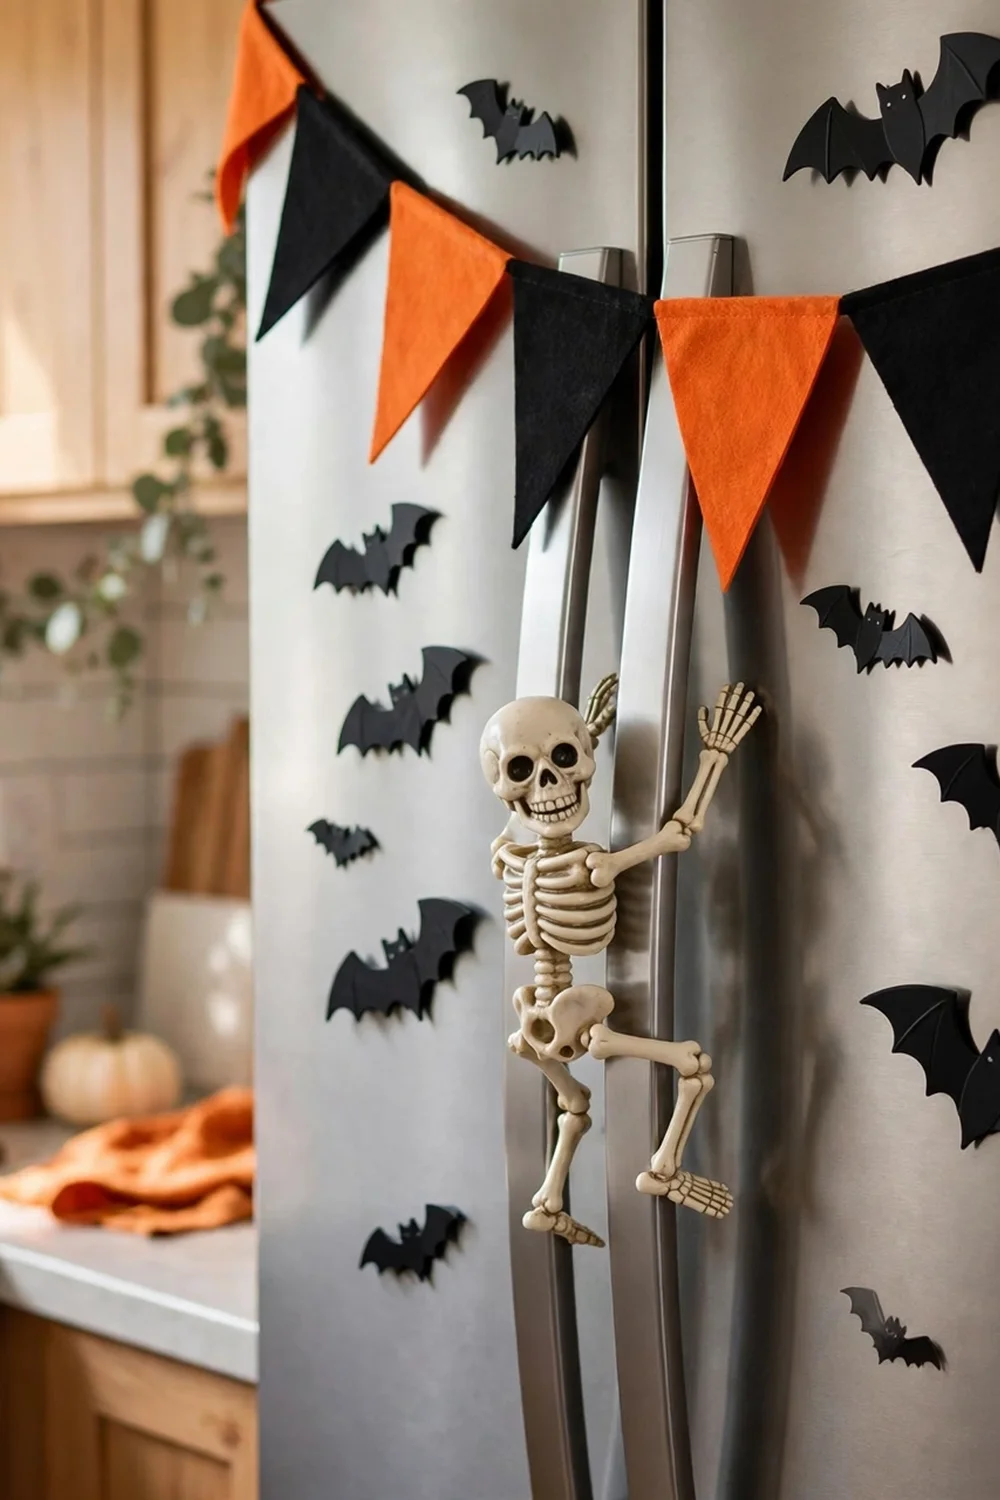
Pose a small skeleton clinging to the fridge door with magnetic hands and feet, or lean it against the top. Add a BOO banner across the fridge front and a few bat magnets. The fridge is usually the dullest surface in the kitchen, so decorating it makes a big impact for almost no money. This takes five minutes and comes down just as fast. Keep magnets away from the ice dispenser panel so nobody blocks it reaching for decor.
Try this: use removable adhesive dots instead of magnets on stainless steel that is not magnetic.
Cost: $| Difficulty: Easy
2. Halloween Coffee Corner
Turn your coffee station into a Halloween moment with skull mugs, potion-style syrup bottles, and a small sign. The coffee corner already draws the eye every morning, so a few themed swaps go far. For the full treatment, see these Halloween coffee bar ideas with 14 ways to style the station. Keep the decor behind the machine so the brew button stays reachable.
Try this: swap only the mugs and one sign to convert a fall coffee bar to Halloween.
Cost: $$| Difficulty: Easy

3. Cauldron Counter Display
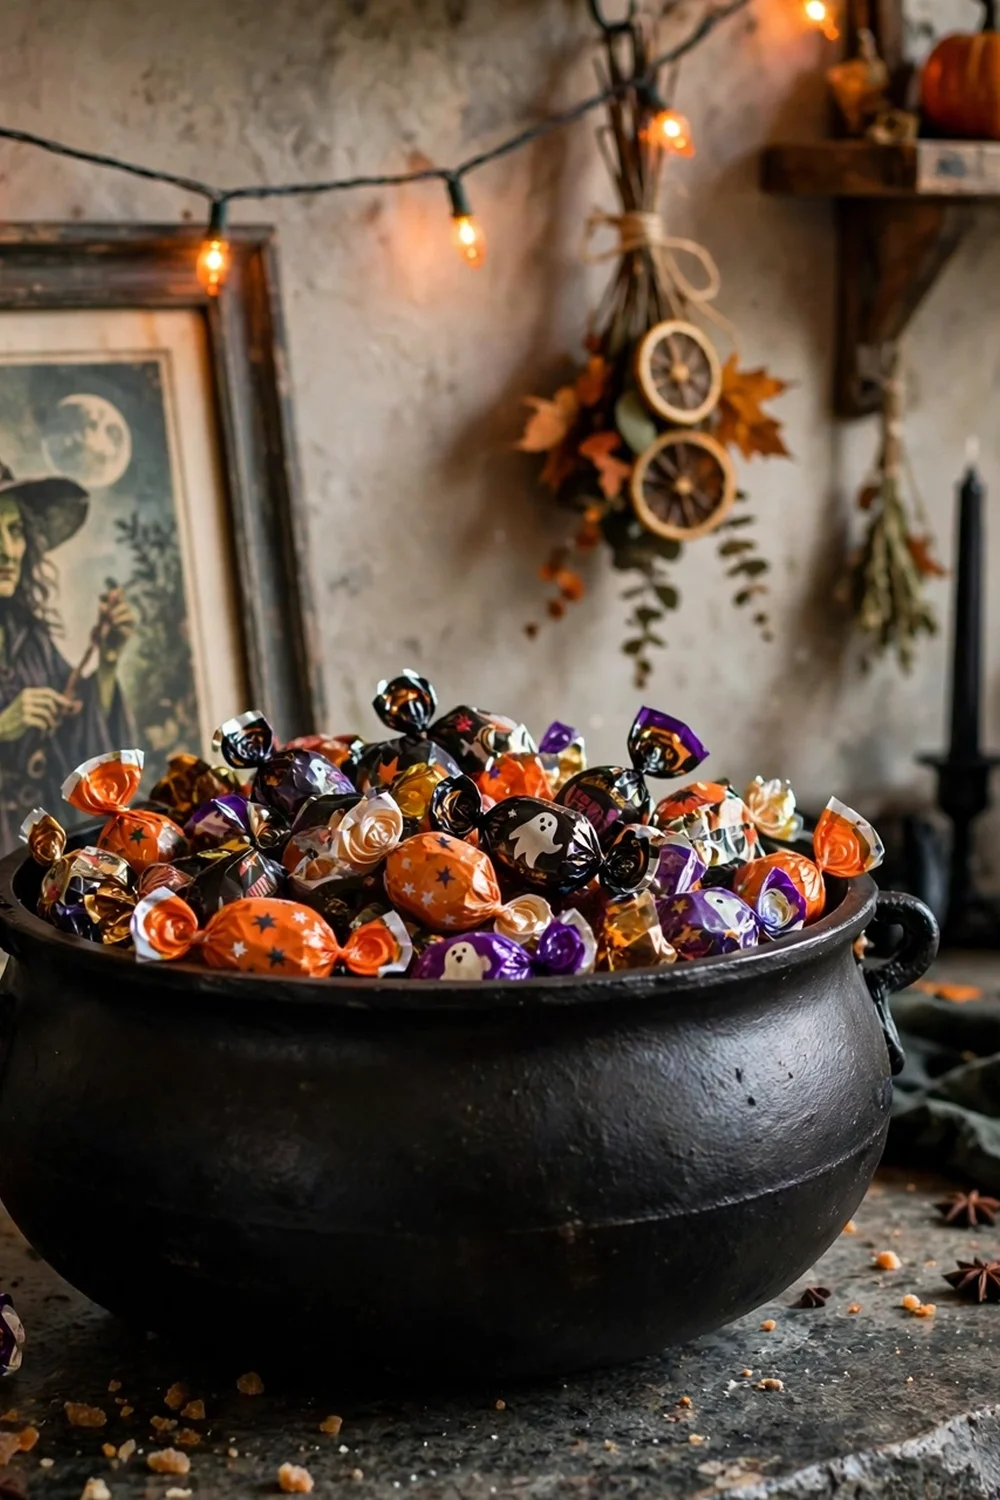
Set a medium black cauldron on the counter filled with faux dry ice fog from a small humidifier, or simply fill it with wrapped candy. Add a witch picture leaning behind it and a string of orange lights. The cauldron reads instantly as Halloween and works on any counter depth. Keep it away from the stove and sink splash zone. A plastic cauldron costs a few dollars and stores flat.
Try this: nest the cauldron on a round tray to catch candy wrappers and drips.
Cost: $$| Difficulty: Easy
4. Bat Branch Centerpiece
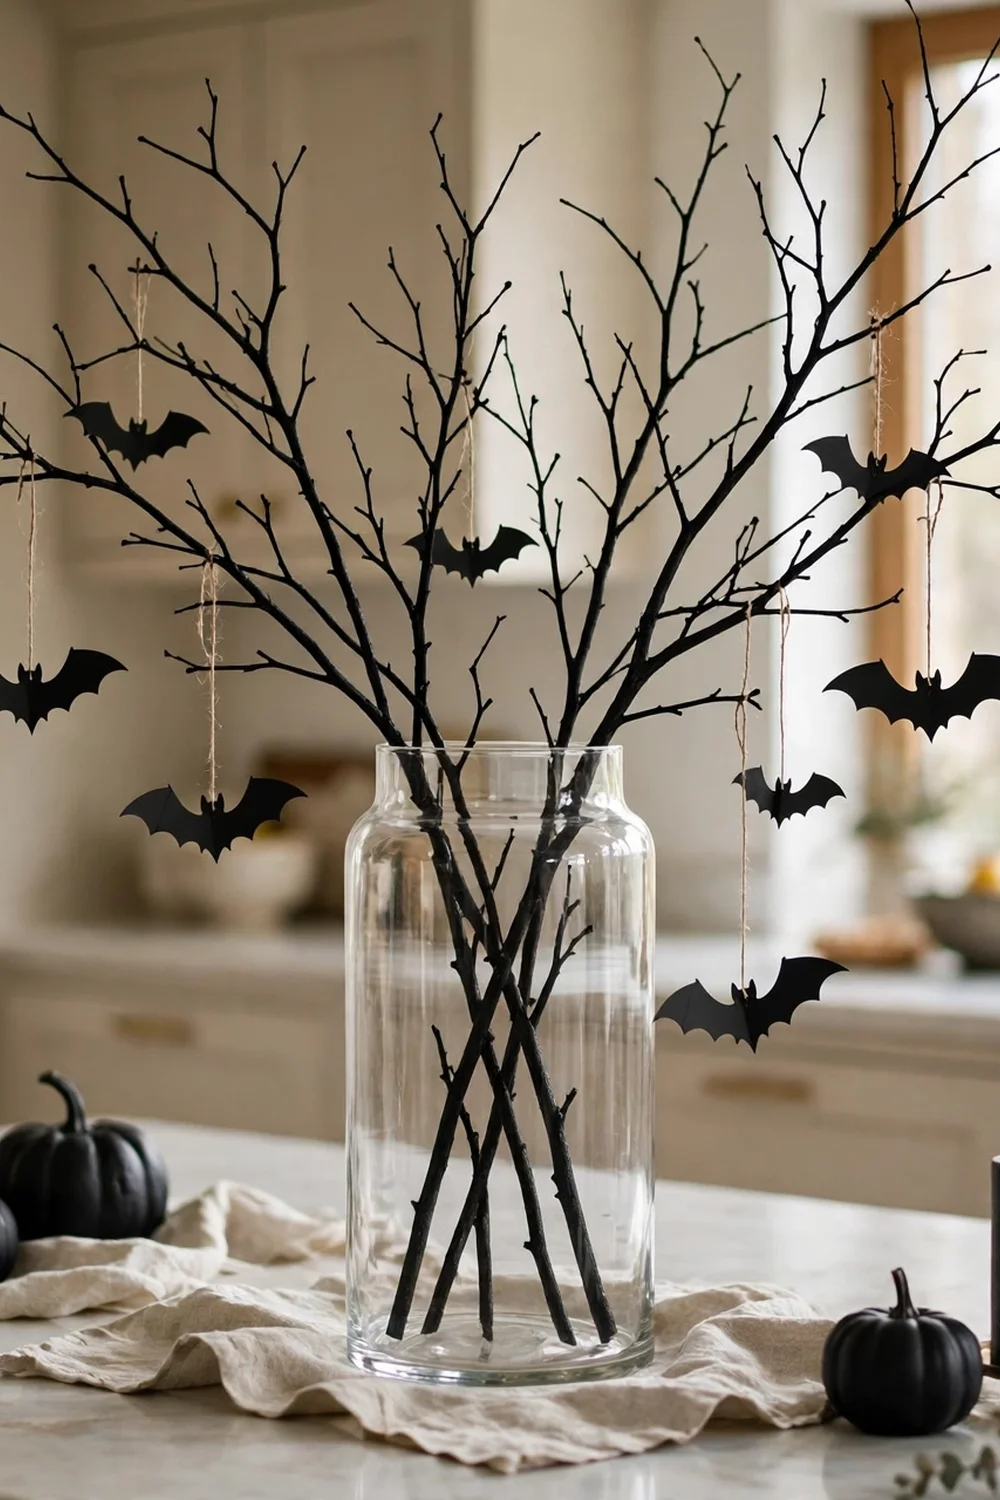
Put bare branches in a tall glass jar and hang small bat cutouts from them with thread. Set the jar on the kitchen table or island as a centerpiece. The branches look fancier than they are, and the whole thing costs under $10. Keep the jar away from the table edge where elbows pass. This also works on a sideboard if the island needs to stay clear for prep.
Try this: spray paint the branches matte black for a stronger silhouette.
Cost: $| Difficulty: Easy
5. Spooky Dish Towel Swap
Replace everyday dish towels, oven mitts, and the apron with Halloween versions in black, orange, and ghost prints. Textiles change the feel of the whole kitchen in minutes and cost little. Buy oven mitts with good heat protection, not just cute prints, since you will actually use them. Wash the new textiles once before first use to remove packaging stiffness.
Try this: hang one decorative towel on the oven handle and keep workhorse towels in a drawer.
Cost: $$| Difficulty: Easy

6. Pumpkin Spice Jar Labels
Relabel your everyday canisters and spice jars with kraft tags reading “Witch’s Brew,” “Spider Dust,” and “Pumpkin Spice.” The jars become decor while staying fully functional. Use removable labels so the jars go back to normal in November. This idea costs almost nothing and delights guests who read the labels. Keep the tags away from the stove where heat loosens adhesive.
Try this: write with a white paint pen on black tags for an apothecary look.
Cost: $| Difficulty: Easy

7. Ghost Garland Above Cabinets
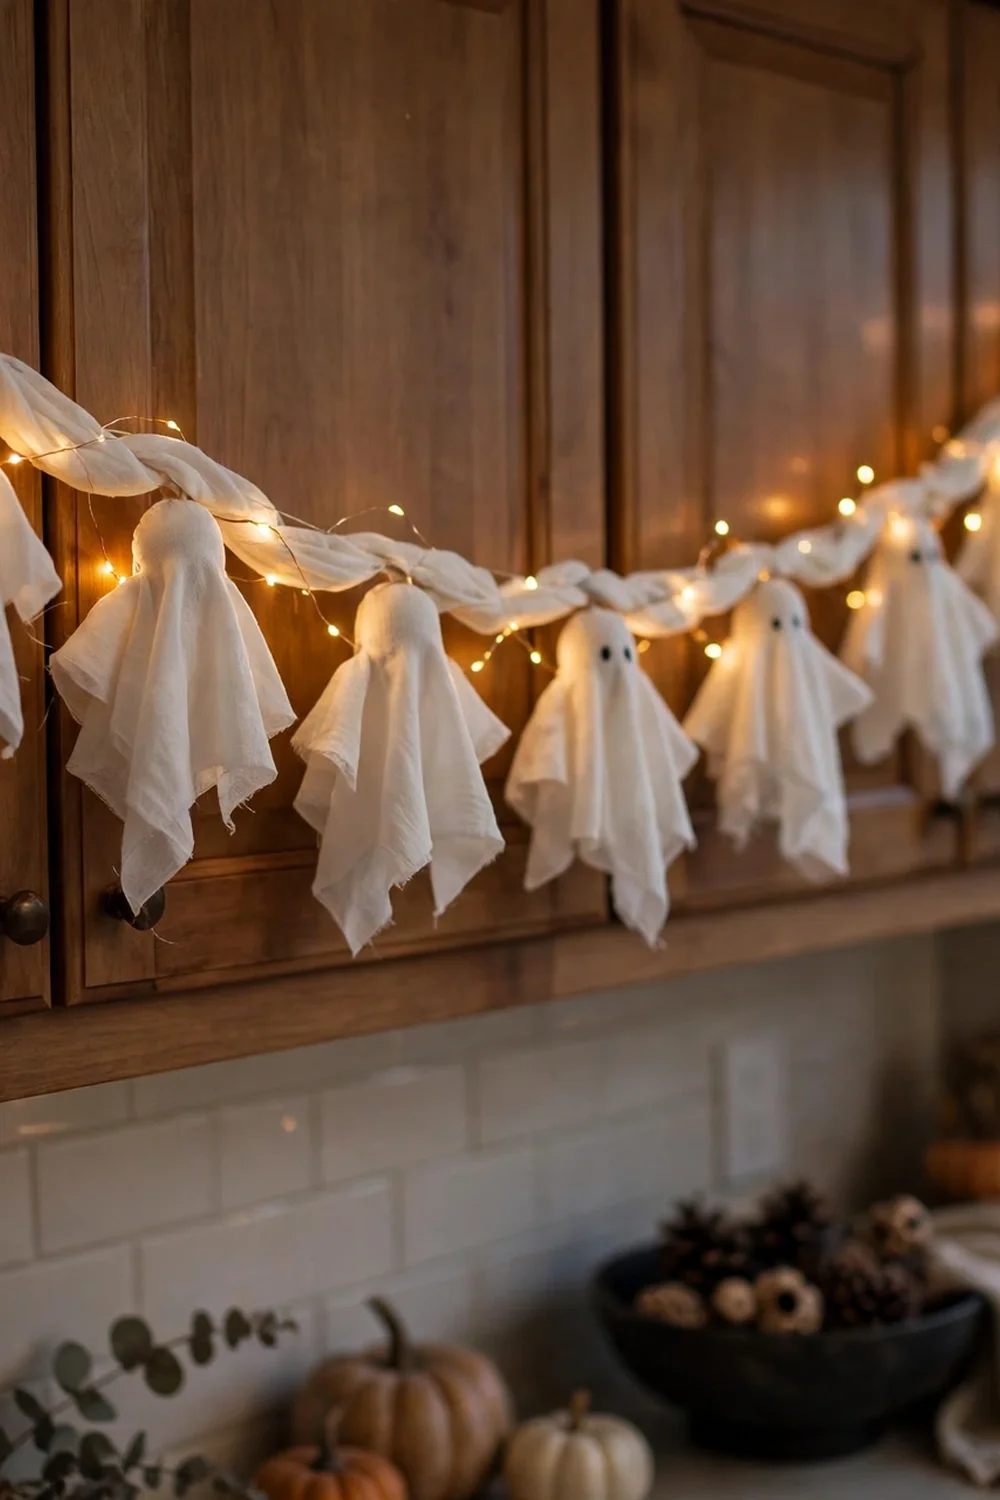
Drape a garland of white fabric ghosts or paper bats along the top of the kitchen cabinets. The high placement keeps decor out of the work zone entirely. Make the garland yourself with cheesecloth and string for under $5, or buy a pre-made one. Secure it with removable hooks, not nails. This is the best idea for small kitchens with no spare counter space.
Try this: weave battery fairy lights through the garland for evening glow.
Cost: $| Difficulty: Easy
8. Window Bat Decals
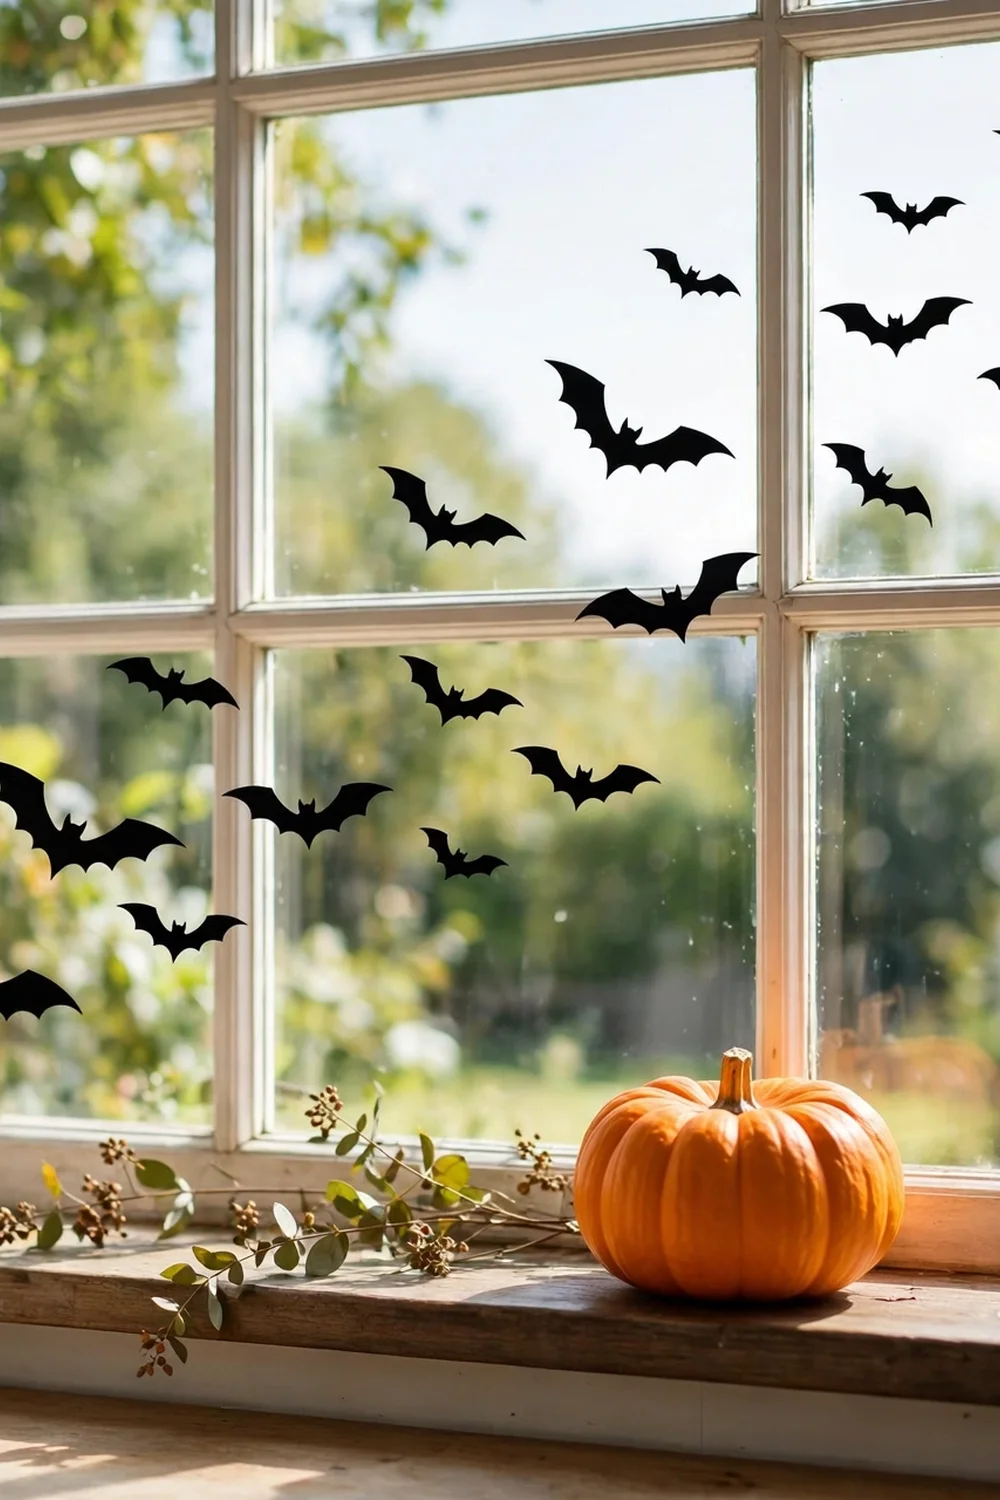
Stick removable bat decals on the kitchen window in a flight pattern. They take two minutes, cost a few dollars, and peel off cleanly. The window is an unused decorating surface in most kitchens. Pair with a small pumpkin on the sill. Keep decals off any window above the stove where heat and grease collect.
Try this: place the largest bat near the center and smaller ones trailing outward.
Cost: $| Difficulty: Easy
9. Tiered Tray Kitchen Island
Set a two-tier tray on the island with mini pumpkins, a black candle, ghost figurines, and a small bowl of candy. The tray keeps the display contained and lifts off in one motion when you need the island for prep. A tiered tray styled for fall needs only a few Halloween swaps to join the theme. Wipe the trays often since kitchen dust settles fast.
Try this: put the tray at one end of the island, never the center.
Cost: $$| Difficulty: Easy

10. Chalkboard Menu Board
Hang a small chalkboard near the stove or on the pantry door and write a spooky weekly menu: “Monday: Witch’s Brew Soup.” The board is functional decor that changes all month. Use chalk markers for clean lines that survive kitchen humidity. This costs under $10 and gives the kitchen a personal touch guests notice.
Try this: update the menu every Sunday to keep it fresh through October.
Cost: $| Difficulty: Easy

11. Open Shelf Halloween Styling
Restyle open shelves by swapping in black and orange dishware, stacking white pumpkins between plates, and tucking faux spiders among the jars. Work shelf by shelf so the kitchen never looks torn apart. Keep everyday dishes reachable and put decor on the higher shelves. This is the highest-impact idea for kitchens with open shelving because the shelves are always visible.
Try this: group items in threes and leave breathing room between groups.
Cost: $$| Difficulty: Medium

12. Fridge BOO Banner
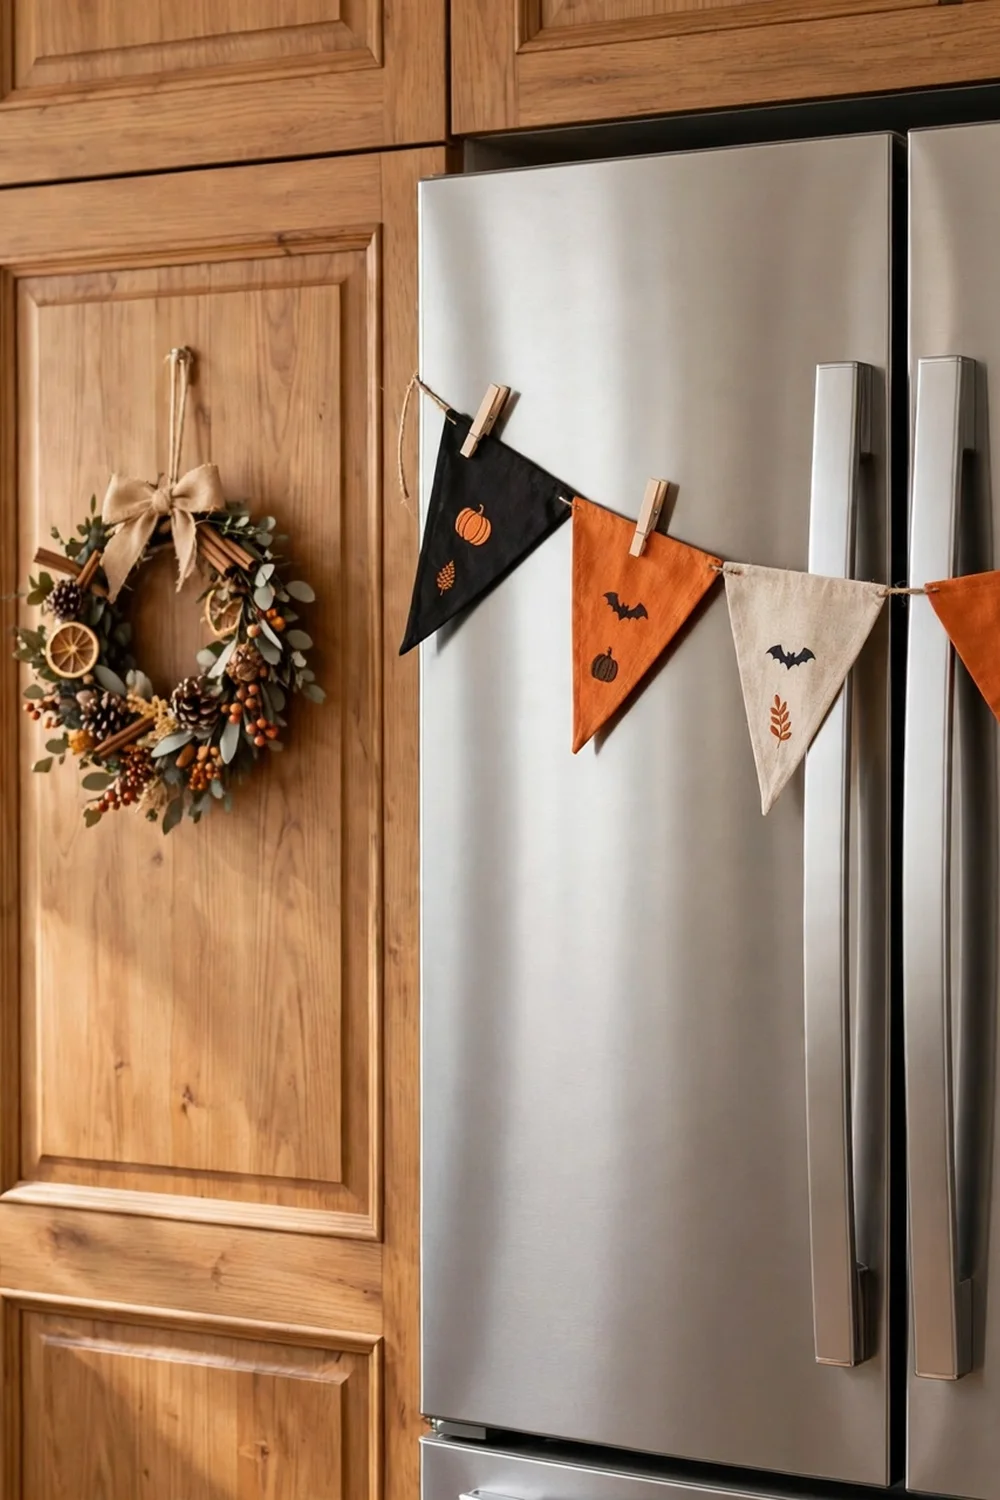
String a BOO banner across the fridge with magnetic clips or removable hooks. Pair it with a wreath on the pantry door for a coordinated look. The banner costs a few dollars and fills a big blank surface. Keep the letters large enough to read from across the kitchen. This works on any fridge finish with the right attachment.
Try this: layer the banner over the bat decals from the window idea for a fuller look.
Cost: $| Difficulty: Easy
13. Candy Corn Vase Filler
Fill a tall glass vase with layers of candy corn, then stick black branches or wheat stems in the top. The vase becomes a colorful centerpiece for the table or island. Use real candy corn only as decoration, not for eating afterward, since it collects dust. A bag of candy corn fills a large vase for a few dollars.
Try this: layer orange, yellow, and white sections to mimic a giant candy corn.
Cost: $| Difficulty: Easy

14. Haunted Pantry Door Wreath
Hang a wreath of black branches, mini pumpkins, and faux spiders on the pantry door. The door is a blank canvas most kitchens ignore. Use an over-the-door hook so there is no damage. Keep the wreath flat enough that the door still opens fully. This idea takes ten minutes and greets everyone who reaches for a snack.
Try this: add a battery-operated mini light string for evening visibility.
Cost: $$| Difficulty: Easy

15. Skull Salt and Pepper Set
Swap in a skull-shaped salt and pepper set on the table or island. Small functional swaps like this add theme without adding clutter. Skull shakers cost around $10 and get used daily, so they earn their space. Pair with black napkins for a coordinated table. This is the easiest idea on the list.
Try this: fill them the day they arrive so they join the table immediately.
Cost: $| Difficulty: Easy

16. Island Pumpkin Patch
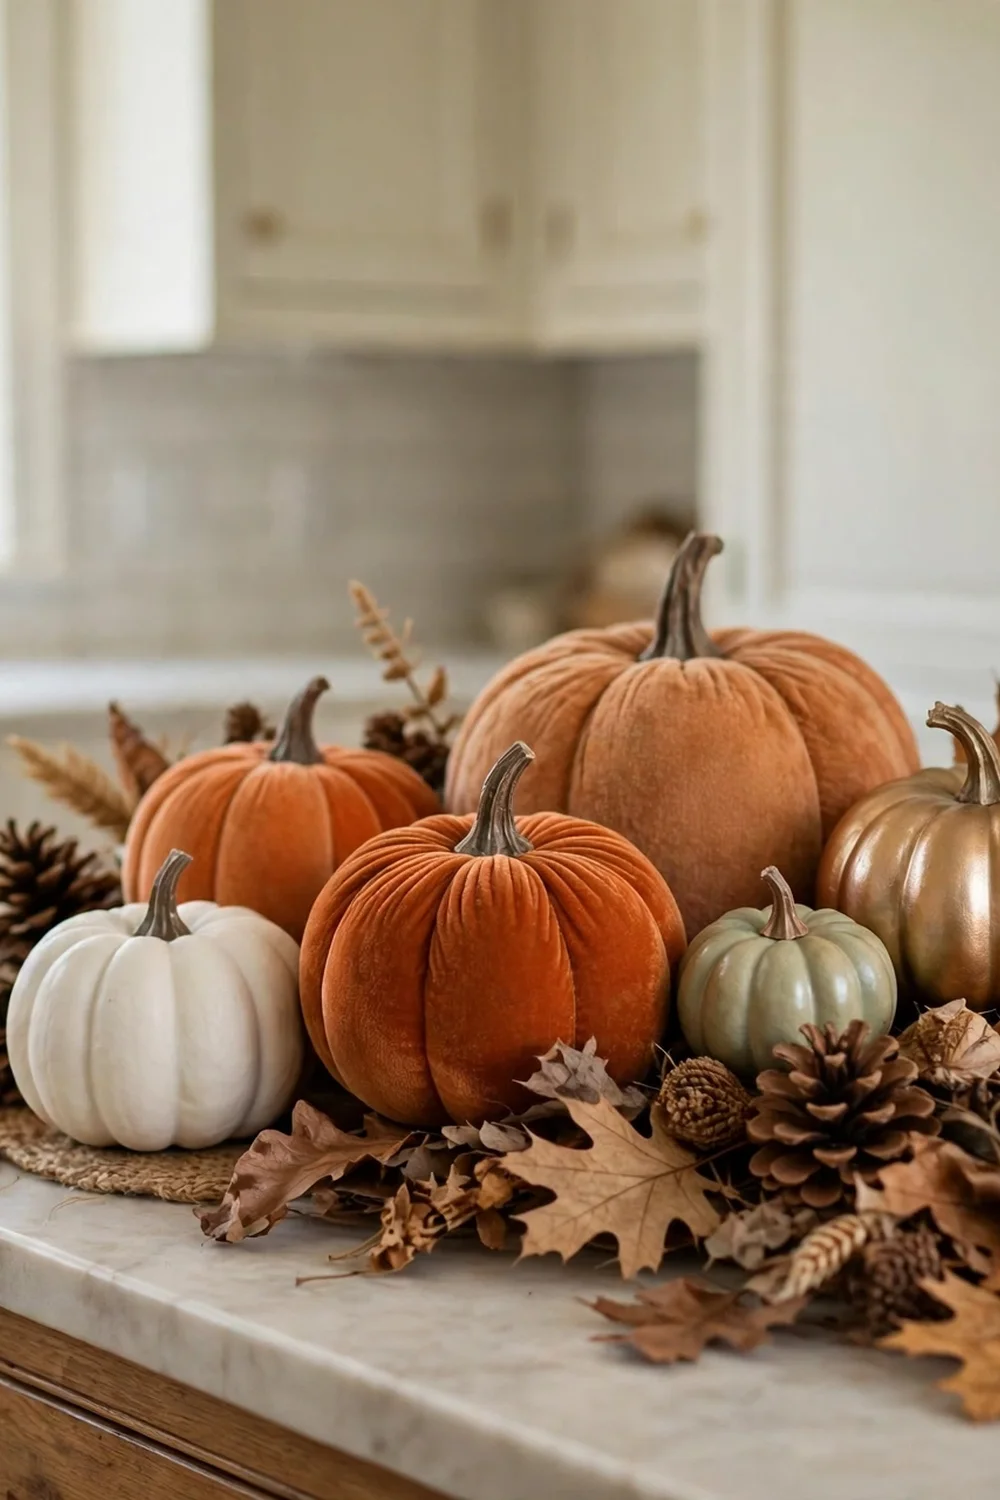
Cluster faux pumpkins in mixed sizes on one end of the island with dried leaves and pinecones scattered around the base. Faux pumpkins survive kitchen warmth without rotting. Keep the cluster tight at one end so the rest of the island stays clear for prep. This is the classic kitchen Halloween look and it works because it is simple.
Try this: mix matte and shiny pumpkin finishes for depth.
Cost: $$| Difficulty: Easy
17. Backsplash Ledge Styling
Line the small ledge along the backsplash beside the sink with mini pumpkins, a tiny ghost, and a flameless tea light. The ledge is dead space in most kitchens. Keep everything at least 3 feet from burners and out of the main prep path. Wipe the ledge items weekly since cooking grease settles on them.
Try this: use museum putty under each item so nothing slides when the counter shakes.
Cost: $| Difficulty: Easy
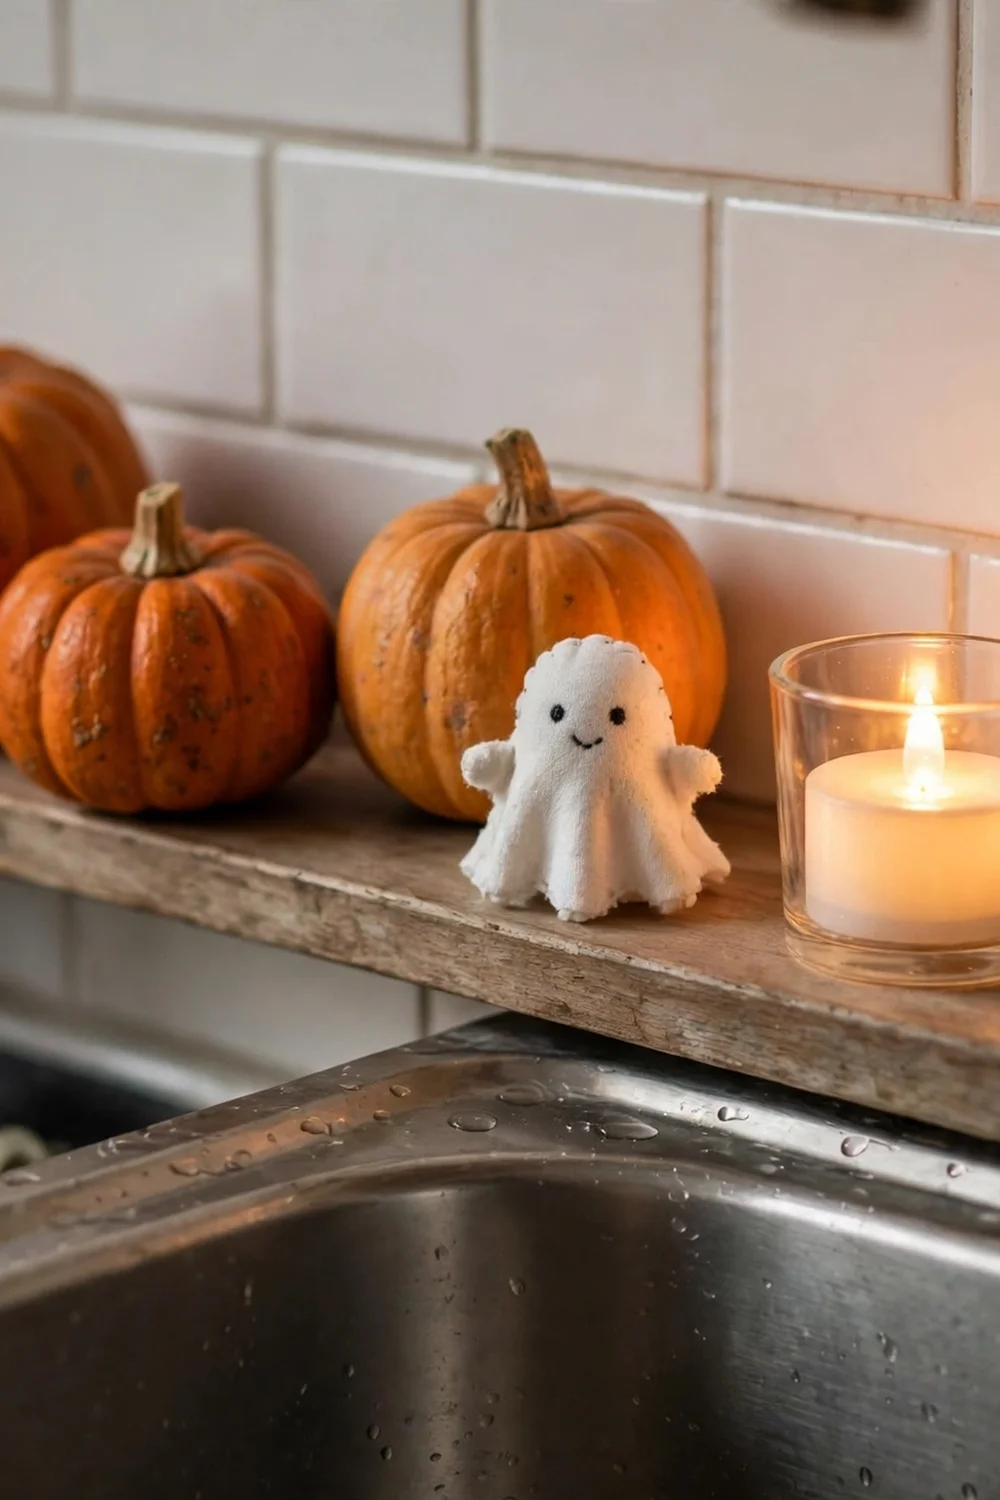
18. Floating Paper Ghosts
Hang white paper ghosts from the ceiling above the island with clear fishing line at different lengths. They look like they are floating and surprise everyone who walks in. Keep them high enough to clear heads and away from pendant lights, which get hot. Use battery tea lights nearby, never real candles under paper. Take them down before any steamy cooking session.
Try this: use three ghosts in graduated sizes for the best effect.
Cost: $| Difficulty: Medium

Where to decorate in the kitchen
How to decorate a kitchen that still cooks
Pick your zones and protect your prep space. Decorate the island end, the shelves, the fridge, and the window, but leave the main counter run by the stove completely clear. When you need to cook a big meal, every decoration should lift away in under two minutes.
Choose washable and wipeable decor for the kitchen. Ceramic, glass, and metal rinse clean. Fabric ghosts and paper garlands go high up, away from splatter, or they will not survive the month.
Mistakes that ruin Halloween kitchen decor
Decorating the stove area is the big one. Towels, garlands, and faux pumpkins near burners are a fire risk and they collect grease. Keep everything at least 3 feet from heat.
The second mistake is cluttering every surface. A kitchen needs clear counters more than it needs ten pumpkins. Pick three zones maximum. The third is using real pumpkins on warm counters, where they rot fast and attract fruit flies. Faux pumpkins cost more once and last for years.
Kitchen decor safety: heat and flames
Keep anything that can burn, oven mitts, towels, paper, dried florals, faux pumpkins, at least 3 feet from the stovetop. The NFPA cooking safety guide notes that most home cooking fires start with food or nearby materials igniting, and ranges account for over half of cooking fire incidents.
Use flameless candles everywhere in the kitchen. Real flames do not belong near paper ghosts, dried branches, or fabric garlands. The NFPA candle safety guide reports that decor placed too close to candles starts a large share of home candle fires. Battery candles give the same glow with none of the risk.
Hosting a Halloween gathering? These non-alcoholic fall drinks keep every guest happy. A tiered tray styled for fall on the island pulls the whole kitchen together.
Frequently asked questions
How do I decorate my kitchen for Halloween without cluttering counters?
Decorate vertical and unused surfaces: the fridge front, the window, above the cabinets, and open shelves. Keep counters to one contained display, like a tiered tray on the island end. If a surface is needed for prep, it stays clear.
How far should decor be from the stove?
At least 3 feet from burners and other hot surfaces. That includes towels, garlands, faux pumpkins, paper, and dried florals. The area right beside the stove should hold only cooking tools.
Are real pumpkins okay in a warm kitchen?
Faux pumpkins are the better pick. Real pumpkins soften fast in kitchen warmth and attract fruit flies within days. If you love real ones, keep them for the porch and use faux versions inside.
What are the best Halloween decorations for a small kitchen?
Fridge magnets and banners, window decals, a garland above the cabinets, and one small tray on the counter. All of these use zero counter space. Skip the island pumpkin patch if there is no island.
When should I decorate the kitchen for Halloween?
Early October gives you a full month of enjoyment. Textiles and shelf styling can go up first; anything with real food or candy waits until closer to Halloween. Take it all down the first week of November.
How do I keep Halloween kitchen decor clean while cooking?
Choose ceramic, glass, and metal pieces that wipe clean. Keep fabric and paper decor high or far from the stove. Wipe ledge and shelf items weekly since cooking grease settles on everything in a kitchen.
Conclusion
Halloween kitchen decor works when it respects the room. Style the fridge, the shelves, and the island end, keep everything away from heat, choose flameless candles, and the kitchen will feel festive without slowing down a single meal.
If you enjoyed this, you’ll love our 20 Small Kitchen Halloween Decor Ideas That Keep Counters Clear.


