



A small kitchen gives you almost no spare surface, so Halloween decor has to earn every inch it takes. One oversized pumpkin on the only prep counter and suddenly you are chopping vegetables on a cutting board balanced over the sink.
This guide shows 20 ideas built for tight kitchens and rentals. Each one uses vertical space, swaps, or a single contained vignette, with real costs and a difficulty label so you know exactly what you are getting into. I keep my own galley kitchen Halloween-ready with about five of these and it still cooks like a normal kitchen.
- Decorate vertical surfaces first: cabinet fronts, shelves, windows, and the fridge use zero counter space.
- Corral counter decor on one tray so you can lift the whole display away when you cook.
- Swap textiles instead of buying props: dish towels, potholders, and a runner change the whole room for under $20.
- Use battery candles near anything dried or papery; keep real flames clear of towels, garlands, and cabinets.
- Every idea here is renter-friendly and comes down in minutes with no marks left behind.
1. Corralled mini pumpkin tray
Start with one tray and let it hold everything. A wooden or black metal tray about 12 by 18 inches fits a cluster of mini pumpkins, a small lantern, and a sprig of dried wheat without spreading across your prep zone. When you need the counter, you lift one tray instead of twelve loose objects. Mini pumpkins run about $1 each at grocery stores in October, and a tray from a thrift store costs $4 to $8.
Try this: put a folded dark linen napkin under the tray so the arrangement looks finished and the tray does not slide. Cost: $$. Difficulty: Easy.
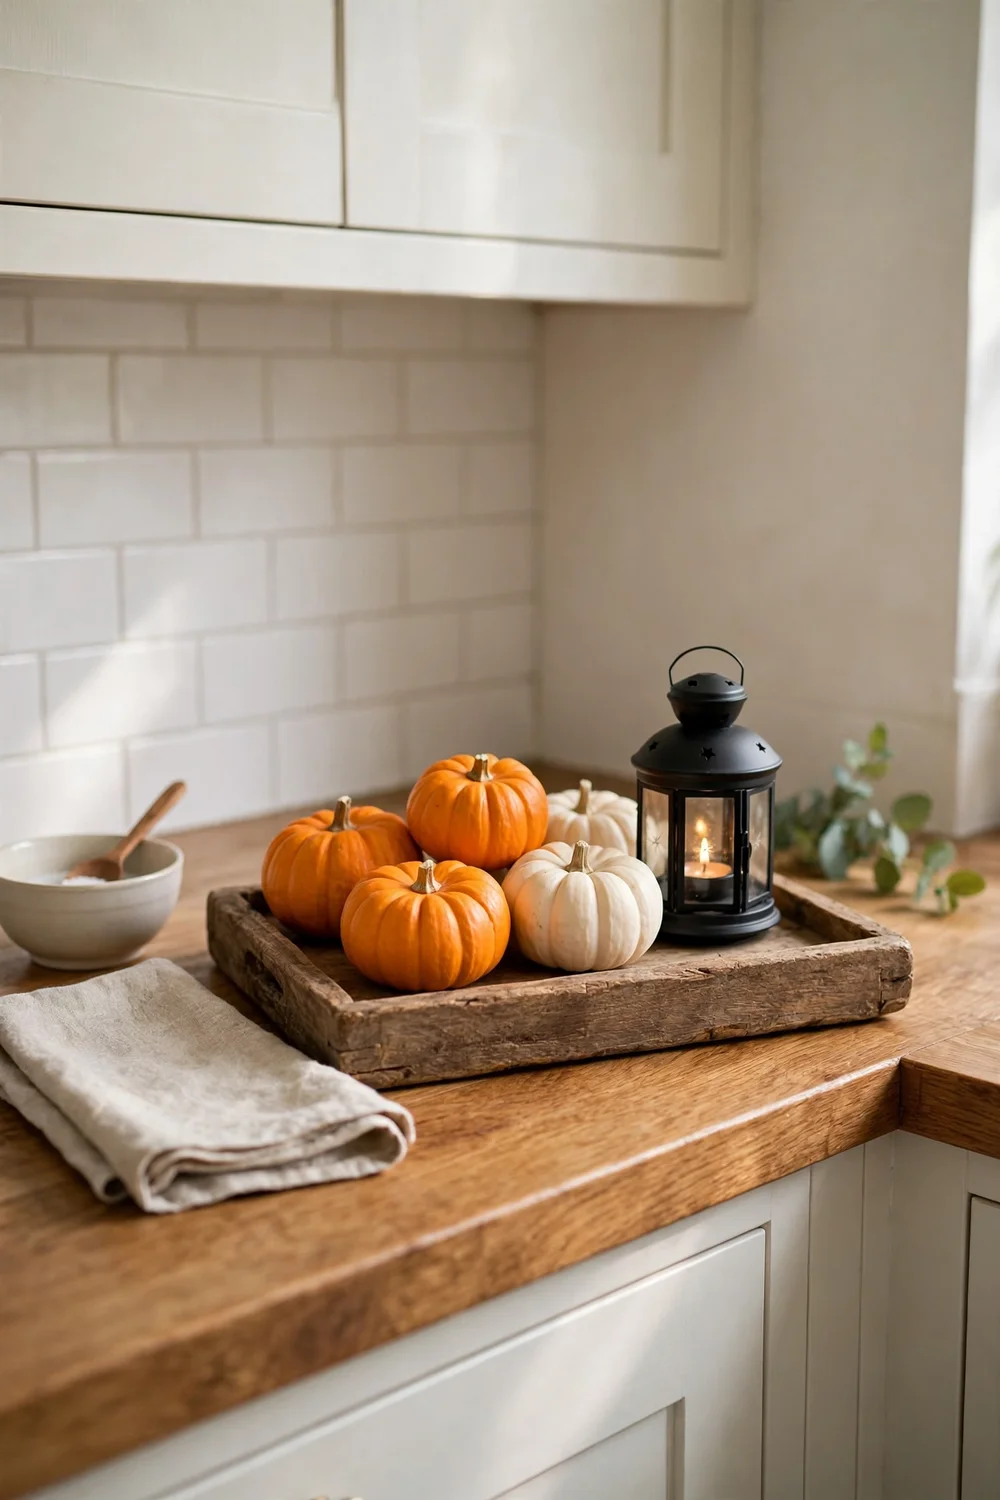
2. Dish towel and potholder swap
The fastest change in a small kitchen is textiles. Swap your everyday dish towels and potholders for black, orange, or pumpkin-print versions and the whole room reads Halloween with zero added clutter. Sets of two Halloween dish towels sell for $6 to $12, and they wash and reuse for years. Hang one on the oven handle where guests see it first.
Try this: match the towel color to your mini pumpkins so two cheap swaps look like one planned scheme. Cost: $$. Difficulty: Easy.

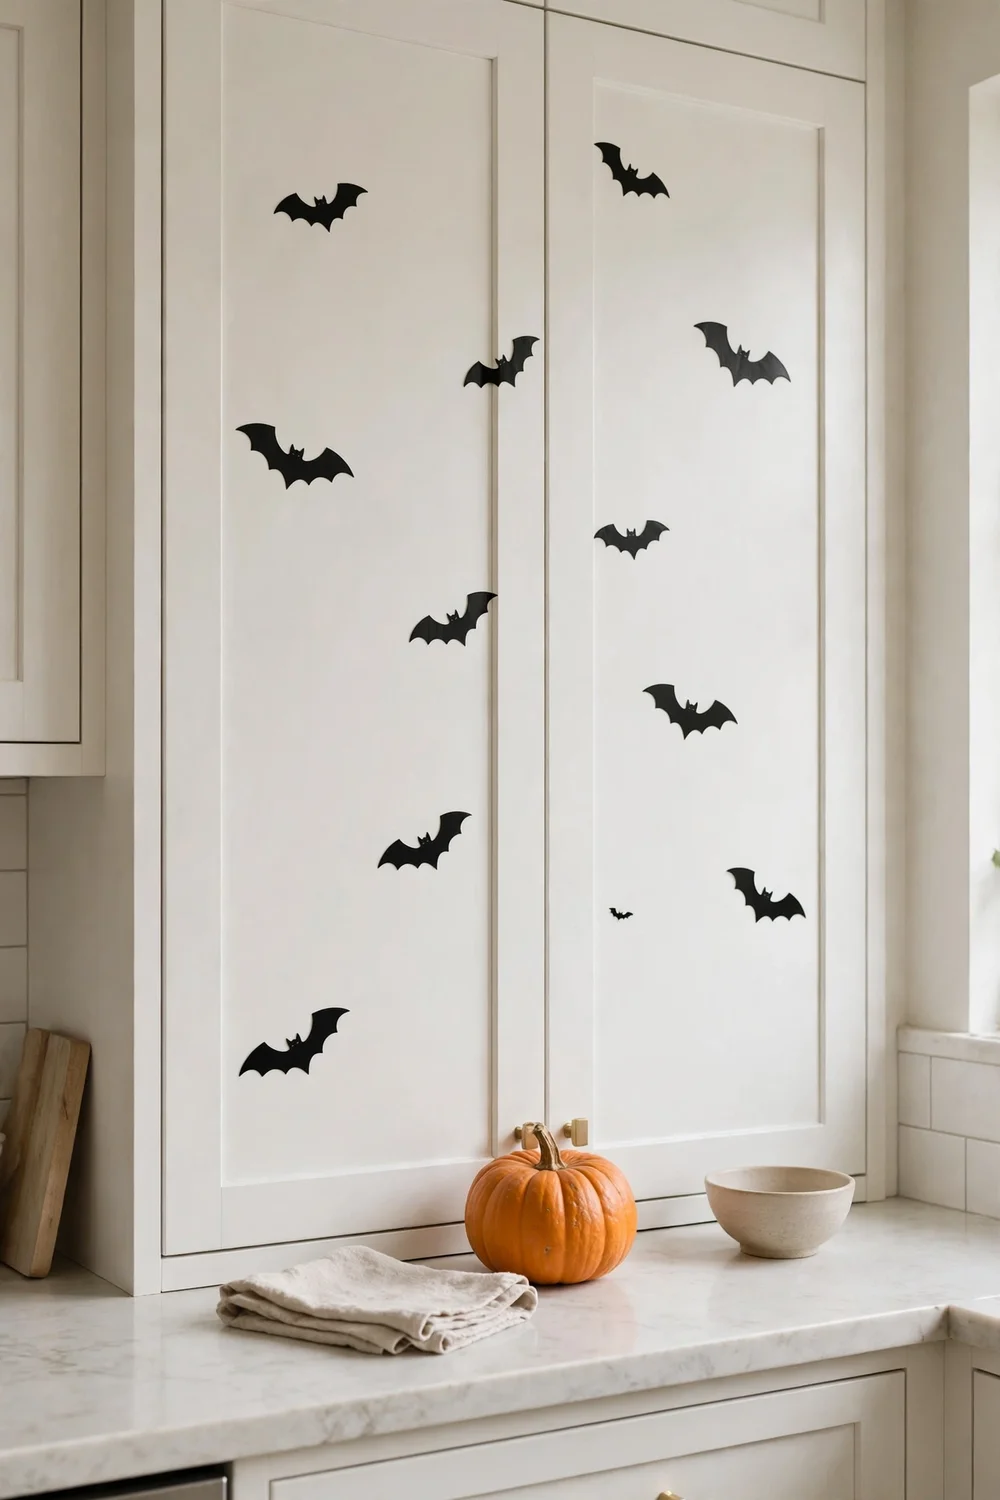
3. Removable bat decals on cabinet fronts
Plain cabinet fronts are free decorating real estate in a small kitchen. A sheet of removable vinyl bats costs about $5 and covers several cabinet doors, and they peel off in November without residue. Place them flying upward from a corner so the eye moves up and the kitchen feels taller. This works on painted wood, laminate, and glass fronts.
Try this: test one decal behind a door first, then press the rest on firmly so edges do not curl in steamy kitchens. Cost: $. Difficulty: Easy.
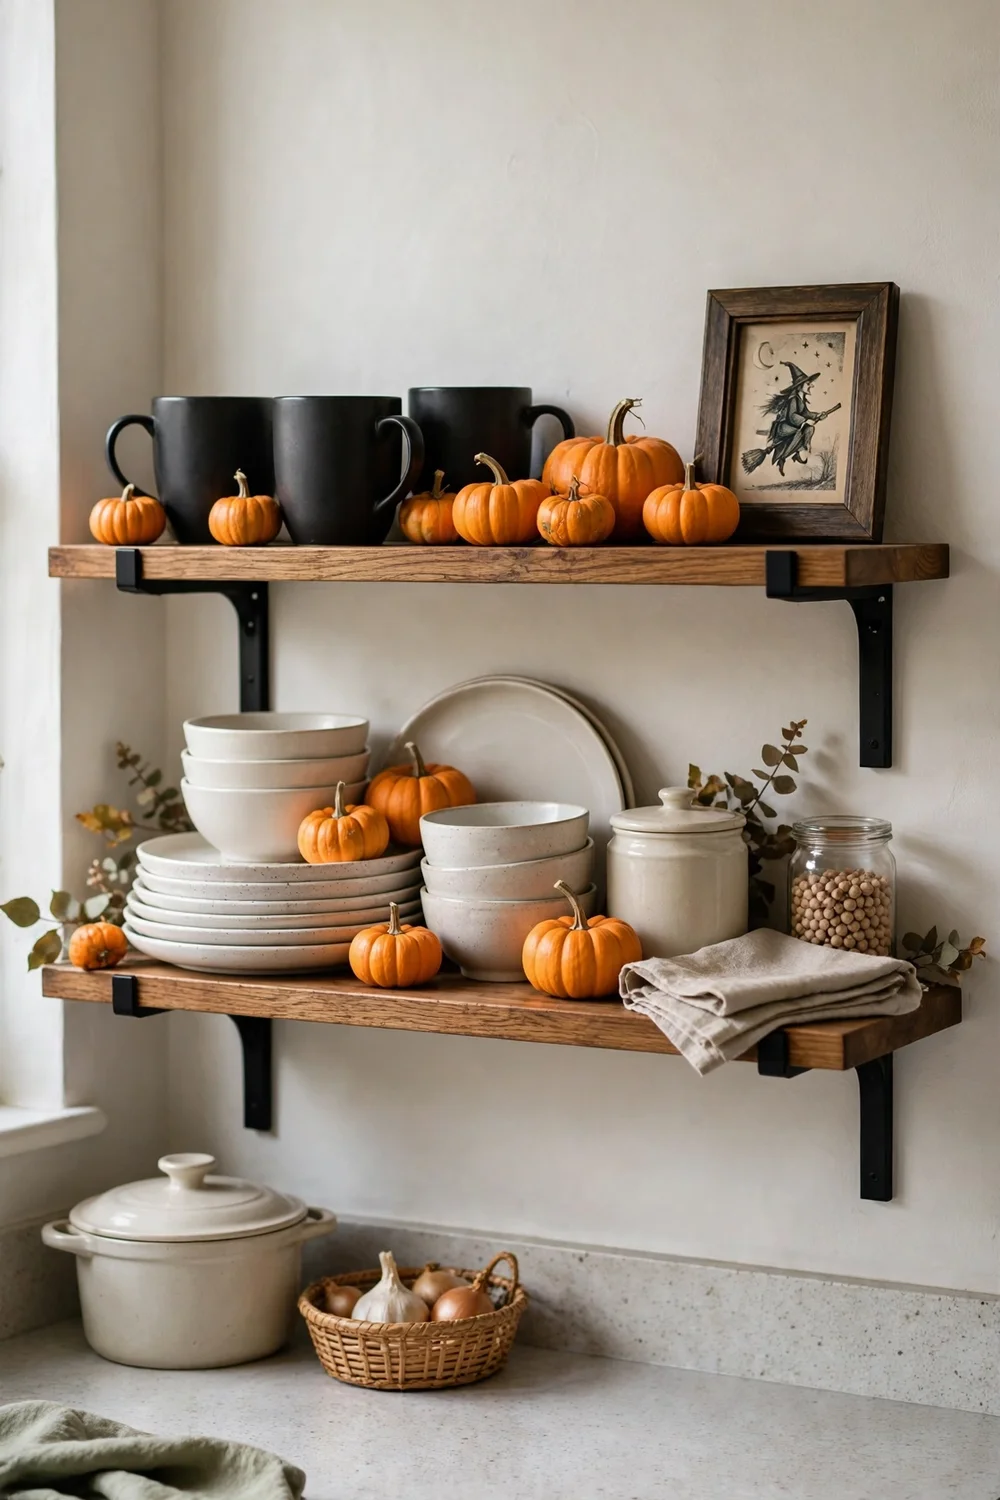
4. Spooky open-shelf styling
If you have even one open shelf, give three spots on it a Halloween job. A black mug, a mini pumpkin, and one small framed print turn storage into decor while the shelf keeps holding dishes. Keep the rest of the shelf normal so the seasonal pieces stand out instead of competing with clutter. This costs nothing if you shop your own cabinets first.
Try this: group the three items at one end of the shelf and leave breathing room around them; a tight group reads intentional. Cost: $. Difficulty: Easy.
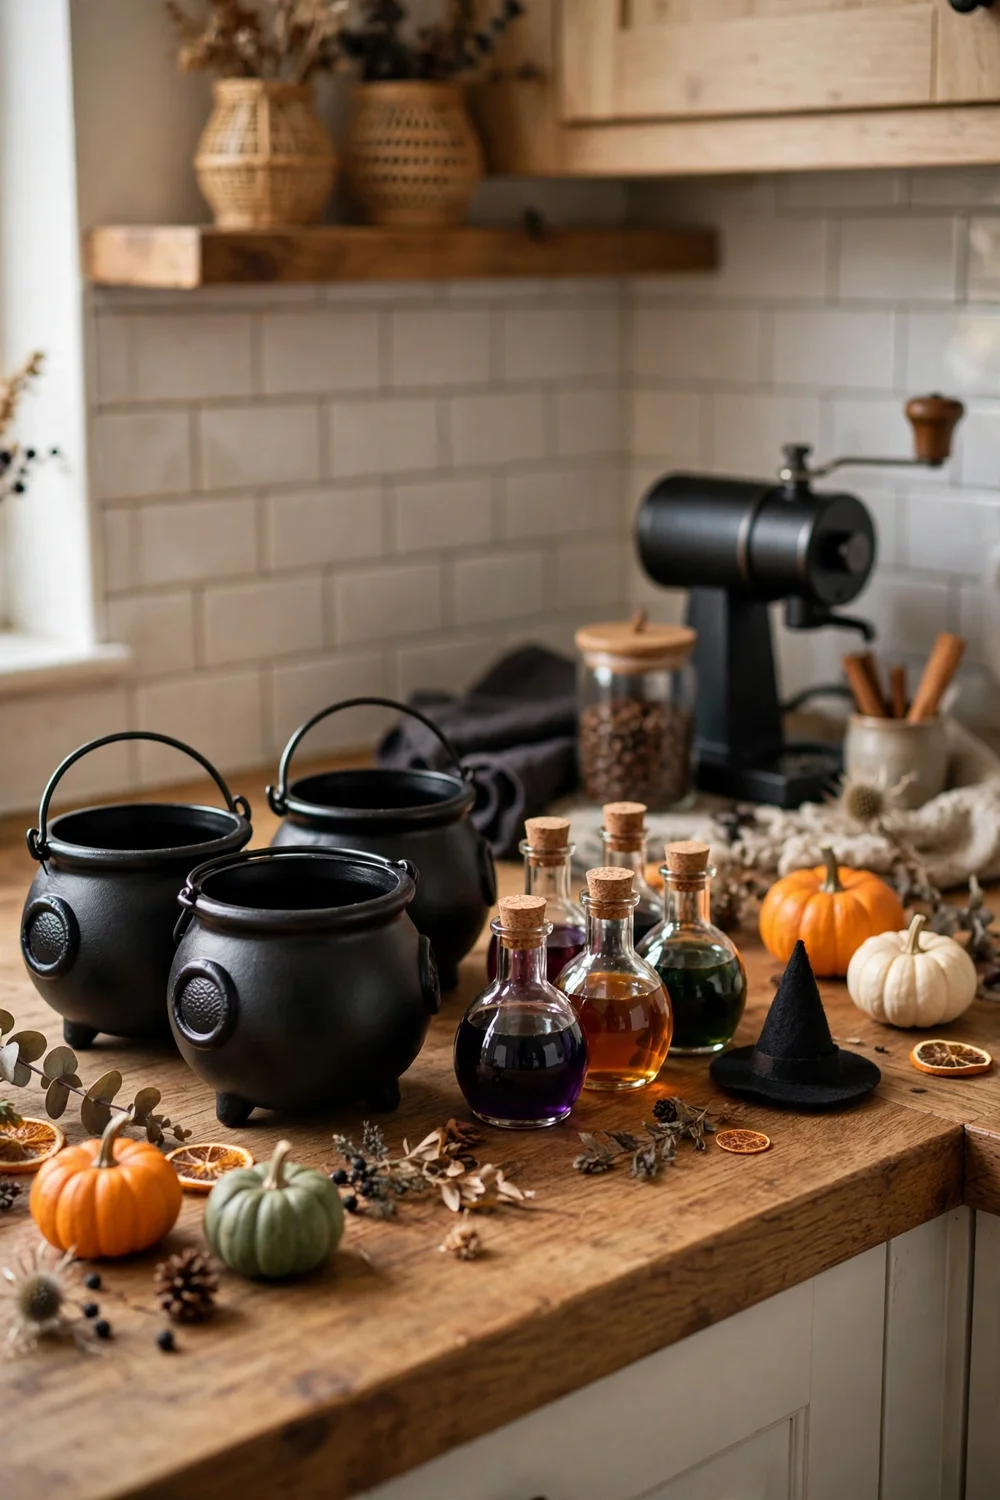
5. Witch’s brew coffee station
Your coffee corner can carry the whole Halloween theme by itself. Set out black cauldron-shaped mugs, one or two small syrup bottles with plain labels, and a tiny witch hat on a mug hook. Add a mini pumpkin and the station looks styled instead of just functional. Most of this doubles as everyday drinkware, so nothing needs storing in November.
Try this: pour coffee into the cauldron mugs for guests; a themed vessel beats a themed decoration. Cost: $$. Difficulty: Easy.
6. Spooky labels on everyday canisters
Glass canisters of flour, sugar, and pasta become apothecary jars with paper labels that read like potion ingredients. Print labels at home or buy a sheet of vintage-style stickers for about $6, and stick them on with removable glue dots. The canisters stay fully usable, which matters when storage is tight. Cinnamon sticks and dried orange slices beside them finish the look.
Try this: label only the front row of canisters; a few labeled jars suggest a whole shelf of them. Cost: $. Difficulty: Easy.

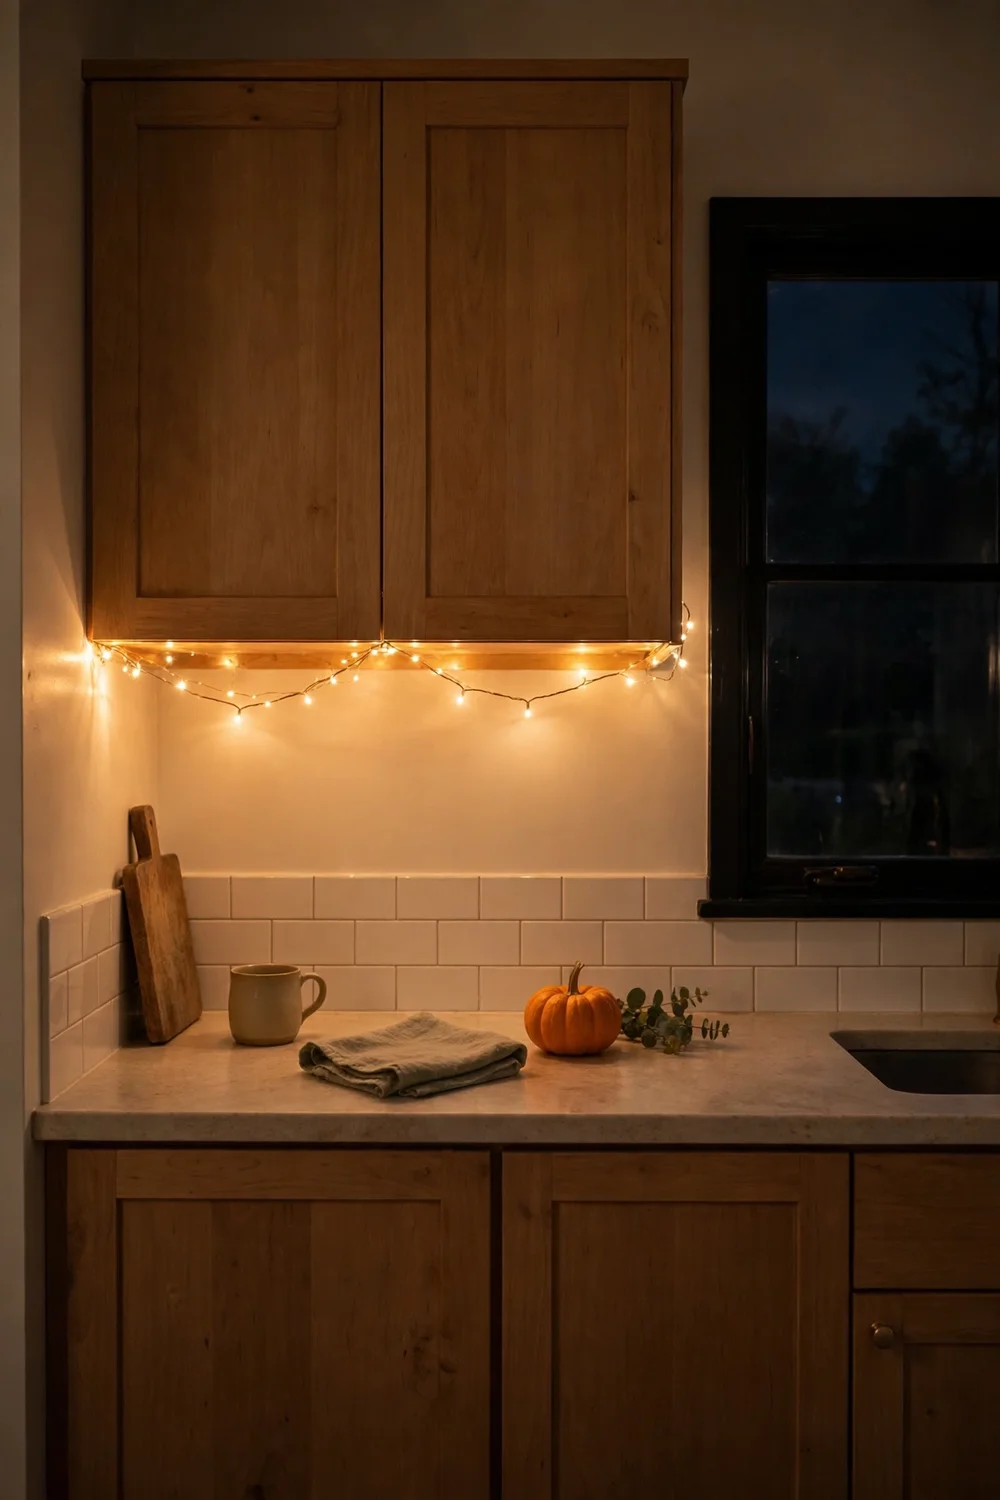
7. Warm fairy lights under cabinets
Lighting changes the mood more than objects do in a small kitchen. A battery-powered string of warm fairy lights tucked along the underside of wall cabinets gives the counters a soft amber glow at night for about $8. They peel off with adhesive clips, draw no real power, and make even plain white cabinets feel seasonal after dark.
Try this: run the lights only along the backsplash edge so the glow washes down the tile instead of tangling with dishes. Cost: $. Difficulty: Easy.
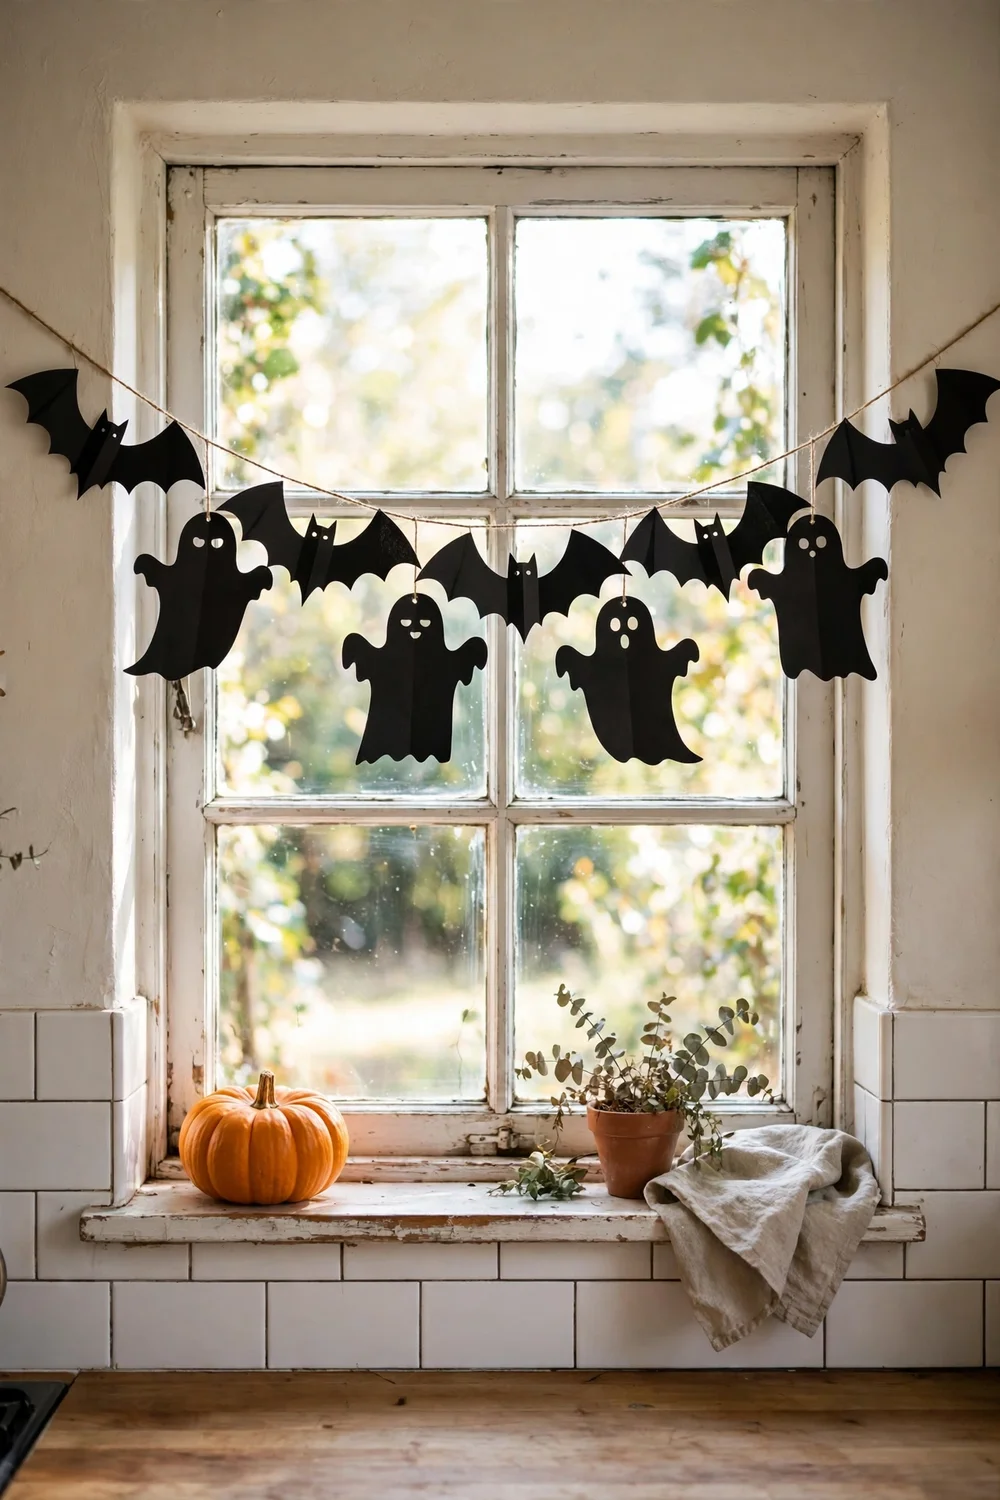
8. Bat and ghost window garland
A window is the one spot in a small kitchen that takes no usable space at all. String a paper garland of bats or ghosts across the top of the window with removable hooks, and set one small pumpkin on the sill to anchor it. Daylight shining through black paper shapes makes the garland look twice as good for free. Paper garlands cost $4 to $7 and store flat.
If you want to decorate the glass itself instead of hanging paper, these easy DIY Halloween window painting ideas give you paint-based designs that wash off after the holiday.
Try this: hang the garland slightly off-center so it does not block the best daylight. Cost: $. Difficulty: Easy.
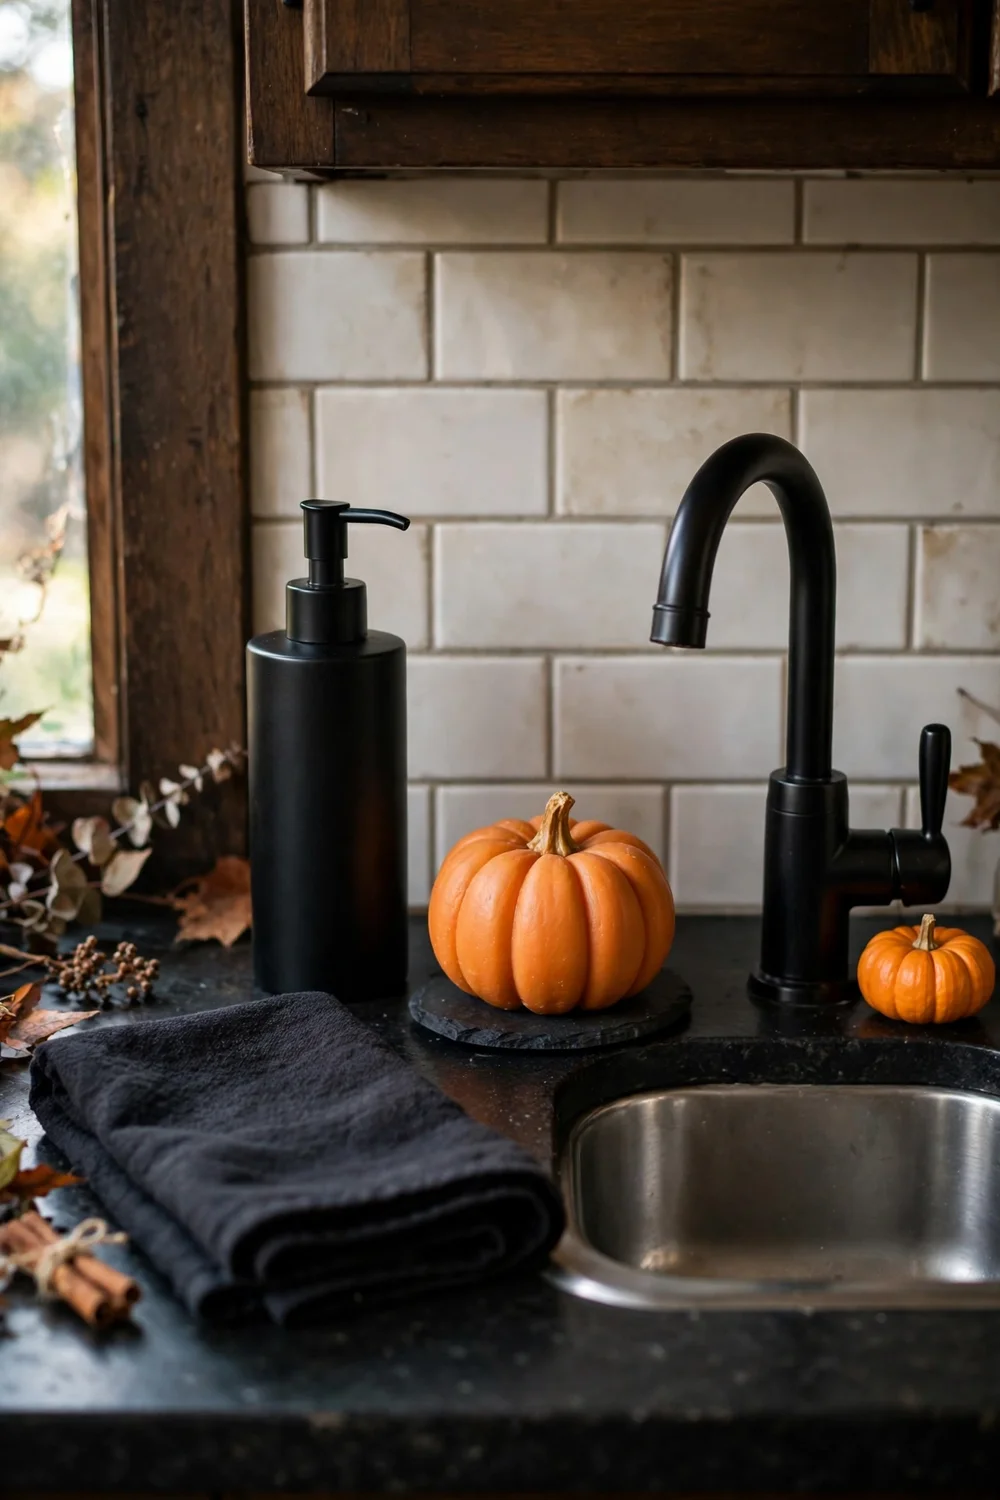
9. Spooky sink styling
Nobody forgets the sink area, so style it. A black soap dispenser, a pumpkin-shaped hand soap, and a dark hand towel turn the most-used corner of the kitchen seasonal for about $10 total. Keep everything you add wipeable, since this zone gets wet daily. One tiny pumpkin beside the faucet is enough; anything more gets knocked over.
Try this: refill the black dispenser with your normal soap instead of buying scented holiday soap. Cost: $. Difficulty: Easy.
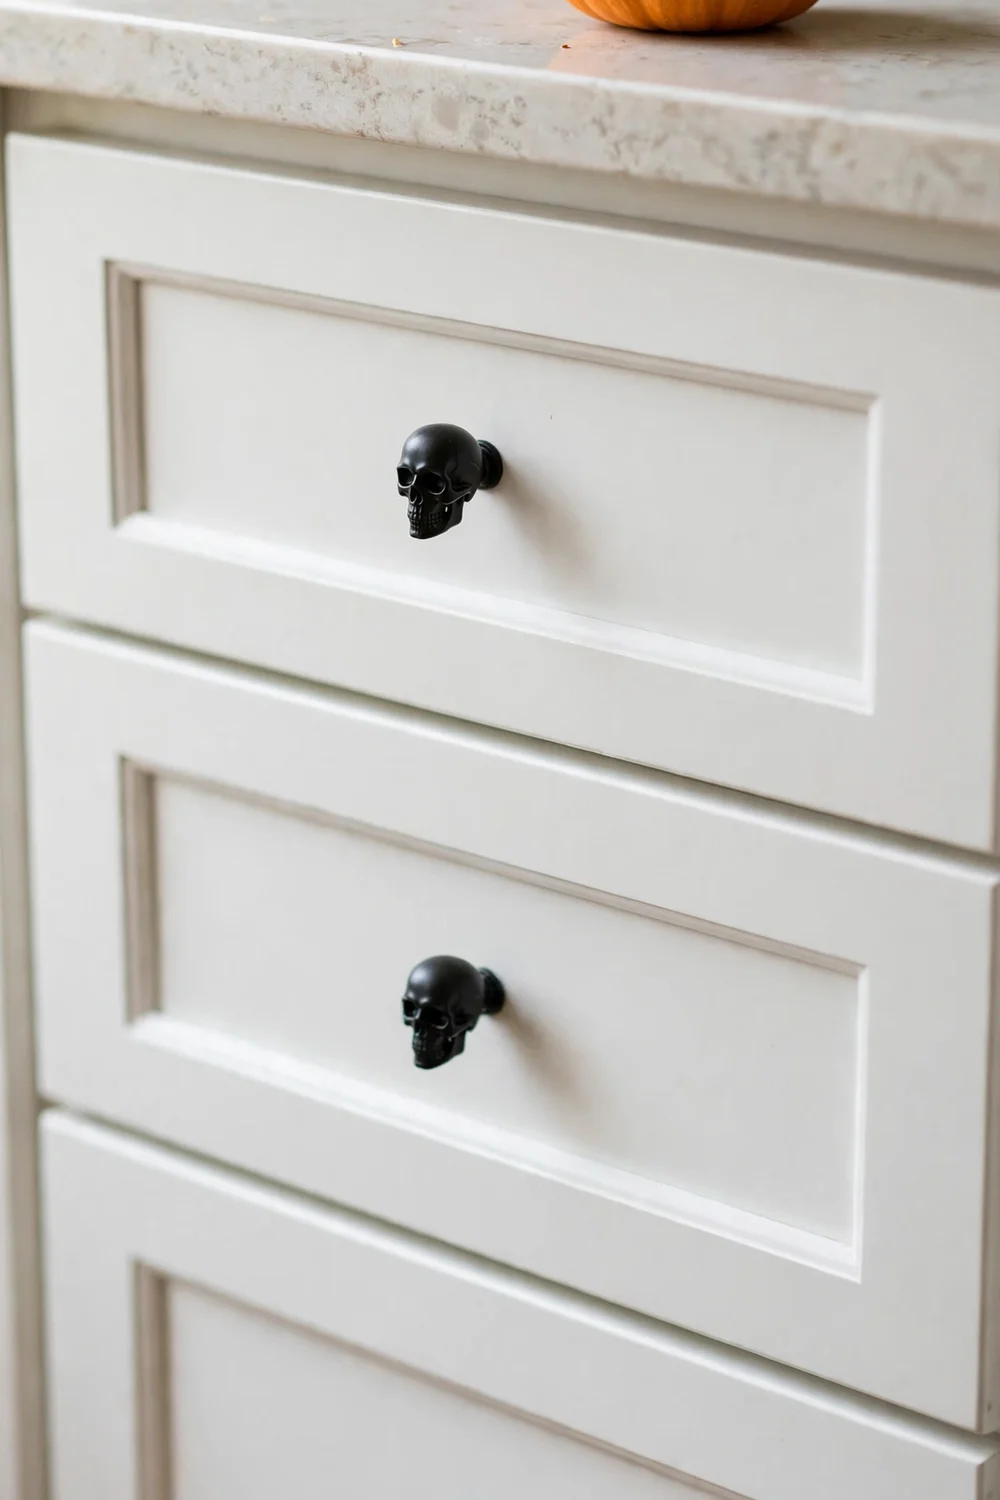
10. Halloween cabinet knob swap
Swapping a few cabinet knobs takes ten minutes and changes every drawer you touch. Skull or pumpkin knobs sell in packs of six to twelve for $8 to $15, and you only need to change the most visible row to get the effect. Keep the original knobs in a labeled bag so move-out day is painless. A screwdriver is the only tool required.
Try this: swap knobs on the drawers nearest the entry; guests notice the first cabinets they pass. Cost: $$. Difficulty: Easy.
11. Ghost garland across the fridge
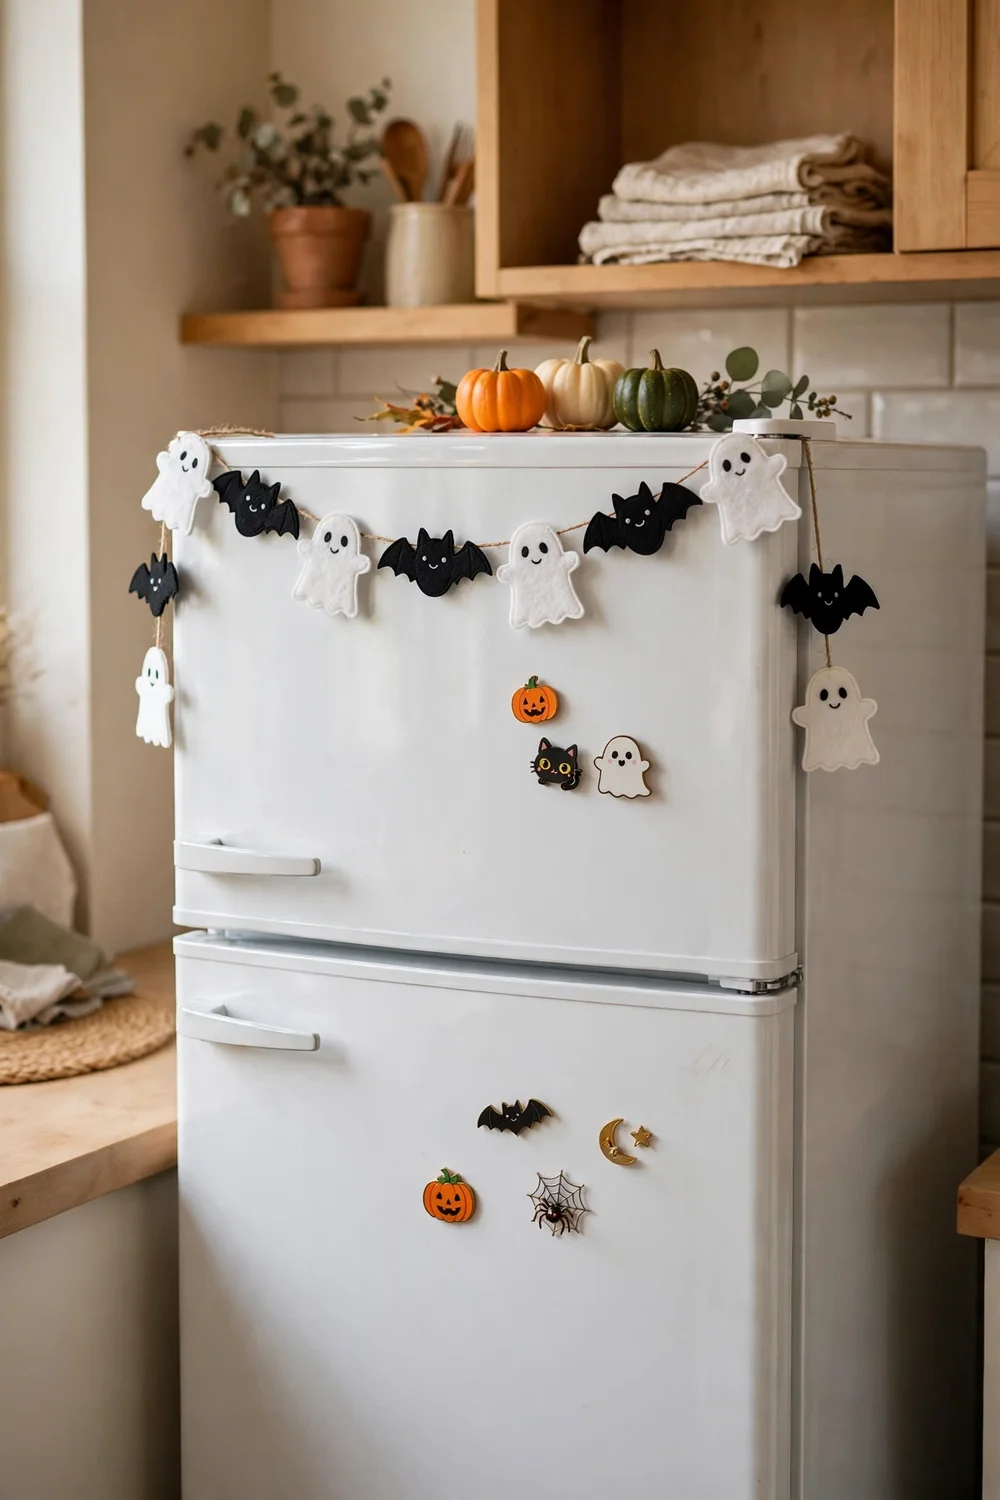
The top edge of the fridge is a garland rail waiting to happen. Drape a lightweight ghost or bat garland across it with magnets or removable hooks, and add two or three Halloween magnets on the door. The whole thing costs under $10, takes five minutes, and leaves the doors fully usable. This is a renter favorite because nothing touches the walls.
Try this: keep the garland ends tucked behind the fridge sides so they do not snag when the doors open. Cost: $. Difficulty: Easy.
12. Paper bats on the pendant light
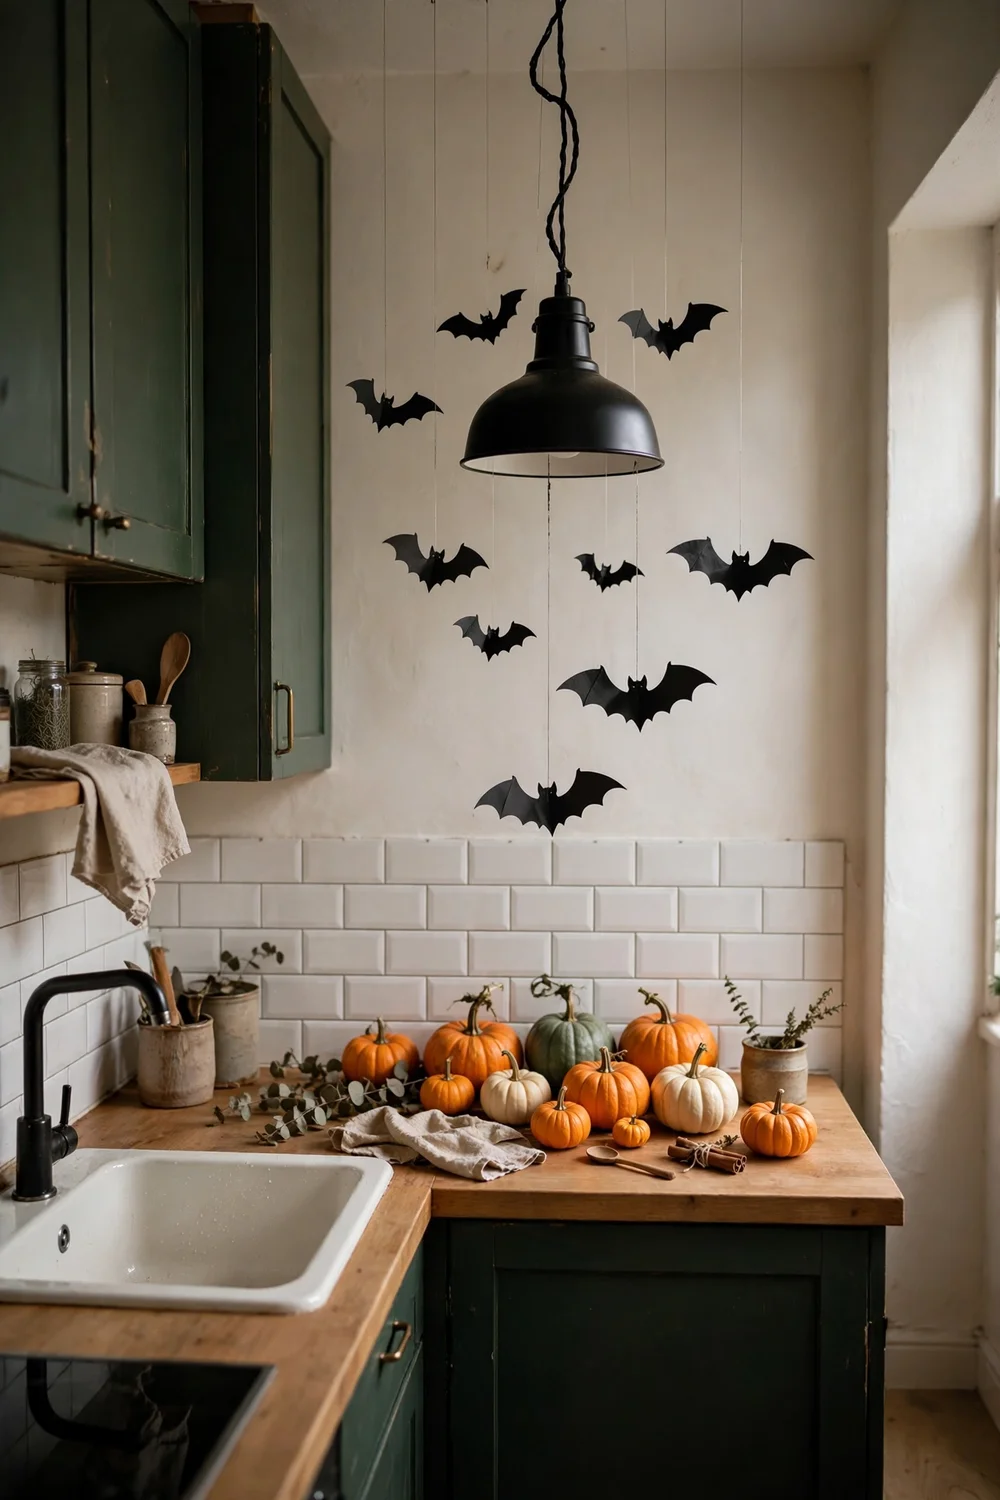
Hang black paper bats from your pendant light or ceiling fixture with clear thread and they drift gently in the air current, which looks great in a small kitchen where guests stand close. A pack of 3D paper bats costs about $6 and includes adhesive dots. Keep them at least a foot from any bulb, since paper and heat do not mix.
Try this: hang bats at three different heights so they read as a flock instead of a flat row. Cost: $. Difficulty: Easy.
13. Black branches in a tall vase
When counter space is scarce, go up instead of out. Bare branches spray-painted matte black in a tall, narrow vase add almost four feet of drama to one corner of counter while using a footprint smaller than a dinner plate. Tuck in a few tiny hanging bat ornaments for movement. A vase plus branches runs $8 to $14, or free if you prune your yard.
Try this: wedge the vase in the corner behind the coffee maker where dead space usually sits. Cost: $$. Difficulty: Easy.

14. Candy corn apothecary jars
One corner of counter is all this needs. Fill two glass jars with layered candy corn and place a mini pumpkin beside them for an instant candy-shop moment. The jars cost $5 to $10 at discount stores, and candy corn keeps for weeks sealed. Eat from the back jar and refill the front one so the display always looks full.
Try this: layer the candy corn points-up in neat rows; the stripes do the decorating for you. Cost: $$. Difficulty: Easy.

15. Ghostly plate stack display
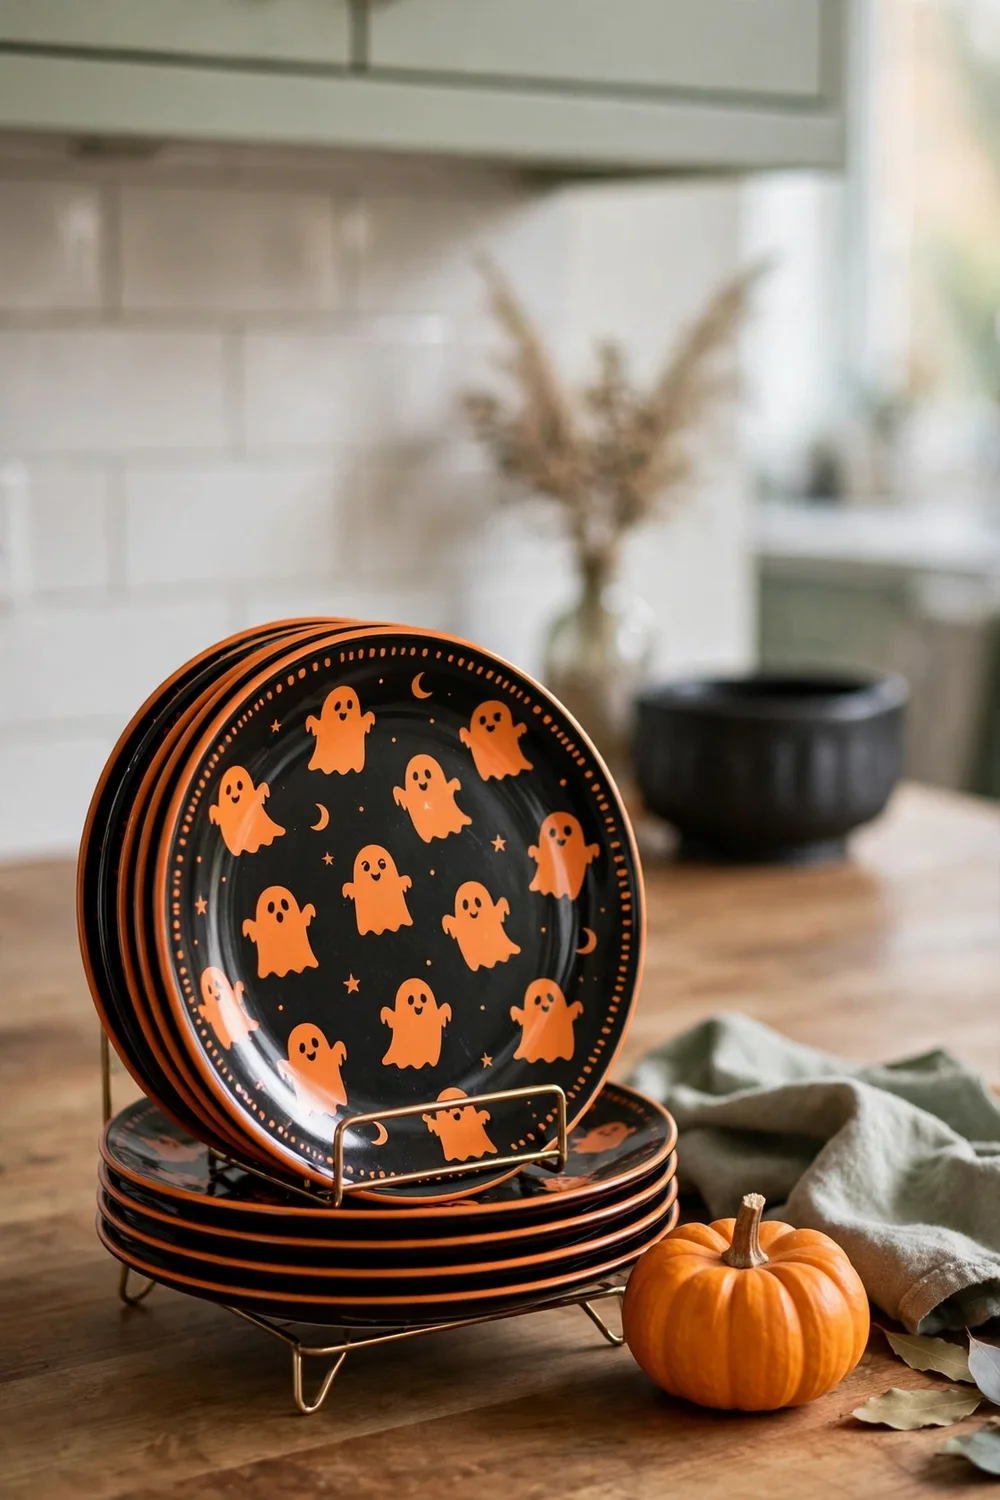
Seasonal plates earn their shelf space when you actually eat off them. Stack black or orange Halloween plates on a small plate stand or lean them against the backsplash where guests see them at meals. A set of four melamine Halloween plates costs $10 to $16 and survives daily use. Mix them with your plain white plates so the pattern pops without a full set.
For the dining side of a small kitchen, these last minute Halloween tablescape ideas show how to carry the same palette onto the table in under an hour.
Try this: put the patterned plates on top of the everyday stack so the theme shows even on busy mornings. Cost: $$. Difficulty: Easy.
16. Tiered tray Halloween vignette
A two-tier tray compresses a whole Halloween scene into one square foot of counter. Fill the tiers with mini pumpkins, a tiny ghost figurine, black candles, and a few faux leaves, changing the mix as October goes on. Trays cost $12 to $20, and everything on them can move to the dining table on party night. This is the single best buy for a tiny kitchen.
Try this: keep the tallest item in the back so the tray looks layered from the front. Cost: $$. Difficulty: Easy.

17. Mini wreath on a cabinet door
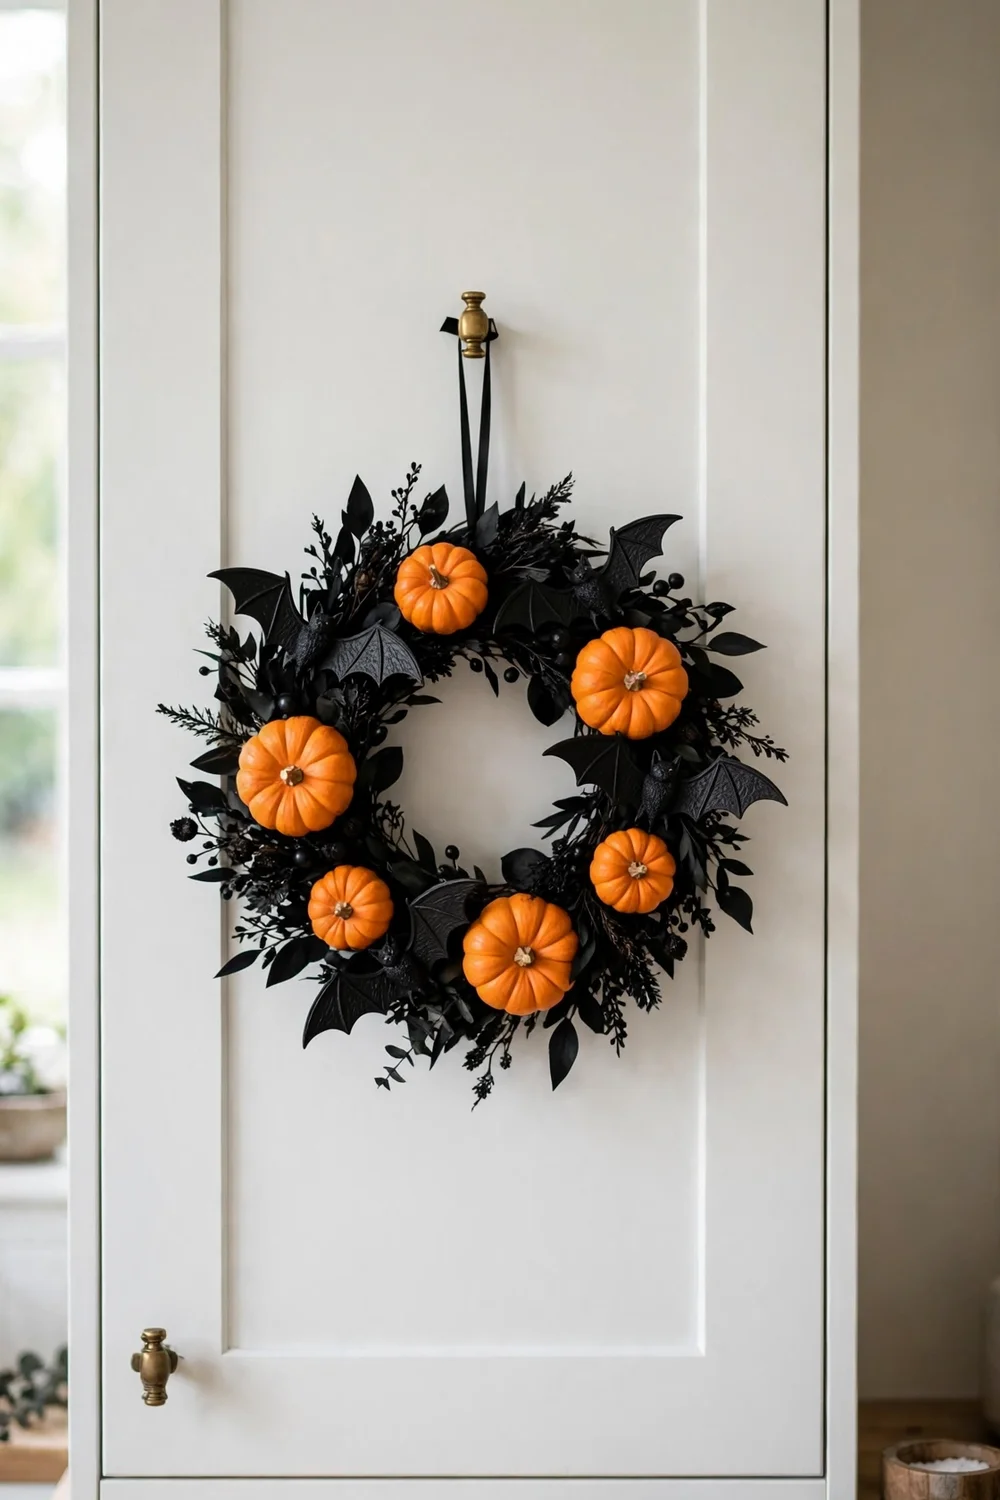
Hang a small Halloween wreath on one cabinet door with a removable hook and you get a finished look for about $8. Twig wreaths dressed with mini pumpkins and bats suit small kitchens because they sit nearly flat against the door. Pick the cabinet nearest the room entrance so it works like a greeting. Take it down by lifting the hook, no cleanup needed.
Try this: hang the wreath slightly off-center toward the handle side for a styled, casual look. Cost: $. Difficulty: Easy.
18. Halloween runner rug
The floor is the biggest empty surface in a small kitchen, so use it. A washable Halloween runner in black and orange adds the theme underfoot for $15 to $30 and protects the floor during party season. Low-pile runners stay put better and slide under cabinet doors without bunching. Shake it out weekly since kitchen runners collect crumbs fast.
Try this: measure the walkway before buying; a runner that is two inches too wide will curl against the cabinets. Cost: $$. Difficulty: Easy.

19. Battery candle jars along the backsplash
Line three or four glass jars with battery candles along the backsplash for evening glow that costs almost nothing to run. Flickering LED candles read as real candlelight in a dim kitchen, and they stay cool enough to sit near dried wheat or paper garlands safely. Jars from the dollar store plus a multi-pack of LED candles total about $10.
Try this: set the candles on timers so the kitchen greets you glowing at dusk without you touching them. Cost: $. Difficulty: Easy.

20. Chalkboard pantry sign
A hanging chalkboard on the pantry door gives you a changeable Halloween message without a single nail. Write “Trick or Treat” with a chalk pumpkin, and redraw it whenever the mood changes. Small chalkboards cost $5 to $8 and hang from removable hooks or the door handle itself. Add a mini pumpkin garland above the door frame to frame the sign.
Try this: use a chalk marker instead of real chalk; the lines stay crisp in steamy kitchens. Cost: $. Difficulty: Easy.

Renter-friendly Halloween kitchen swaps at a glance
How to pick a Halloween palette for a small kitchen
Two colors plus one metal keeps a tiny kitchen calm. Matte black and pumpkin orange is the classic pair; swap the orange for bone white if your cabinets are already warm. Add aged brass or matte gold through candle holders for a finished feel. Stick to that trio across towels, pumpkins, and paper goods and even five separate ideas will look like one plan. Skip neon purple and lime green in small rooms; bright colors bounce around and make the space feel busy.
Small-kitchen Halloween mistakes to avoid
The biggest mistake is decorating the prep zone first. Keep at least two feet of clear counter near the stove and sink, because a beautiful display you have to move three times a day gets old fast. Second, avoid tall arrangements in front of windows; they block the daylight a small kitchen depends on. Third, do not tape paper directly to painted walls, since steam loosens cheap tape and good tape can pull paint. If your kitchen is truly tiny, borrow ideas from small outdoor spaces too; these balcony decorations for Halloween show how to style tight square footage without crowding it.
Halloween kitchen safety (read before you light anything)
Small kitchens put flames close to cabinets, towels, and paper decor, so treat every candle as a risk. The National Fire Protection Association advises keeping burning candles at least 12 inches from anything that can burn and never leaving them unattended; their candle safety guidance covers the full list. Use battery candles near dried wheat, paper garlands, and faux cobwebs, since those ignite fast. Their Halloween fire safety page adds decoration-specific tips like keeping exits clear and choosing flame-resistant materials. Anchor tall vases so a bumped elbow cannot tip them onto the stove.
Frequently asked questions
How do I decorate a small kitchen for Halloween without cluttering the counters?
Decorate the surfaces you do not cook on: cabinet fronts, open shelves, the window, the fridge, and the floor. Corral anything that must sit on a counter onto one tray you can lift away. Textile swaps like dish towels and a runner add the theme with zero footprint.
What is the cheapest way to make a kitchen look Halloween-ready?
Swap dish towels and potholders for Halloween versions, which costs under $12 total. Add a $5 sheet of removable bat decals on the cabinets and one mini pumpkin on the counter. Those three changes read as a decorated kitchen for under $20.
How do I decorate a rental kitchen for Halloween without damage?
Use removable vinyl decals, adhesive hooks, magnets, and freestanding pieces only. Swap cabinet knobs instead of painting them, and keep the originals in a labeled bag. Everything in this guide comes down with no marks, which is exactly what a security deposit needs.
Are real candles safe in a small kitchen with Halloween decor?
Real candles are risky in tight kitchens because flames sit close to cabinets, towels, and paper decor. Keep any lit candle at least 12 inches from flammable materials and never leave it unattended, per NFPA guidance. Battery candles give the same glow with none of the risk near dried or papery decorations.
When should I decorate my kitchen for Halloween?
The first week of October is the sweet spot. Mini pumpkins and faux pieces last the whole month, and decorating early gives you time to adjust the layout before parties. Take fresh pumpkins down by early November before they soften.
What Halloween kitchen decor can I reuse for Thanksgiving?
Keep the neutral pieces: black candle holders, fairy lights, plain mini pumpkins, the runner rug, and the tiered tray. Swap out the bats, ghosts, and spooky labels for harvest pieces like wheat and pinecones, and the same setup carries you through November.
My galley kitchen runs on about five of these ideas each October: the towel swap, the tray, the window garland, the knob swap, and the battery candles. It feels like Halloween every time I walk in, and I have never once had to move a decoration to make dinner.


