



Plants die from irregular watering more than anything else. You drench them Sunday, forget them all week, then drown them again out of guilt. A self-watering planter breaks that cycle by letting roots pull water from a reservoir only when they need it, so your herbs and tomatoes stay evenly moist for days at a time.
This guide covers 20 DIY self-watering planter builds, from a two-liter bottle herb pot that takes 20 minutes to a full wicking bed that can carry a vegetable garden through a hot week. Every build lists a real cost and difficulty level, and I kept the tool lists honest: if it needs a drill, the idea says so. Most cost under $15 in new materials, and plenty use things already in your recycling bin.
- A self-watering planter pairs a soil chamber with a water reservoir, connected by a wick or soil contact that moves water upward by capillary action.
- Start with bottle or bucket builds if you are new; graduate to tote wicking beds for vegetables once you like the results.
- Cotton rope, cotton T-shirt strips, and nylon cord make the best DIY wicks; replace cotton wicks yearly.
- Always add an overflow hole just below the reservoir line so rain or overfilling never waterlogs the soil.
- Herbs, lettuce, tomatoes, and peppers thrive in these systems; succulents and cacti do not, because they need dry spells.
1. Two-liter bottle wick herb planter
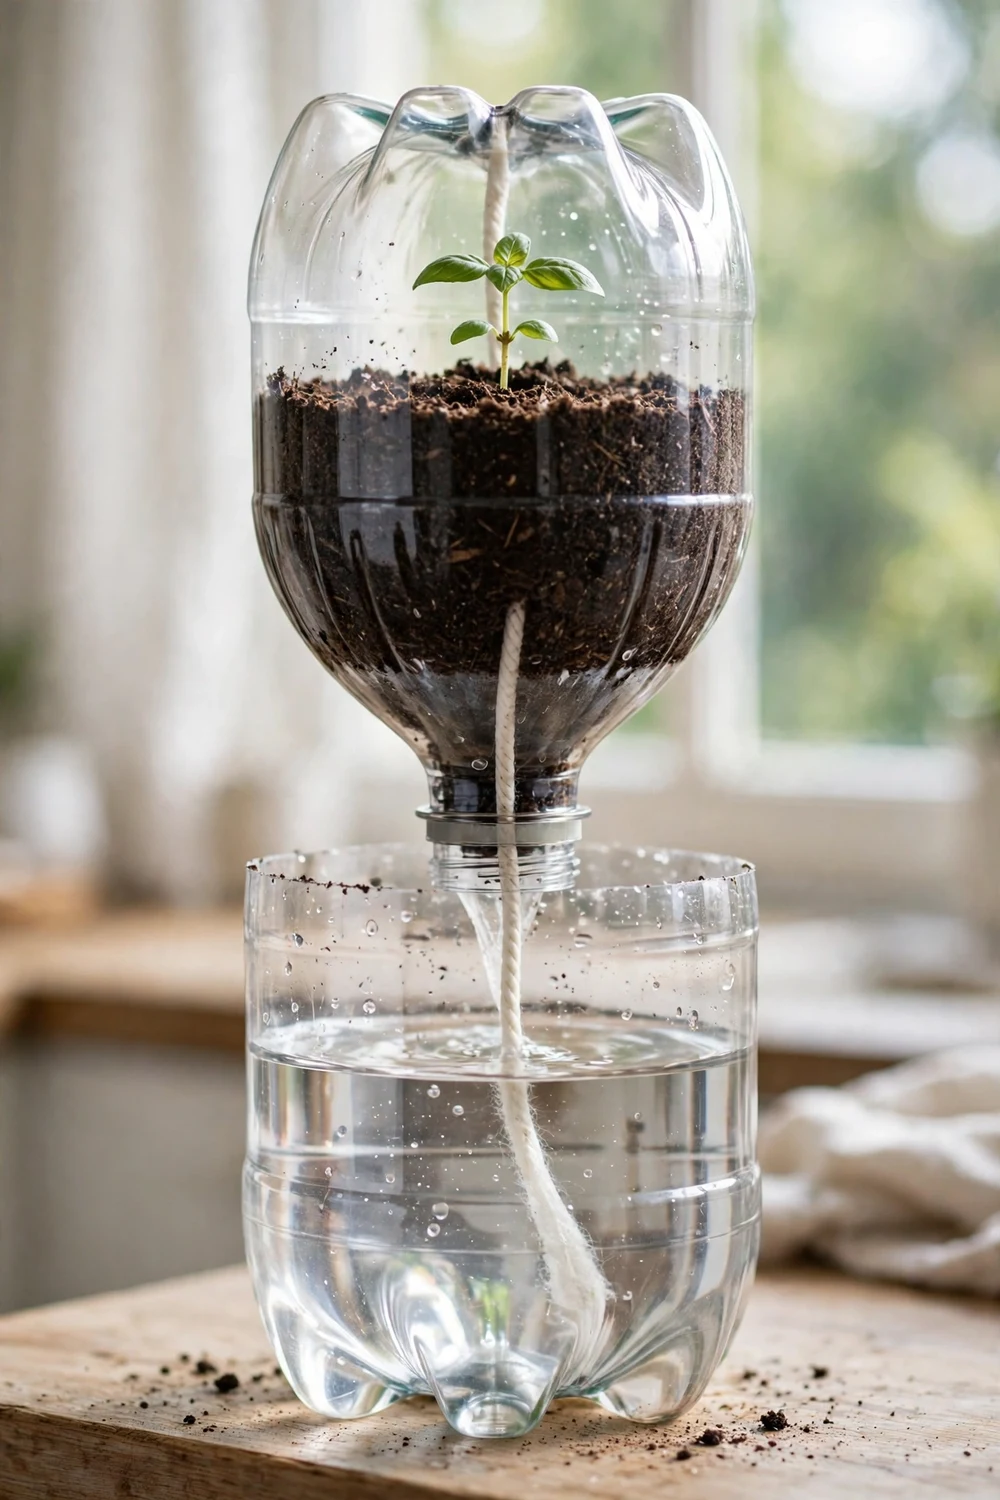
Cut a clean 2-liter soda bottle in half and flip the top section upside down into the bottom half. Thread a strip of cotton T-shirt through the bottle cap so one end sits in the soil and the other dangles into the water below. Fill the top with potting mix, tuck in a basil or parsley seedling, and pour water into the lower half. The wick pulls moisture up steadily for 5 to 7 days on a kitchen windowsill, which makes this the classic starter build. A marker line on the reservoir shows the refill point at a glance.
Try this: wrap the lower half in brown paper or tuck the whole bottle inside a ceramic pot, because algae grows fast in clear plastic left in sunlight.
Cost: $. Difficulty: Easy.
2. Five-gallon bucket tomato planter
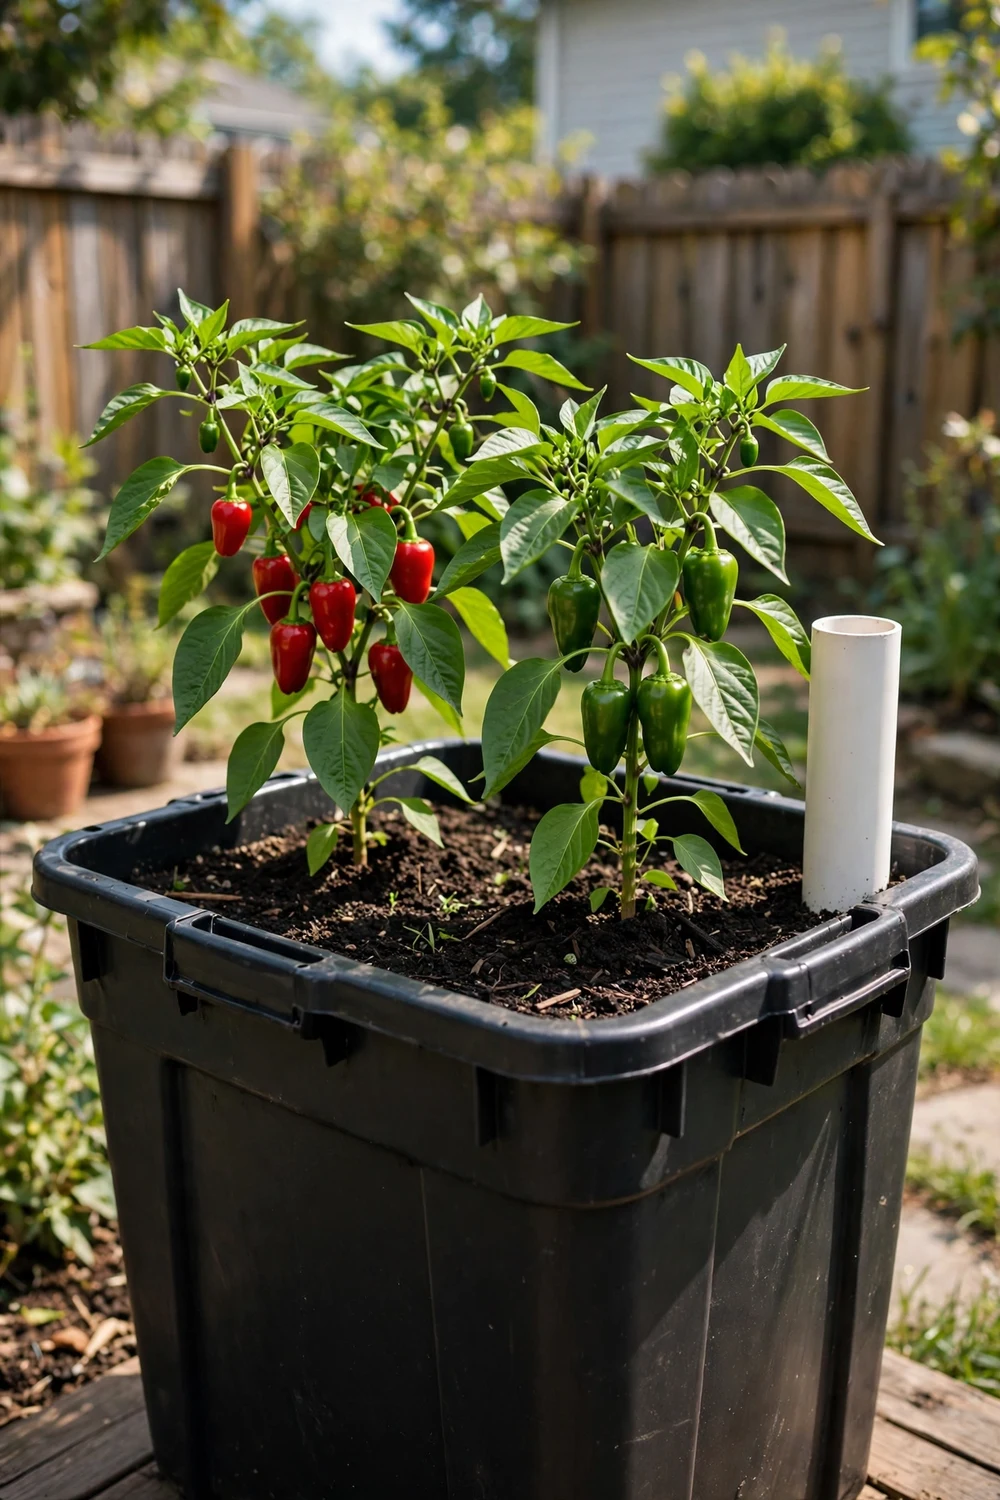
A 5-gallon food-grade bucket becomes a self-watering tomato home with one extra chamber. Cut a plastic nursery pot or a section of PVC pipe into a short fill tube that runs from the top of the soil down into a 3-inch water reservoir made from a perforated inner platform. An overflow hole drilled in the bucket wall just under the platform level keeps the reservoir from flooding the roots. One determinate tomato or pepper plant per bucket is the limit. In summer heat this setup stretches watering from daily to every 3 or 4 days.
Try this: drill the overflow hole with the bit angled slightly downward so it drains cleanly instead of dribbling down the bucket wall.
Cost: $. Difficulty: Moderate.

3. Storage tote wicking bed
A 27-gallon storage tote from the hardware store converts into a wicking bed that can hold salad greens for weeks between refills. Lay 3 inches of perforated drain pipe or gravel in the bottom, cover it with landscape fabric, add an overflow hole in the tote wall at the top of that layer, then fill the rest with potting mix. Water through a vertical fill pipe until it trickles from the overflow. The soil above the fabric stays evenly damp from below, which leafy greens love. One tote fits a full row of lettuce or a dozen herb plants.
Try this: mix a handful of slow-release granular fertilizer into the top 4 inches of soil at planting, since bottom watering washes nutrients down less often.
Cost: $$. Difficulty: Moderate.

4. Double-pot reservoir planter
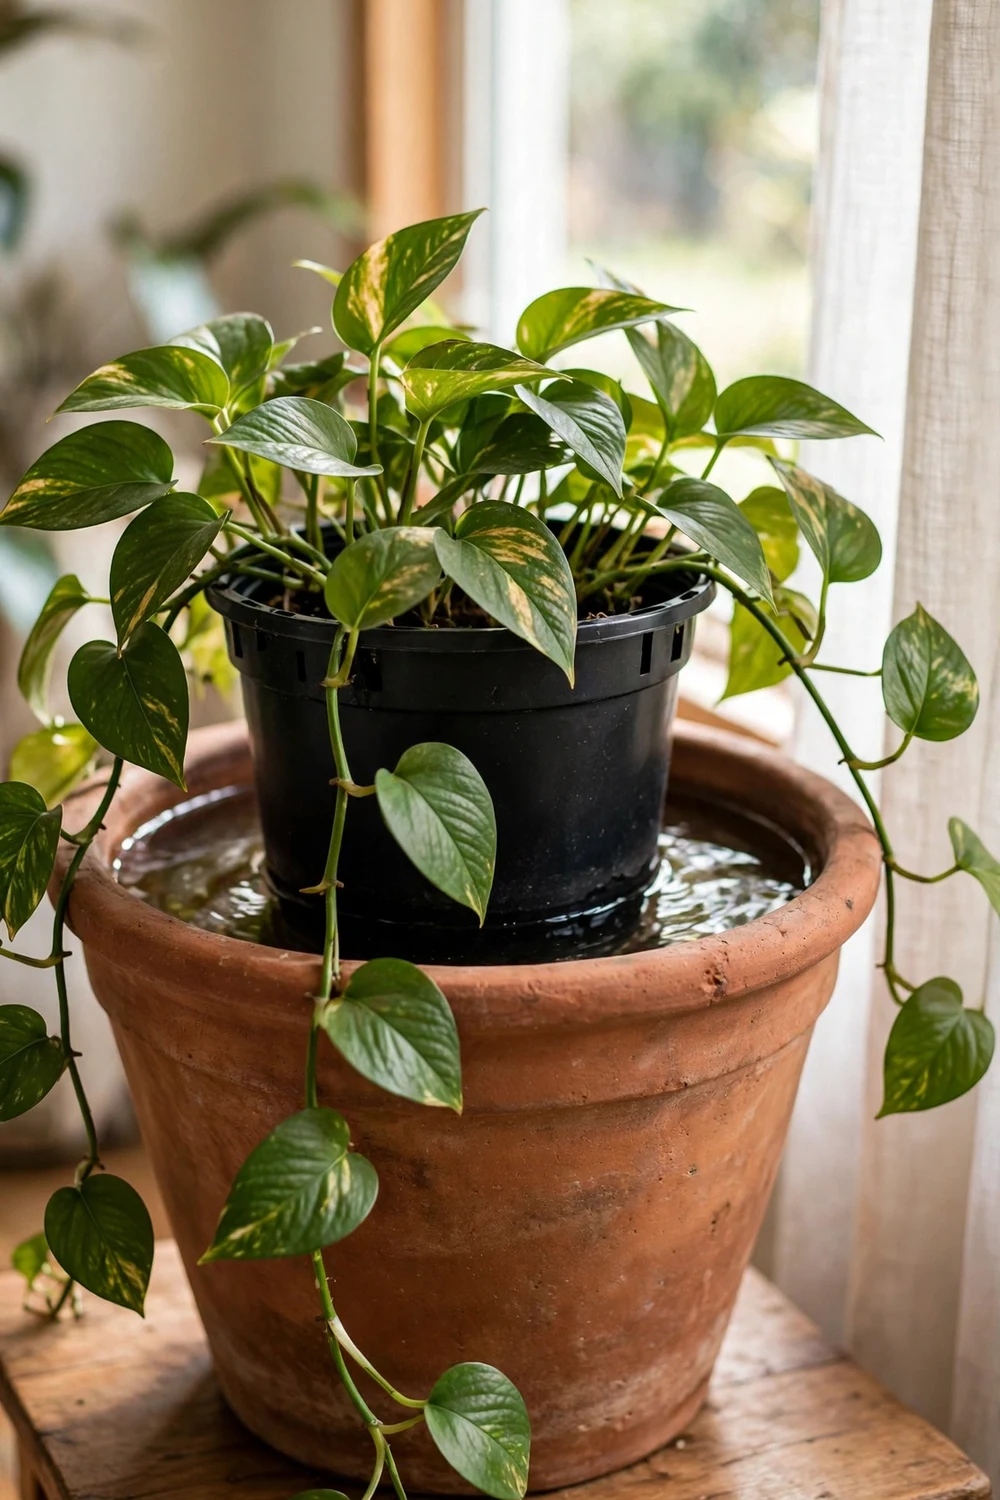
This is the fastest self-watering trick in the list. Drop a nursery pot with drainage holes into a slightly larger decorative cachepot, then pour water into the gap between the two pots so the lower inch of the inner pot sits in it. The soil wicks water up through the drainage holes with no tube, no drilling, and no assembly. It works best for houseplants like pothos and peace lilies that like steady moisture. Refill the outer pot when it runs dry, usually every 5 to 10 days indoors.
Try this: keep the water level at half an inch for the first week, then raise it slowly; some plants sulk if their root zone jumps from dry to soaked overnight.
Cost: $. Difficulty: Easy.
5. Kiddie pool wicking garden
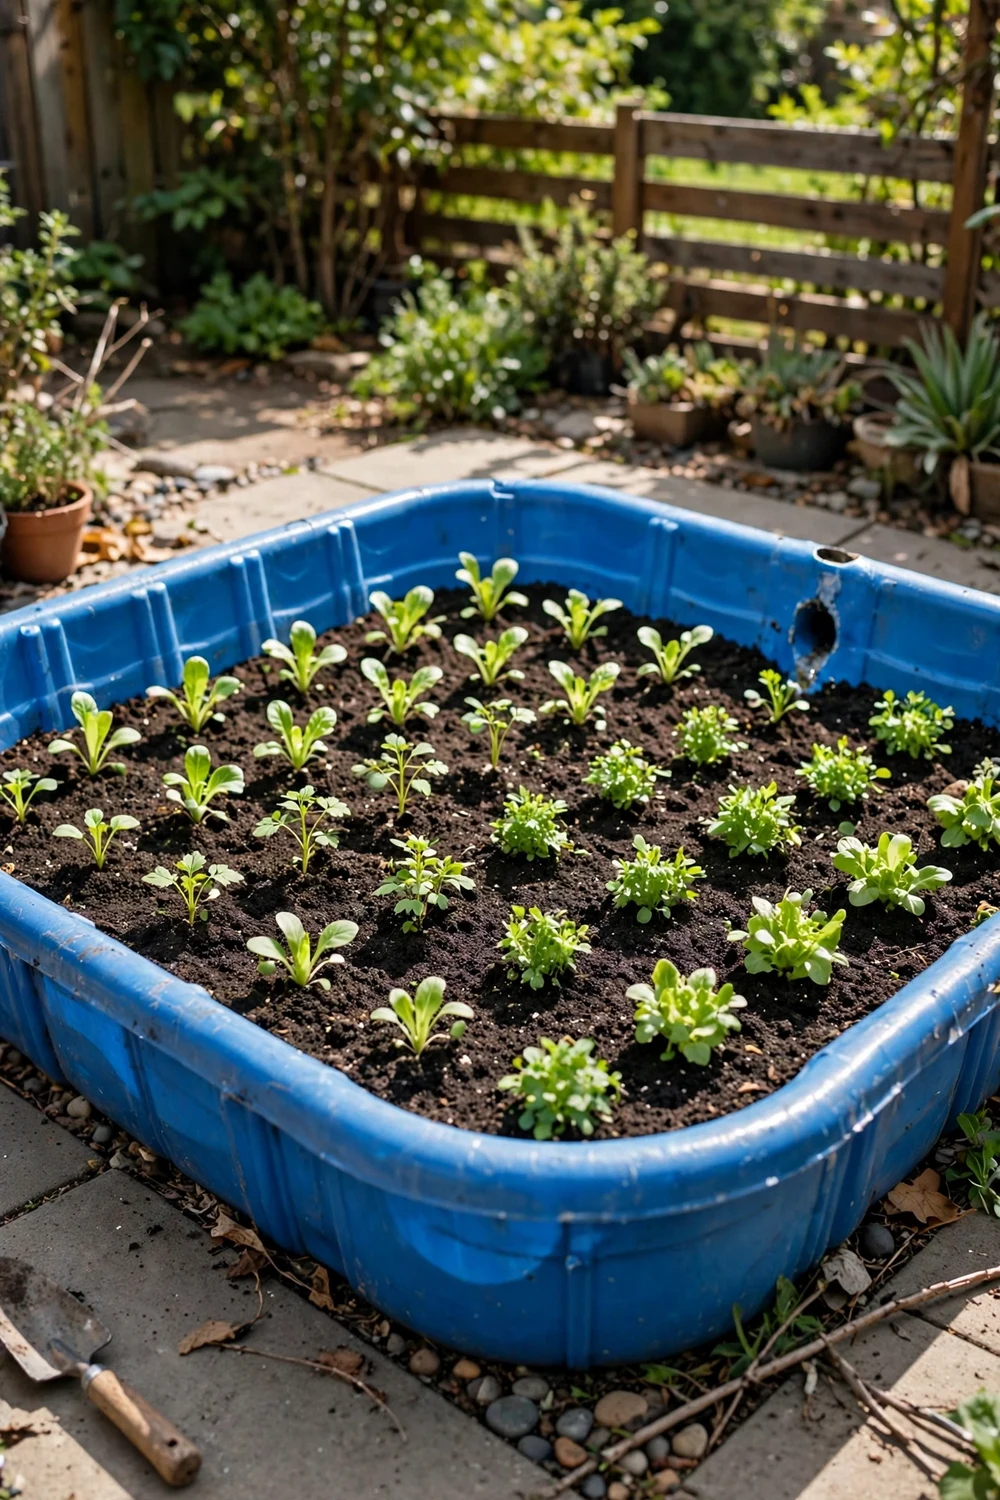
A hard plastic kiddie pool, the shallow kind sold every summer, makes a surprisingly serious wicking bed. Drill one overflow hole in the side an inch above the bottom, spread 2 inches of gravel inside, cover with landscape fabric, and fill the rest with bagged raised-bed mix. Set nursery pots directly in it or plant straight into the soil. A filled pool waters a small vegetable patch for 7 to 10 days in summer. The whole build takes under an hour, and the pool costs less than most planters.
Try this: put the pool on level pavers, not bare soil, or water pools to one side and the overflow hole never works evenly.
Cost: $$. Difficulty: Easy.
6. Wine bottle waterer in a terracotta pot
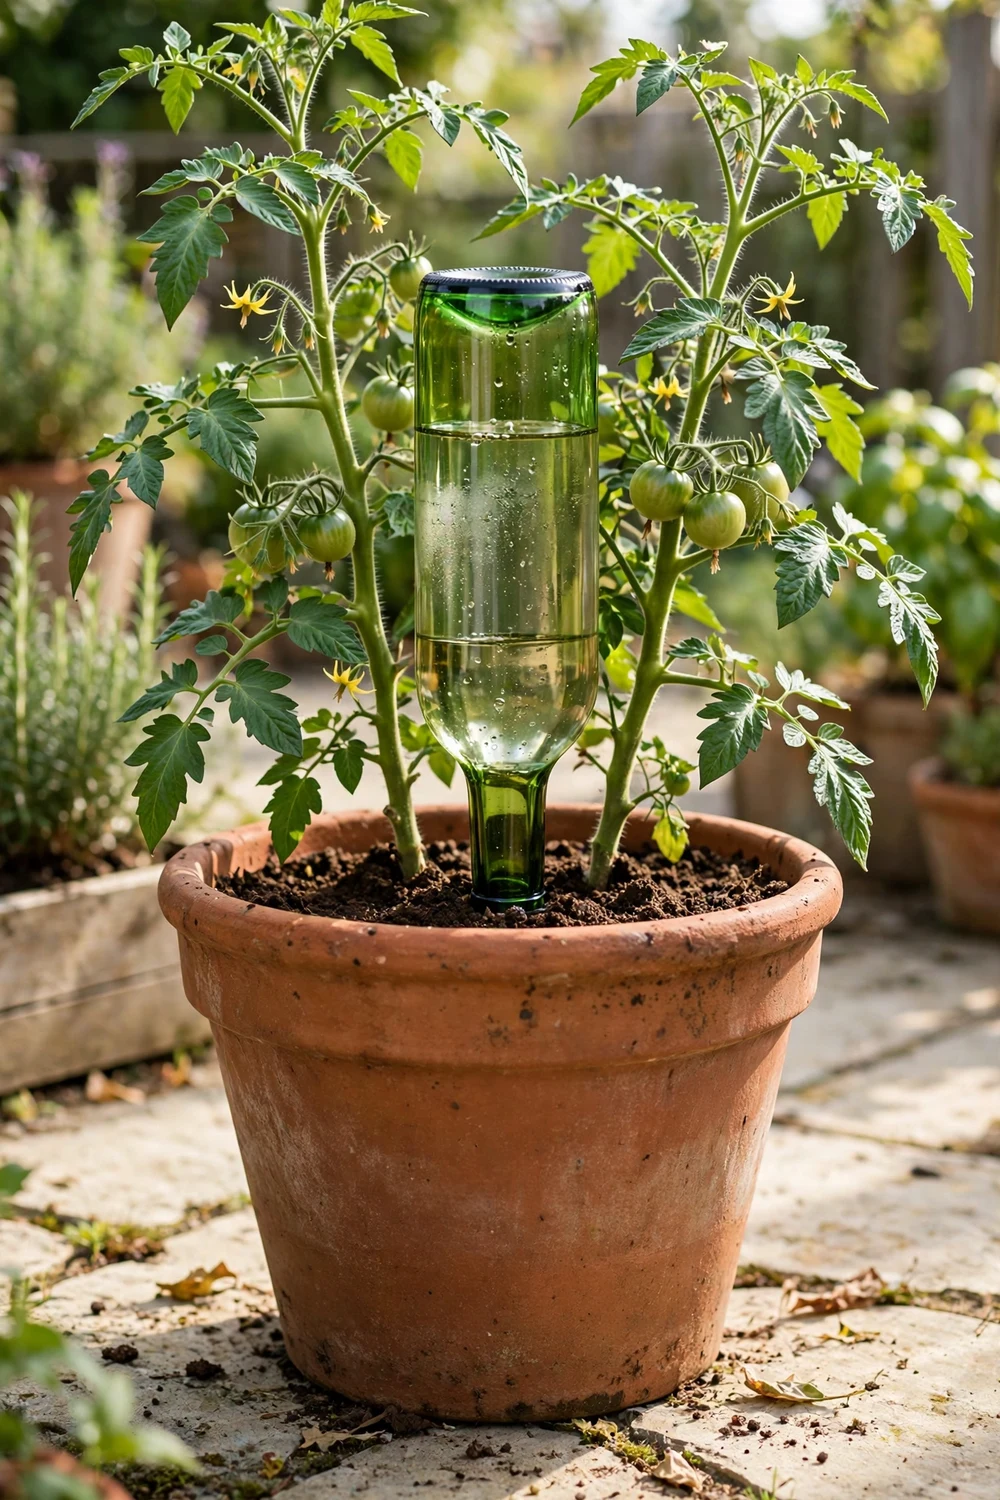
Fill a clean wine bottle with water, press your thumb over the mouth, flip it, and push the neck 3 inches into the soil of a large terracotta pot. Water seeps out only as the soil dries, because air must enter the bottle to replace the water that leaves. It is not a true reservoir system, but for a single patio tomato or a big fern it buys 3 to 5 days of steady moisture. Glass lets you see the level at a glance, and the bottle doubles as a garden accent.
Try this: use bottles with narrow necks and skip the wide-mouthed ones, which glug out their water in one rush instead of releasing it slowly.
Cost: $. Difficulty: Easy.
7. Milk jug wick planter
A gallon milk jug works like the soda bottle build but with a sturdier reservoir. Cut off the top third, poke three small holes in the cap, thread a cotton rope wick through, and nest the top section neck-down into the jug bottom. The wide mouth makes planting easy: one jug holds a full lettuce head or a small pepper start. The opaque plastic blocks algae, so this build outperforms clear bottles in sunny spots. Expect 4 to 6 days between refills in summer.
Try this: rinse the jug with hot water and a drop of dish soap first; sour milk residue sours the soil smell for weeks.
Cost: $. Difficulty: Easy.
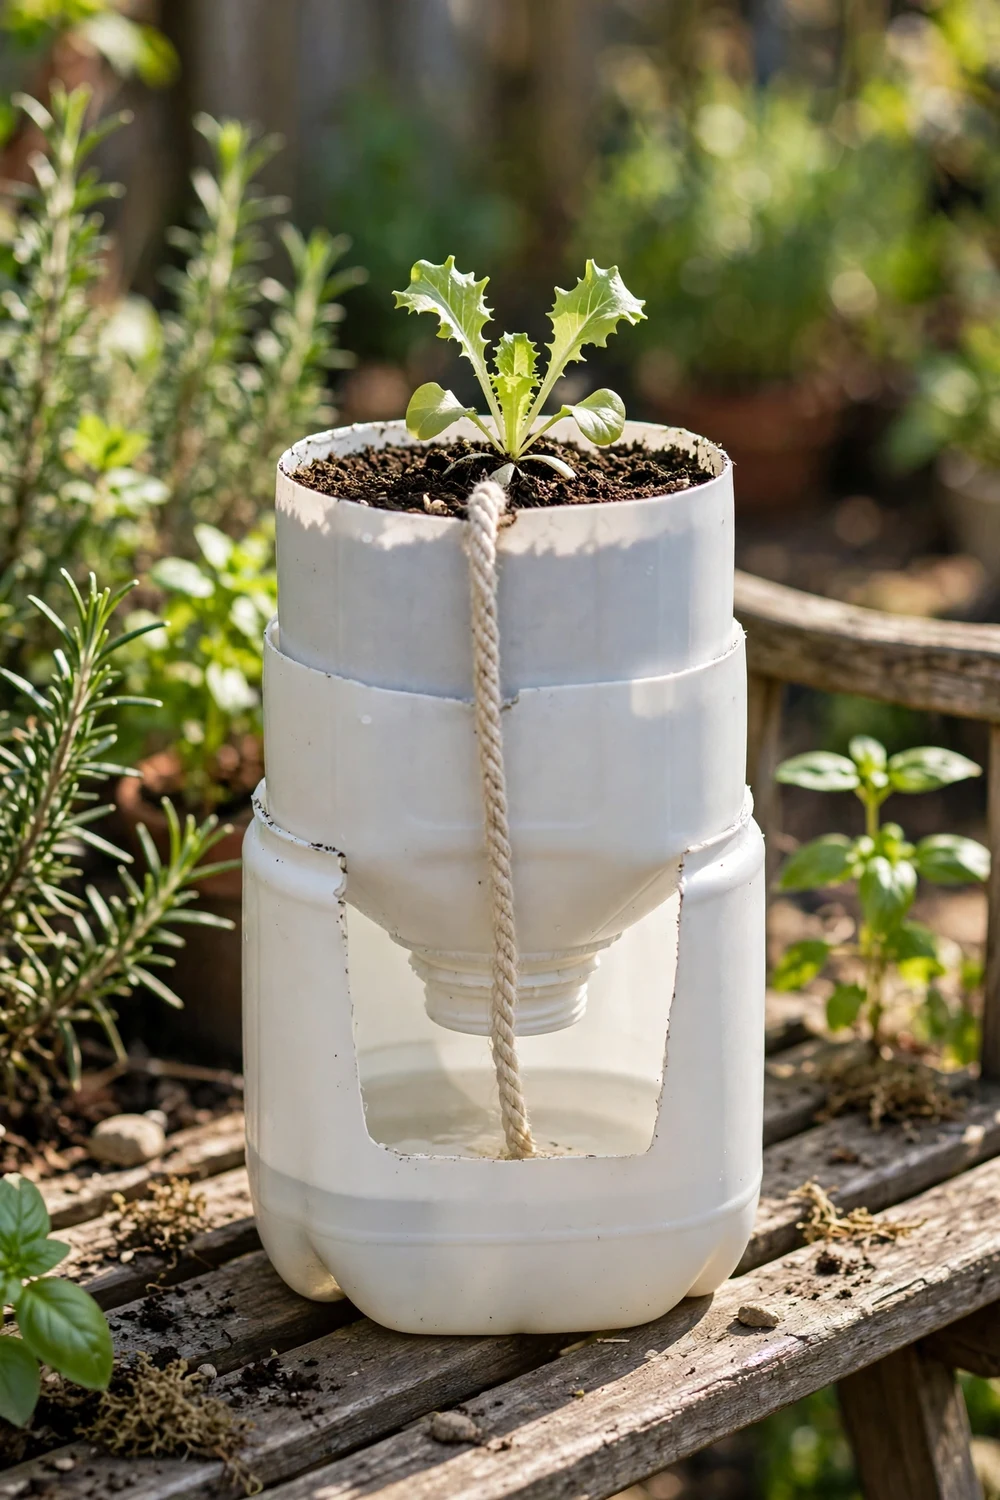
8. Mason jar wick herb planter
A quart mason jar turns into a tidy indoor herb planter with a wick and a soil basket. Thread a strip of cotton T-shirt through the jar lid, fill the jar with water, then set a small net pot or a perforated plastic cup of potting mix on top so the wick reaches the soil. Chives, mint, and parsley grow well here on a bright sill. The glass shows the water level clearly, which removes all guessing, and the footprint is small enough for a kitchen windowsill collection.
Try this: change the reservoir water every two weeks and rinse the wick, because indoor jars grow biofilm that smells faintly swampy if ignored.
Cost: $. Difficulty: Easy.
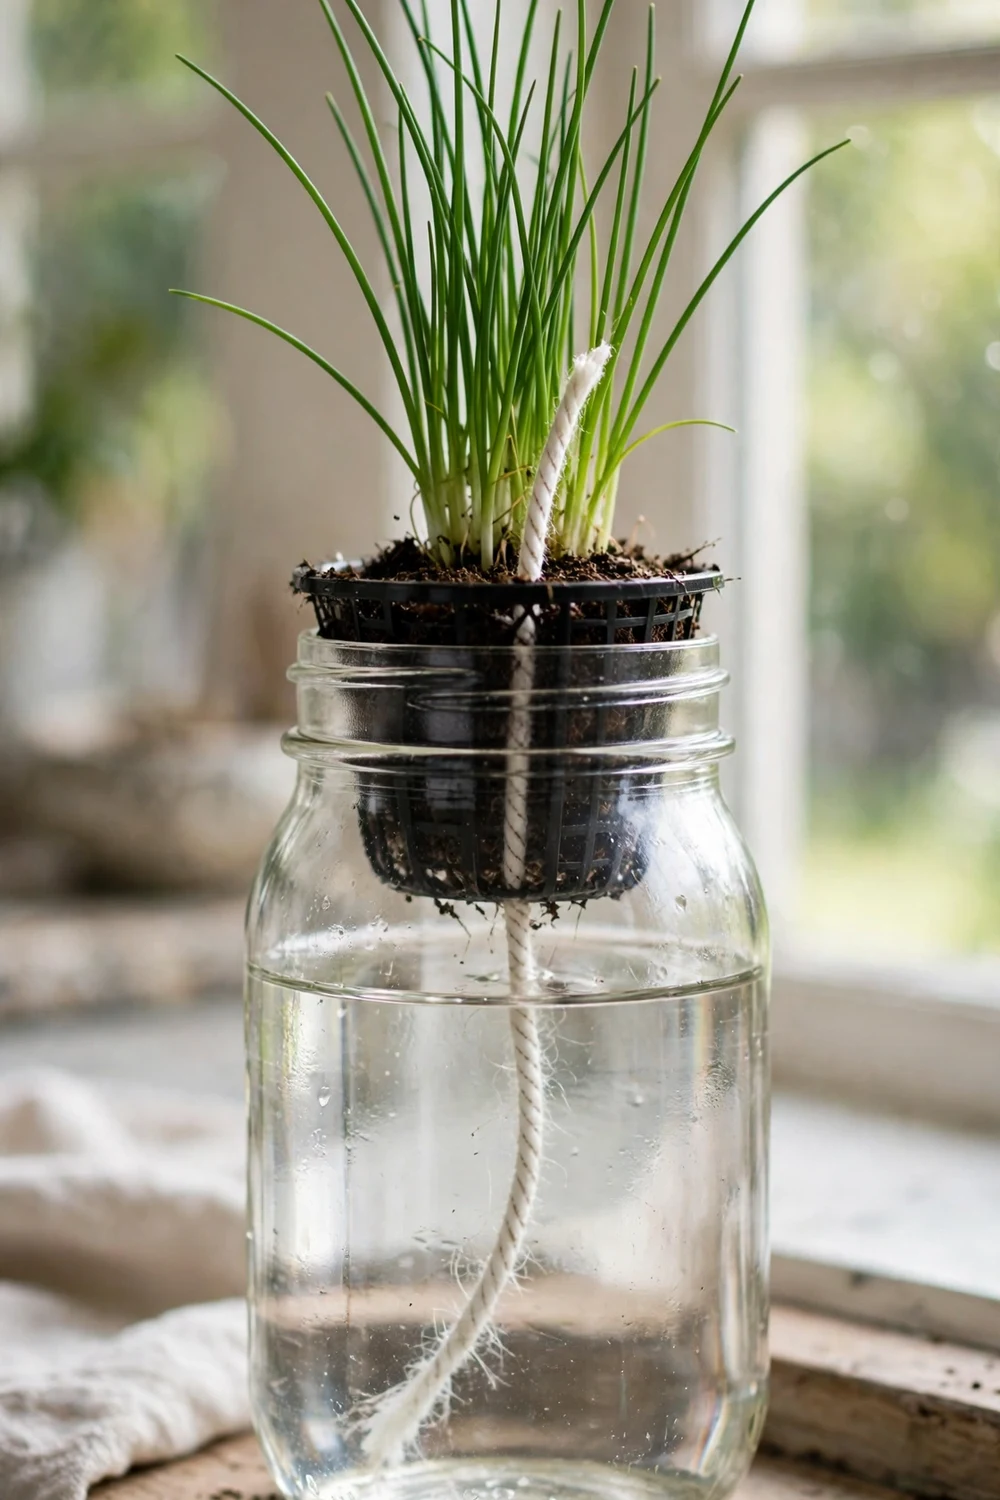
9. Terracotta olla in a raised bed
An olla is an unglazed clay pot buried neck-deep in the garden and filled with water. Moisture seeps slowly through the porous walls straight into the root zone, which is how gardeners in dry climates have watered for centuries. Bury one olla per 2 to 3 feet of bed, fill it twice a week in summer, and plant thirsty crops like squash and cucumbers around it. Pair two nested pots sealed at the drainage hole if you cannot find a purpose-made olla. The system uses noticeably less water than surface watering.
Try this: cap the neck with a saucer or stone to cut evaporation and keep mosquitoes from laying eggs in the opening.
Cost: $$. Difficulty: Easy.
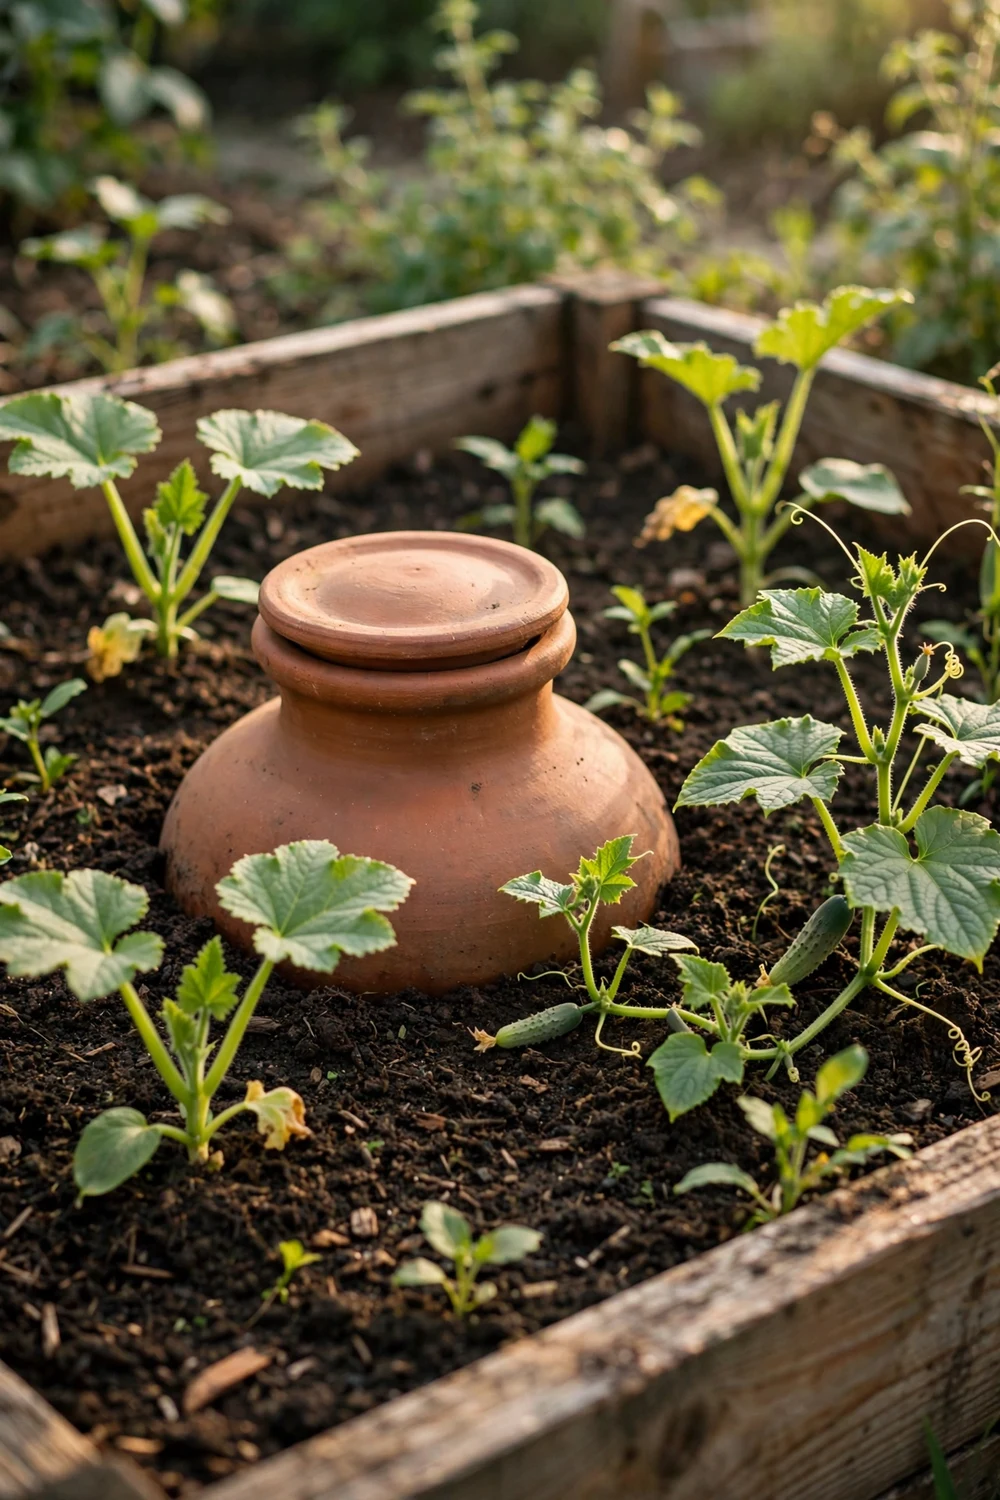
10. Grow bag on a wicking tray
Fabric grow bags dry out fast, which is their one real weakness. Set the bag in a shallow tray with an inch of water and a capillary mat or old towel underneath, and the bag wicks moisture up through its fabric walls. A 10-gallon bag with tomatoes or peppers on a tray stretches watering to every 4 or 5 days instead of daily. The tray also catches fertilizer runoff, so the patio stays clean. This combo gives you the air-pruning benefits of fabric pots without the constant watering chore.
Try this: use a tray at least 2 inches deep so a summer storm does not turn your watering system into a drowning system.
Cost: $$. Difficulty: Easy.

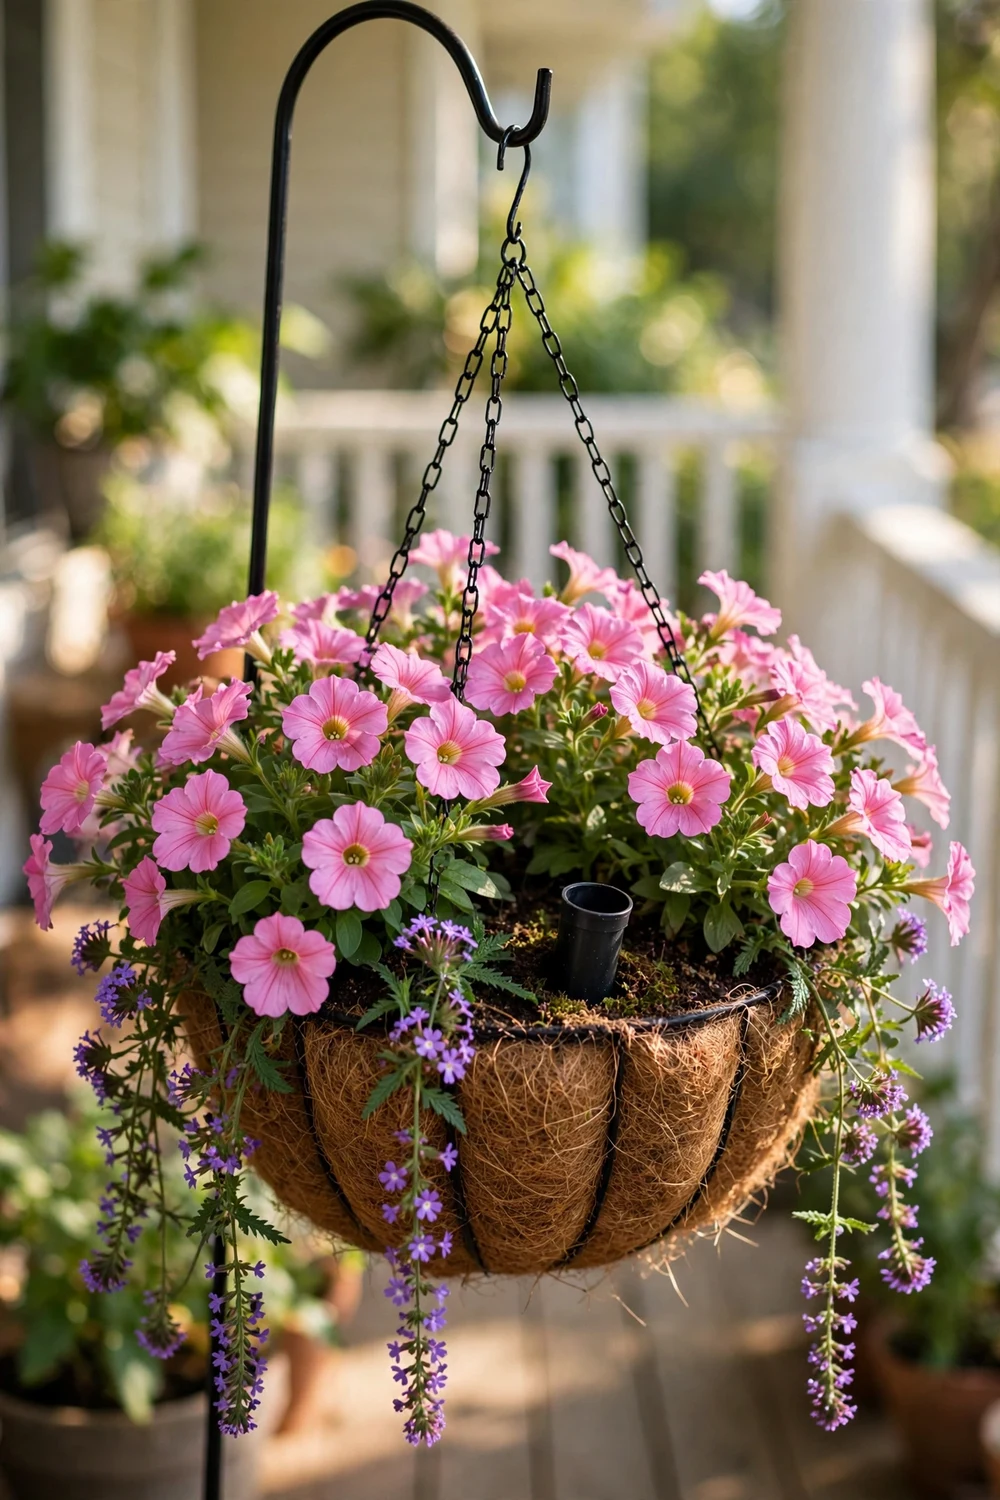
11. Self-watering hanging basket with reservoir disc
Hanging baskets are the thirstiest containers in most gardens, drying out in a single hot afternoon. Slip a shallow plastic saucer or a cut-down takeout lid into the bottom of the basket liner before adding soil, and pour water through a short piece of tubing that reaches the disc. The hidden reservoir holds a day or two of extra water that the roots draw up as the top dries. Petunias and trailing verbena, both heavy drinkers, show the biggest improvement.
Try this: hang the basket where you can reach the fill tube without a ladder, or the convenience disappears the first time you drag one out.
Cost: $. Difficulty: Easy.
12. Pallet raised wicking bed
Line the inside of a sturdy wooden pallet frame stood on edge, or stack two pallets into a shallow box, with heavy landscape fabric, then build the standard wicking sandwich inside: perforated pipe, fabric, soil. The pallet walls give you a raised bed look for the price of salvaged wood, and the reservoir underneath keeps the shallow soil from drying out between waterings. It suits herbs and shallow-rooted greens. Seal the outside with exterior wood sealer so the frame survives more than one season.
Try this: choose heat-treated pallets (marked HT) and skip any with an MB stamp, which means they were fumigated with methyl bromide.
Cost: $$. Difficulty: Moderate.
13. Wooden crate reservoir planter
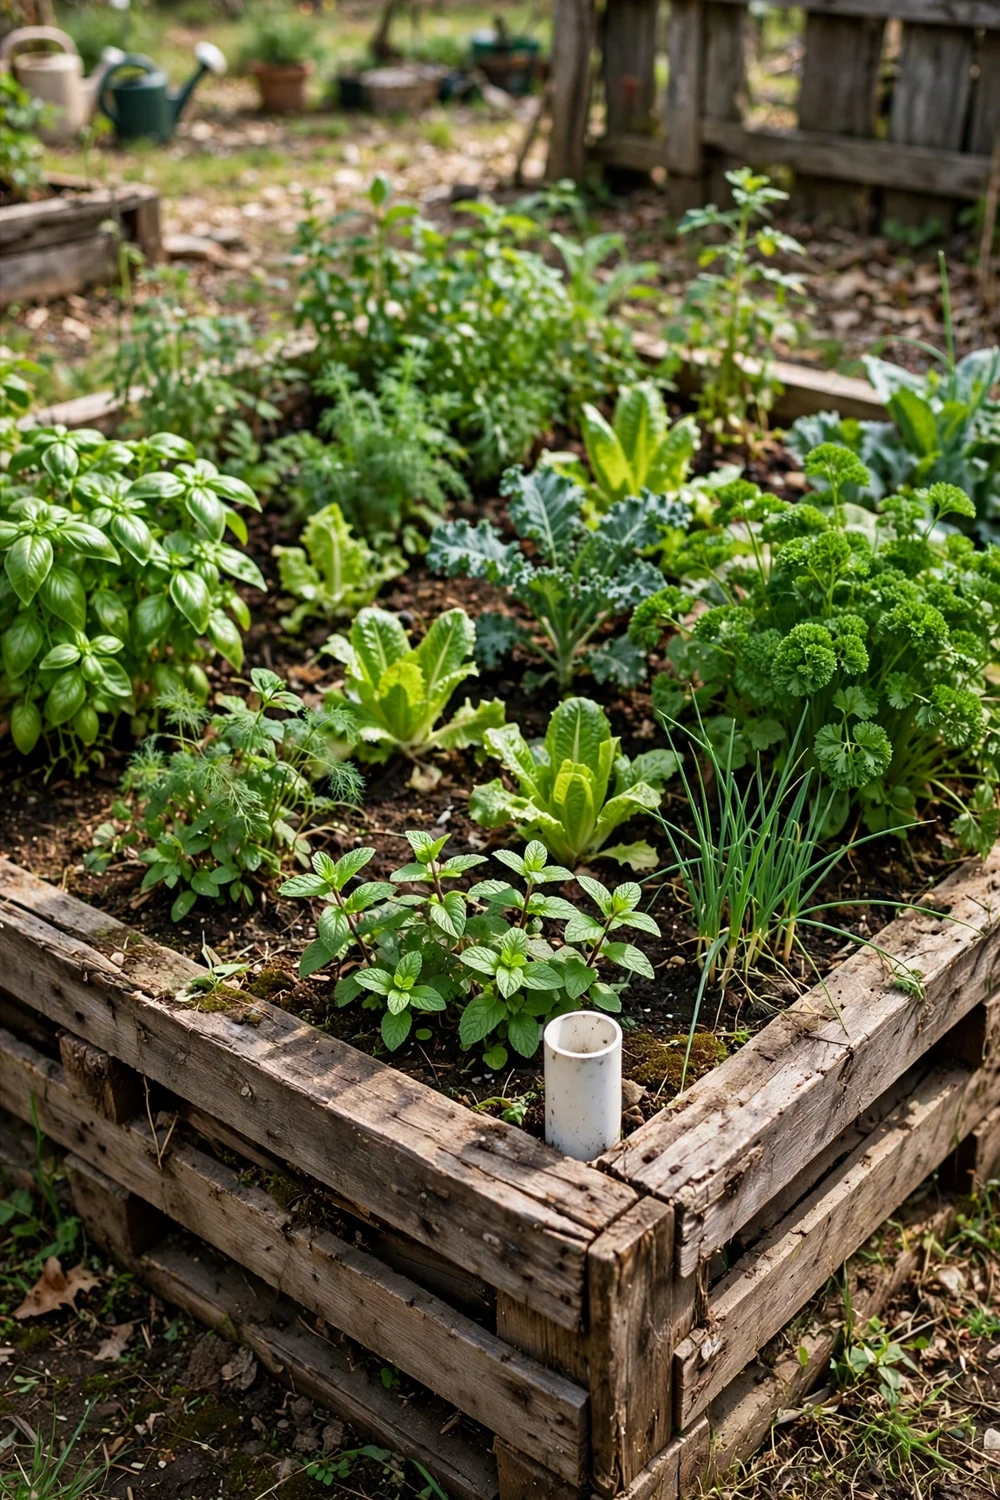
An old wooden crate gets a second life as a self-watering planter with a plastic tub nested inside. Set a shallow storage tub in the crate as the reservoir, rest a perforated inner tray or a layer of gravel on spacers above the water, then add soil and plants. A fill pipe through the corner reaches the reservoir below. The crate looks like a vintage farm box while the hidden tub does the watering work for up to a week. Strawberries and trailing herbs spill over the edges nicely.
Try this: drill two small overflow holes in the inner tub at reservoir height so a hard rain never floods the soil chamber.
Cost: $$. Difficulty: Moderate.

14. Rain gutter watering trough row
A 10-foot vinyl rain gutter with end caps becomes a shallow self-watering trough for a whole row of lettuce. Drill tiny drainage holes every 6 inches along the bottom, set the gutter on a slight slope inside a wider tray or a second gutter that acts as the reservoir, and let the lower channel hold water the upper holes can wick from. Mount it on sawhorses at waist height for the easiest harvest you will ever do. One trough holds 12 to 15 lettuce or spinach plants.
Try this: keep the reservoir channel shaded with a board, because shallow water in a sunlit gutter turns into an algae farm within days.
Cost: $$. Difficulty: Moderate.

15. Stacked bucket strawberry tower
Cut planting pockets into the sides of three 5-gallon buckets, stack them with the bottom bucket as the reservoir, and run a perforated central pipe through all three for watering. Fill each level with potting mix and tuck strawberry starts into the side pockets. Water poured down the center pipe reaches every level, and the sealed bottom bucket holds a reserve that wicks upward between waterings. A tower this size holds 20 to 30 strawberry plants in 2 square feet of patio.
Try this: offset the side pockets in a spiral around the tower so every plant gets light and none sits directly under another.
Cost: $$. Difficulty: Advanced.

16. PVC pipe vertical wicking tower
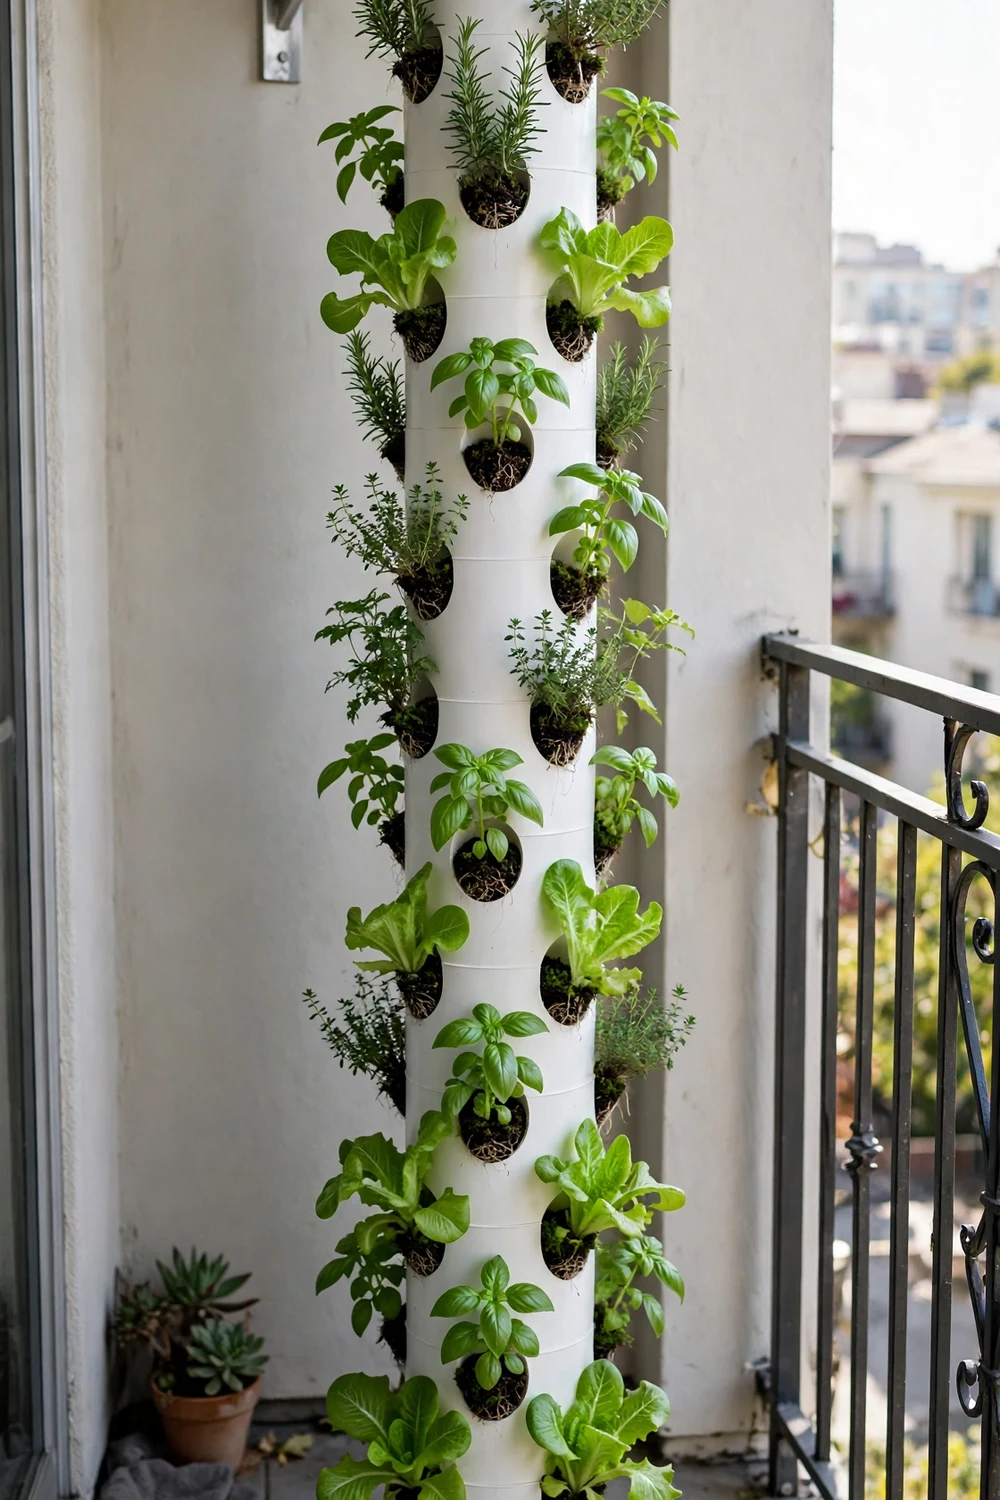
A 4-inch PVC pipe, 5 feet tall, drilled with 2-inch planting holes in a spiral, becomes a vertical self-watering garden. Cap the bottom, fill the lower 8 inches with gravel as the reservoir, add a fill tube, then fill the rest with potting mix. Plant lettuce, herbs, or strawberries in the holes. The gravel base holds several days of water that rises through the soil column, and the tower fits on a balcony. Total capacity runs about 20 plants in a 1-foot footprint.
Try this: anchor the tower to a railing or wall bracket; a 5-foot pipe full of wet soil is top-heavy and a gust of wind will test it.
Cost: $$. Difficulty: Advanced.
17. Earthbox-style storage box planter
This is the closest DIY match to a commercial self-watering planter. Take a deep storage box, install a perforated platform 4 inches from the bottom, add a fill tube in one corner and an overflow hole in the wall just below the platform. Fill above the platform with potting mix, cover the soil surface with a plastic mulch cover with a planting slit, and water only through the tube. Two tomato plants or a full herb row thrive with weekly refills. The mulch cover cuts evaporation, which is the secret to the long refill interval.
Try this: pack the soil firmly into the two corner wicking chambers (small holes in the platform) so water climbs into the soil instead of pooling below it.
Cost: $$. Difficulty: Moderate.

18. Soda bottle seed-starting mini planters
Cut 16-ounce soda bottles in half and use the same inverted wick method at seedling scale. The tiny reservoir keeps seed-starting mix evenly moist during germination, which is the stage where most seedlings die from one dry afternoon. Start tomatoes, peppers, or flowers indoors 6 to 8 weeks before your last frost, then transplant the whole soil plug out. A windowsill tray of 12 bottle planters costs almost nothing and waters itself for 3 to 4 days. For the earliest sowings, this guide to vegetables to start seeding in January lays out the timing.
Try this: label each bottle with the variety and sow date using a paint pen, because seedlings all look identical until it is too late to remember.
Cost: $. Difficulty: Easy.

19. Big tote vegetable wicking bed
Scale the tote build up to a 50-gallon storage tote for serious vegetable growing. The deeper reservoir (4 to 5 inches of perforated pipe under landscape fabric) can carry two pepper plants or one indeterminate tomato through 10 days of summer heat. Add a second overflow hole on the opposite wall so heavy rain drains from both sides. At this size the tote gets heavy, around 200 pounds when wet, so build it in its final spot. The per-plant cost beats almost any store-bought self-watering planter.
Try this: top-dress with an inch of compost mid-season to replace nutrients, since you cannot easily dig fertilizer into a planted wicking bed.
Cost: $$. Difficulty: Moderate.
20. Capillary mat seedling tray
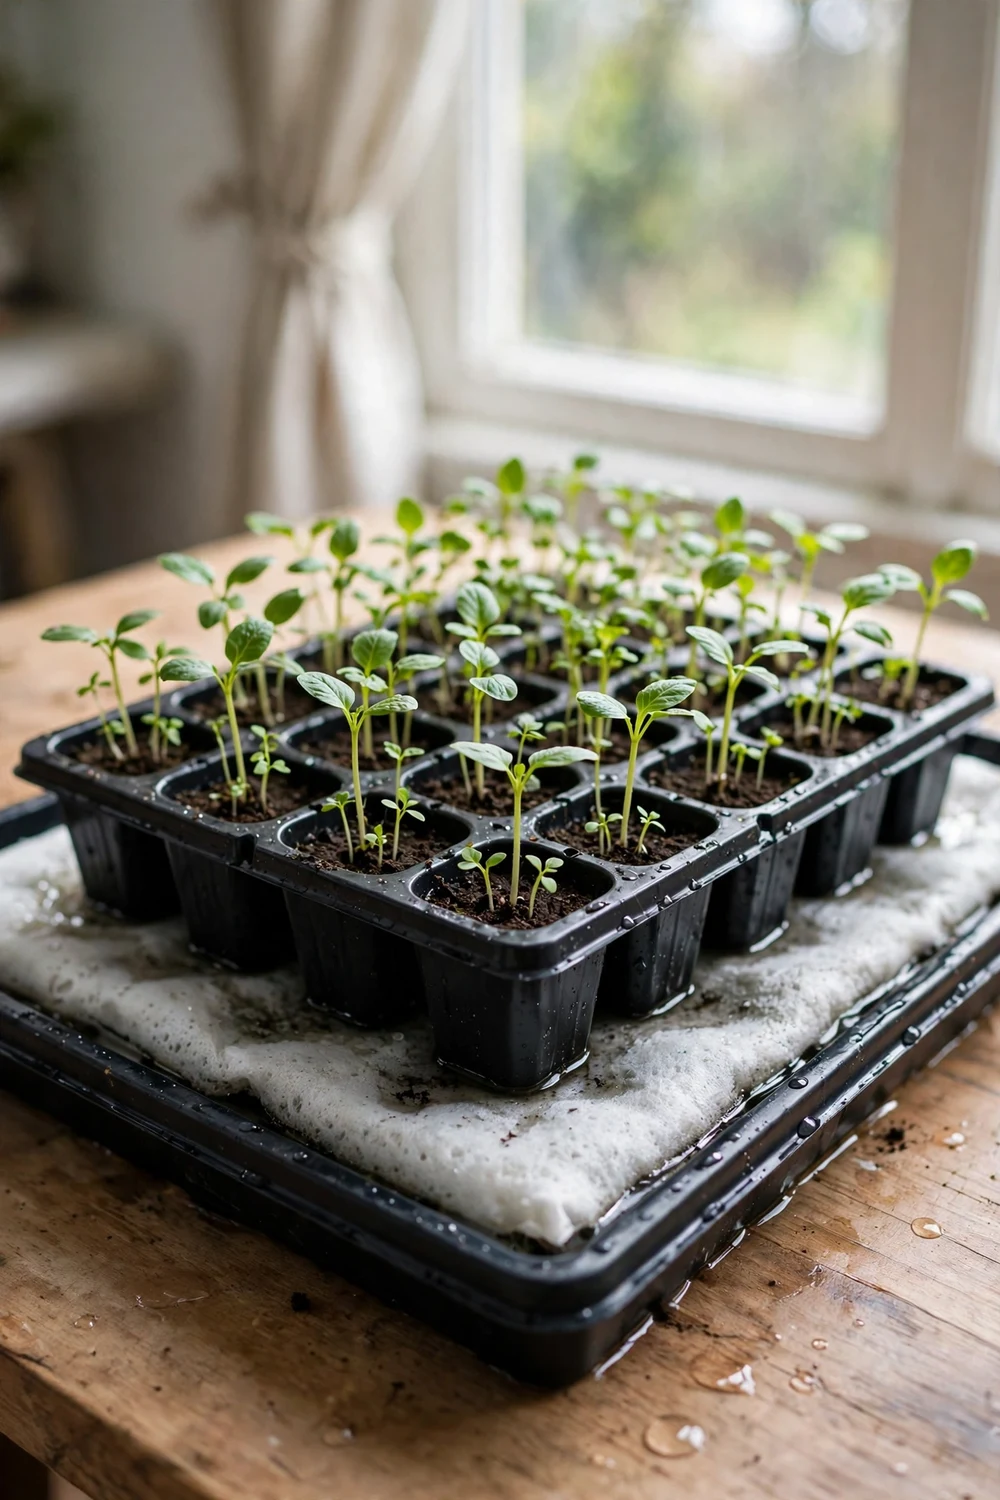
For starting dozens of seedlings at once, skip individual reservoirs. Lay a capillary mat (or a folded old cotton towel) in a solid tray, set your cell packs on top, and keep the mat damp from a corner reservoir cup. Water climbs the mat and enters each cell from below, which keeps the soil surface dry and cuts down on damping-off disease. A $10 mat waters a full 1020 tray for 4 to 5 days. Commercial greenhouses use this exact method, just with fancier mats.
Try this: level the tray with a shim so the mat stays evenly wet; a tilted tray leaves one end soggy and the other end dry.
Cost: $$. Difficulty: Easy.
Self-watering planter comparison
Match the build to your space, your plants, and how often you want to refill.
How to choose your build
Start from the plant, not the container. Herbs and lettuce need shallow soil and constant light moisture, so bottle, tote, and gutter builds suit them. Tomatoes and peppers need depth and a bigger reservoir, so buckets and Earthbox-style boxes win. Then check your refill tolerance: if you travel on weekends, only the builds with reservoirs of 3 inches or more (totes, kiddie pools, ollas) truly cover a long weekend in July. Finally, be honest about tools. The bottle and double-pot builds need nothing sharper than scissors, while towers and platforms need a drill and a steady hand.
If this is your first food garden, these beginner-friendly raised vegetable garden ideas help you plan what goes in each planter. And once you pick a build, these companion planting charts for raised beds show which vegetables grow well side by side in the same tote.
Common mistakes to avoid
The number one killer of DIY self-watering planters is a missing overflow hole. Without one, a single heavy rain or an enthusiastic refill floods the soil chamber and roots sit in water until they rot. Drill it just below the reservoir line on every build, no exceptions. Mistake two is the wrong plants: succulents, cacti, and Mediterranean herbs like rosemary and lavender want dry spells and sulk in constant moisture. Mistake three is letting the wick dry out completely at the start; a dry wick cannot start pulling water, so pre-soak every wick and water the soil from the top on day one.
Safety notes for these builds
Cutting plastic bottles and drilling buckets creates sharp edges, so wear gloves and cut away from your body, and sand or tape any rim that will be handled often. If you paint buckets or totes, use paint labeled safe for planters and let it cure fully; old painted containers of unknown history can carry lead paint, and the EPA lead guidance explains the risks around homes. Standing water breeds mosquitoes, so screen your fill tubes and refresh reservoirs weekly. Planning a big in-ground wicking bed? Call 811 before you dig so utility lines get marked first. If pets share the garden, check the ASPCA toxic plant list before planting: pothos, peace lilies, and philodendrons are all common houseplants that are toxic to cats and dogs. For the science behind it all, the USGS explains capillary action in plain language.
Frequently asked questions
How long do DIY self-watering planters last between refills?
Small bottle builds last 4 to 7 days indoors. Bucket and tote builds with 3 to 5 inch reservoirs last 7 to 14 days in summer, depending on plant size and heat. Ollas need filling about twice a week in hot weather. Wind and full sun shorten every interval, so check the reservoir the first two weeks until you learn your setup.
Which plants do best in self-watering planters?
Plants that like steady moisture do best: basil, mint, parsley, lettuce, spinach, tomatoes, peppers, cucumbers, and strawberries. Houseplants like pothos and peace lilies also thrive. Avoid succulents, cacti, lavender, and rosemary, which need their soil to dry out between waterings and develop root rot in constantly damp mix.
Do self-watering planters cause root rot?
They can if built wrong. Root rot happens when soil stays waterlogged, which is why every build in this guide includes an overflow hole or a capped reservoir level. Use a light, airy potting mix rather than dense garden soil, and never let the reservoir touch the soil surface directly. Built correctly, these systems actually reduce rot compared to daily top-watering.
Can I leave a self-watering planter unattended for a week?
Yes, with the right build. Tote wicking beds, kiddie pool gardens, and Earthbox-style boxes with full reservoirs reliably cover 7 to 10 days in summer. Move containers to partial shade before you leave to stretch the interval, and ask someone to check once only if a heat wave is forecast. Small bottle planters indoors easily last a week.
What wick material works best?
Cotton rope and strips of cotton T-shirt wick fastest and are cheapest, but cotton rots in about a year and needs replacing. Nylon cord and polyester felt last for years but wick slightly slower. Avoid natural jute twine, which breaks down in weeks. Whatever you use, pre-soak it before installing so capillary action starts immediately.
How do I stop mosquitoes in the reservoir?
Cover every opening: cap fill tubes with window screen, keep olla necks covered, and refresh the reservoir water weekly. A thin layer of horticultural oil or a mosquito dunk tablet in large reservoirs breaks the breeding cycle safely. Never leave open buckets of standing water in the garden, planter or not.
I started with one bottle planter on my kitchen sill because my basil kept dying between waterings, and it worked so well I built the tote bed the next spring. Pick one build that matches your space, drill that overflow hole, and your plants will forgive every forgotten watering from here on.


