



Store-bought gazing balls can cost $40 or more, which feels steep for a sphere that just sits in the flower bed. The good news is that the DIY versions look just as good, sometimes better, and most of them start with thrift-store junk.
These 15 DIY garden globe ideas use old lamp globes, bowling balls, foam balls, and even beach balls as the base. I made my first mirror globe from a $1 glass vase and it still catches the morning sun three years later. Every project below lists real costs, and most come in under $10.
• Thrift stores are the best source: lamp globes, fish bowls, and bowling balls cost $1 to $5.
• Outdoor-rated glue, grout, and sealant are what make a globe survive winter.
• Mirror-effect spray paint gives the classic gazing ball look for about $8.
• Heavy bases (bowling balls, concrete) need a sturdy stand so they do not roll.
• Wear gloves and eye protection when breaking tile or handling sharp edges.
1. Mirror spray paint lamp globe
This is the classic gazing ball trick. Find a round glass lamp globe or fish bowl at a thrift store, clean it well, and spray the inside with mirror-effect spray paint. Set it on a plant stand or a short piece of copper pipe. From a few feet away, nobody can tell it cost less than your lunch.

Try this: Spray light coats on the inside of the glass, not the outside. The glass protects the finish from rain and scratches.
Cost: $| Difficulty: Easy | Time: 30 minutes plus drying
2. Penny-covered bowling ball
Glue pennies in overlapping rows around a thrifted bowling ball and you get a copper globe that turns a soft green over time. Caulk fills the finger holes first. Seal the finished ball with an outdoor clear coat so the pennies stay put through freeze and thaw.
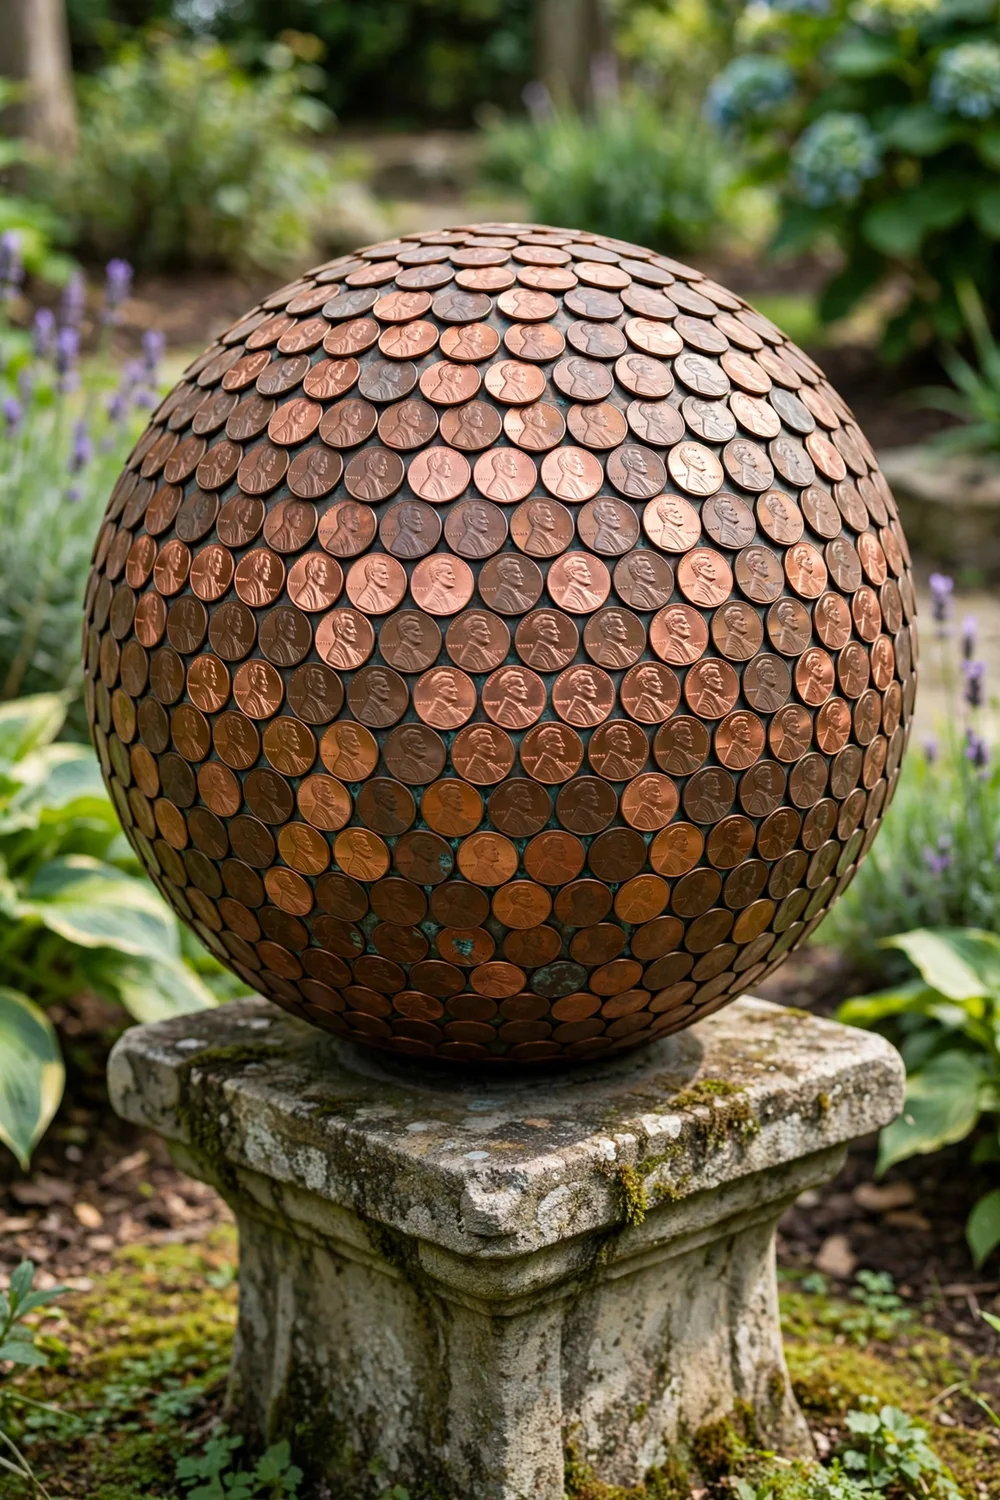
Try this: Sort your pennies by shade before you start. Mixing bright and dark coins in bands gives a striped effect.
Cost: $$| Difficulty: Easy | Time: 3 hours plus curing
3. Mosaic gem bowling ball
Cover a bowling ball with flat glass marbles or broken tile, leaving small gaps, then press sanded grout into the gaps. This is the heaviest project on the list, so it will never blow over, and the colors stay bright for years under a coat of grout sealer.

Try this: Work in small sections so the adhesive does not skin over before you press the gems in.
Cost: $$| Difficulty: Moderate | Time: 4 hours plus curing
4. Cement globe from a light fixture
Mix quick-set concrete to a thick mud and press it into a round glass light cover, then let it cure for two days. A light tap with a hammer breaks the glass away and leaves a smooth stone sphere. These look right at home tucked between hostas or at the end of a path.
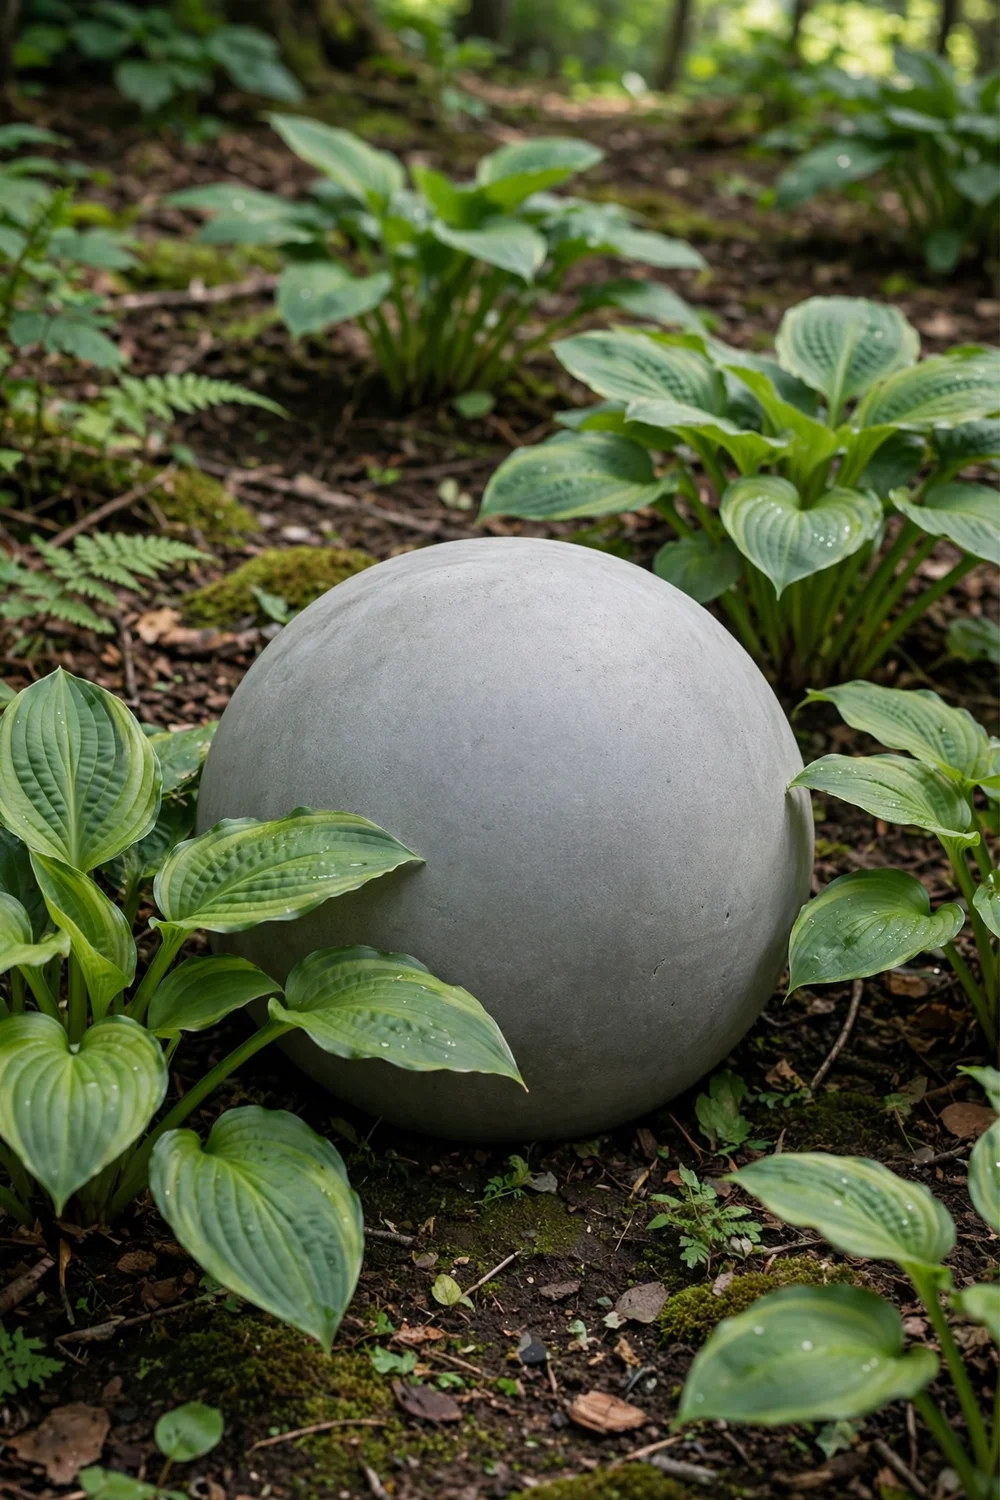
Try this: Spray the inside of the glass mold with cooking spray first. The concrete releases much more easily.
Cost: $$| Difficulty: Moderate | Time: 1 hour plus 2 days curing
5. Beach ball concrete leaf sphere
Inflate a beach ball, cover it with quick-set concrete, and press large cabbage or hosta leaves into the wet surface. Once the concrete sets, deflate the ball and pull it out through a small opening. The result is a giant textured orb that looks carved from stone.

Try this: Wrap drywall mesh around the ball before the concrete. It keeps the shell from cracking as it cures.
Cost: $$| Difficulty: Moderate | Time: 3 hours plus curing
6. Mod Podge swirl globe
Tint Mod Podge with a few drops of food coloring, pour it into a clear globe light fixture, and swirl until the inside is coated. Let the excess drip out and dry overnight. You get a stained-glass look for almost no money, and no two globes come out alike.

Try this: Use neon food coloring for the brightest result. Regular coloring gives softer pastel tones.
Cost: $| Difficulty: Easy | Time: 20 minutes plus drying
7. Moss-covered garden ball
Wrap a foam ball in sheet moss and wind twine around it to hold everything in place. Mist it now and then and it stays green for months. This is the softest-looking globe on the list and a good choice for shady corners where shiny orbs would look out of place.

Try this: Soak the moss for 10 minutes before wrapping. Damp moss clings to the foam instead of sliding off.
Cost: $$| Difficulty: Easy | Time: 45 minutes
8. Gallery glass painted globe
Paint the outside of a clear glass sphere with gallery glass paint in jewel tones, dabbing with a sponge for texture. It reads as stained glass from across the yard. Set it where the sun hits it in late afternoon and the color glows.

Try this: Paint the bottom half first and let it dry before turning the globe. Wet paint smudges easily.
Cost: $$| Difficulty: Easy | Time: 1 hour plus drying
9. Copper metallic spray globe
Spray any round thrifted vase or light cover with copper metallic spray paint for a warm, modern orb. Two light coats beat one heavy coat, and a clear topcoat keeps the finish from dulling in the rain. Group three in different sizes for a styled vignette.

Try this: Sand glossy surfaces lightly with fine sandpaper first. Paint grips better and chips less.
Cost: $$| Difficulty: Easy | Time: 30 minutes plus drying
10. Miniature fairy garden globes
Paint small foam or wooden balls with mirror or metallic paint and tuck them into fairy gardens and potted plants. They take 10 minutes each and make tiny landscapes feel finished. Kids can paint their own while you work on the full-size version.

Try this: Push a toothpick into each ball while painting. It works as a handle and a stand while the paint dries.
Cost: $| Difficulty: Easy | Time: 15 minutes plus drying
11. Flat marble glued globe
Glue flat glass marbles edge to edge over a foam ball with waterproof silicone. No grout needed, the silicone fills the gaps and holds through weather. Clear marbles over a painted ball give a dewy look, while mixed colors turn it into a jewel.
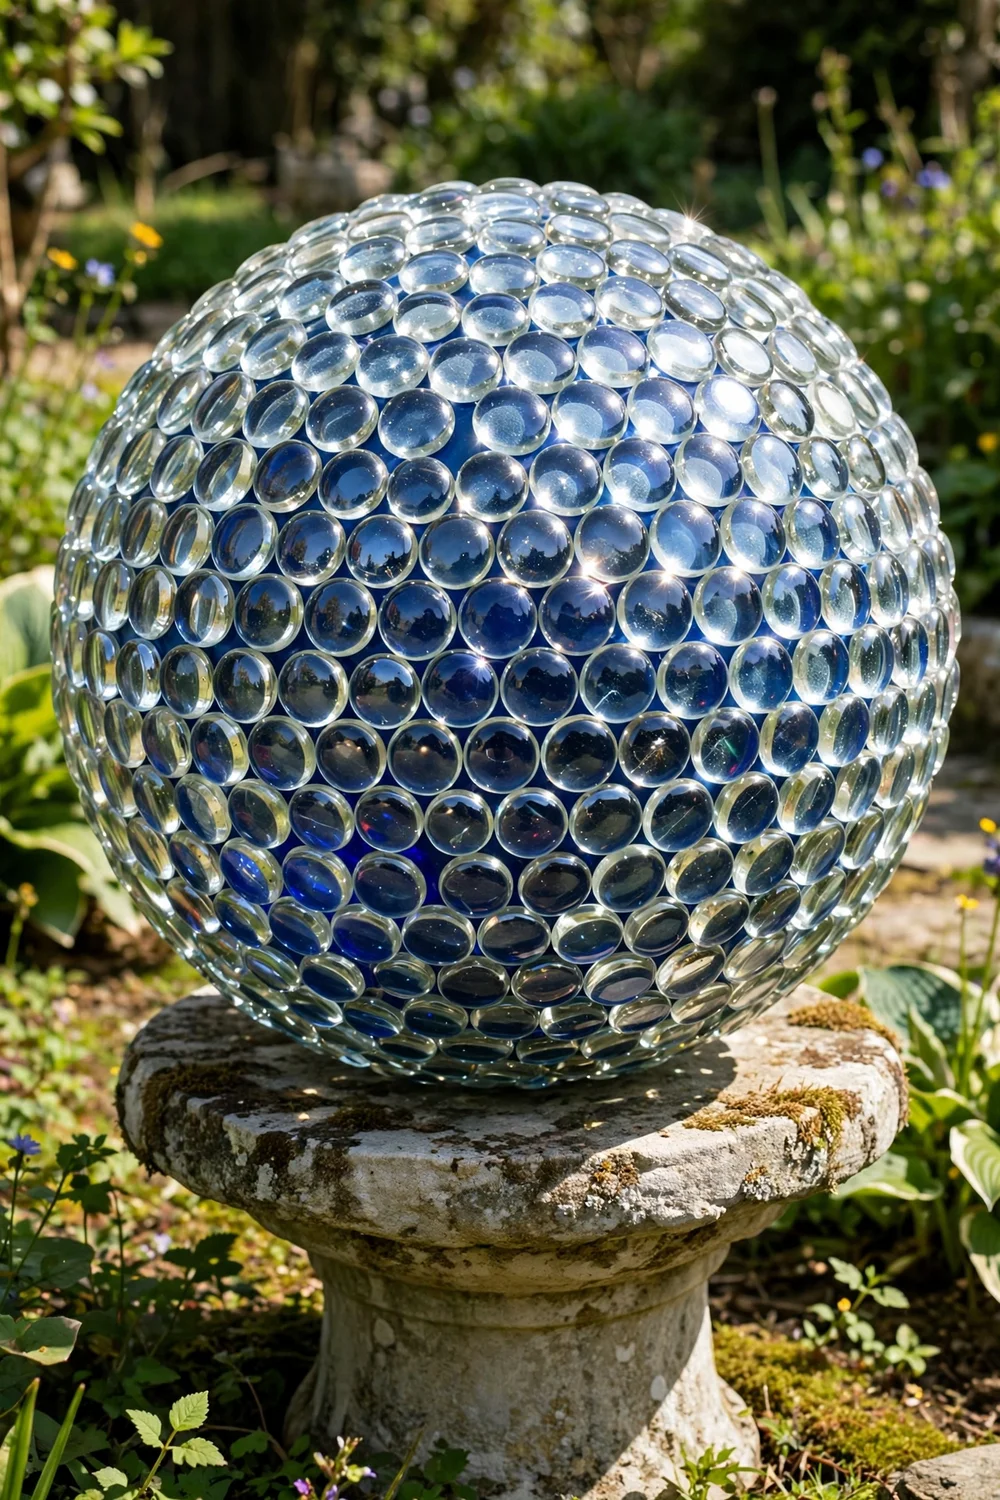
Try this: Use silicone rated for outdoor use. Craft glue loosens after the first hard rain.
Cost: $$| Difficulty: Easy | Time: 2 hours plus curing
12. Stenciled light cover ball
Take a plain white glass light cover and add a simple stencil pattern with outdoor acrylic paint: dots, leaves, or a band of color around the middle. It is the fastest globe on this list and a good first project if you have never made garden art before.

Try this: Hold the stencil with painter’s tape and dab, don’t brush. Dabbing keeps paint from bleeding under the edges.
Cost: $| Difficulty: Easy | Time: 30 minutes plus drying
13. Sea glass tumbled globe
Glue tumbled sea glass or beach glass pieces over a foam ball for a soft frosted finish in blues and greens. It looks like something washed up from the ocean and suits coastal-style gardens. A coat of outdoor sealant deepens the color.

Try this: Buy sea glass by the bag at craft stores. Collecting enough from the beach takes many trips.
Cost: $$| Difficulty: Easy | Time: 2 hours plus curing
14. Black and gold globe
Spray a glass sphere black, then sponge metallic gold paint over the raised texture or stencil a pattern. The dark base makes the gold read richer than gold alone. This is the most modern-looking globe here and suits clean, minimal planting beds.

Try this: Prime the glass first with a bonding primer. Dark paint shows every chip, so the primer matters.
Cost: $$| Difficulty: Easy | Time: 45 minutes plus drying
15. Hanging floral kissing ball
Hot-glue silk flowers onto a foam ball, add a ribbon loop, and hang it from a shepherd’s hook or tree branch. It is technically a kissing ball, but hung low in the garden it reads as a floral globe. Refresh the flowers each season for a new color story.

Try this: Pull the flower heads off their stems before gluing. Whole stems make the ball lumpy and hard to hang straight.
Cost: $$| Difficulty: Easy | Time: 1 hour
Garden globe ideas compared
Garden globe safety notes
Glass and mirror globes can break, so place them where foot traffic is light and away from play areas. Wear gloves and eye protection when breaking tile, cutting glass, or hammering a mold. Set heavy globes, like bowling ball and concrete versions, on a stable stand or a recessed spot in the soil so they cannot roll. Check glued pieces each spring and re-glue anything loose before it falls. If a globe sits near a walkway, a low plant ring around the base keeps it visible after dark.
For more thrift-store garden projects, see these bowling ball yard art ideas and easy vintage garden projects. To style the beds around your new globes, browse these rustic garden decor ideas.
Frequently asked questions
What can I use as a base for a DIY garden globe?
Thrifted lamp globes, fish bowls, round vases, foam balls, and bowling balls all work. Glass gives the classic reflective look, foam is light and kid-friendly, and bowling balls make the most weatherproof heavy globes.
How do you make a gazing ball look like a mirror?
Spray mirror-effect paint on the inside of a clear glass globe or vase. Painting the inside protects the finish from weather, and the glass gives it depth. Two light coats look better than one heavy coat.
Will a DIY garden globe survive winter outside?
It depends on the materials. Concrete, mosaic, and penny-covered bowling balls handle freeze and thaw well. Foam-based and painted glass globes last longer if you bring them into a shed or garage for winter.
How do you keep a garden globe from rolling away?
Set heavy globes in a shallow hollow in the soil or on a purpose-made stand. For lighter globes, a metal plant stand, a short length of pipe set in the ground, or a ring of bricks keeps them in place.
What glue works best for outdoor garden globes?
Use waterproof construction adhesive or outdoor-rated silicone for gems and tile, and seal grout with a grout sealer. Standard craft glue softens in rain and heat, so pieces fall off within a season.
How do you display garden globes?
Place one globe as a focal point at the end of a path or in the center of a bed, or group three in different sizes for a styled cluster. Hang small ones from shepherd’s hooks, and set mirror globes where they catch morning or evening sun.
A quick note on materials
The mirror finish in several ideas comes from mirror-effect spray paint, such as Rust-Oleum Mirror Effect, applied to the inside of glass. For the swirl and decoupage ideas, an outdoor-rated craft sealer like Mod Podge Outdoor keeps finishes intact through rain.
Start with the mirror globe if you are new to this. It takes half an hour, costs less than ten dollars, and the moment the sun hits it you will understand why gardeners have loved gazing balls for centuries.


