


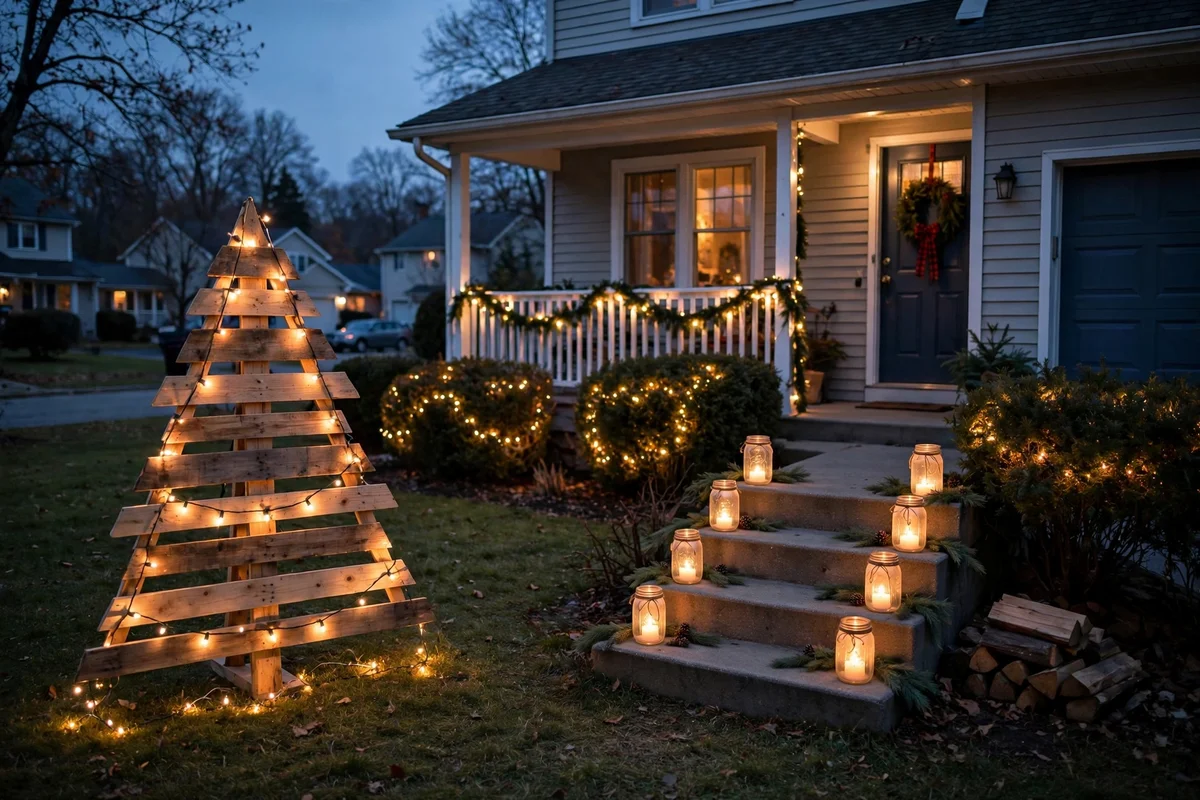
A bare front yard in December can feel like a missed chance, especially when the neighbors’ houses glow and yours sits dark. Store-bought displays cost hundreds, and the good ones sell out by Thanksgiving.
You can fix that for less than a pizza night. Last year I lit our whole porch with one clearance strand and a handful of jars from the kitchen, and cars slowed down to look. These 15 budget Christmas outdoor yard decorations use free pallets, dollar-store finds, and a little weekend time to give your yard real holiday presence.
Quick takeaways
- Most of these ideas cost under $15 and use things you already own.
- LED string lights and solar stakes give the biggest glow per dollar.
- Repurposed items (pallets, tin cans, tires) look handmade in the best way.
- Anchor everything against wind and use only outdoor-rated cords and lights.
- Check lights for a UL or ETL listing before you hang them outside.
1. Pallet tree for the porch corner
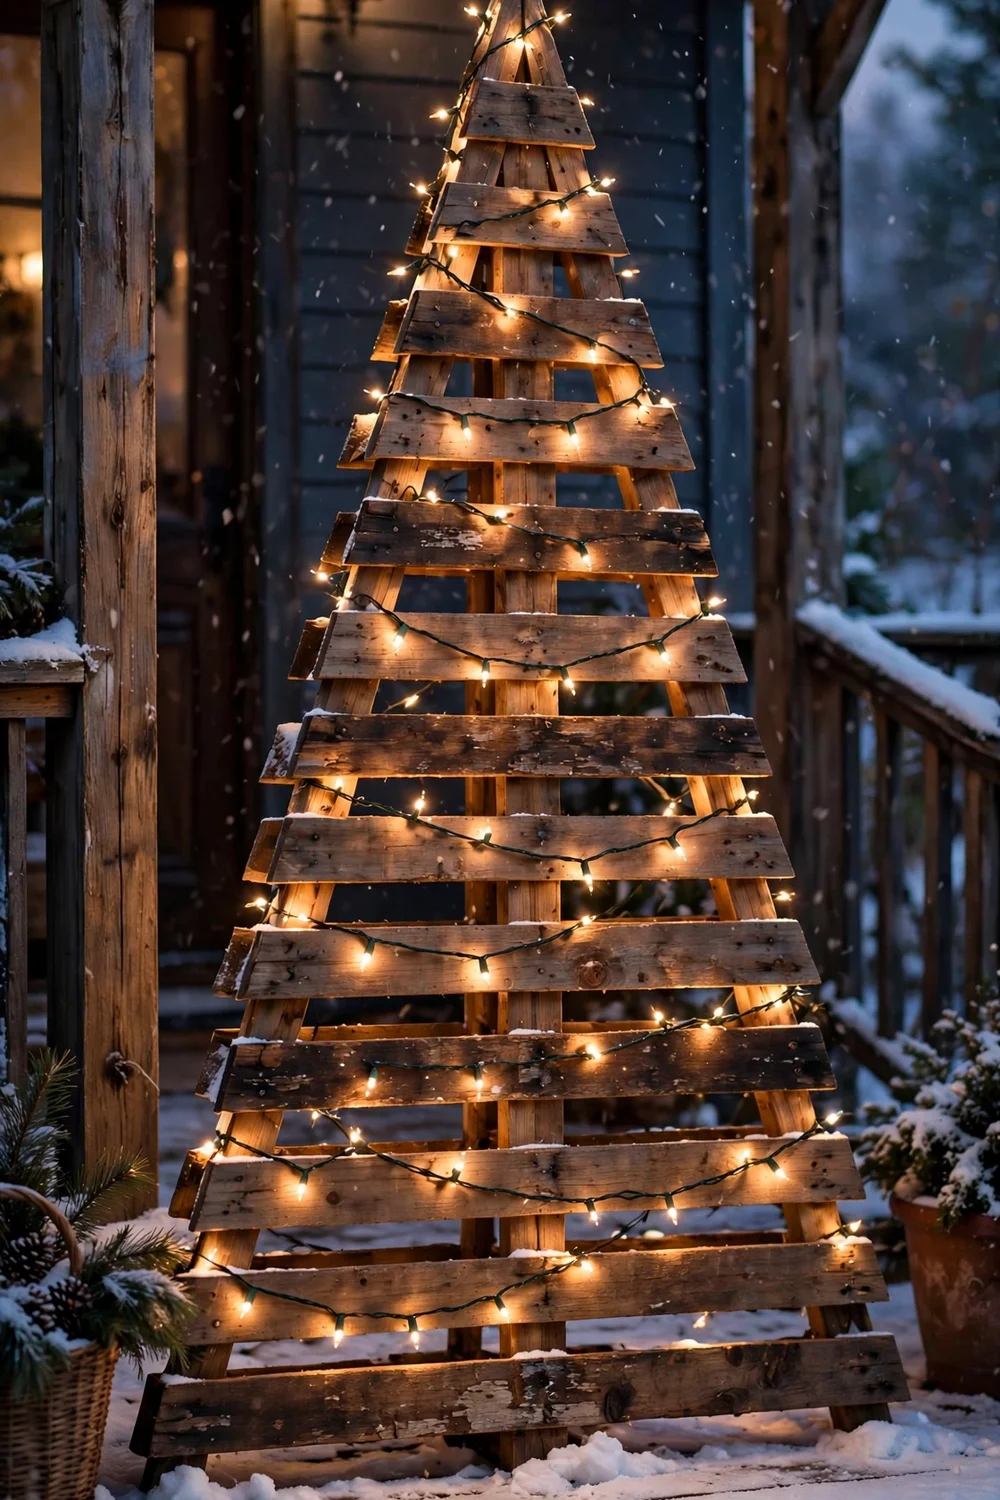
Ask a local hardware store or garden center for a spare pallet. They give them away more often than you’d think. Stand it upright, screw a small wood base to the bottom so it can’t tip, and wrap two 50-count LED strands around the slats. A coat of green exterior paint makes it read as a tree from the street, or leave the wood raw for a farmhouse look. It takes about an hour and folds flat for storage in January.
Try this: hang three or four shatterproof ornaments from the slats with short wire hooks so wind can’t knock them off.
Cost: $· Skill level: Beginner
2. Mason jar lanterns on the steps
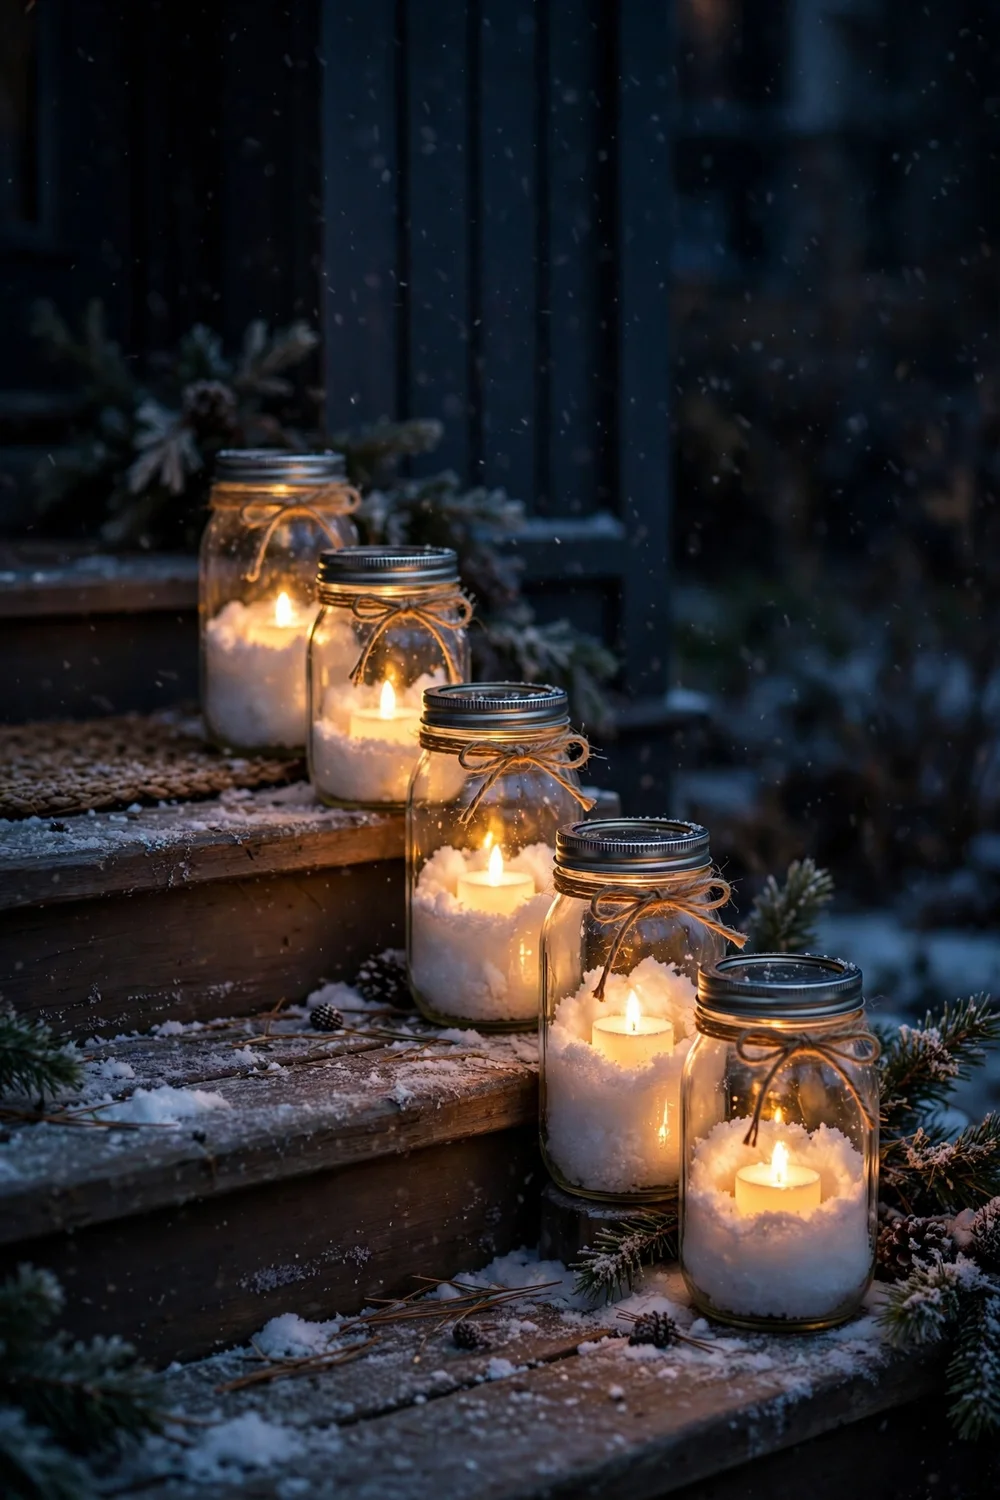
Pull six to eight mason jars from the pantry and set a battery tea light in each one. Spoon two tablespoons of Epsom salt into the bottom of every jar so the light glows through a layer that looks like snow. Tie twine or thin red ribbon around each neck for a finished look. Line them up the porch steps or along the walkway edge, spacing them about two feet apart. They run for weeks on one set of batteries and you can bring them inside during heavy rain.
Try this: use the flicker-mode tea lights. They read as real candlelight from the sidewalk.
Cost: $$· Skill level: Beginner
3. Punched tin can luminaries
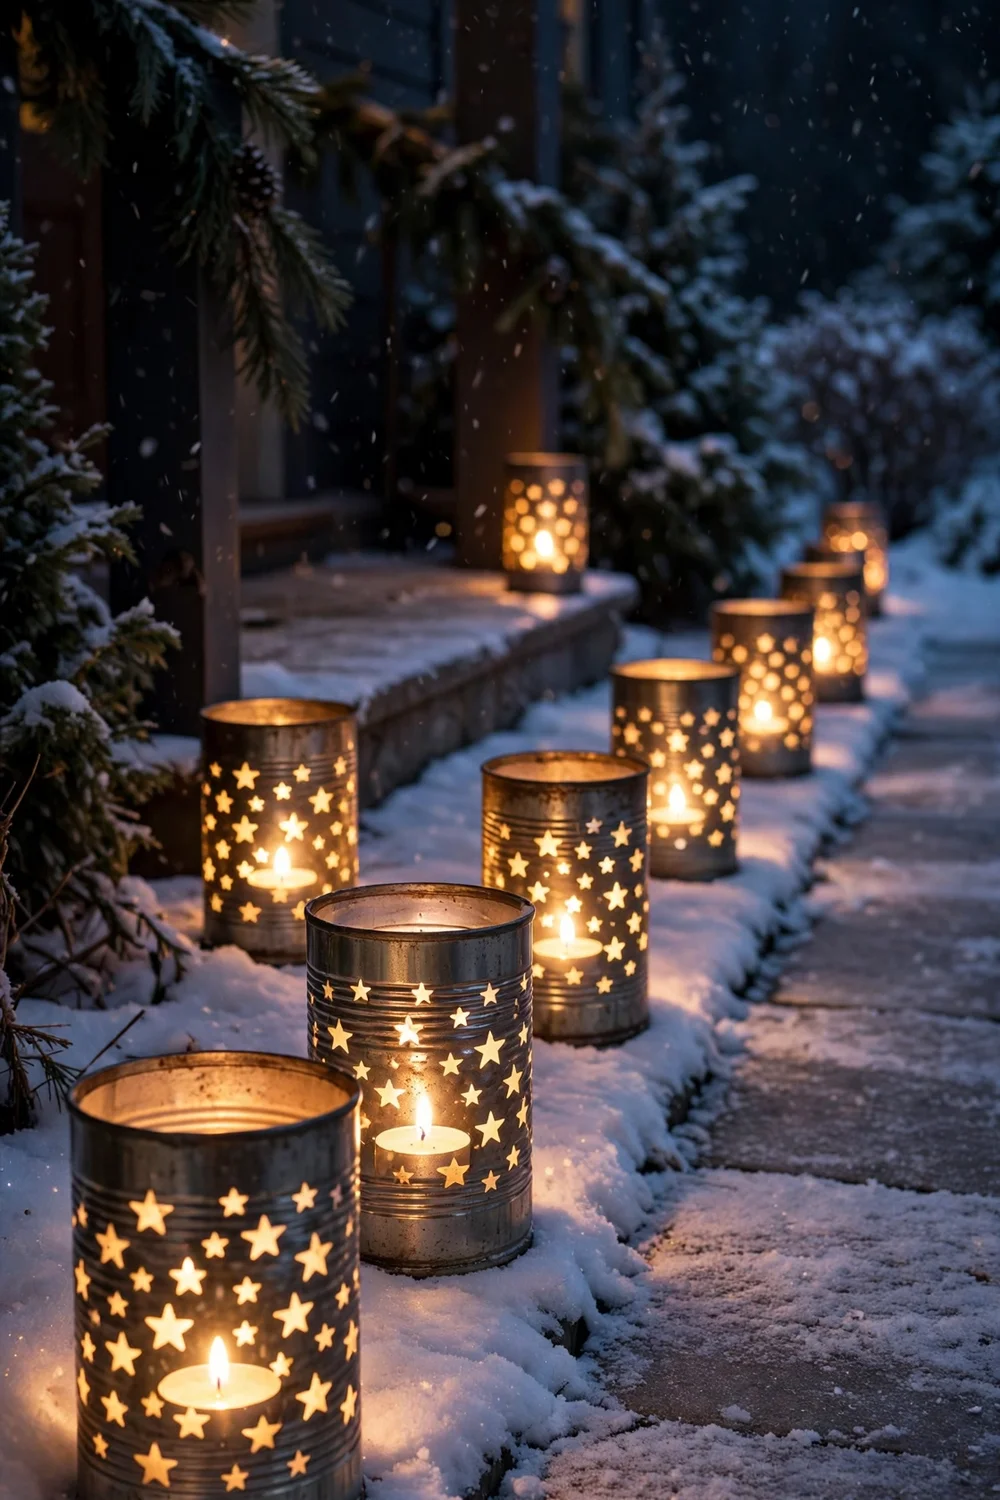
Save large soup or coffee cans for a week, peel the labels, and fill each one with water and freeze it solid. The ice keeps the can from denting while you work. Hammer a nail through the metal in star or snowflake patterns, let the ice melt, dry the cans, and spray the outsides matte black, red, or gold. Drop a battery tea light inside each and set them along the driveway. The punched holes throw patterned light onto the ground, and the whole project costs almost nothing if you already own a hammer.
Try this: punch dots in a simple tree outline. It reads clearly from the street even with a rough pattern.
Cost: $· Skill level: Beginner
4. Solar stake lights along the path
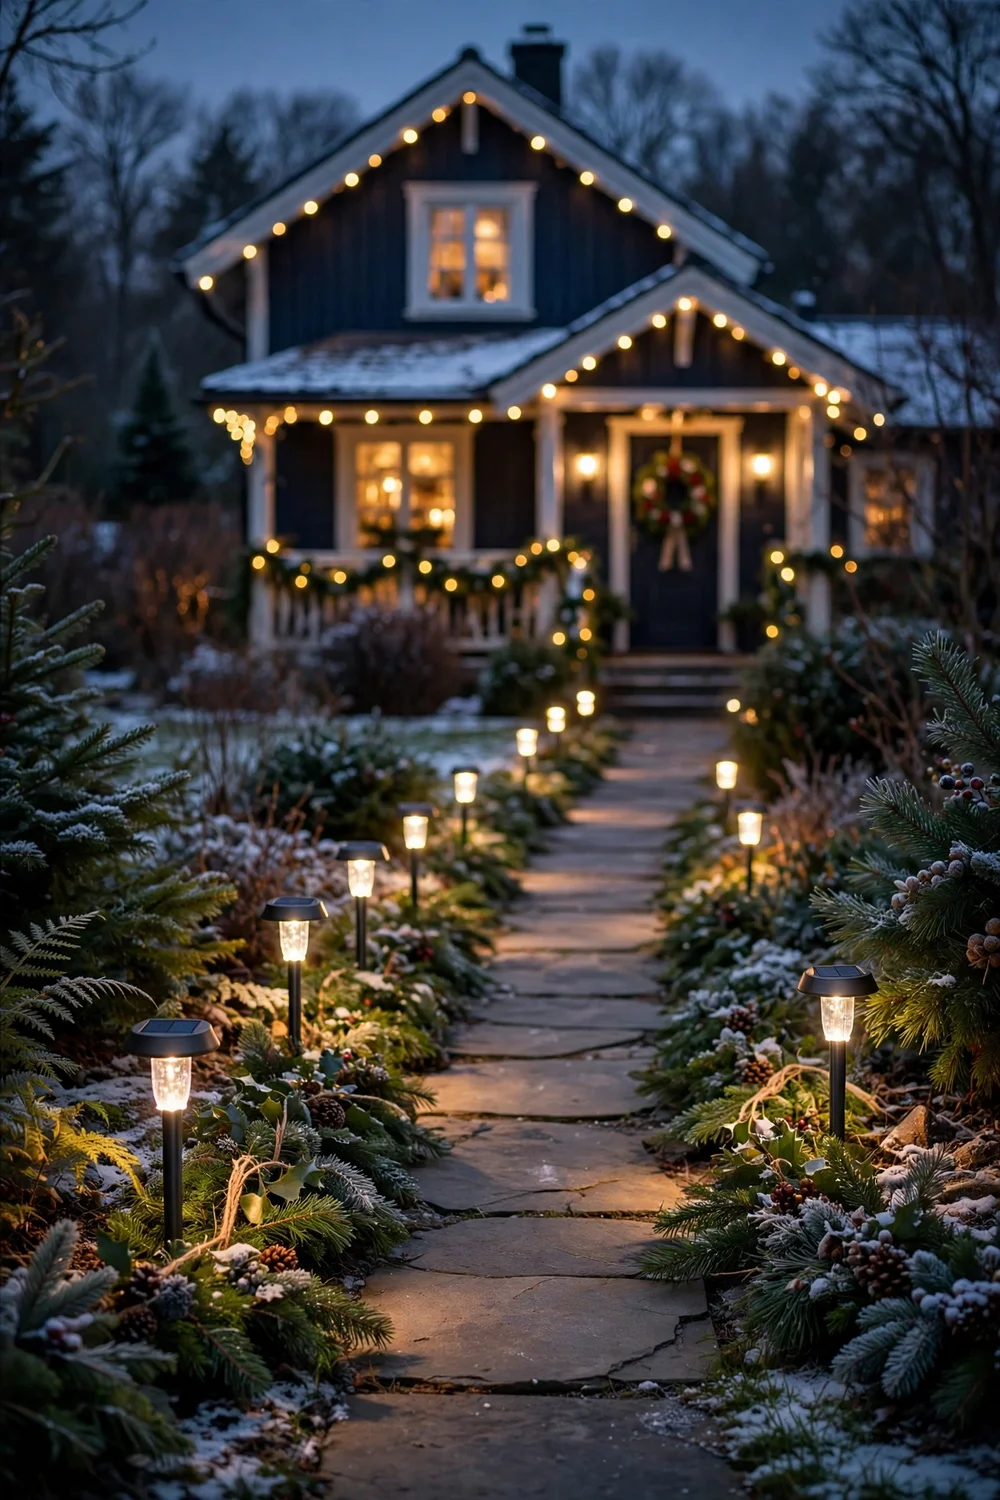
An eight-pack of warm-white solar stake lights runs about $20 at big-box stores after Thanksgiving, and they need zero wiring. Push one stake every three to four feet along your front walk so the path reads as a clear, welcoming line after dark. They charge even on cloudy winter days, though the glow runs shorter when the sun sets early. Wipe the little solar panels with a damp cloth in early December so dust doesn’t cut the charge.
Try this: buy warm white, not cool blue. Cool-toned stakes make a yard look like a parking lot.
Cost: $$· Skill level: Beginner
5. One strand with big glow on the bushes
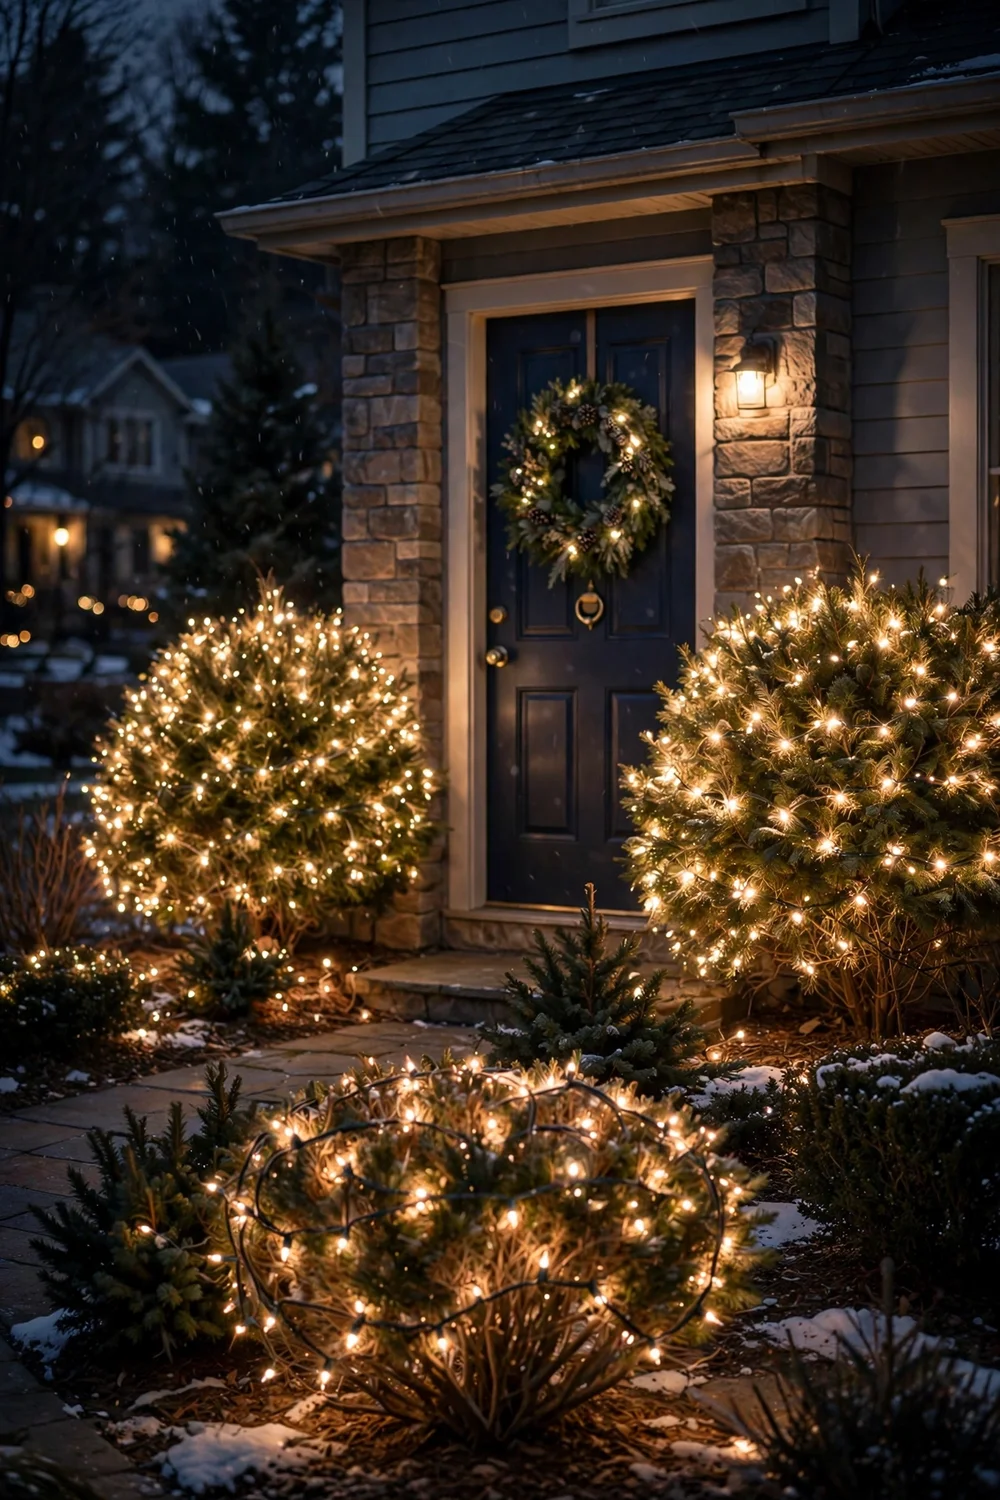
You don’t need to cover the whole house. One 100-count LED strand, often $6 on clearance, wrapped loosely around a single front shrub gives more impact than a thin scattering across the roofline. Start at the base and spiral upward, tucking the wire just inside the branches so the bulbs sit on the outer surface. LED strands stay cool and sip electricity, so you can run them on a simple outdoor timer from dusk to midnight without worrying about the power bill.
Try this: wrap two shrubs flanking the front door instead of one big bush. Symmetry reads as intentional.
Cost: $· Skill level: Beginner
6. Plywood cutout snowman for the lawn

Trace three circles on a half sheet of half-inch plywood, cut them with a jigsaw, and stack them into a snowman about four feet tall. Two coats of white exterior paint plus simple black hat and carrot-nose details are all it takes. Screw a pointed wood stake to the back and drive it eight inches into the lawn so December wind can’t topple it. This is the kind of decoration kids remember, and it survives for years if you store it in the garage instead of leaving it out through spring.
Try this: outline the snowman with a battery-operated 20-count micro light strand, stapled along the edge, for a lit silhouette at night.
Cost: $$· Skill level: Intermediate
7. Oversized bows on the porch posts

Wired ribbon is the secret here. A ten-yard roll of 2.5-inch wired ribbon in red or buffalo plaid costs about $5 and makes four fat twelve-inch bows. The wire edge holds the loops open so they look full instead of floppy. Zip-tie each bow to a porch post, mailbox post, or fence rail at eye level, then tuck a sprig of real or faux pine behind it. Two bows take ten minutes and make a plain porch look dressed for the season from half a block away.
Try this: loop a short strand of battery fairy lights through the bow tails so they sparkle after dark.
Cost: $· Skill level: Beginner
8. Giant ornaments from plastic bowls

Glue two large plastic mixing bowls rim to rim and you get a hollow sphere about fourteen inches across. Spray it metallic red, gold, or silver, add a cap cut from a tin can lid, and hang it from the porch eaves or a tree branch with clear fishing line. Three of these at different heights look like ornaments scaled up for the outdoors. Use plastic, not glass, so a winter storm can’t turn your decor into shards on the walkway.
Try this: hang them in a cluster of three at staggered heights. Odd numbers photograph and display better than pairs.
Cost: $· Skill level: Beginner
9. Pinecone garland for the railing
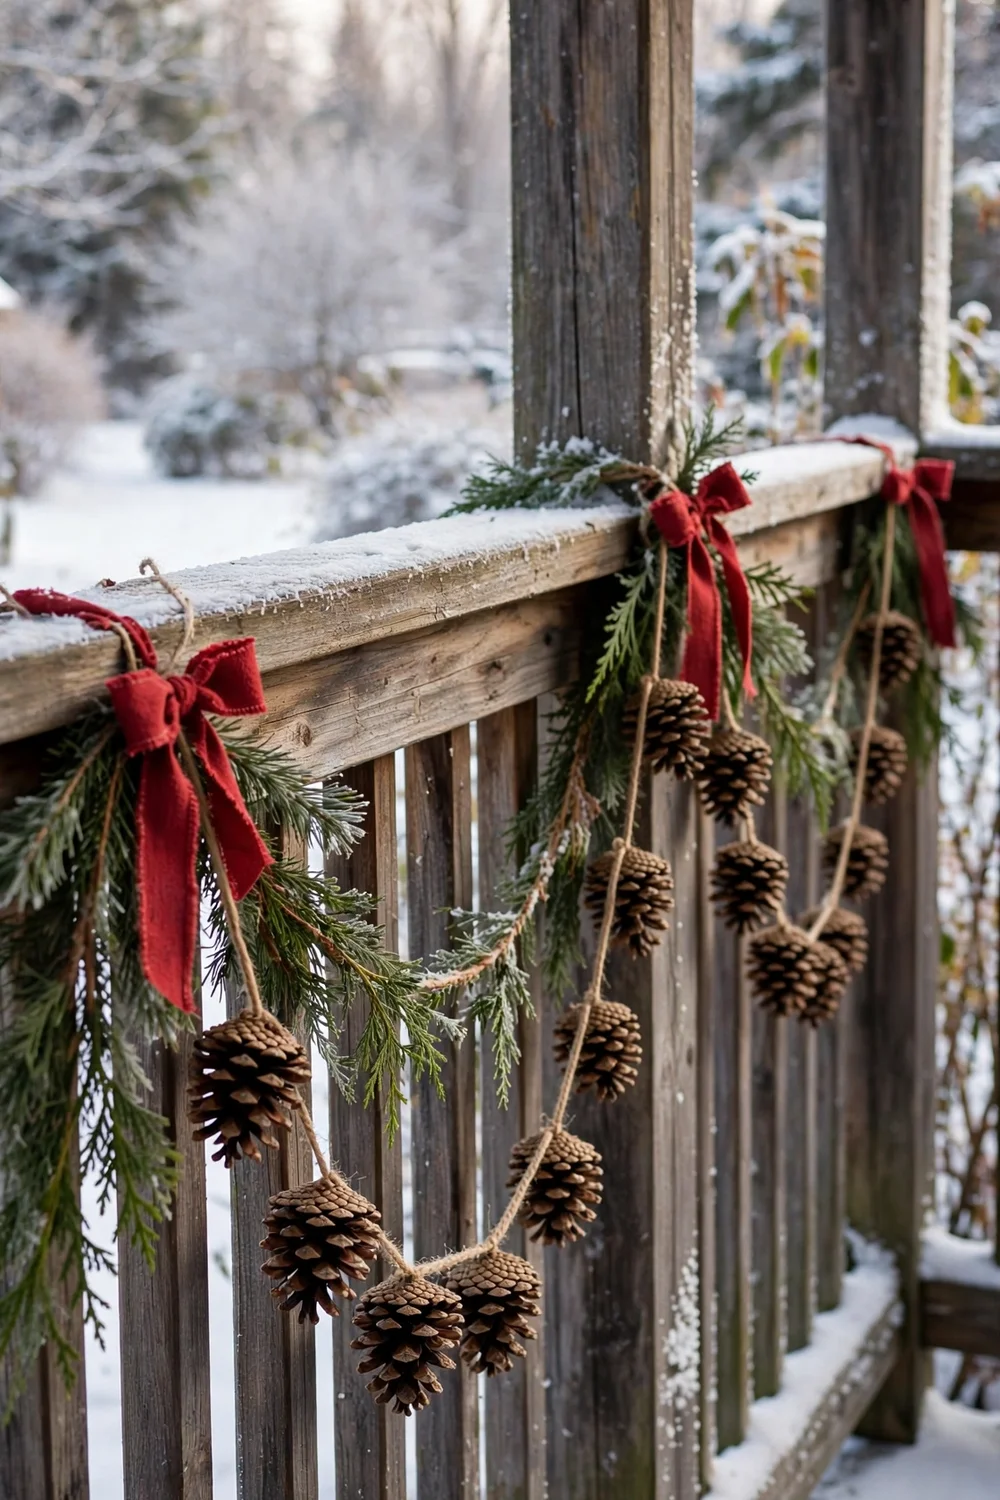
Gather a grocery bag of pinecones on a walk and let them dry in the garage for two days so they open fully. Screw tiny eye hooks into the base of each cone, or just hot-glue loops of twine to them, then string them along a long piece of jute about six feet per railing section. Weave in a few sprigs of cedar or pine from yard trimmings. It smells like Christmas every time you walk past, and the whole garland goes back into a bin in January for next year.
Try this: dust the cone tips with white craft paint before stringing. It reads as frost from the street.
Cost: $· Skill level: Beginner
10. Tomato cage tree with lights
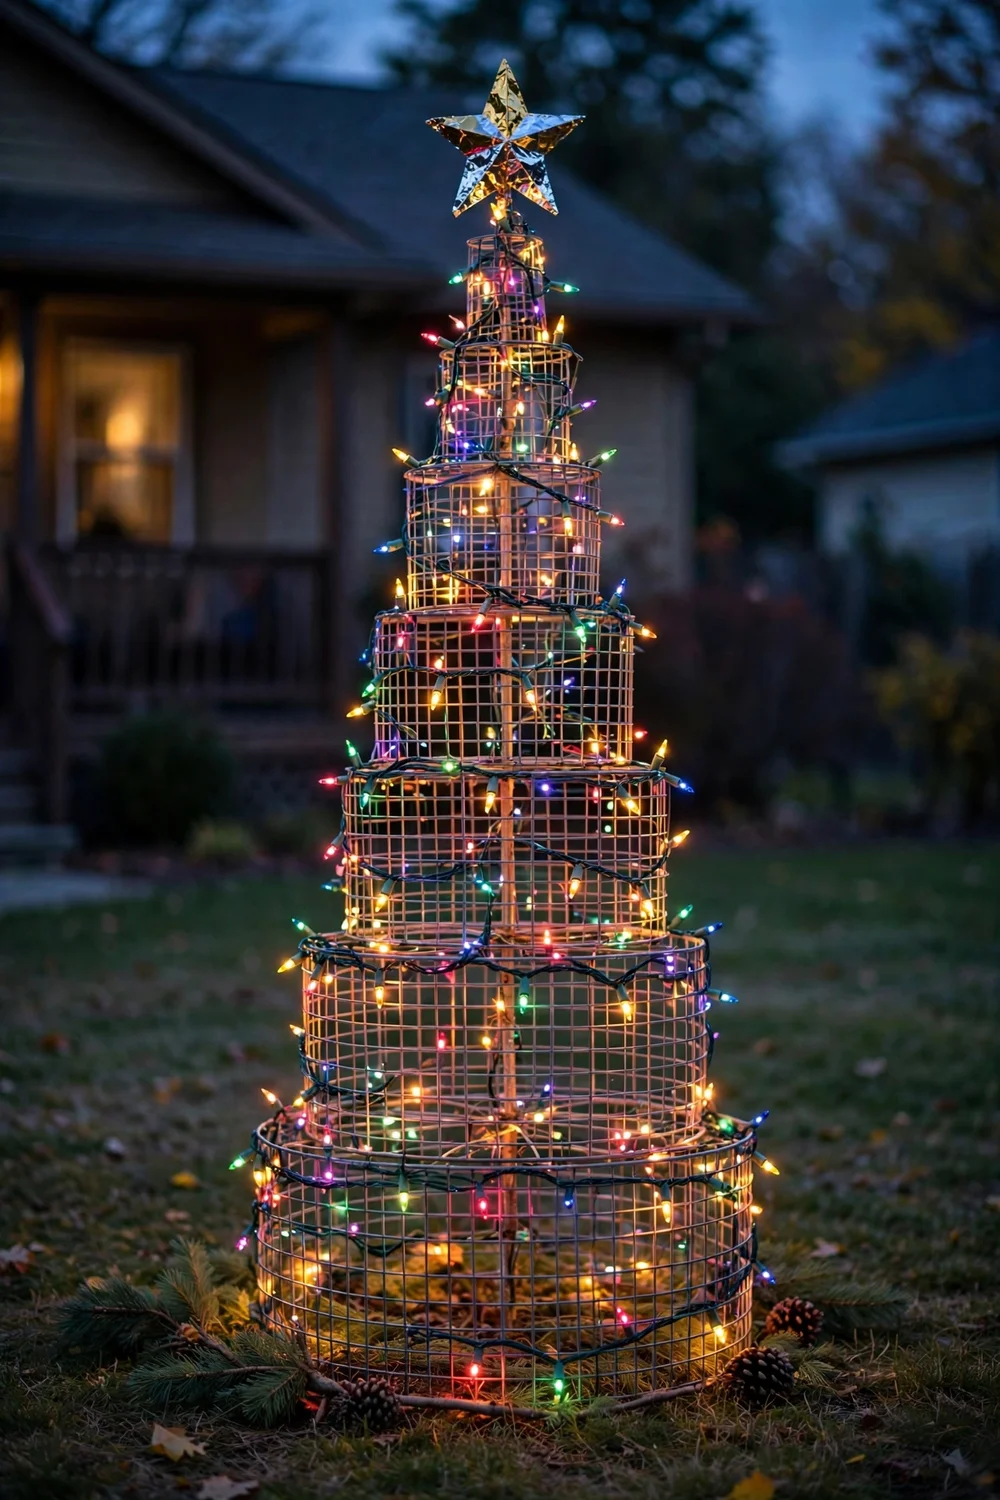
Stack two or three metal tomato cages point-up, zip-tie them together, and you have a four-foot cone frame that already looks like a tree. Spiral two 100-count light strands from top to bottom, clipping the wire to the frame with small zip ties every six inches. Set one on each side of the garage door or flank the front steps with a pair. Garden centers clearance tomato cages for a dollar or two in fall, which makes this one of the cheapest lit yard pieces you can build.
Try this: top it with a simple star cut from cardboard and wrapped in foil. It catches the light and finishes the shape.
Cost: $$· Skill level: Beginner
11. Tire wreath with a red bow
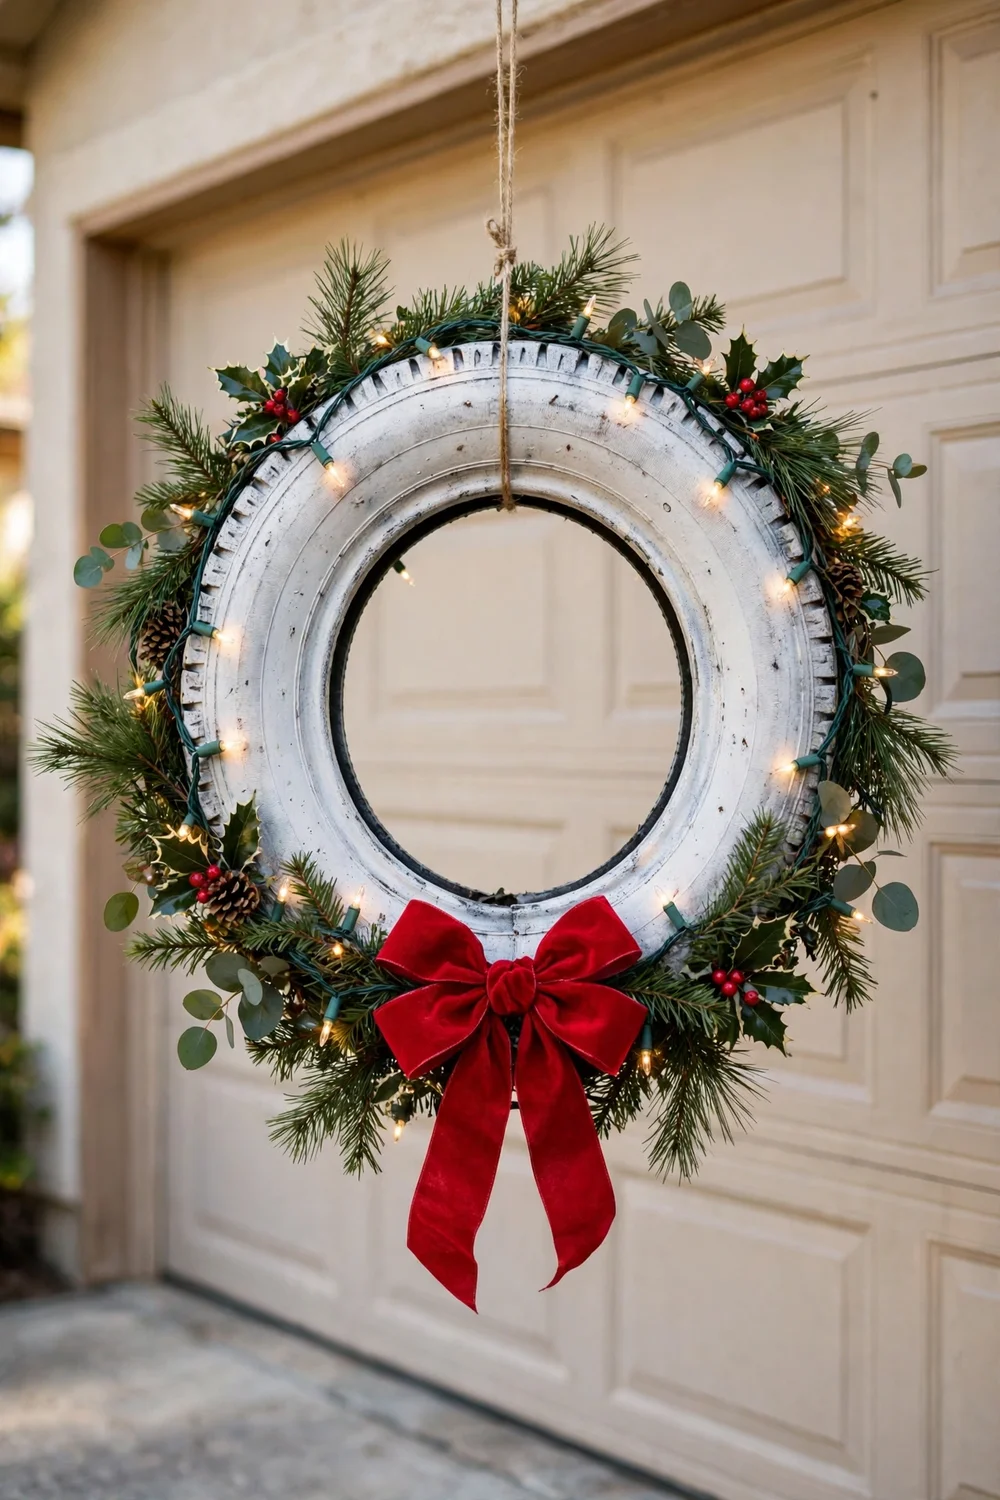
An old tire leaning against the garage becomes a wreath with one can of spray paint. Clean it, spray it white or forest green, and wrap a 50-count light strand around it twice. Finish with a big red bow wired to the top. Hang it on the garage door or fence with a heavy-duty hook. It sounds odd, but painted tires read as chunky modern wreaths, and the rubber weight means wind won’t move it an inch.
Try this: spray the tire matte white and add only warm-white lights for a snowy, minimal look.
Cost: $$· Skill level: Beginner
12. Projector instead of fifty strands
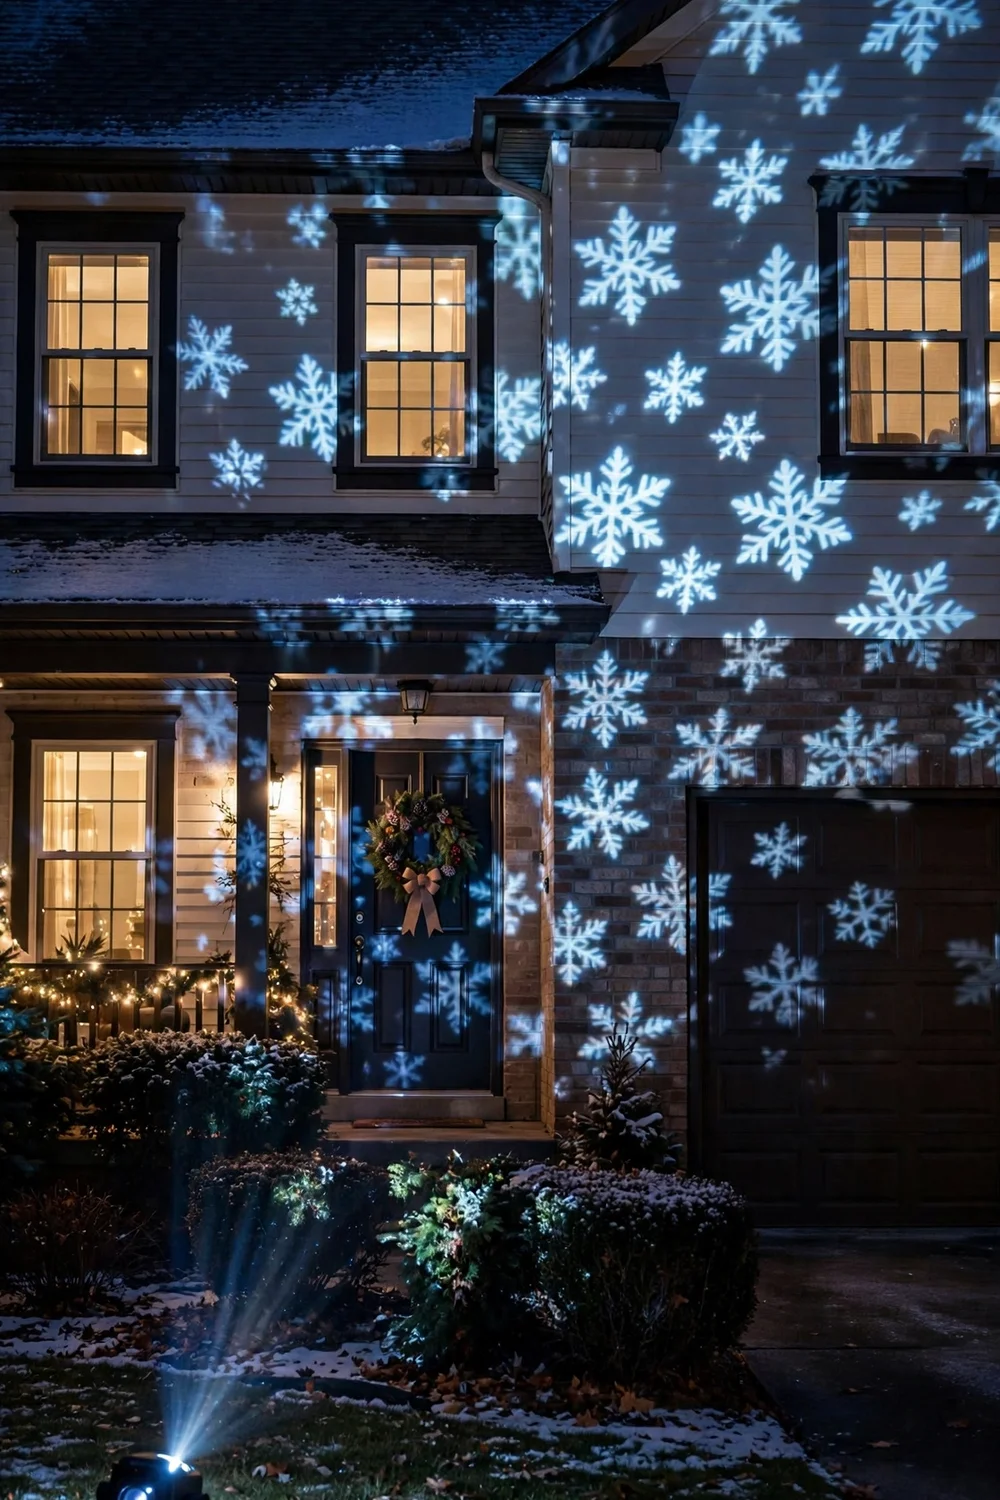
If climbing ladders isn’t your thing, a $25 to $40 outdoor light projector covers your whole house front in moving snowflakes or stars in five minutes. Stake it in the lawn about fifteen feet from the house, plug it into an outdoor-rated extension cord, and aim it at the siding or garage door. It uses far less electricity than dozens of strands and you take it down in one trip. This is the fastest way to make a plain house look decorated.
Try this: aim the projection at a light-colored surface. Dark brick swallows the pattern.
Cost: $$· Skill level: Beginner
13. Window silhouettes that glow
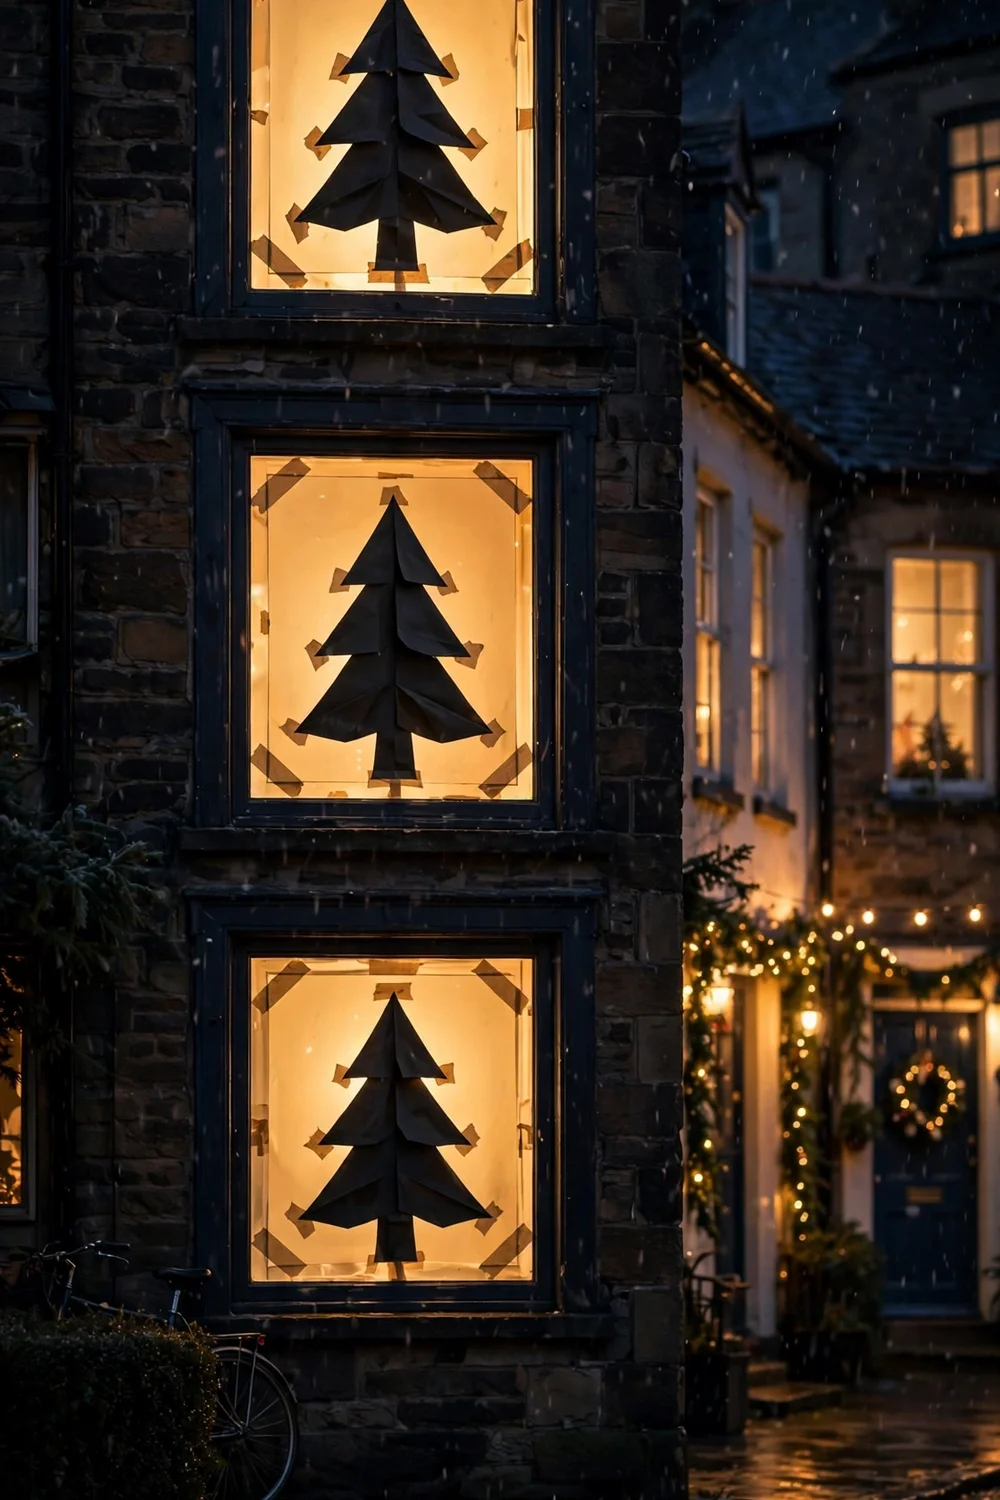
Cut simple trees, stars, or reindeer shapes from black poster board and tape them to the inside of your front windows. Leave the room light on behind them, or set a small lamp in the window, and the shapes glow as crisp silhouettes after dark. A two-pack of poster board costs about $2 and covers three windows. This works best on windows that face the street, and it takes under an hour for the whole house front.
Try this: use painter’s tape on the glass side. It holds through December and peels off clean in January.
Cost: $· Skill level: Beginner
14. Mailbox swag from dollar garland
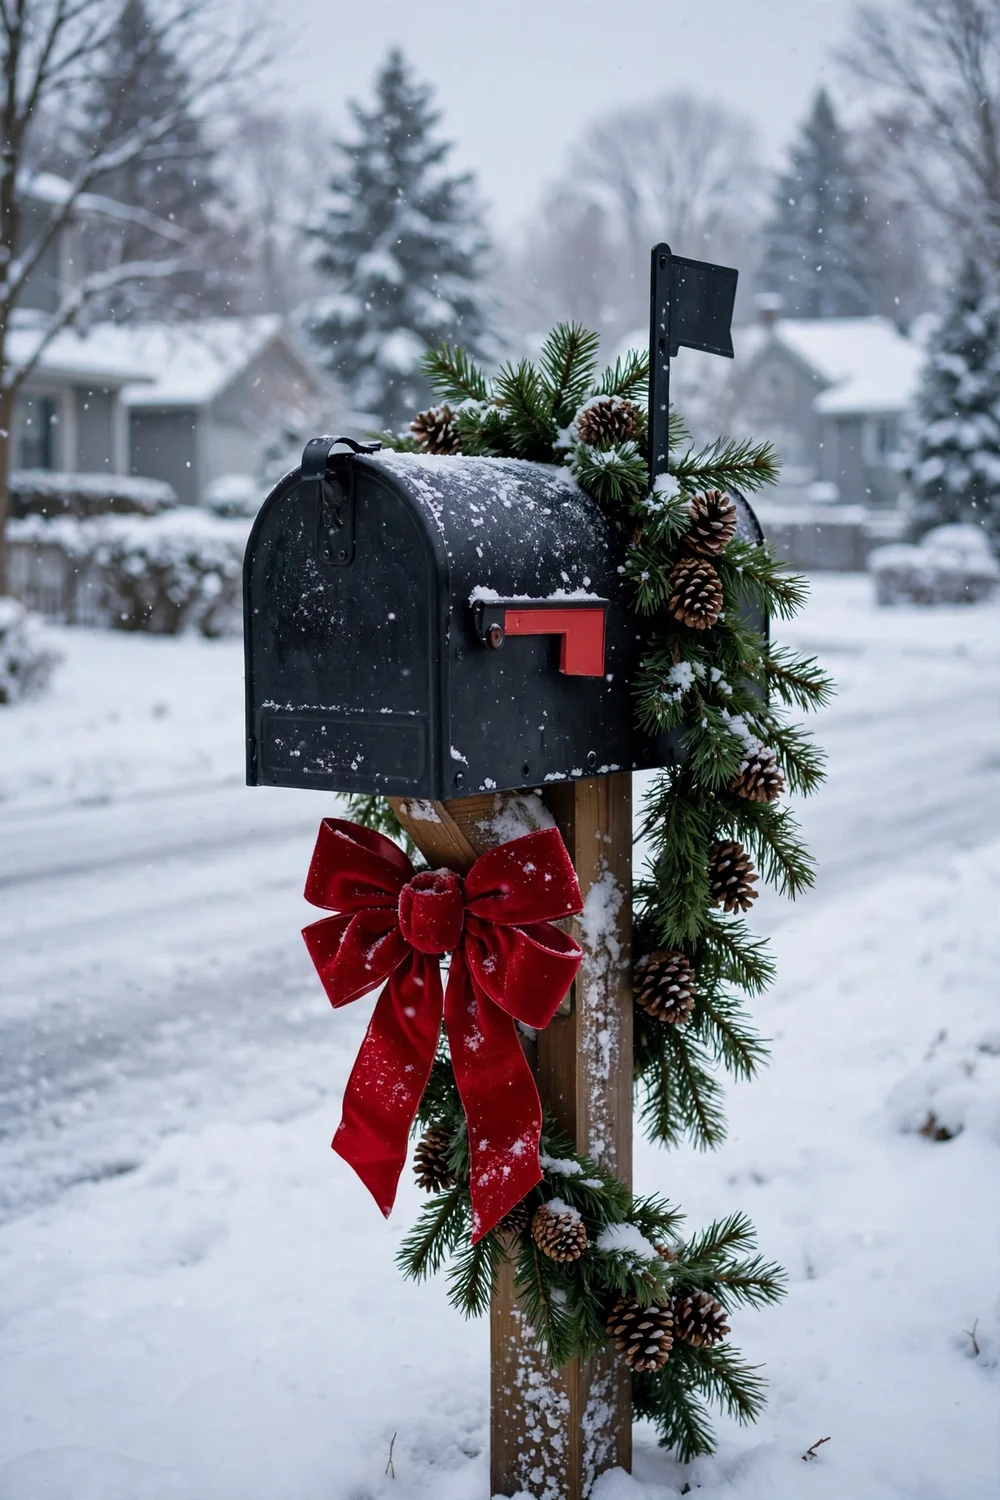
A six-foot strand of basic green garland from the dollar store, one wired bow, and two zip ties turn a plain mailbox into a holiday marker. Drape the garland over the top of the mailbox, cinch the bow at the center, and zip-tie both to the post so wind can’t slide them off. Tuck in a few pinecones from the yard. Mail carriers see it first, and it tells the whole street your house is in the spirit for about the price of a coffee.
Try this: wrap the post itself with the garland in a loose spiral before adding the bow. It looks fuller.
Cost: $· Skill level: Beginner
15. PVC candy cane path markers
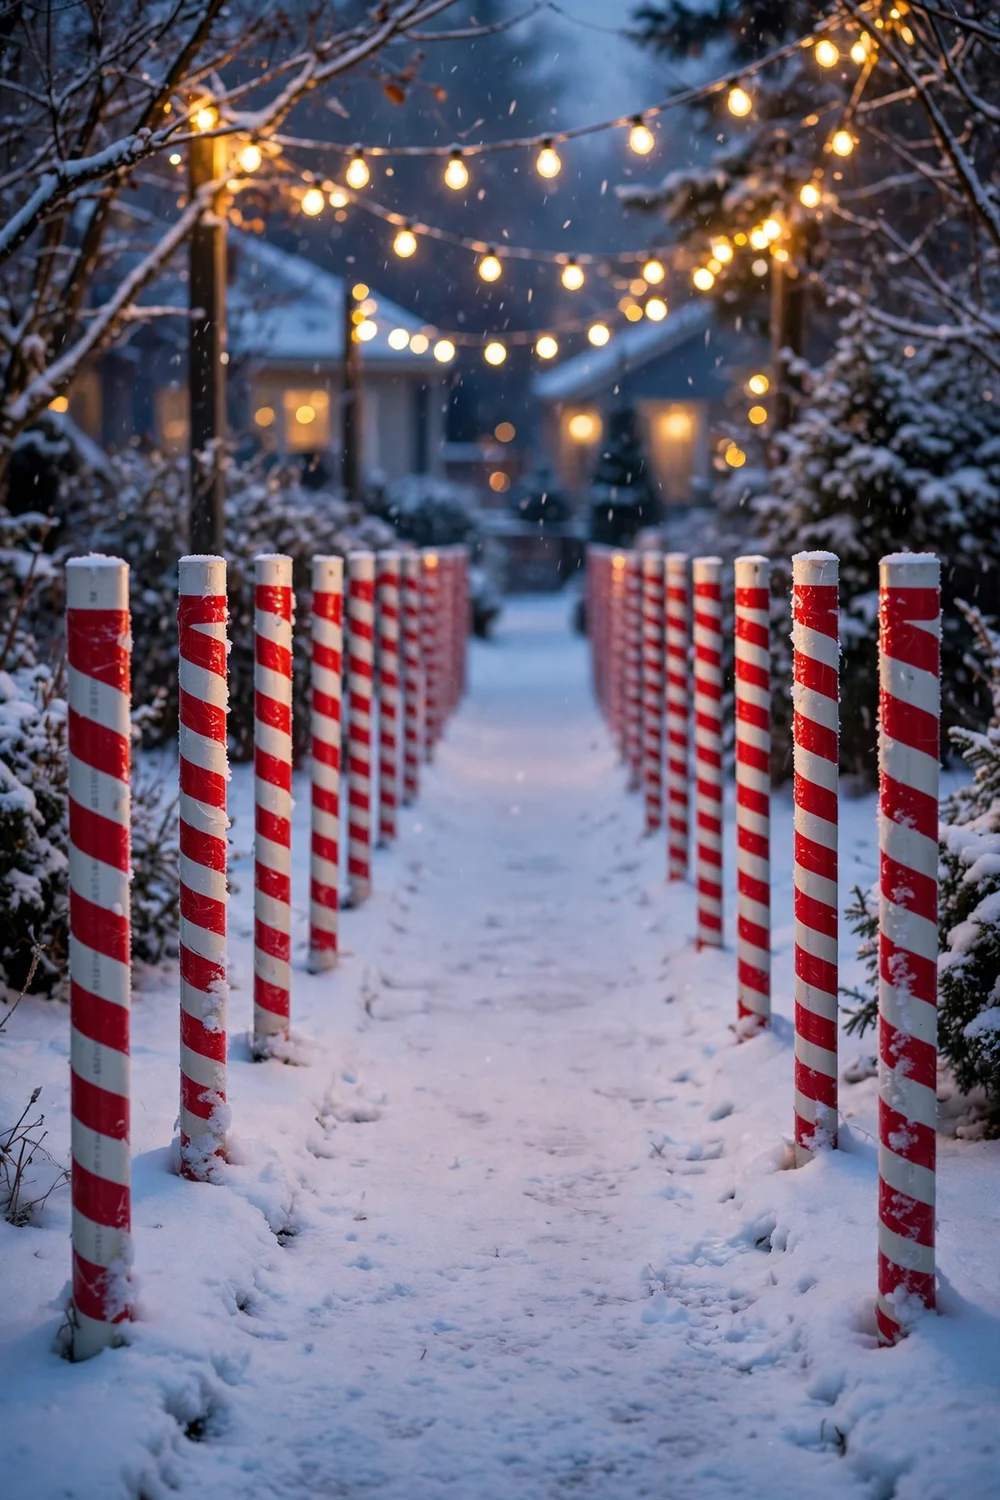
Cut half-inch PVC pipe into three-foot lengths, join a curved elbow to the top of each, and wrap the whole thing in alternating red and white electrical tape. Push the straight end six inches into the soil along your walkway, spacing them about four feet apart. Each cane costs around $2 in parts and they last for years. Line both sides of the path and your yard gets that classic candy-lane look without buying a single pre-made decoration.
Try this: add a small battery tea light inside the curved top of every third cane for a dotted glow down the path.
Cost: $$· Skill level: Intermediate
Outdoor electrical safety basics
Keep the pretty stuff safe. Plug every outdoor decoration into a GFCI-protected outlet, which cuts power fast if water gets into a connection. Use only extension cords and light strands rated for outdoor use, and check each strand for a UL or ETL listing on the tag before you hang it. For anything hardwired, like new permanent outlets or roofline lighting, hire a licensed electrician instead of doing it yourself. The U.S. Consumer Product Safety Commission publishes holiday decorating safety guidance that covers lights, extension cords, and GFCI protection in detail, and it is worth a read before you plug in your first strand. For fire-specific reminders, the Illinois State Fire Marshal’s winter holiday safety tips summarize the NFPA’s advice on decoration placement and candle safety. Unplug or switch off displays during heavy storms, and never run indoor-only cords outside, even for one night.
Which budget idea fits your yard?
Frequently asked questions
How much does it cost to decorate a yard for Christmas on a budget?
Most yards can look genuinely festive for $30 to $60 total. DIY builds from pallets, cans, and pinecones cost almost nothing, one or two clearance LED strands cover the lighting, and solar stakes add path glow without wiring. Spend first on lights, since lighting carries the whole display after dark.
How do I keep outdoor Christmas decorations from blowing away?
Stake lawn pieces at least eight inches into the ground, zip-tie bows and garlands to posts instead of draping them loose, and give lightweight items heavy bases or sandbags. Bring paper, poster board, and unsealed wood pieces inside when strong storms are forecast.
Are outdoor Christmas lights safe in rain and snow?
Yes, if they are rated for outdoor use and plugged into a GFCI outlet. Check the tag for a UL or ETL listing, keep plugs off the ground and out of puddles, and never connect more strands end to end than the manufacturer allows. Take down any strand with cracked insulation.
Do solar Christmas lights work in winter?
They work, but shorter days mean shorter glow times. Place the panels where they get the most direct sun, wipe them clean of dust and snow, and choose warm-white LEDs, which read brighter than colored ones on low charges.
When should I put up budget outdoor Christmas decorations?
The weekend after Thanksgiving is the sweet spot. Stores start clearance pricing on lights and ribbon in early December, and you get the full month of display for your effort. Take everything down in early January before winter weather damages it.
How do I store DIY outdoor decorations so they last?
Dry everything fully, coil light strands around cardboard so they don’t tangle, and pack wood and fabric pieces in labeled bins in a garage or shed. Battery lights should have their batteries removed before storage so they don’t corrode.
If you are carrying the budget theme inside too, these affordable mantel Christmas decor ideas keep the whole house coordinated without spending more. For a playful twist on the tree itself, the black and pink Christmas tree ideas show a bold color scheme that pairs well with simple outdoor lights. And if you enjoy the handmade route, DIY gingerbread house decorations are a fun weekend project for the kitchen table.
Start with lights, add one handmade statement piece, and your yard will hold its own on the block. I still remember the neighbor who knocked to ask where we bought our pallet tree. When I told her it was free, she just laughed and went home to ask her husband for a pallet too.


