



Every December my kitchen table disappears under a construction zone of gingerbread walls, bowls of candy, and sticky fingers. The first house I ever decorated looked like it had survived a small storm. But somewhere between the collapsed roof of year one and the candy-lit cottage of year three, I figured out what actually makes these little houses magical. It is not perfection. It is the details.
This guide gives you 20 amazing DIY gingerbread house decorations, from classic candy cane columns to glowing stained-glass windows. Each idea includes a cost estimate and difficulty label, and most use candy you already have left over from the holidays. Whether you bake from scratch or start with a kit, these decorations will make your house the one everyone photographs.
Quick takeaways
- Let walls dry overnight before decorating so nothing slides.
- Royal icing is your glue: thick for structure, thin for flooding details.
- Shop the candy aisle with a plan: roof, trim, yard, and one focal piece.
- Use meringue powder instead of raw egg whites in royal icing for safety.
- LED fairy lights inside the house make candy windows glow beautifully.
1. Candy cane columns
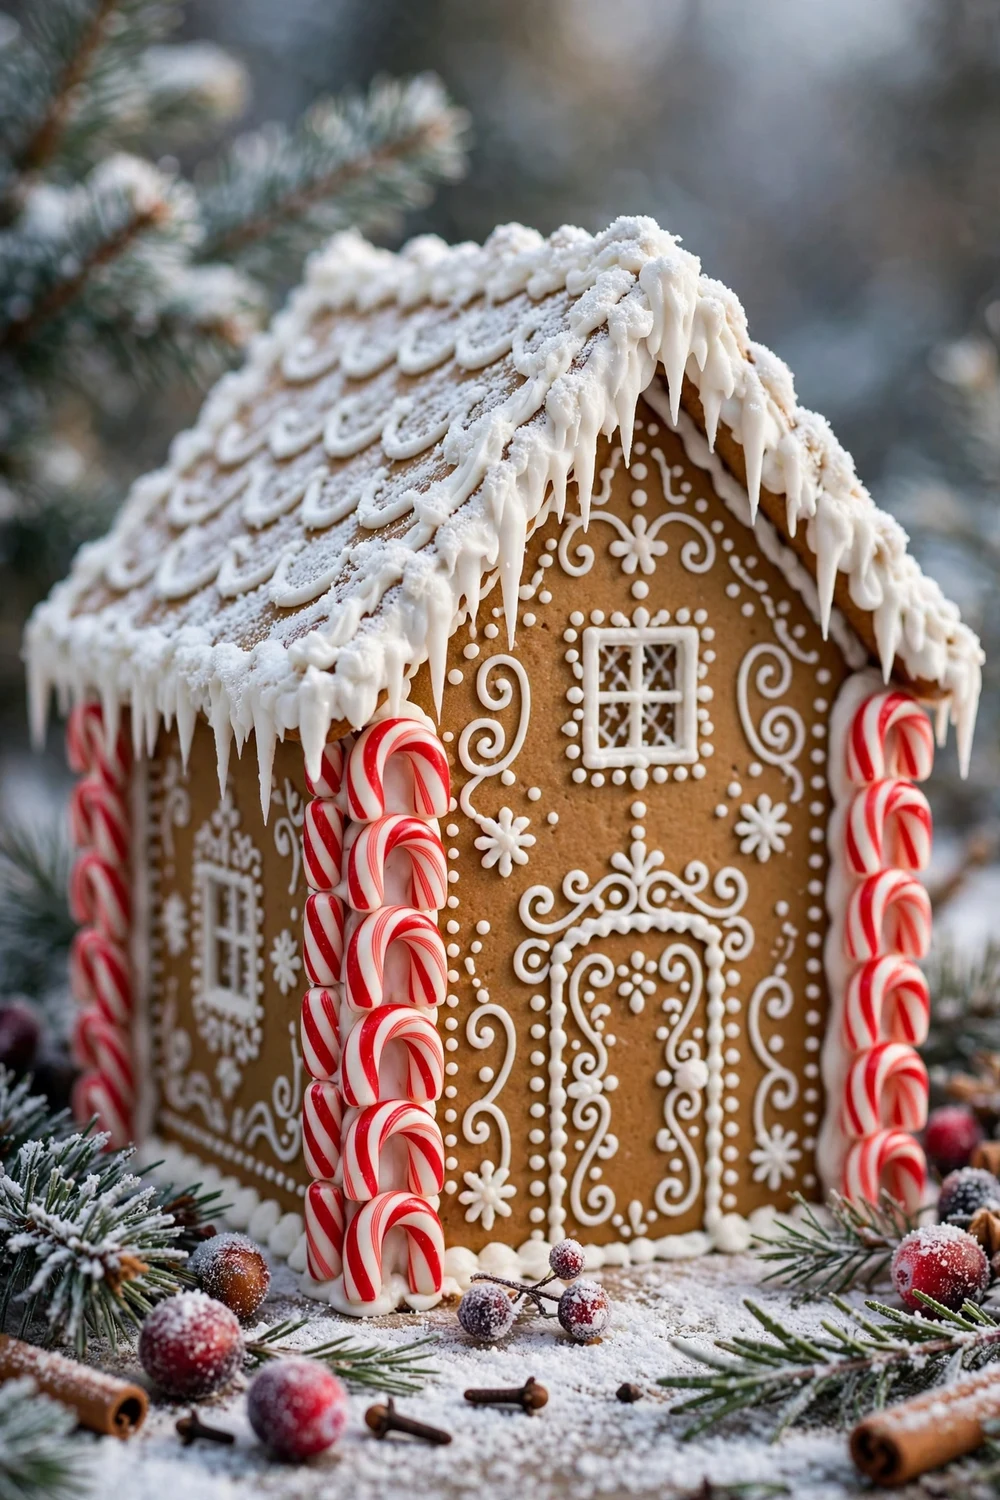
Mini candy canes make perfect porch columns. Pipe a thick line of royal icing up each front corner of the house and press a candy cane against it, curved end at the top like a little capital. They hide any wobbly corner seams while looking completely intentional. A box of mini canes costs about $2 and covers all four corners with spares.
Try this: alternate red-and-white and green-and-white canes around the house for a playful striped effect.
Cost: $· Difficulty: Easy
2. Stained glass candy windows

Crush hard candies like fruit drops in a zip bag, fill the window cutouts of your gingerbread walls, and bake for 3 to 5 minutes at 350°F before assembling the house. The candy melts into jewel-toned panes that glow when light shines through. This step happens before assembly, so plan it into your baking day. The effect is genuinely stunning for almost no extra cost.
Try this: use one color per window, like red for the door window and green for the sides, for a storybook feel.
Cost: $· Difficulty: Moderate
3. Cereal shingle roof

Frosted wheat cereal squares overlap like real wooden shingles. Start at the bottom edge of the roof and work upward, dabbing icing on the back of each square and overlapping rows by half. A single-serve box covers a standard house roof. The texture reads as rustic and handmade, and the slight sweetness is a bonus if anyone sneaks a piece.
Try this: dust the finished roof with powdered sugar for a snow-dusted look.
Cost: $· Difficulty: Easy
4. Royal icing icicles

Fit a piping bag with a small round tip and pipe icing along the roof edge, pausing to let each drip fall before moving on. Vary the lengths so they look natural. This technique takes practice on parchment first, about ten minutes, but the result is the single most wintery detail you can add. White icing against brown gingerbread gives beautiful contrast.
Try this: add icicles to window ledges and the chimney top too, not just the roofline.
Cost: $· Difficulty: Moderate
5. Marshmallow snowman family

Stack two or three mini marshmallows with dabs of icing to build tiny snowmen for the front yard. Dot on eyes with a toothpick dipped in chocolate, and add a pretzel stick arm on each side. Make a whole family in different sizes. They take minutes each and kids can build their own while adults handle the roof.
Try this: give one snowman a gumdrop hat tilted at an angle for personality.
Cost: $· Difficulty: Easy
6. Pretzel picket fence

Stick pretzels pushed upright into an icing base make a perfect picket fence. Run two horizontal pretzel rods across them as rails, glued with icing. Enclose the front yard in a neat rectangle, leaving a gap for the candy path. The salty crunch contrasts nicely with all the sweet around it, and the fence frames the whole scene.
Try this: use chocolate-covered pretzels for a darker fence that pops against white icing snow.
Cost: $· Difficulty: Easy
7. Gumdrop stepping stone path
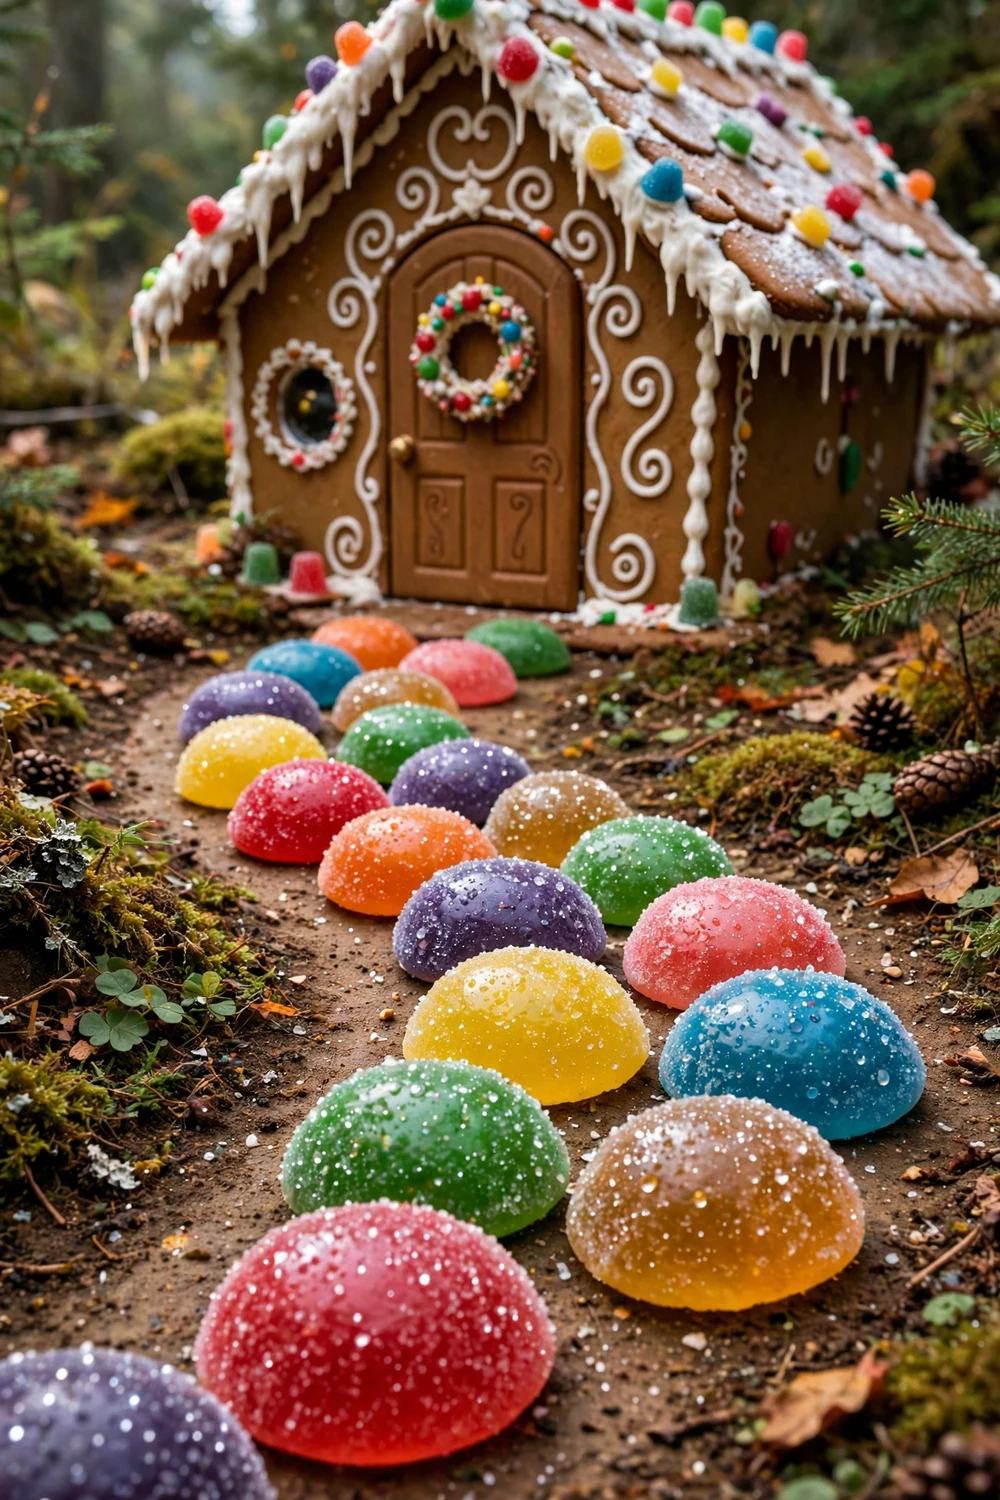
Slice large gumdrops in half horizontally and lay the flat sides down as stepping stones from the yard edge to the front door. The sugary tops catch the light beautifully. Alternate colors or keep to one shade for a more elegant path. A $3 bag of gumdrops makes a generous walkway with plenty left for the roofline.
Try this: curve the path slightly instead of running it straight; curved paths look more natural.
Cost: $· Difficulty: Easy
8. Mini wreath on the door

Twist a short piece of green licorice lace or a piped icing circle into a wreath shape and hang it on the front door with a dot of icing. Add a tiny bow from fruit leather or a red candy. This miniature detail rewards close looking and takes under five minutes. It is the kind of finishing touch that makes people lean in.
Try this: dot the wreath with three tiny round sprinkles as berries.
Cost: $· Difficulty: Easy
9. Chocolate bar shutters
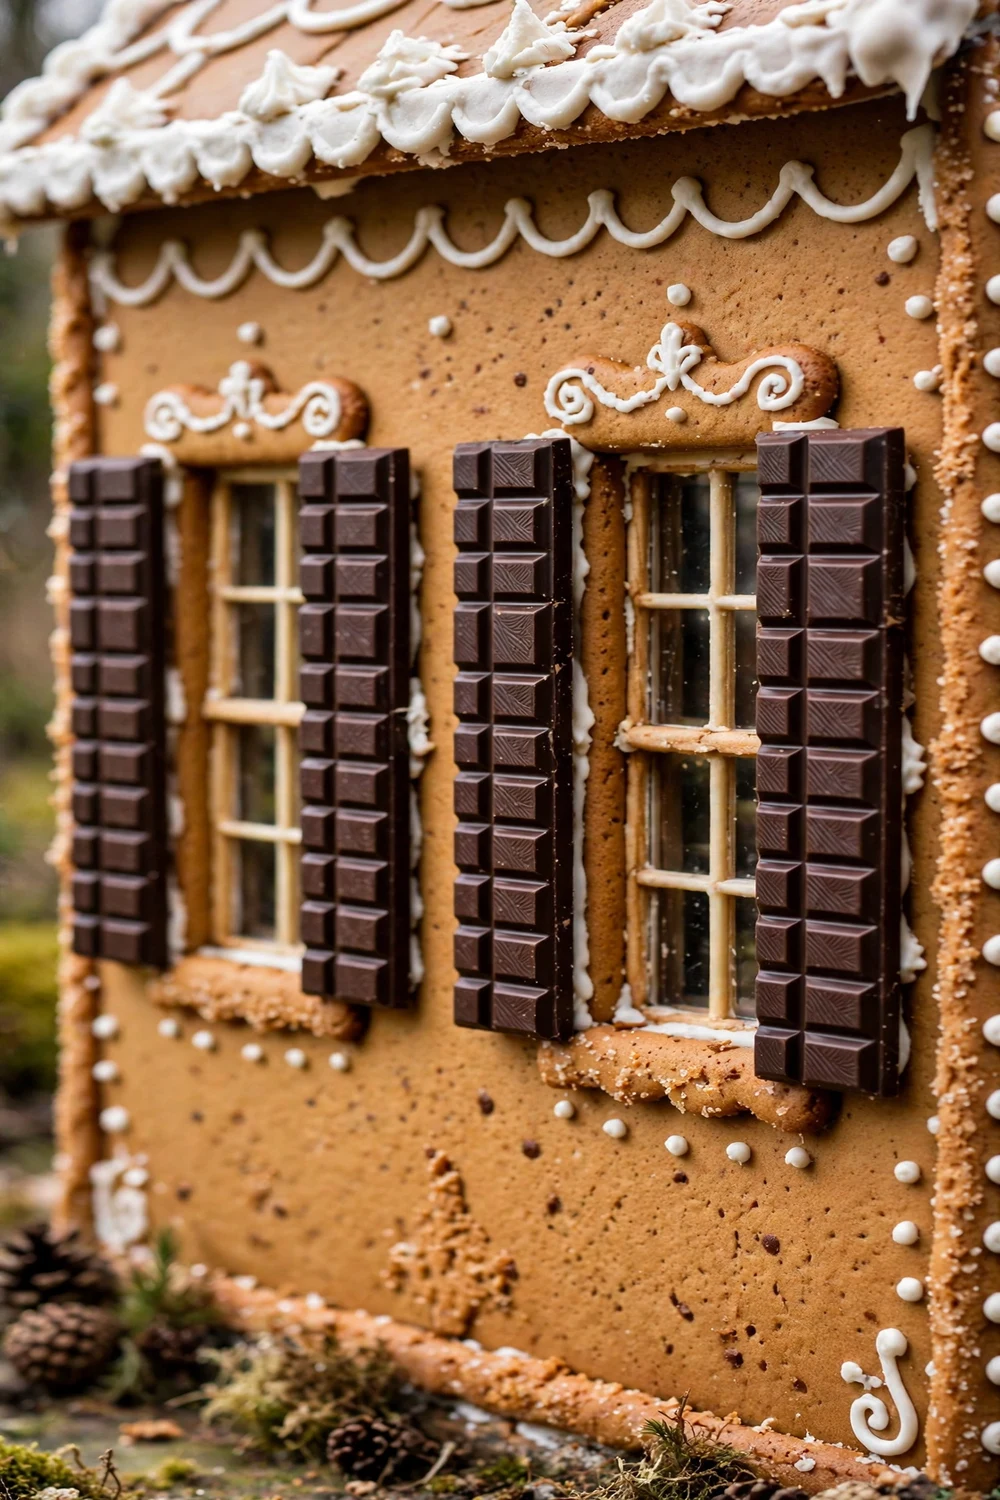
Snap mini chocolate bars in half and attach one piece to each side of a window with icing. The scored segments look like real shutter slats. Dark chocolate against the gingerbread reads rich and classic. Keep them out of warm rooms though; nobody wants melted shutters sliding down the wall.
Try this: use white chocolate bars on a dark cocoa house for a striking reverse look.
Cost: $· Difficulty: Easy
10. Coconut snow roof

Spread a thin layer of icing over the roof and press shredded coconut into it for instant snow. The texture is fluffy and realistic, and it covers a multitude of icing sins underneath. Sweetened coconut holds its shape better than unsweetened. This is the fastest way to make a roof look finished.
Try this: add the coconut while the icing is still wet, then shake off the excess over a tray.
Cost: $· Difficulty: Easy
11. Peppermint disc walkway
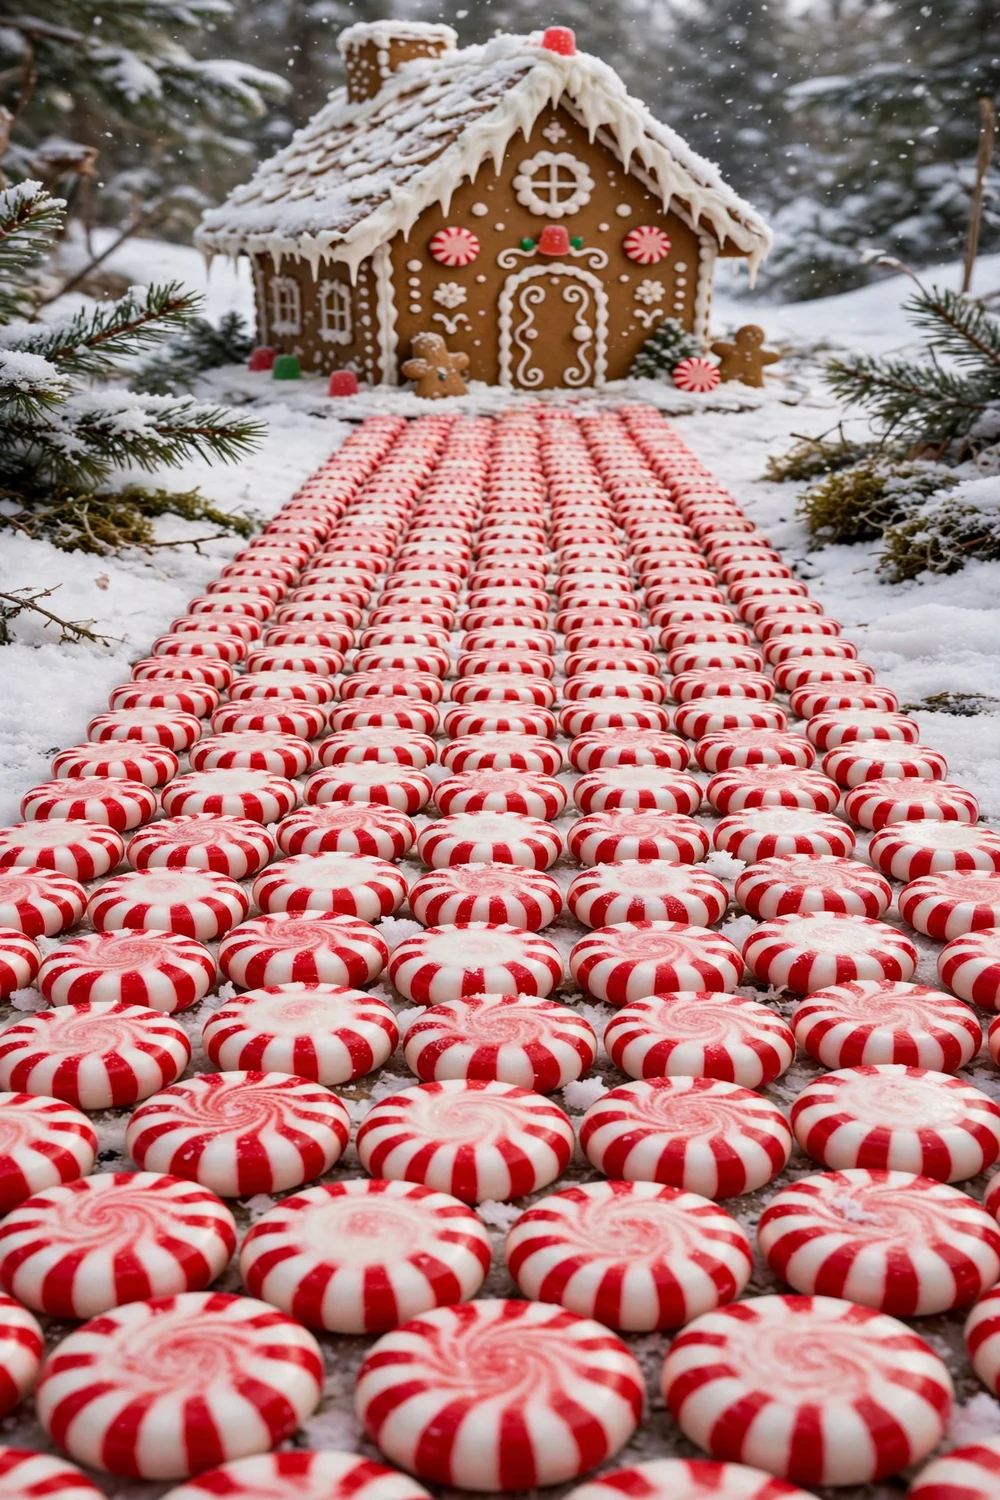
Flat round peppermints laid edge to edge make a crisp red-and-white walkway. The uniform circles give a more formal look than gumdrops, perfect for a Victorian-style house. A $2 bag makes a long path. Press each mint lightly into an icing base so they stay put when the table gets bumped.
Try this: run a thin icing line between the mints like mortar for a tiled effect.
Cost: $· Difficulty: Easy
12. LED fairy lights inside
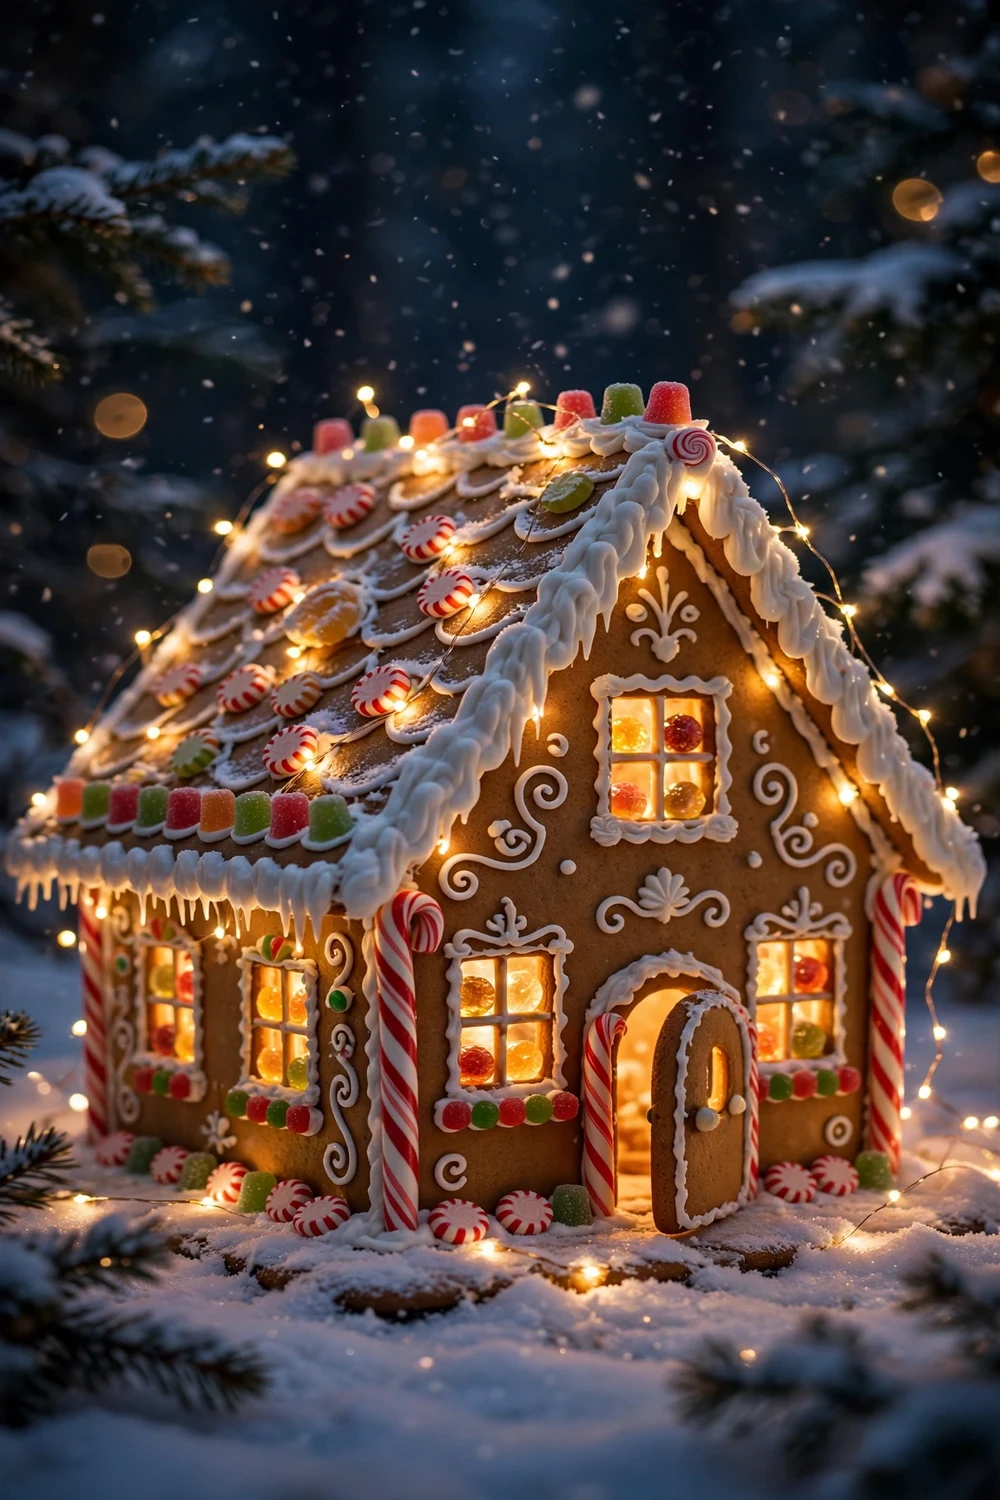
A $4 string of battery fairy lights tucked inside the house before the roof goes on makes the candy windows glow from within. Feed the battery pack out the back door so you can switch it on. The effect at night is pure magic and photographs beautifully. LEDs stay cool, so there is no melting risk.
Try this: use warm white lights for a cozy glow; multicolor can look chaotic through small windows.
Cost: $· Difficulty: Easy
13. Licorice vine trim
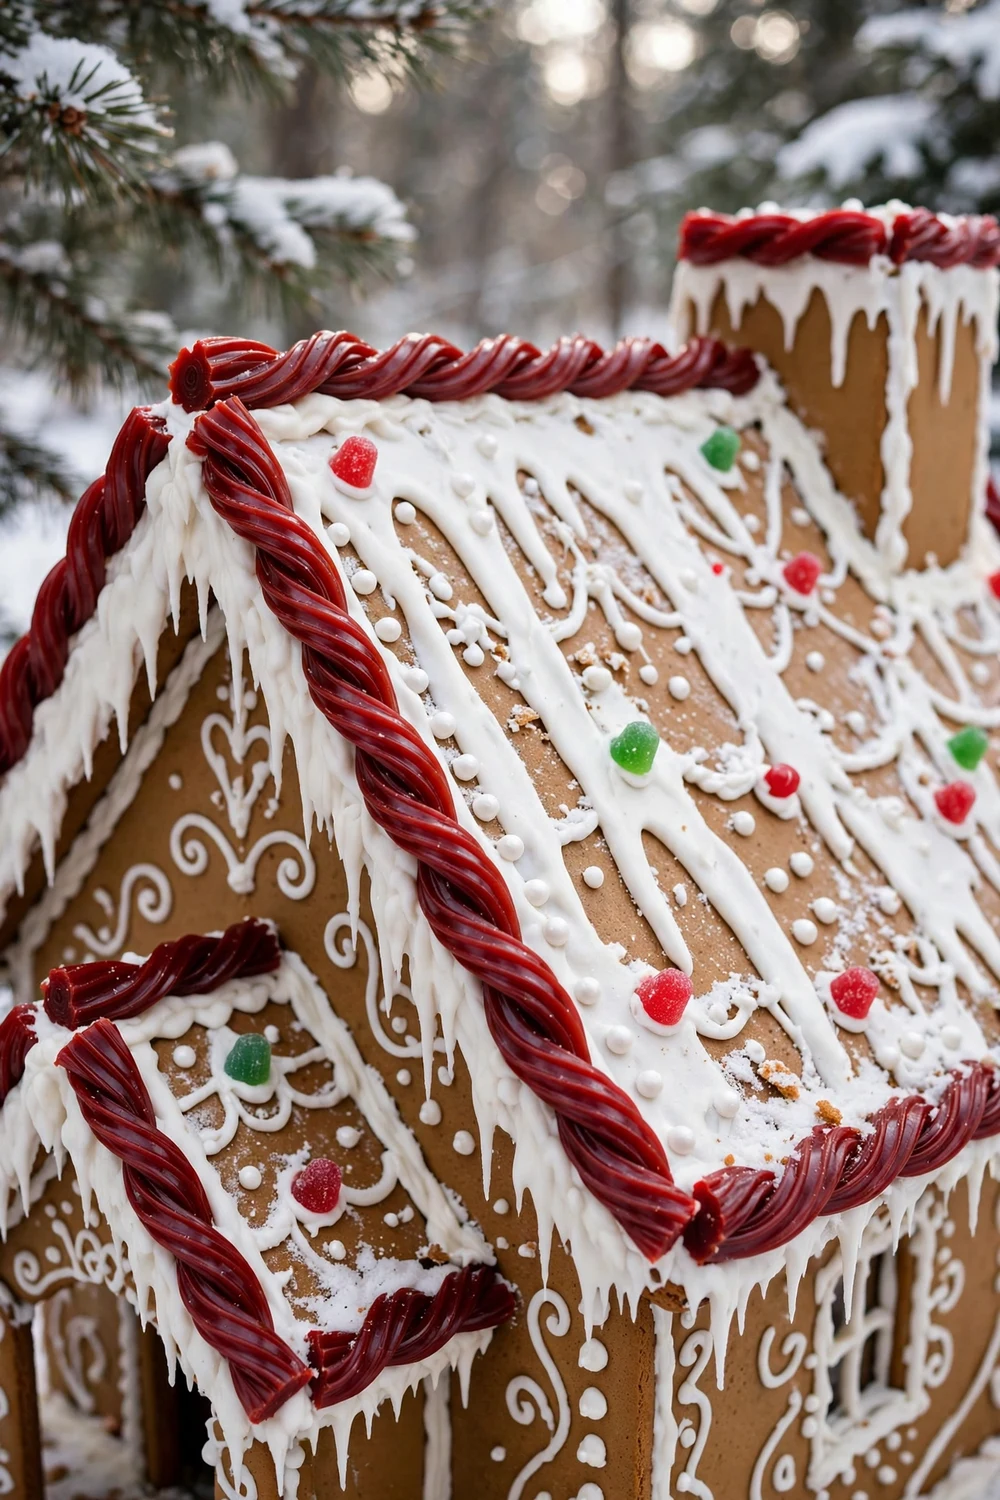
Pull-apart licorice ropes twist easily around roof edges, window frames, and doorways like edible garland. The bright red outlines every architectural feature and hides rough icing edges. One $2 pack trims an entire house. Twist two colors together for a candy-cane rope effect.
Try this: run the trim along the base of the house too, like foundation planting.
Cost: $· Difficulty: Easy
14. M&M border patterns

Sort M&Ms by color and press them into icing in repeating patterns along the eaves: red-green-red-green, or all gold for elegance. The uniform size makes neat rows easy, even for kids. Mini M&Ms work better on small houses where regular ones overwhelm. A single bag decorates the whole house.
Try this: outline just the front gable triangle in M&Ms to draw the eye to the face of the house.
Cost: $· Difficulty: Easy
15. Sugar cone pine trees

Turn sugar cones upside down, pipe green icing in zigzag rows from base to tip, and you have instant pine trees. Stand them in icing snowdrifts around the yard. They take five minutes each and look remarkably like real evergreens. Dust with powdered sugar for snow on the branches.
Try this: vary the cone sizes by trimming some shorter for a natural-looking grove.
Cost: $· Difficulty: Easy
16. Graham cracker stepping stones

Break graham crackers into rough squares and lay them as a rustic stone path. The golden color blends with the house itself for a cohesive look. They are sturdier than candy paths, so they survive curious little hands. Brush the tops with a little honey and sprinkle graham crumbs for texture.
Try this: overlap the crackers slightly like flagstones instead of spacing them evenly.
Cost: $· Difficulty: Easy
17. Fondant gift boxes

Cut small fondant squares, fold them into boxes, and pipe a bow on top for miniature presents stacked by the door. Pre-colored fondant from the cake aisle saves time. They look almost too perfect to eat. Make them in the house’s accent colors to tie the whole scene together.
Try this: stack three boxes in graduated sizes like a real present pile.
Cost: $· Difficulty: Moderate
18. Sprinkle confetti walls

Spread thin icing on one wall at a time and press rainbow sprinkles into it for a confetti effect. Work quickly before the icing crusts. This is the most fun job to give kids: no precision needed, and more is more. The walls look festive even before any other decoration goes on.
Try this: do one wall in sprinkles and keep the others plain for balance.
Cost: $· Difficulty: Easy
19. Wafer cookie roof tiles

Rectangular wafer cookies overlap in neat rows like terracotta roof tiles. Their light color contrasts beautifully with dark gingerbread. Start at the eaves and work up, just like real roofing. They are light enough that even soft icing holds them, and they add a satisfying crunch for anyone who sneaks one.
Try this: alternate vanilla and chocolate wafers in stripes for a patterned roof.
Cost: $· Difficulty: Easy
20. Icing snow caps on the chimney

Pipe a generous blob of white icing on top of the chimney and let it droop naturally over the edges like fresh snow. Add a few smaller dabs down the sides. It takes thirty seconds and finishes the house with a wintry touch. This tiny detail is what separates a good gingerbread house from a great one.
Try this: stick a pretzel stick into the snow cap like a little flagpole with a gumdrop flag.
Cost: $· Difficulty: Easy
How to plan your gingerbread decorations
Sort your candy into four piles before you start: roof materials, trim, yard pieces, and one focal detail. This keeps you from using all the good stuff on the first wall. Decorate in this order: windows and doors first (flat surfaces are easiest), then the roof, then trim, then the yard last. Let each section set for 15 minutes before moving the house.
Pick a color story and stick to it. Classic red-green-white always works, but an all-white winter wonderland or a pastel candy land can be stunning. When every candy comes from the same palette, even a simple house looks designed. Lay your chosen candies out together first; if they clash in the pile, they will clash on the house.
Mistakes to avoid
The biggest mistake is decorating before the walls are fully set. Royal icing needs at least 4 hours, ideally overnight, to harden enough to hold weight. Rushing this step is how roofs slide off. The second mistake is using icing that is too thin for structural work; it should hold a stiff peak when you lift the spoon. Thin it only for flooding details.
Food safety matters with anything people might eat. Traditional royal icing uses raw egg whites, which carry a small risk of foodborne illness. Iowa State University Extension recommends using meringue powder or pasteurized egg whites instead, which removes the worry entirely. Keep small hard candies away from toddlers, and remind kids that non-edible decorations like fairy lights are look-only.
Gingerbread decorating approaches compared
If you love affordable holiday decorating, these affordable mantle Christmas decor ideas use the same budget-friendly approach for your fireplace. For more edible holiday fun, try these homemade scented candle ideas to make the whole house smell like the season.
Frequently asked questions
How long does it take to decorate a gingerbread house?
Plan 2 to 3 hours for decorating alone, plus baking and assembly time. Let the walls dry overnight before you start decorating, or pieces will slide. Most families spread it over two days.
What is the best icing for gingerbread houses?
Royal icing made with meringue powder is the standard: it dries rock hard and acts as edible cement. Use it thick for structure and thin it slightly with water for piping details like snow and writing.
Can I make a gingerbread house without baking?
Yes. Graham cracker houses assembled with royal icing are a popular shortcut, especially with kids. They go together in under an hour and decorate exactly the same way as baked gingerbread.
How do I keep my gingerbread house from collapsing?
Let the assembled walls dry at least 4 hours or overnight before decorating. Use thick royal icing, keep the design balanced, and avoid loading one side with heavy candy.
Are gingerbread houses safe for toddlers?
Toddlers can help with large soft candies like marshmallows and gumdrops, but keep small hard candies, which are choking hazards, out of reach. Let them decorate their own graham cracker house while adults handle the main one.
Conclusion
The best gingerbread house decorations are the ones that make you smile while you place them. Pick a handful of ideas from this list, pour something warm, and enjoy the delicious mess. That is what the tradition is really about.


