



Farmhouse style looks expensive in stores, and that price tag stops a lot of people from trying it at home. A single lantern or tiered tray can cost $40 or more, which feels hard to justify for one shelf or one corner.
This list fixes that problem with 20 farmhouse projects built from Dollar Tree supplies, and every idea costs $8 or less. Each one uses paint, jute, wood, or glass items you can pick up in one trip, and most take under an hour. My first attempt was a pizza pan sign that hung crooked for a month before I fixed the hanger, so every project here includes the small detail that keeps it hanging straight. These ideas suit beginners, renters, and anyone decorating on a tight budget.
Quick takeaways
- Every project costs $8 or less and starts with Dollar Tree supplies.
- A glue gun, chalk paint, jute twine, and sandpaper cover almost every idea here.
- Use E6000 plus hot glue for joints that carry weight, and let glue cure fully before hanging.
- Battery candles only near twine, burlap, or dried moss, never a real flame.
- Anchor heavy wall pieces into a stud or use a rated wall anchor.
1. Pizza pan door hanger

A plain silver pizza pan turns into a round door sign with one placemat and a length of jute. Trim a buffalo check placemat to fit inside the pan, glue it flat, and wrap jute rope around the inner rim to hide the cut edge. Add a small wood bead hanger or a loop of twine at the back, then hang it on a nail or a wreath hook. The whole project takes about 30 minutes, and the pan shape keeps the sign light enough for any interior door. Pick a neutral placemat so the hanger works past one season.
Try this: Glue a small wood cutout word in the center for a custom sign.
Cost: $. Difficulty: Easy.
2. Cookie sheet shiplap serving tray

A flat cookie sheet gives you the base for a serving tray that reads as shiplap from across the room. Glue craft sticks in tight rows across the sheet, leaving hairline gaps between sticks, then paint the whole surface white and sand the edges for a worn finish. Add two short rope handles through holes near each short end, and seal the top with a clear spray sealer so drinks leave no rings. The tray holds two mugs and a small vase without flexing. Keep the sticks flat and even so glasses sit level.
Try this: Stain half the sticks gray before gluing for a two-tone plank look.
Cost: $. Difficulty: Easy.
3. Framed placemat wall art
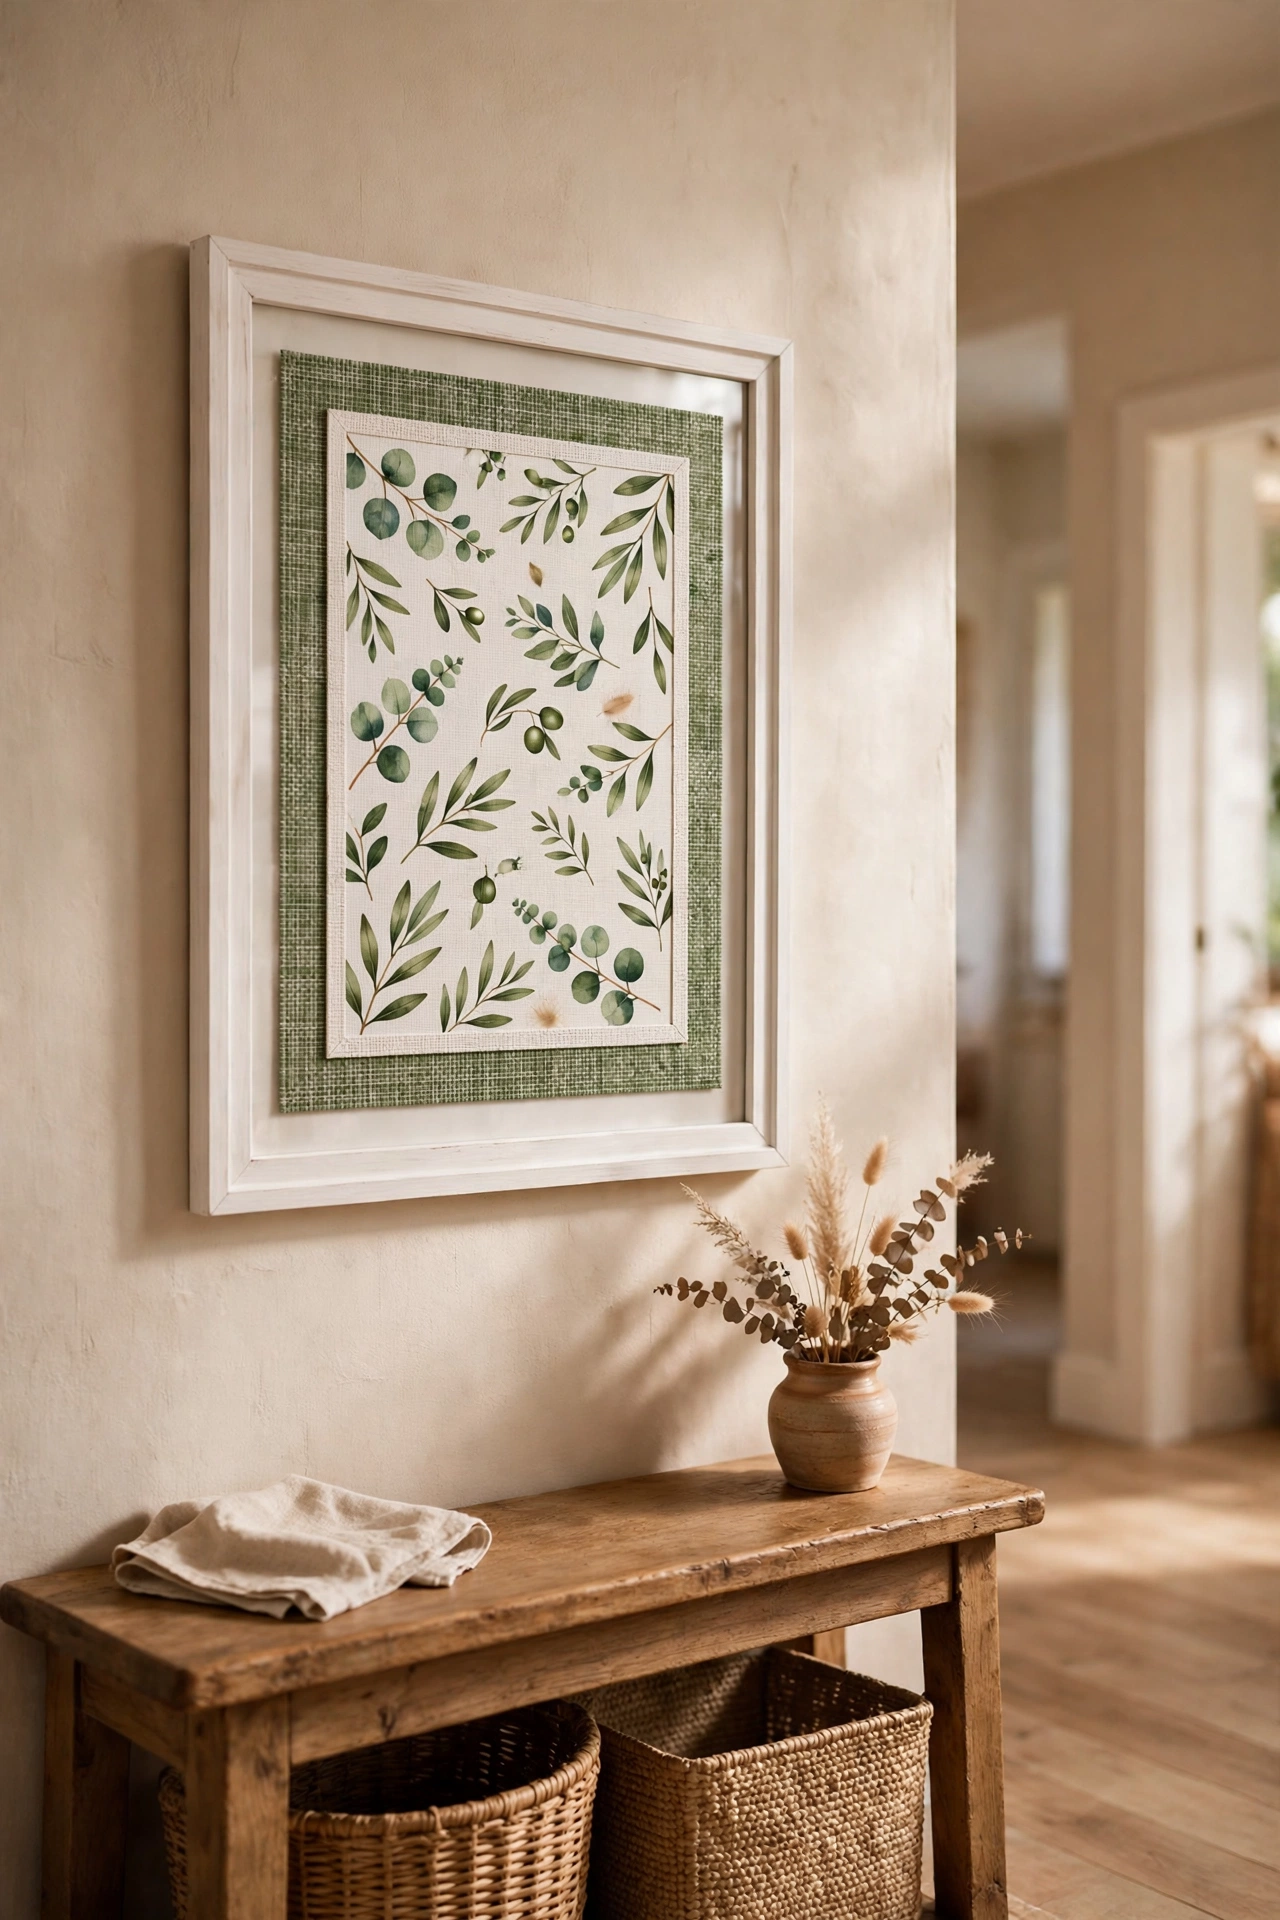
A printed placemat becomes framed wall art for the price of one frame. Remove the glass and backing from a Dollar Tree frame, trim the placemat to fit, and place the glass and backing behind it for stiffness before closing the tabs. Botanical prints, grain sack stripes, and simple word prints all work, and the frame size sets the look: an 8 by 10 inch frame suits a shelf, while an 11 by 14 inch frame anchors a hallway wall. Two matching placemats make a clean pair above a console table.
Try this: Paint the frame matte black for contrast against white walls.
Cost: $. Difficulty: Easy.
4. Hula hoop burlap wreath

A hula hoop makes a large, light wreath base for far less than a grapevine form. Wrap the hoop fully in wide burlap ribbon, overlapping each pass by half, and secure the ends with hot glue on the back. Add faux greenery and cotton stems in one cluster at the lower left, leaving the rest of the ring bare so the burlap texture shows. Hang it with a loop of jute tied at the top. The hoop keeps its round shape outdoors in a covered spot, and the whole wreath weighs under a pound.
Try this: Swap the greenery cluster with each season instead of making a new wreath.
Cost: $. Difficulty: Easy.
5. Picture frame lantern

Four matching picture frames build a lantern that looks store-bought on a mantel or porch table. Remove the glass and backing from each frame, paint the frames white, and glue them edge to edge into a square tube. Set a small wood square on top as a cap, add a wood bead or knob as a handle, and place a battery pillar candle inside. The glass panes stay out, so the candle glow shows through the open sides. Use a battery candle only, since the wood and glue sit close to the flame area.
Try this: Distress the painted frames with sandpaper before assembly for an aged finish.
Cost: $. Difficulty: Easy.
6. Hula hoop wall shelf
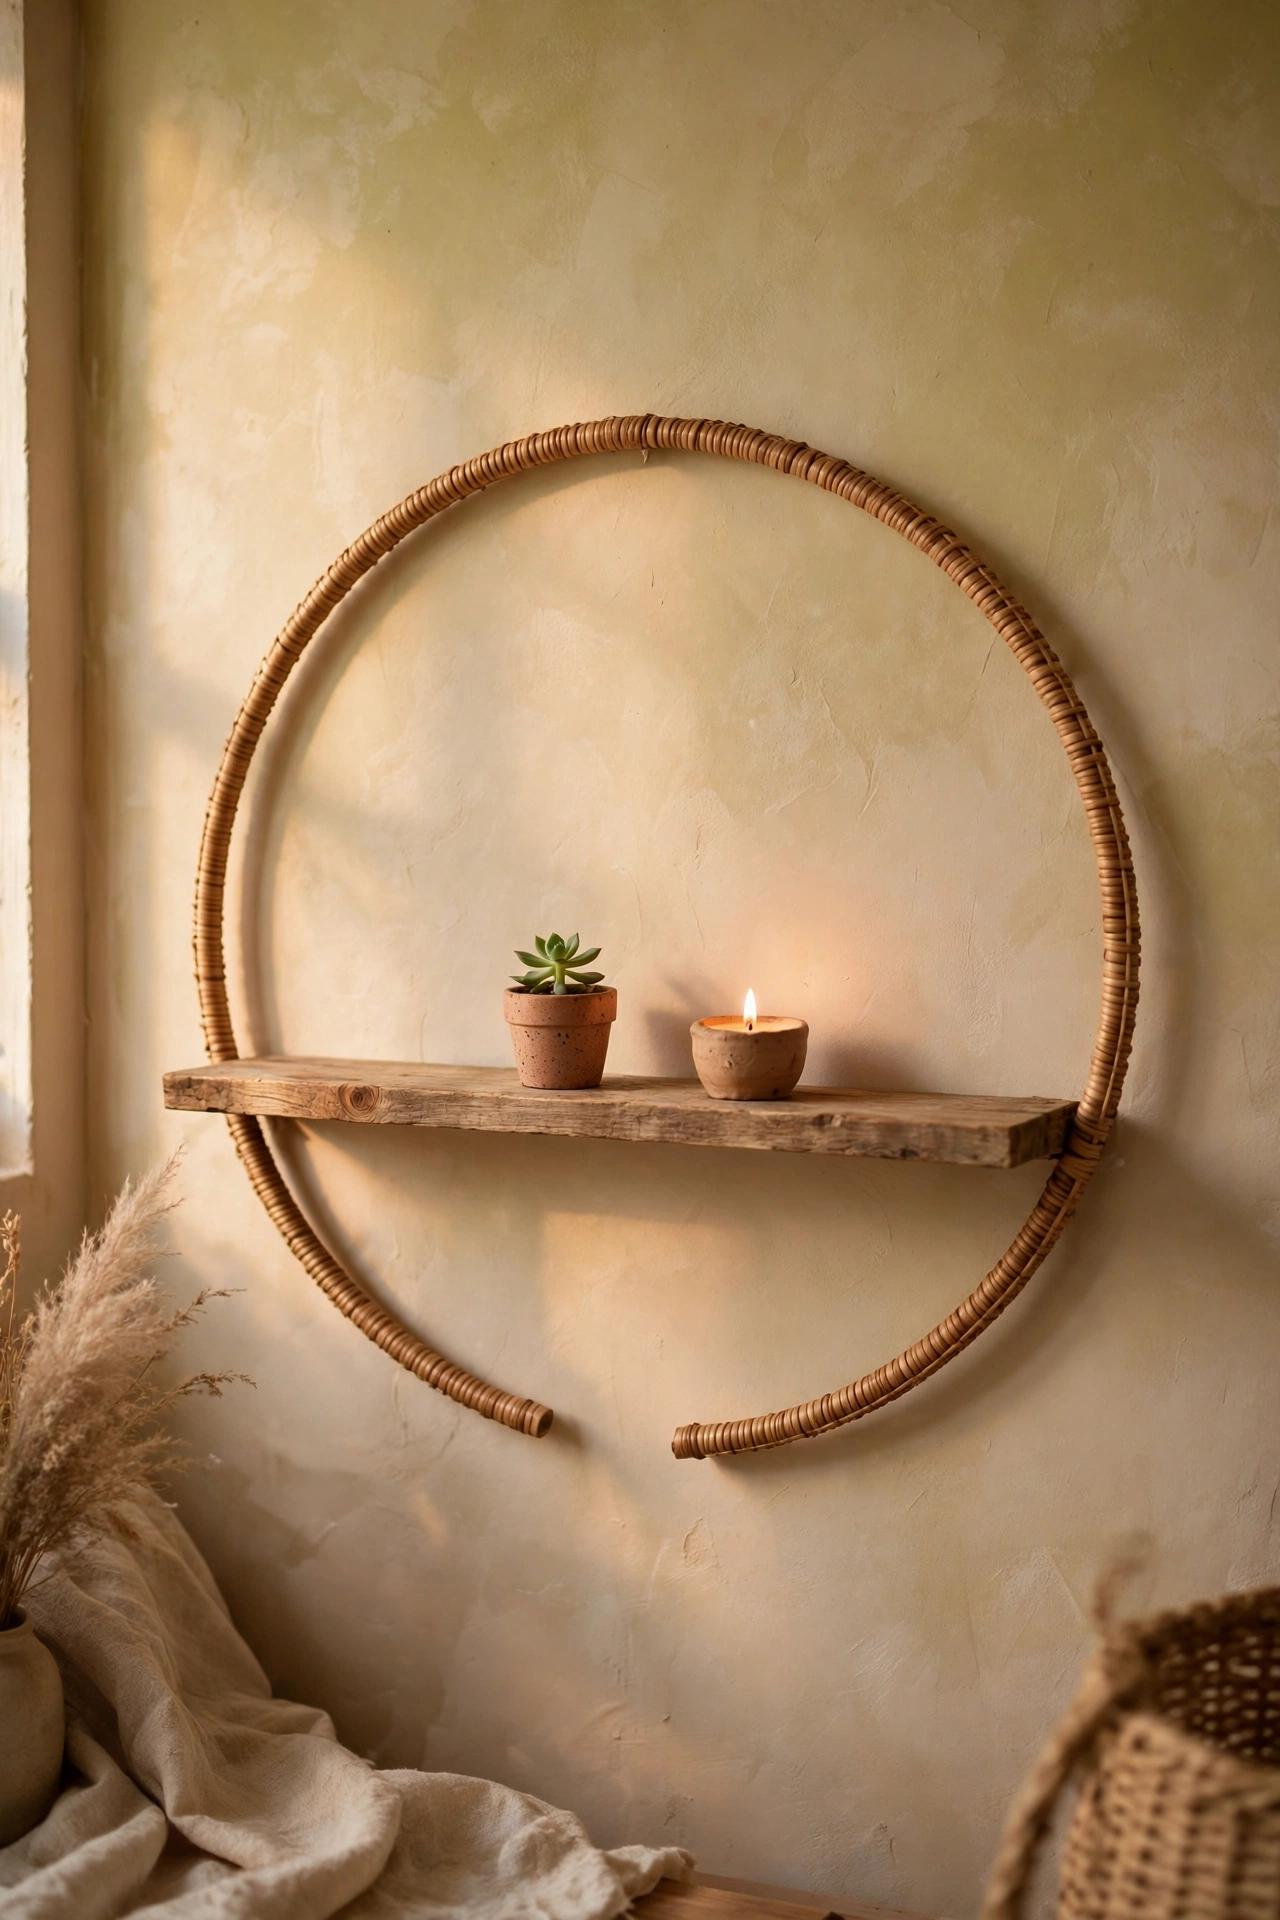
Cut a hula hoop in half and you have a round frame for a small wall shelf. Mount the half hoop flat against the wall with two screws into a stud or anchors, then glue a wood plank across the open middle as the shelf. Paint the hoop and plank the same white so the piece reads as one unit. The shelf holds a small plant, a candle, and one framed photo, and the round frame draws the eye without taking much wall space. Measure the plank twice, since a short plank wobbles.
Try this: Add a second plank lower down for a two-tier display.
Cost: $. Difficulty: Moderate.
7. Clothespin tiered tray
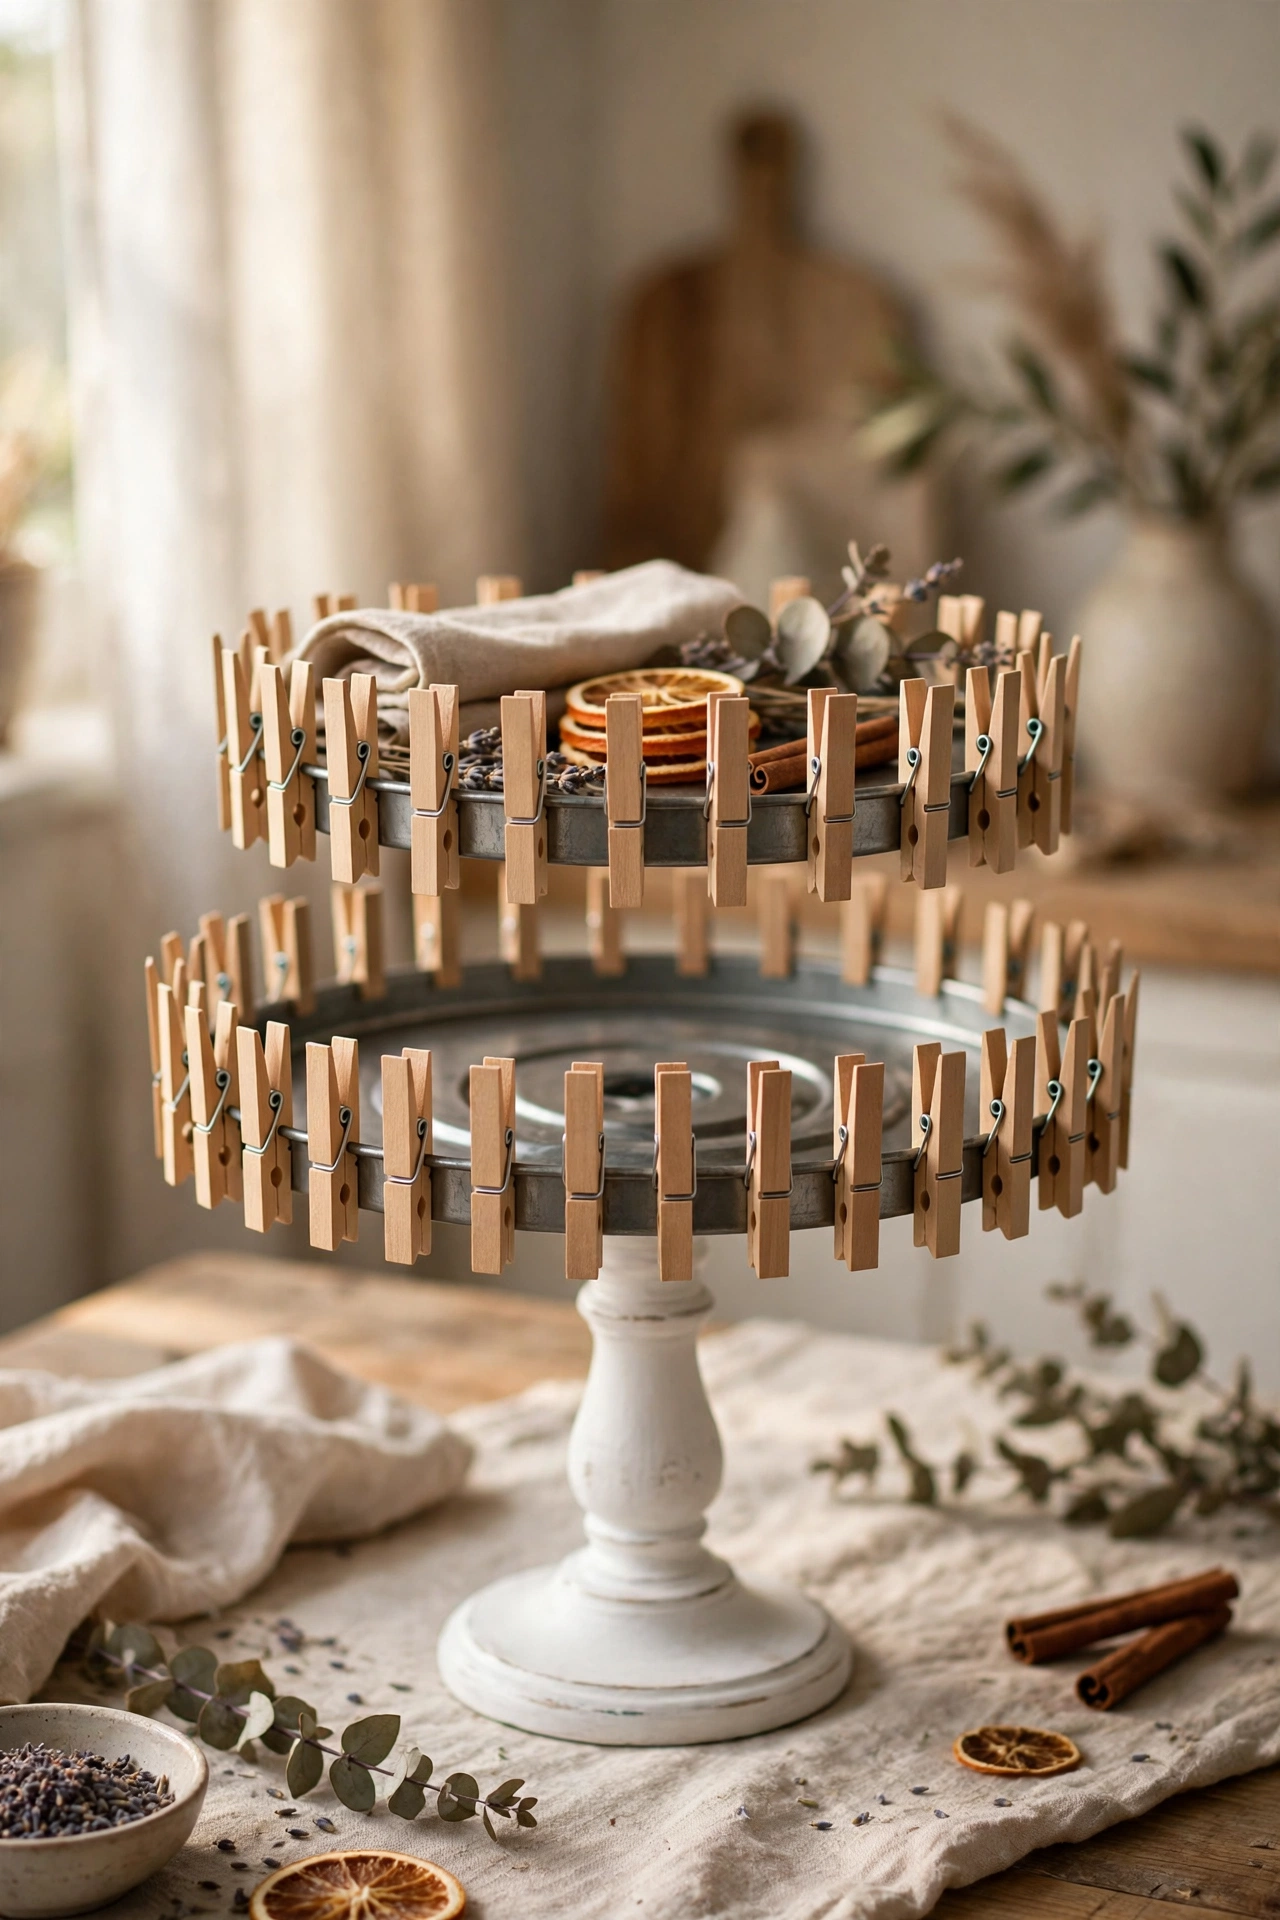
Two burner covers, a bag of clothespins, and a candlestick stack into a two-tier tray for a kitchen counter or coffee bar. Stain the clothespins with brewed coffee or wood stain, then glue them upright around the rim of each burner cover. Glue the candlestick between the two trays as the center post, and add a small wood bead on top as a handle. Use E6000 plus hot glue at the post joints, and let the tray cure overnight before loading it. Mini signs, greenery, and small mugs all fit the two levels.
Try this: Paint the clothespins white instead of staining for a brighter tray.
Cost: $. Difficulty: Easy.
8. Hand-stamped book stack

A stack of three Dollar Tree paperbacks becomes a classic farmhouse accent with paint and twine. Remove the dust jackets, paint the covers in white, cream, and sage, and stamp one short word on each spine with letter stamps or a paint pen. Stack the books largest at the bottom, wrap jute twine twice around the stack, and tie a small bow on top. The stack works on a coffee table, a mantel, or a nightstand, and the words make it easy to match the room. Keep the words short so the stamps stay legible.
Try this: Tuck a sprig of dried lavender under the twine for scent and color.
Cost: $. Difficulty: Easy.
9. Tumbling block beaded riser
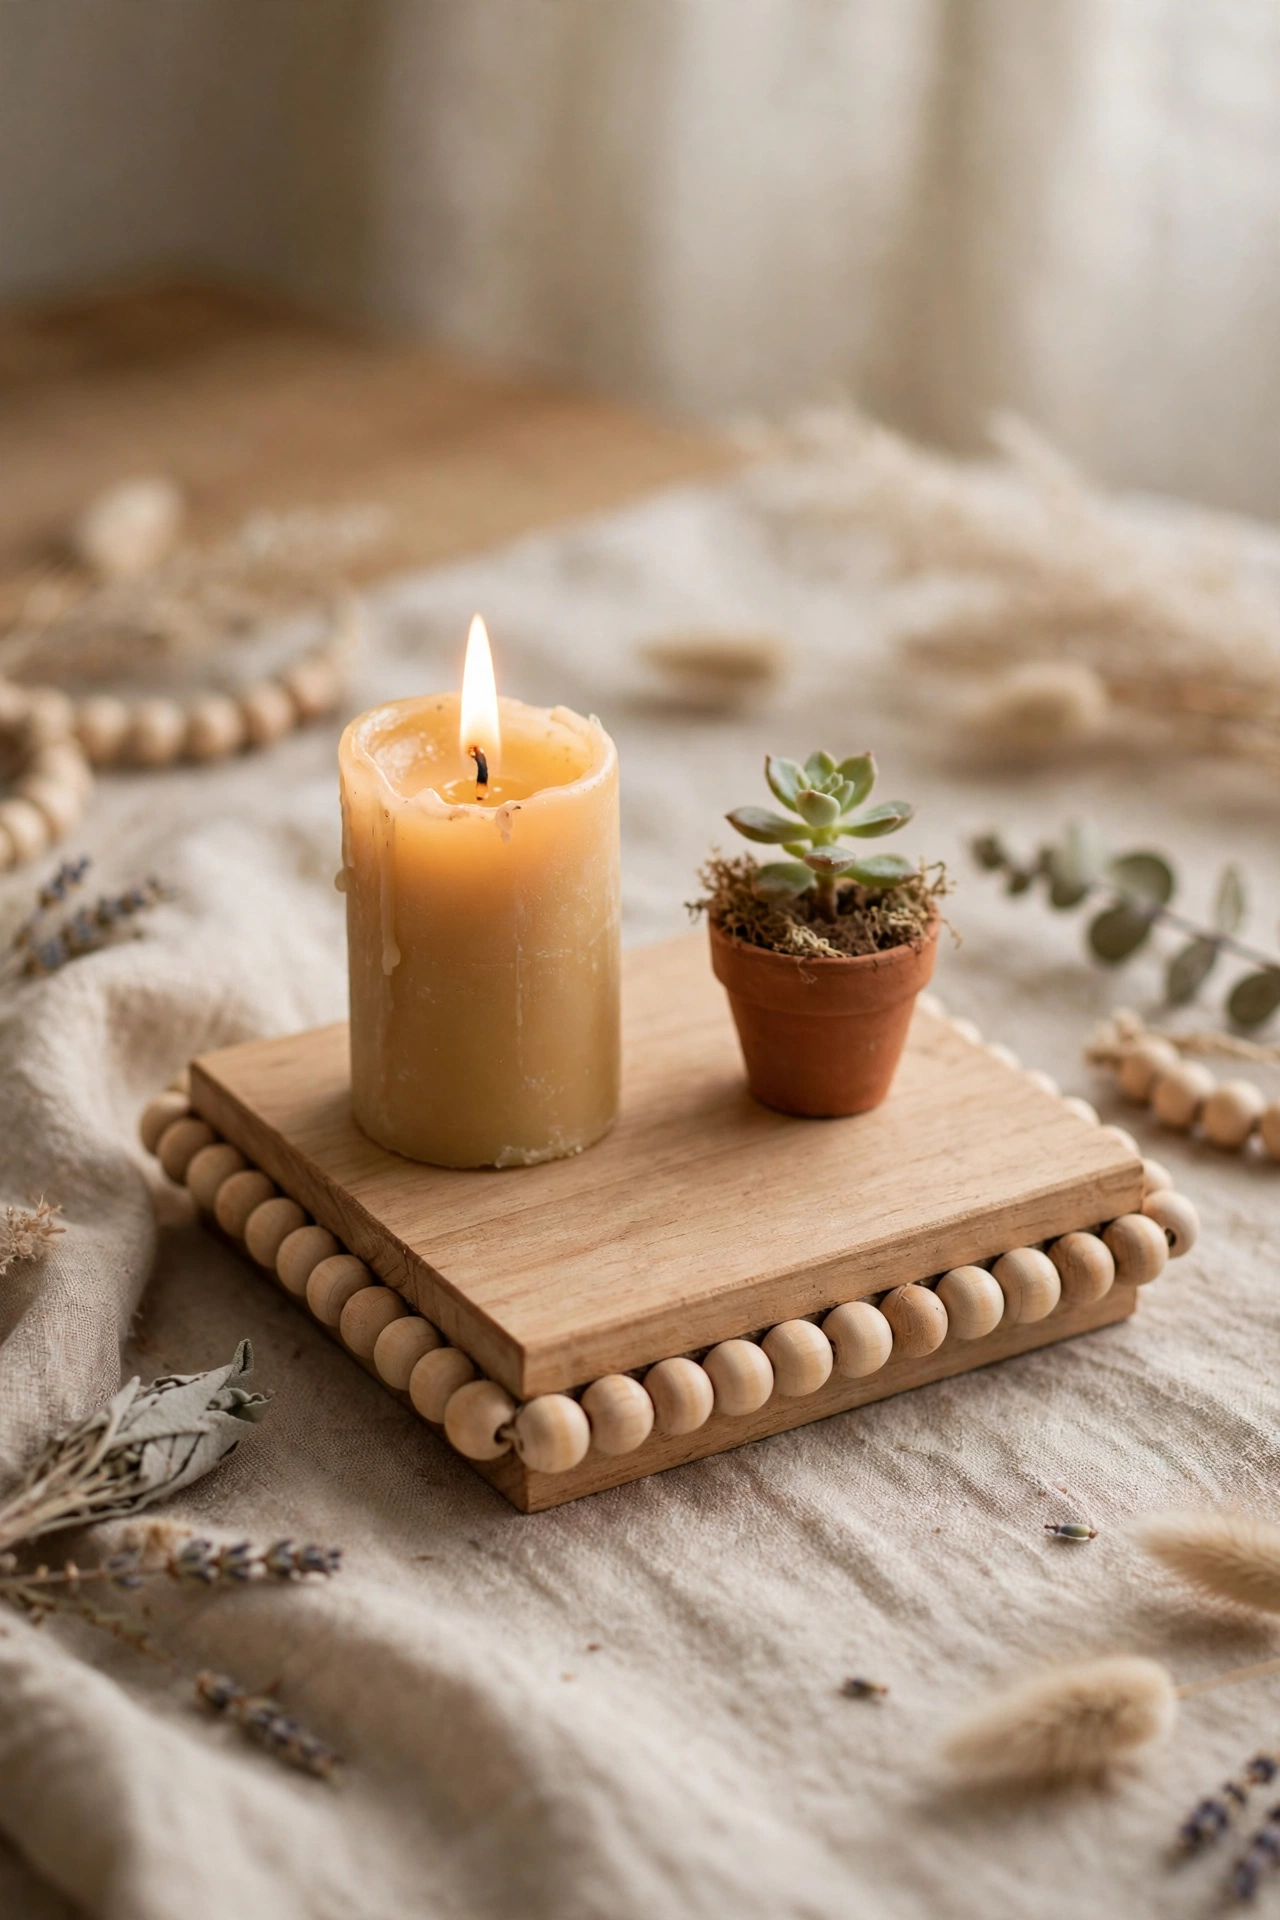
Tumbling tower blocks build a small riser that lifts a candle or plant off the surface and makes the display look planned. Glue blocks into a flat rectangle for the top, attach four blocks underneath as short legs, and glue a row of wood beads around the top edge. Leave the wood natural or stain it light oak, and seal it so water rings wipe off. The riser fits a kitchen counter, a bathroom shelf, or a coffee bar, and it raises small items to eye level. Check that all four legs sit flat before the glue sets.
Try this: Make two risers in different heights for a layered display.
Cost: $. Difficulty: Easy.
10. Tumbling block mini frames
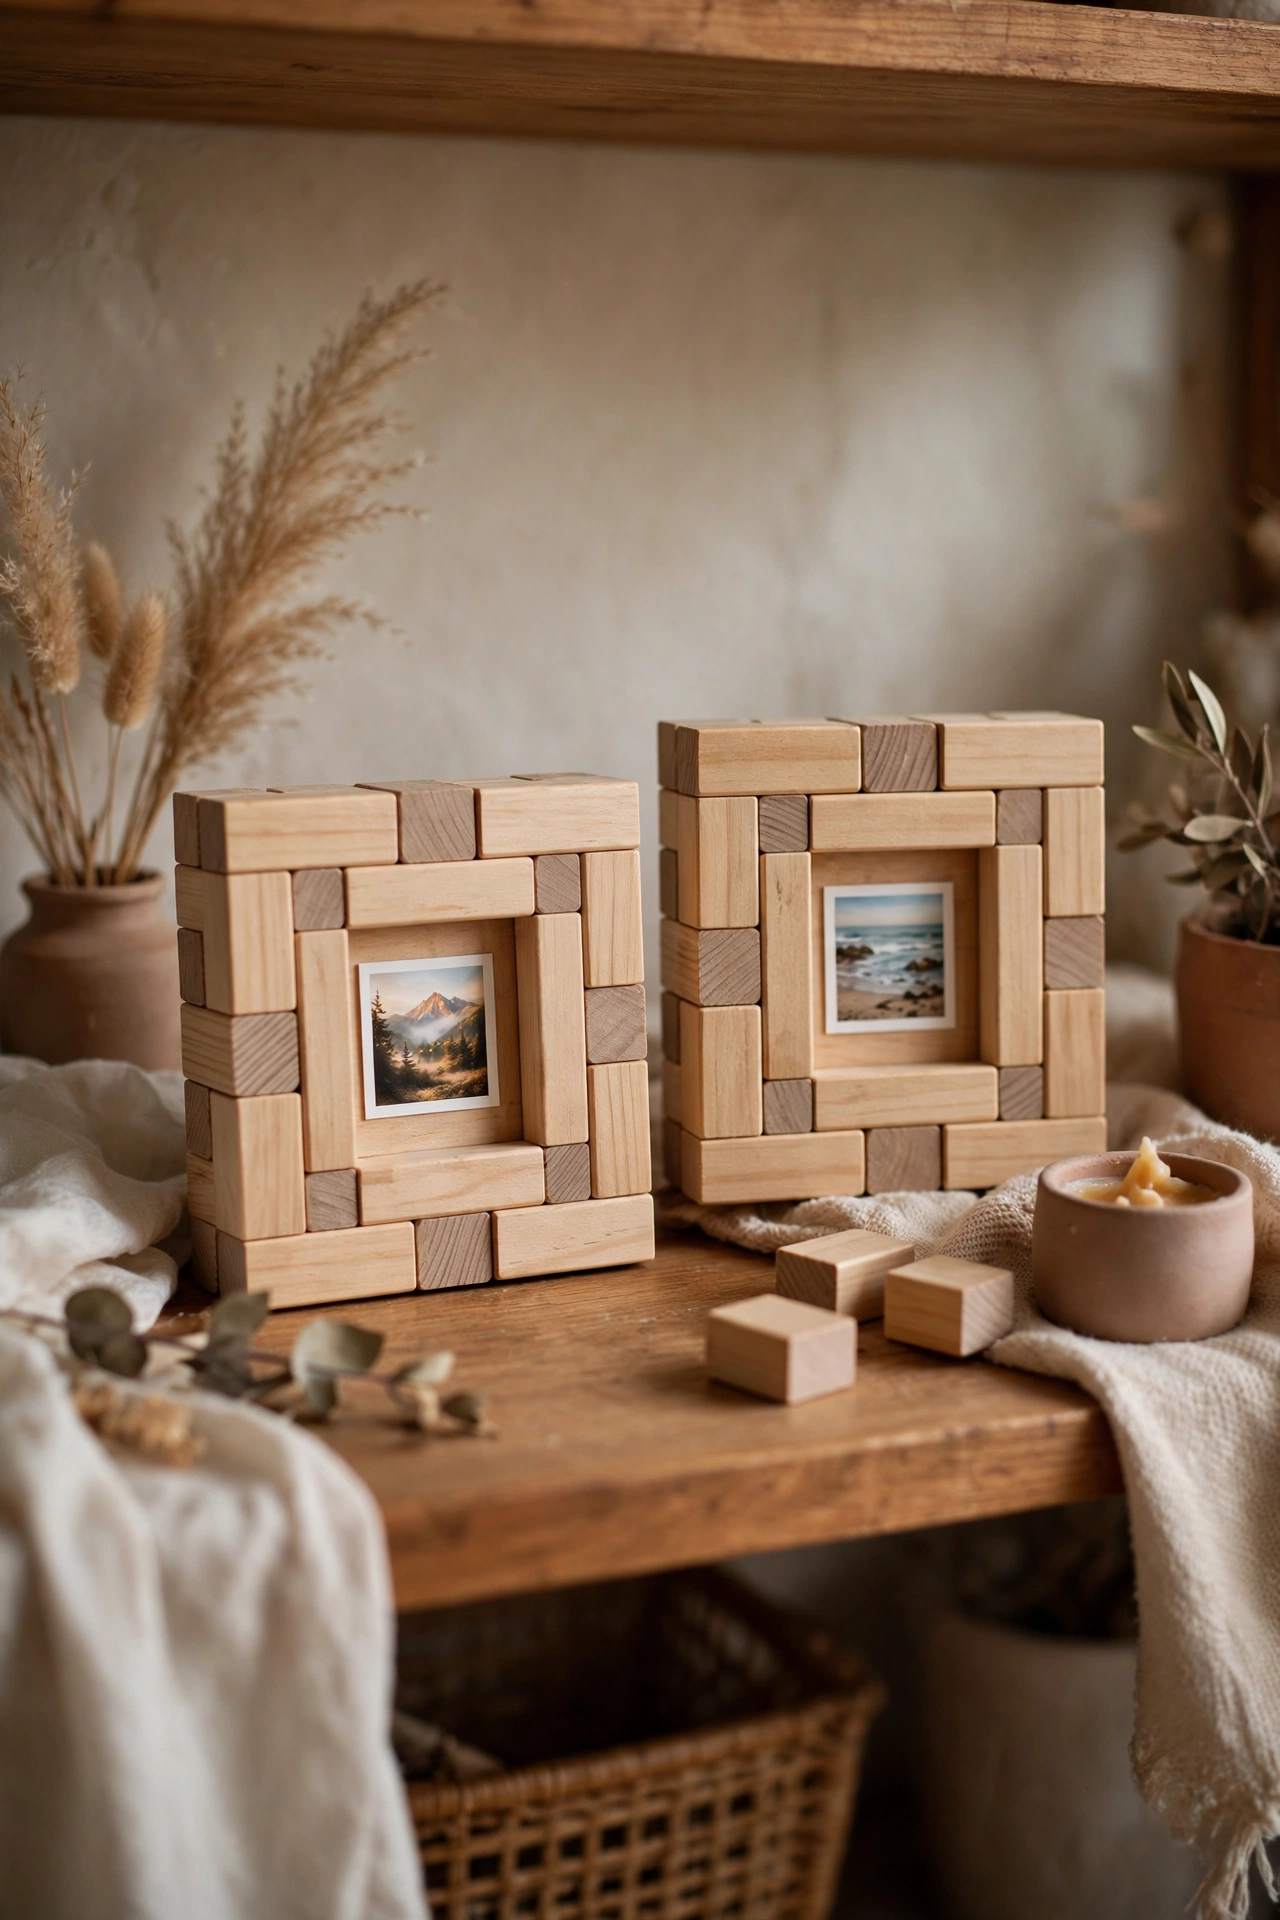
Four tumbling blocks per frame make tiny photo frames for a desk or shelf. Glue the blocks into a square, add a cardboard backing, and slip a small printed photo behind the opening. A short block glued at the back as a kickstand holds the frame upright, or a small sawtooth hanger lets it hang. Paint the frames white, stain them walnut, or leave them raw for a plain wood look. These frames suit small prints, quotes, and kids art, and a set of three fills a narrow shelf.
Try this: Glue a tiny wood bead at each corner for a finished edge.
Cost: $. Difficulty: Easy.
11. Tumbling block recipe stand
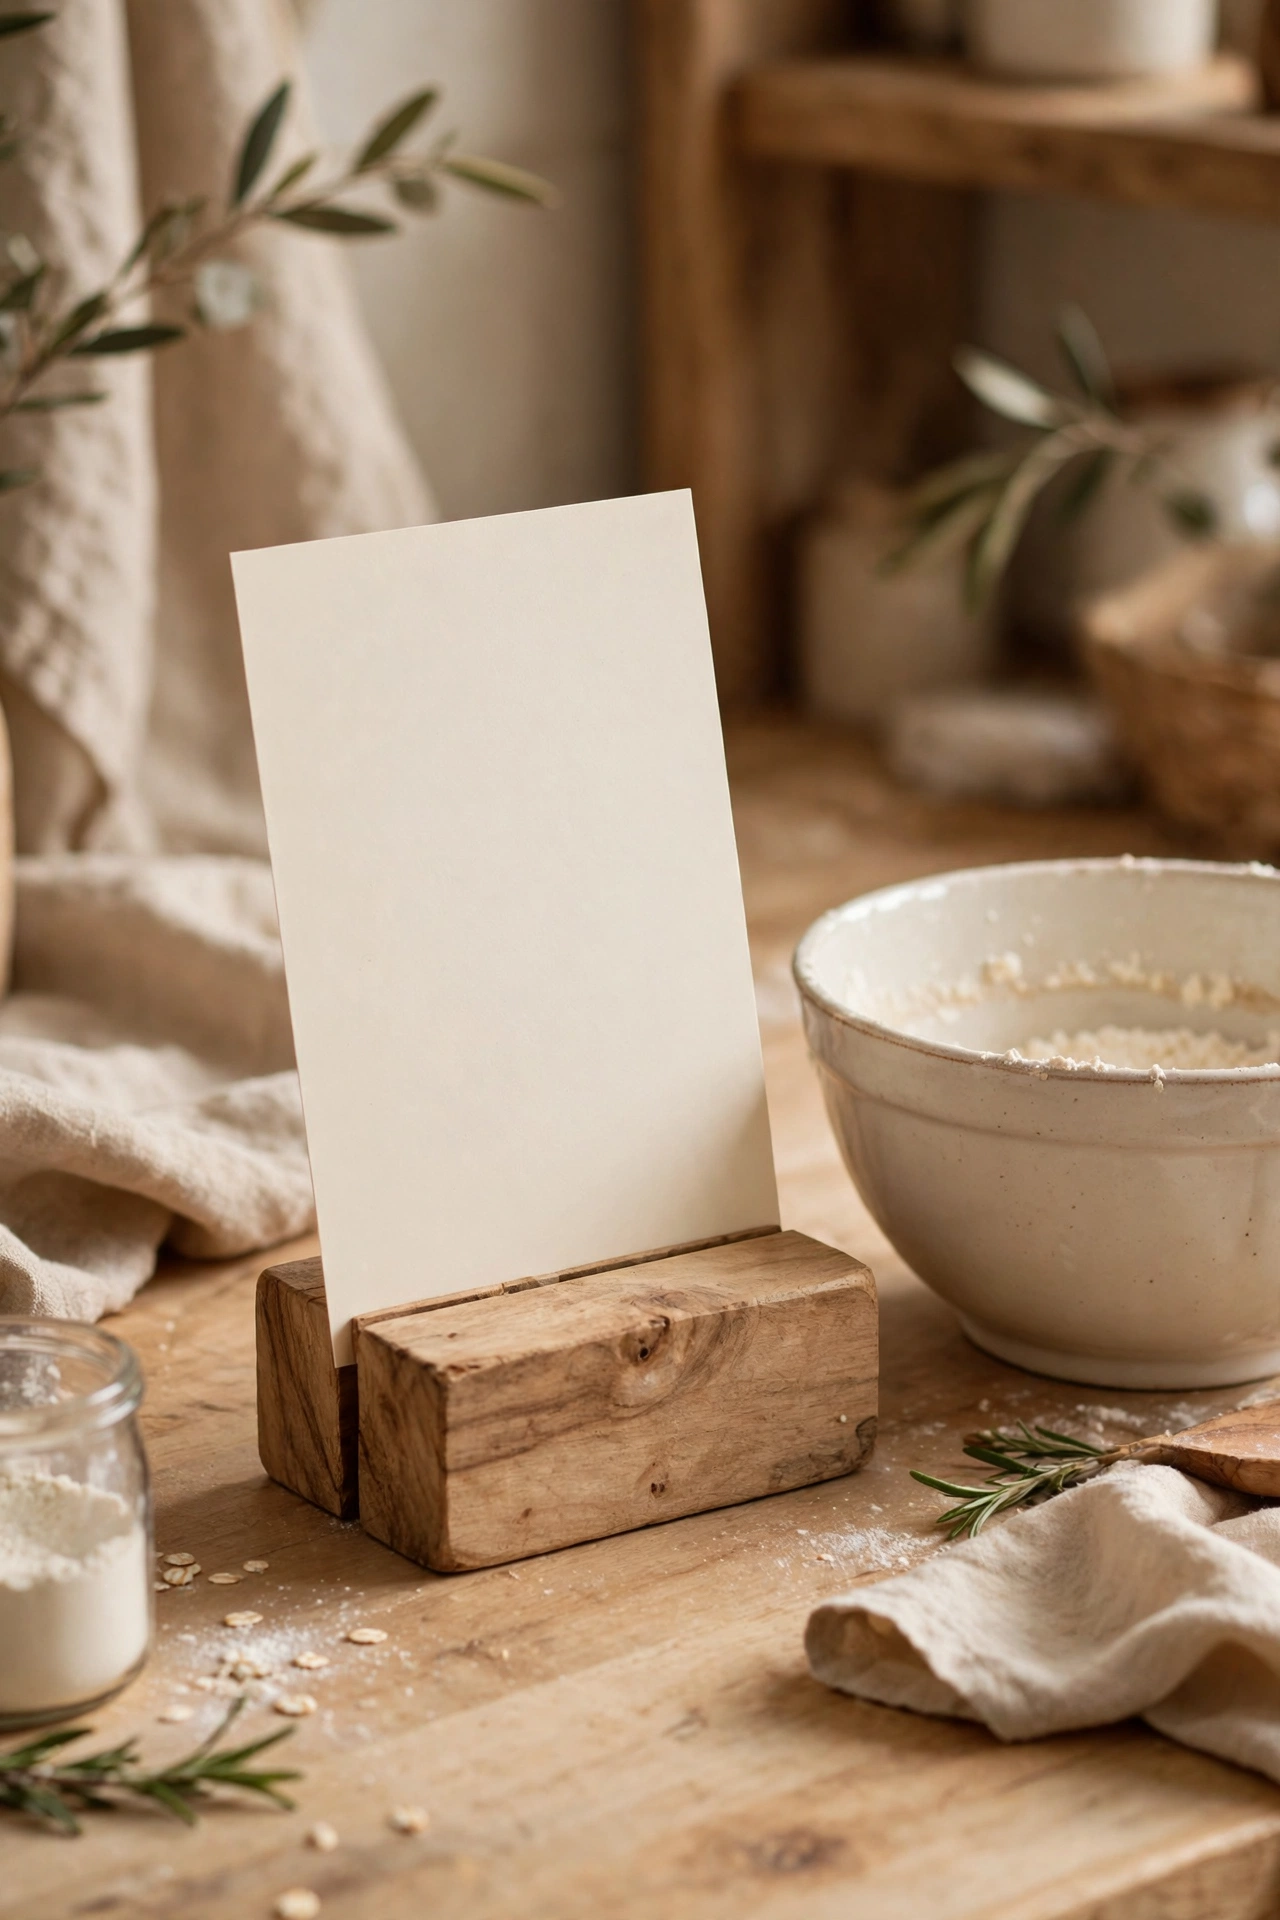
A recipe stand from tumbling blocks keeps a cookbook page or recipe card upright and hands-free on the counter. Glue blocks vertically into two short feet, add a horizontal block across the front as a ledge, and tilt the stand back slightly so the card leans at a readable angle. Reinforce the back joints with extra glue, since the stand takes daily bumps in a busy kitchen. Paint it white or stain it to match your cutting boards. The stand also holds a phone for video recipes.
Try this: Add a vinyl or painted word like “Recipes” across the front ledge.
Cost: $. Difficulty: Easy.
12. Clipboard gallery wall
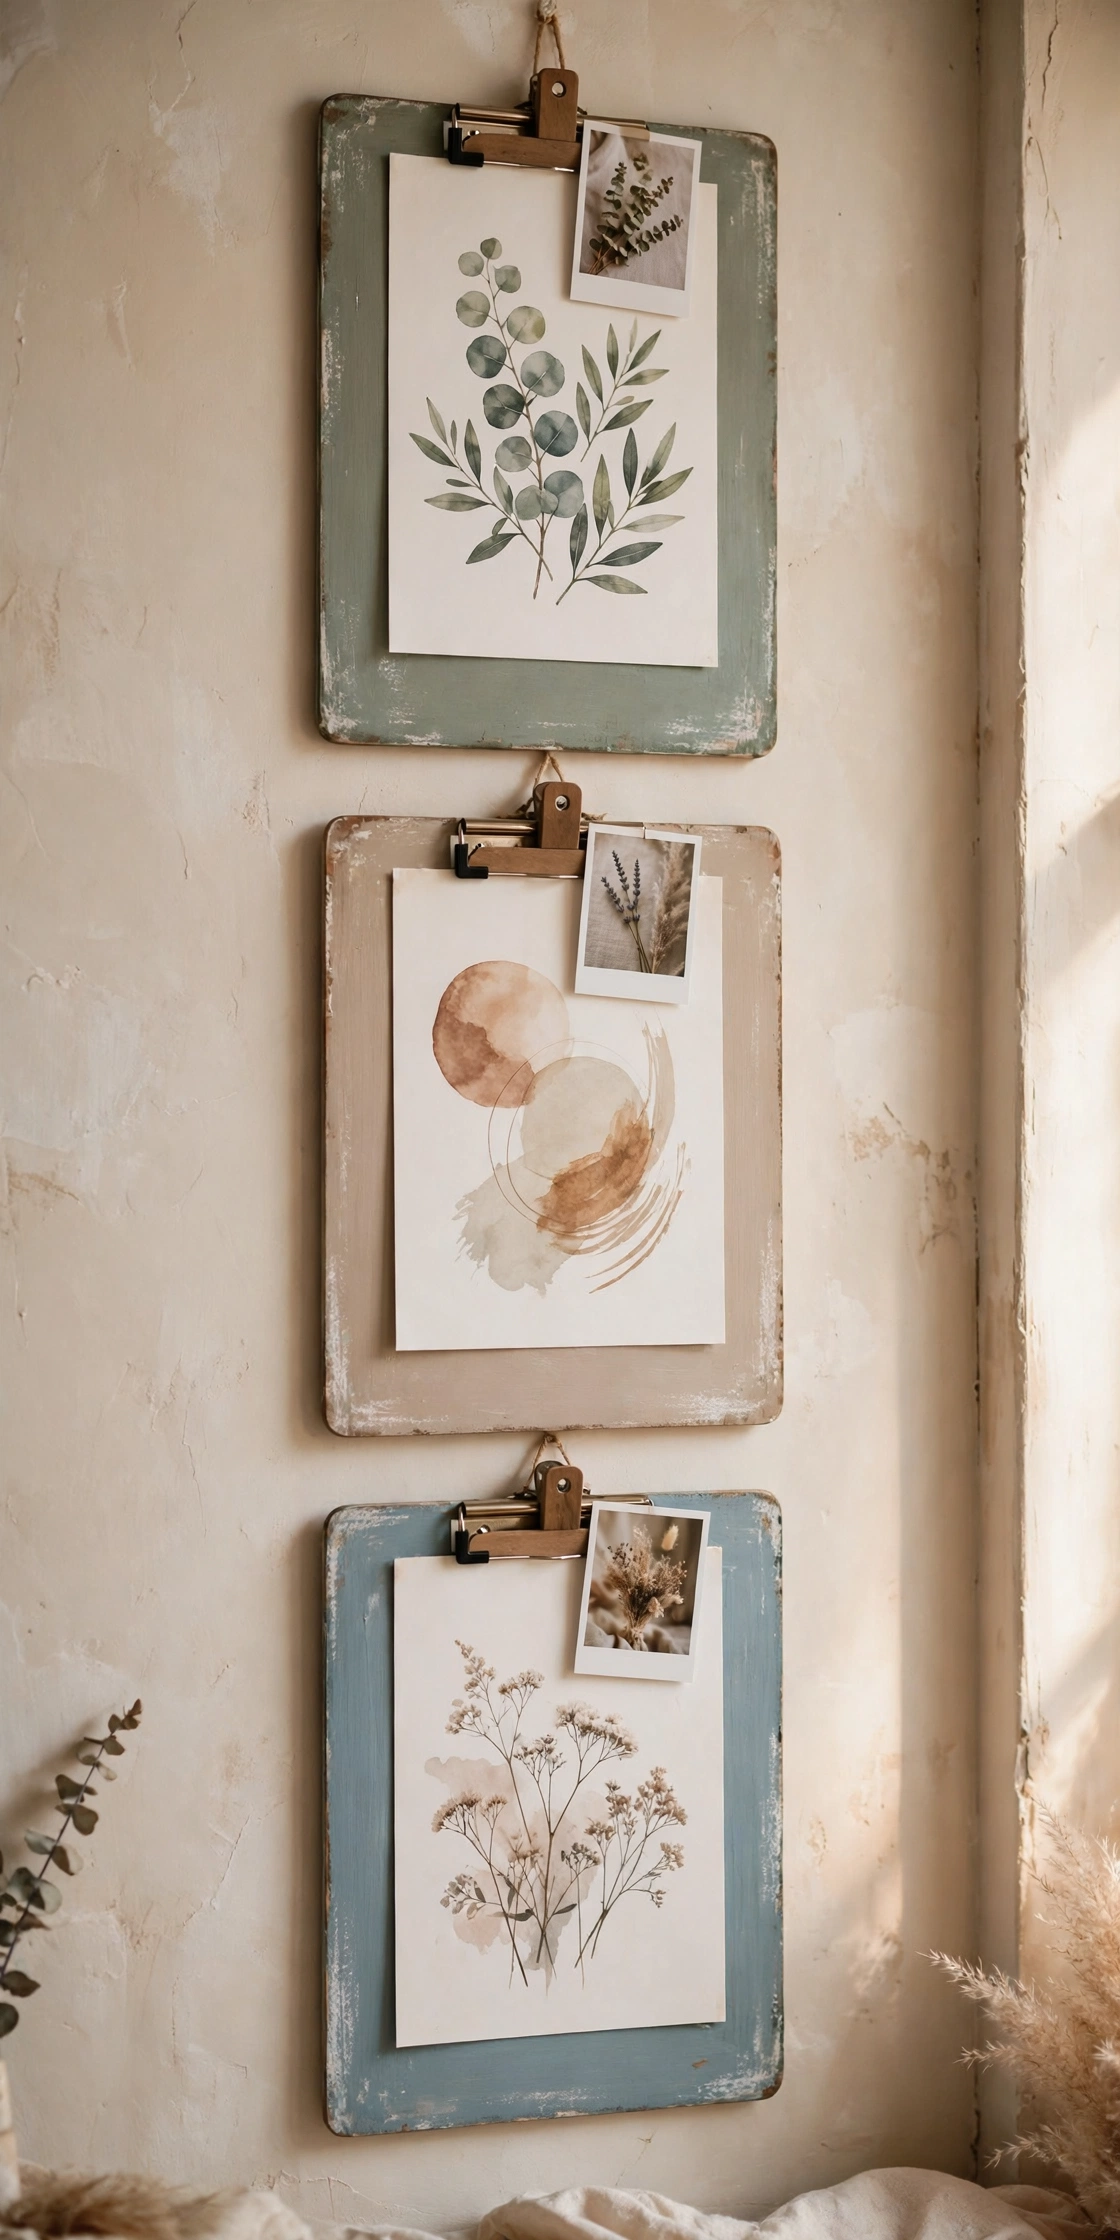
Chalk-painted clipboards make a gallery wall where the art swaps in seconds. Paint two or three clipboards in white or sage chalk paint, sand the edges lightly, and hang them in a row or grid with one nail each. Clip in printed art, photos, or a child’s drawing, and change the display whenever the season changes without removing the boards. The clip mechanism holds thick card stock better than thin printer paper, so print art on card stock. Space the boards 3 inches apart for a tidy grid.
Try this: Clip a small sprig of faux greenery to the top of one board.
Cost: $. Difficulty: Easy.
13. Hanging wire baskets on reclaimed wood
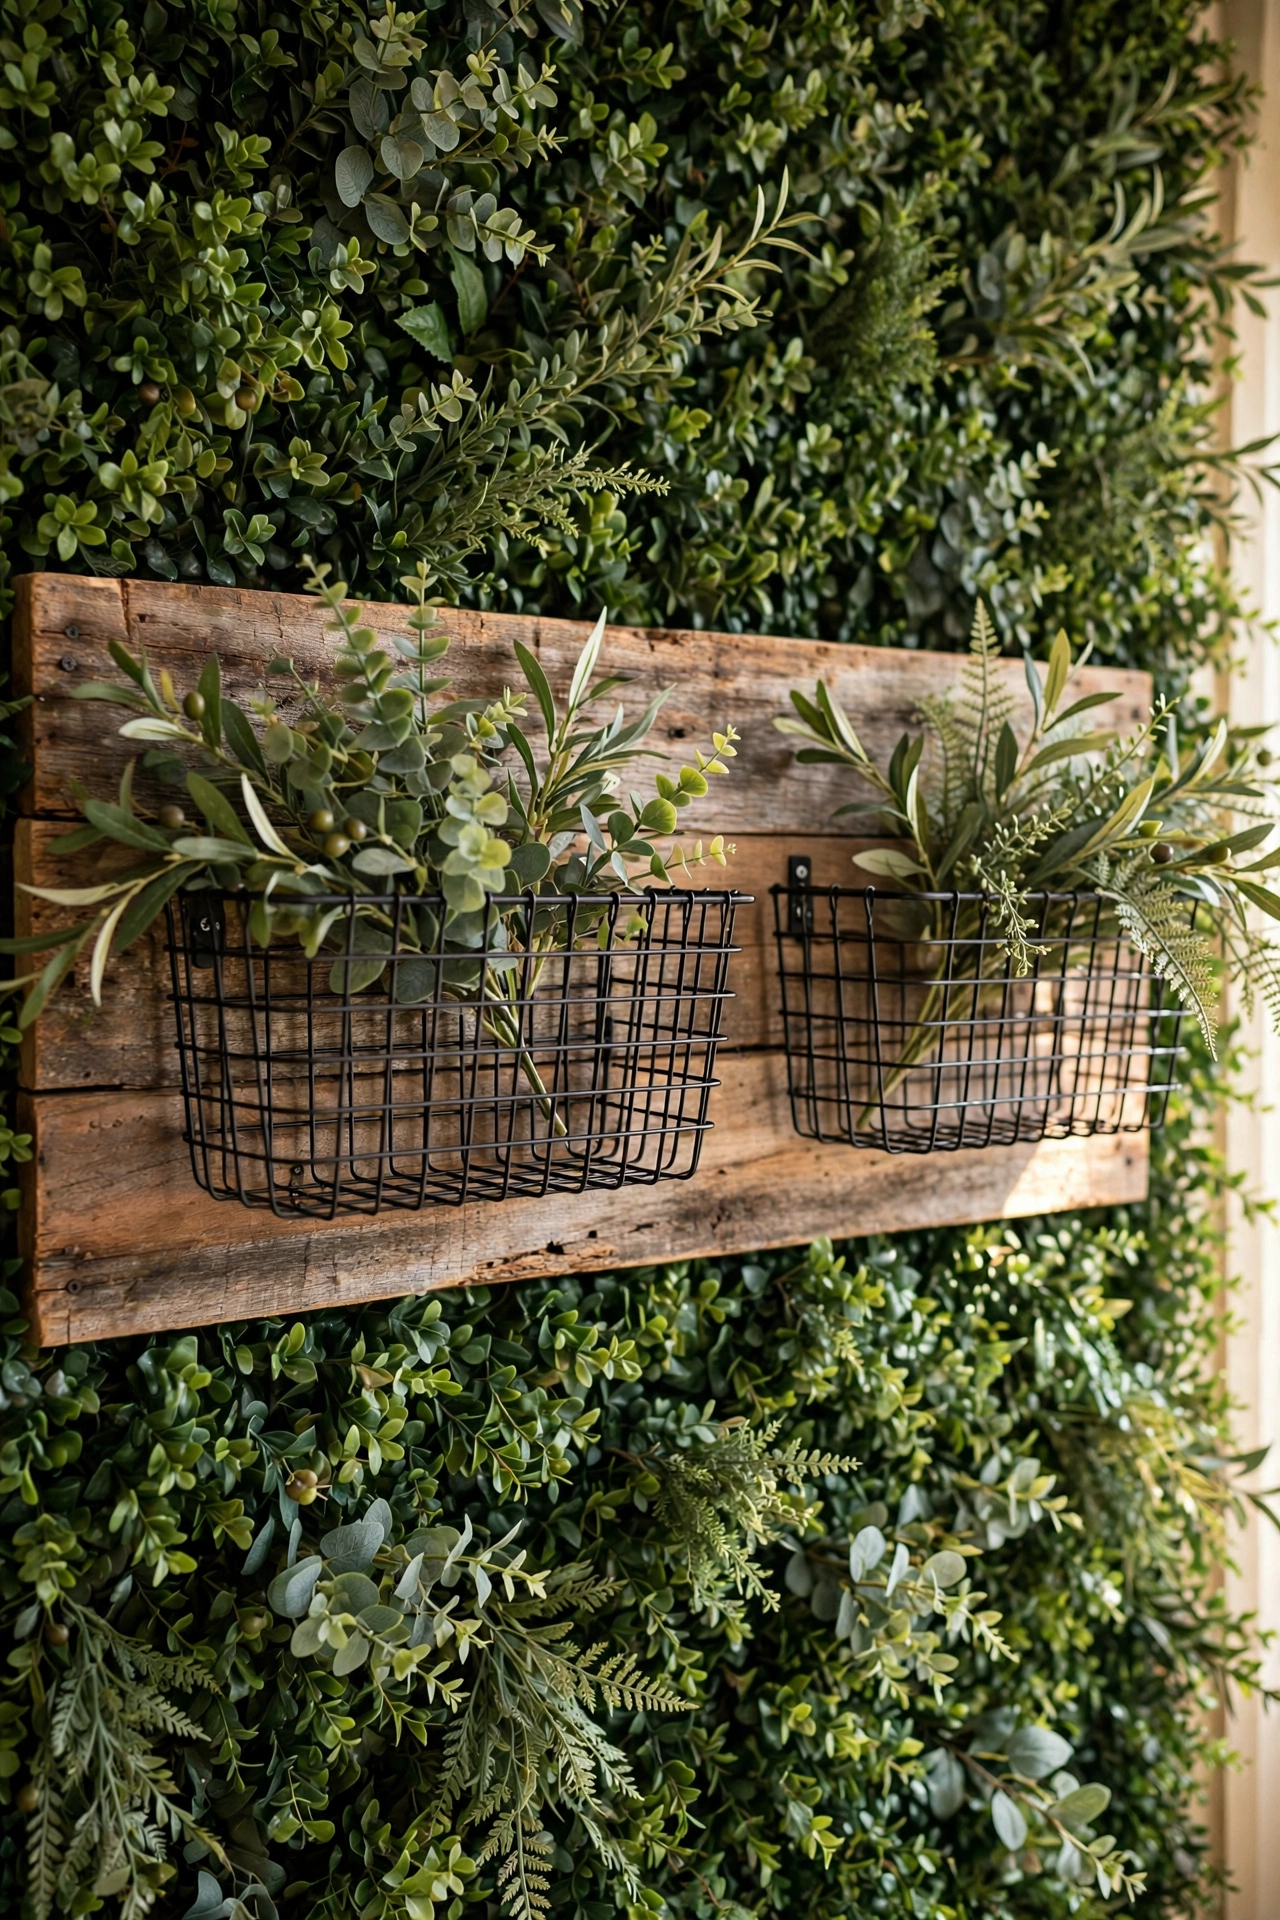
Two wire baskets screwed onto a reclaimed wood board make a wall planter that fills an empty hallway or bathroom wall. Stain or whitewash the board, screw the baskets to it with short screws from the back, and mount the board into a stud or with two rated anchors. Fill the baskets with faux greenery, rolled hand towels, or small succulents in pots. The board spreads the weight across two mount points, which keeps the piece level over time. Check the screw length so tips stay hidden behind the board.
Try this: Line the baskets with burlap so soil or small items stay put.
Cost: $. Difficulty: Moderate.
14. Hobnail milk glass vase

A plain glass vase turns into hobnail milk glass with small glue dots and white spray paint. Apply rows of small round glue dots around the vase, let them dry fully, then spray the whole vase white in light coats. The dots cast tiny shadows that read as the raised hobnail pattern on old milk glass. Fill it with white faux flowers or fresh stems, and keep it out of direct sun so the paint stays bright. Two coats of paint cover better than one heavy coat that drips.
Try this: Add a jute bow at the neck for a farmhouse finish.
Cost: $. Difficulty: Easy.
15. Laundry basket makeover

A plain plastic laundry basket gets a second life with chalkboard paint and a burlap strip. Clean the basket, spray it with chalkboard paint in two light coats, and glue a burlap band around the middle with a small wood tag on the front. The basket holds rolled towels in a bathroom, toys in a playroom, or yarn in a craft corner, and the chalkboard tag labels the contents. Label the tag with chalk so the label changes when the basket’s job changes. Let the paint cure a full day before use.
Try this: Add rope handles through the top holes for easier carrying.
Cost: $. Difficulty: Easy.
16. Faux-stained wood candlesticks

Plain white candlesticks take on an aged wood look with layered paint and a dry brush. Paint the candlesticks with a tan base coat, then brush a darker brown over the top and wipe most of it off with a rag before it dries. The thin brown layer settles in the grooves and edges, which gives the flat white surface a wood grain read. Seal with a clear matte spray so the finish lasts through dusting. Pair the candlesticks with battery taper candles for a mantel display that needs no flame.
Try this: Practice the wipe-off step on the base first, where mistakes hide.
Cost: $. Difficulty: Easy.
17. Enamel mug organizer
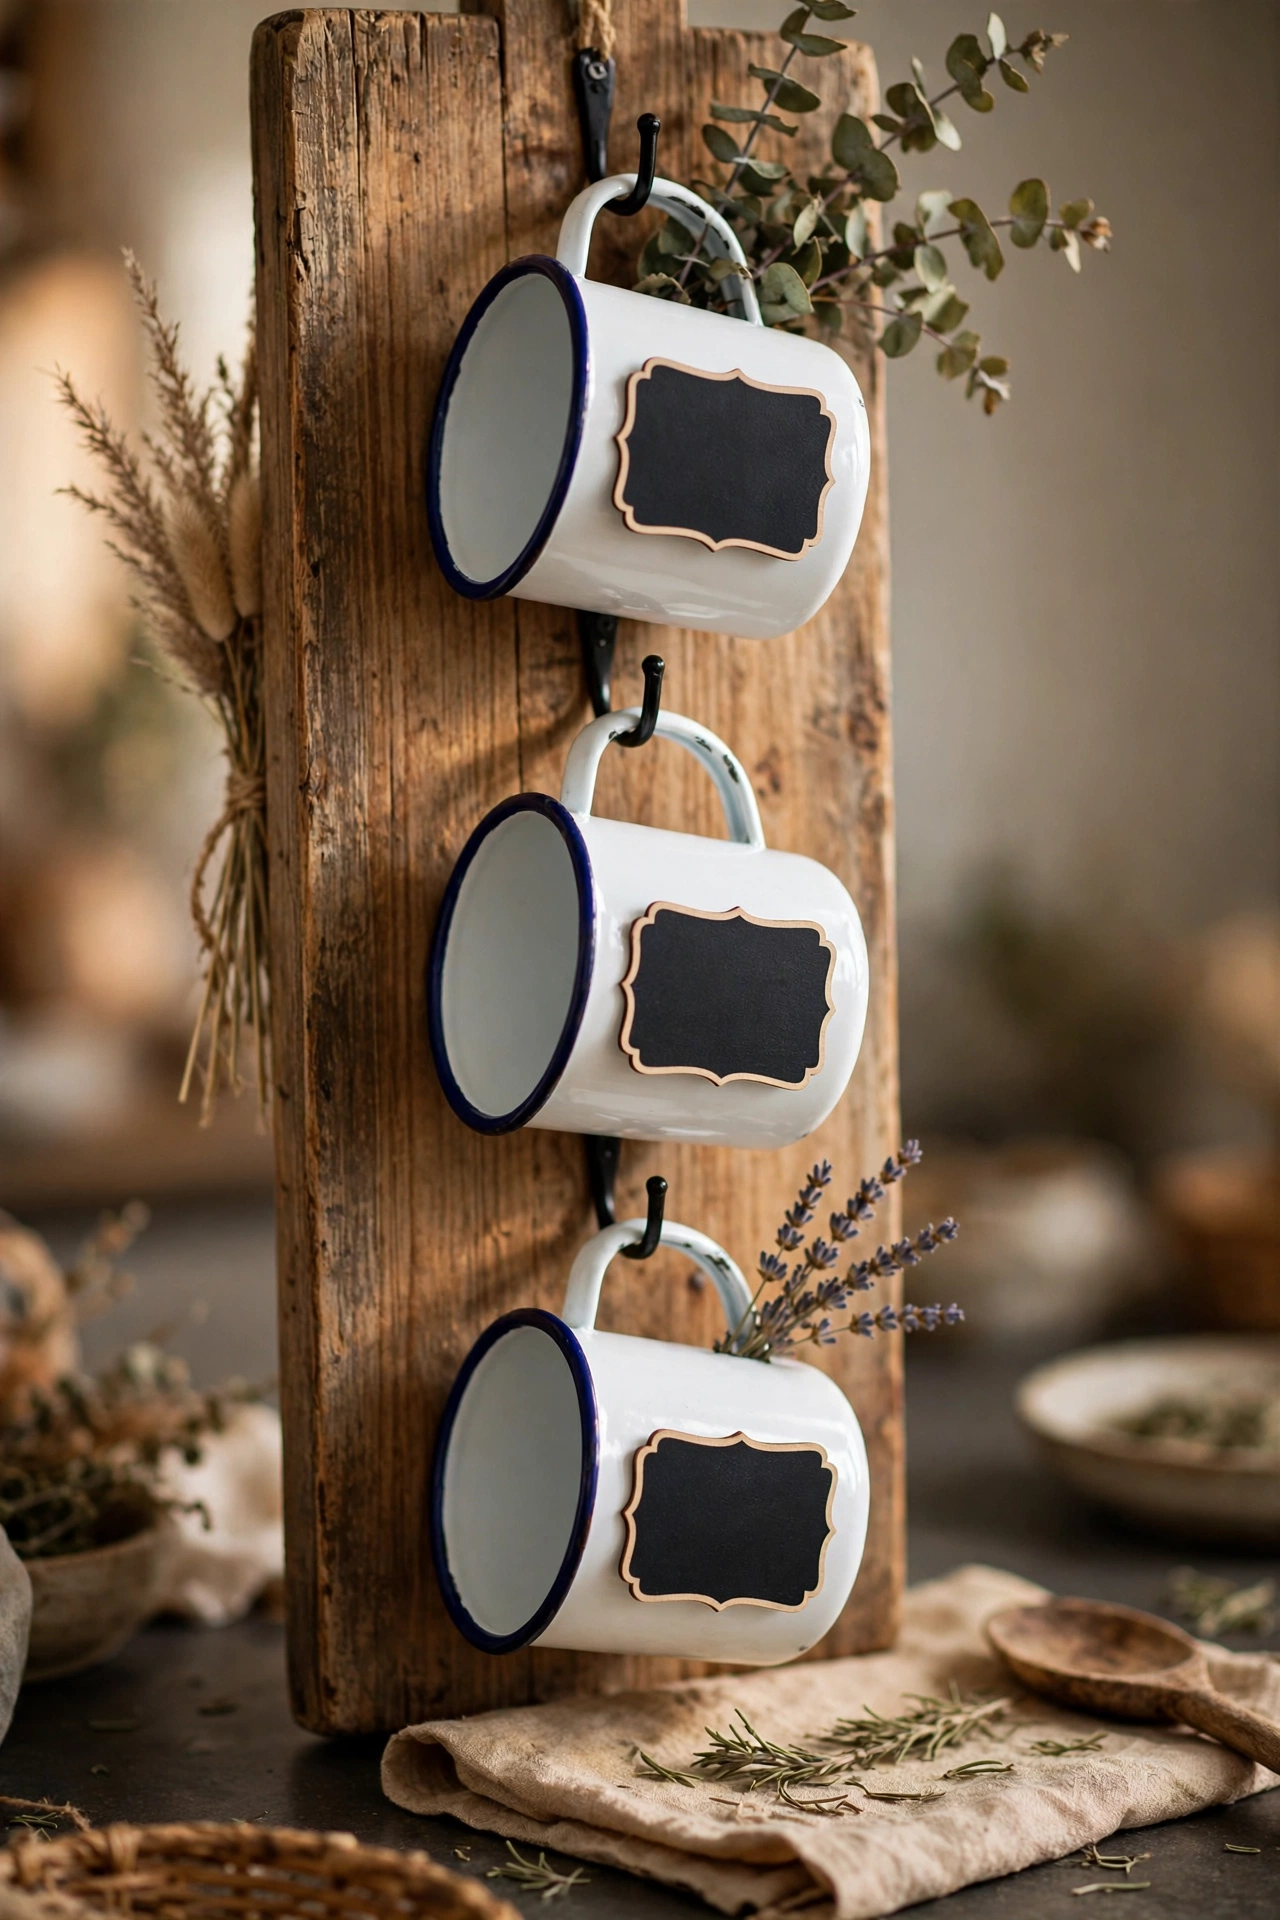
White enamel mugs with chalkboard labels organize small items in any room while looking like farmhouse decor. Mount a row of small hooks on a wood board, hang one mug per hook, and write the contents on each chalkboard label with a chalk pen. The mugs hold pens in an office, spices in a kitchen, or screws near a workbench, and the labels make the system easy to keep up. Hang the board at eye level so the mugs lift off the hooks without a step stool.
Try this: Use one mug for scissors and tape so they stop vanishing from drawers.
Cost: $. Difficulty: Easy.
18. Twine-wrapped battery candles

Plain battery candles look custom with a twine wrap and a small buffalo check bow. Wrap jute twine three times around the middle of each candle, secure the end with a dot of hot glue on the back, and tie a small bow from buffalo check ribbon at the front. Group three candles of different heights on a wood tray for a mantel or table centerpiece. Battery candles matter here, since real flames and twine never mix, and the NFPA candle safety guide sets out the clearance rules for real candles.
Try this: Use a timer candle so the group glows each evening on its own.
Cost: $. Difficulty: Easy.
19. Moss ball wreath
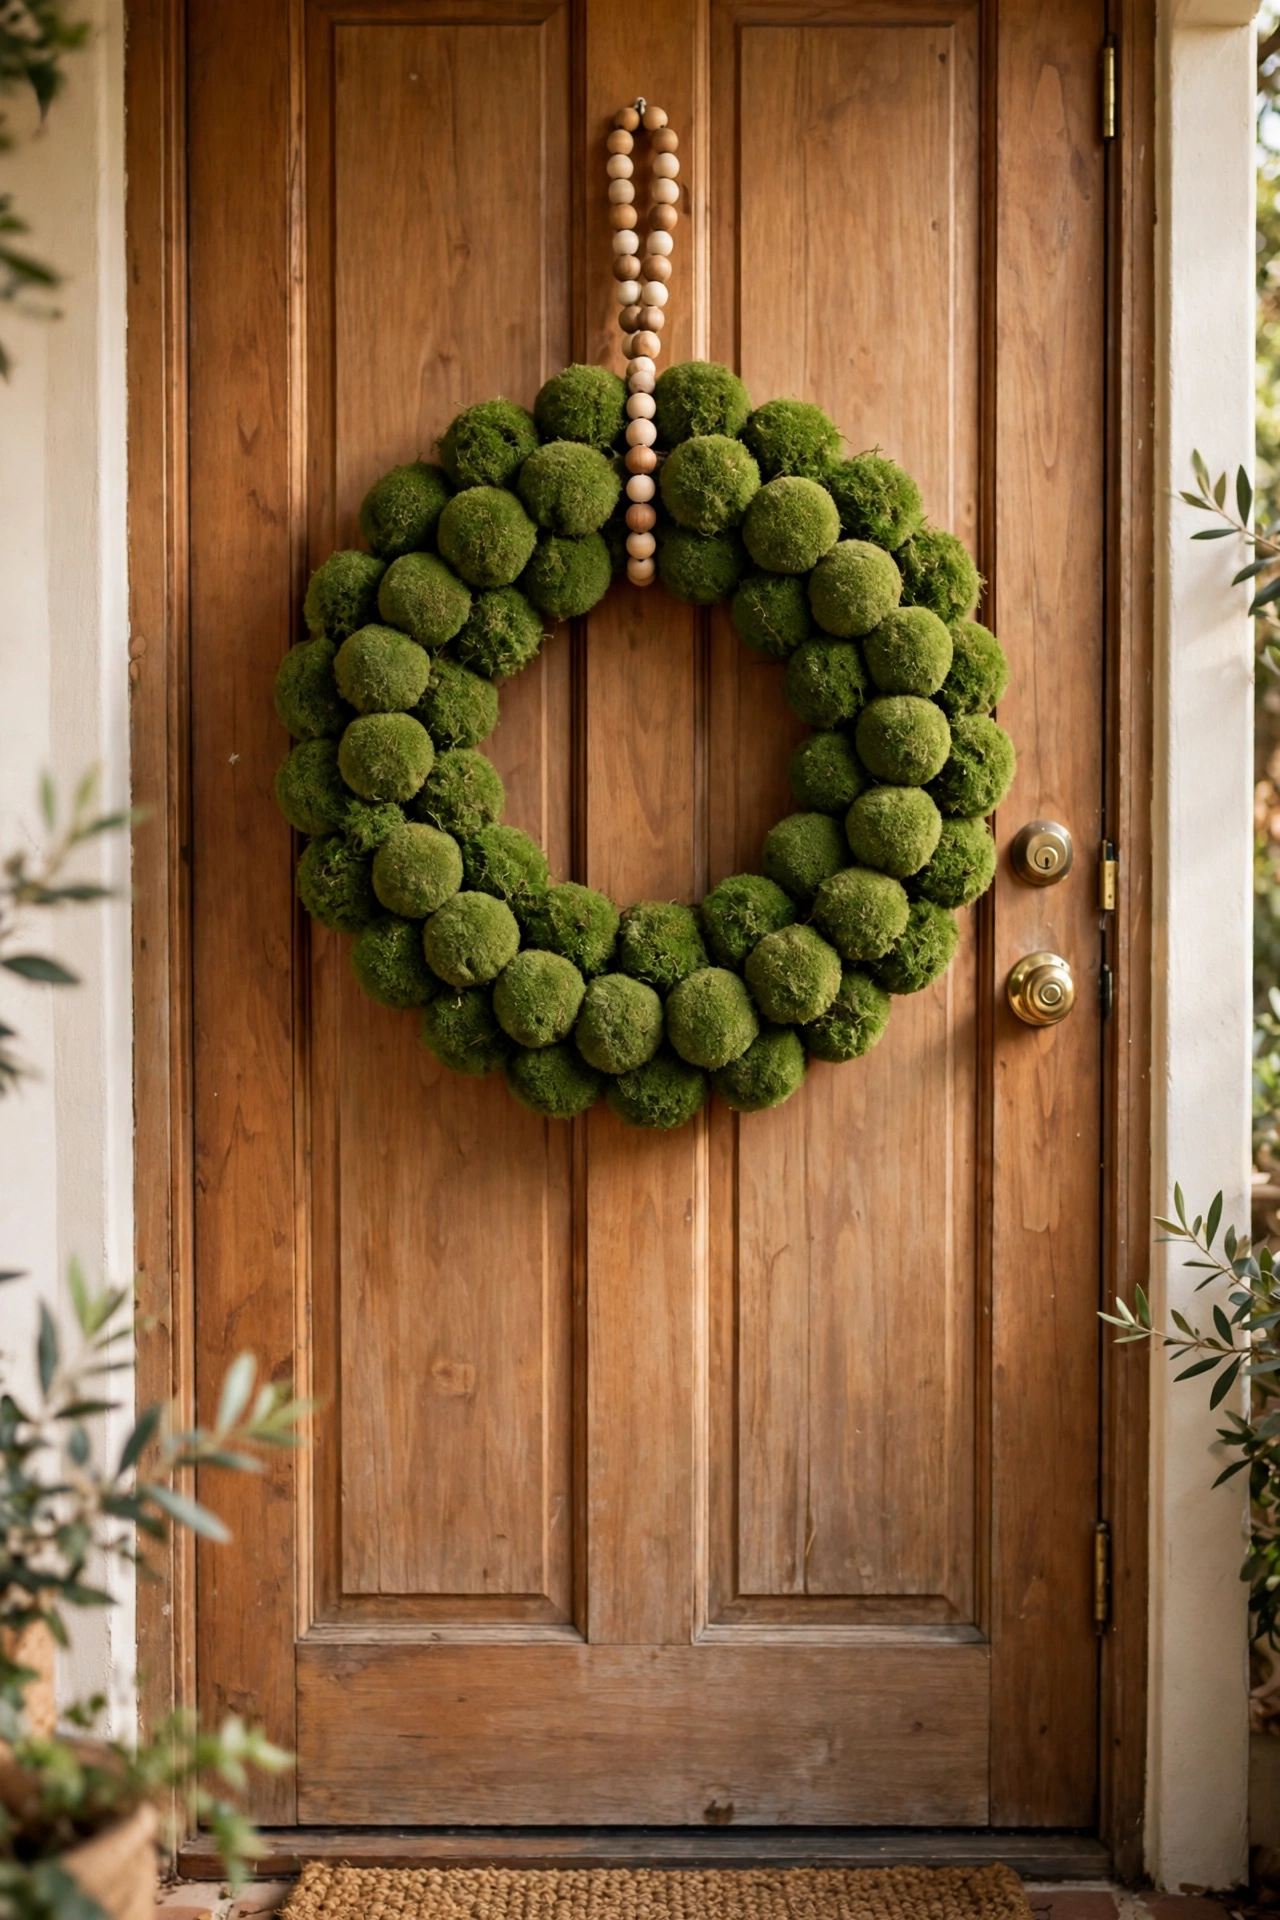
Small moss balls from the floral aisle cover a foam wreath form into a soft green wreath for a door or wall. Glue the moss balls tightly around the form, pushing each one close to the last so no foam shows through, and fill small gaps with loose moss. Add a jute loop at the top for hanging and one small wood bead accent at the bottom. The wreath suits a covered porch or an interior wall, since rain flattens the moss over time. Keep it out of direct sun so the green stays even.
Try this: Tuck in three tiny faux succulents for a garden feel.
Cost: $. Difficulty: Easy.
20. Wooden house tabletop display
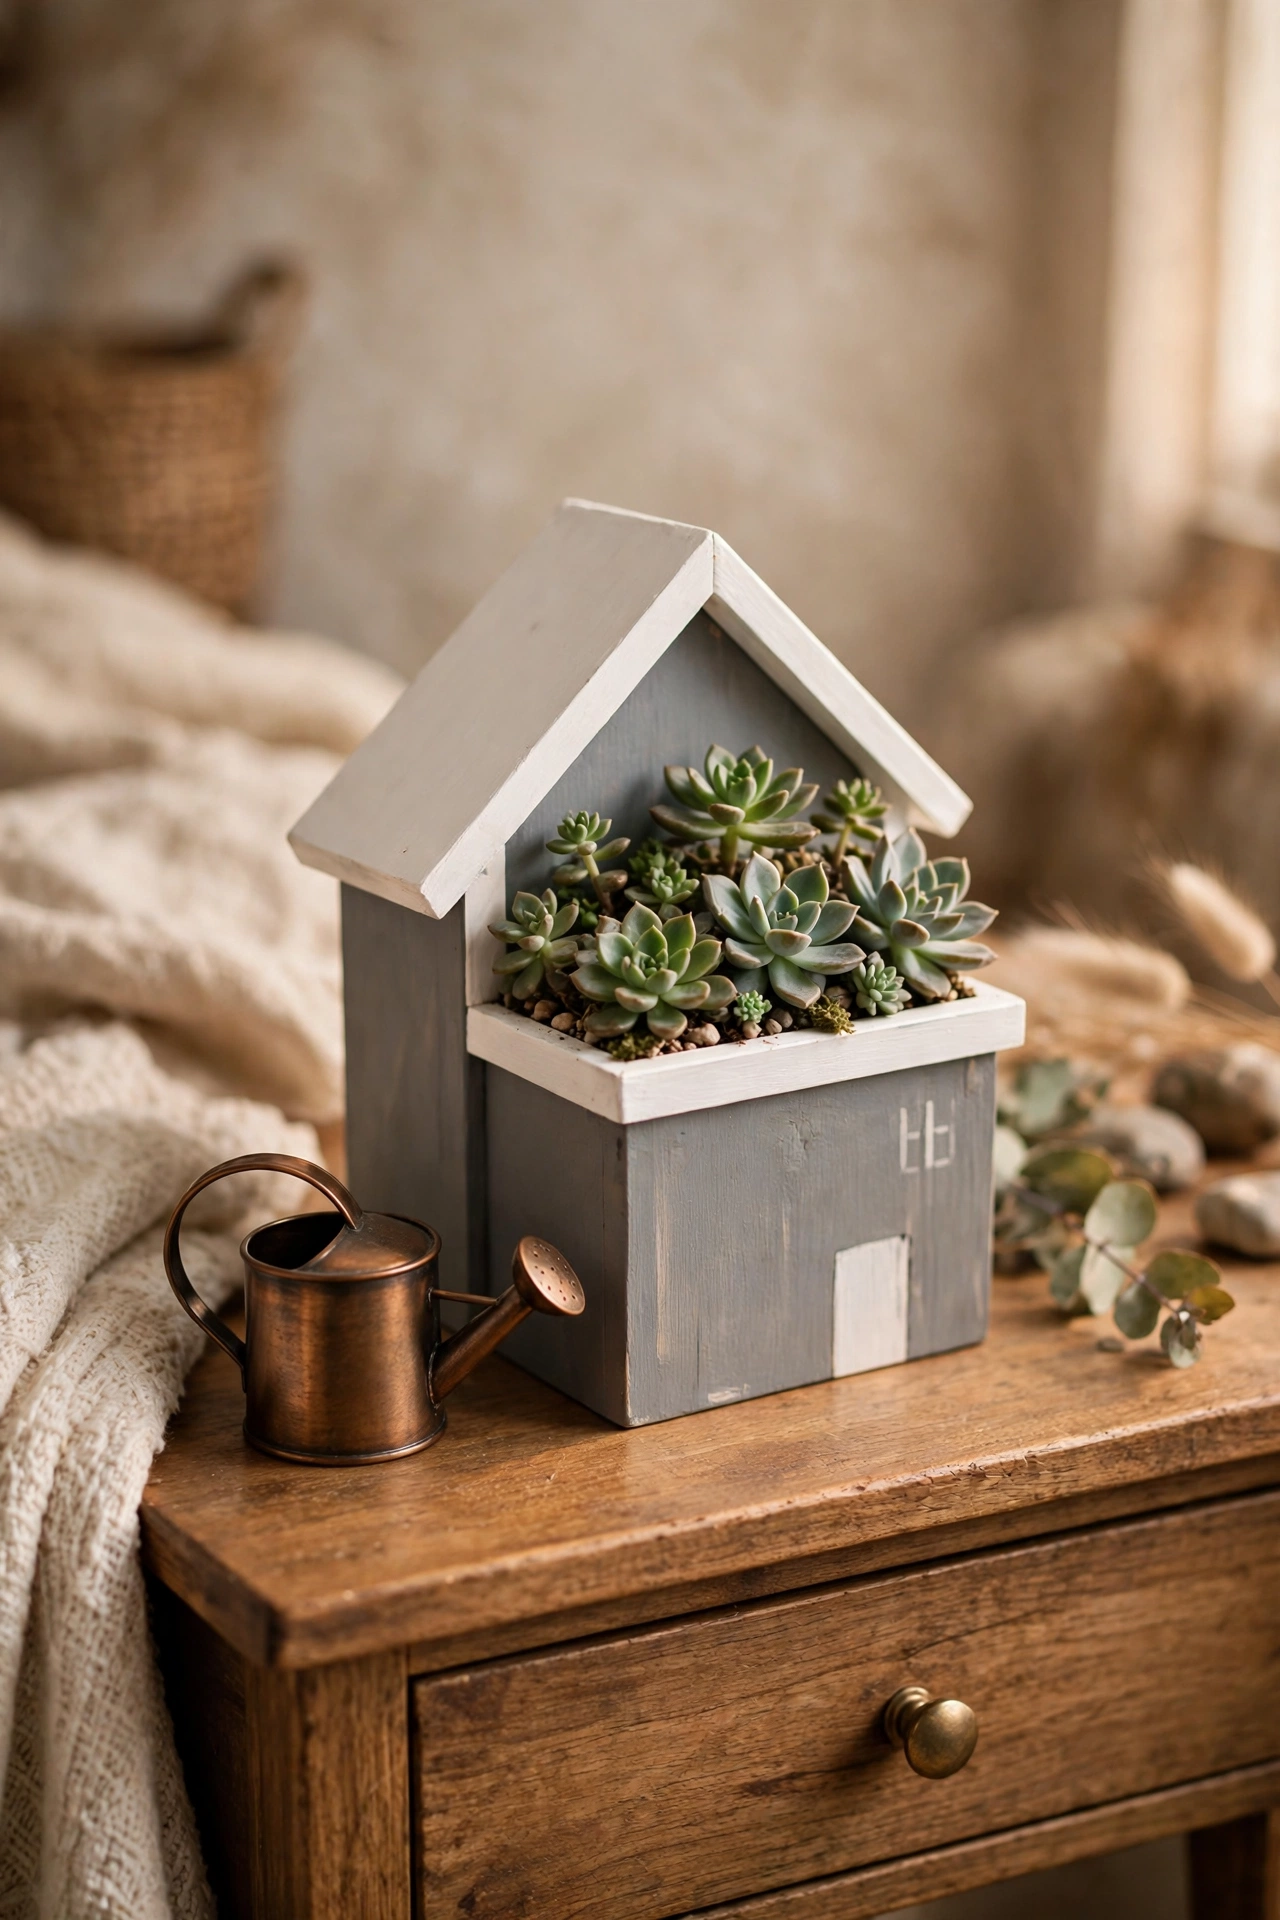
Six wood rectangles glue into a small house shape that anchors a nightstand or entry table. Glue the rectangles into a house outline, paint it gray, then brush white over the top and wipe it off fast with a paper towel for a weathered look. Hot glue a mini terra cotta pot, a small metal watering can, and two tiny succulents to the base, and finish with a small metal tag tied with ribbon. The display measures about 8 inches tall, so it fits a nightstand without crowding a lamp. Let every joint dry before moving it.
Try this: Swap the succulents for a tiny pinecone cluster in winter.
Cost: $. Difficulty: Easy.
How to shop Dollar Tree for farmhouse projects
Walk the craft aisle first, then the kitchen and floral aisles, since the best farmhouse supplies hide in all three. Grab wood items, glass vases, and plain frames before the seasonal stock, and buy one extra of anything you plan to paint, since a second coat or a mistake eats supplies fast. Check each wood piece for warping and each glass item for chips before checkout, and skip anything with a strong chemical smell. Keep a small bin of paint, brushes, jute, and E6000 at home so a $3 project never needs a second trip.
For craft safety with kids, the CPSC art and craft safety guide recommends low-temperature glue guns for children and checking labels on every supply. Adults should handle high-temperature glue guns, cutting tools, and spray paint, while kids paint, assemble, and place items. Spray paint outdoors or in a well-ventilated garage, and let painted pieces cure fully before bringing them inside.
All 20 ideas at a glance
| Idea | Cost | Difficulty | Best for |
|---|---|---|---|
| Pizza pan door hanger | $4 | Easy | Doors and entryways |
| Cookie sheet shiplap tray | $5 | Easy | Coffee bars and serving |
| Framed placemat wall art | $3 | Easy | Hallways and pairs |
| Hula hoop burlap wreath | $7 | Easy | Front doors, covered porches |
| Picture frame lantern | $6 | Easy | Mantels and tables |
| Hula hoop wall shelf | $6 | Moderate | Small walls and nooks |
| Clothespin tiered tray | $6 | Easy | Kitchen counters |
| Hand-stamped book stack | $4 | Easy | Coffee tables and mantels |
| Tumbling block beaded riser | $4 | Easy | Counters and shelves |
| Tumbling block mini frames | $3 | Easy | Desks and narrow shelves |
| Tumbling block recipe stand | $3 | Easy | Kitchens |
| Clipboard gallery wall | $4 | Easy | Hallways and kids art |
| Hanging wire baskets on wood | $7 | Moderate | Bathrooms and hallways |
| Hobnail milk glass vase | $3 | Easy | Tables and shelves |
| Laundry basket makeover | $5 | Easy | Bathrooms and playrooms |
| Faux-stained wood candlesticks | $4 | Easy | Mantels |
| Enamel mug organizer | $5 | Easy | Offices and kitchens |
| Twine-wrapped battery candles | $4 | Easy | Mantels and centerpieces |
| Moss ball wreath | $8 | Easy | Doors and interior walls |
| Wooden house tabletop display | $8 | Easy | Nightstands and entry tables |
Common mistakes to avoid
Loading a tiered tray or wall shelf before the glue cures is the fastest way to redo a project, so give E6000 joints a full night. Skipping the stud or anchor on a heavy wall piece ends with a crooked board or a hole in drywall, so mount the hula hoop shelf and the wire basket board into solid support. Using a real flame near twine, burlap, or dried moss risks a fire, so keep battery candles in every wrapped or fabric project. Spraying paint in thick coats causes drips that show after drying, so use two light coats and let each one dry. Hanging a wreath on an uncovered porch in rain flattens moss and burlap, so keep fabric wreaths under cover.
More DIY ideas
For farmhouse projects that go beyond Dollar Tree supplies, these ideas pair well with the ones above.
If you want more farmhouse projects made from scratch, see these DIY farmhouse decor ideas.
For wreaths made the same budget way for autumn, see these Dollar Tree DIY fall wreaths.
For more dollar store projects that organize a home, see these cheap Dollar Tree organization hacks.
For farmhouse wall projects built from old windows, see these farmhouse old window projects.
For dollar store table decor for fall gatherings, see these DIY Dollar Tree fall table centerpieces.
Frequently asked questions
Do I need a Cricut or special tools for these Dollar Tree farmhouse DIYs?
No. A glue gun, scissors, a paintbrush, and sandpaper cover almost every project here. A Cricut helps with vinyl words on the recipe stand or book stack, but a paint pen or letter stamps give the same result by hand. The only extra supply worth buying is E6000 for joints that carry weight, such as the tiered tray post and the wall shelf plank.
How much do these projects really cost?
Each idea costs $3 to $8 in Dollar Tree supplies if you already own paint, a glue gun, and basic tools. The cheapest projects are the framed placemat, the mini frames, the recipe stand, and the hobnail vase at $3 each. The two $8 projects are the moss ball wreath and the wooden house display, which need more small supplies. Buying one extra of each supply covers mistakes without a second trip.
Will Dollar Tree supplies hold up over time?
Yes for indoor use when joints get E6000 plus hot glue and painted pieces get a clear sealer. Hot glue alone loosens under weight or heat, so use both adhesives on the tiered tray, the wall shelf, and the basket board. Keep fabric wreaths and moss pieces under cover, since rain flattens them, and keep painted items out of direct sun so colors stay even.
Can kids help with these projects?
Yes for painting, assembling, and placing items, while adults handle hot glue guns, cutting tools, and spray paint. The CPSC art and craft safety guide recommends low-temperature glue guns for children and checking labels on every supply. Give kids the painting and decorating steps, and keep the glue gun on a silicone mat away from small hands.
What paint works best on Dollar Tree metal and plastic?
Chalk paint sticks well to metal, plastic, and glass after a light sanding, and it dries to the matte finish farmhouse style needs. Sand glossy surfaces lightly first, apply two thin coats instead of one thick coat, and seal with a clear matte spray for pieces that get handled or dusted often. Spray paint works for even coverage on baskets and vases when used outdoors or in a ventilated garage.
Final thoughts
Start with one project that fits a spot you already look at every day, such as the pizza pan hanger on a door or the tiered tray on a counter, and let that one finished piece set the tone for the next. Farmhouse style on a Dollar Tree budget works when the paint stays matte, the glue cures fully, and each piece earns its place instead of filling a shelf.
For creative DIY projects made with old silverware, see our guide to 28 Creative DIY Projects Made With Old Silverware, From Fork Hooks to Spoon Jewelry for fork wall hooks and spoon bracelets to starburst mirrors, candle holders, and garden sculptures, with costs and difficulty for each.
For amazing Altoid mint tin crafts, see our guide to 27 Amazing Altoid Mint Tin Crafts, From Watercolor Kits to Tiny Libraries for pocket watercolor kits and travel sewing kits to fairy garden dioramas, tiny libraries, and magnetic herb gardens, with costs and difficulty for each.
Keep your hens busy indoors too — see these 10 DIY chicken toys for the coop for boredom-busters that fit a small coop interior.


