



A small kitchen still has room for fresh herbs. You do not need counter space to spare; you need the right planter in the right spot. A sunny windowsill, the side of the fridge, a blank wall, or the inches under a cabinet can each hold a working herb garden that pays for itself in a few weeks of skipped grocery runs.
This list covers 15 planter ideas built for tight kitchens, from magnetic fridge tins to tiered carts and under-cabinet grow lights. Each one names the herbs it suits best and the light they need. I keep basil and chives on my own sill and thyme in a hanging pot by the window, and snipping dinner herbs steps from the stove never gets old.
Quick takeaways
- Most kitchen herbs want 5 to 6 hours of sun or 12 to 16 hours under a grow light.
- Group herbs by water needs: basil, parsley, and mint like moisture; rosemary, thyme, and sage prefer to dry out.
- Every planter needs drainage; drill holes or add a pebble layer and water sparingly.
- Harvest often and pinch tops to keep plants bushy instead of leggy.
- Chives and garlic chives are toxic to cats and dogs, so keep them out of pets’ reach.
1. A windowsill row in matching pots
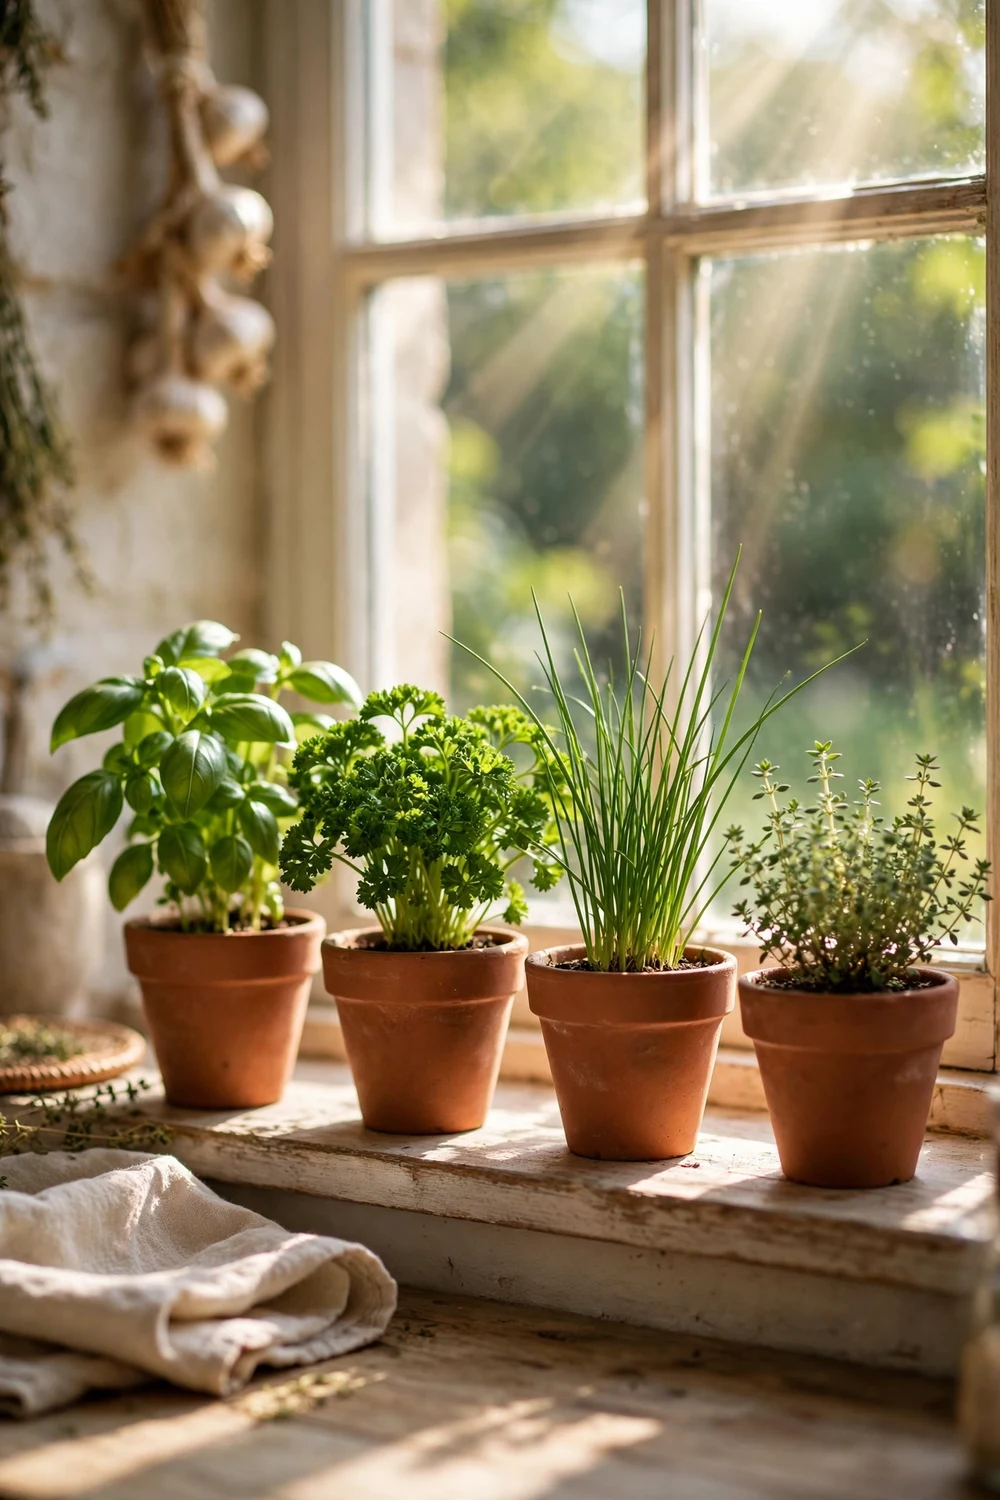
The simplest setup is still one of the best. Line 4-inch terracotta or ceramic pots along the sill, one herb per pot, so each plant gets its own water schedule. Basil, parsley, and chives all thrive here with a south or west window. Matching pots keep a narrow sill looking tidy instead of cluttered. Terracotta wicks moisture, which suits herbs that dislike wet feet.
Try this: rotate each pot a quarter turn weekly so stems grow straight instead of leaning to the glass.
Cost: $. Difficulty: Easy.
2. Magnetic tins on the fridge
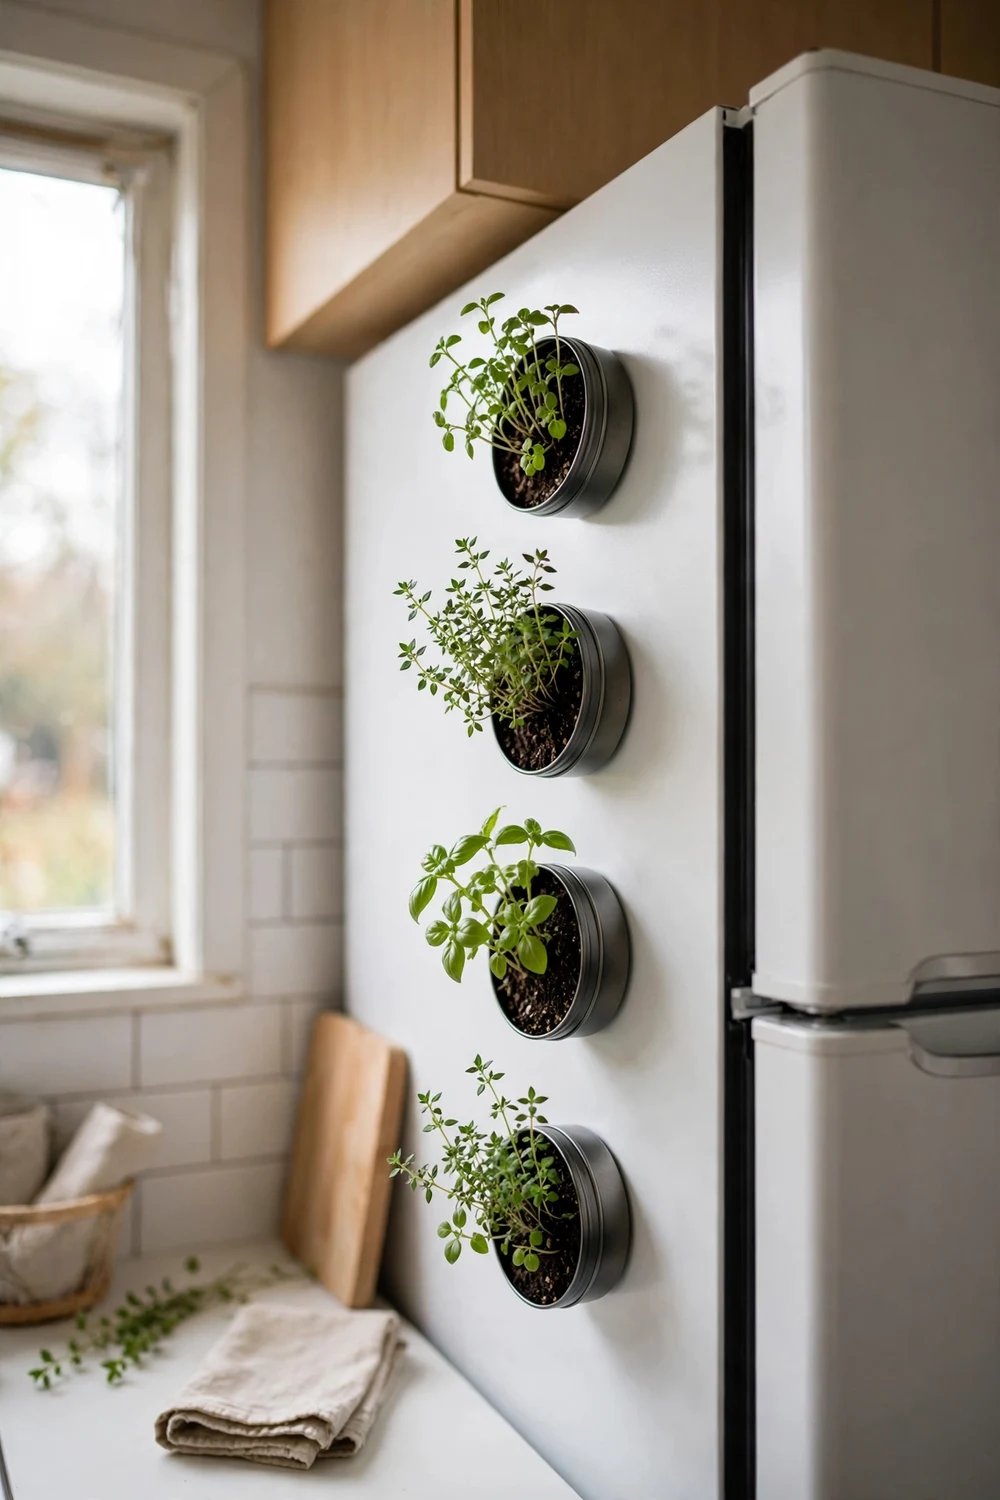
The fridge door is wasted growing space. Small magnetic tins or jars with strong neodymium magnets hold thyme, chives, or mint right at eye level. Keep tins to 3 inches wide so weight stays manageable, and use two magnets per tin for a firm hold. Fridges near a window give enough light; otherwise add a small clip-on grow light to a nearby shelf.
Try this: label each lid with a paint pen so you grab the right herb while cooking.
Cost: $$. Difficulty: Easy.
3. Hanging macrame planters by the window
Hanging planters free the sill and the counter in one move. A macrame hanger with a 6-inch pot suits trailing thyme or compact oregano, and hanging near (not in front of) a bright window gives strong light without blocking it. Use a pot with a saucer or a self-watering insert, because drips from overhead land on whatever sits below.
Try this: hang at a height you can reach without a step stool, or watering becomes a chore you skip.
Cost: $$. Difficulty: Easy.

4. A wall-mounted rail with S-hooks
A short kitchen rail (the kind sold for utensils) with S-hooks turns a blank wall into a herb station. Hang small potted herbs in 4-inch pots with sturdy rims, spacing them 6 inches apart. Rails mount with two screws into a stud or drywall anchors, and pots lift off for watering at the sink. This keeps counters fully clear, which matters in galley kitchens.
Try this: mount the rail within arm’s reach of your prep area so snipping becomes part of cooking.
Cost: $$. Difficulty: Easy.

5. A tiered rolling cart
A three-tier rolling cart holds 9 to 12 small pots in one square foot of floor space. Put sun lovers (basil, rosemary) on top and shade-tolerant herbs (mint, parsley) lower down. The wheels let you roll the whole garden to the brightest spot each morning and back at night. Choose a cart with a lip on each shelf so pots cannot slide off in transit.
Try this: line each tier with a boot tray to catch drips and protect floors.
Cost: $$. Difficulty: Easy.

6. A stackable vertical tower planter
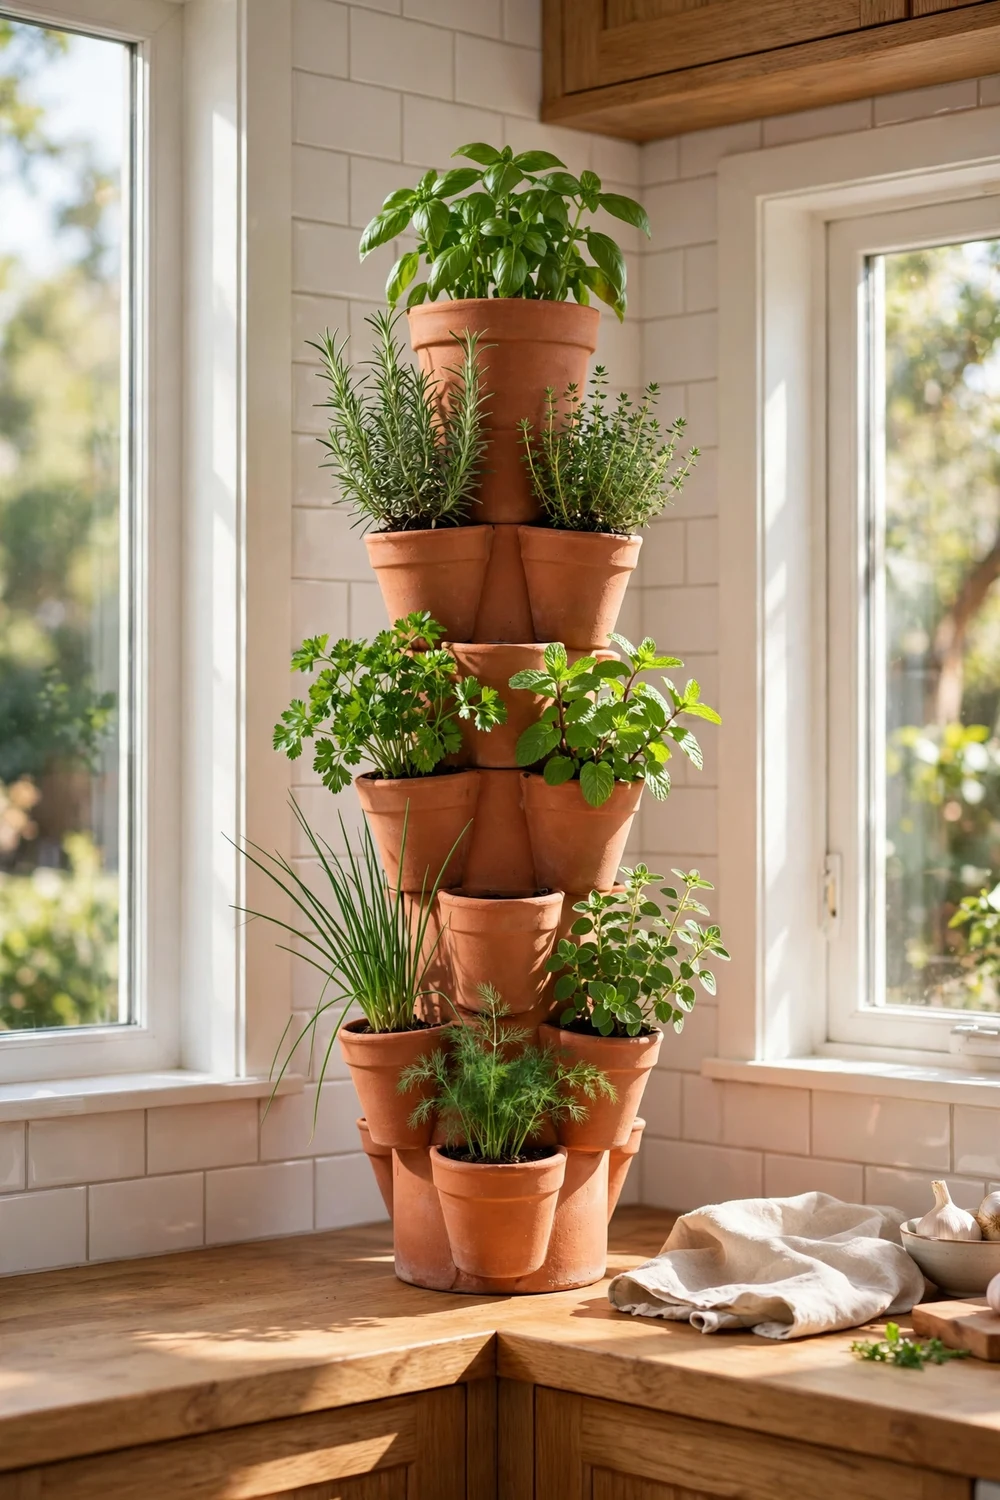
Stackable tower planters hold 12 or more plants in a 12-inch footprint. Each pocket gets its own herb, and water trickles down through the stack when you water the top. They suit patios just outside the kitchen door as well as bright corners indoors. Fill pockets with a light potting mix, since dense soil compacts in the small pockets and slows drainage.
Try this: plant mint in the bottom pocket only, where its spreading roots cannot crowd neighbors.
Cost: $$. Difficulty: Easy.
7. A floating shelf lineup
One floating shelf above the counter or beside the window holds a row of small herbs without touching the counter. A 24-inch shelf fits four 4-inch pots comfortably. Mount into studs or use heavy-duty anchors, since wet soil is heavier than it looks. Keep the shelf near the window end of the counter so plants get side light through the day.
Try this: add a slim LED bar under the shelf above to double your growing light.
Cost: $$. Difficulty: Moderate.

8. A pegboard wall garden
Pegboard with hooks and small shelves makes a flexible herb wall you can rearrange as plants grow. Use lightweight plastic or tin pots under 4 inches to keep the load light, and shift sun-hungry basil toward the window side. A 2-by-3-foot board holds 8 to 10 herbs. Paint the board to match your cabinets and it reads as decor, not clutter.
Try this: take pots down to the sink for watering, then hang them back once they stop dripping.
Cost: $$. Difficulty: Moderate.

9. A mason jar trio on the sill
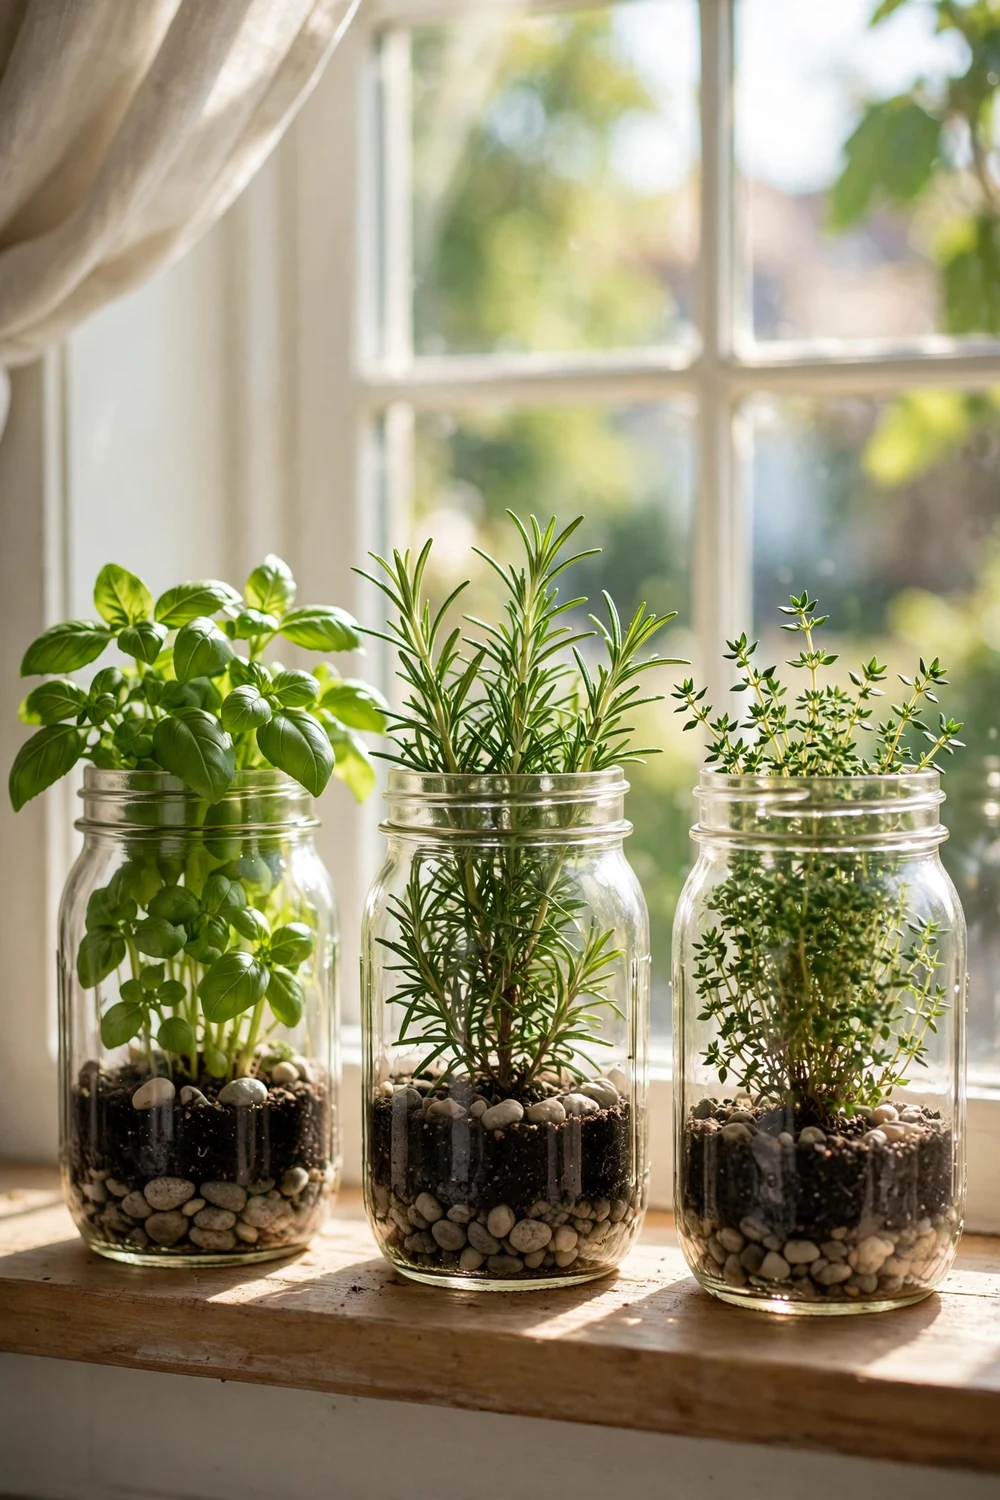
Three quart-size mason jars in a row look clean and cost little. Add a 1-inch layer of pebbles for drainage, then potting mix, then one herb per jar. Parsley, chives, and thyme all stay compact enough for jars. Without drainage holes you must water lightly and let the top inch dry out, so this setup favors a careful waterer over a generous one.
Try this: tie a kraft label around each jar with the herb name and planting date.
Cost: $. Difficulty: Easy.
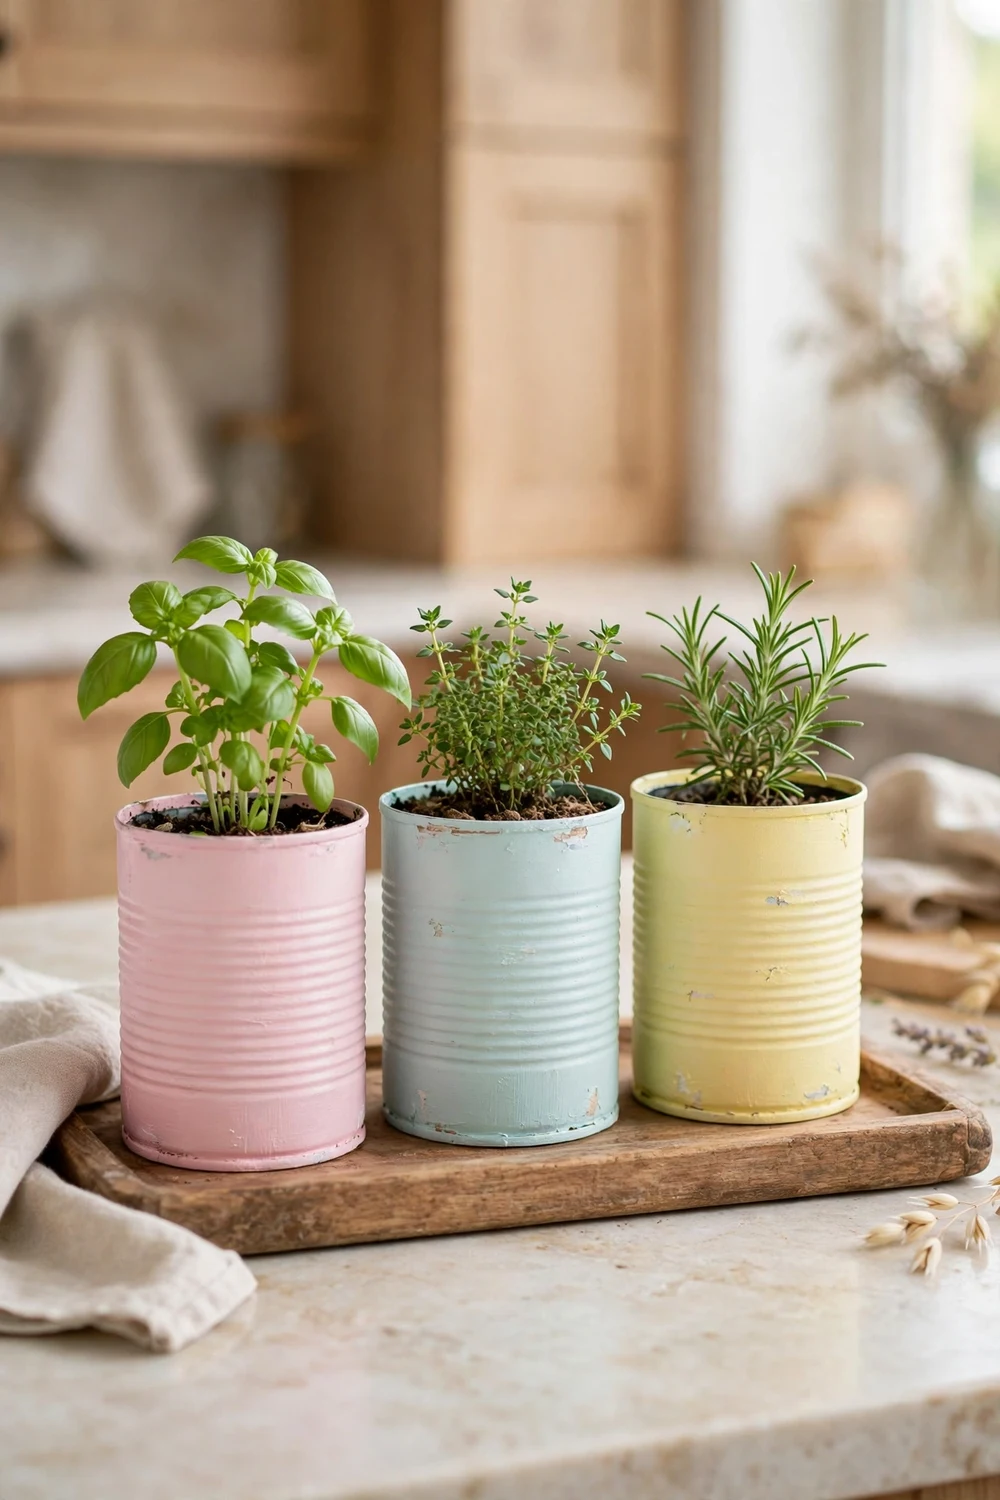
10. Painted tin can planters
Clean tin cans become cheerful planters with a coat of paint and a few drainage holes punched in the bottom. A 28-ounce can fits one herb; group three cans on a tray for a full set. Sand any sharp edges after punching holes. Use food-safe paint or keep paint on the outside only, since the soil touches the inside of the can.
Try this: punch holes with a nail and hammer over a block of wood for clean, even drainage.
Cost: $. Difficulty: Easy.
11. Vintage teacup planters
Chipped or thrifted teacups make charming single-herb planters for thyme or small chive clumps. Drill a drainage hole with a ceramic bit, or layer pebbles inside and water sparingly. Set cups on a saucer or tray on the sill where their small size will not get knocked over. One cup per herb keeps watering simple, since each cup dries at its own pace.
Try this: hunt thrift stores for matching saucers to catch drips in style.
Cost: $. Difficulty: Easy.

12. An under-cabinet grow light strip
No sunny window? A full-spectrum LED strip under the wall cabinet turns dead counter space into a growing zone. Mount the strip 6 to 10 inches above the pots and run it 12 to 16 hours a day on a timer. Basil, cilantro, and parsley all grow well under LEDs. This is the most reliable option for north-facing kitchens and windowless galleys.
Try this: plug the light into an outlet timer so the schedule runs itself.
Cost: $$. Difficulty: Moderate.

13. A two-tier tray or cake stand
A two-tiered serving tray holds 5 to 6 small pots in the footprint of one. Put tall herbs like chives and parsley on top and low growers like thyme below. The raised design looks intentional on a counter corner and keeps pots off damp surfaces. Choose a tray with a rim so water cannot run onto the counter when you water.
Try this: water with a narrow-spout can to reach the lower tier without splashing.
Cost: $$. Difficulty: Easy.

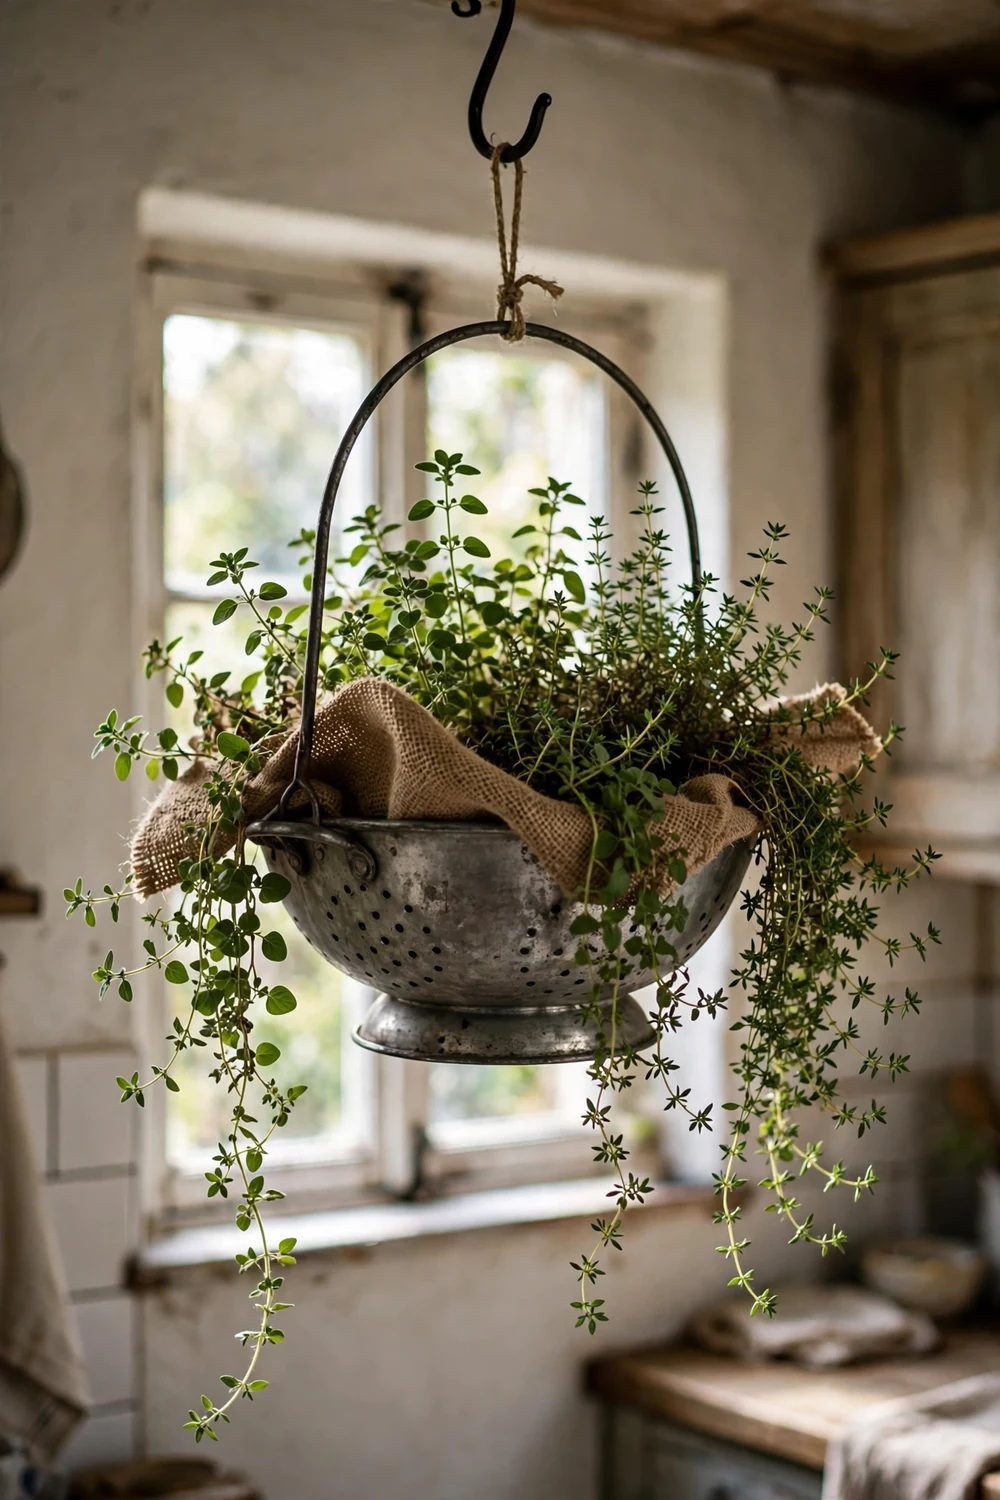
14. A colander hanging planter
An old metal colander has built-in drainage and a ready-made hanger in its handles. Line it with a coffee filter or burlap to hold soil, fill with mix, and plant trailing oregano or thyme. Hang from a sturdy ceiling hook near the window. The open shape dries fast, so check moisture every other day and water when the top inch is dry.
Try this: use a colander with feet as a countertop planter instead of hanging it.
Cost: $. Difficulty: Easy.
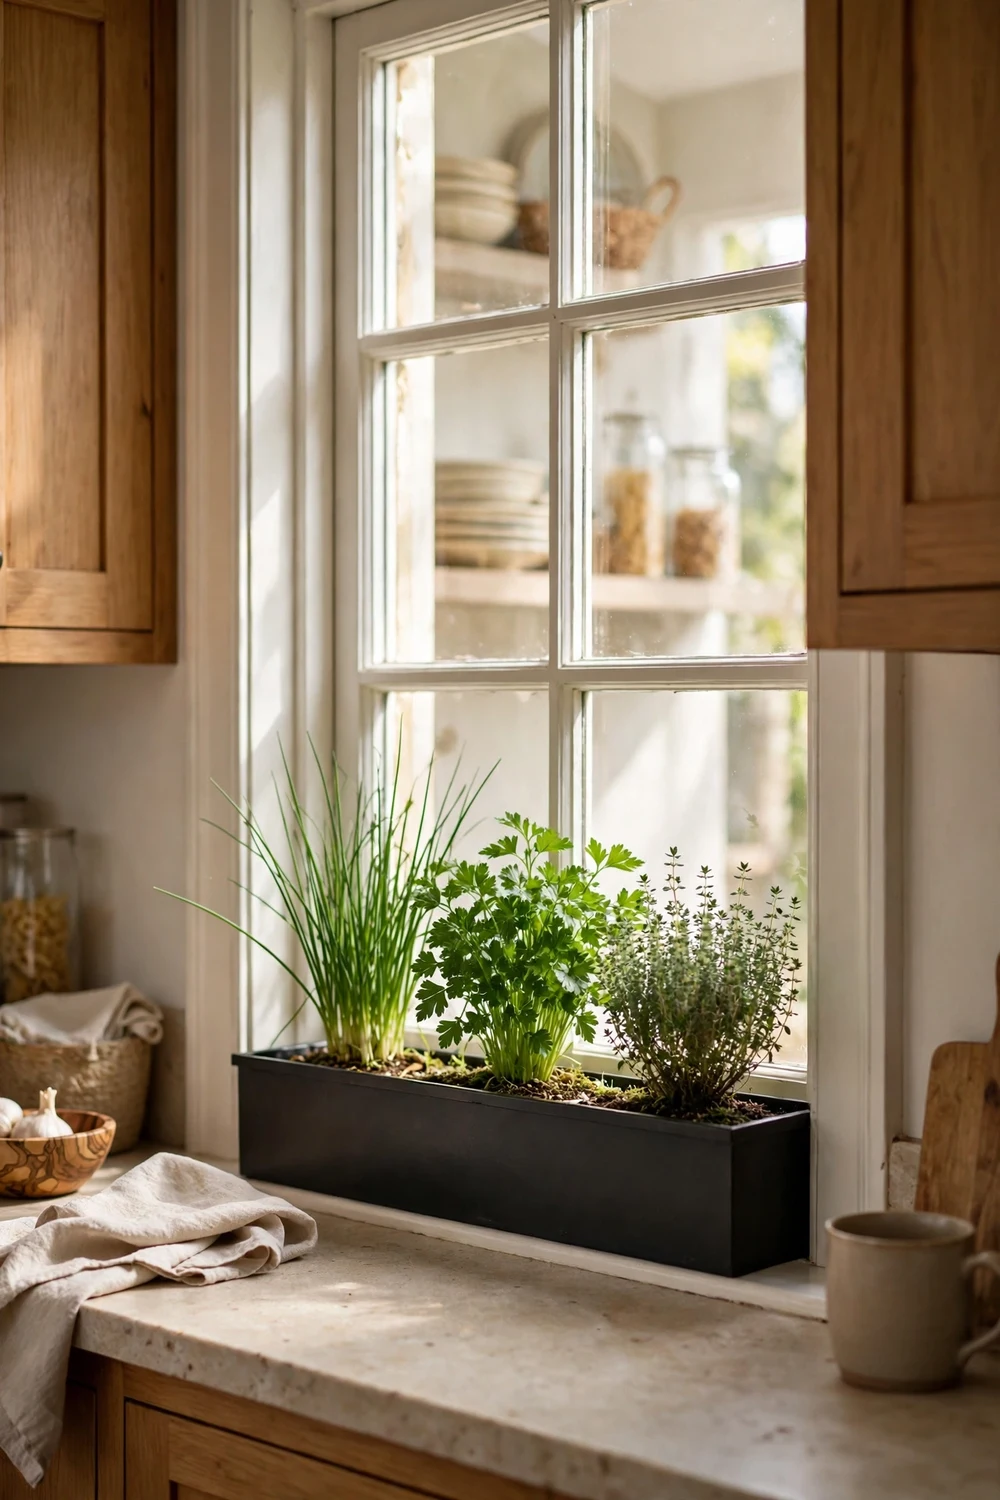
15. A slim window box inside the frame
A narrow window box (4 to 6 inches wide) fits inside the window frame or on the inner sill without blocking light. Plant a row of chives, parsley, and thyme 4 inches apart, grouping by water needs where you can. The long shape suits kitchens with one good window and no spare surfaces. A box with a built-in water reservoir cuts watering to once a week.
Try this: choose a box with brackets that hook over the sill so there is nothing to screw in.
Cost: $$. Difficulty: Easy.
How to pick herbs for a small kitchen
Match herbs to your light first. Basil, rosemary, and cilantro want the brightest spot you have. Chives, parsley, mint, and thyme tolerate a little less. Group pots by water needs: keep basil, parsley, and mint evenly moist, and let rosemary, thyme, oregano, and sage dry out between waterings. Grow mint in its own pot always; its roots crowd out neighbors. Start with 3 to 4 herbs you actually cook with, then expand once the routine feels easy.
Light and watering basics
Give kitchen herbs 5 to 6 hours of direct sun, or 12 to 16 hours under a full-spectrum grow light set 6 to 10 inches above the plants. Water with room-temperature water when the top inch of mix feels dry, and empty saucers so pots never sit in water. Feed lightly with half-strength liquid fertilizer every 6 weeks during active growth. Turn pots regularly and pinch growing tips to keep plants bushy.
Herb growing: compare your options
Mistakes to avoid with kitchen herbs
Overwatering kills more indoor herbs than anything else; most want the top inch dry before the next drink. Planting everything in one big pot is second, since basil’s thirst and rosemary’s dislike of wet feet cannot both be satisfied. Weak light is third: leggy, pale growth means the plant needs a brighter window or a grow light, not more fertilizer. Finally, never harvest more than one-third of a plant at once, or it cannot recover.
Safety notes for kitchen herb growers
Chives and garlic chives belong to the onion family and are toxic to cats and dogs, so keep them where pets cannot chew the leaves (ASPCA chives listing). Use food-safe containers for anything you will eat; avoid cans with damaged linings and old painted pots that may contain lead. Wash harvested herbs well, and keep planters away from the stove’s direct heat and cleaning spray drift.
Keep learning
Once your herb corner is thriving, a few more green touches make the kitchen feel alive. For styling ideas beyond herbs, see 10 Beautiful Plants to Decorate Your Home Entrance. If you love small-space kitchen projects, 10 Small Kitchen Halloween Decor Ideas shows how much a tiny kitchen can hold. And for keeping indoor plants healthy year-round, How to Look After a Thanksgiving Cactus covers indoor plant care basics. University sources back up the care advice here: the University of Maryland Extension guide to growing herbs in containers and indoors and the University of Minnesota Extension herb guide both cover light, water, and container needs.
Frequently asked questions
Which herbs grow best in a kitchen?
Chives, parsley, mint, and thyme are the most forgiving indoors. Basil grows well too but wants the brightest spot you have. Start with herbs you cook with often, since frequent harvesting keeps plants productive.
How much light do kitchen herbs need?
Most need 5 to 6 hours of direct sun daily. In dimmer kitchens, run a full-spectrum grow light 12 to 16 hours a day, positioned 6 to 10 inches above the plants. Pale, leggy growth is the sign that light is too weak.
How often should I water indoor herbs?
Water when the top inch of potting mix feels dry. Basil, parsley, chives, and mint like steady moisture, while rosemary, thyme, oregano, and sage prefer to dry out between waterings. Always empty saucers so roots never sit in water.
Can I use planters without drainage holes?
You can if you are careful. Add a 1-inch pebble layer at the bottom and water lightly, letting the top inch dry fully between drinks. Drilling a hole is still better; even a small one prevents the soggy bottom that rots roots.
Are kitchen herbs safe around cats and dogs?
Most culinary herbs are fine, but chives and garlic chives are toxic to cats and dogs, so keep them out of reach. Check the ASPCA’s plant listings before placing any new plant where a curious pet can chew it.
How do I keep herbs from getting leggy?
Give them more light first, since legginess is almost always a light problem. Pinch growing tips regularly and harvest often; cutting the top encourages side branches and keeps plants compact and bushy.
Fifteen planters, one small kitchen, and fresh herbs within reach of the stove. Start with the spot you already have, a sunny sill or a blank wall, and add one planter this week. Your cooking will taste the difference before the month is out.
Once your herbs are harvested, see our guide to 7 Herb Drying in Kitchen Ideas for Herbs That Stay Fragrant for a wall peg rail with S-hooks, a hanging hoop rack, stacked screen trays, a countertop dehydrator, and a low oven batch.


