


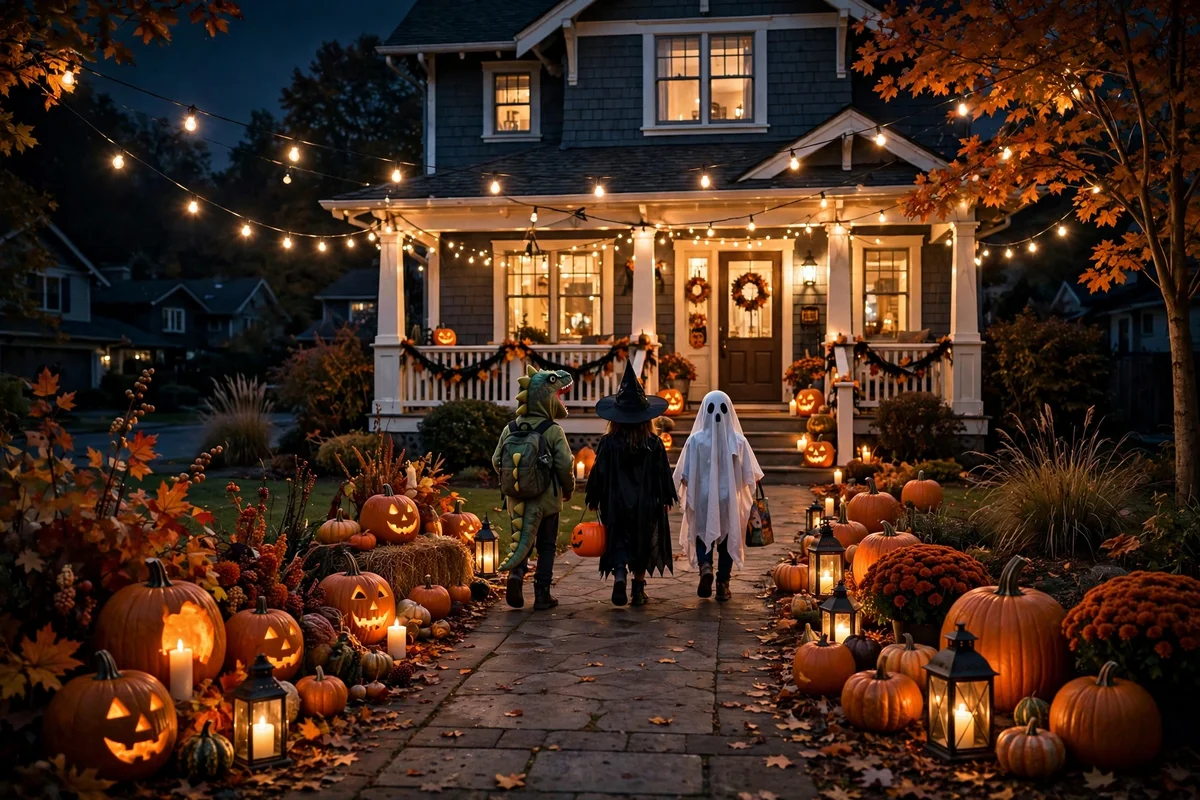
The walkway is the runway to your front door, and on Halloween night every trick-or-treater walks it in the dark. A dark, cluttered, or unlit path is not just a missed decoration opportunity; it is where kids trip, parents hesitate, and your great porch display goes unseen. The path deserves as much planning as the porch.
These 20 Halloween walkway ideas light the way and set the mood, from $3 milk-jug ghosts to dramatic uplighting. Each includes real costs and setup times, and every one keeps the path itself clear and safe. Most take under an hour. Build the walkway first, and the whole yard reads as intentional.
- Light the path first, decorate second: visibility is the whole job of a walkway.
- Keep at least 36 inches of clear walking width; decor belongs beside the path, never on it.
- Battery and solar lights only outdoors. No open flames on any walkway.
- Call 811 before driving stakes or digging anywhere near the path.
- Layer three heights: ground glow, mid-level props, and overhead accents.
1. Milk-jug ghost luminaries
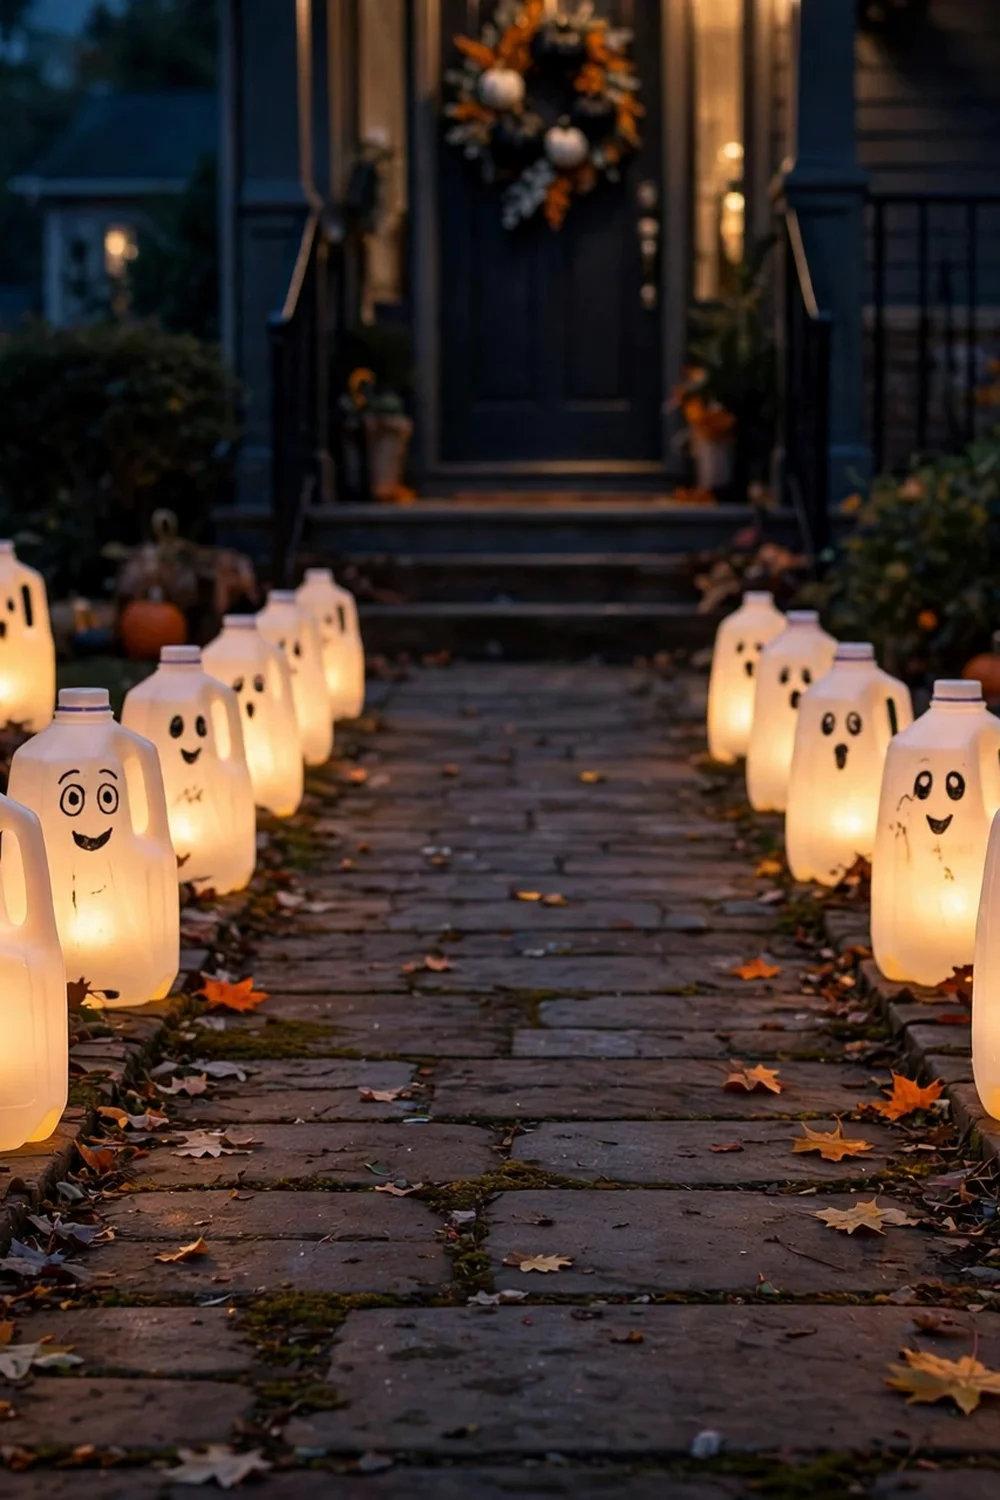
Rinse empty gallon milk jugs, draw ghost faces with a black marker, and drop an LED tea light or string light inside each one. Line both sides of the walk for a glowing ghost parade that costs almost nothing. Poke a drainage hole in the bottom and add a rock so they do not blow away. The plastic diffuses the light beautifully, and kids love spotting the different faces. Make ten in about 30 minutes with supplies from the recycling bin.
Try this: Use a mix of happy, surprised, and spooky faces so each ghost has personality.
Cost: $| Difficulty: Easy | Time: 30 minutes
2. Solar amber path stakes
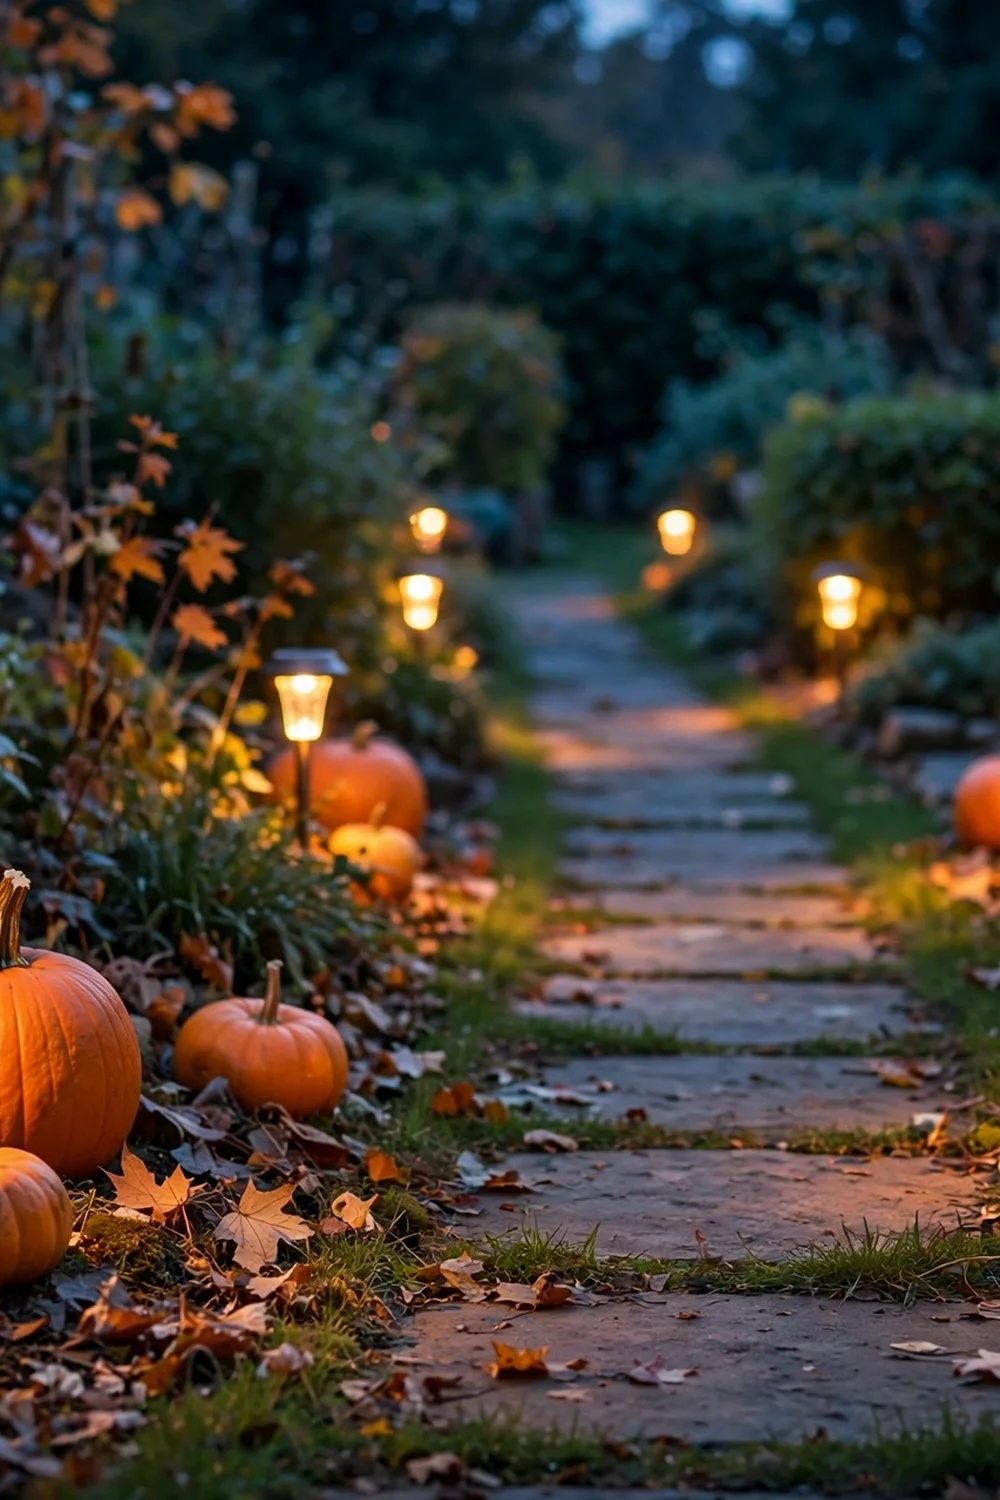
Push amber solar path lights into the ground along both sides of the walkway for lighting that needs no wiring and no batteries. A set of 8 costs $12 to $20 and charges all day to glow all evening. Amber reads as Halloween; cool white reads as security lighting, so pick amber. Space them 6 to 8 feet apart for an even runway. They are HOA-safe and renter-friendly because they pull straight out in November.
Try this: Wipe the solar panels weekly; dusty panels cut the glow time in half.
Cost: $$| Difficulty: Easy | Time: 15 minutes
3. Crow-topped lanterns
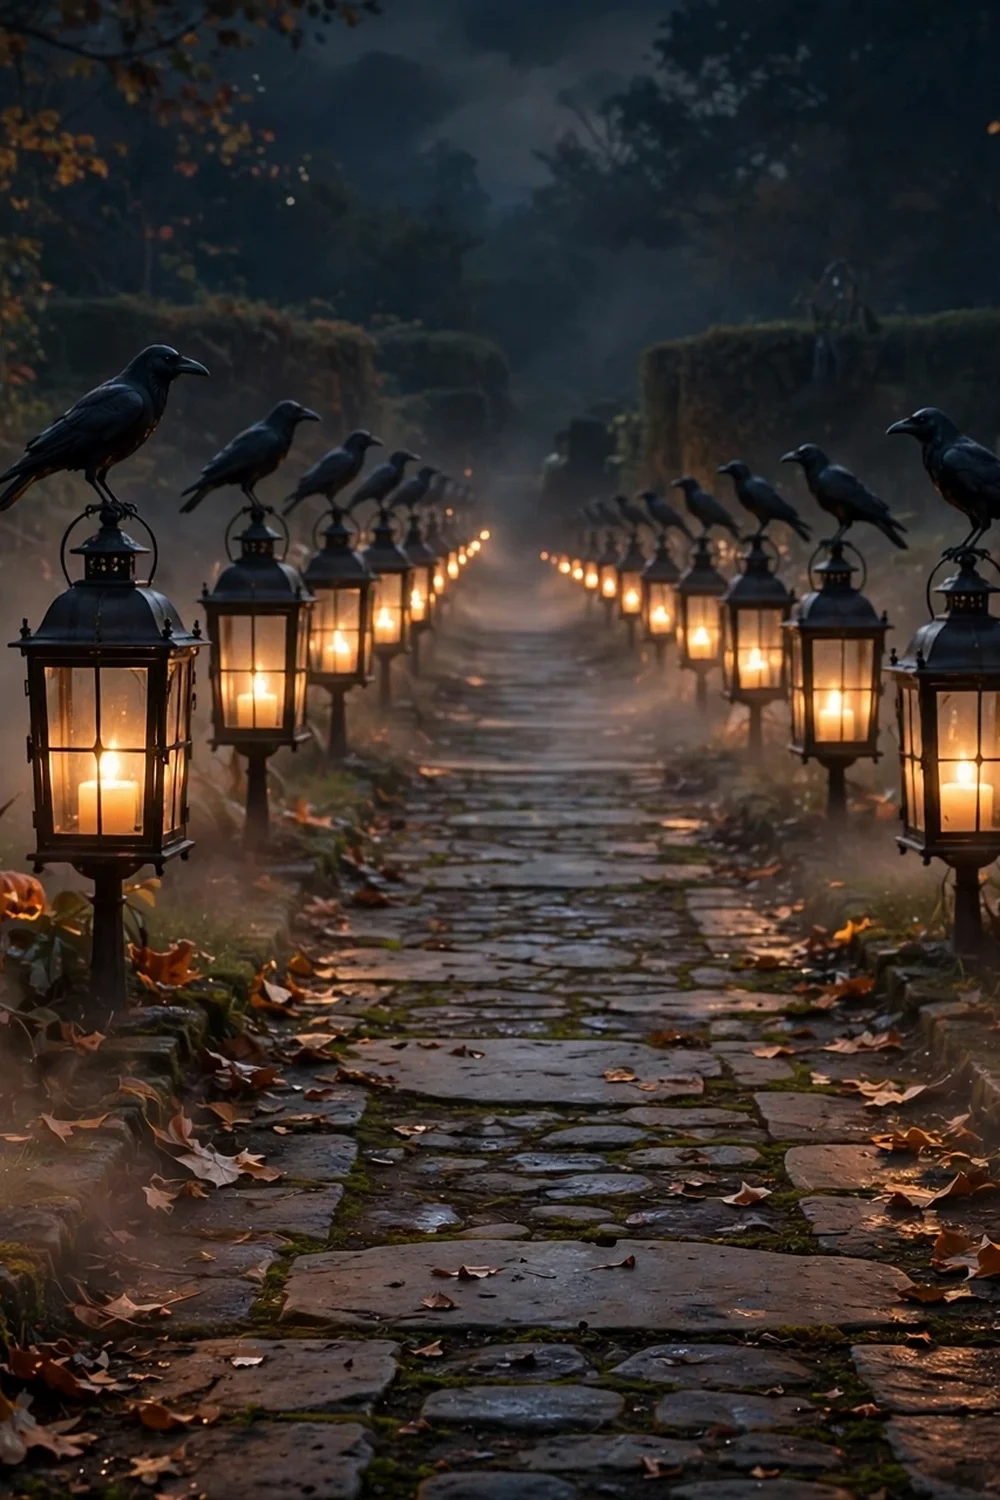
Set black metal lanterns along the path and perch a crow figure on top of each one. The dark birds against warm candlelight give the line a watchful, haunted feel with almost no effort. Use three to five lanterns spaced evenly; more than that crowds a standard walk. LED candles inside keep them safe and glowing for weeks. Tuck a small pumpkin at the base of one or two lanterns to tie the row together.
Try this: Turn every crow to face the street like they are watching visitors arrive.
Cost: $$| Difficulty: Easy | Time: 20 minutes
4. Paper lanterns on low branches
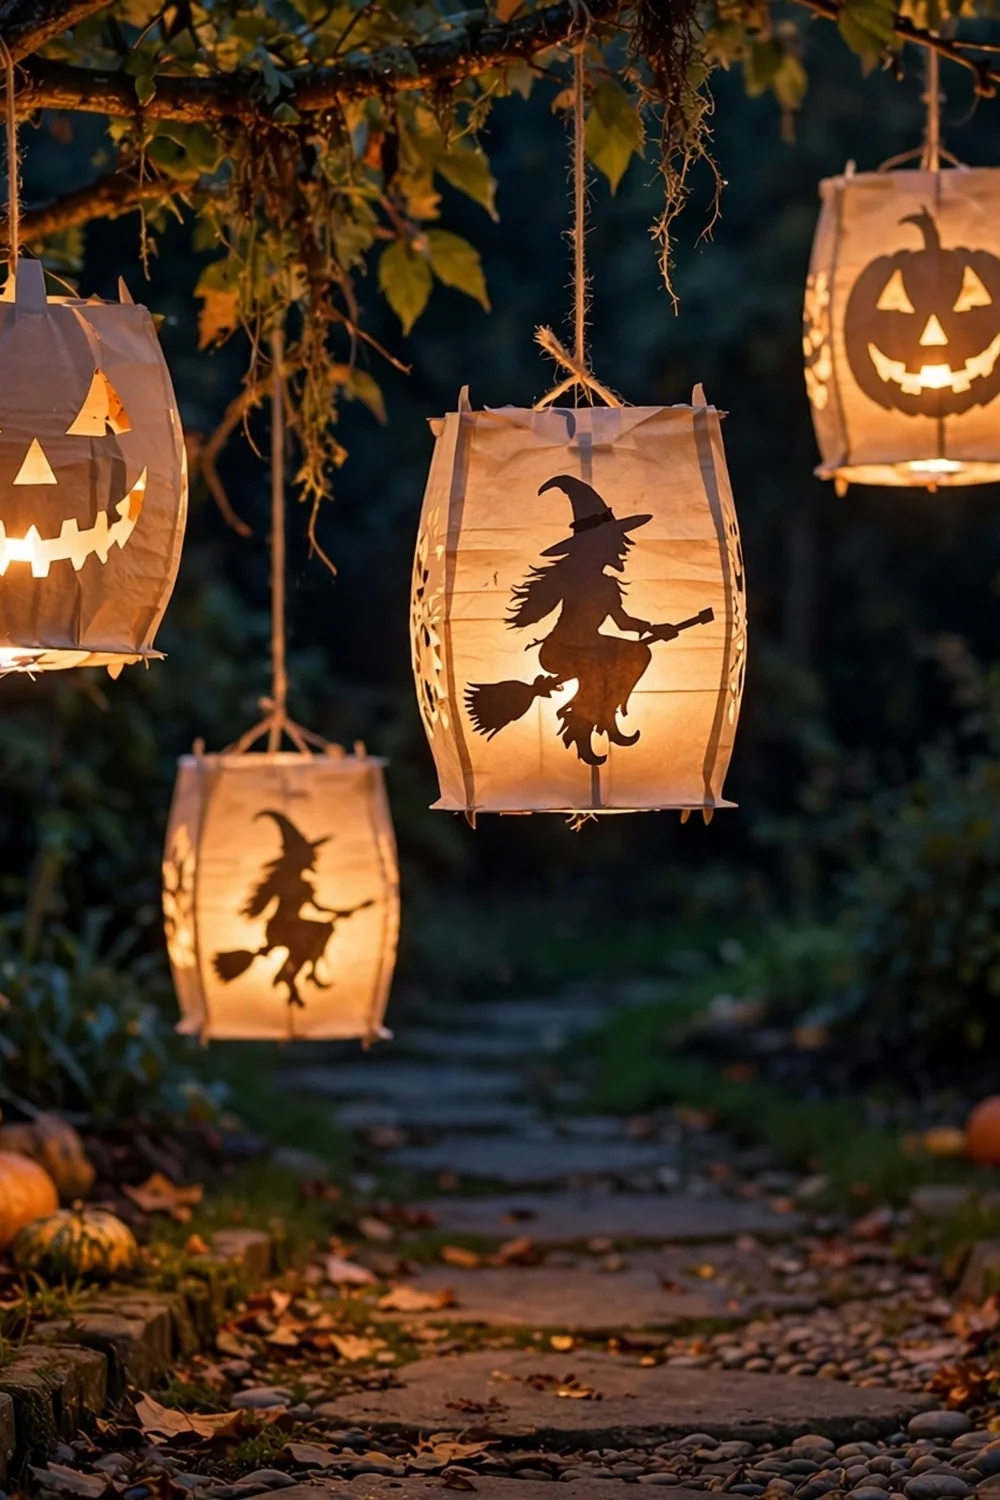
Hang paper lanterns with cutout designs from low tree limbs so they follow the path and glow overhead. Jack-o’-lantern faces, witches, and black cats read clearly even at a distance. Battery lights inside each lantern keep them safe; never use real candles in paper. Hang them with wire or string at head height or above so nobody walks into them, and mix sizes for a natural, floating look that feels magical after dark.
Try this: Bring paper lanterns inside during rain; one storm turns them to pulp.
Cost: $$| Difficulty: Easy | Time: 25 minutes
5. Carved pumpkin line with LEDs
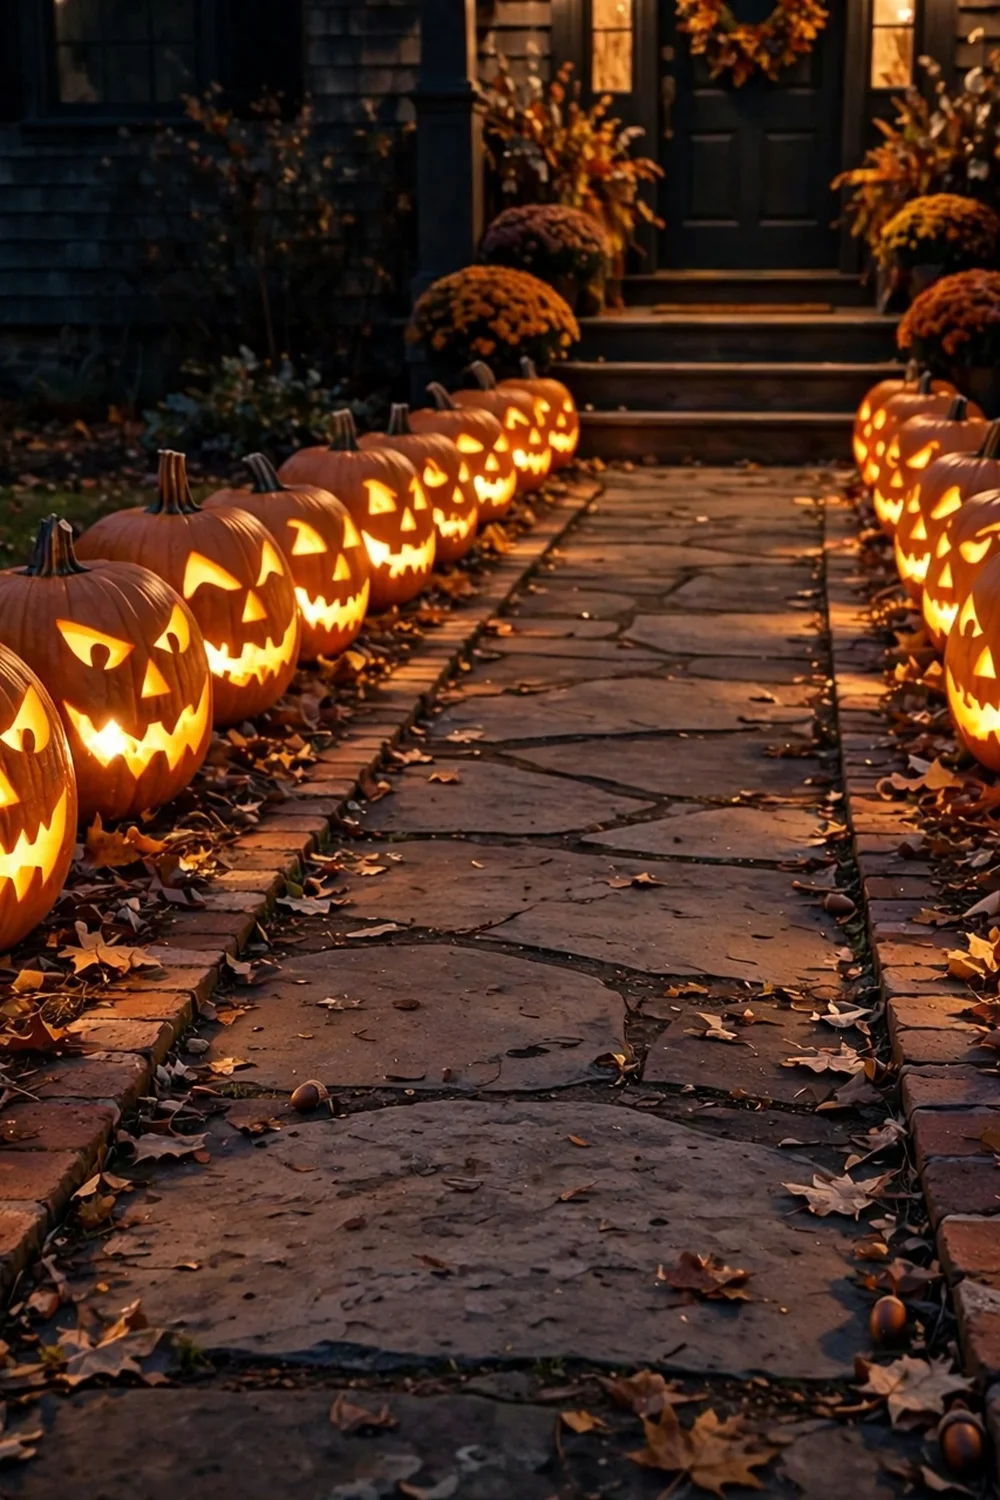
Carve a row of pumpkins and set them along both edges of the walk with LED candles inside. It is the most classic Halloween walkway for a reason: nothing says October like glowing faces guiding the way. Carve simple faces; detailed designs do not read from more than a few feet away. Real pumpkins last about a week outdoors in warm Octobers, so carve them the weekend before Halloween. Foam pumpkins with pre-cut faces last for years.
Try this: Carve each pumpkin with a different expression for a gallery effect.
Cost: $$| Difficulty: Medium | Time: 1 to 2 hours
6. Glowing stone cairns
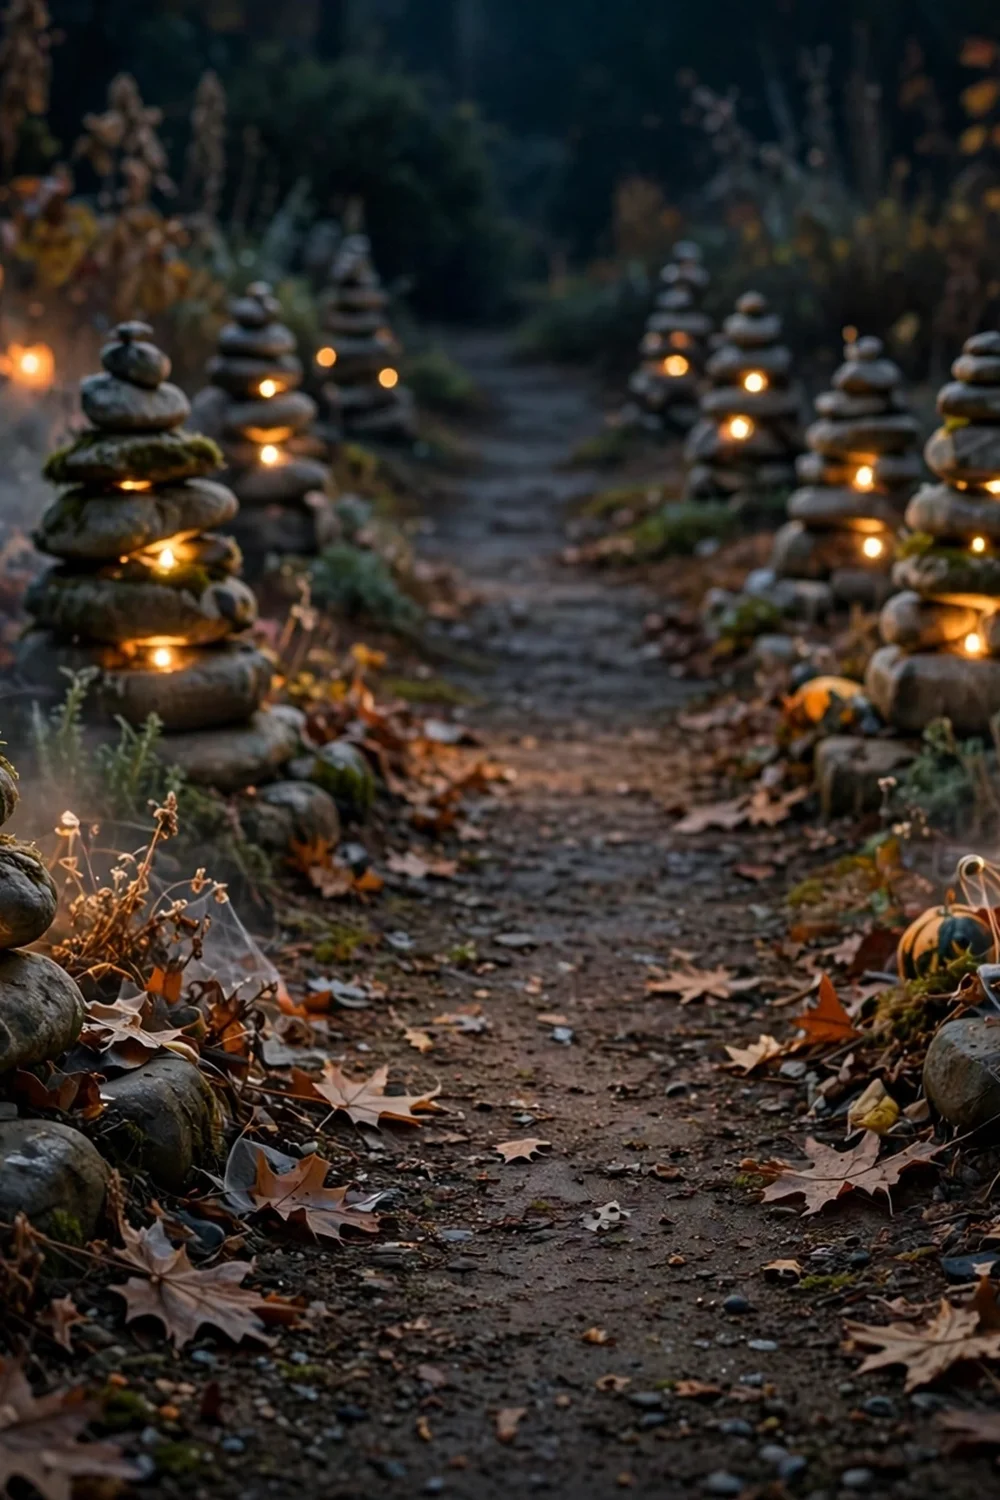
Stack three to five flat stones into small cairns at path corners and tuck a solar micro light into the middle of each. The stones catch the light and glow subtly at ground level, marking turns and edges without any glare. This is free if your yard has stones, plus $5 for a solar string to harvest the micro lights from. Cairns are nearly indestructible in wind and rain. They suit naturalistic yards where plastic props would clash.
Try this: Place the cairns where the path bends so the light marks the turn.
Cost: $| Difficulty: Easy | Time: 20 minutes
7. Skeleton hands from the ground
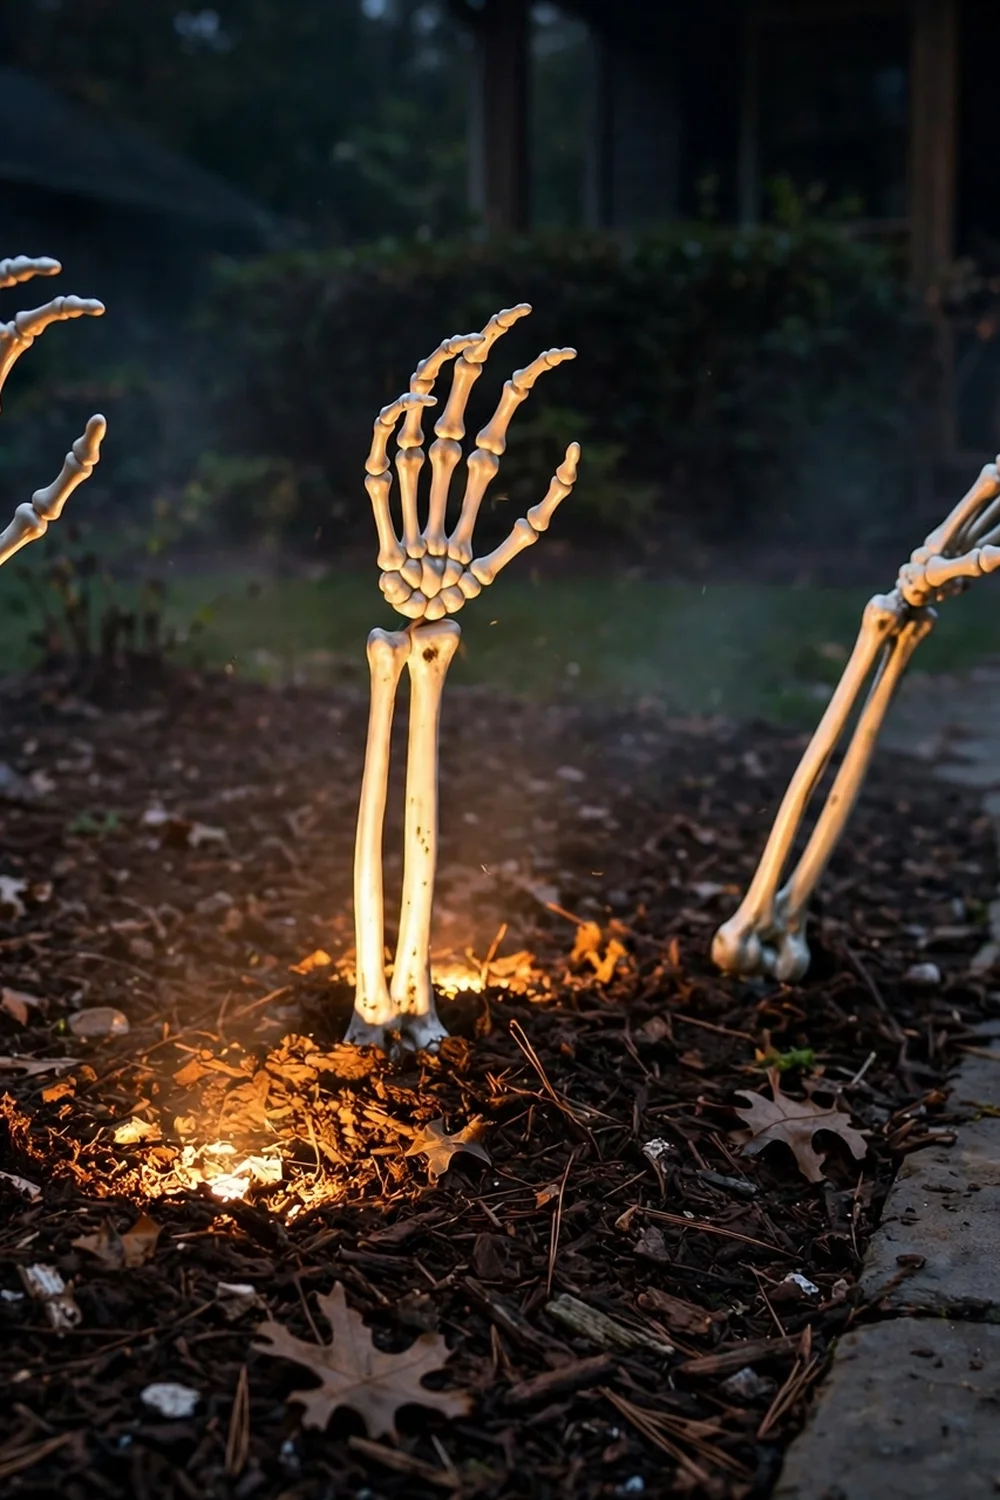
Push skeleton arms into the mulch beside the walkway so bony hands claw up out of the ground. Stake them firmly so they do not topple onto the path. A set of ground-breaker skeleton arms costs about $15 and looks convincingly creepy with a little uplighting. Keep every hand at least a foot outside the walking surface so nobody trips. Two or three clusters beat a dozen scattered hands; restraint reads scarier.
Try this: Aim a small purple spotlight at each cluster for maximum drama after dark.
Cost: $$| Difficulty: Easy | Time: 20 minutes
8. Tombstones beside the path
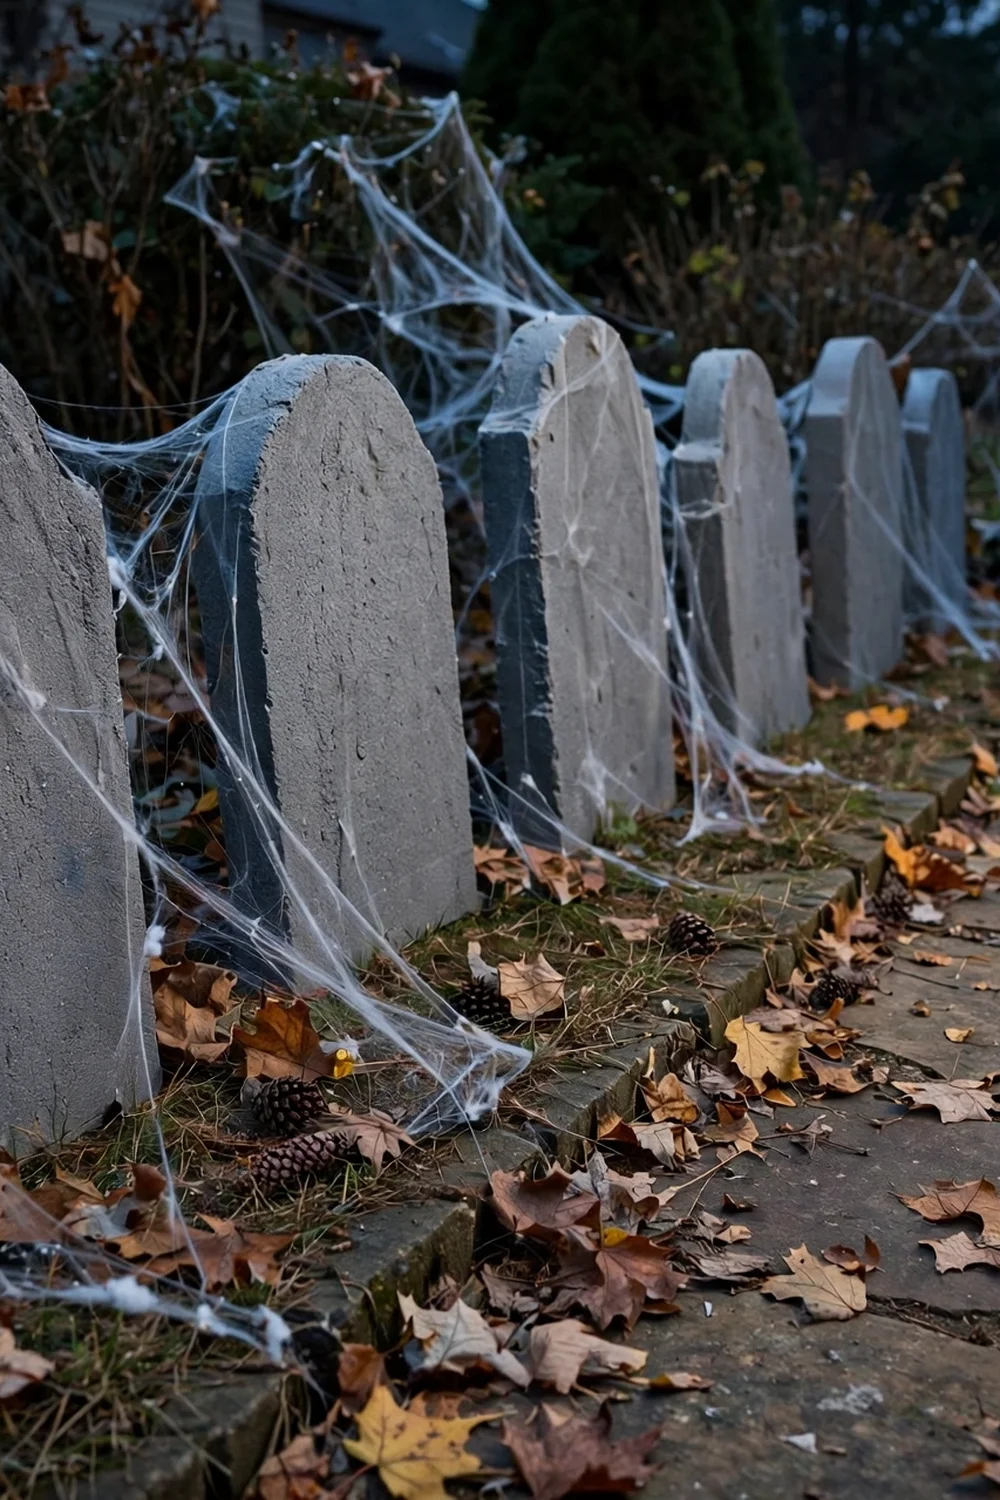
Stand foam tombstones in a row in the bed beside the walkway like a miniature graveyard. Keep them outside the walking surface and angled slightly for a naturally aged look. Dry-brush gray craft paint over the foam to make it read as stone instead of plastic. Generic “RIP” wording keeps it fun; skip real names. One $10 stone every 4 feet gives you a full graveyard border for under $40.
Try this: Lean one tombstone crooked on purpose; perfect rows look less haunted.
Cost: $$| Difficulty: Easy | Time: 30 minutes
9. Fog machine at the entry
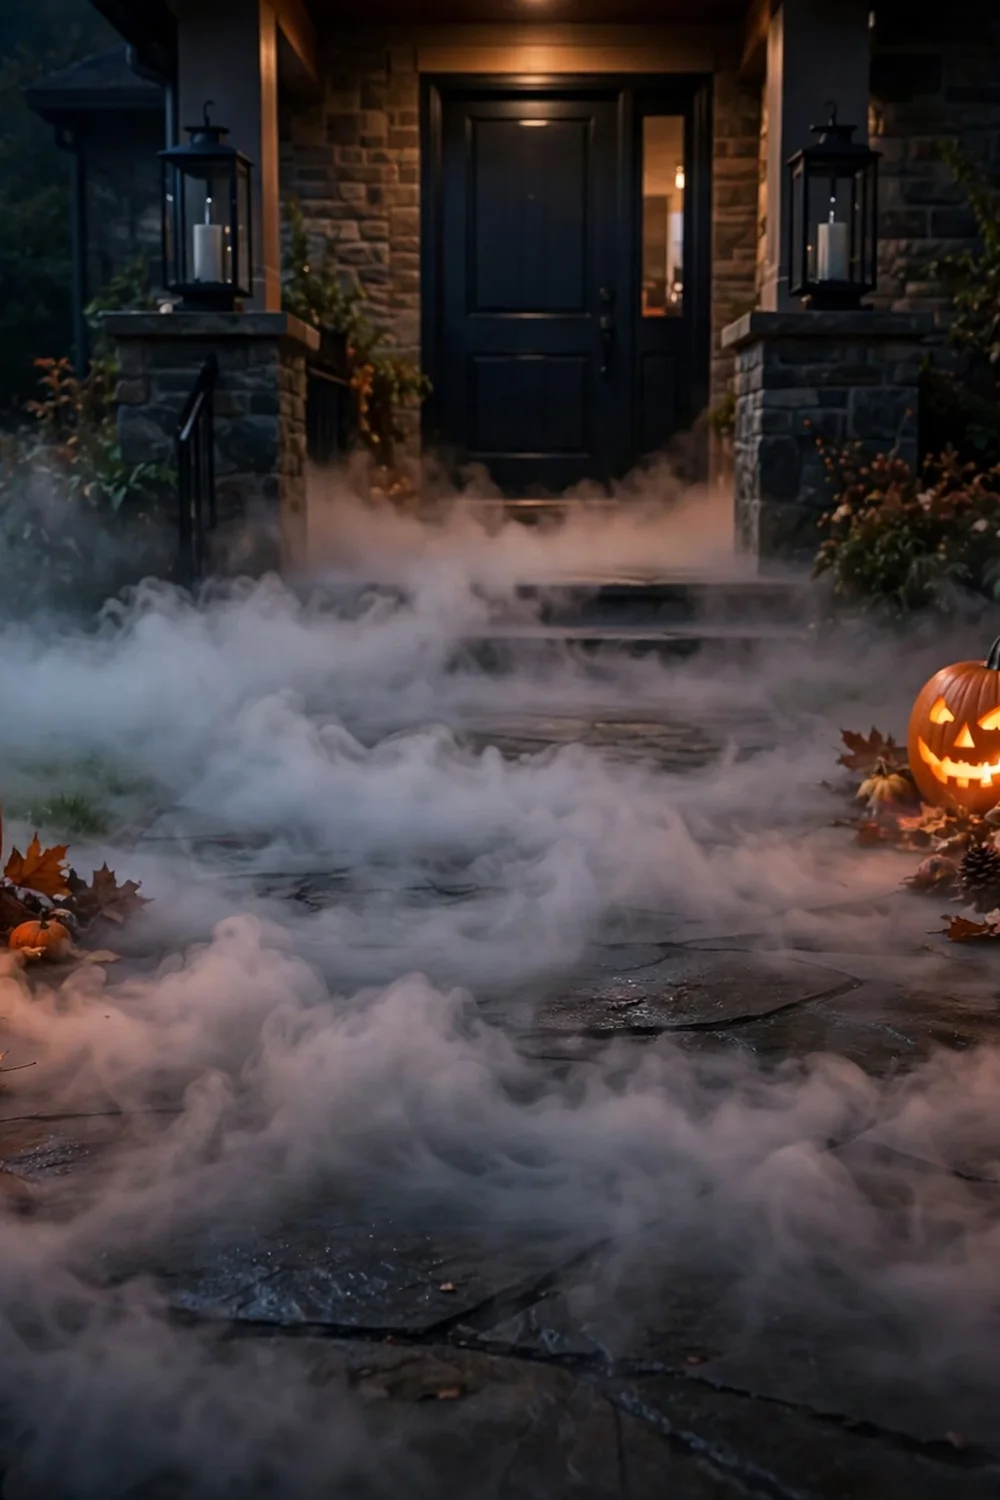
Set a small fog machine at the walkway entrance so mist rolls across the path as visitors arrive. A 400-watt machine costs about $35 and covers a standard walkway; one bottle of fog juice lasts several nights. Run it on a timer in bursts rather than continuously to save fluid. Keep the machine off the path itself and cordon the cord with a rubber ramp. Fog plus glowing pumpkins is the single most cinematic combination on this list.
Try this: Aim the fog low across the ground, not up; low fog reads spookier and uses less fluid.
Cost: $$| Difficulty: Medium | Time: 15 minutes
10. Uplighted trees in orange and purple
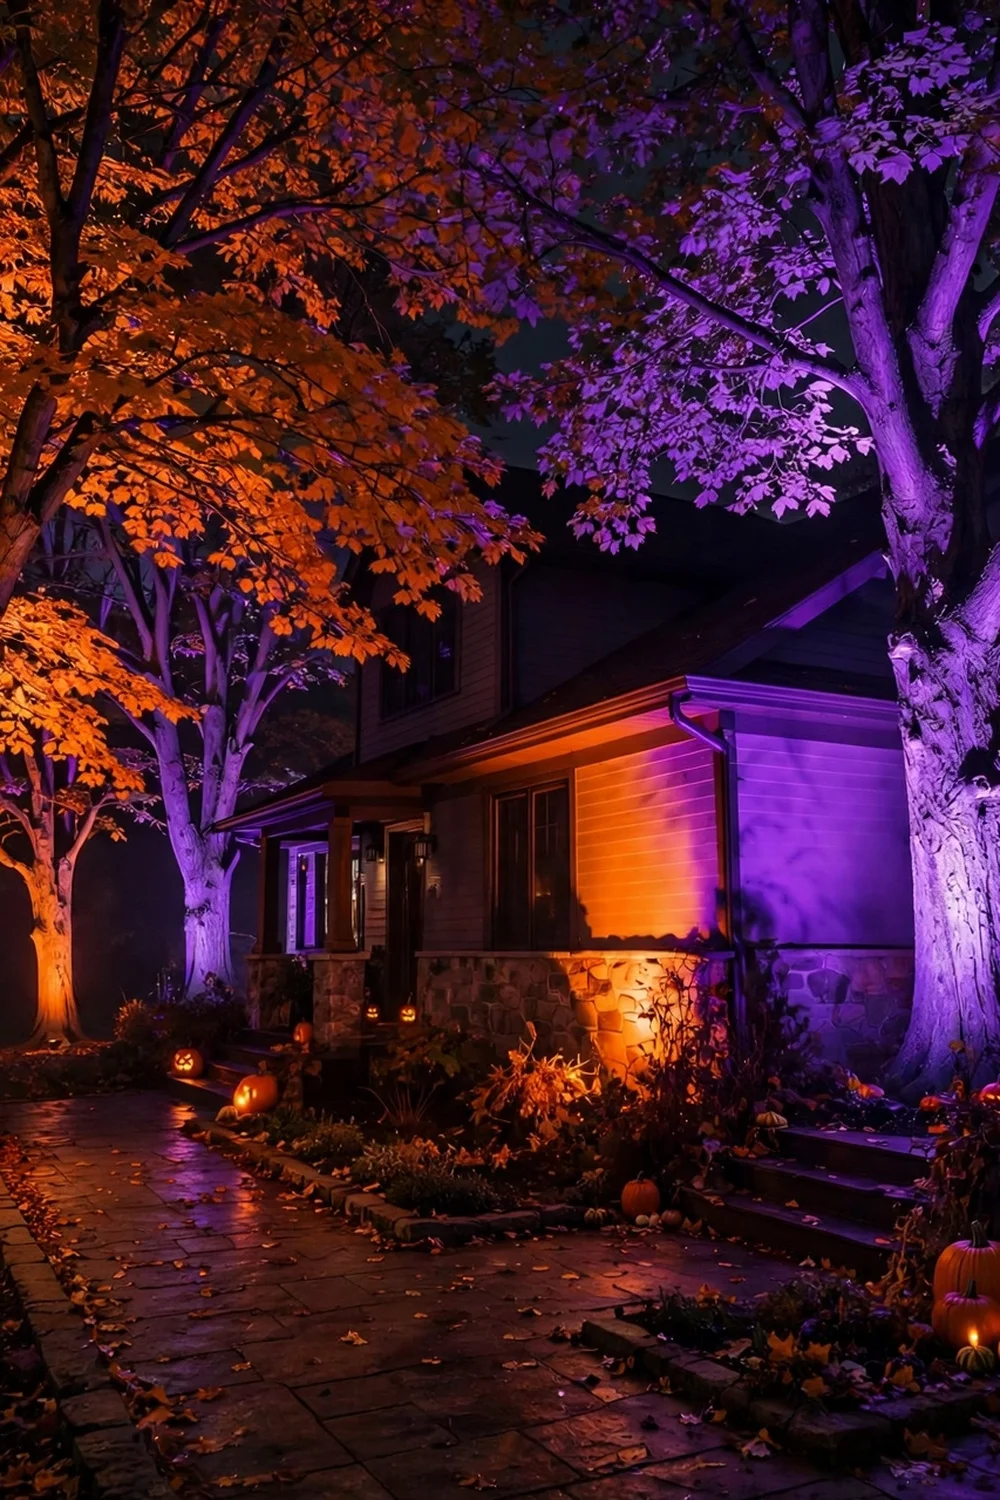
Place outdoor spotlights at the base of trees beside the walkway and aim them up through the branches in orange and purple. After dark this single trick can outperform a pile of small props; the whole yard glows. Use outdoor-rated spotlights on a timer and keep beams off neighbors’ windows. One orange tree and one purple bush is the classic pairing. This works on any size yard because the trees do the decorating for you.
Try this: Put the lights on the same timer as your porch light so the whole scene switches on together.
Cost: $$| Difficulty: Easy | Time: 30 minutes
11. Cobweb tunnel over the walkway
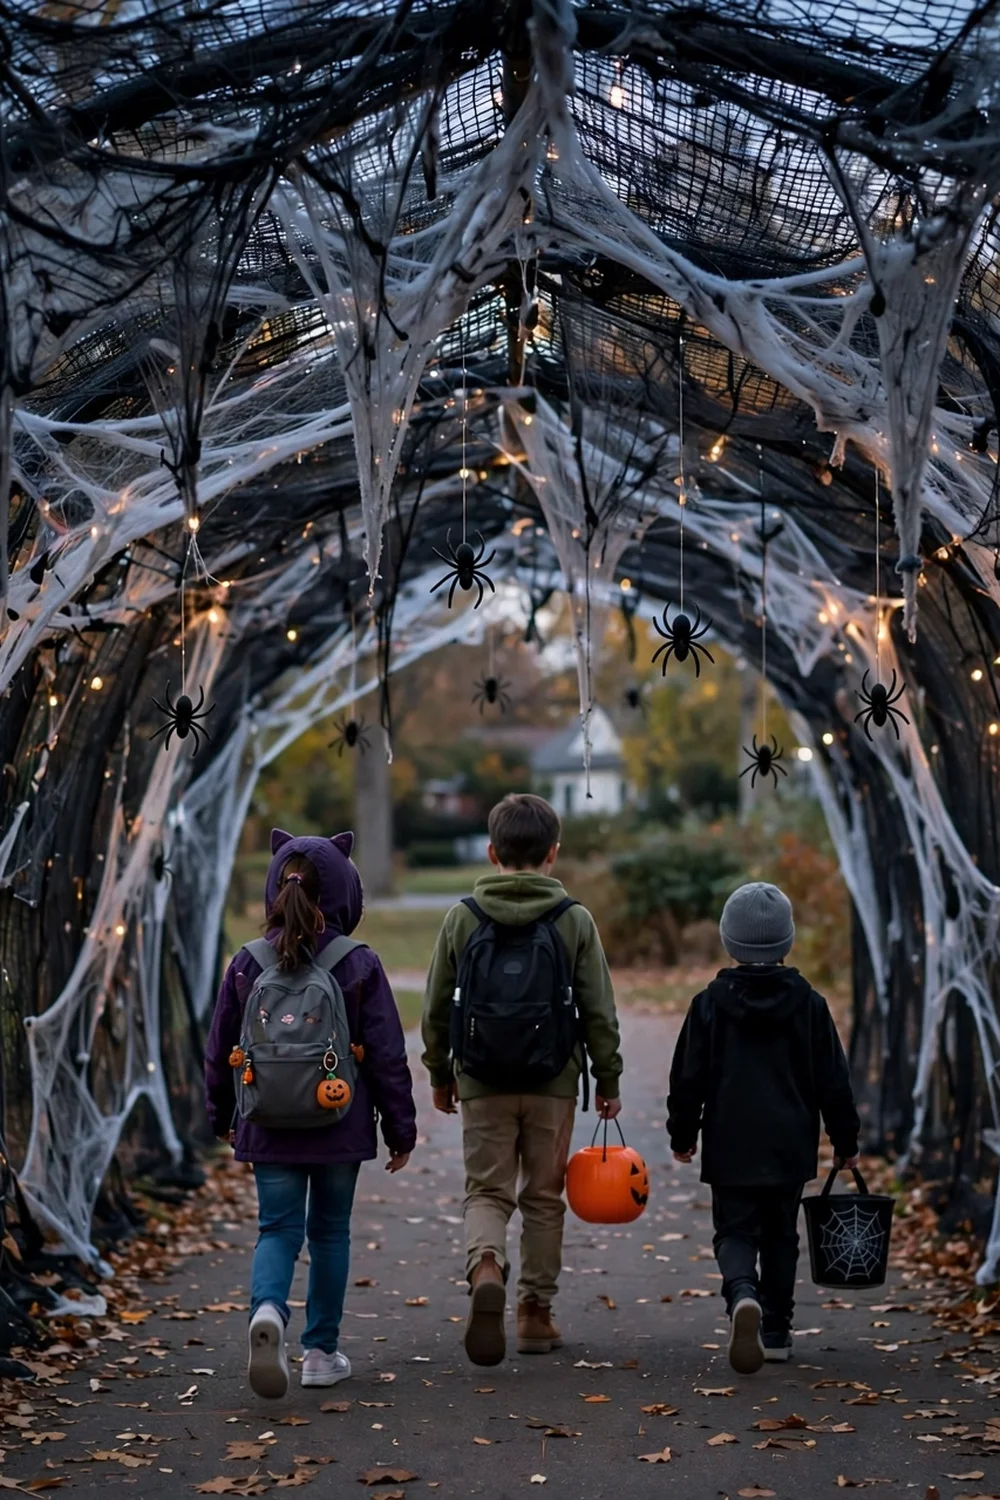
Arch black mesh netting and stretched faux cobweb over the walkway to make a tunnel visitors walk through. Hang plastic spiders from the top at different heights. Keep the tunnel at least 7 feet high and 4 feet wide so adults walk through comfortably and nothing brushes faces unexpectedly. Anchor the netting to stakes on both sides; wind load on a tunnel is real. This is the photo spot of the yard, so put your best pumpkins at its exit.
Try this: Weave purple string lights through the netting so the tunnel glows from within.
Cost: $$| Difficulty: Medium | Time: 1 hour
12. LED strip ghostly runway
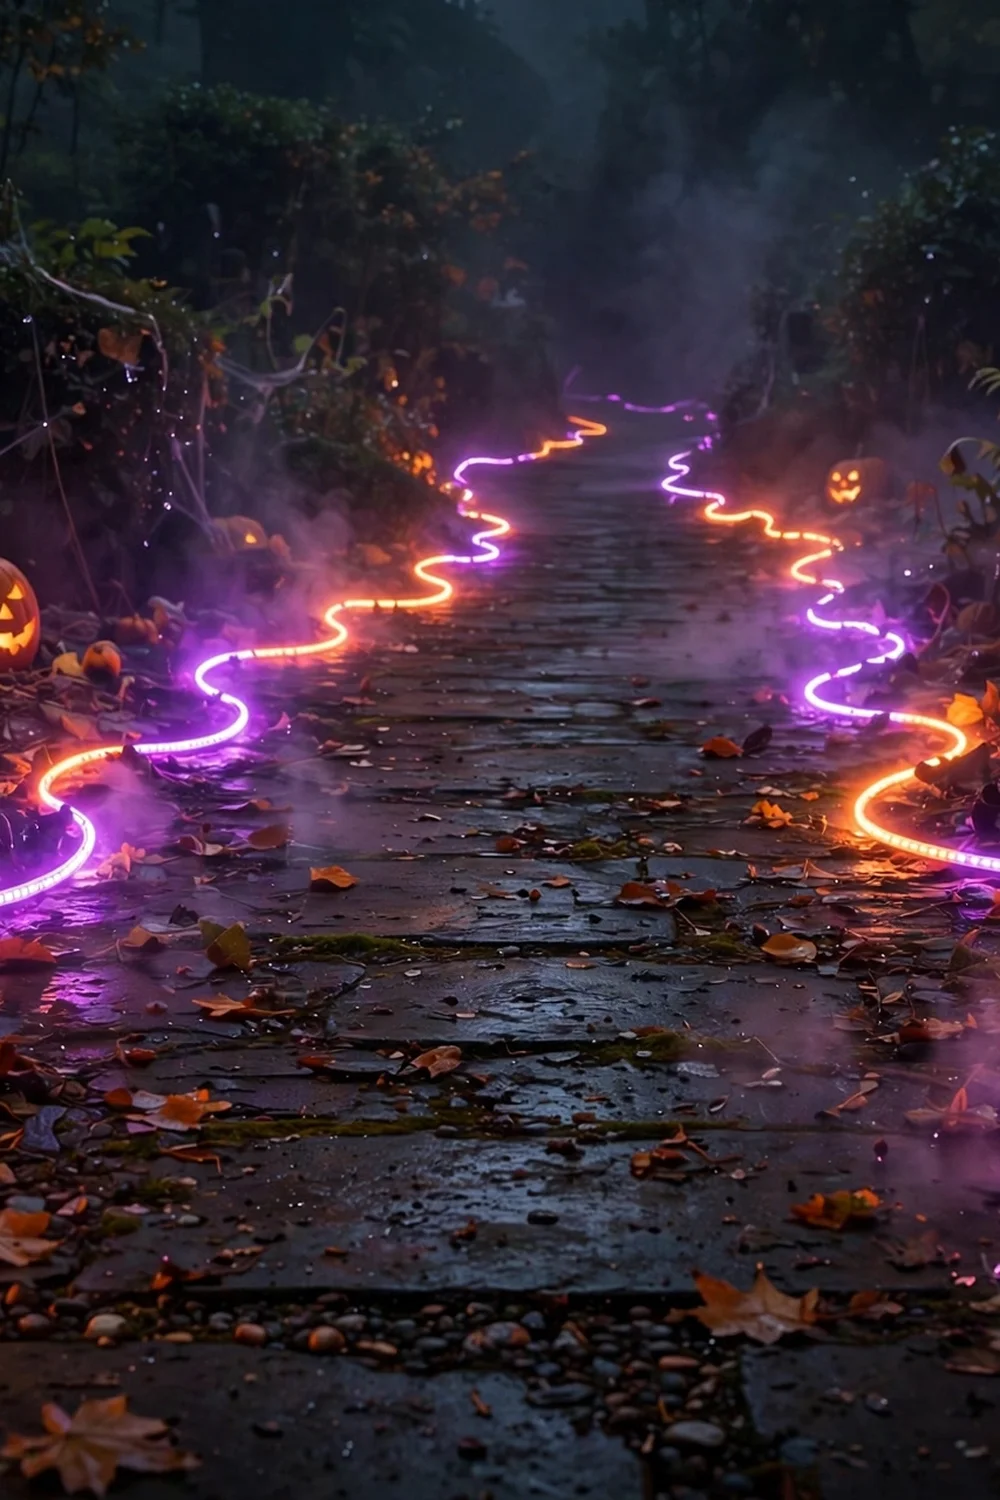
Snake outdoor LED strip lights along both edges of the path for a glowing runway effect. Orange or purple strips define the walking line brilliantly, which doubles as safety lighting for trick-or-treaters. Battery-operated strips avoid cords across the lawn entirely. Stake the strips just outside the path edge so feet never catch them. This is the best option for long driveways where individual lanterns would cost a fortune, and the color clearly marks the route for visitors.
Try this: Use the strips’ fade or pulse mode for a suspenseful approach effect.
Cost: $$| Difficulty: Easy | Time: 30 minutes
13. Hanging ghosts from the eaves
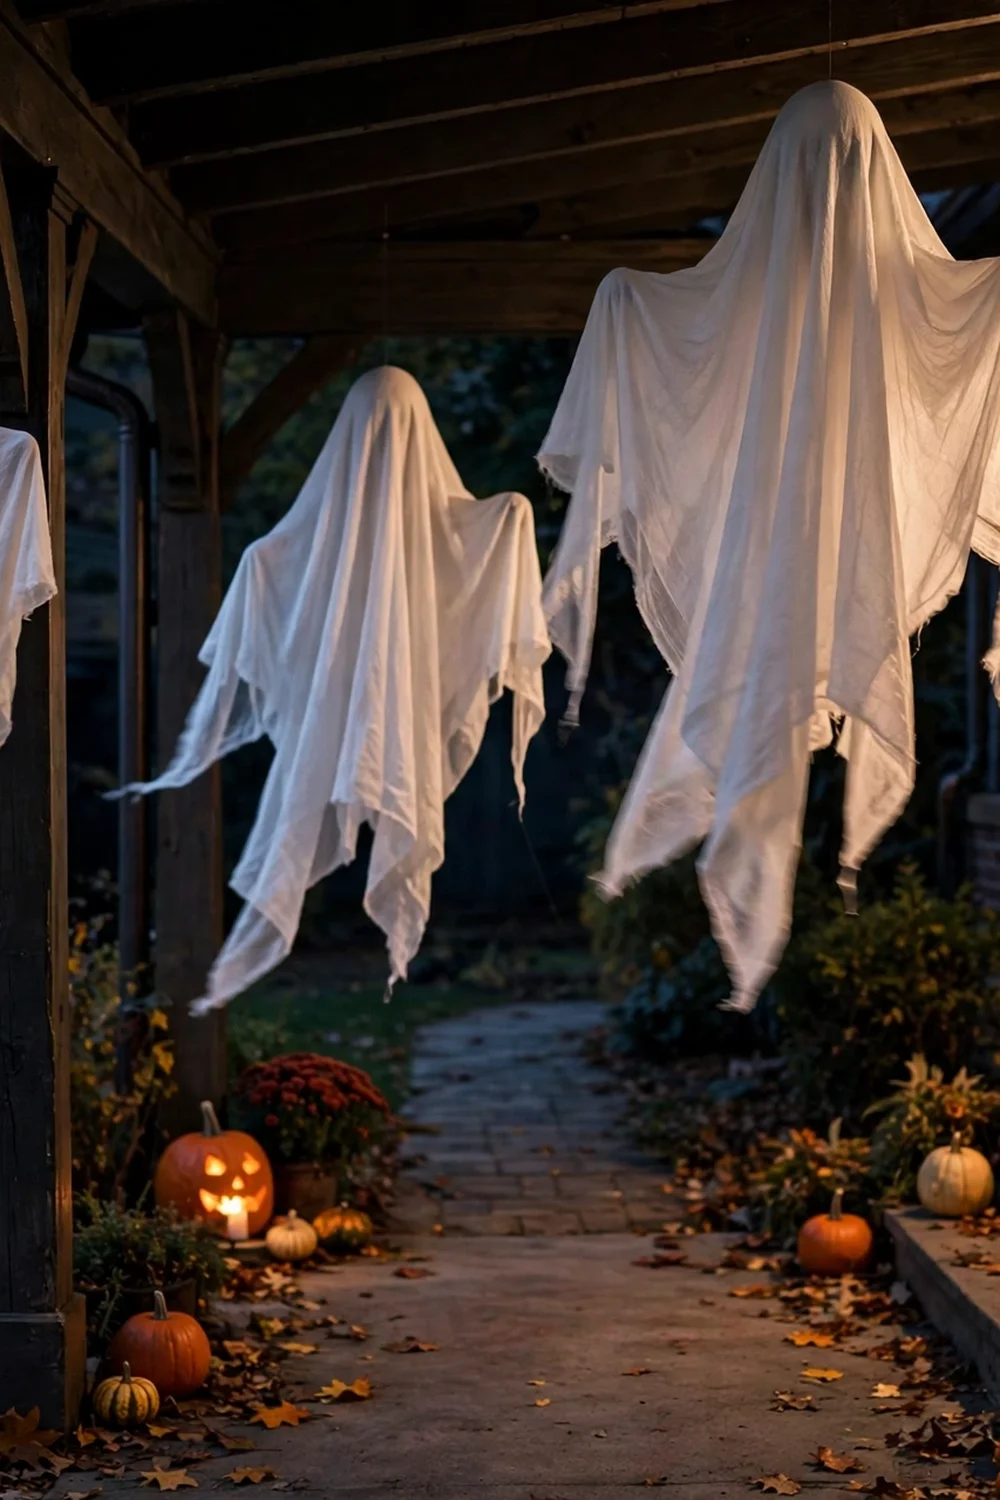
Hang fabric ghosts from the porch eaves or gutter above the walkway’s end so they float over arriving visitors. Cheesecloth ghosts on foam balls weigh almost nothing and sway in the breeze. Hang them on monofilament line at staggered heights, all above 7 feet so tall visitors do not clothesline themselves. Backlight them with the porch light for glowing silhouettes. Five ghosts make a crowd; more than eight looks cluttered.
Try this: Use clear line, not twine; invisible line makes the ghosts look like they are floating.
Cost: $| Difficulty: Easy | Time: 25 minutes
14. Witch hat luminaries
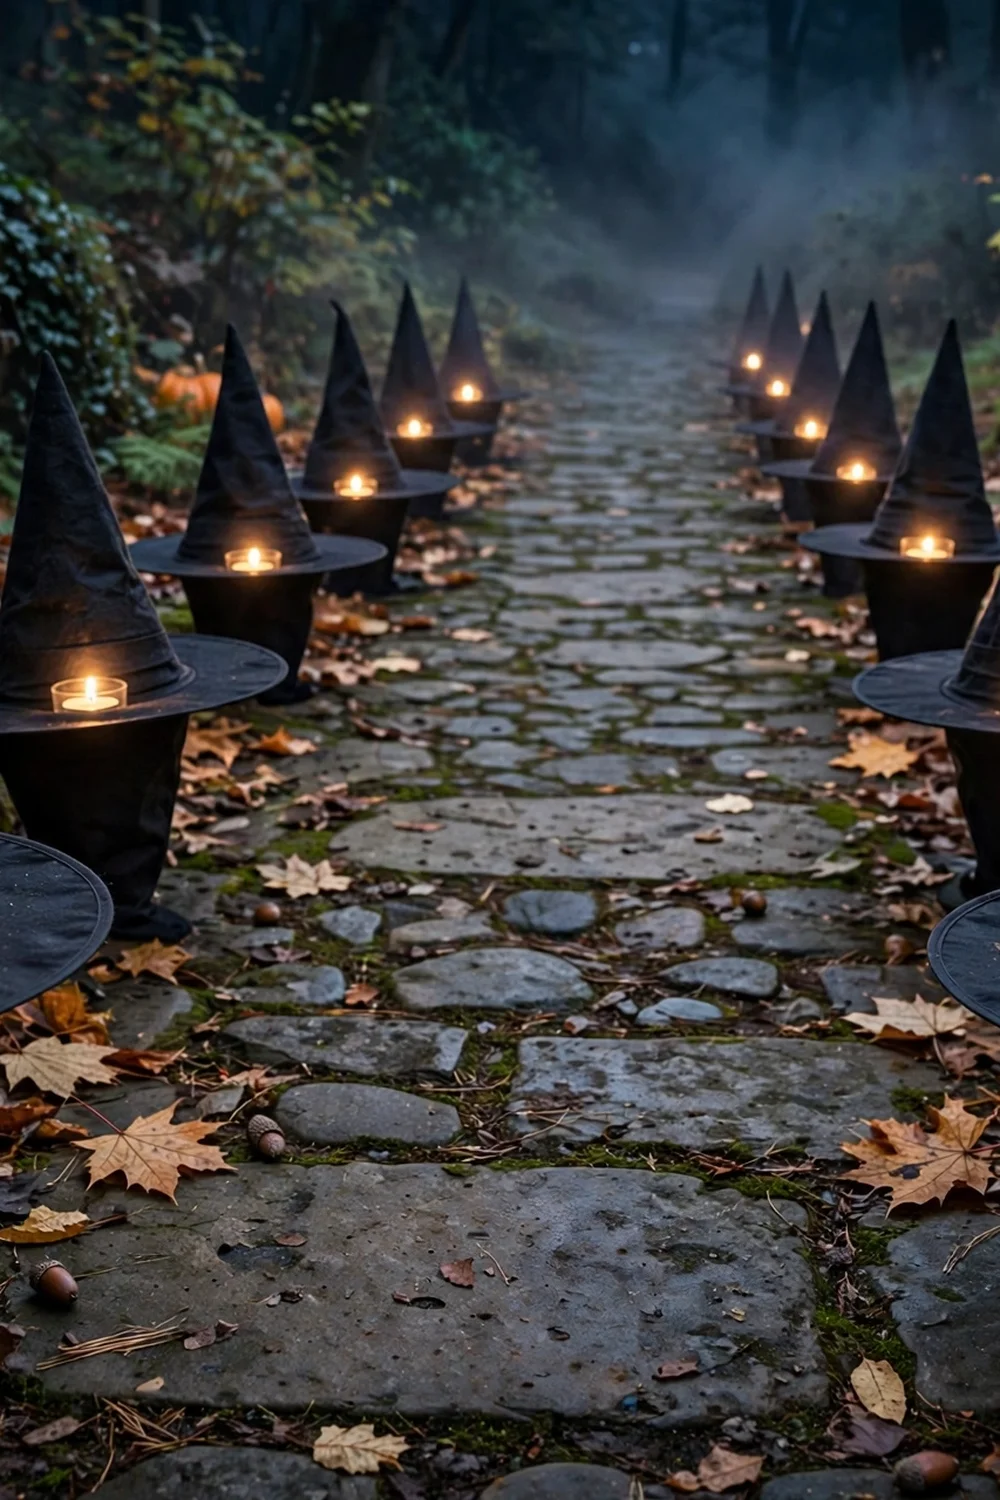
Set witch hats upside down along the path with a glowing LED tea light in each brim. The hats read as Halloween instantly and the glow marks the path edge beautifully. Cheap costume hats work fine; stuff the cones so they hold their shape. Space them 4 to 5 feet apart on alternating sides for a rhythm down the walk. Bring them in during heavy rain; felt hats do not survive soaking.
Try this: Bend each hat tip a different direction for a playful, crooked look.
Cost: $$| Difficulty: Easy | Time: 20 minutes
15. Pumpkin totem towers
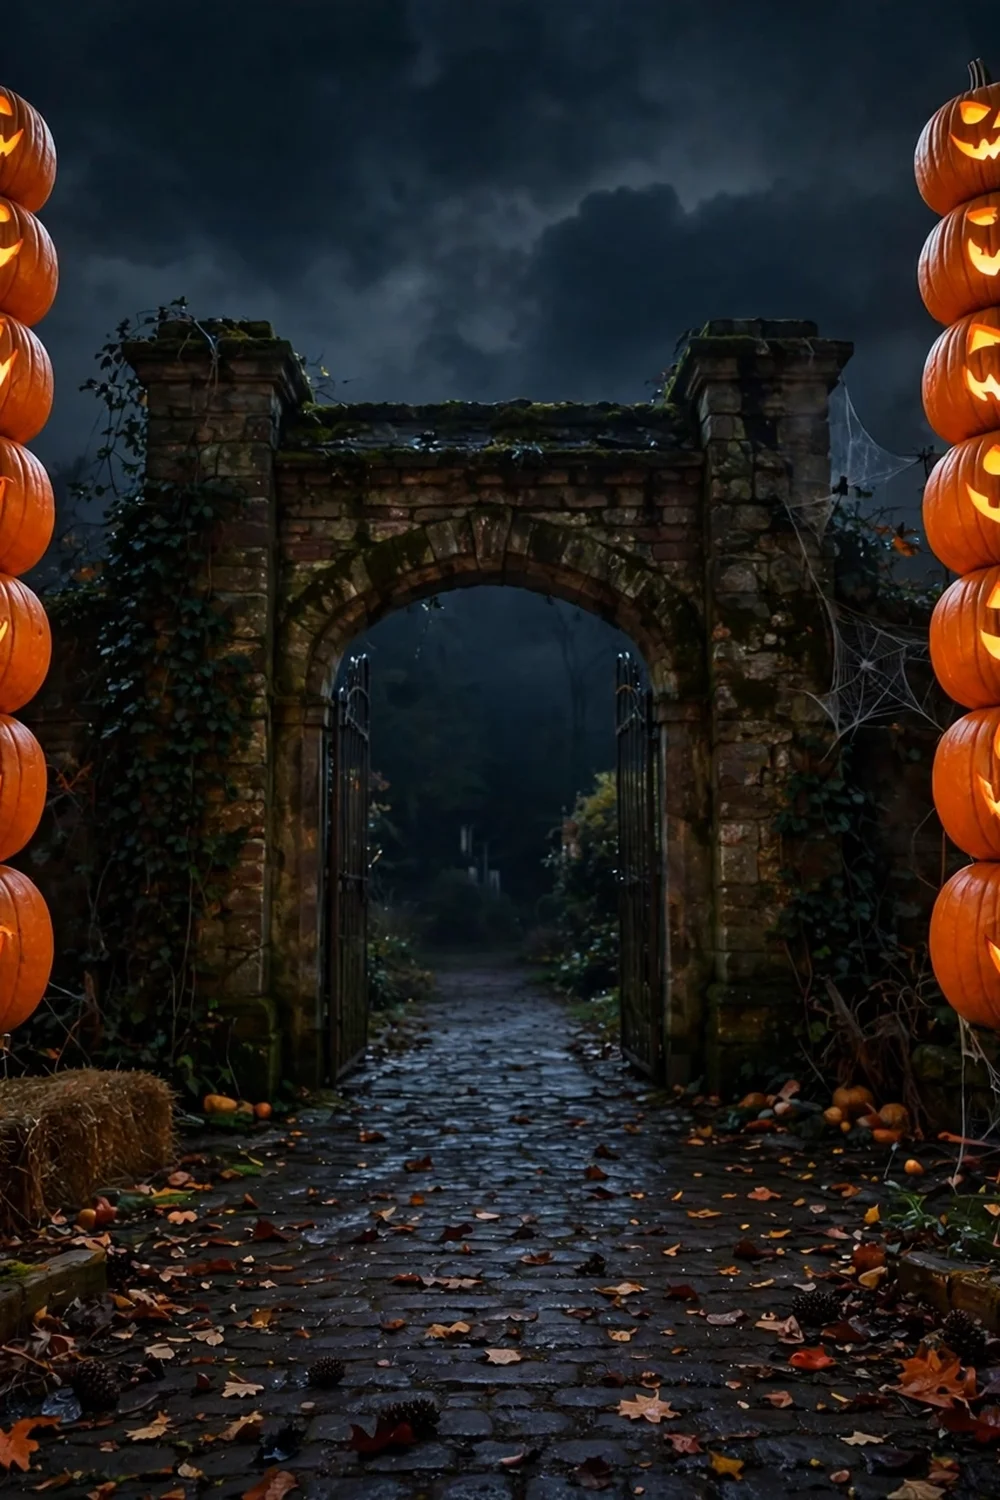
Stack plastic pumpkins on a pole to build glowing totem towers flanking the walkway entrance. Cut holes top and bottom of each pumpkin, slide them onto a rebar or PVC pole, and light them from within with string lights. Three pumpkins per tower makes a strong gate; two towers frame the entrance. Plastic pumpkins keep the towers light and reusable. This is the highest-impact entrance marker short of a full arch.
Try this: Drive the pole 12 inches into the ground so the tower survives October wind.
Cost: $$| Difficulty: Medium | Time: 1 hour
16. Directional signs
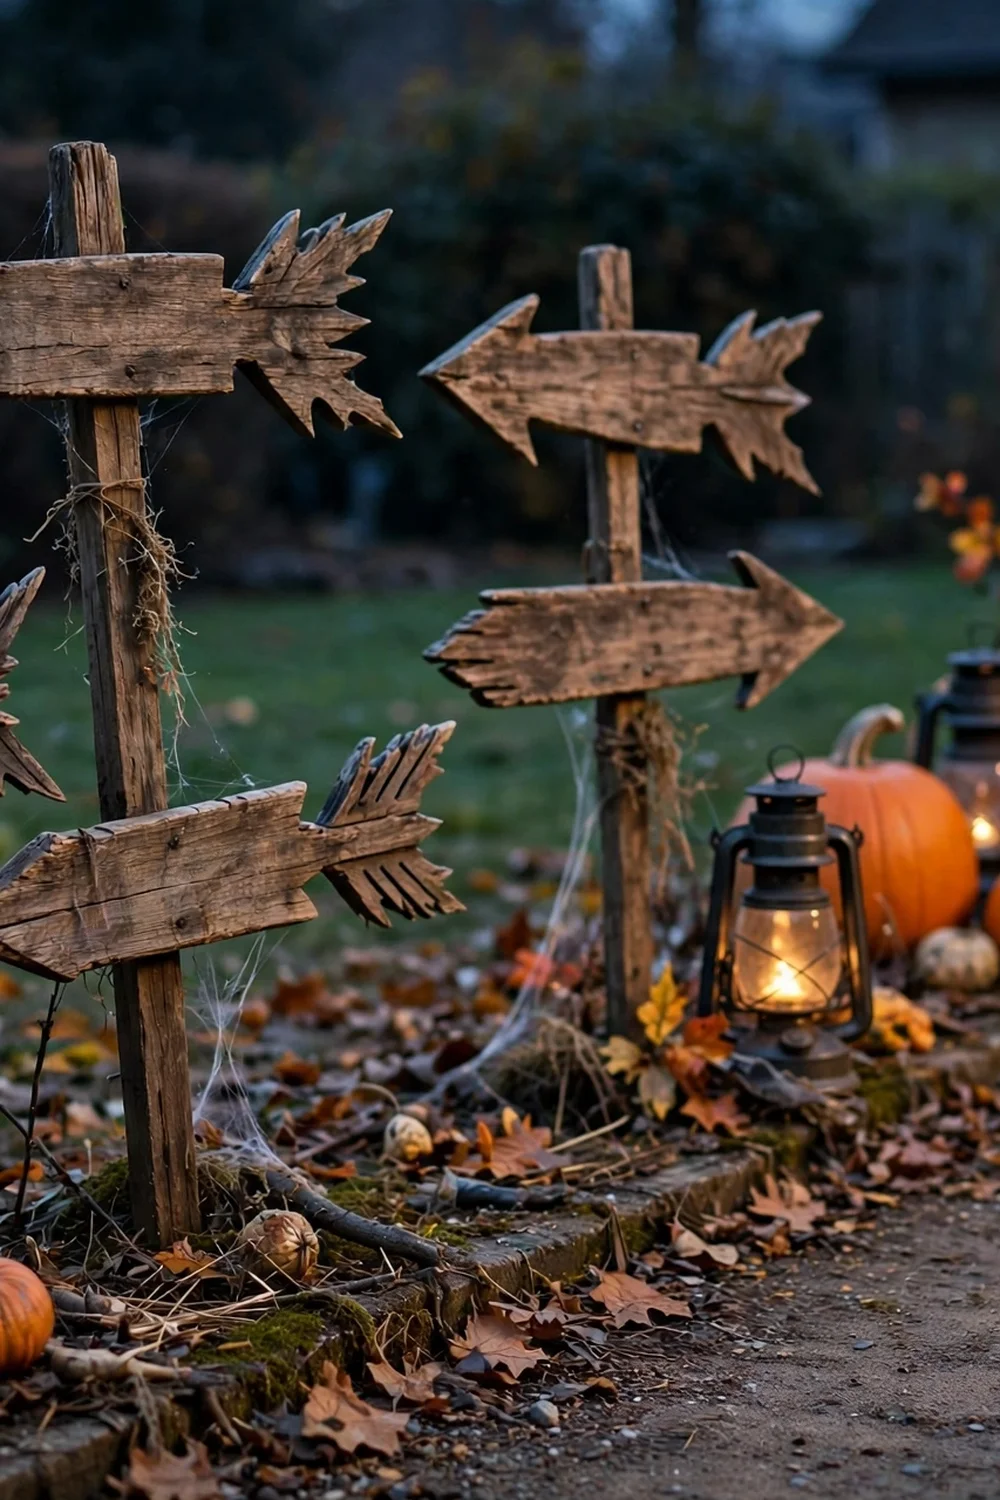
Stake hand-painted wooden signs along the path with arrows pointing the way: “This Way,” “Enter If You Dare,” “Witch Crossing.” They guide foot traffic while adding humor, which helps on yards where the path splits. Make them from fence pickets and exterior paint for about $5 each. Angle them toward the path so they read from the walking direction, and keep every sign outside the 36-inch clear walking width so foot traffic never has to squeeze past.
Try this: Age the wood with gray wash paint so new pickets look like old haunted signs.
Cost: $$| Difficulty: Easy | Time: 45 minutes
17. Skeleton dog guardian
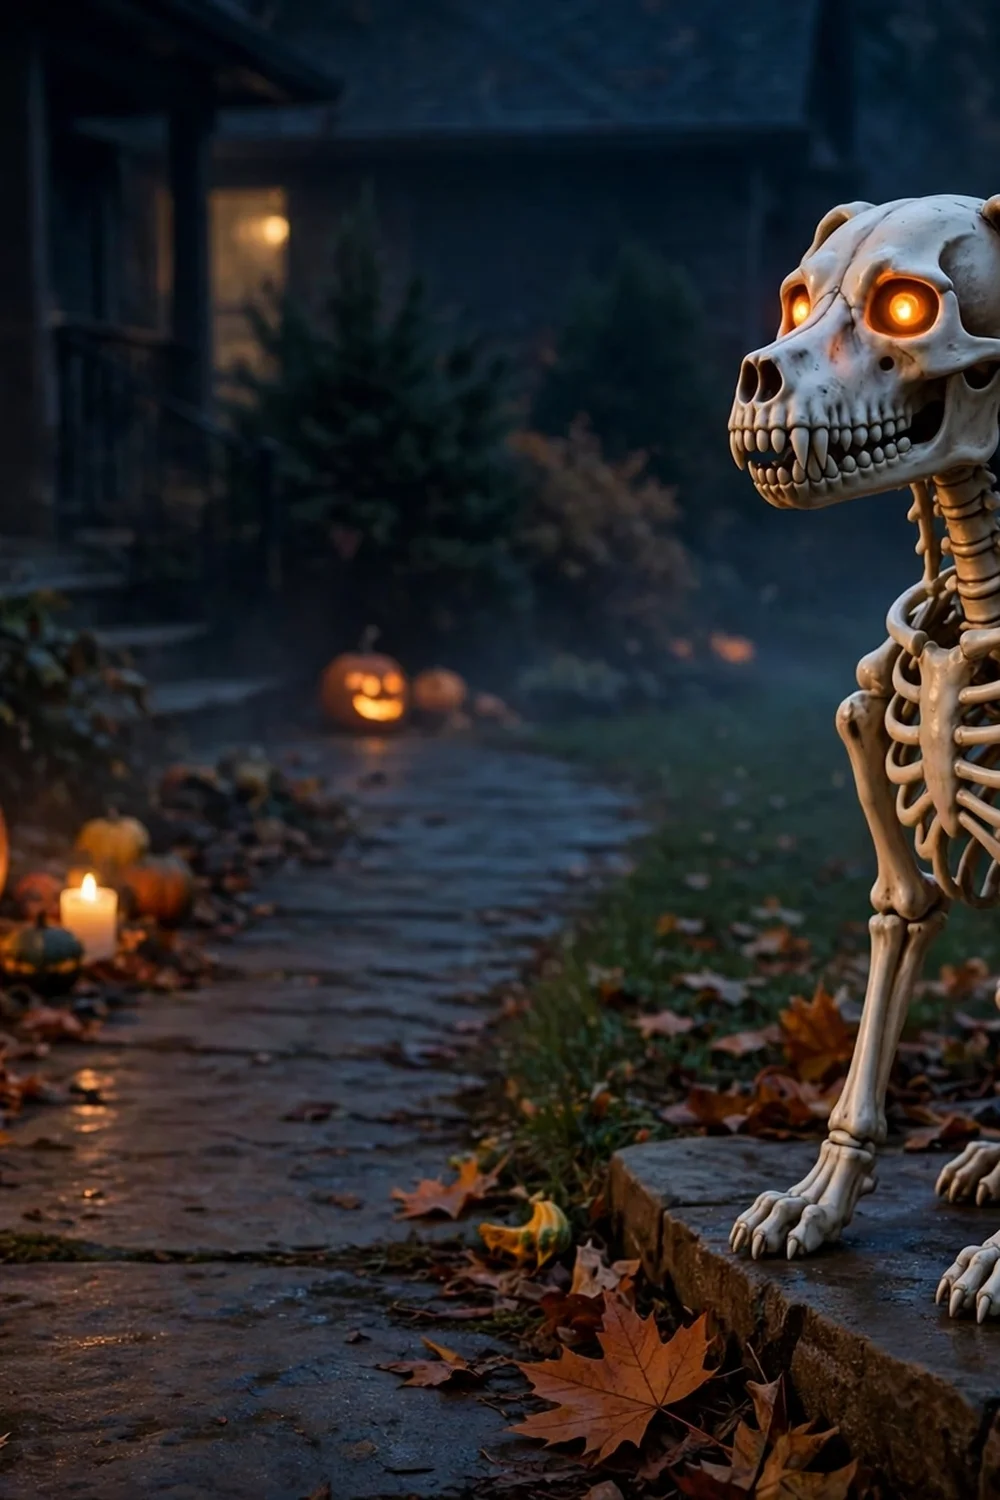
Pose a skeleton dog beside the walkway like it is guarding the path. The dog skeleton costs about $20, poses in sitting or standing positions, and delights kids who spot it. Place it where the path meets the porch so it “welcomes” arrivals. Add red LED eyes for nighttime effect; the glow is visible from the street. One dog is a character; a whole skeleton family is a scene, so consider adding the matching cat.
Try this: Pose the dog sitting with its head turned toward the street like it is on watch.
Cost: $$| Difficulty: Easy | Time: 10 minutes
18. Spider web arch
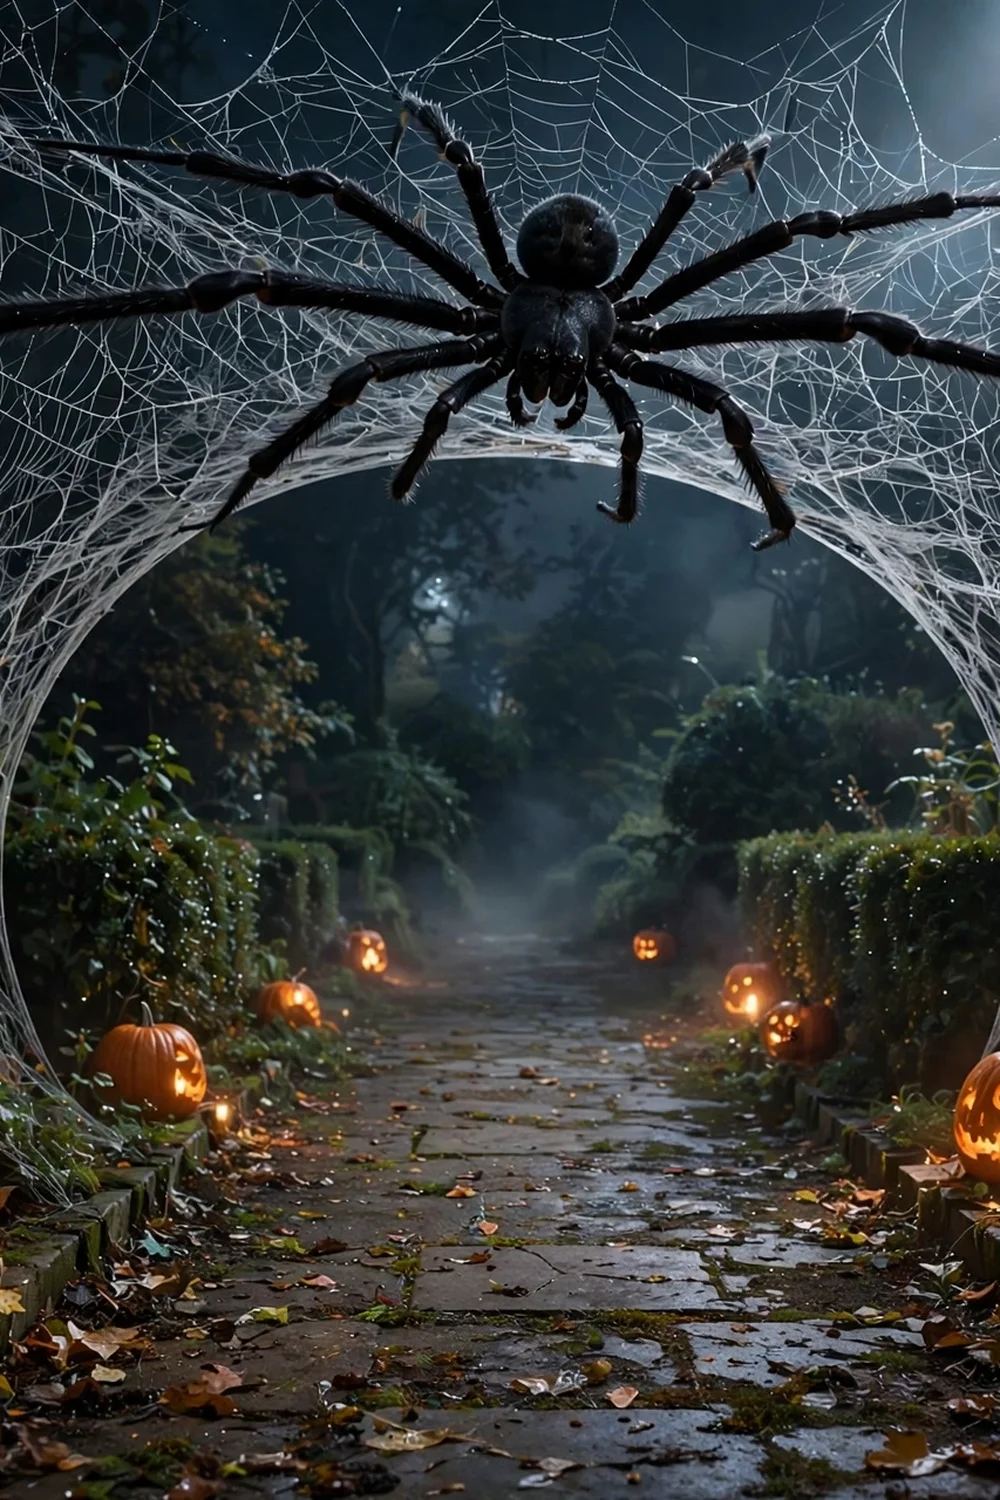
Stretch a giant web between two poles or trees to form an arch over the walkway, with an oversized spider at the center. The arch frames the path like a gate and photographs better than any single prop. Keep the web high enough that the spider hangs above head height; a face-level spider ruins the night for someone. Guy-line the poles so the whole arch does not sail in the first storm. This pairs perfectly with the cobweb tunnel for a one-two entrance.
Try this: Backlight the web with a spotlight so the silk strands catch the light.
Cost: $$| Difficulty: Medium | Time: 45 minutes
19. Candy corn stakes
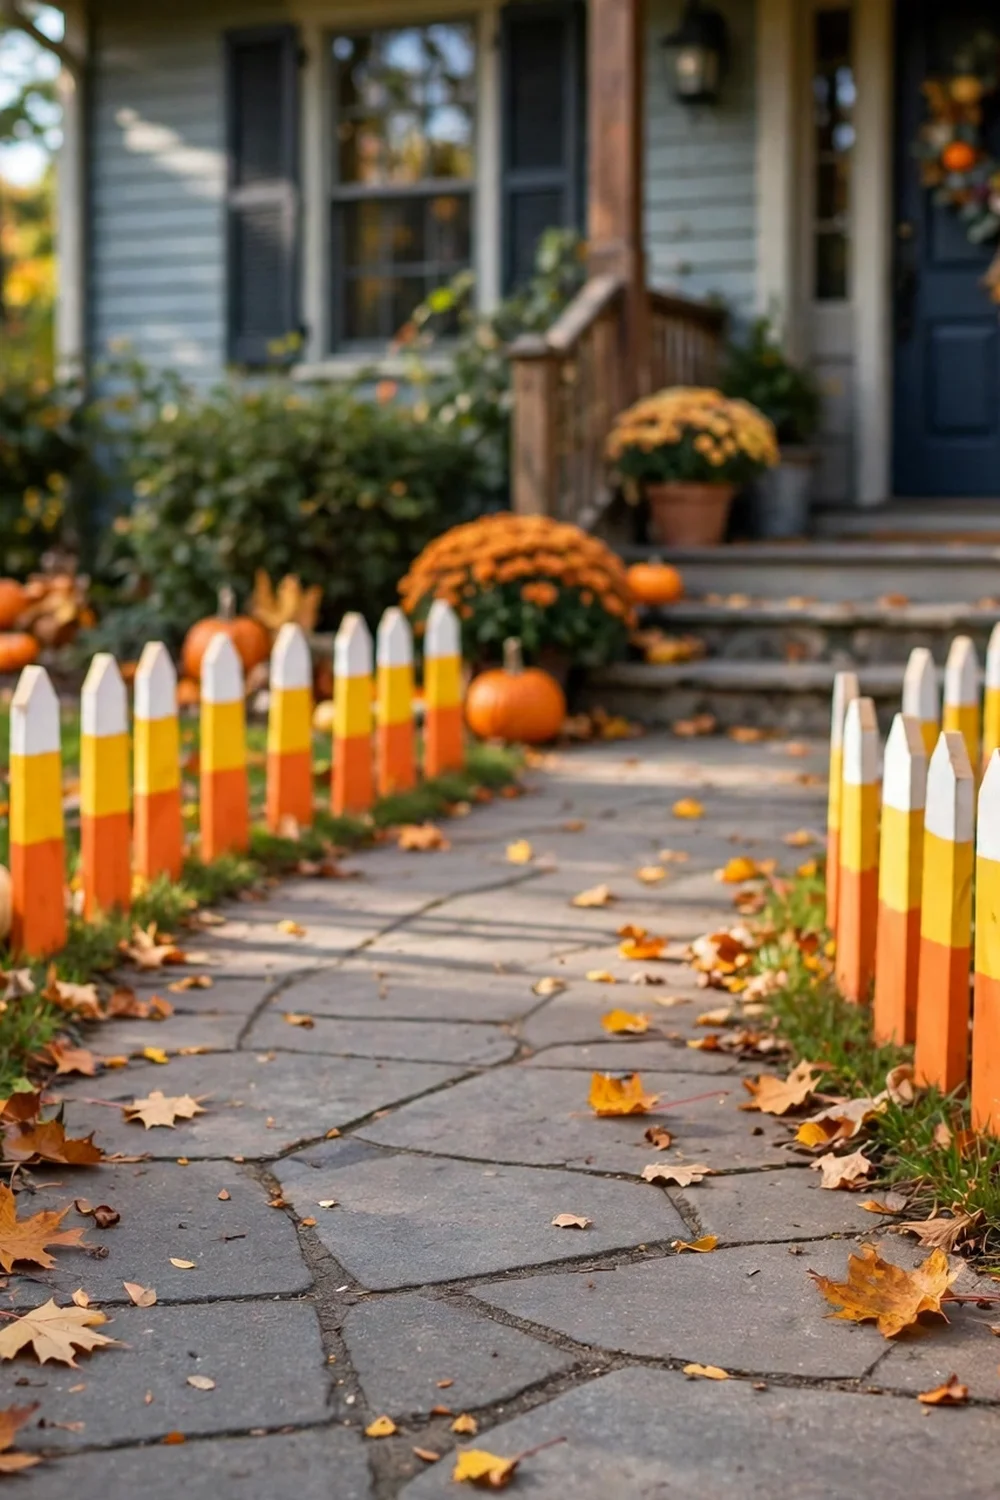
Paint wooden stakes in candy corn bands and line them along the path for cheerful daytime color. They read clearly from the street and cost about $2 each to make. Exterior paint and a clear sealer keep them bright all month. Push them 6 inches into soft ground; in hard soil, pre-drill with a screwdriver. These are the best pick for young families because they are bright, friendly, and completely un-scary.
Try this: Alternate candy corn stakes with small pumpkins for a varied border.
Cost: $$| Difficulty: Easy | Time: 45 minutes
20. Flicker bulbs and spotlights at the door
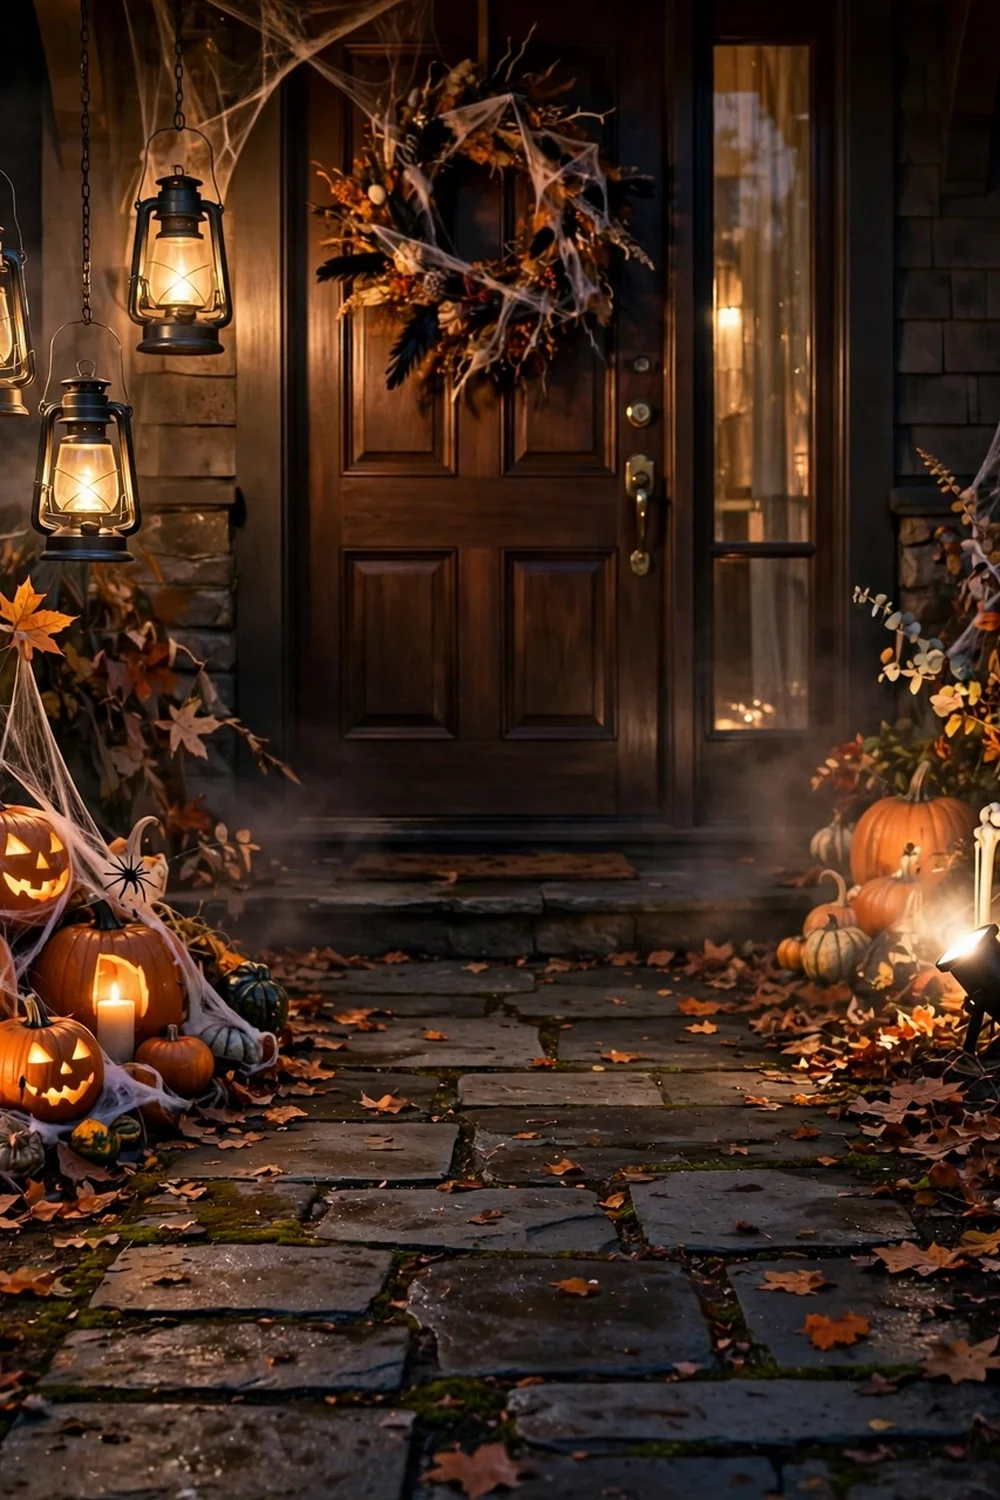
Finish the walkway at the door with flicker bulbs in the porch fixtures and a spotlight washing the entry display. The flicker mimics candlelight across the whole entry without a single flame. Swap the bulbs in minutes; they fit standard sockets. Aim one warm spotlight at your best porch piece so the walkway’s journey ends at a focal point. For the porch itself, these simple fall porch decor ideas pick up right where the path leaves off, and fall front porch decor adds the bigger anchor pieces.
Try this: Put the entry lights on a motion sensor so the finale triggers as visitors arrive.
Cost: $$| Difficulty: Easy | Time: 20 minutes
Walkway ideas at a glance
Pick the row that fits your budget and timeline.
How to layer a Halloween walkway like a designer
Think in three heights. Ground level gets the glow: luminaries, solar stakes, and LED strips that mark the path edges. Mid level gets the props: pumpkins, tombstones, lanterns, and signs sitting beside the path. Overhead gets the drama: hanging lanterns, ghosts, and web arches that visitors walk under. One layer looks flat; three layers look designed. For the beds flanking your path, these fall container planter ideas fill the gaps between Halloween props with seasonal color.
Repeat, do not scatter. Pick two or three elements and repeat them down the whole path rather than placing twenty different things once each. Five matching lanterns beat five mismatched props. Alternate sides as you go: left, right, left, right. The rhythm pulls the eye forward and makes even a short walk feel like a journey.
Halloween walkway safety: digging, cords, and clear paths
Call 811 before you drive a single stake. The national Call Before You Dig service marks underground utility lines for free, and a totem-tower pole through a cable line turns Halloween into a very expensive night. Most requests need a few business days, so call the week before you decorate, not the day of.
Keep the path itself sacred. Maintain at least 36 inches of clear walking width, keep every prop outside it, and never run cords across the walk; use rubber cord ramps or go battery and solar instead. The CPSC’s Halloween safety guidance specifically calls for clear paths and battery lights over open flames, and both rules matter most on the walkway. Check light strands for cracked sockets and frayed wires before hanging, and anchor everything against wind.
Frequently asked questions
How do I light a Halloween walkway without electricity outside?
Use solar path stakes and battery-operated LED lights. Solar stakes charge by day and glow all evening with zero wiring. Battery string lights, LED tea lights in luminaries, and solar spotlights cover everything else. No outdoor outlet needed for any idea on this list.
How wide should a Halloween walkway stay for trick-or-treaters?
Keep at least 36 inches of clear walking width, with all decor outside that zone. Costumed kids are wider than they look, and groups walk two or three across. Measure the clear path after decorating, not before, because props creep inward.
What is the cheapest way to decorate a walkway for Halloween?
Milk-jug ghost luminaries cost $3 to $8 for a whole walkway using jugs from the recycling bin. Candy corn painted stakes run about $2 each. Both take under an hour and need no special tools.
How do I keep walkway decorations from blowing away?
Anchor everything: stake poles 12 inches deep, weigh luminaries with rocks, and guy-line arches and tunnels. Wind is the top killer of yard decor. Check the forecast and bring paper and fabric elements inside before storms.
Can I use real candles in outdoor Halloween luminaries?
Do not. Wind gusts turn real flames into fire hazards near dry leaves, costumes, and wooden structures. LED tea lights and battery candles give the same glow with none of the risk, and they stay lit in wind that would kill a real flame.
When should I set up Halloween walkway decorations?
Set out durable items like solar stakes and tombstones in early October, and add fragile or carved items the week of Halloween. Real carved pumpkins last about a week outdoors, so time them for maximum freshness on the 31st.
The walkway is the opening scene of your Halloween, and it takes less work than the porch everyone obsesses over. I lined ours with milk-jug ghosts three years ago for under five dollars, and the neighbors’ kids still ask if the ghosts are coming back. Light the path, keep it clear, and let the walkway do the welcoming before anyone knocks.


